
melt sandwich
intro
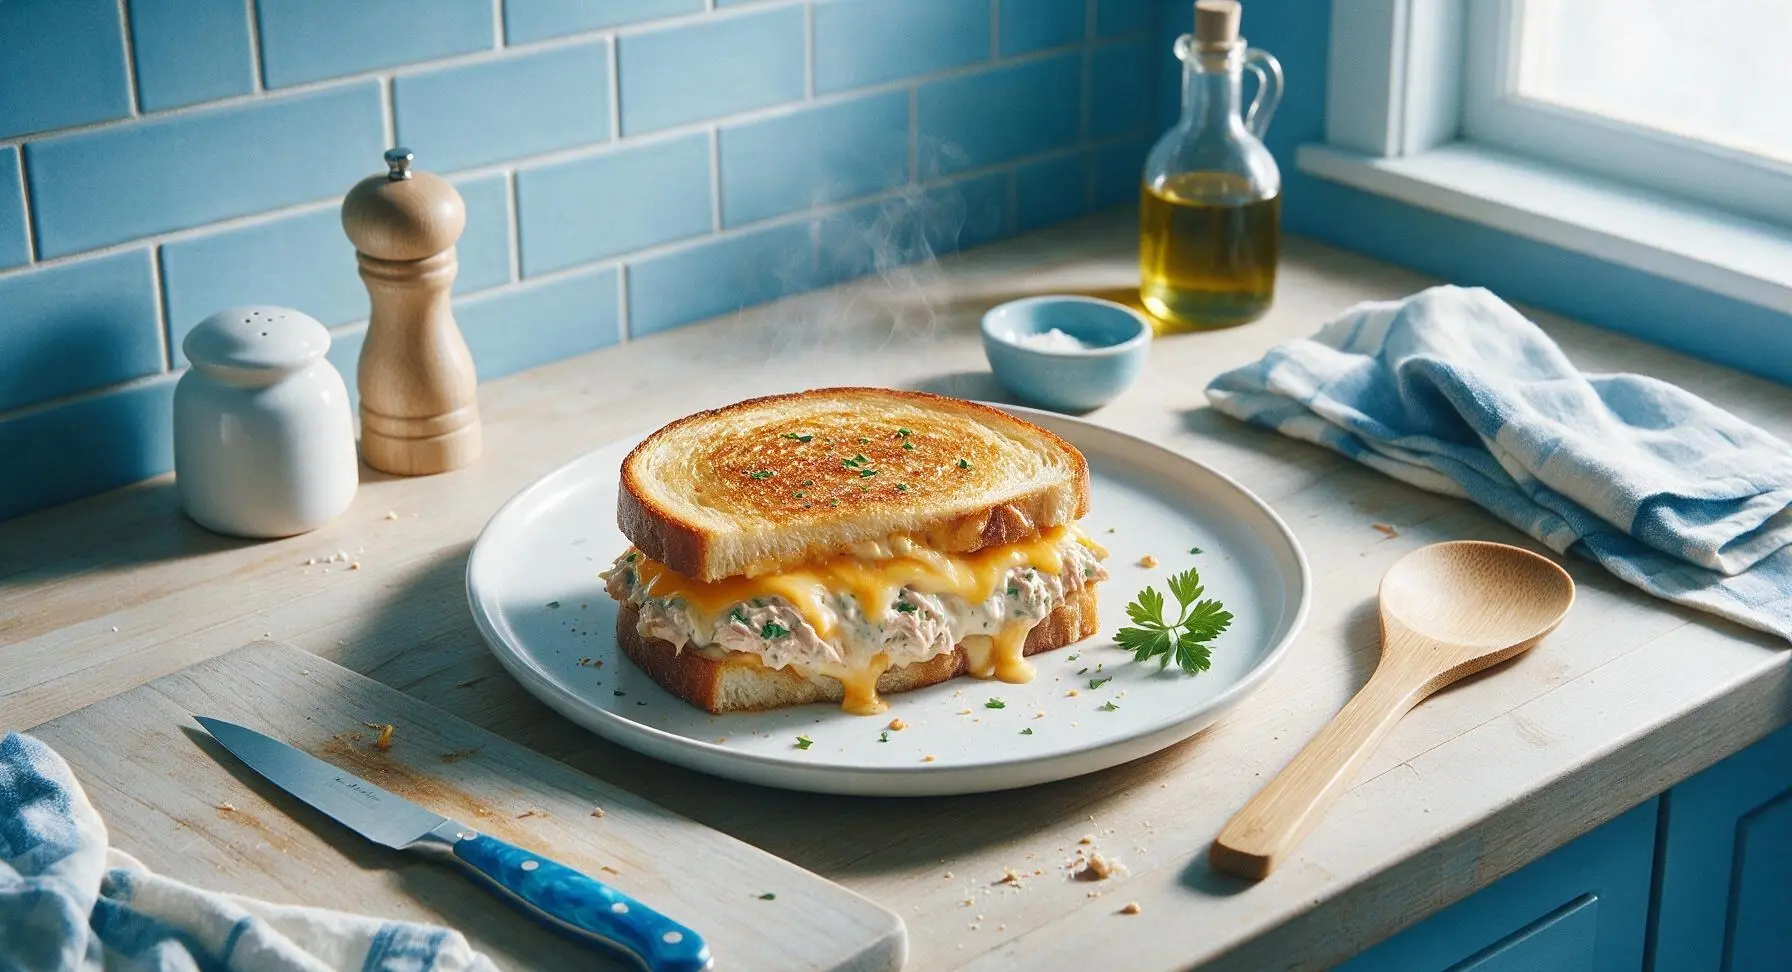
Crispy buttered sourdough, oozing melted cheddar, and creamy herb-flecked tuna filling make this cozy, satisfying diner staple ready in under 25 minutes.
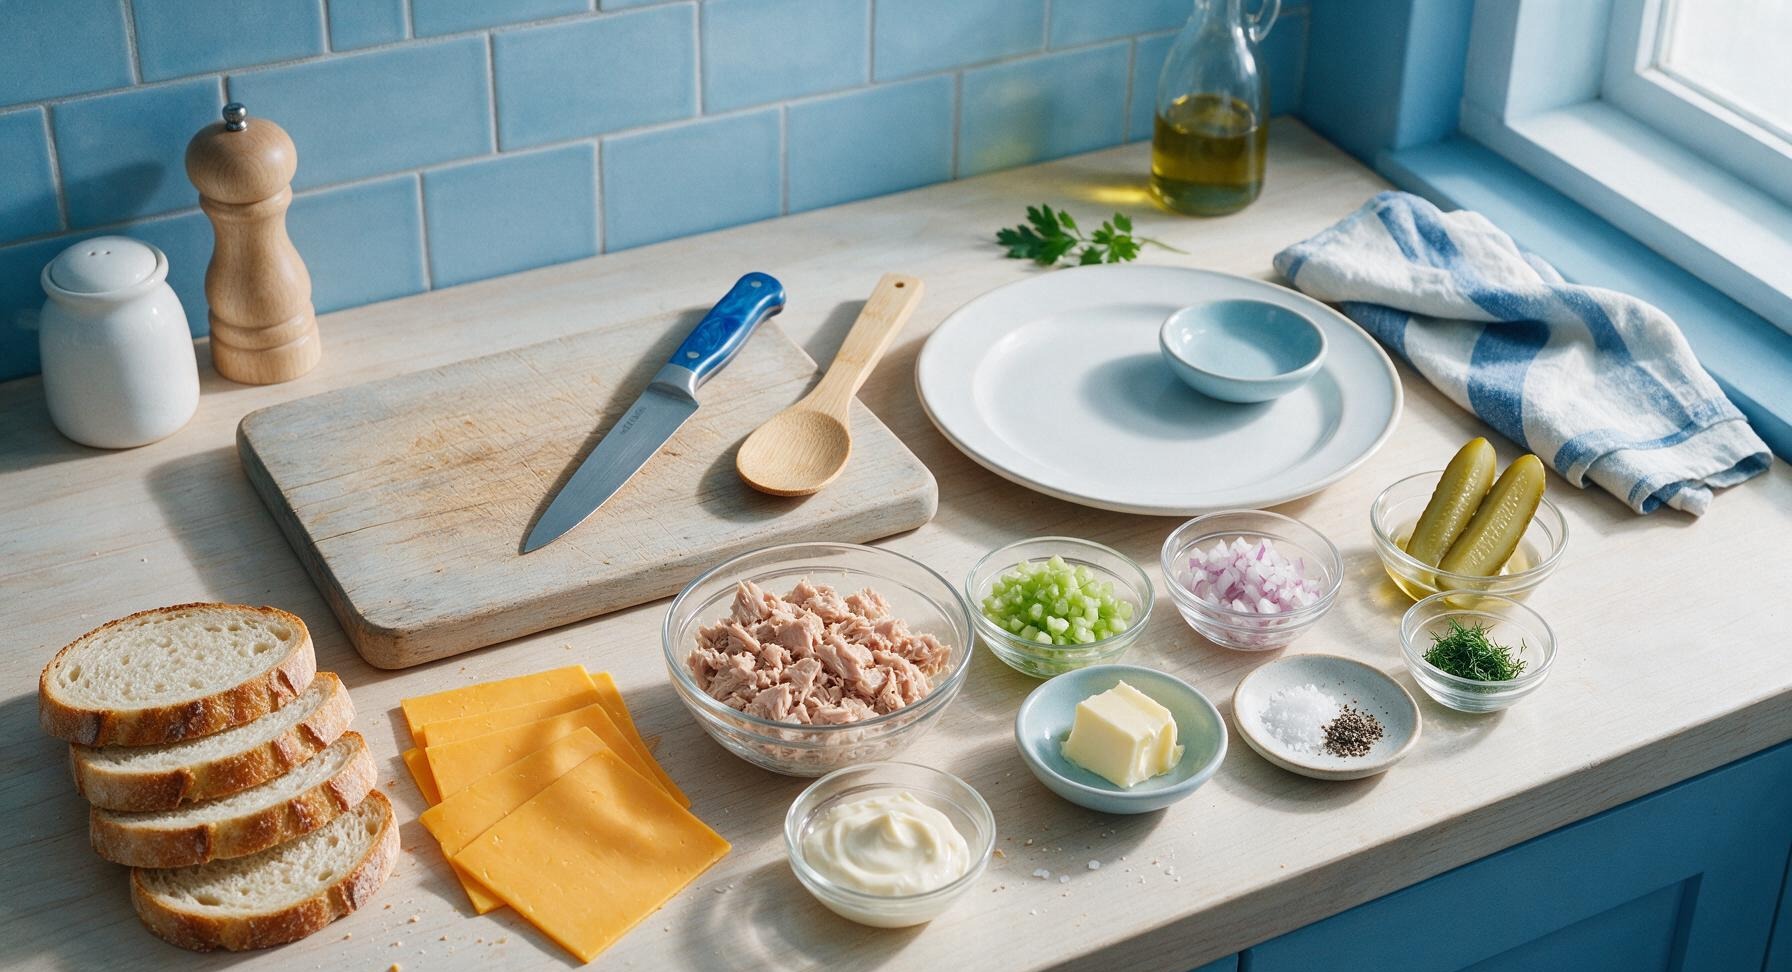
Ingredients
Steps
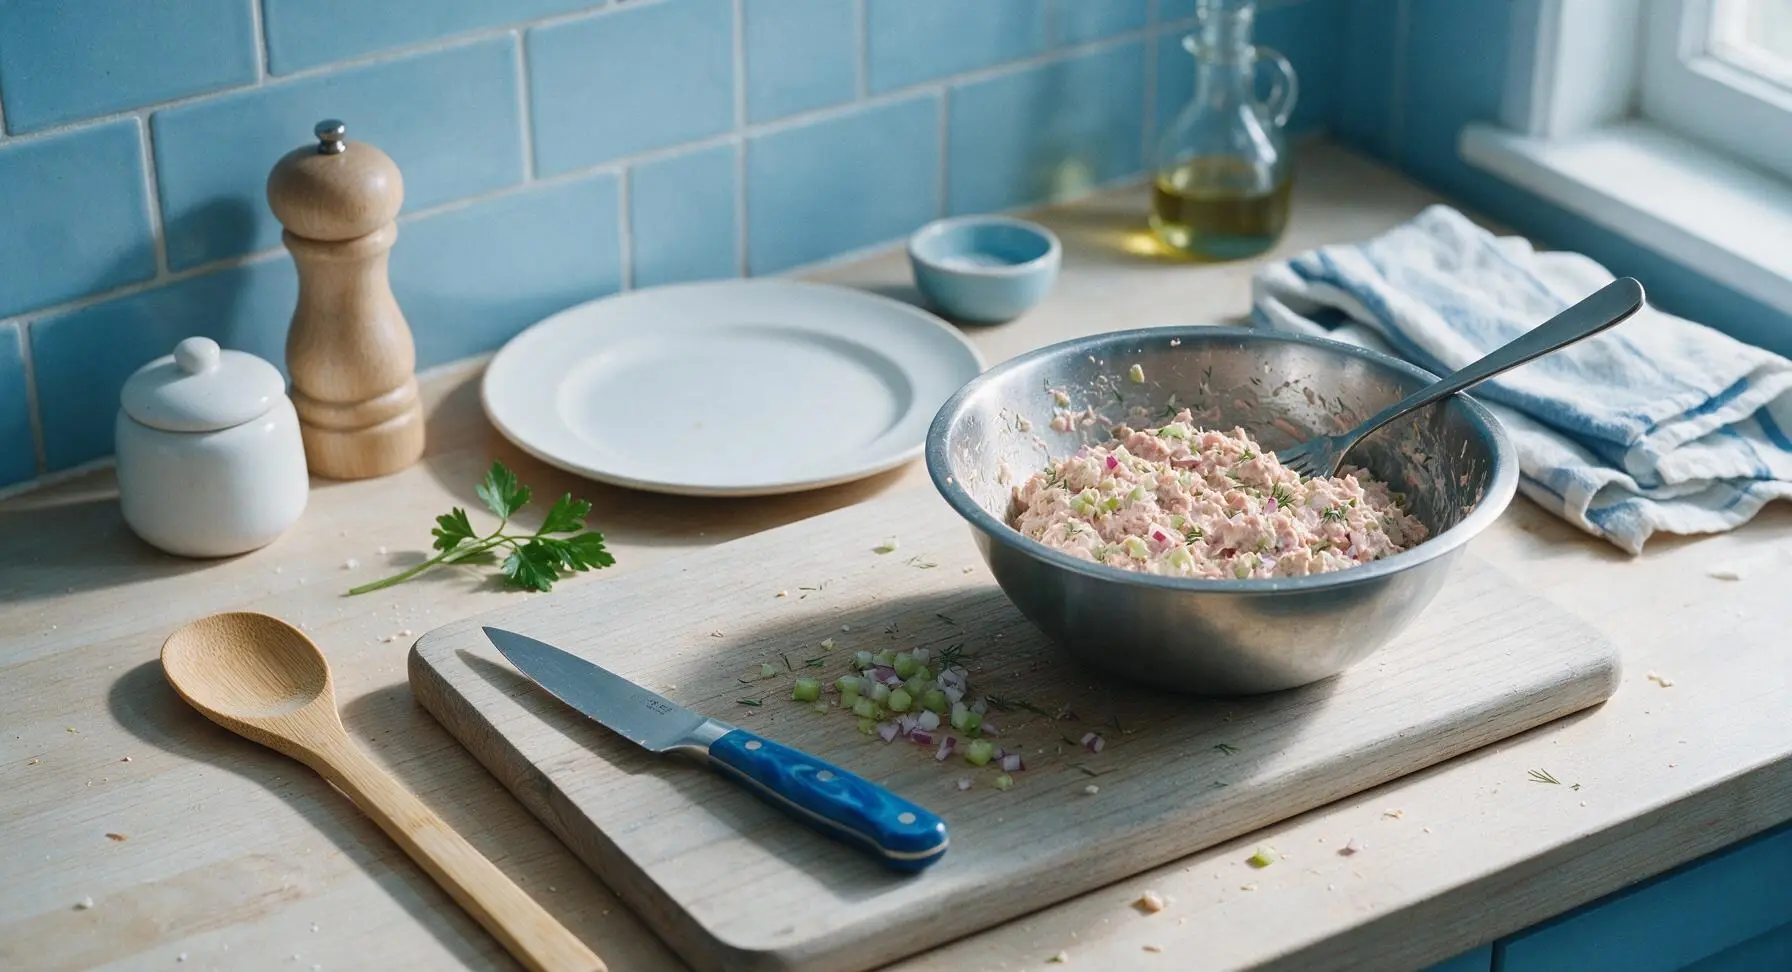
Mix Tuna Filling
In the small brushed stainless steel mixing bowl, combine the drained flaked tuna, 2 tablespoons mayonnaise, 2 tablespoons finely diced celery, 1 tablespoon finely diced red onion, 1 teaspoon chopped fresh dill, 1/4 teaspoon flaky sea salt, and 1/8 teaspoon black pepper. Stir with a fork until evenly combined, breaking up any large tuna chunks; the mixture should hold together without being runny.
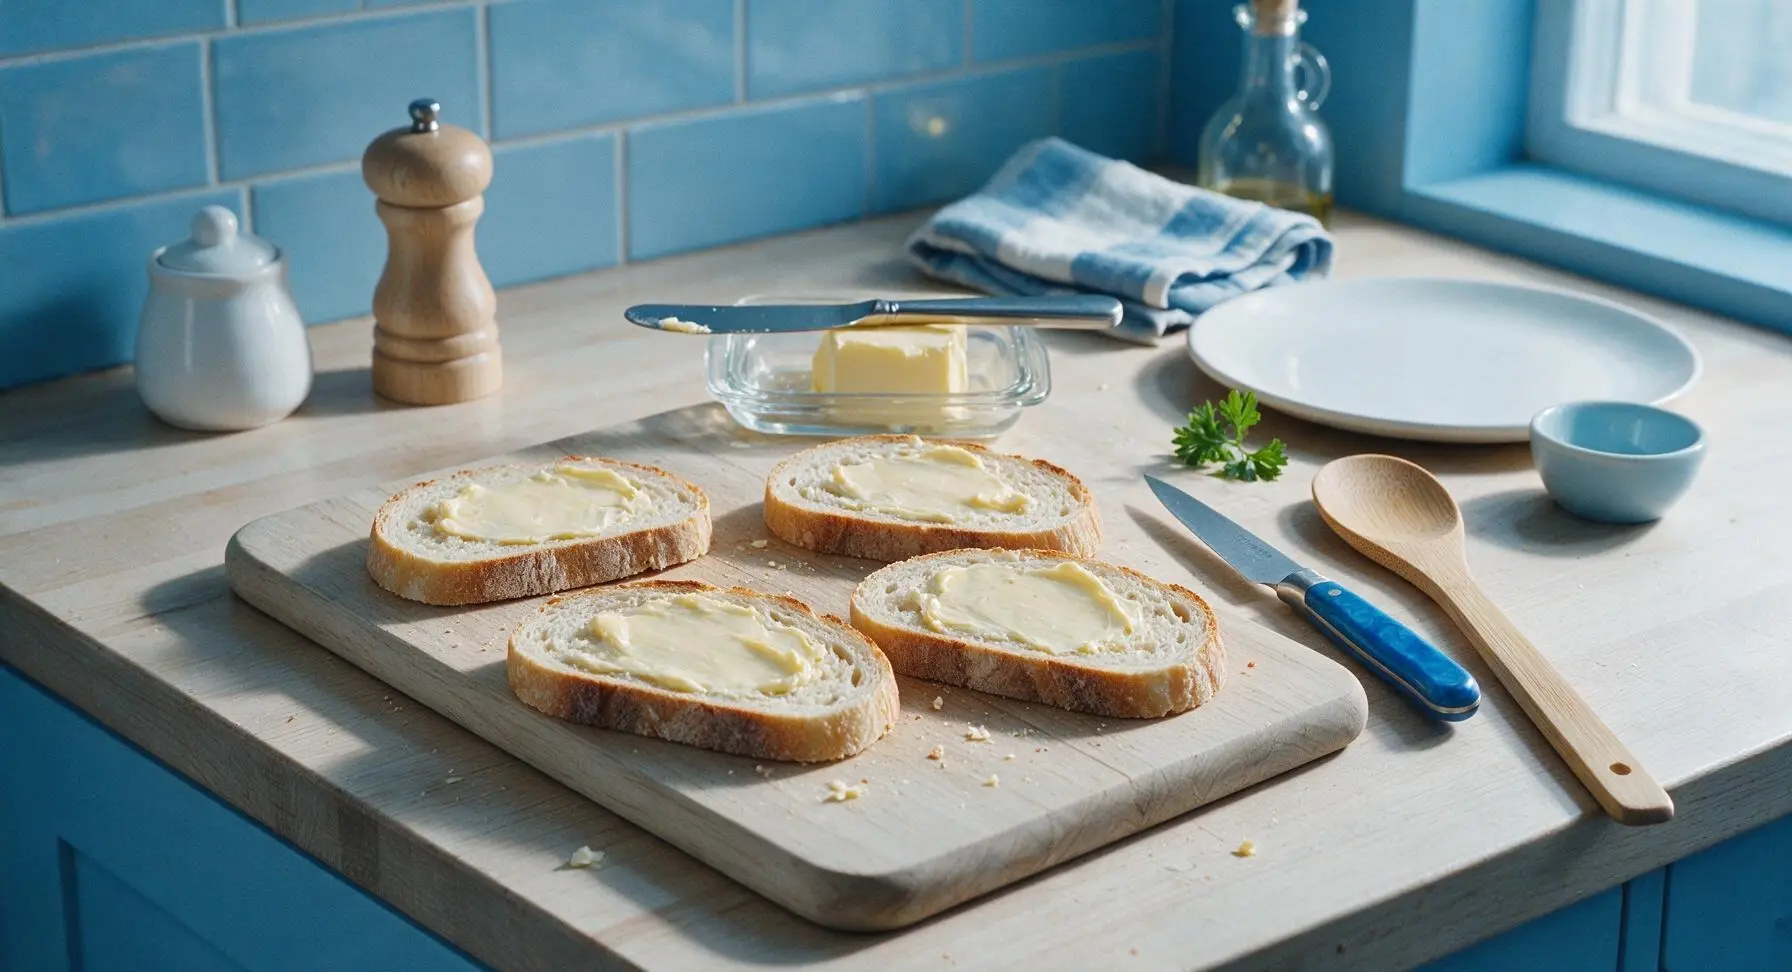
Butter Bread Slices
Lay all 4 sourdough slices flat on the maple cutting board. Use the stainless steel butter knife to spread 1/2 tablespoon of softened salted butter evenly across one entire side of each bread slice, making sure to cover all the way to the crusts to prevent dry, untoasted spots.
Assemble Sandwich Layers
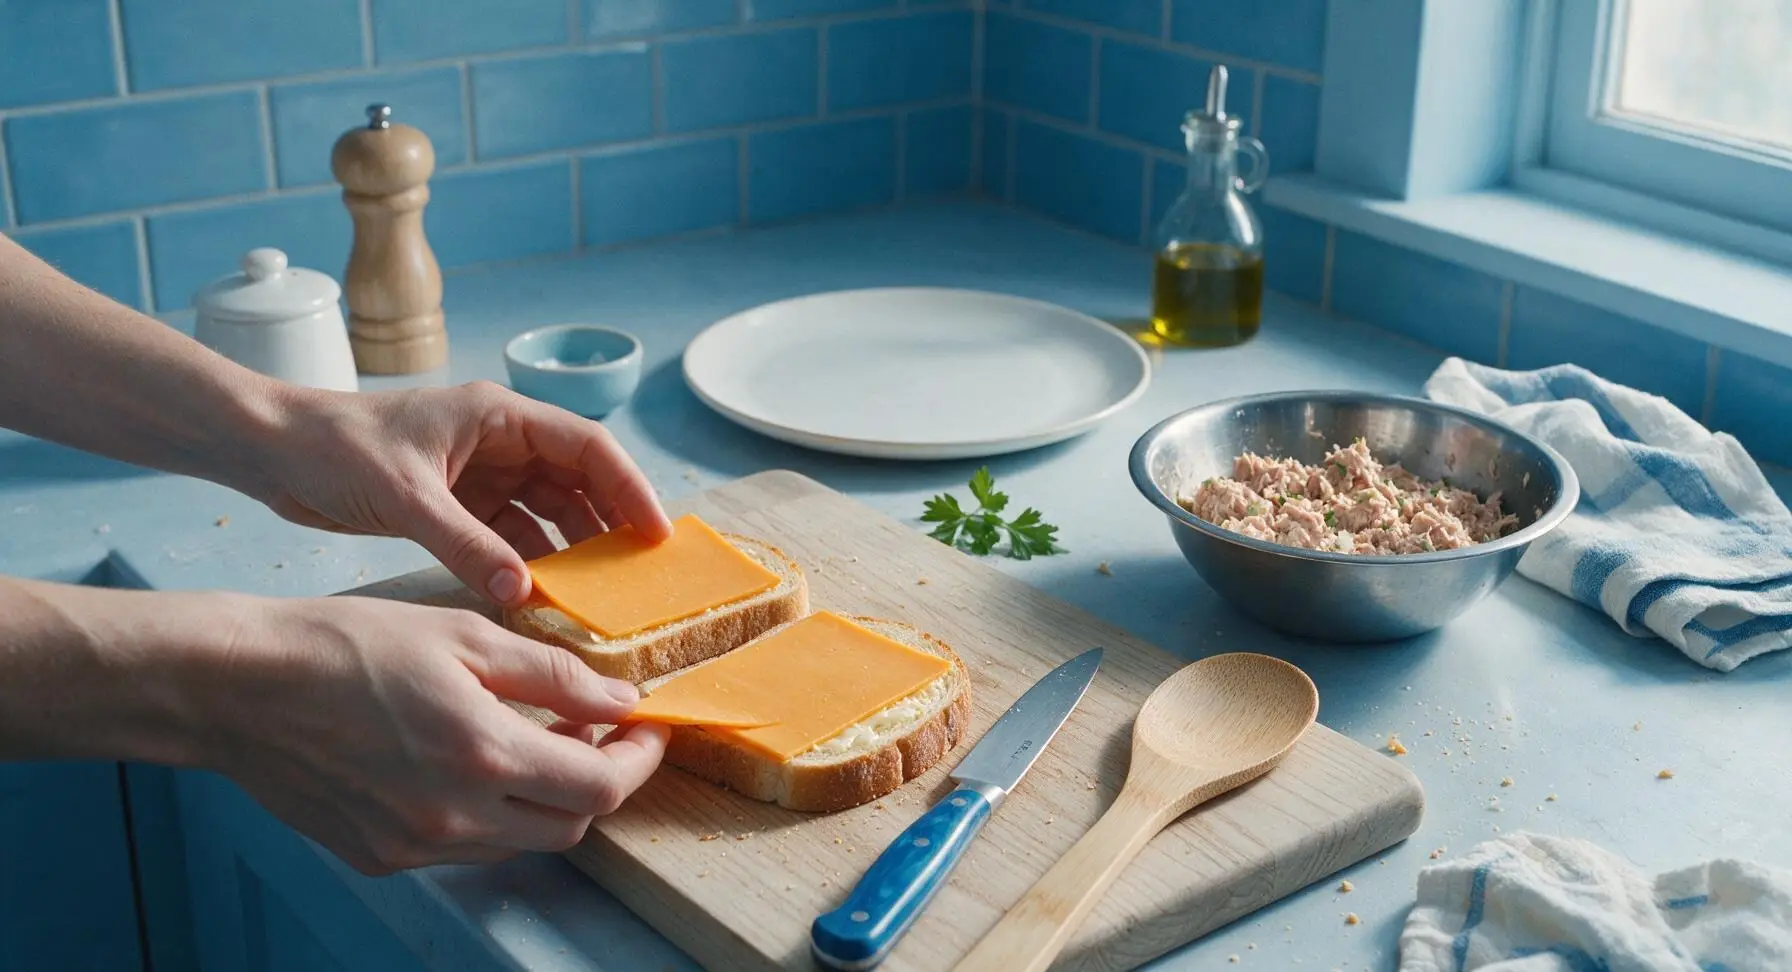
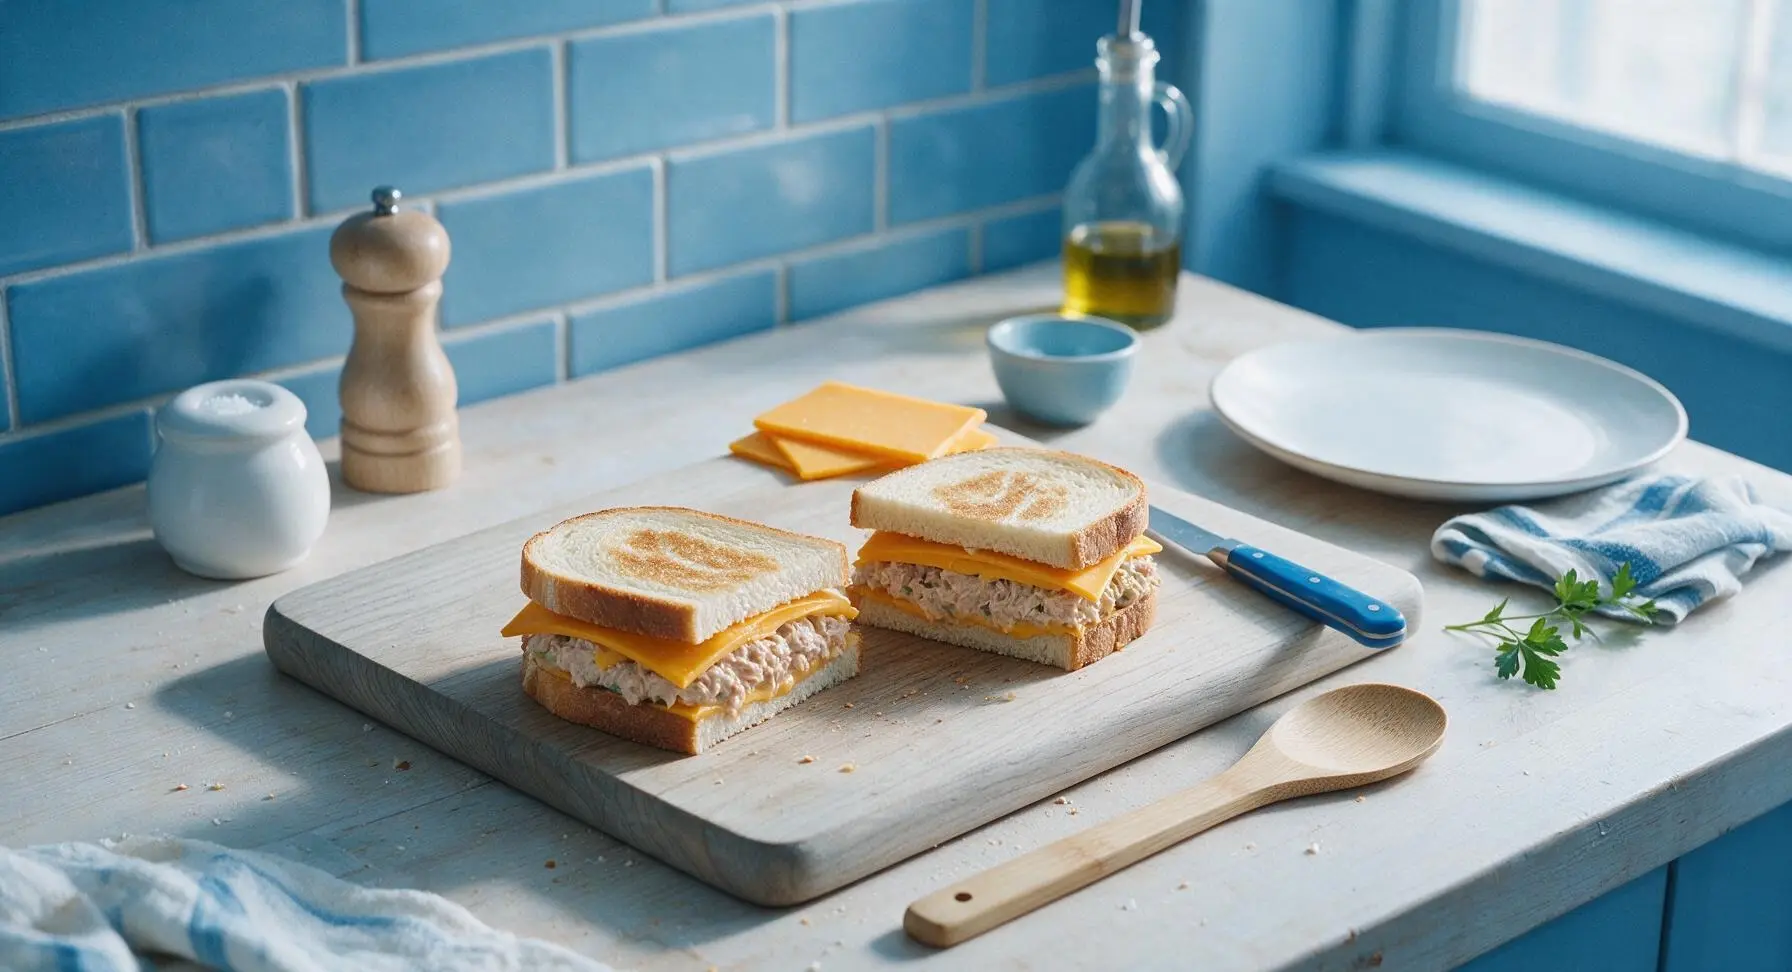
Flip 2 of the bread slices so the buttered side faces down on the cutting board. Layer 1 slice of sharp cheddar on each unbuttered side, then divide the tuna mixture evenly between the two sandwiches, spreading it in a smooth 1cm thick layer across the cheese. Top the tuna with 1 more slice of cheddar per sandwich, then place the remaining two bread slices on top, buttered side facing out. Press down gently on each sandwich to compact the layers slightly, so the filling does not slide out during cooking.
Preheat the Skillet
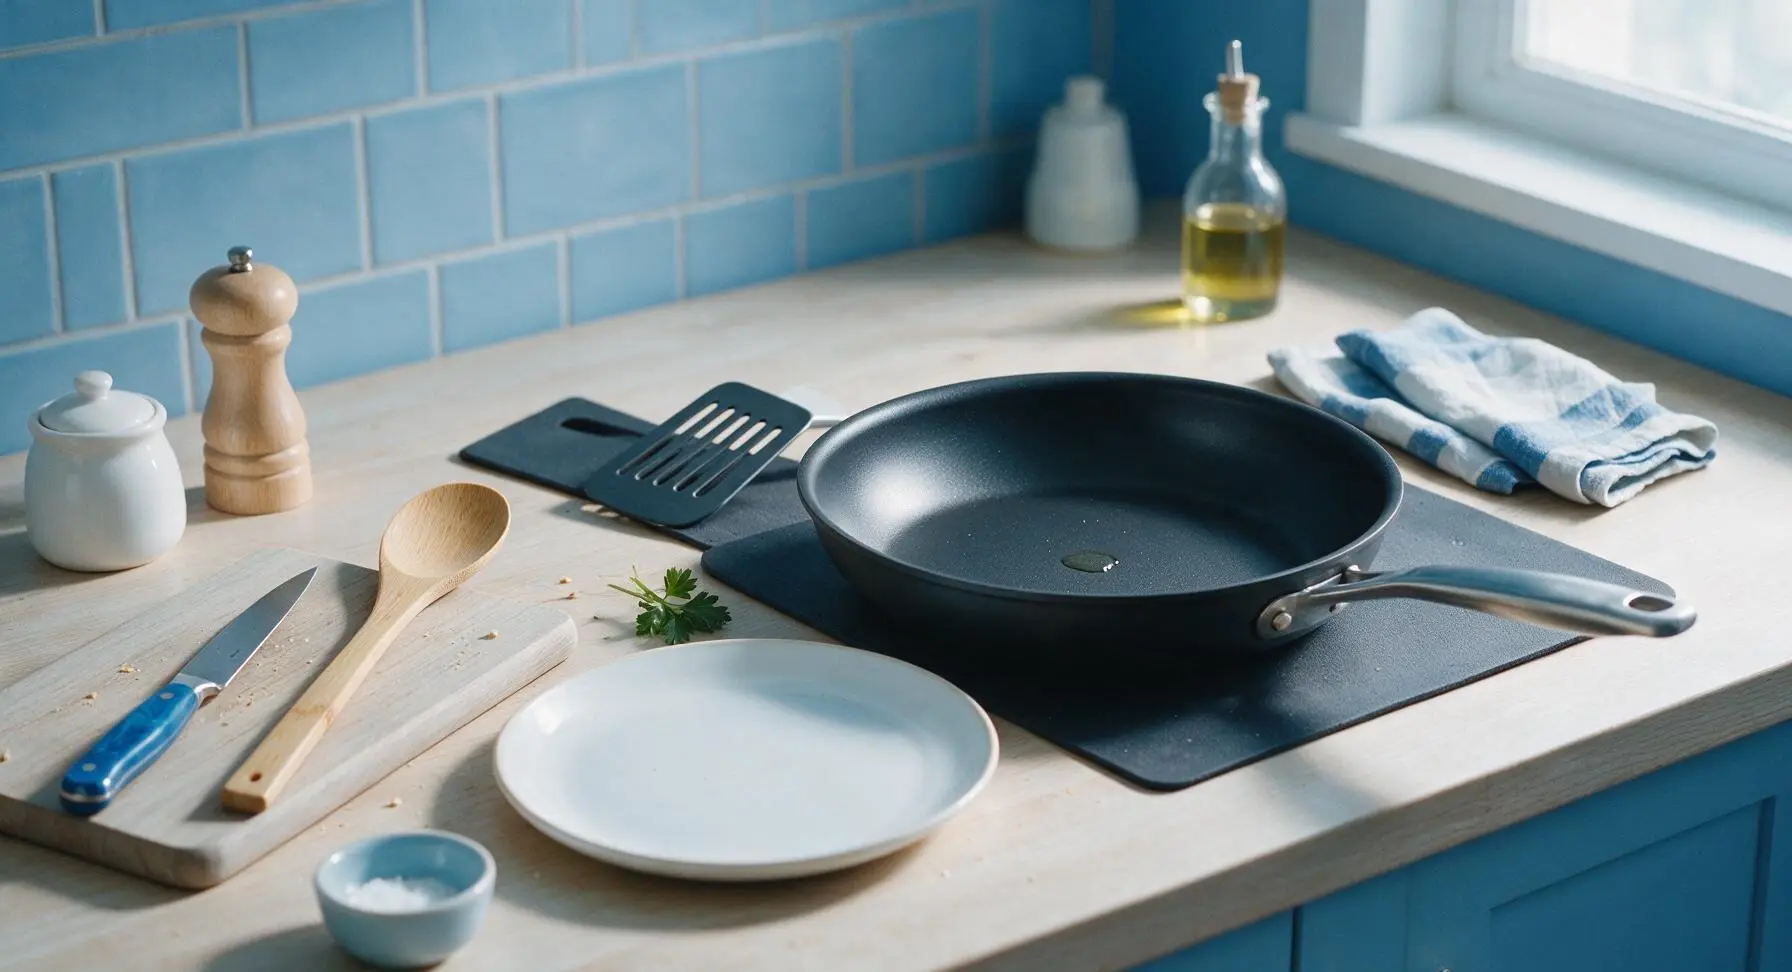
Retrieve the 28cm matte black non-stick skillet from off-frame storage and place it on the right-center counter cook zone over medium-low heat (325°F / 160°C). Preheat for 2 minutes, until a drop of water flicked onto the surface sizzles and dances immediately without evaporating instantly. Do not add extra fat to the pan, as the butter on the bread will provide enough crisping.
Cook First Sandwich Side
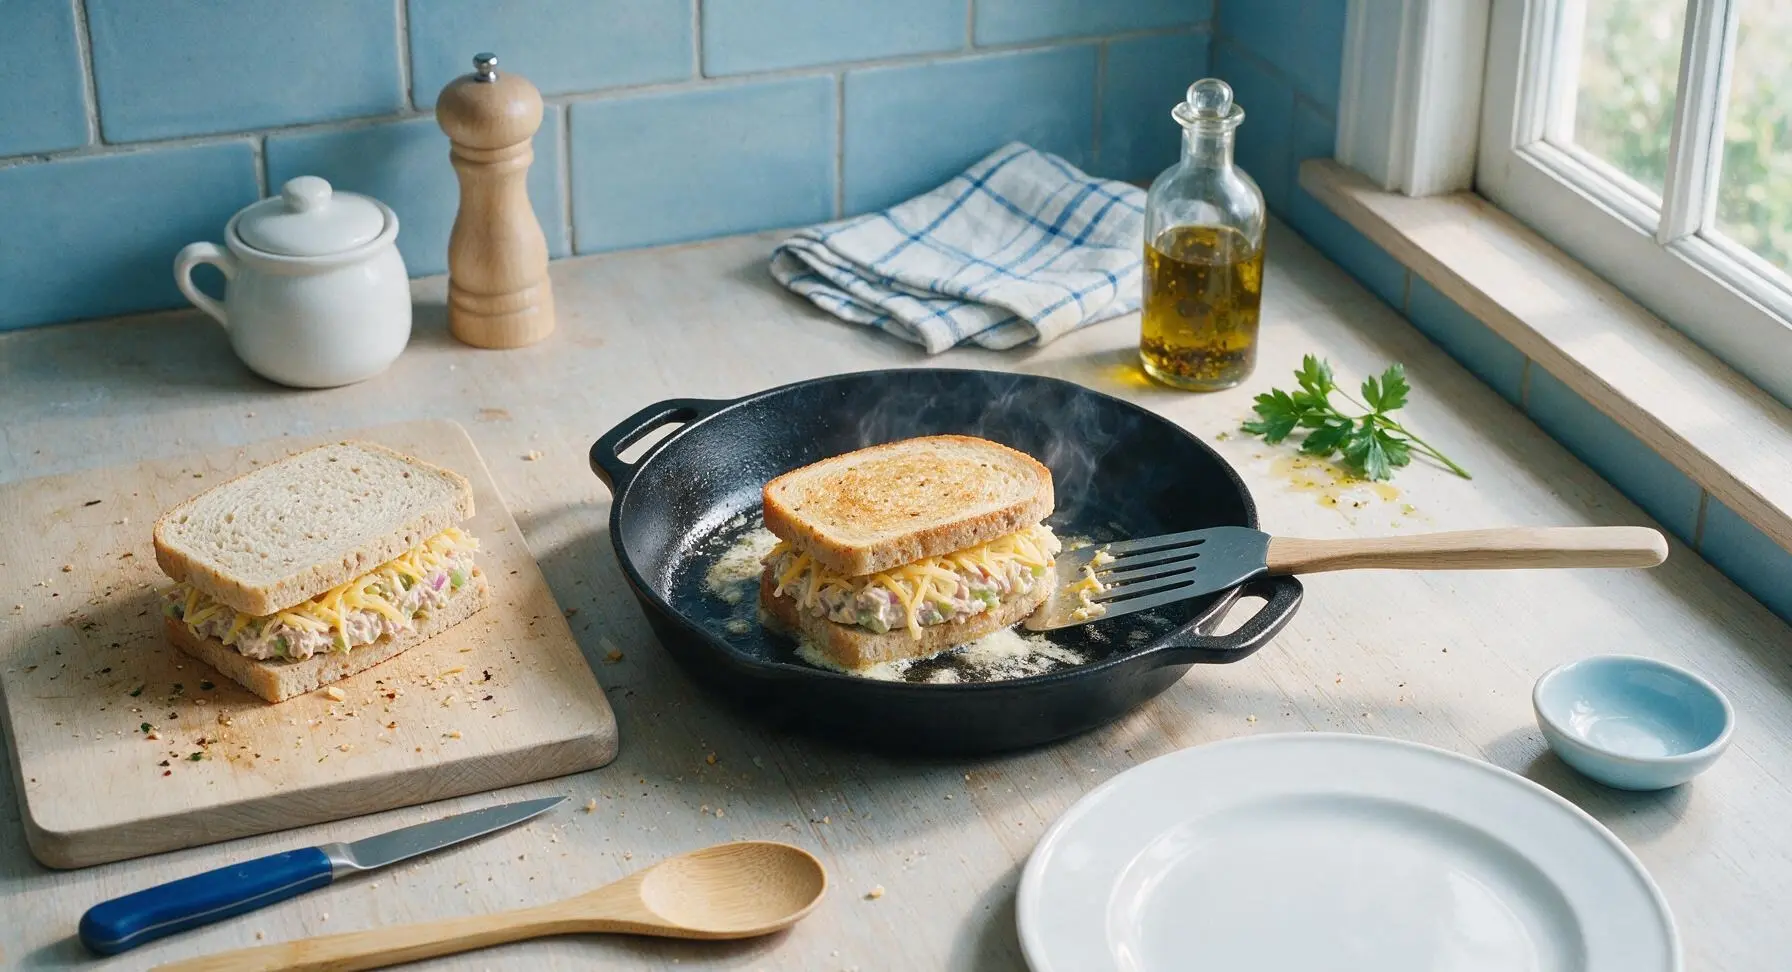
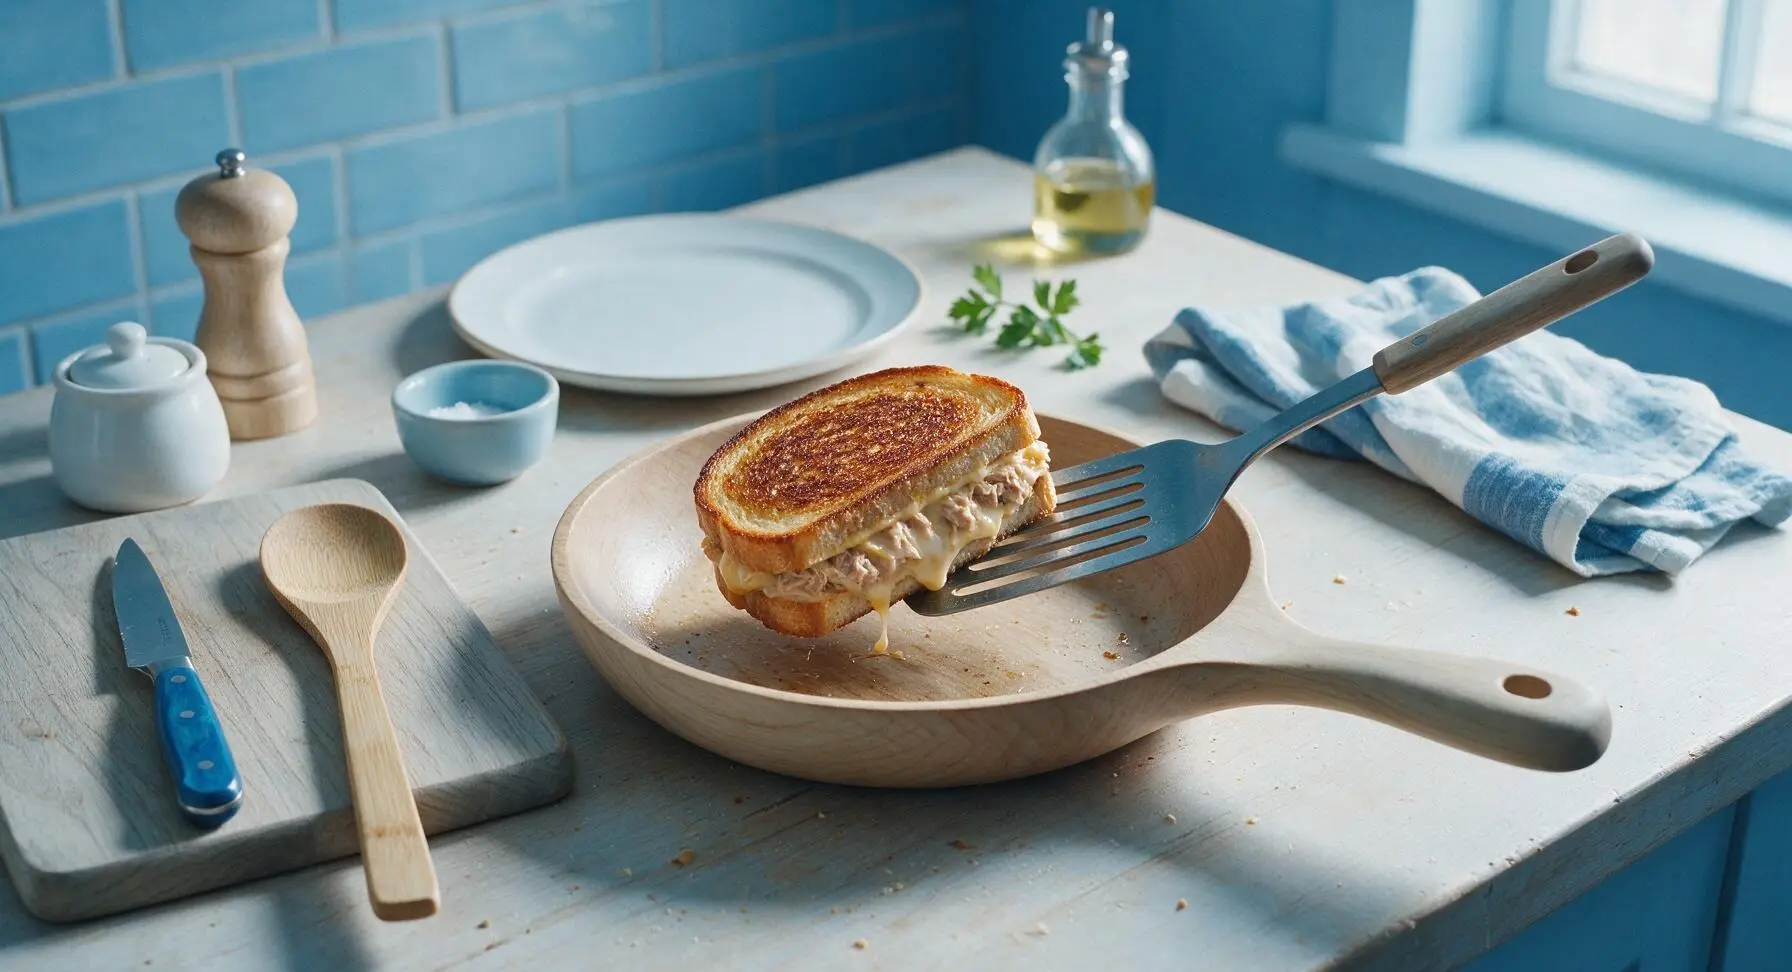
Use the slotted turner spatula to carefully lift one assembled sandwich and place it in the preheated skillet. Cook for 4-5 minutes, until the bottom bread slice is deep golden brown and crispy, and the bottom layer of cheese has started to melt around the edges. Resist the urge to press down hard on the sandwich while cooking, as this will squeeze out the filling.
Flip and Cook Second Side
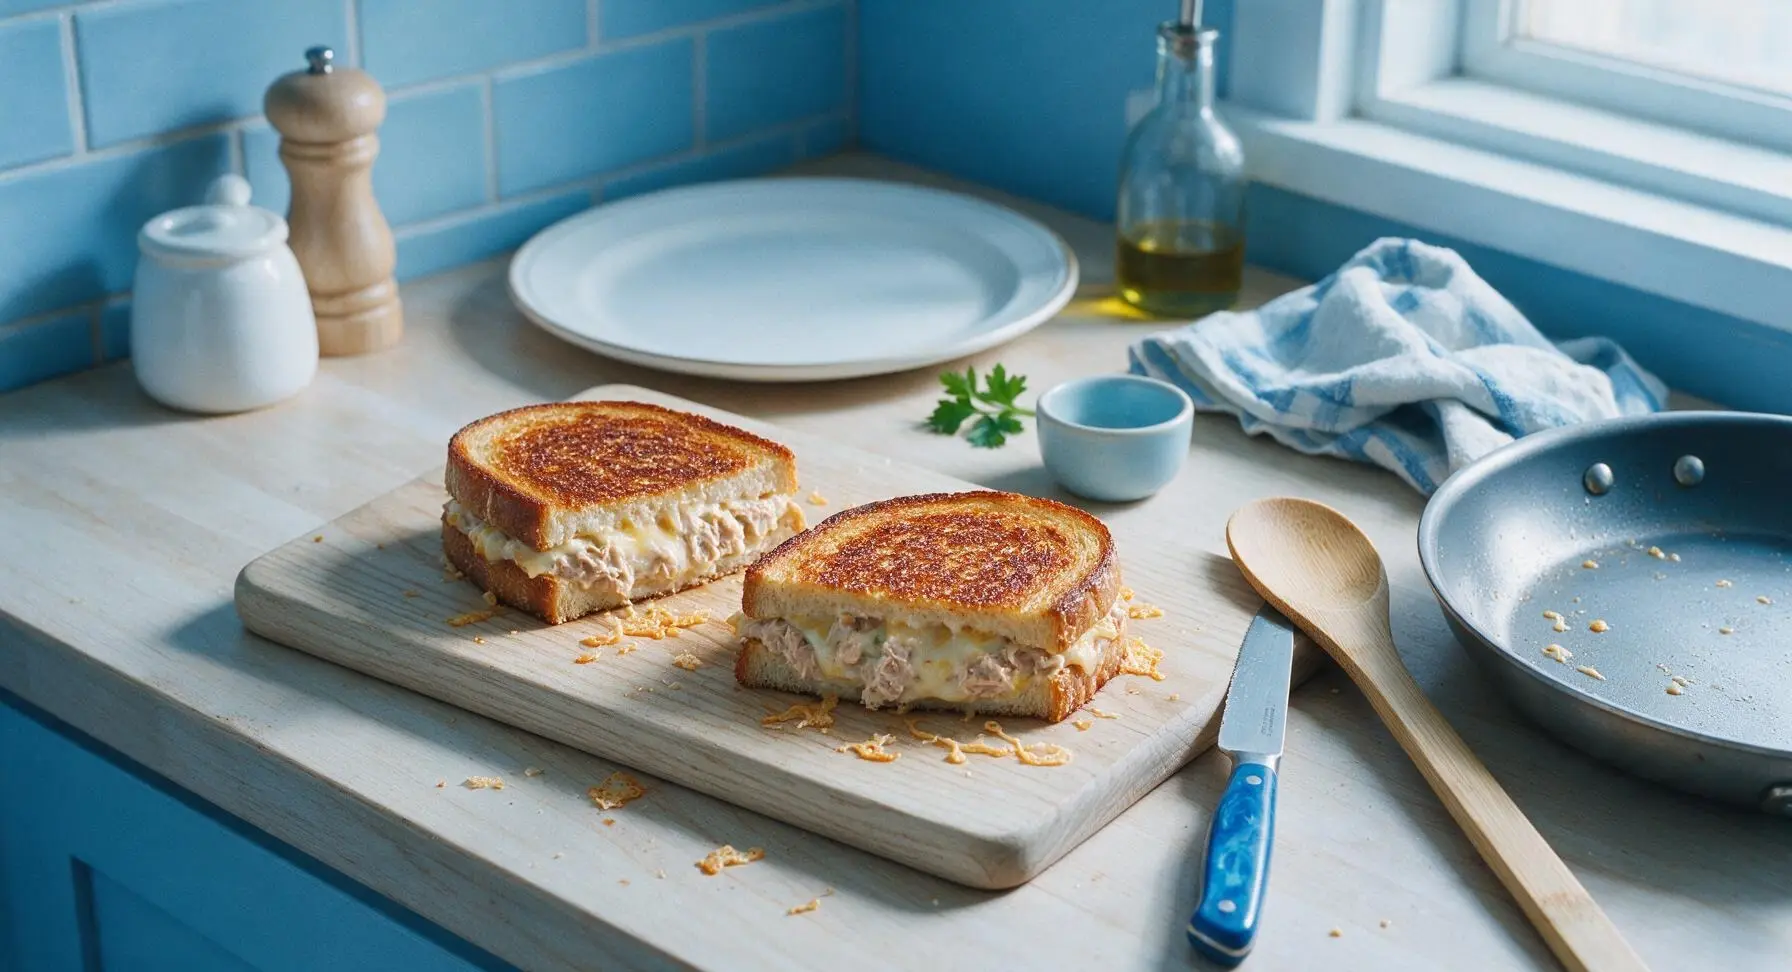
Slide the slotted turner spatula fully under the sandwich, then flip it in one smooth motion to cook the second side. Cook for another 3-4 minutes, until the second side is equally golden and crispy, and all the cheese is fully melted and oozing slightly from the sandwich edges. Transfer the cooked sandwich to the maple cutting board to rest, then repeat the cooking process with the second sandwich.
Cut and Plate Sandwiches
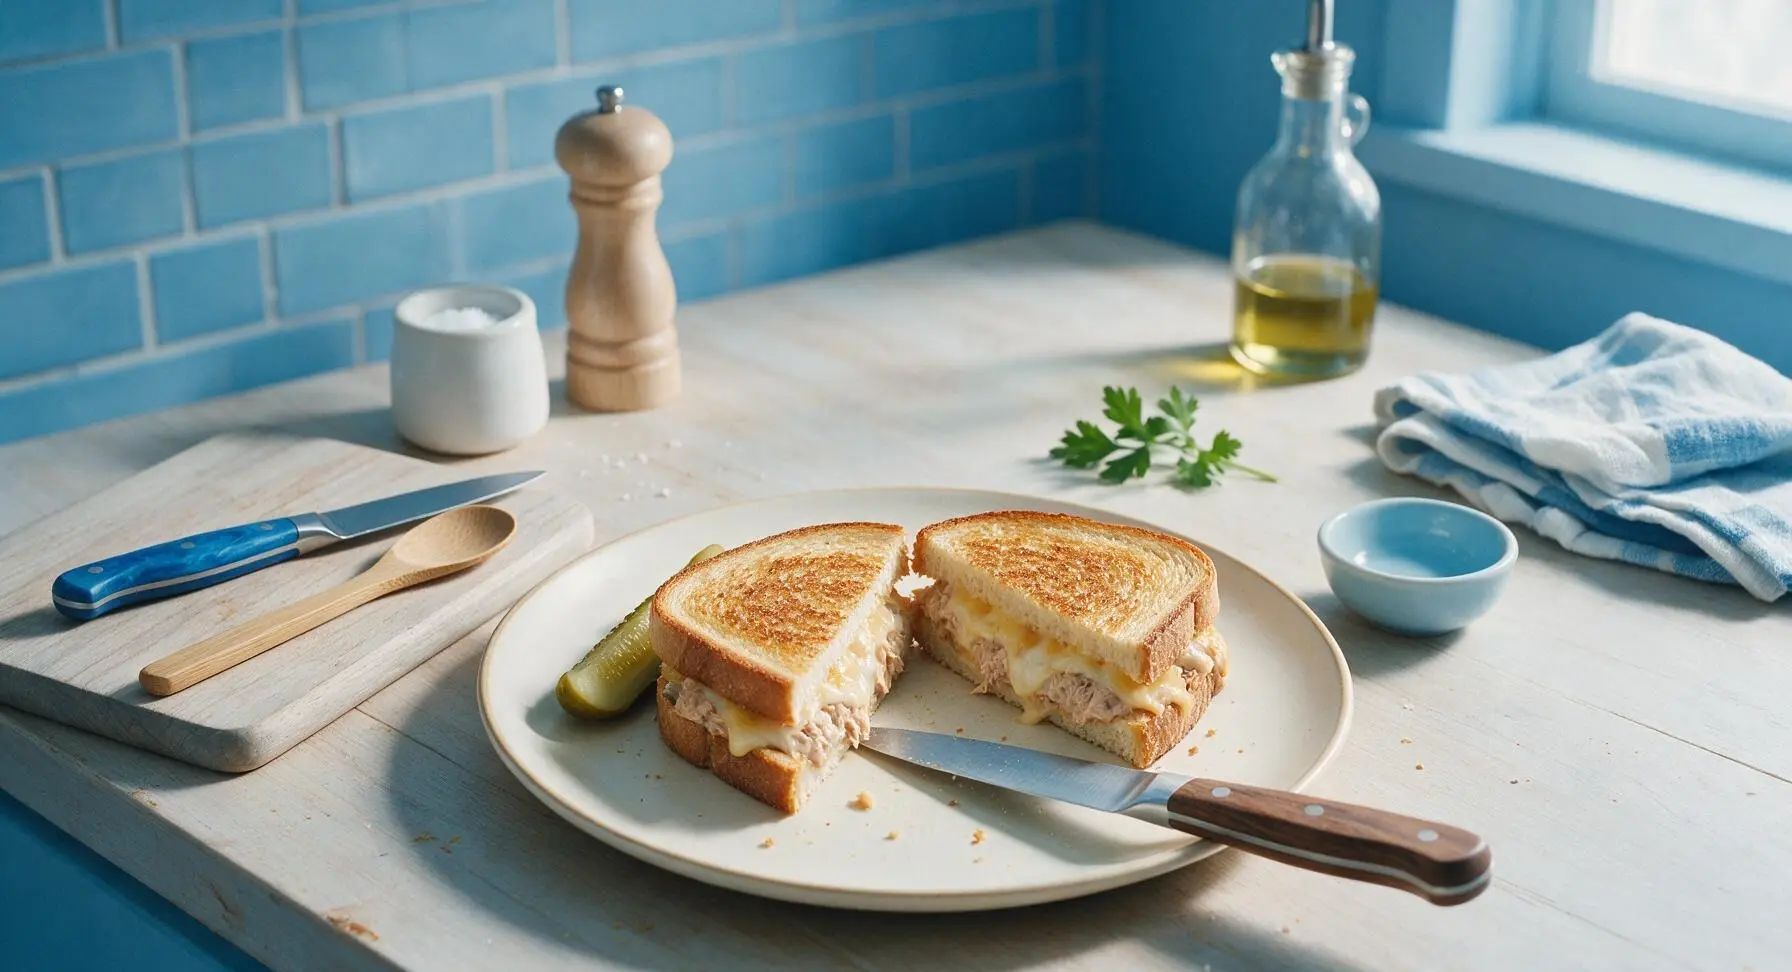
Transfer one cooked sandwich to the matte cream ceramic dinner plate. Use the chef knife to cut the sandwich diagonally into two equal triangles, then offset the two halves slightly to show the melted cheese and filling. Tuck one dill pickle spear next to the sandwich on the plate. Let the sandwich rest for 1 minute before serving so the cheese sets slightly and does not run out when bitten.
Tips
2.Butter bread all the way to the crust edges: Skipping the edges leaves pale, dry, untoasted patches that lack the signature crispy, buttery diner texture. Softened butter spreads easily without tearing the bread, so take it out of the fridge 10 minutes before cooking if possible.
3.Avoid pressing down on the sandwich while it cooks: Pressing with the spatula squeezes out creamy tuna filling and melted cheese, which burns on the pan surface and leaves your sandwich dry instead of rich and oozing. A gentle press only when assembling is all you need.






OMG this tastes exactly like the tuna melts I used to get at my hometown diner after high school football games! I used way too much cheddar (no regrets) and it got all crispy and perfect on the sourdough. 12 minute cook time is no joke, I threw this together between work meetings and it hit so hard. 10/10 will be in my weekly rotation forever.
My kids devoured these! I was worried the tuna salad would be too plain for my super picky 8 year old but he asked for a second sandwich before he even finished his first. I added a tiny bit of dill pickle relish like my mom used to and it was chef’s kiss. Perfect quick weeknight dinner when we have zero time between soccer practice and homework.
Game changer for my dorm meal prep! I don’t have a fancy griddle, just a cheap cast iron skillet on my hot plate, and these came out insane. Way better than the sad cafeteria tuna sandwiches, and the ingredients are cheap enough that I can make this all week without breaking my grocery budget. Pro tip: toast the bread a little first before adding the tuna and cheese so it doesn’t get soggy.
I’ve been making tuna melts for 50 years and I have to say, this recipe is the closest I’ve found to the classic diner version I remember from my first waitressing job in the 60s! The only swap I made was using rye bread instead of sourdough because that’s what I had in the pantry. Absolutely delicious, my bridge club ladies raved about them at our last lunch.
Made these for a casual weekend brunch with my roommates and everyone lost their minds! We added sliced tomato and a little sprinkle of Old Bay on top of the cheese before broiling, and it was *chef’s kiss*. Only knock is I wish the recipe had a note about how far in advance you can mix the tuna salad, otherwise these are SO good. We definitely didn’t make enough, everyone was begging for seconds! I’m already planning to make a double batch for our next neighborhood potluck, they’re gonna be a hit.
I’ve been chasing the perfect tuna melt since my favorite local diner closed down during the pandemic, and this finally nailed it! The ratio of tuna to mayo to celery is exactly right — no sad, gloopy tuna salad here, just the perfect crunch and creaminess. I used a mix of American and Swiss cheese like the old diner used to and it was perfect.
Wait why did I never think to add a little splash of lemon juice to my tuna salad before??? That small detail makes such a huge difference, it cuts through all the richness of the cheese and mayo so it doesn’t feel heavy at all. I made this for a quick lunch today and I’m already planning to make it again for dinner tomorrow.
Super easy recipe even for a guy who burns toast half the time. I followed the directions exactly and these came out crispy, cheesy, perfectly melty, no burnt edges at all. My teen daughter said it’s ‘actually not bad’ which is the highest praise she ever gives any food I make, so that’s a massive win in my book.
Has anyone tried making these with gluten free bread? I have celiac and I’m dying for a good tuna melt, but GF bread can get really soggy easily if you don’t toast it right. Would love any tips!
How well do these hold up for meal prep? I’m always looking for hot lunch options that don’t get sad when I reheat them at the office. Would these work if I make them Sunday and reheat in the toaster oven at work during the week?
Okay I know this is controversial but I added a slice of crispy bacon to mine and it was life changing. The salty crunch with the creamy tuna and melted cheddar? *Chef’s kiss* Don’t @ me, I know it’s not ‘classic’ but it was so worth it.
Help! I tried making these tonight and my cheese didn’t melt all the way even though I cooked it for the full time listed. The bread got nice and toasty but the cheese in the middle was still cold and solid. What did I do wrong?