
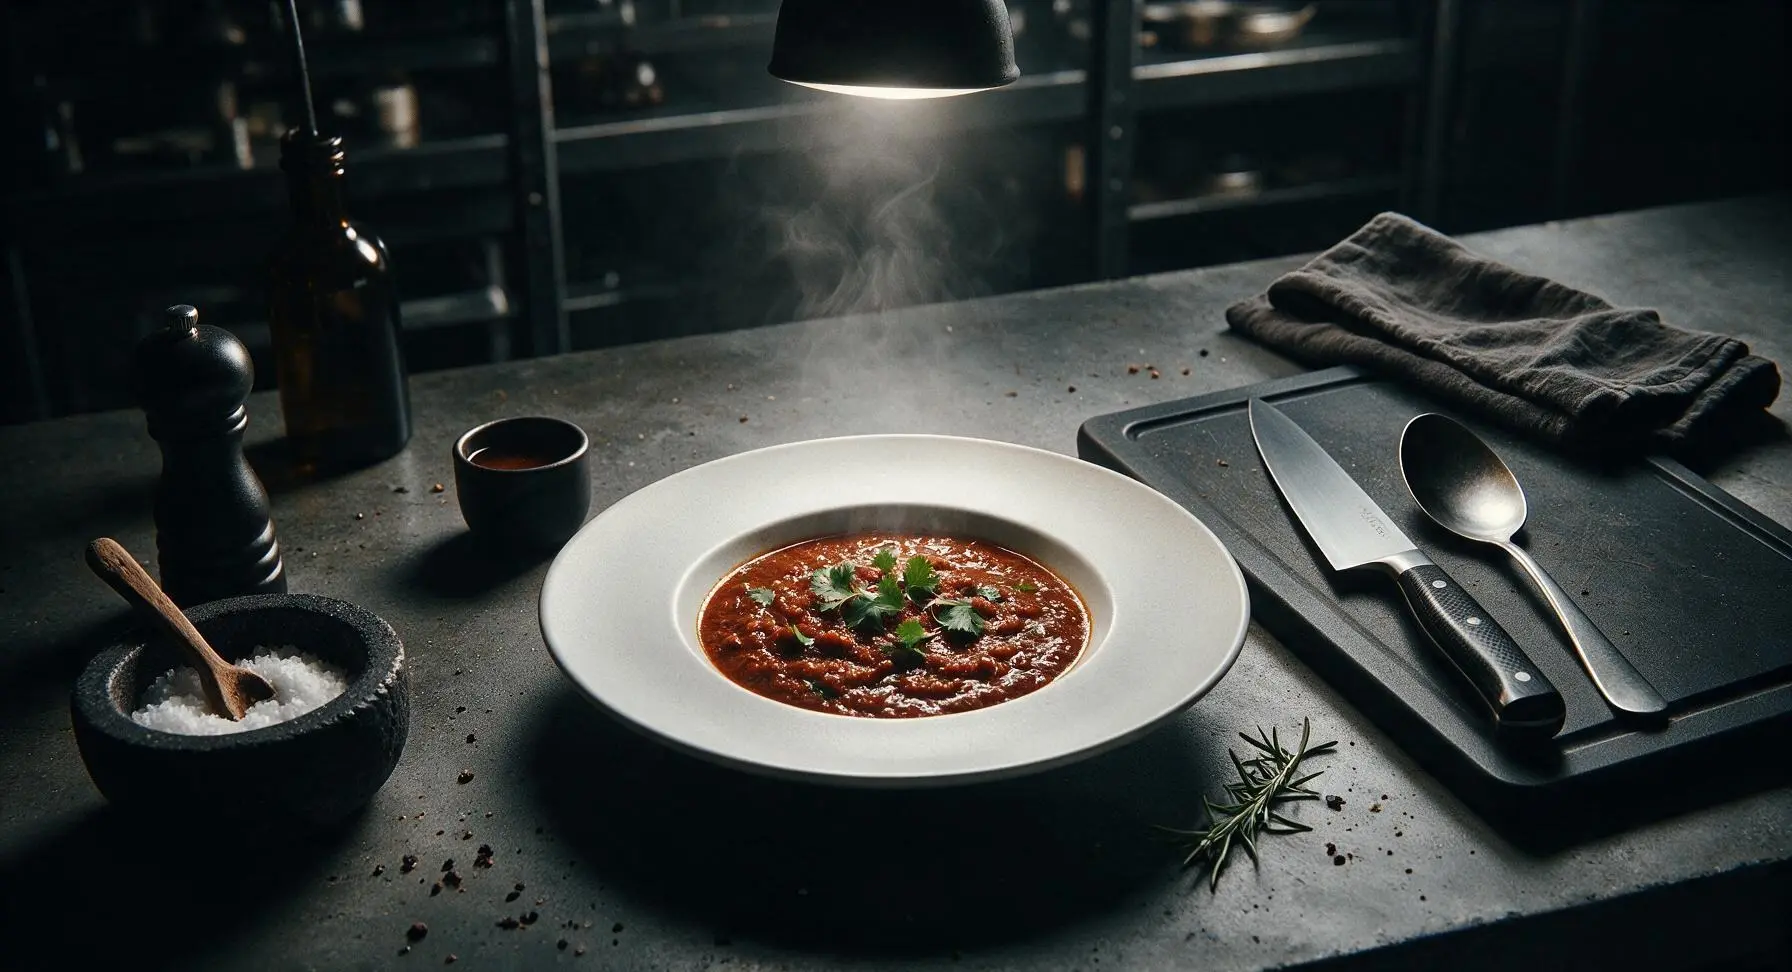
mexican red sauce

title 1
mexican red sauce
⏱️ cook time 25 minutes
🍽️ servings 4
⚡ Difficulty easy

intro

Rich, smoky authentic Mexican red sauce (salsa roja) — the versatile home cooking staple perfect for enchiladas, chilaquiles, tacos, and tortilla chips.

Ingredients
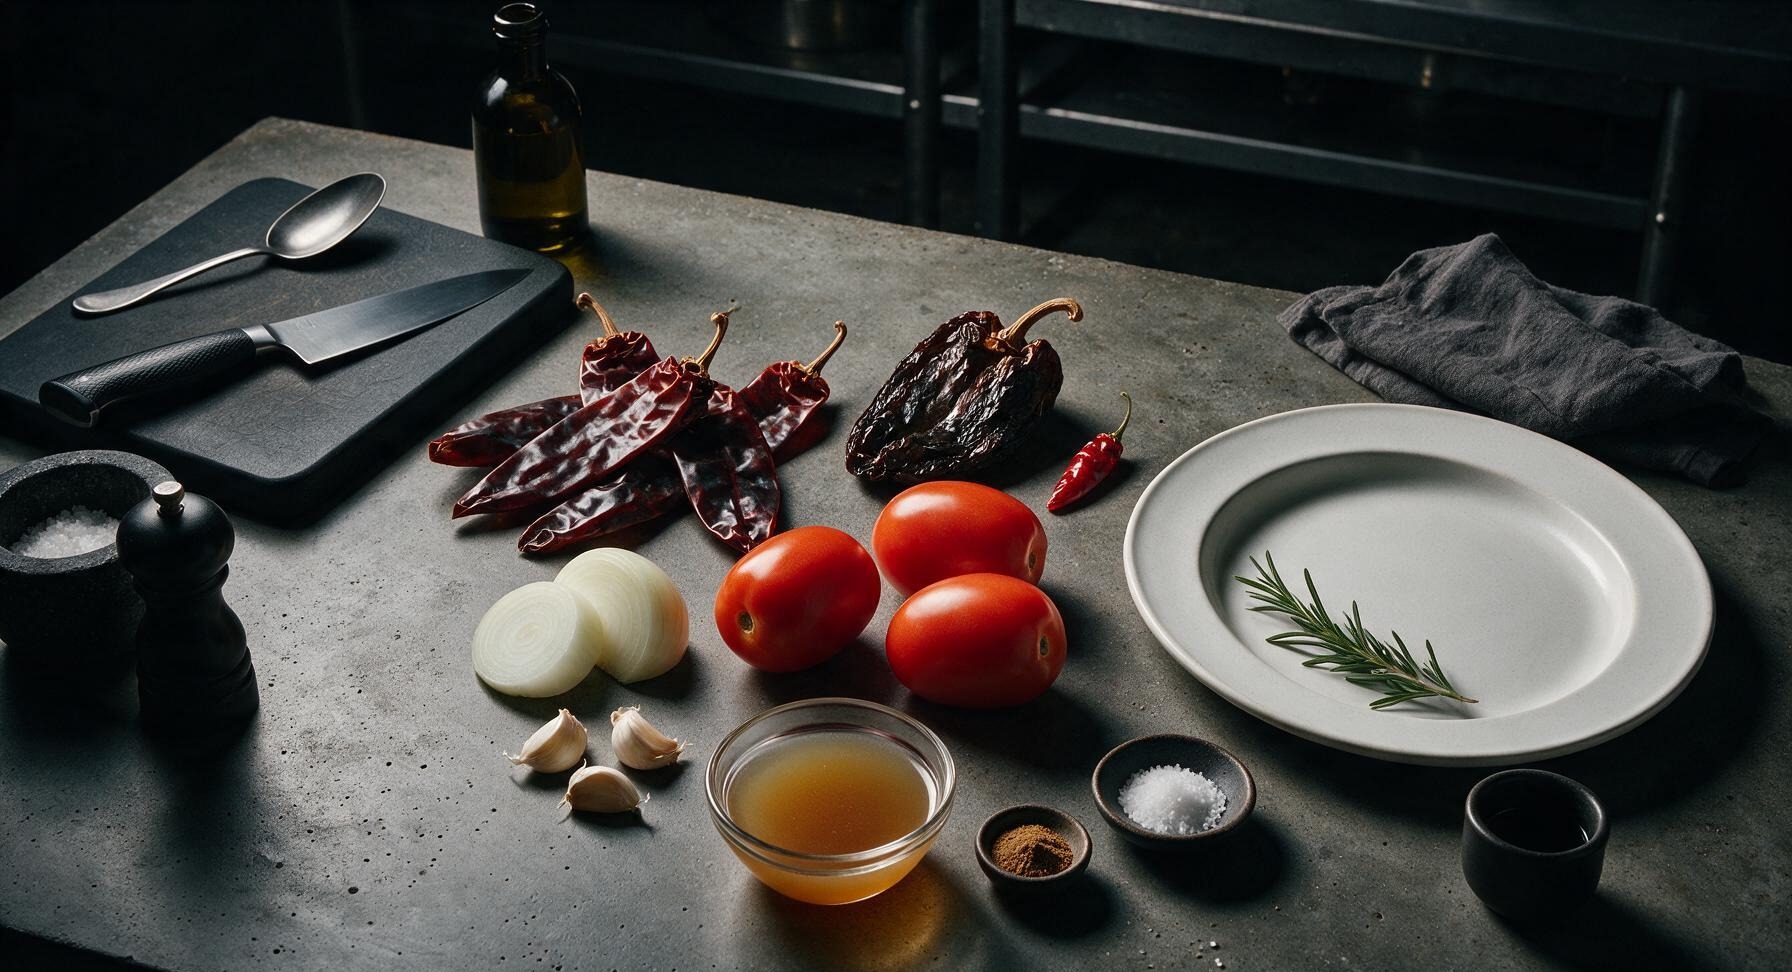
Dried guajillo chiles 4 (25g total, stems and seeds removed)
Dried ancho chile 1 large (15g, stem and seeds removed)
Dried árbol chile 1 (optional, for extra heat)
Roma tomatoes 3 medium (350g total, cored)
White onion 1 small (120g, peeled, cut into 2 thick slices)
Garlic cloves 3 (unpeeled)
Low-sodium chicken broth (or vegetable broth for vegan) 1 cup (240ml)
Ground cumin 1/4 teaspoon
Extra virgin olive oil 1 teaspoon
Kosher salt 1 teaspoon (adjust to taste)

Steps

1

Prep Dried Chiles

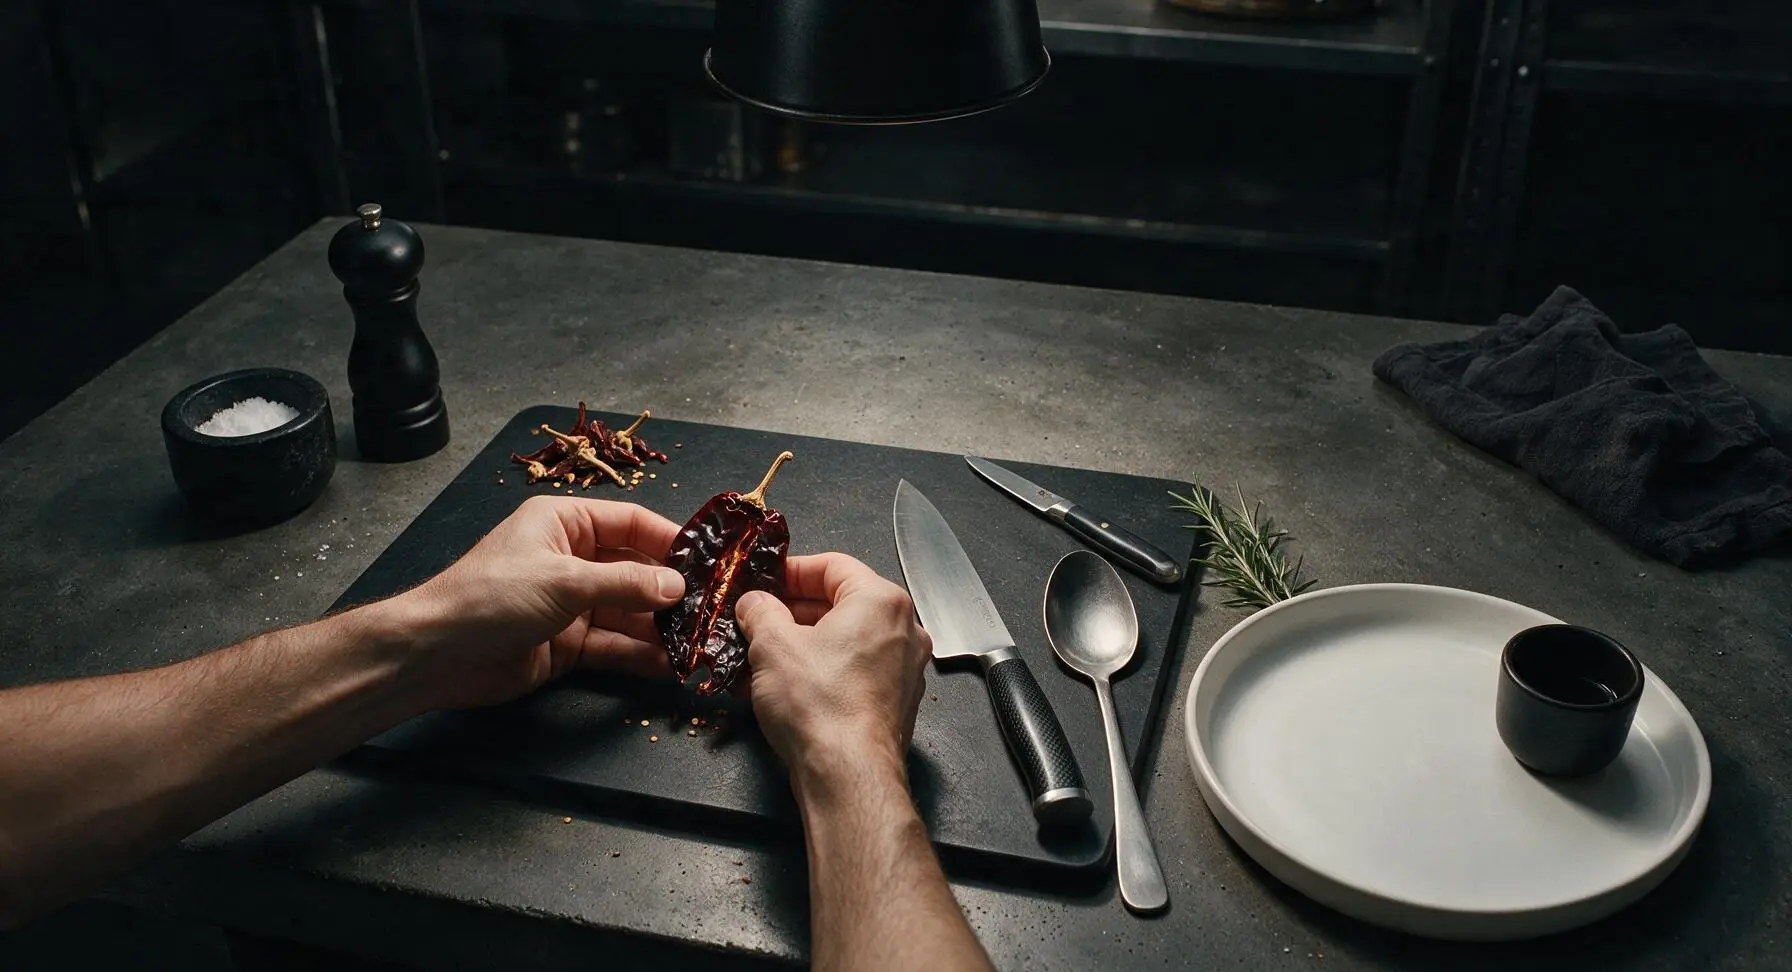
Start by pulling the stems off all dried guajillo, ancho, and optional árbol chiles. Split each chile open lengthwise with your fingers, shake out and discard all loose seeds and pale inner veins, which add unwanted bitterness. Set cleaned chiles in a small pile on the mesquite cutting board, wiping any chile dust off your hands on the striped kitchen towel. This step takes about 5 minutes total.
Step 1
step1:Prep Dried Chiles
2

Toast Chiles and Veggies

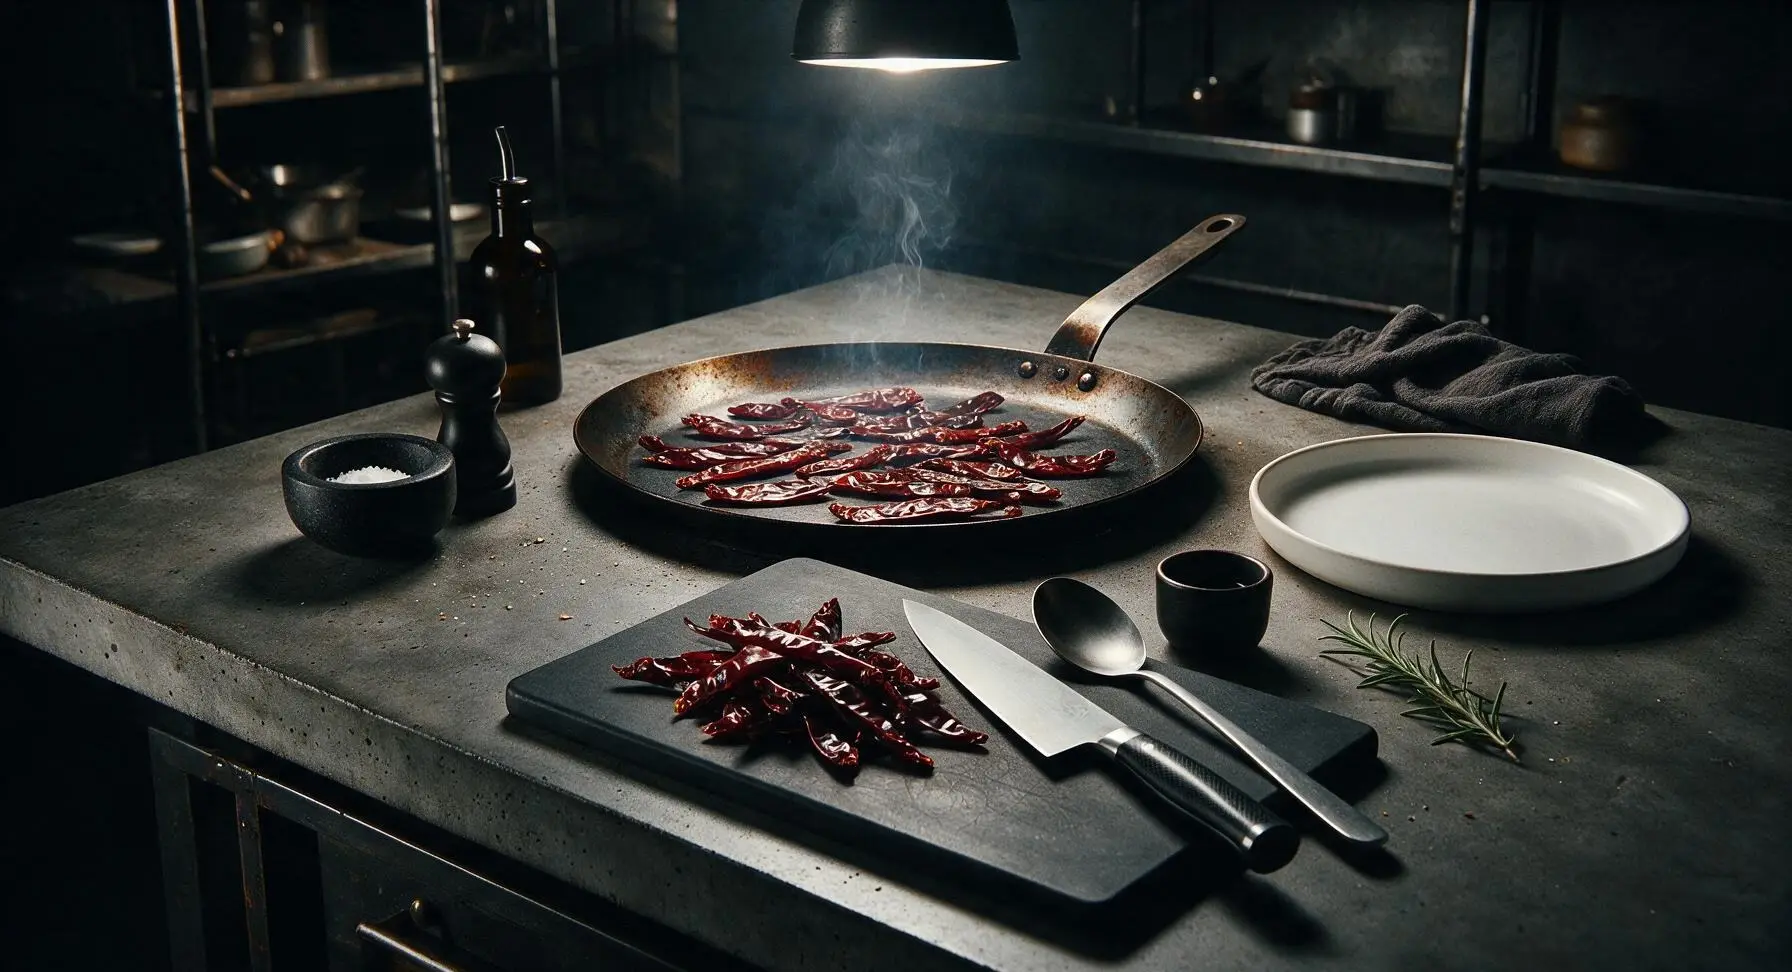
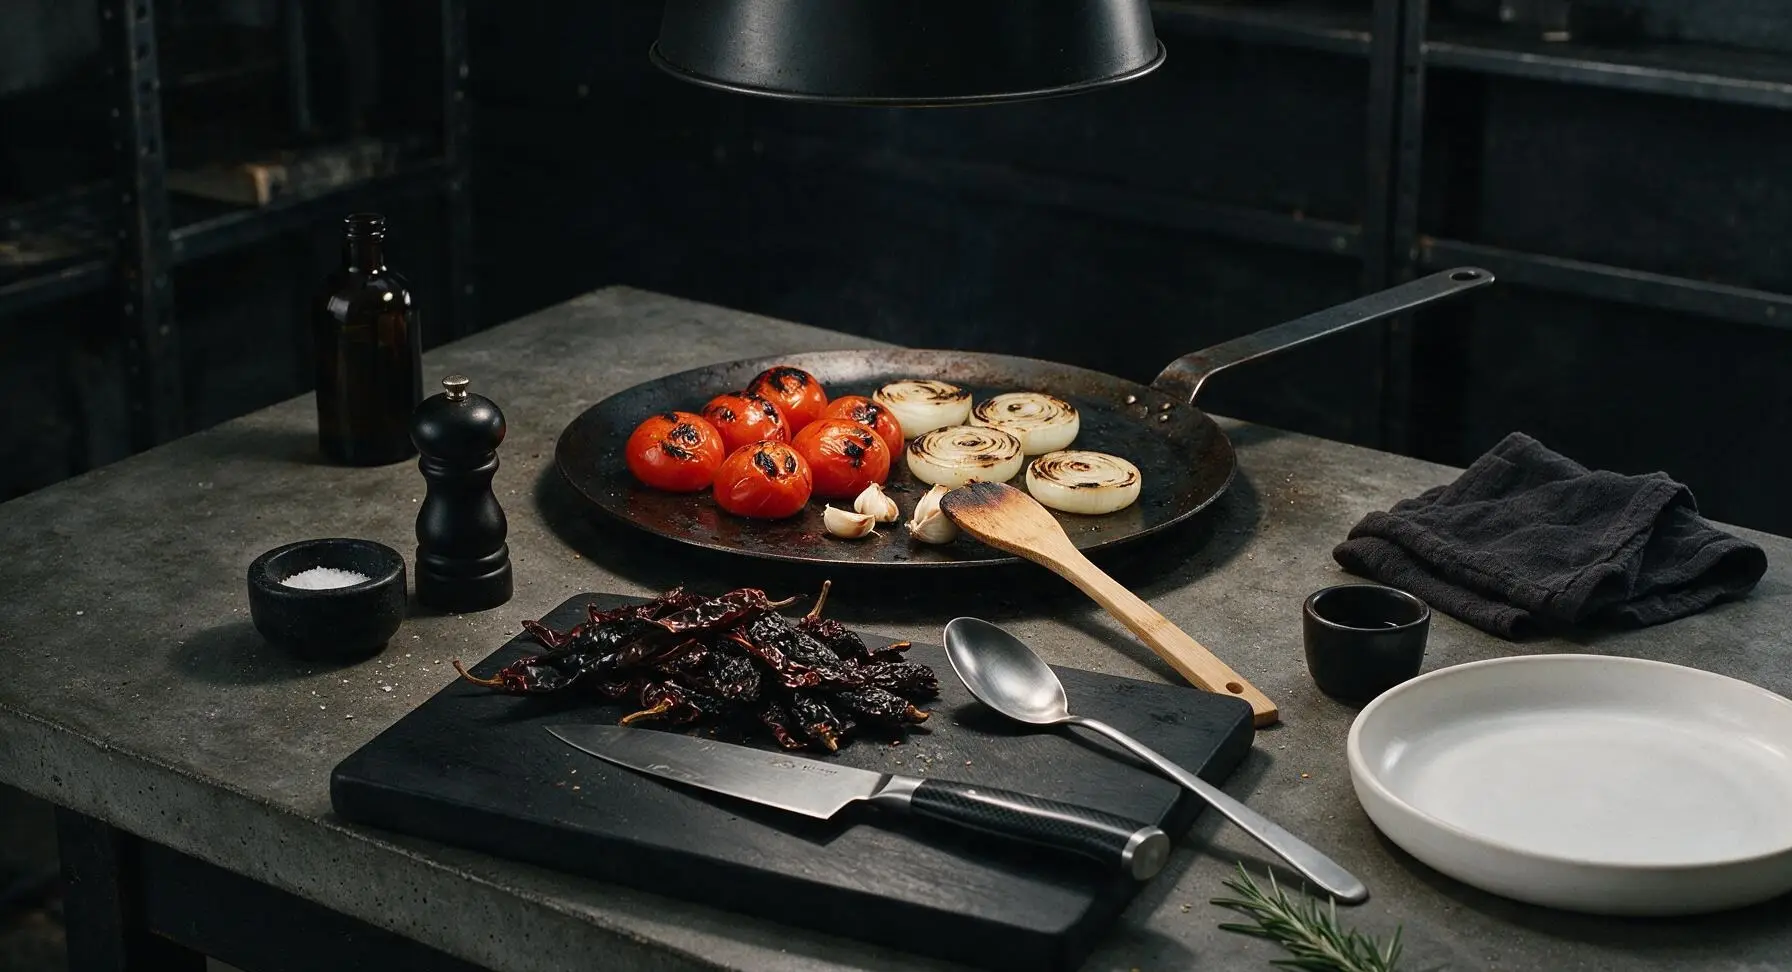
Place the seasoned carbon steel comal at back center of the counter, heat to medium (350°F/175°C). Lay cleaned chiles flat on the hot comal in a single layer, toast for 10-15 seconds per side until they release a warm, nutty aroma and develop faint dark blisters — do not burn them. Move toasted chiles to the edge of the cutting board, then place cored Roma tomatoes, thick onion slices, and unpeeled garlic on the comal. Toast for 8-10 minutes, turning occasionally with the bamboo spoon, until vegetables have soft black char marks on all sides and garlic is soft when gently squeezed.
Step 2
step2:Toast Chiles and Veggies
Step 2
step2:Toast Chiles and Veggies
3

Soften Chiles in Broth

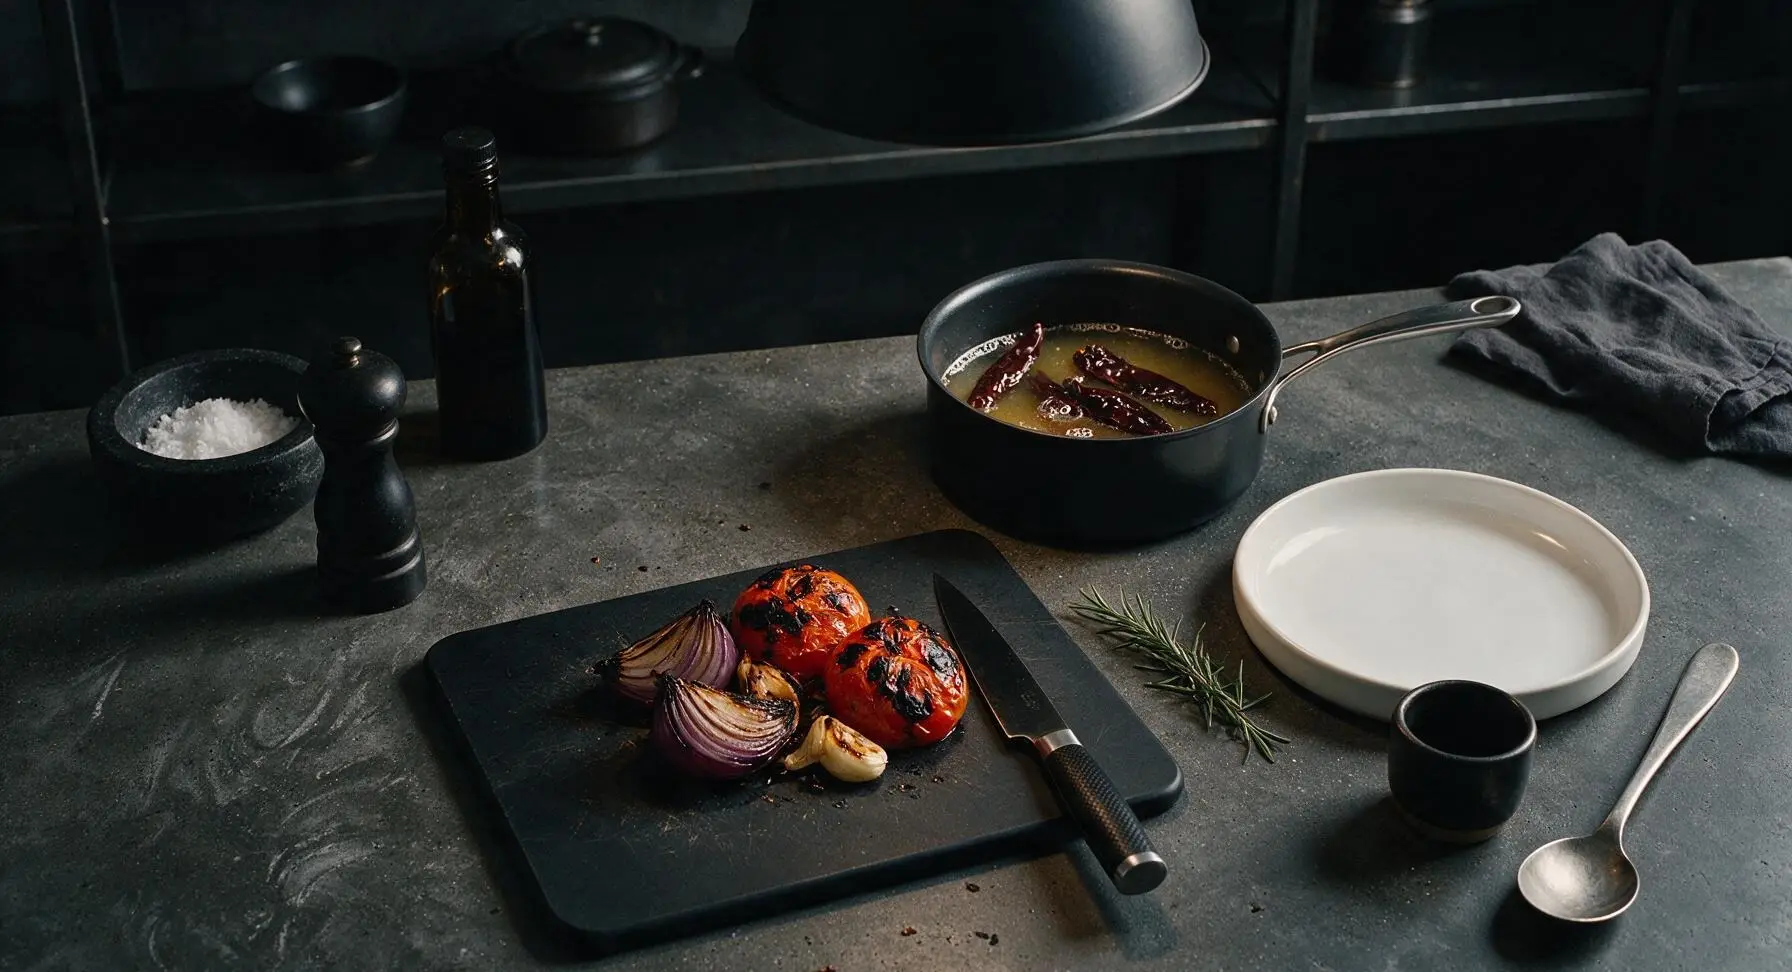
Transfer toasted chiles to the matte black enameled saucepan, place the pan at back right in front of the oil bottle, and pour in 1 cup of chicken broth. Bring to a gentle simmer over medium-low heat (200°F/95°C) — do not boil rapidly. Once small bubbles appear at the pan edges, turn off the heat, cover with the lid, and let chiles soak for 10 minutes until completely soft and pliable. Rapid boiling will make chiles taste harsh and bitter.
Step 3
step3:Soften Chiles in Broth
4

Blend Sauce Until Smooth

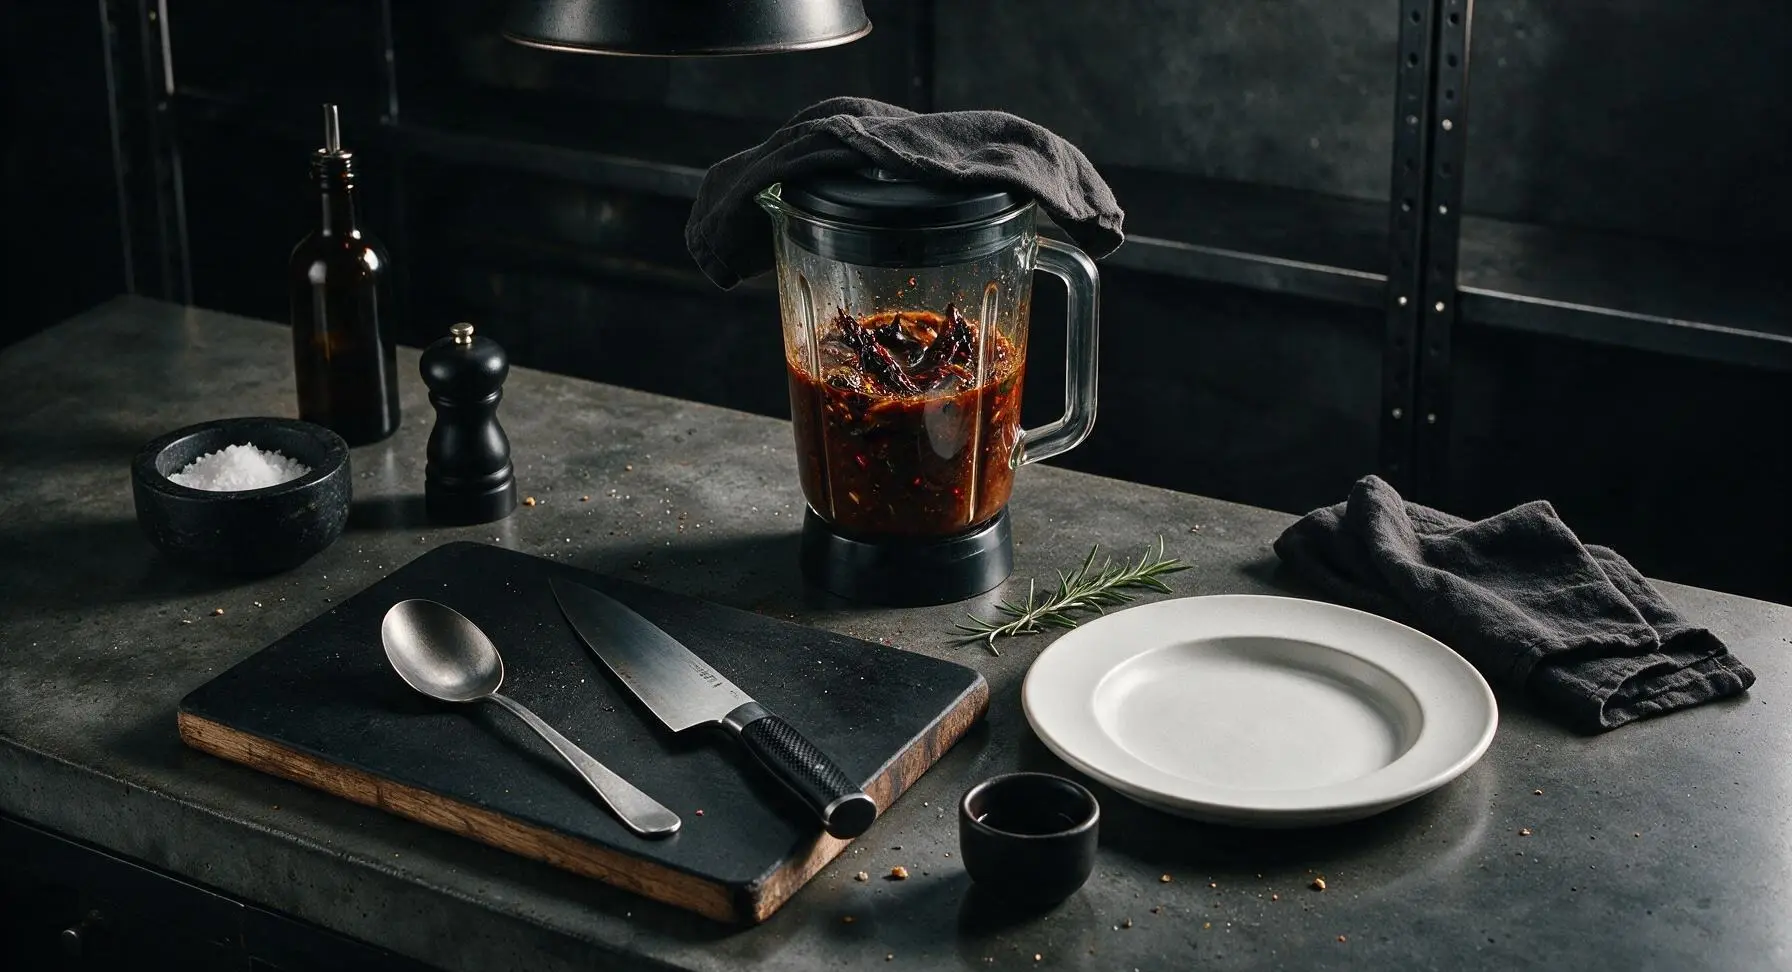
Once chiles are soft, transfer them and their soaking broth to the glass blender jar, set the blender at back center where the comal previously sat. Add charred tomatoes, peeled toasted garlic (squeeze the soft garlic out of its papery skin), charred onion, ground cumin, 1 teaspoon olive oil, and 1/2 teaspoon kosher salt. Secure the blender lid, hold it down with a corner of the striped kitchen towel to prevent hot sauce splatters, and blend on high for 60-90 seconds until completely smooth, with no visible chile skin chunks.
Step 4
step4:Blend Sauce Until Smooth
5

Strain for Silky Texture

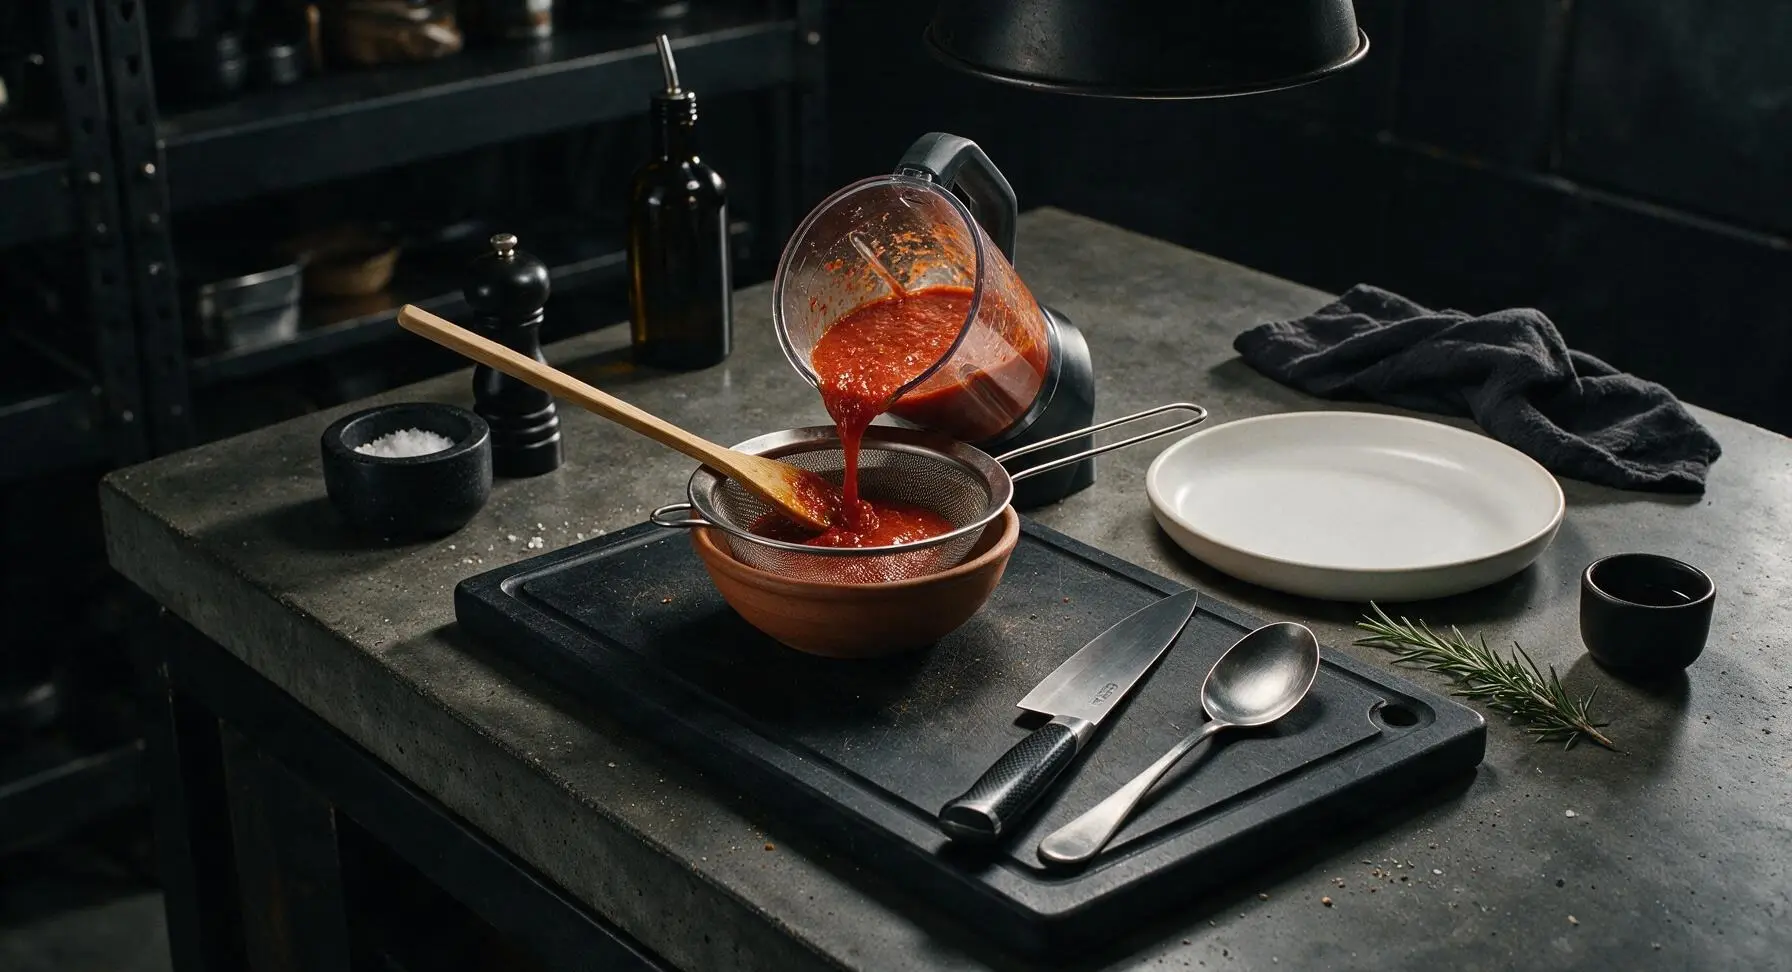
Set the fine-mesh stainless steel strainer across the top of the terracotta serving bowl, placed center on the mesquite cutting board. Pour the blended sauce through the strainer in small batches, using the back of the bamboo spoon to press all smooth liquid through into the bowl, leaving tough chile skins and seed bits behind. Discard the dry, fibrous pulp left in the strainer to eliminate any gritty texture.
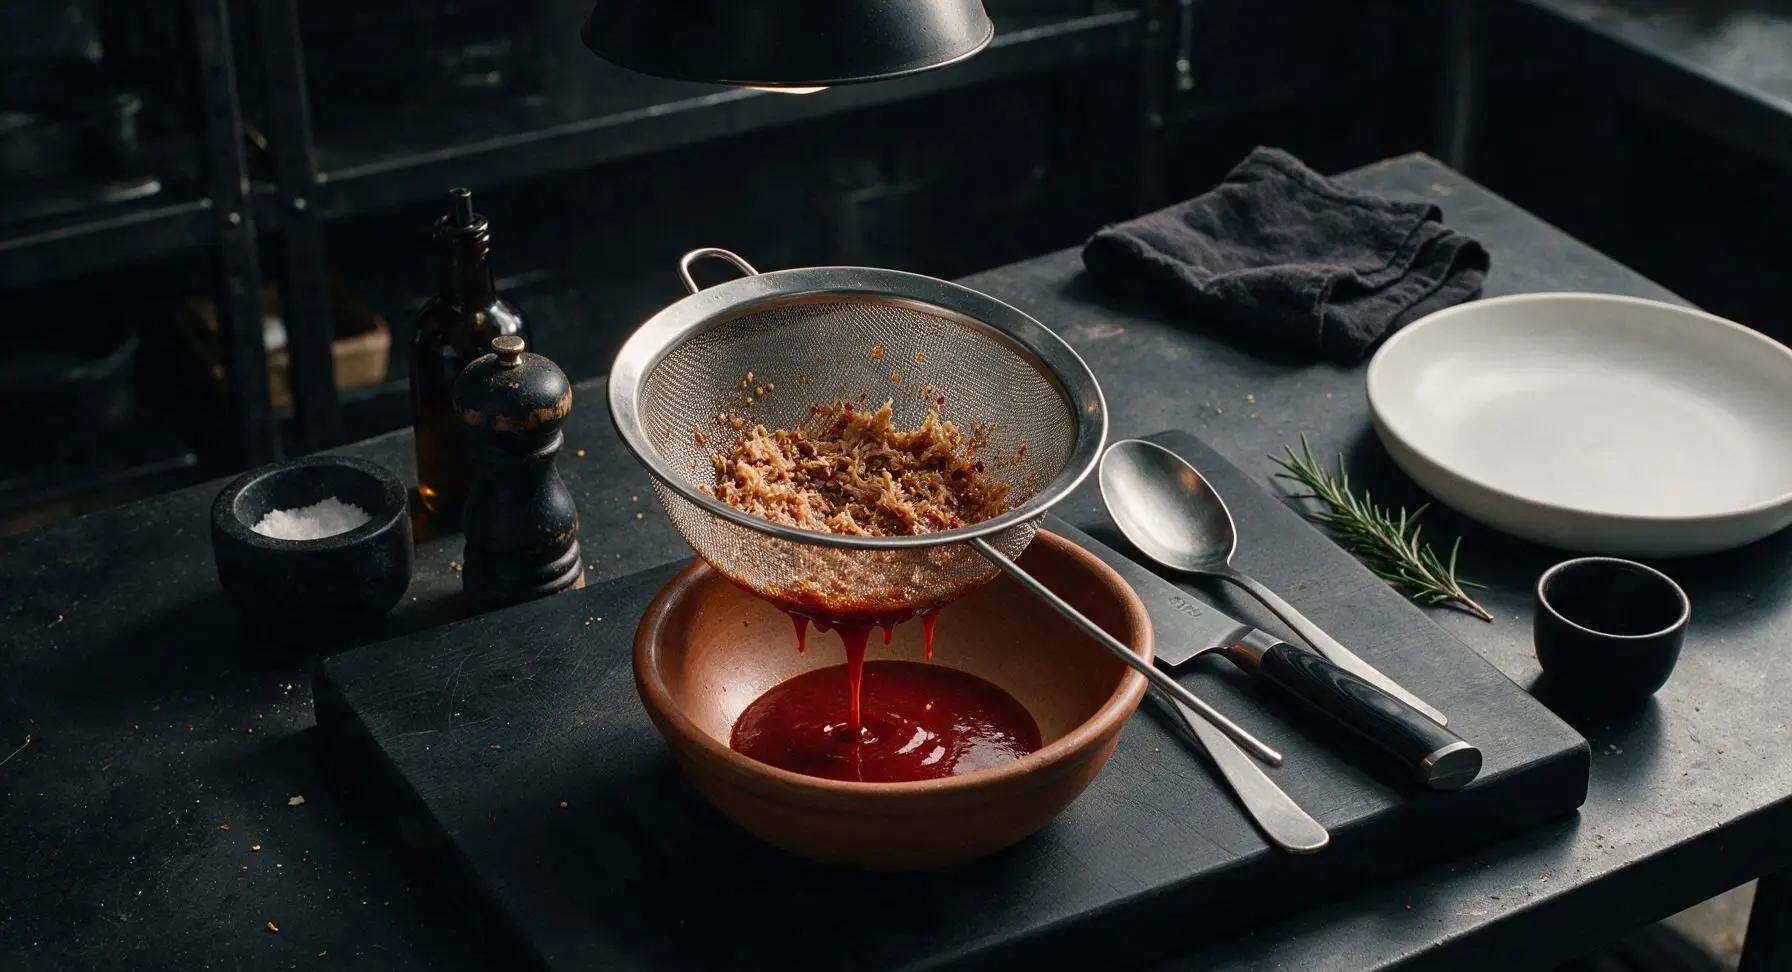
Step 5
step5:Strain for Silky Texture
Step 5
step5:Strain for Silky Texture
6

Simmer to Meld Flavors

Pour the strained sauce back into the clean enameled saucepan, return the pan to its back right cooking spot over medium-low heat. Bring to a gentle simmer, cook for 5 minutes, stirring occasionally with the bamboo spoon, until the sauce thickens slightly to the consistency of heavy cream. Taste and add extra salt as needed — the finished sauce should taste smoky, bright, and mildly warm, not bitter or flat.
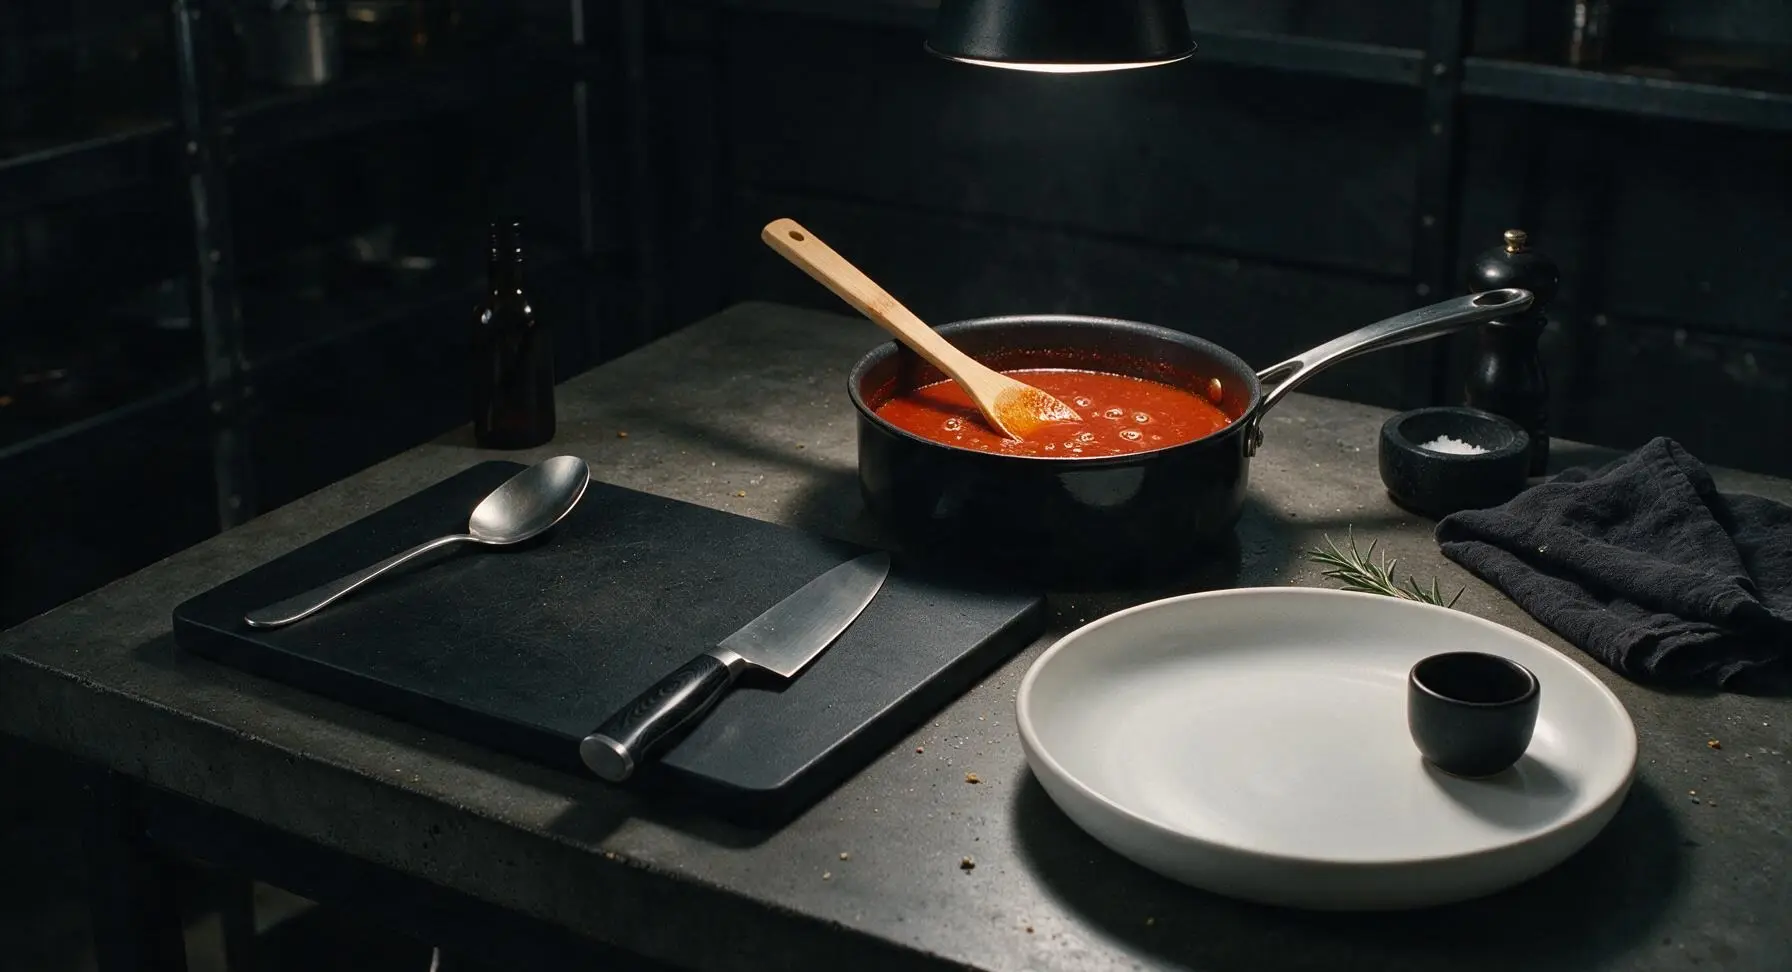
Step 6
step6:Simmer to Meld Flavors
7

Plate and Serve Sauce

Remove the sauce from heat, let it cool for 5 minutes. Pour the finished sauce back into the terracotta serving bowl, garnish with a single cilantro leaf and tiny pinch of flaky salt. Serve warm with tortilla chips, use as a base for enchiladas or chilaquiles, or cool completely and store in an airtight container in the fridge for up to 1 week.
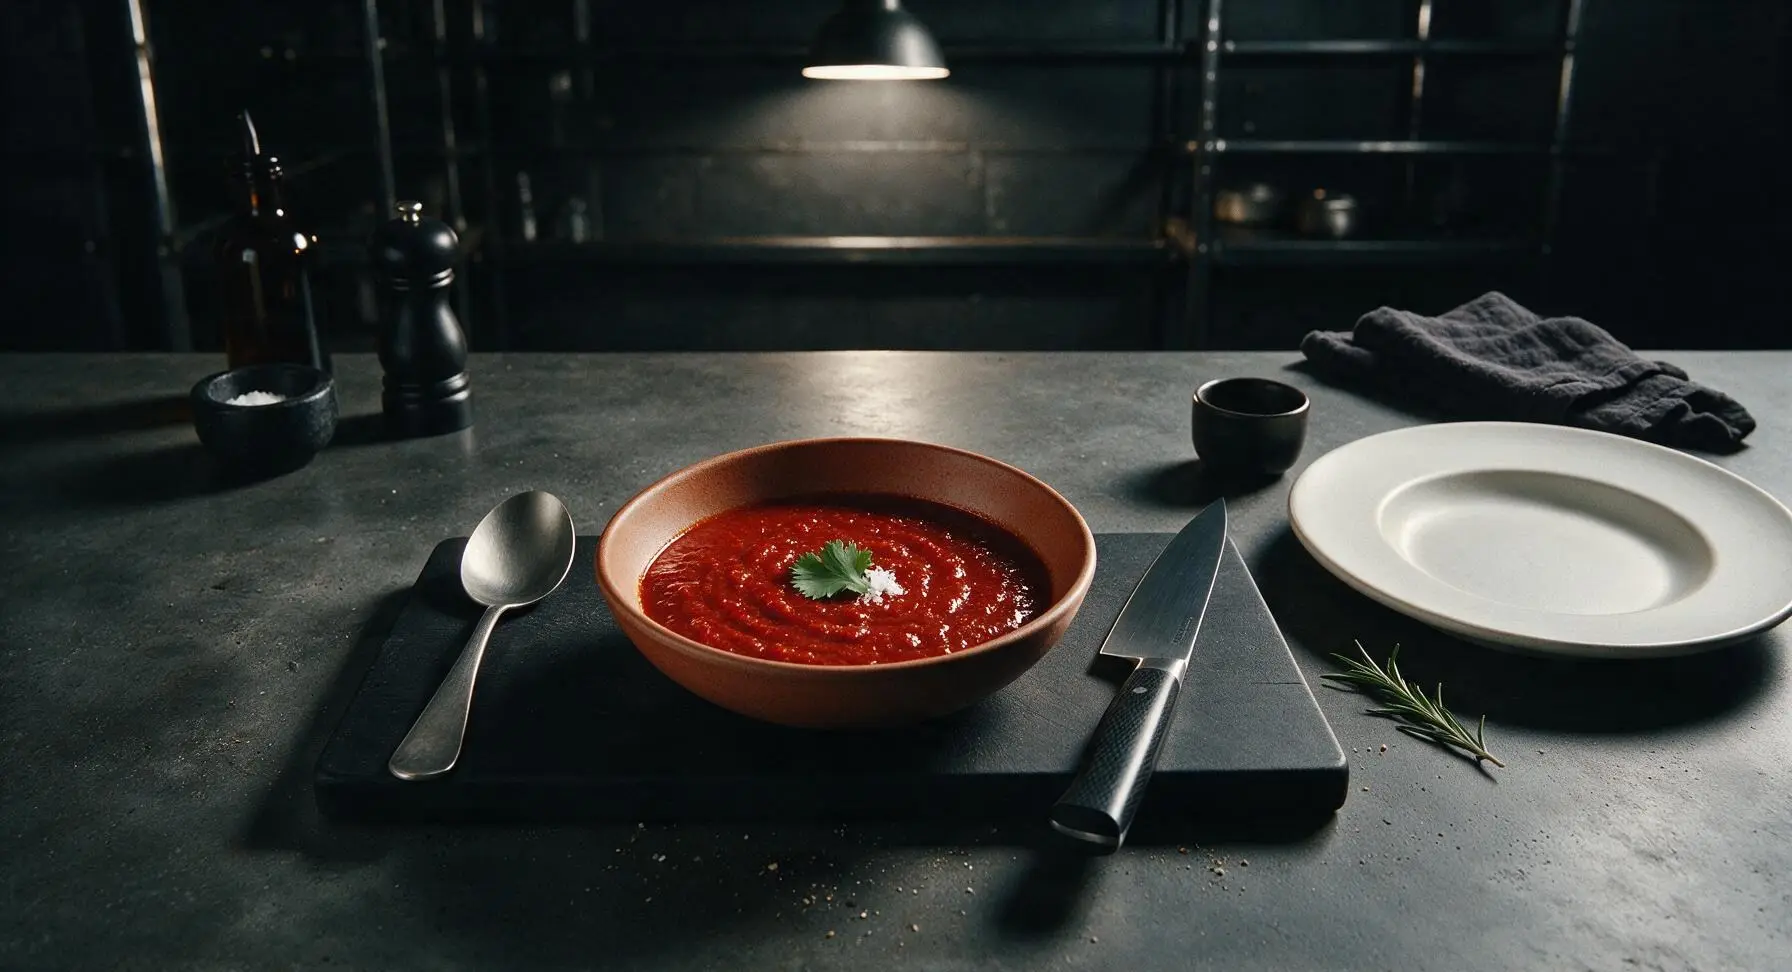
Step 7
step7:Plate and Serve Sauce

Tips

1.Never walk away while toasting dried chiles: they can burn in as little as 2 seconds over high heat, and burnt chiles will give the entire sauce an unpleasantly bitter, acrid flavor that cannot be fixed by adding extra salt or other ingredients.
2.Soften chiles in gently simmering (not rapidly boiling) broth: boiling chiles leaches out harsh, bitter compounds too quickly, leading to a flat, sharp-tasting sauce instead of the deep, rounded smoky flavor that defines good salsa roja.
3.Don’t skip the straining step: even high-powered blenders leave tiny, gritty bits of tough chile skin in the sauce; a quick pass through a fine-mesh strainer creates the silky, smooth texture you find in authentic Mexican restaurants.


✨ You May Also Like

Side Dishes
🍜 India

Velvety, aromatic all-purpose curry sauce perfect for tossing with roasted veggies, grilled protein, or rice for fast, cozy, flavorful meals.

⏱️ 25 minuteSide Dishes ★ 4.8
Side Dishes
🍜 Spain

Tender, starchy boiled yuca tossed in bright, garlicky citrus mojo sauce—an iconic, zesty side that pairs beautifully with roasted pork, grilled meats, and rice and beans.

⏱️ 40 minuteSide Dishes ★ 5
Side Dishes
🍜 United States

Tender, paper-thin potato flatbread, a beloved Norwegian-American Minnesota Christmas staple, griddled until softly spotted and served warm with butter.

⏱️ 1 hour 30Side Dishes ★ 4.6
Side Dishes
🍜 United States

Rich, deeply savory cured salt pork, a long-lasting kitchen staple perfect for frying crispy as a side or adding umami to stews, beans, and chowders.

⏱️ 7 days (2Side Dishes ★ 4.9
Side Dishes
🍜 United States

Crispy, tangy classic Southern fried green tomatoes with a crunchy cornmeal crust, served hot for a nostalgic, comforting summery bite.

⏱️ 25 minuteSide Dishes ★ 4.9
Side Dishes
🍜 United States

Moist, golden-crusted savory muffins with sweet corn, zesty jalapeño, and melted cheddar, perfect for pairing with smoky summer grilled fare.

⏱️ 30 minuteSide Dishes ★ 4.9

mexican red sauce:Frequently Asked Questions

1.What makes this salsa roja taste authentic compared to store-bought versions? ▾
This version gets its genuine, home-style flavor from toasting whole dried chiles and charring fresh tomatoes and onion instead of relying on pre-ground chile powder or jarred mixes, just like home cooks across Mexico make it. It balances smoky, slightly sweet, gently spicy notes without the added stabilizers, excess vinegar, or flat, one-note heat common in mass-produced store-bought salsa roja.
2.Can I skip toasting the dried chiles, or is that step required? ▾
Don’t skip that quick toast! It only takes 30 to 45 seconds per side over medium heat in a dry skillet, and it unlocks the chiles’ rich, smoky, nutty oils that give the sauce deep, layered flavor instead of a flat, dull taste. Just watch closely—chiles burn fast, and burnt chiles will make the whole sauce taste bitter and acrid, so pull them as soon as you smell their warm aroma.
3.How do I adjust the heat level of this salsa roja to suit my taste? ▾
Heat is super easy to tweak! For milder sauce, remove all the seeds and inner white veins from the árbol chiles, or cut the number of árbol chiles in half. For extra heat, leave the árbol seeds and veins in, or add 1 to 2 extra dried árbol chiles. Guajillo and ancho chiles are very mild, so adjusting those won’t move the heat needle much.
4.What’s the best way to rehydrate dried chiles for the smoothest sauce? ▾
After toasting, stem and seed the chiles, then submerge them fully in just-boiled water for 15 to 20 minutes until they’re completely soft and pliable. For extra depth, you can rehydrate them in simmering chicken or vegetable stock instead of water, but skip soaking longer than 25 minutes—over-soaked chiles leach out flavor and can turn the sauce watery or bitter.
5.Can I substitute other dried chiles if I can’t find guajillo or ancho chiles? ▾
If you can’t find guajillo chiles, swap them for an equal amount of dried pasilla chiles for a similar earthy, mild profile. If ancho chiles are out of stock, use dried mulato chiles for a matching rich, slightly sweet, raisiny note. Avoid substituting generic grocery store chili powder for whole dried chiles—it has added cumin and garlic that throw off the classic flavor balance.
6.Do I need to peel the Roma tomatoes before blending the sauce? ▾
You don’t have to, but peeling them will give you the silkiest, restaurant-smooth texture. The easiest way is to char tomatoes directly on a comal or gas burner until skins blacken and blister, then slip skins off once cool enough to handle. If you don’t mind a slightly rustic, textured sauce, leave skins on and just blend a little longer to break them down.
7.Why does my salsa roja taste bitter, and how can I fix it? ▾
Bitterness almost always comes from one of two missteps: you burned the chiles during toasting, or left too many tough inner chile veins in the mix. To fix a slightly bitter batch, stir in a tiny pinch of sugar, a teaspoon of lime juice, or a small roasted carrot to balance flavor as you blend. Next time, toast chiles just until fragrant and scrape out all pale inner veins before rehydrating.
8.How long will homemade salsa roja last in the refrigerator? ▾
Stored in a tightly sealed, airtight glass jar or container, this salsa roja will stay fresh for up to 1 week in the fridge. Make sure to let it cool completely to room temperature before sealing and storing, because trapped condensation from warm sauce speeds up spoilage and makes the sauce separate faster. Give it a quick stir before using if it separates a little in the cold.
9.Can I freeze this salsa roja for later use? ▾
Absolutely! This salsa roja freezes beautifully for up to 6 months without losing its rich flavor or smooth texture. Portion it into 1-cup freezer-safe bags or ice cube trays for easy, small-batch use, and squeeze out all excess air before sealing to prevent freezer burn. Thaw it in the fridge overnight, or reheat gently in a small skillet straight from frozen for quick weeknight meals.
10.What dishes can I use this salsa roja for, besides dipping tortilla chips? ▾
This is a true workhorse kitchen staple! Toss it with fried tortilla pieces for chilaquiles, ladle it over rolled tortillas and cheese for enchiladas, spoon it over tacos, tostadas, or huevos rancheros, mix it into shredded chicken or pork for taco fillings, or thin it with a little broth to make a quick base for tortilla soup. It’s far thicker than thin, chip-only table salsa.
11.Do I need to cook the sauce after blending it, or can I eat it straight from the blender? ▾
Always give the blended sauce a quick 8 to 10 minute simmer in a small saucepan over medium-low heat after blending. This step cooks out the raw, sharp edge from the onion and tomatoes, melds all the chile flavors together, and thickens the sauce to the perfect rich, coating consistency. Skipping the simmer will leave you with a thin, sharp-tasting sauce that doesn’t hold up well on cooked dishes.
12.Can I make this salsa roja if I don’t have a high-speed blender? ▾
You definitely don’t need a fancy high-speed blender! A regular countertop blender works perfectly as long as you fully rehydrate your chiles until they’re completely soft. For extra-smooth results without a high-powered machine, pour the blended sauce through a fine-mesh sieve to catch any tiny tough chile skins or seed bits before simmering. A food processor also works, though it yields a slightly more rustic texture.
13.What’s the difference between this salsa roja and restaurant-style red table salsa? ▾
This salsa roja is thicker, richer, and more deeply flavored than thin, bright table salsa meant only for chip dipping. Table salsa usually uses more fresh raw chiles, extra lime, and cilantro, and is barely cooked, while this version relies on rehydrated dried chiles, charred vegetables, and a post-blend simmer to create a thick, sauce-like consistency that works for cooking as much as dipping.
14.Should I add garlic or cilantro to this salsa roja? ▾
Classic home-style salsa roja often skips heavy add-ins to let the chile and tomato flavor shine, but you can absolutely add 2 to 3 roasted garlic cloves to the blender if you love that warm garlic note. Hold off on adding cilantro, though—cilantro turns bitter when simmered, so if you want that fresh herby note, stir in a handful of chopped cilantro right before serving, rather than blending it in.
15.Why is my salsa roja watery, and how do I thicken it? ▾
Watery salsa roja usually comes from over-soaking chiles, using extra-juicy under-ripe tomatoes, or skipping the post-blend simmer. To thicken a thin batch, let it simmer uncovered for an extra 5 to 10 minutes, stirring occasionally, to cook off excess water. Next time, pat rehydrated chiles dry before blending, and use ripe but firm Roma tomatoes, which have less water content than slicing tomatoes like beefsteak.
16.Can I make this salsa roja with canned tomatoes instead of fresh Roma tomatoes? ▾
You can! If fresh Roma tomatoes are out of season or taste bland, swap them for an equal amount of fire-roasted canned whole tomatoes, drained of about half their packing juice. Canned fire-roasted tomatoes actually have a nice charred, sweet flavor that works beautifully here, just avoid canned tomatoes with added Italian seasonings, garlic, or sugar, which clash with the classic chile-forward flavor.
17.Do I need special Mexican kitchen tools like a comal to make this recipe? ▾
Nope, no specialty equipment is required! You can toast chiles and char tomatoes and onion in a regular dry cast-iron or stainless steel skillet if you don’t have a comal, and you don’t need a tortilla press at all for this sauce. The only tools you actually need are a skillet, a blender, and a small saucepan to simmer the finished sauce—no fancy gear required.
18.How spicy is this salsa roja when made with the listed ingredients? ▾
When made with the standard ratio of guajillo, ancho, and árbol chiles, this salsa roja lands at a mild to medium heat level, around a 3 or 4 out of 10. The guajillo and ancho chiles add deep, fruity, smoky flavor with almost no heat, and the small amount of árbol chiles adds a gentle, slow-building warm tingle rather than sharp, burning heat.

Comments (9)

2 days ago

OMG this salsa roja is a total game changer! I made it for taco night last night and my whole family was raving. I used fire roasted tomatoes like the recipe says and it had that perfect deep, smoky flavor I’ve been chasing from my local taqueria for years. So easy too, I had it done in way less than 25 minutes even with pausing to help my kid with homework.

1 day ago

Wait did you toast the chiles first? I skipped that step the first time I made a similar salsa and it was totally flat, curious how big of a difference it makes here!

1 day ago

Great question! Toasting the dried chiles for 30-45 seconds per side really amplifies their nutty, smoky notes, but if you’re short on time you’ll still get a delicious sauce with the fire roasted tomatoes! So glad you loved it, Mia!

1 week ago

Made this for our neighborhood potluck last weekend and people were literally asking me for the recipe before they even finished their first taco. It’s got just the right amount of kick, not too spicy for people who can’t handle heat but enough zing to feel authentic. 10/10 will be making this a weekly meal prep staple from now on.

5 days ago

Super easy recipe! I will say I added a tiny extra pinch of cumin and a splash of lime at the end because I love that bright citrus kick, but the base recipe is perfect. My 7 year old who refuses all veggies dipped three whole tortilla chips in this before dinner even started, win for mom!

4 days ago

Love that lime addition! A little fresh citrus right at the end really makes all the flavors pop, smart call. So happy your kiddo enjoyed it!

3 days ago

Really solid salsa roja! Only reason I’m not giving 5 stars is I found it a little thinner than I prefer, so next time I’ll probably drain a bit of the liquid from the canned tomatoes before blending. Flavor is spot on though, tastes exactly like the salsa they serve at my favorite Mexican spot back home.

2 days ago

Oh I had the same issue my first batch! I tossed in a couple extra roasted tomatillos and it thickened right up while adding a little extra tang, chef’s kiss.

2 days ago

Thanks for the feedback, Rob! Draining a bit of the tomato liquid (or simmering the sauce a couple extra minutes after blending) is a great fix for a thinner consistency. So glad the flavor hit the mark for you!

2 weeks ago

SO good! I made a double batch on Sunday and have been using it on everything all week – eggs for breakfast, burrito bowls for lunch, even tossed it with some shredded chicken for quick tacos last night. Freezes really well too, I popped half in a freezer bag for busy weeks later this month. Total keeper.

30 minutes ago

I’m so excited to make this! Quick question before I run to the store for chiles: has anyone tried making this with fresh tomatoes instead of canned? I have a ton of ripe romas from my garden right now and want to use them up before they go bad!

10 minutes ago

I did that last month! Just roast your romas under the broiler for 5-6 minutes until the skins are charred, and it comes out even better than canned in my opinion. So good with garden fresh produce!

yesterday

As someone who grew up eating my abuela’s salsa roja, I was skeptical this would live up to the hype, but wow – this is legit! The balance of chile, garlic, and tomato is exactly right, no weird added spices or sugar like so many other online recipes. Made it for my roommates last night and they thought I ordered takeout from the place down the street, lmao.

12 hours ago

Omg same! I’ve tried so many bad salsa recipes that taste like jarred pasta sauce, this one actually tastes like the real deal. I was shocked how easy it was too!

10 hours ago

That is the highest compliment, Carlos! So happy we could help you replicate that homemade, authentic flavor without any extra filler. Tell your roommates we said you’re a great cook 😉

5 minutes ago

If you love extra heat like I do, add two arbol chiles in with the guajillos! I did that last night and it had the perfect slow burn that didn’t overpower the other flavors. This recipe is such a great base to tweak to your own taste, love it.

2 minutes ago

Love that spicy hack! Arbol chiles are such a great addition for folks who want an extra kick – thanks for sharing that tip with other readers!

just now

My kids loved it! I was worried it would be too spicy for them so I only used one guajillo chile and left out the arbols entirely, and they were dipping everything in it – veggies, chips, even their pizza rolls, ha. So quick to throw together even on chaotic school nights, this is going into our regular dinner rotation for sure.



