
Mirin Burnt Ends
intro
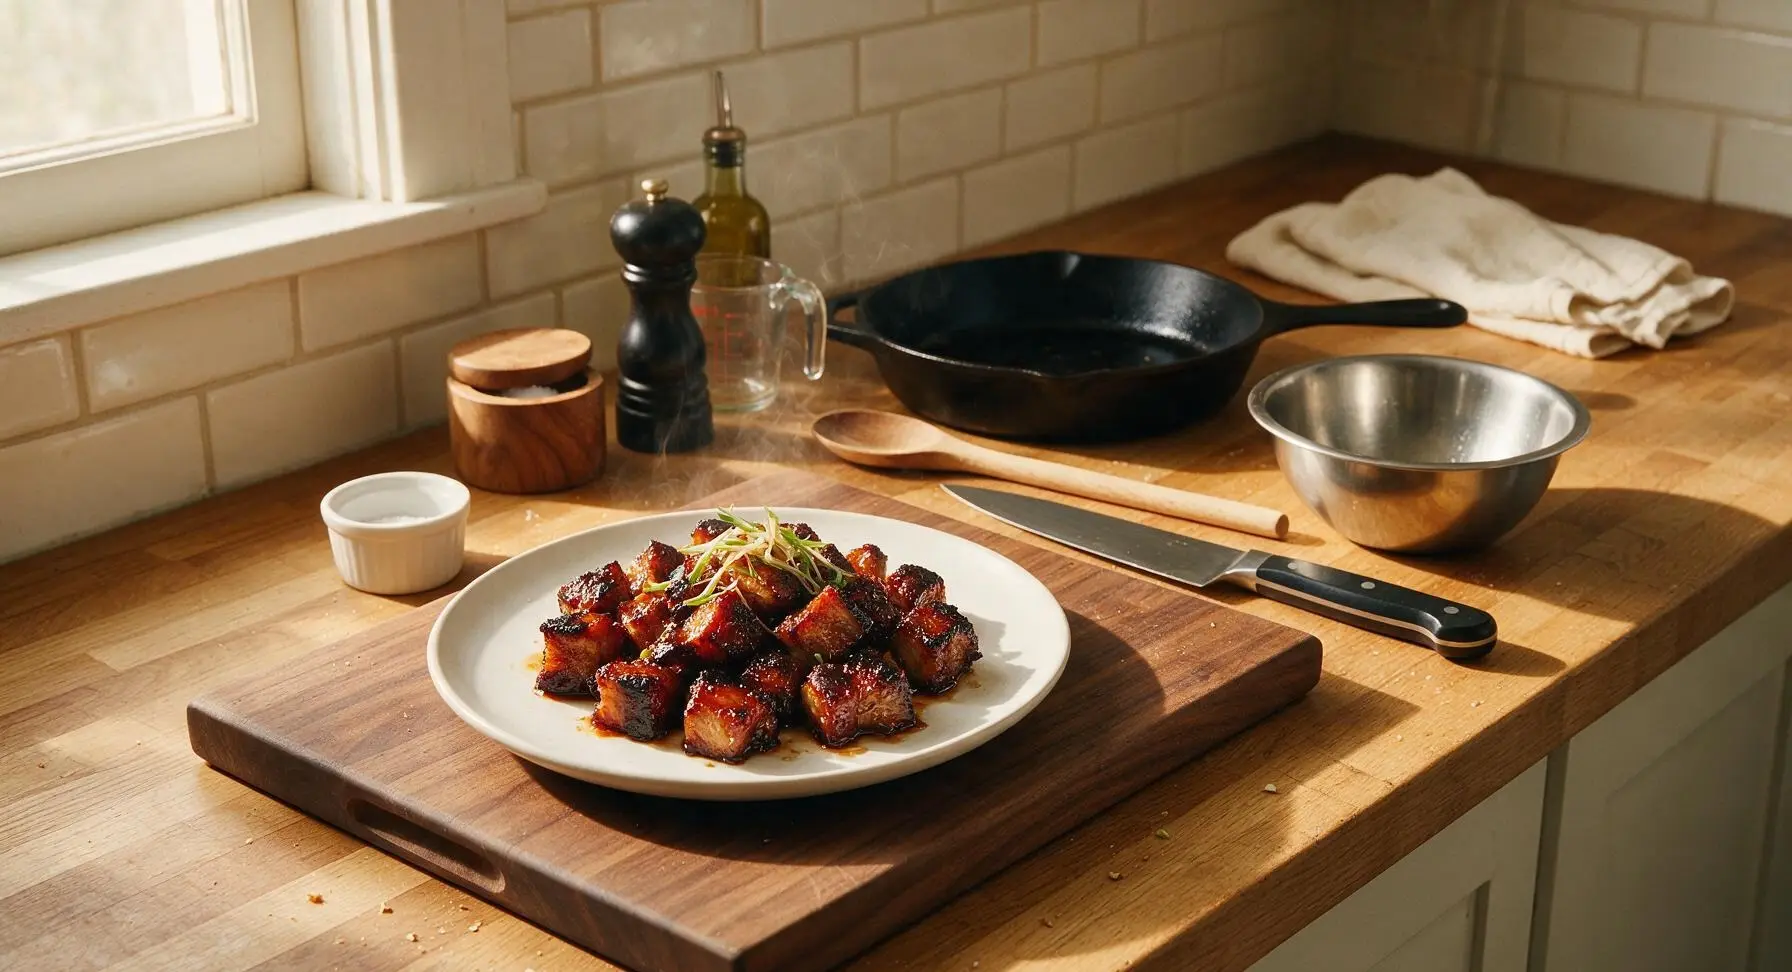
Sticky, caramelized pork belly burnt ends glazed with sweet-savory mirin, boasting crispy bark and melt-in-your-mouth centers, perfect for summer backyard cookouts.
Ingredients
Steps
Trim Pork Belly
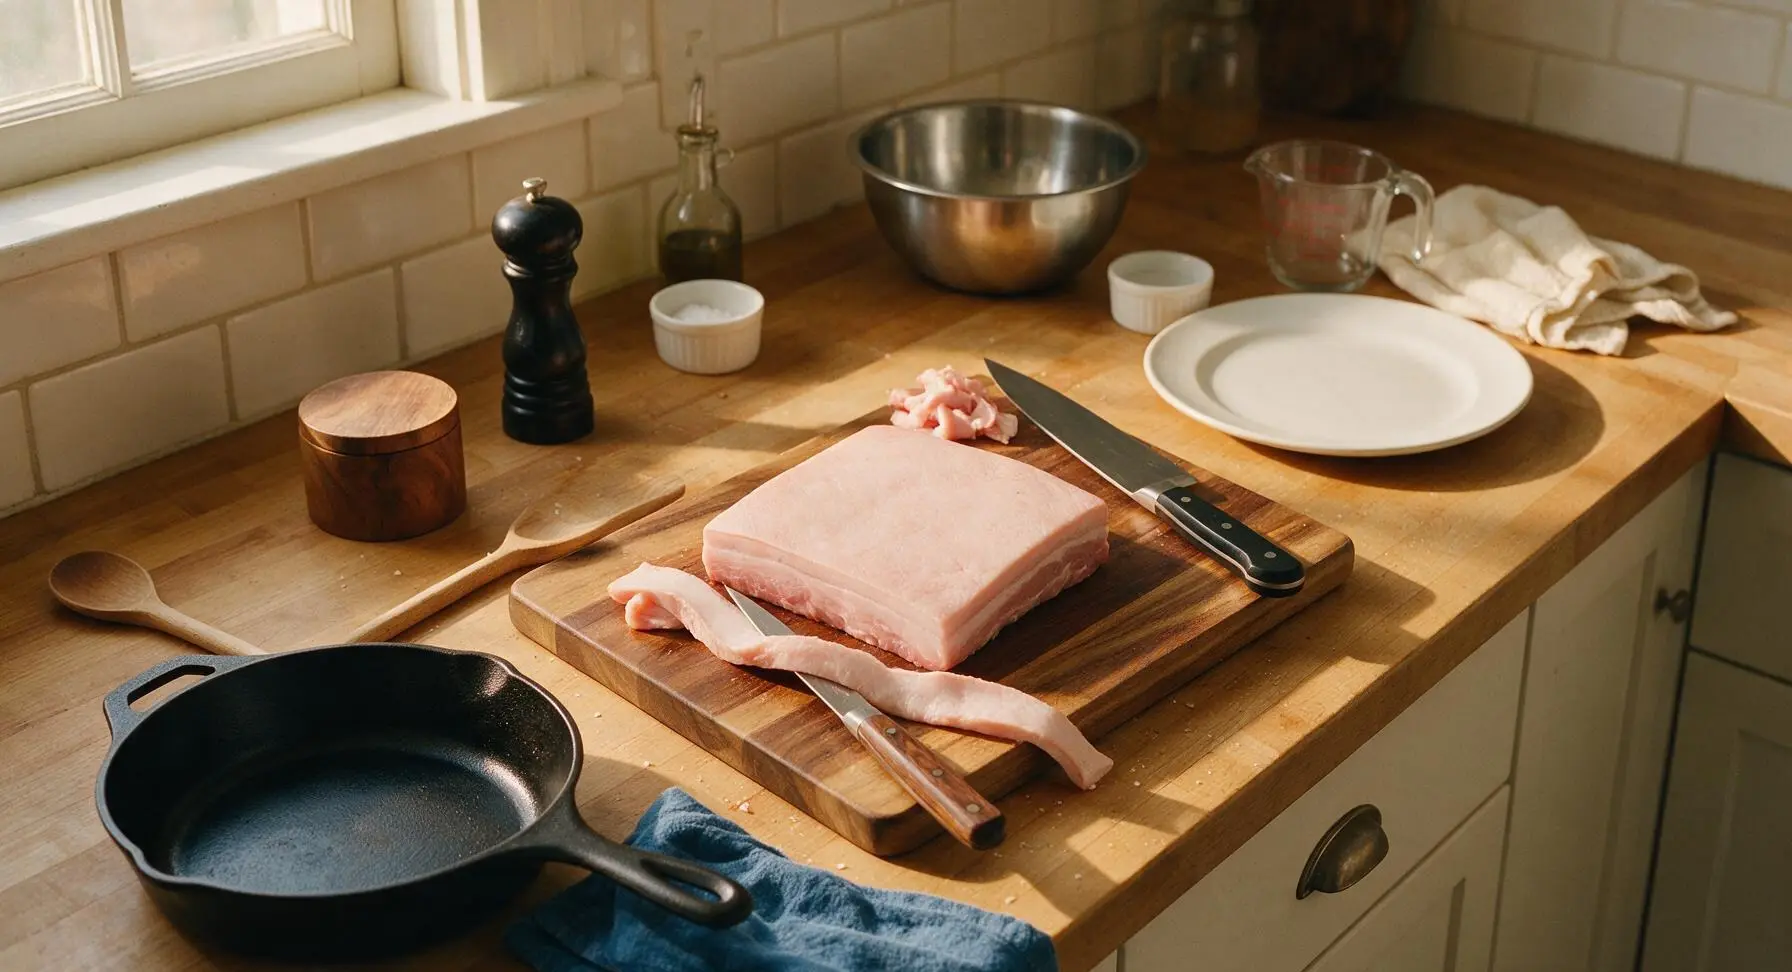
Place the 1kg skinless pork belly block on the acacia wood cutting board. Use the 8-inch walnut-handled boning knife to trim any excess loose fat or silver skin from the surface, leaving a uniform 1cm thick fat cap across the top. Square off the edges of the pork belly to create an even, rectangular block that will cook uniformly. Pat the entire surface completely dry with the edge of the indigo cotton towel.
Apply Dry Rub
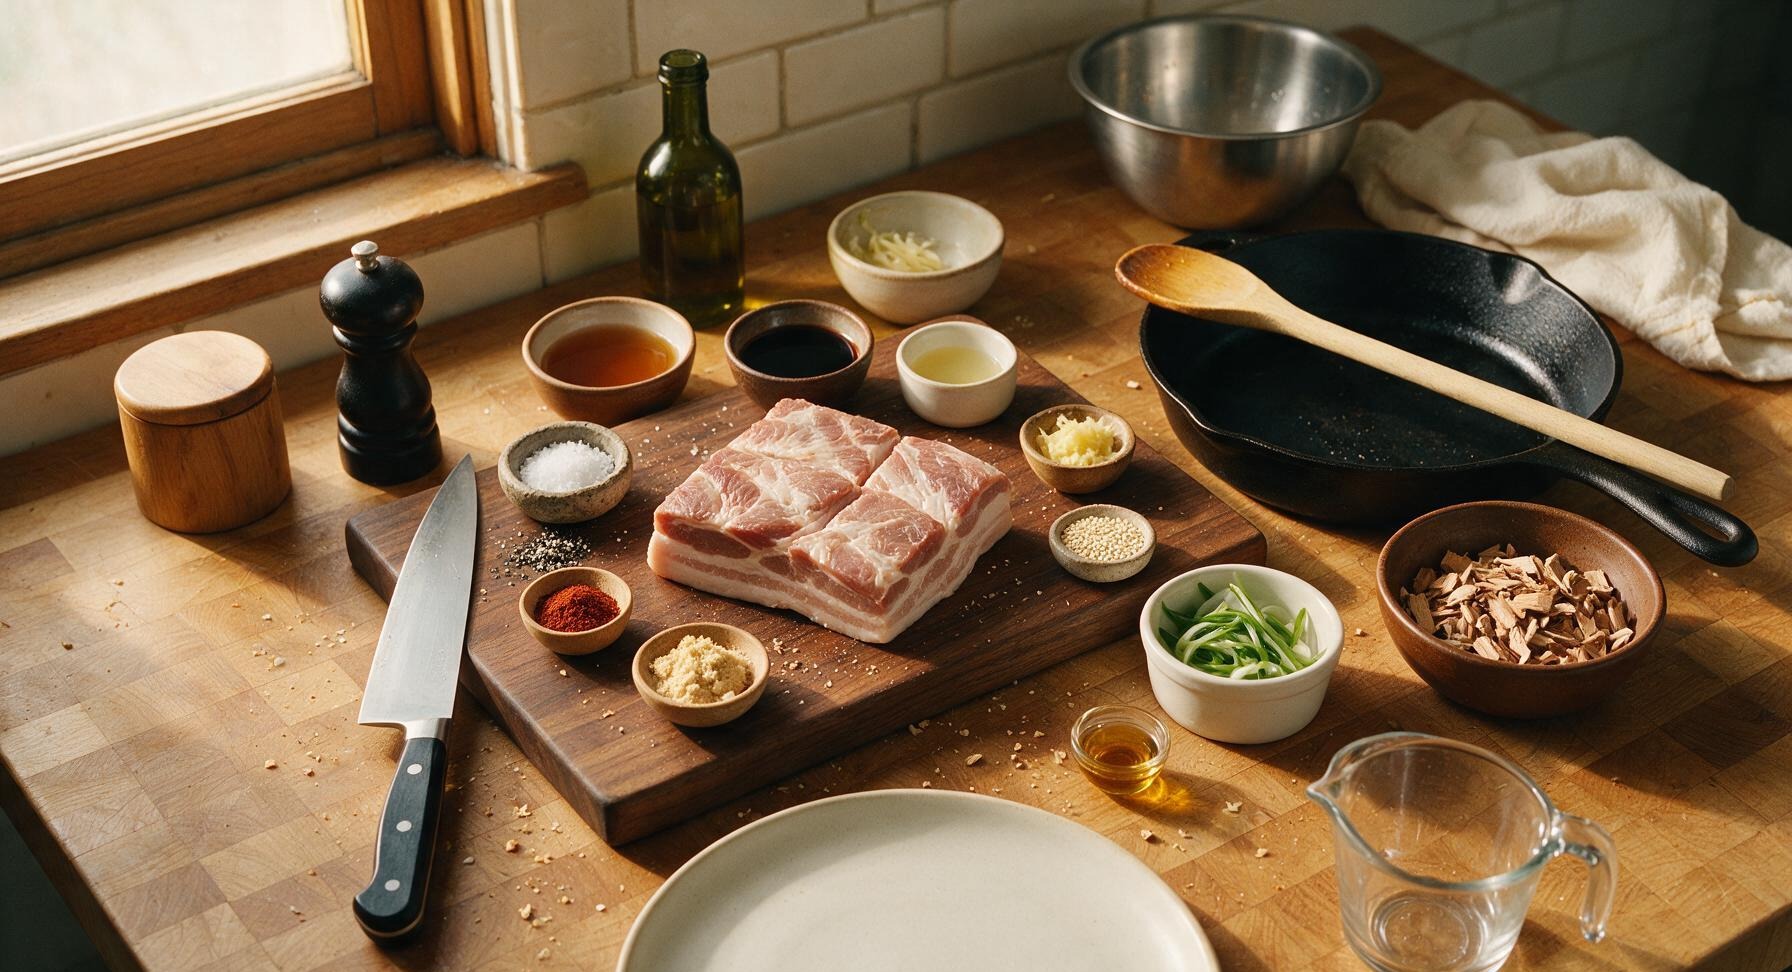
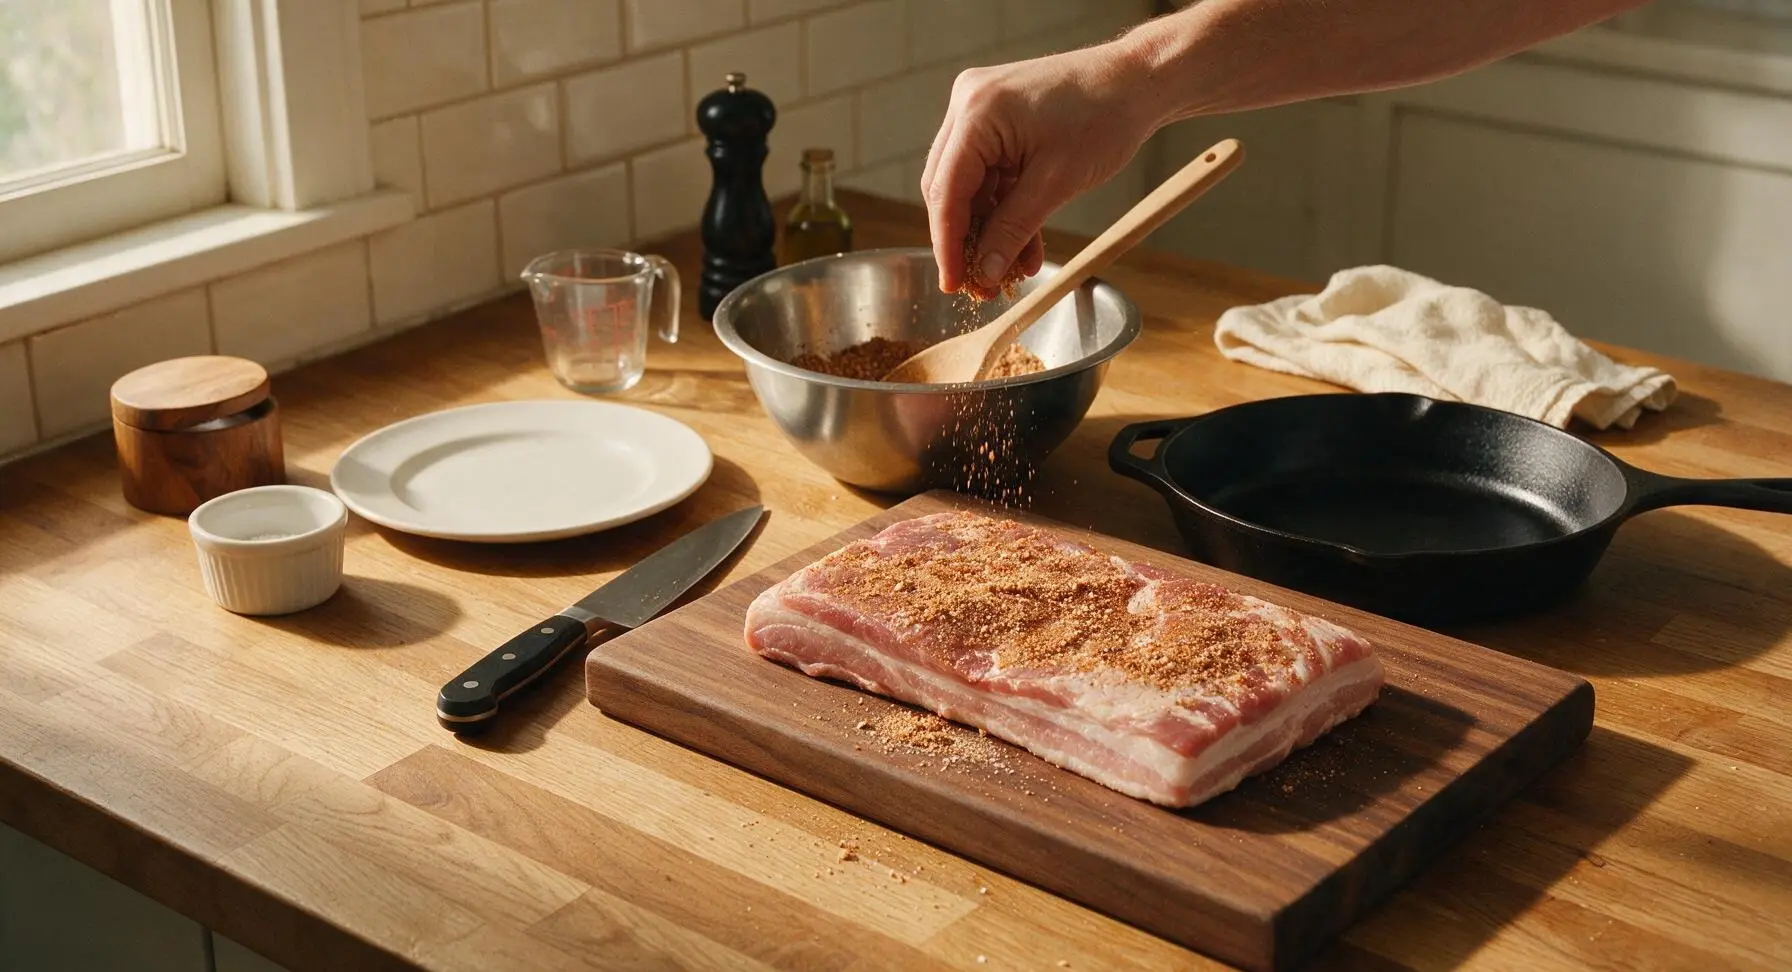
In the medium brushed stainless steel mixing bowl, combine 1 tbsp kosher salt, 1 tbsp cracked black pepper, 1 tsp smoked paprika, 1 tsp garlic powder, and 2 tbsp light brown sugar, stirring until fully blended. Sprinkle the rub evenly across all sides of the trimmed pork belly, pressing gently to adhere the spice mixture to every surface. You should see no bare pink meat remaining once the rub is applied. Let the rubbed pork rest at room temperature for 15 minutes while you preheat your smoker or grill to 120C (250F) for indirect cooking, adding the 2 cups of apple wood chips to the coals or smoker box once preheated.
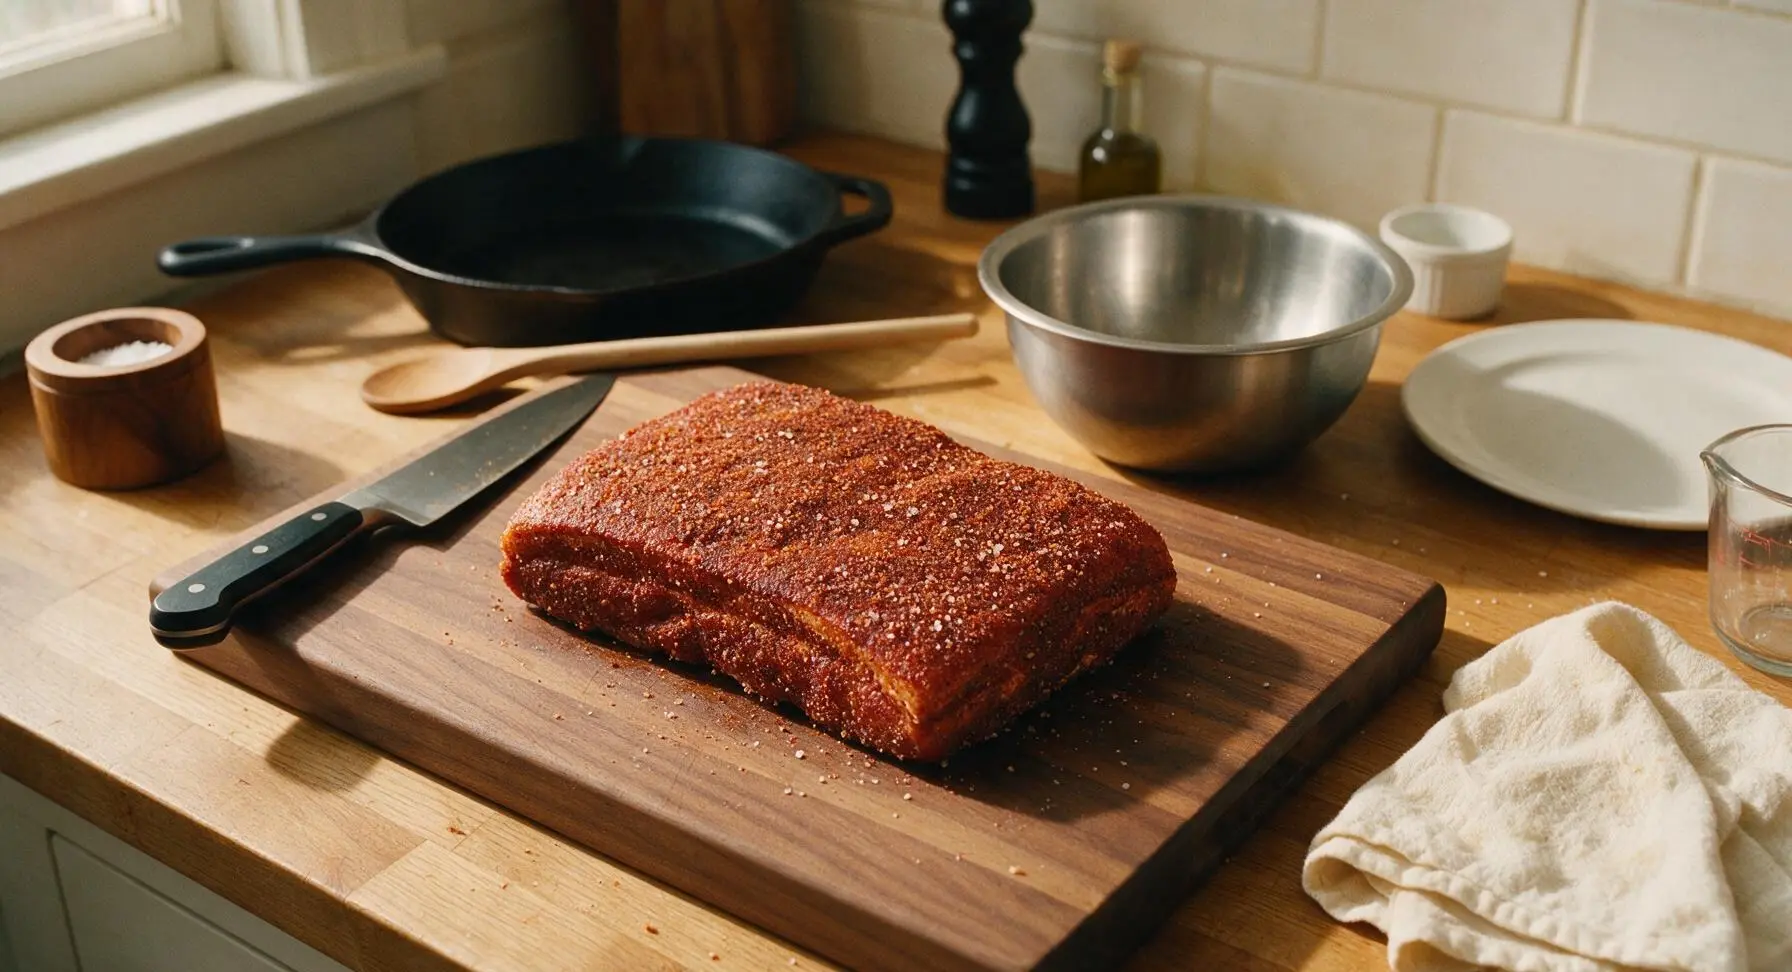
Smoke Pork Belly Low-Slow
Use the stainless steel BBQ tongs to place the rubbed pork belly fat-side up on the indirect heat side of the preheated grill/smoker. Close the lid and smoke for 2 hours, maintaining a consistent temperature of 120C (250F), until the exterior develops a dark, firm bark and the internal temperature reads 75C (165F) when checked with the digital instant-read thermometer. Do not open the grill lid unnecessarily during this cook time to maintain consistent temperature and smoke levels.
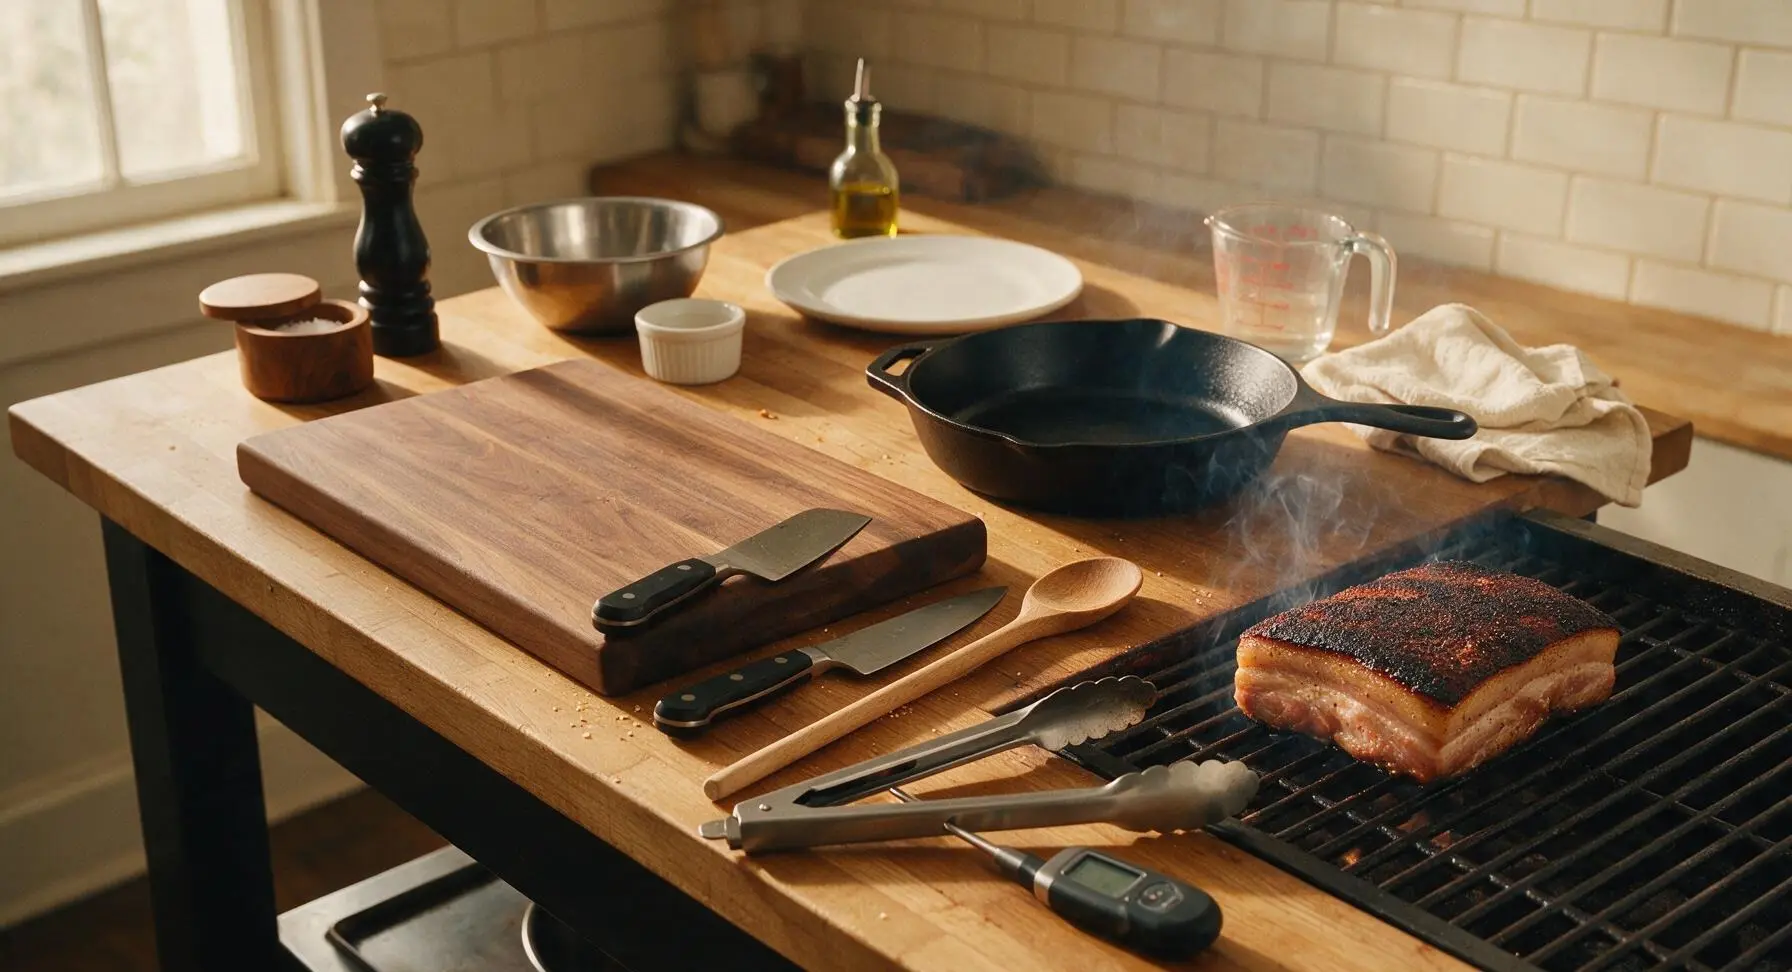
Cook Mirin Glaze
While the pork belly smokes, place the small 1L stainless steel saucepan on the grill side burner (or stovetop at medium-low heat). Add 120ml mirin, 60ml low-sodium soy sauce, 1 tbsp grated fresh ginger, 1 tbsp rice vinegar, and 1 tsp toasted sesame oil to the pan. Simmer the mixture for 8-10 minutes, stirring occasionally with the silicone basting brush, until it reduces by roughly one third and coats the back of a spoon with a thick, syrupy consistency. Remove the glaze from heat and set aside.
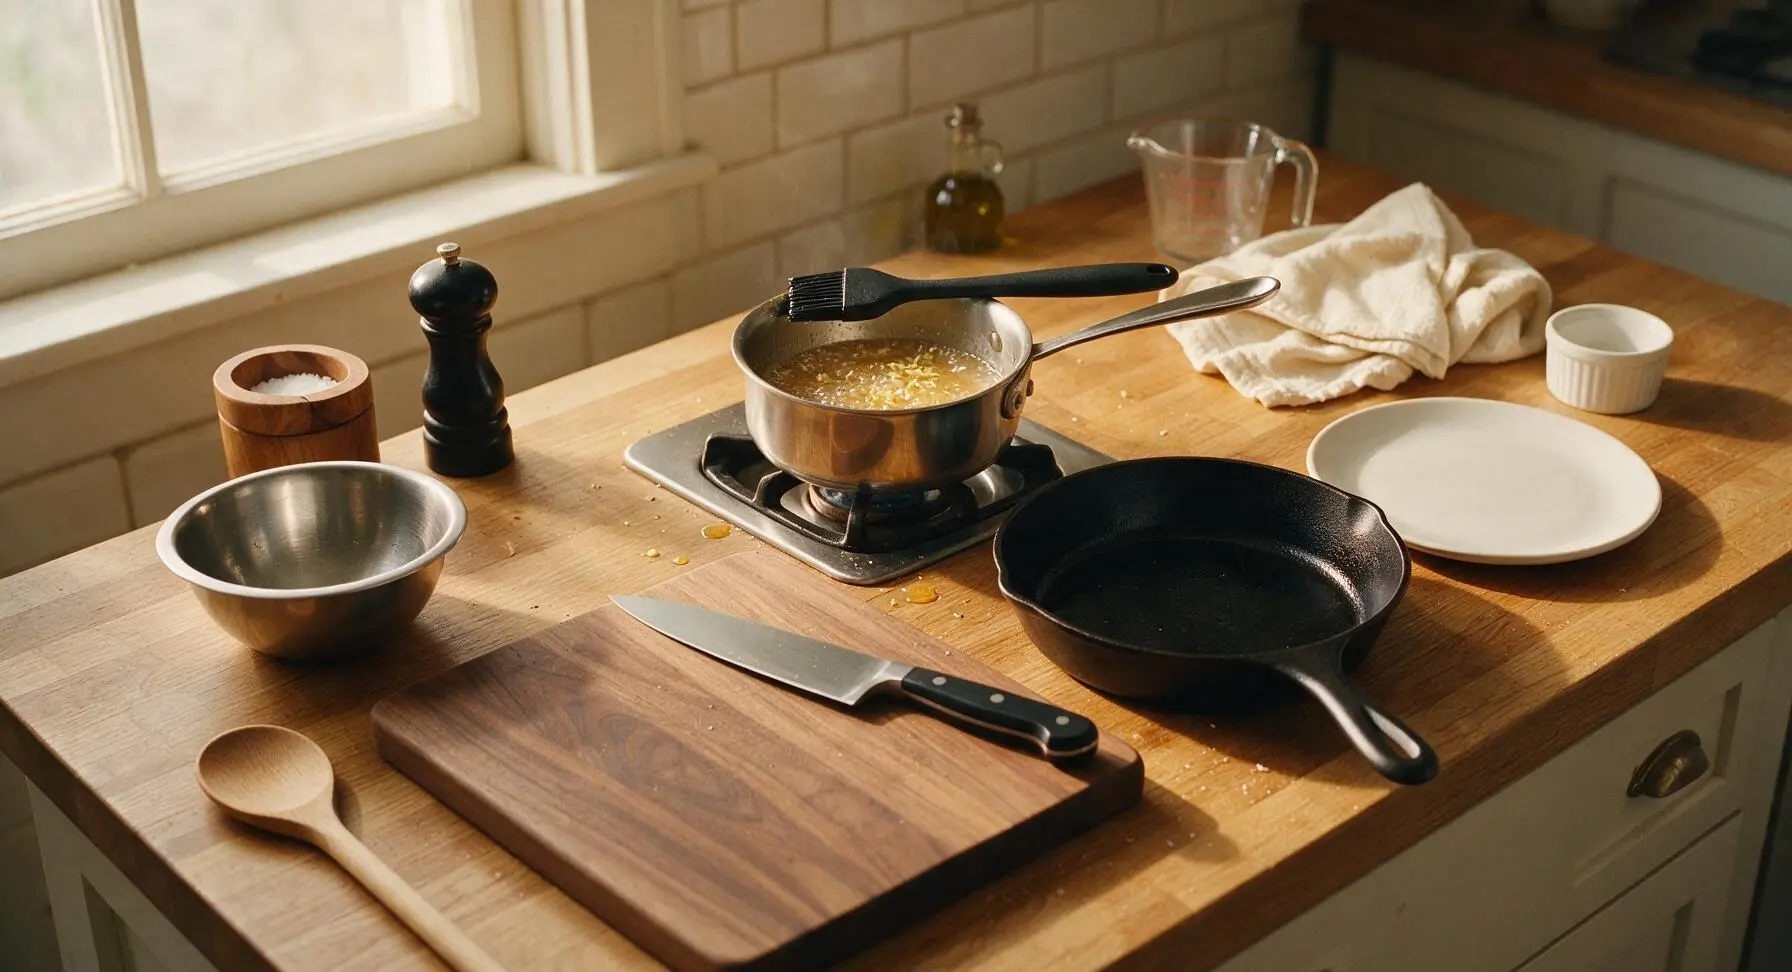
Cube and Toss with Glaze
Once the pork belly reaches 75C (165F) after 2 hours of smoking, use the BBQ tongs to transfer it back to the acacia wood cutting board. Let it rest for 10 minutes until cool enough to handle, then use the boning knife to cut it into uniform 2.5cm (1 inch) cubes. Place all the pork cubes into the heavy-duty aluminum foil pan, pour three quarters of the mirin glaze over the cubes, and toss gently with the tongs to coat every cube evenly in glaze.
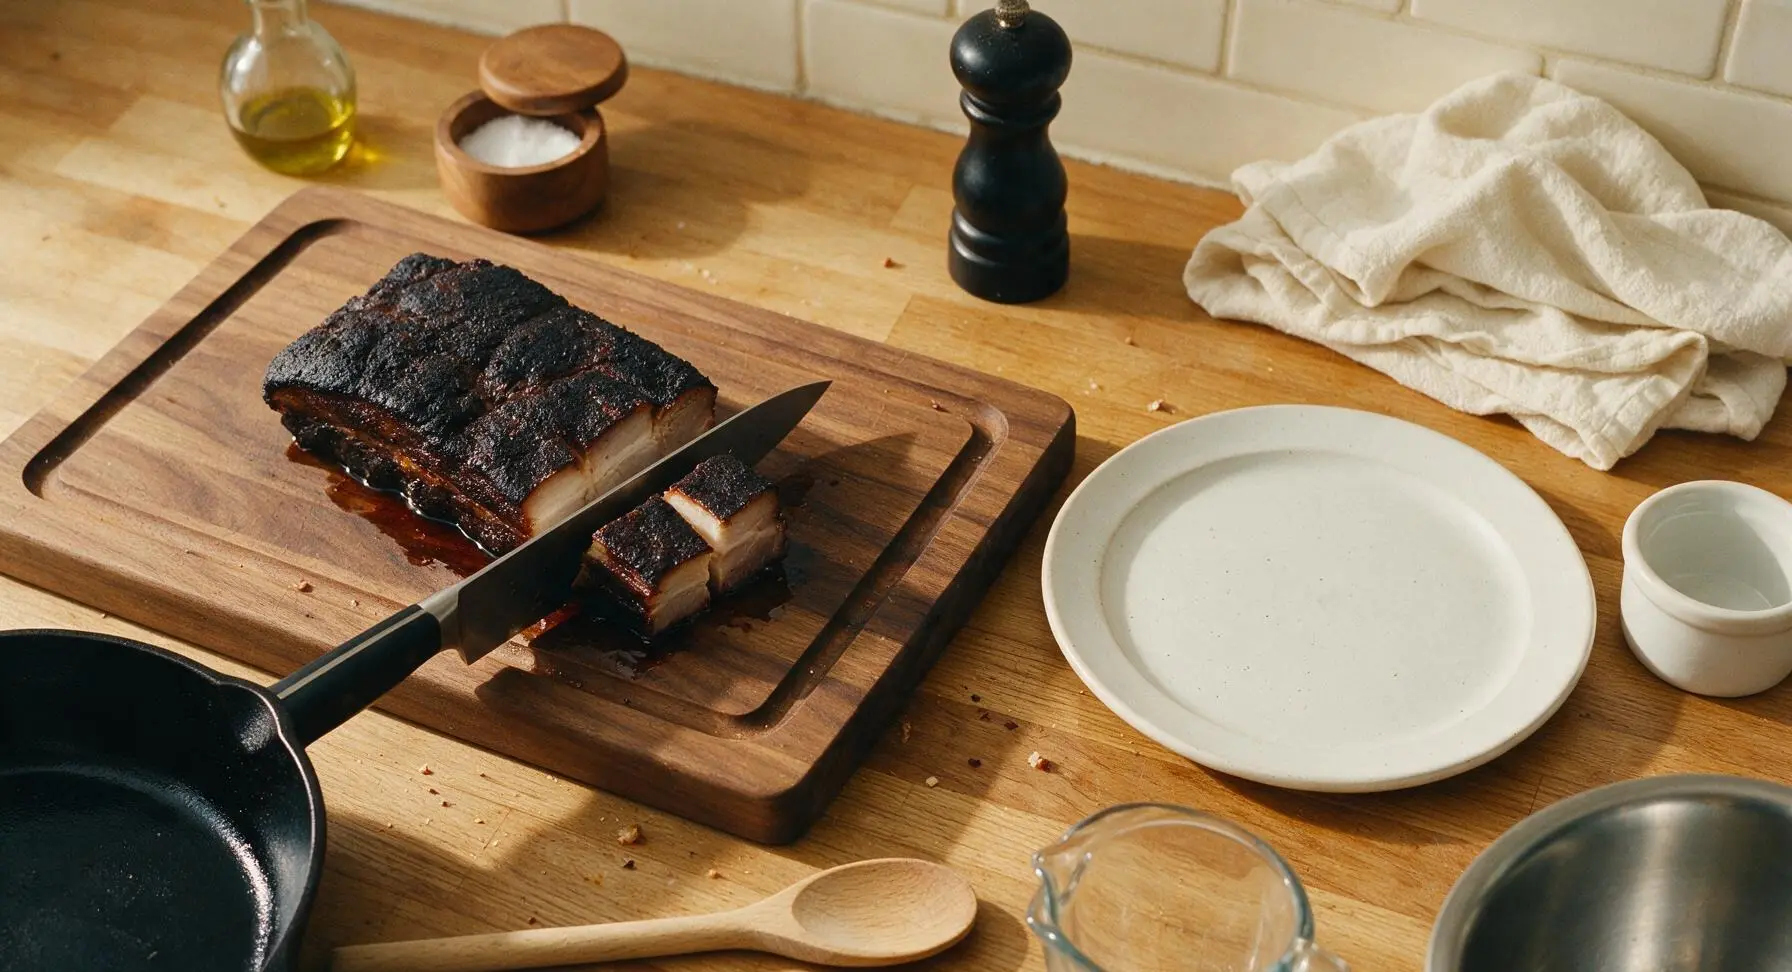
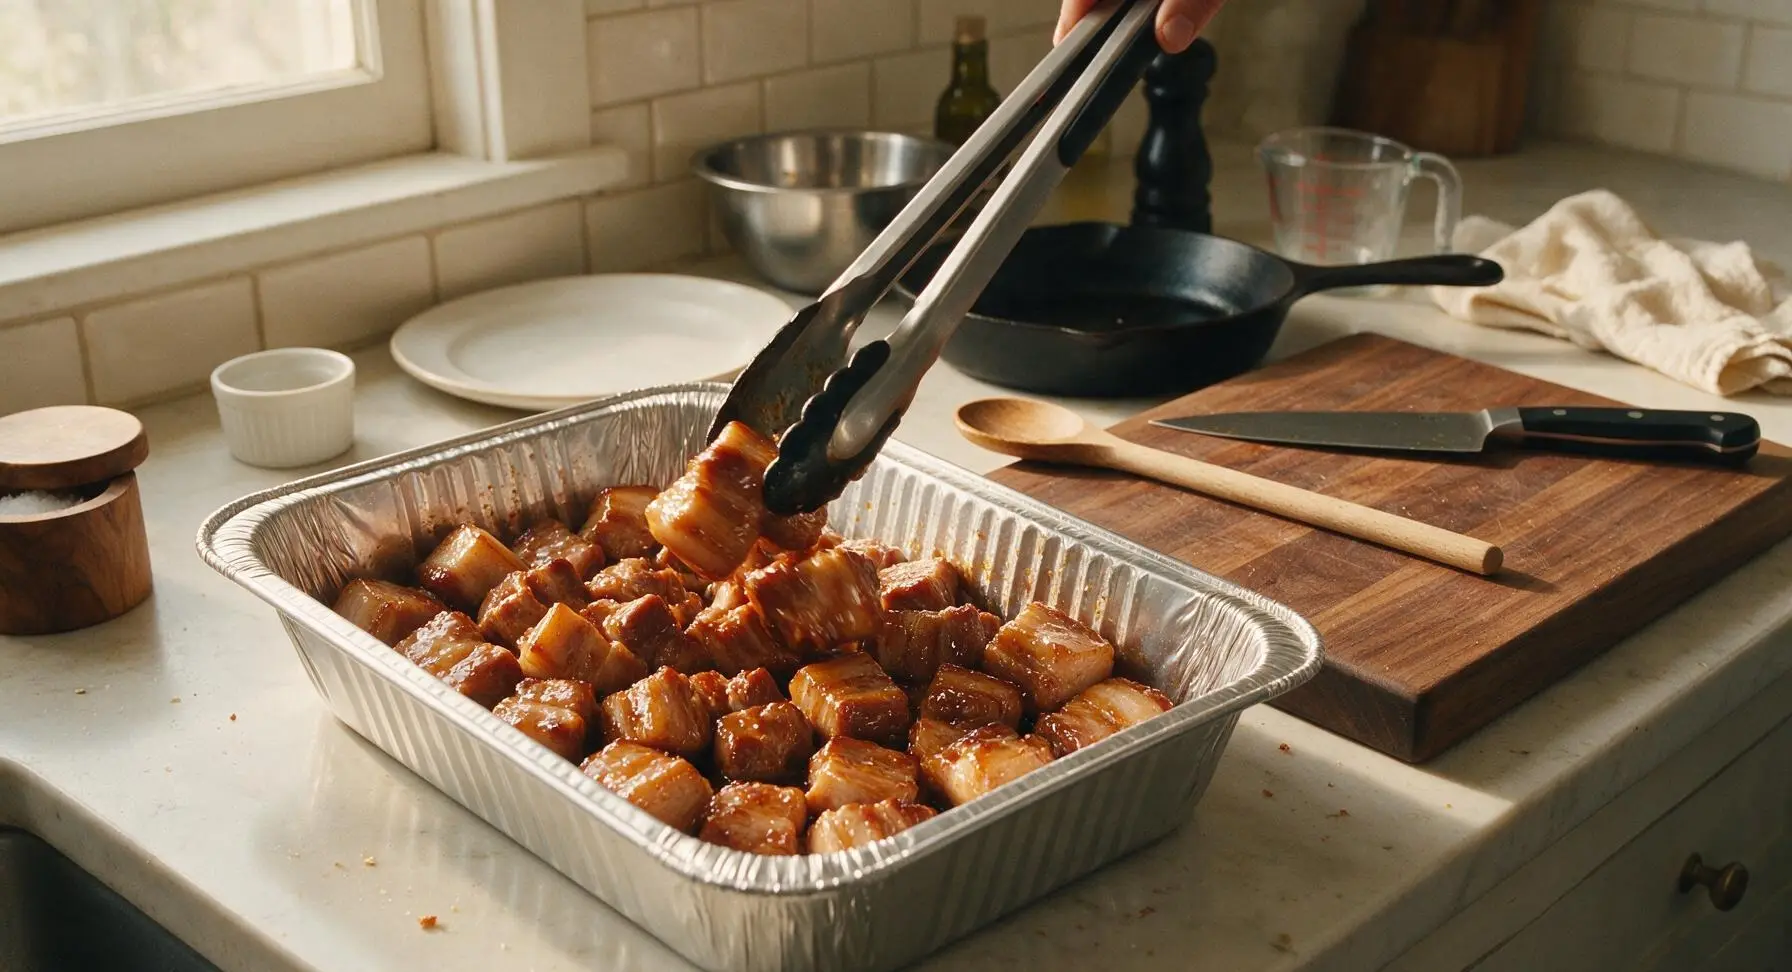
Caramelize Burnt Ends
Place the uncovered foil pan of sauced pork cubes back on the indirect heat side of the grill/smoker, maintaining the same 120C (250F) temperature. Cook for 1 hour 30 minutes, opening the lid every 30 minutes to baste the cubes with the remaining glaze using the silicone basting brush. The burnt ends are done when the glaze is thick, sticky, and caramelized to a deep mahogany color, with slightly crispy edges on each cube, and the internal temperature of the pork reaches 93C (200F) when probed.
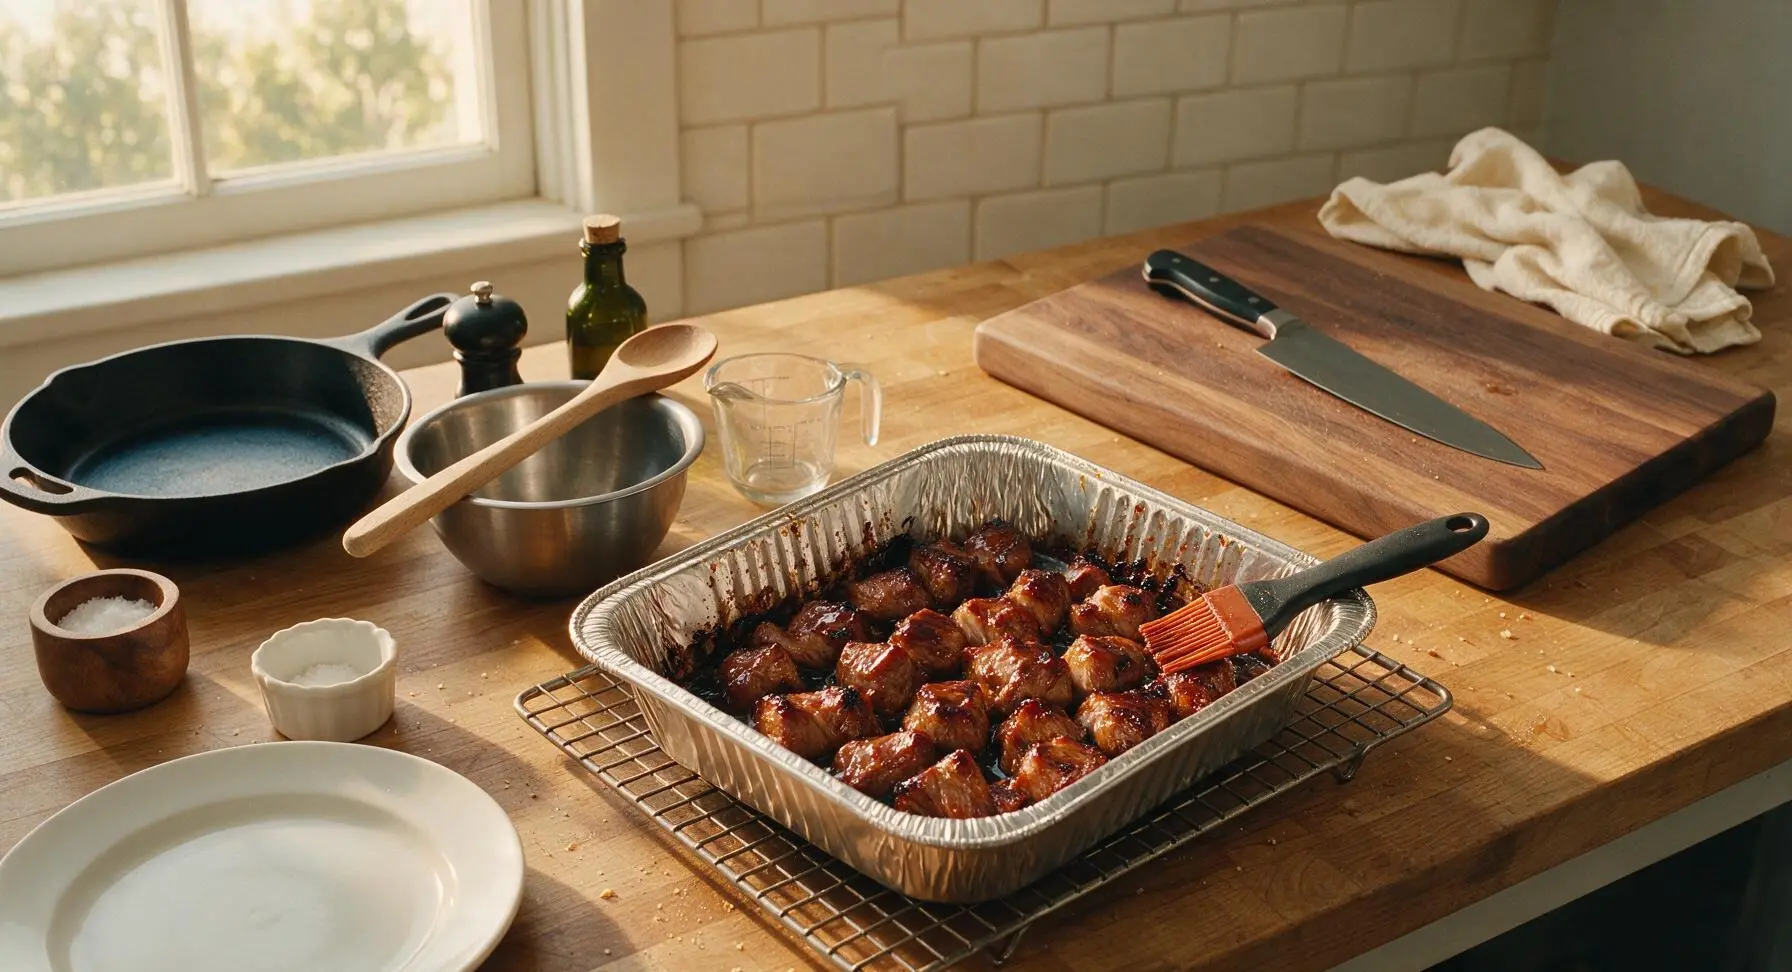
Plate and Garnish
Use the BBQ tongs to transfer the finished mirin burnt ends from the foil pan to the warm terracotta stoneware oval platter lined with the crinkled white paper liner. Drizzle any remaining glaze from the pan over the top of the piled cubes, then sprinkle evenly with 1 tsp toasted white sesame seeds and the thinly sliced green scallion tops. Let the burnt ends rest for 5 minutes before serving to allow the glaze to set slightly.
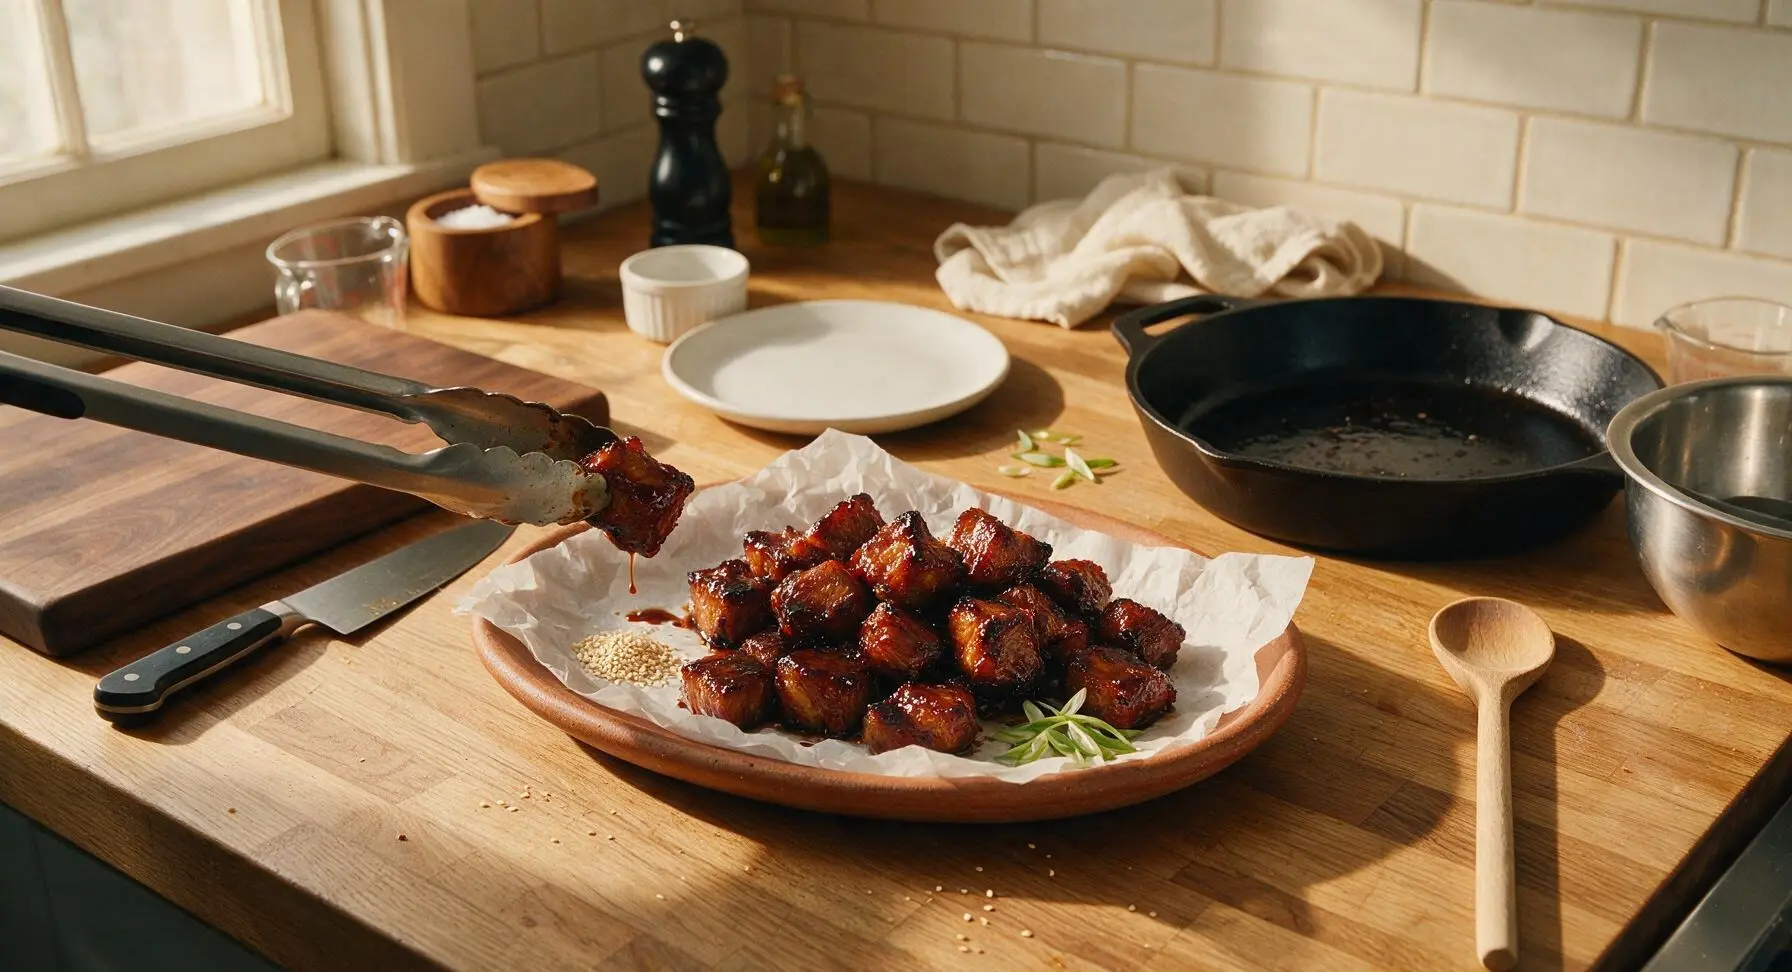
Tips
2.Reduce the mirin glaze until it thickly coats the back of a spoon before using it: thin, watery glaze will run off the pork cubes instead of clinging, resulting in pale, bland burnt ends without the signature sticky, glossy bark.
3.Avoid opening the grill lid unnecessarily during the initial 2-hour smoke: every lid drop lowers the grill temperature by 10-15C and lets trapped apple wood smoke escape, extending cook time and weakening the smoky balance that cuts through the sweet mirin glaze.






OMG these mirin burnt ends were an absolute game changer for our weekend cookout! I was a little nervous about the 3.5 hour cook time but it was 100% worth every minute. The sweet umami kick from the mirin is way better than the standard dry rub I usually use. My whole crew was begging for seconds before I even finished serving.
Made these for Sunday family dinner and my kids literally fought over the last piece. I was worried the mirin flavor would be too weird for their picky palates but they ate more than my husband did! Will absolutely be adding this to our monthly rotation.
Okay, as someone who does weekly meal prep, I was skeptical these would reheat well but WOW. I portioned them out with rice and roasted broccoli and they held up perfectly all week. The mirin glaze gets all sticky and delicious when you zap it for 30 seconds. 10/10.
Brought these to our neighborhood potluck last weekend and people were hovering around the platter before I even set it down. I will say, the cook time felt a little long for a weeknight, but perfect for a weekend gathering. Only thing I wish I did was make a double batch because they were gone in 10 minutes flat.
I’m obsessed with all things umami so I knew I had to try this. The mirin cuts through the richness of the brisket so perfectly, it’s not cloyingly sweet like a lot of burnt end glazes. I paired it with pickled cucumbers and it was chef’s kiss.
Full transparency: this was my first time ever making burnt ends, and I was terrified I’d mess it up since it’s marked medium difficulty. The instructions were so clear though! Mine came out a little crispier than the photos but my roommate said they’re the best thing I’ve ever cooked.
Made these after a long day hike with friends, we threw them on the camp smoker while we set up tents. The smell had the whole campground wandering over to ask what we were making. 10/10, will be a staple on all our future camping trips.
I was worried the mirin would have too much sugar for my low-carb diet, but I swapped in a sugar-free mirin substitute and it still slapped. So much flavor, I didn’t even miss the regular sugary BBQ sauce I usually put on my brisket.
Made this for my boyfriend’s birthday dinner and he said it’s better than the BBQ joint we go to downtown that charges $28 a plate. Win for me! Only hiccup was I let the glaze reduce a little too long on the first batch so it got a little too thick, but it was still tasty.
Tested this recipe out ahead of our first college football tailgate and it’s going to be the star of the spread. The mirin gives it such a unique twist that none of the other tailgate foods will have. Already got the brisket point in the freezer for game day.
I’ve been making burnt ends for my grandkids for 30 years and I was skeptical of adding mirin, but my granddaughter asked me to try this recipe with her. Let me tell you, that sweet, tangy glaze is something else! Even my old-school husband who hates “new fangled” recipes went back for thirds.
I added a teaspoon of gochugaru to the mirin glaze for a little heat kick and OH MY GOODNESS. It was the perfect balance of sweet, salty, umami, and spicy. Highly recommend that little tweak if you like a little heat with your BBQ.
I was worried this would be super expensive to make because brisket can be pricy, but I caught a sale on brisket point at my local grocery store and this fed 4 people for under $20 total. Way cheaper than takeout, and way more flavorful too. 10/10 value.
So happy this recipe is naturally gluten free as long as you use a gluten free mirin! I’ve been looking for a burnt ends recipe that doesn’t use soy sauce or wheat-filled BBQ sauce, and this hit every single note. My whole family (none of whom are gluten free) loved it too.
I don’t have a big outdoor smoker so I made these in my oven per the recipe’s alternative instructions, and they still came out SO good. I was convinced I’d miss that smoky flavor, but a little smoked paprika and the mirin glaze made up for it entirely. No smoker? No problem!
Okay, full transparency, I messed up the first time I made these. I didn’t cut the brisket into big enough cubes so they dried out a little during the cook. I tried again last night, followed the measurements exactly, and they were perfect. Don’t be like me, cut those cubes the full 1.5 inches like the recipe says!
I run a small BBQ food truck and I tested this recipe as a special last weekend. We sold out in 45 minutes. Customers were asking when we’re putting it on the permanent menu. Absolute banger of a recipe.
The leftover burnt ends made the best breakfast hash the next morning! Chopped them up with potatoes, peppers, onions, and topped it with a runny egg. The mirin glaze caramelized on the potatoes and it was better than the dinner the night before. Game changer for leftovers.
Saving this recipe for our Super Bowl party this year! We usually do the same old wings and chili, so these mirin burnt ends are gonna be the surprise hit. I’m already planning to make two batches so we don’t run out.
Wait, quick question before I make this this weekend — do I baste with the mirin glaze the whole cook, or only during the last part like the recipe says? I’m terrified of burning the glaze because mirin has sugar in it, y’know? Don’t wanna waste a good brisket!