1.How do I keep my nachos from turning soggy?
▾
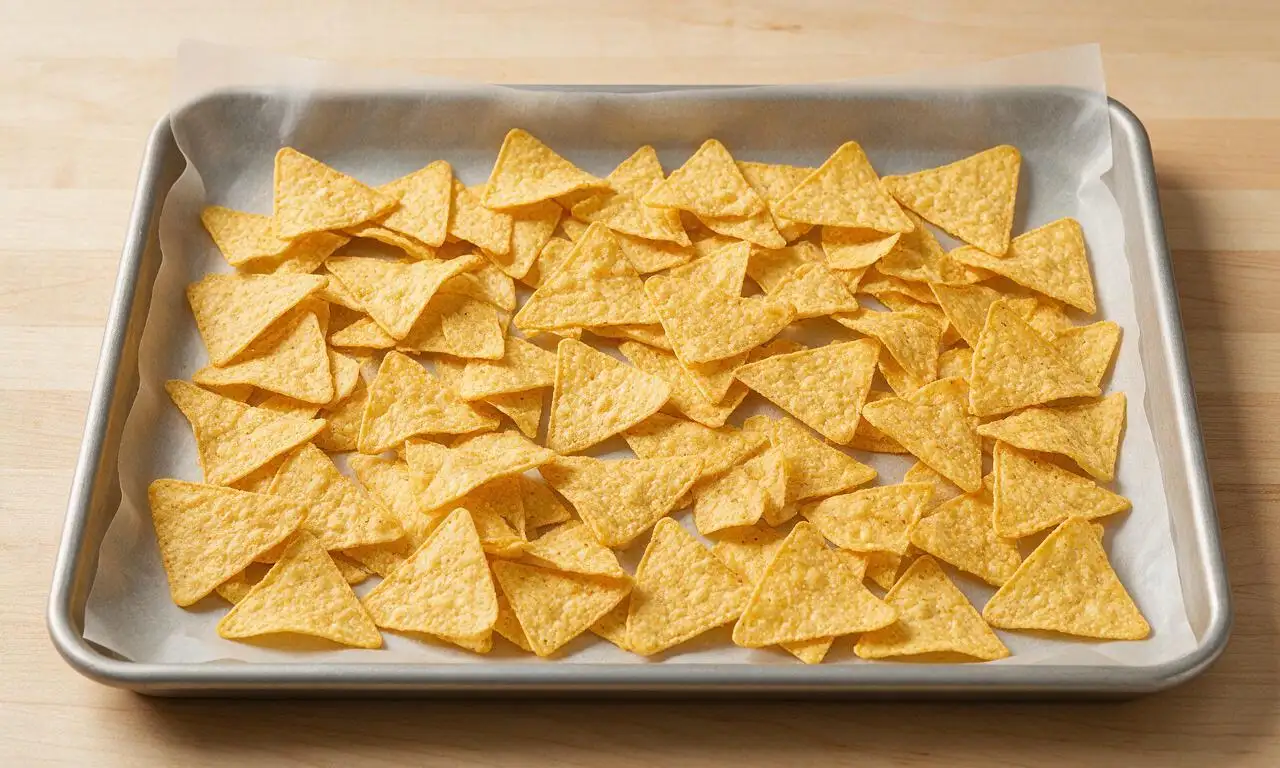
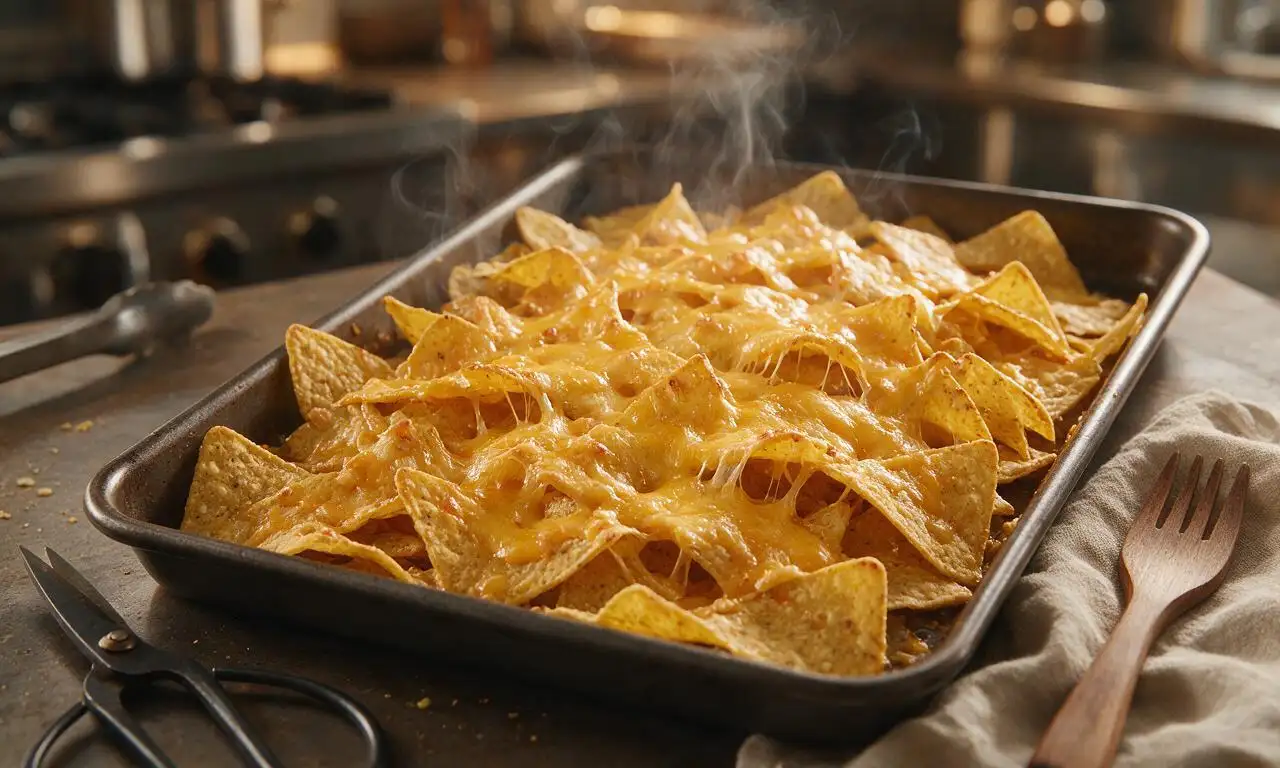
The number one trick to avoid soggy nachos is building a moisture barrier first! Spread thick, sturdy corn tortilla chips in a single, non-overlapping layer on a rimmed baking sheet, top with a thin base of shredded cheese before adding drained, patted-dry seasoned beef and rinsed, dried black beans. Bake fast at 400°F so cheese melts quickly without wet ingredients seeping into chips.
2.Why do you recommend 80/20 ground beef instead of a leaner blend?
▾
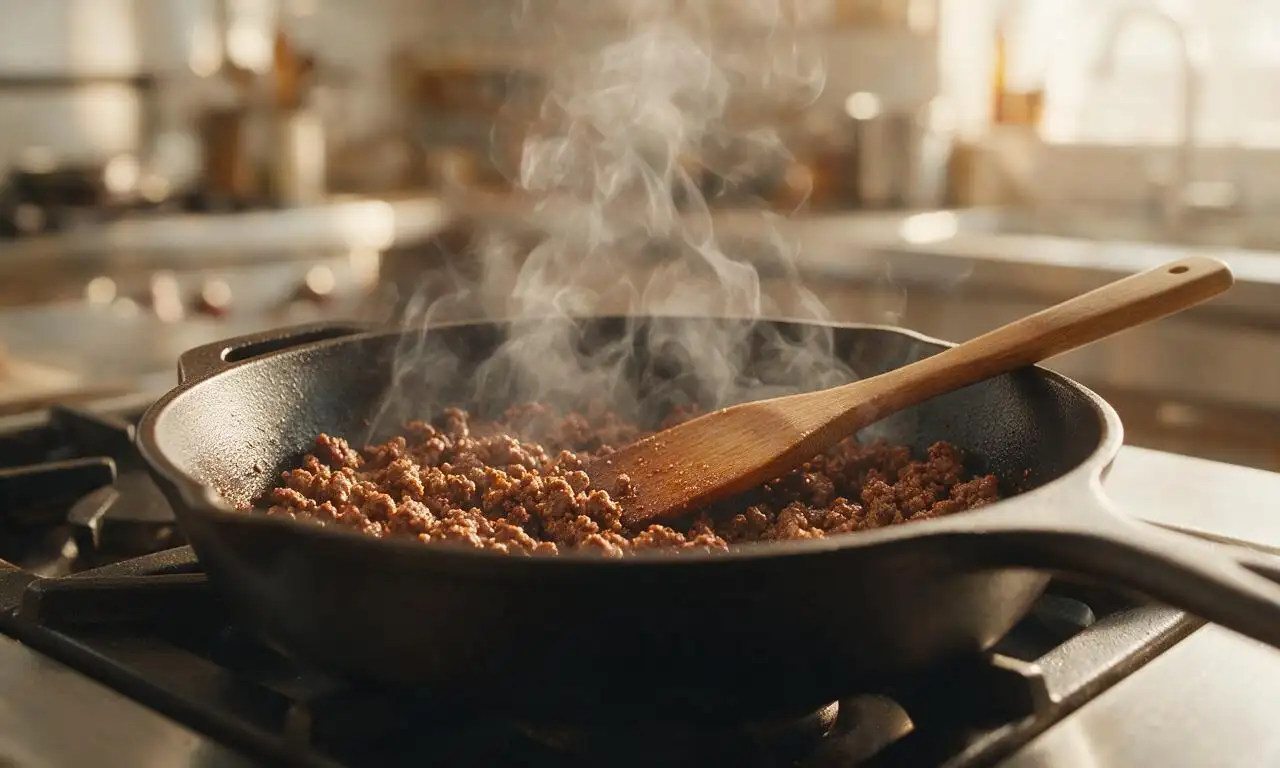
80/20 ground beef (20% fat) delivers the rich, savory classic Tex-Mex flavor leaner blends can’t match, and it crisps up beautifully without turning dry or crumbly as it cooks. Just be sure to fully drain off excess rendered fat after browning before adding taco seasoning, so extra grease doesn’t make your chips soggy mid-bake.
3.Can I assemble these nachos fully ahead of time for a party?
▾
You can prep individual components 1 day ahead to cut down on day-of work: brown and season the beef, rinse and drain black beans, shred cheese, and chop fresh toppings, storing all in airtight containers in the fridge. Wait to assemble and bake the nachos until 10 minutes before serving, so chips stay perfectly crisp and cheese stays gooey.
4.Why use a cheddar-Monterey Jack cheese blend instead of a single cheese?
▾
This blend hits the perfect Tex-Mex balance: sharp cheddar brings bold, tangy, rich flavor, while Monterey Jack has that ultra-gooey, stretchy melt everyone loves on loaded nachos. Pre-shredded blends work great here too—their light anti-caking coating actually helps cheese melt evenly without clumping across your chip layer.
5.Do I really need to rinse canned black beans before adding them to nachos?
▾
Absolutely—don’t skip rinsing and draining your canned black beans! The thick, starchy, salty canning liquid they’re packed in will quickly turn nacho chips soggy and make the whole dish taste overly briny. Give them a good rinse under cold water, shake off all excess moisture, and pat lightly with a paper towel before adding to your chip pile.
6.How long should I bake nachos to get perfectly melted cheese without burnt chips?
▾
Bake assembled nachos on your middle oven rack at 400°F for 8 to 10 minutes, keeping a close eye on them the last 2 minutes. You’re looking for fully melted, bubbly cheese across the pan and lightly golden edges on exposed chips—any longer and thin chip edges will burn, or cheese will turn rubbery as it cools.
7.What fresh toppings work best to complement the beef, bean, and cheese base?
▾
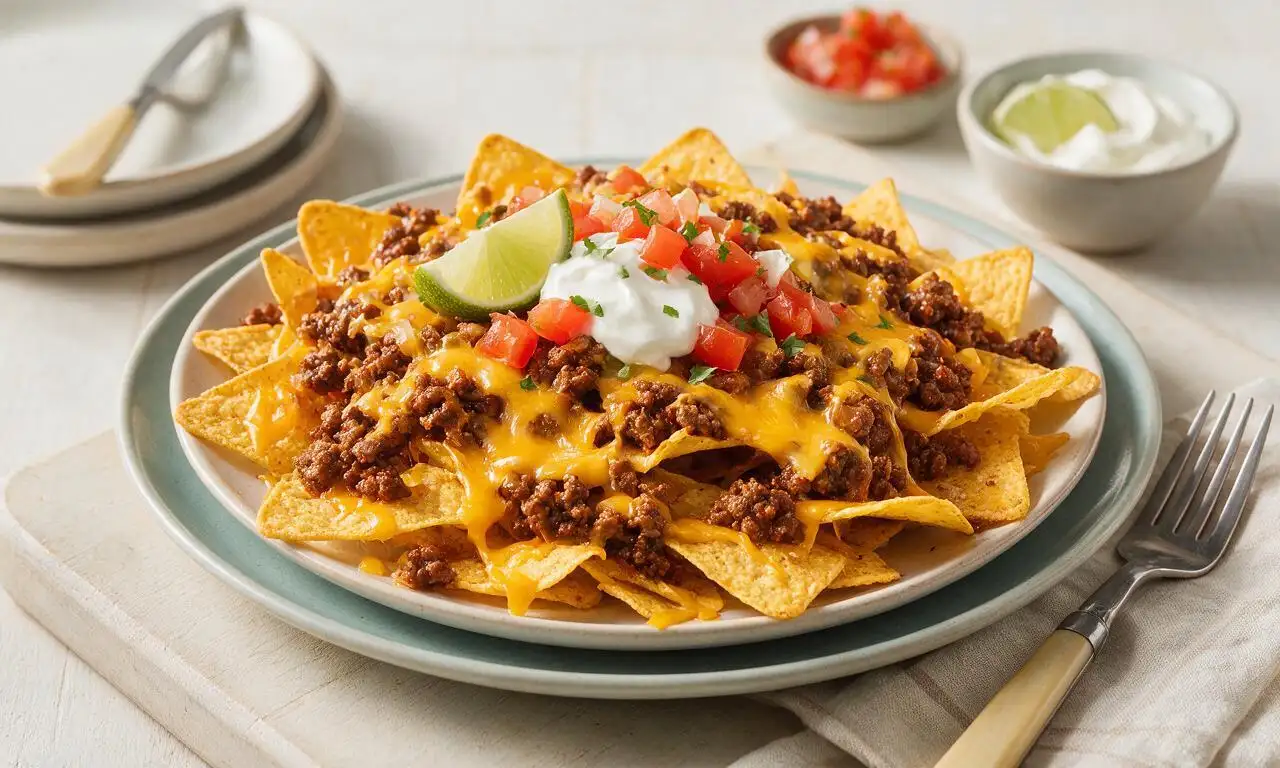
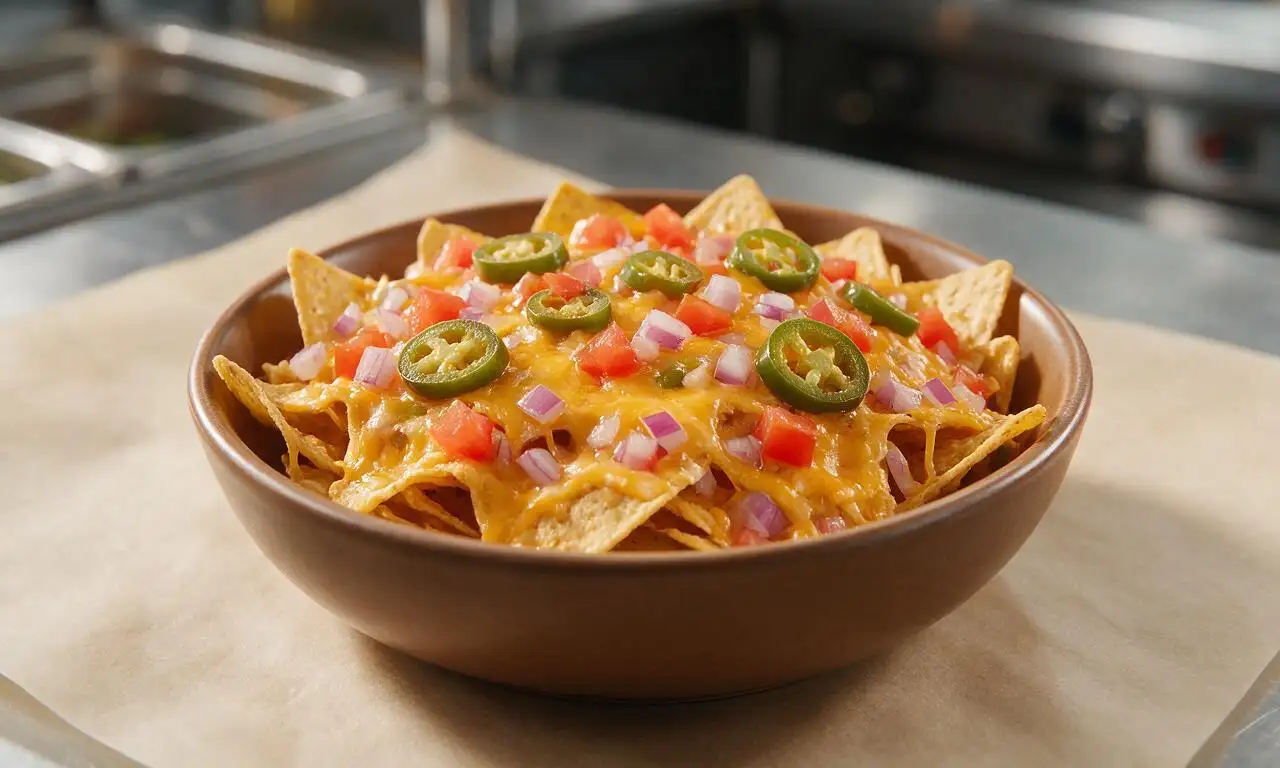
Pile on bright, fresh toppings right after pulling nachos out of the oven to balance the rich, savory base: diced Roma tomatoes, thinly sliced pickled jalapeños, chopped cilantro, sour cream dollops, fresh lime wedges, diced red onion, and chunky guacamole. Add these post-bake so they stay crisp and bright, not warm and mushy.
8.Can I make these nachos in an air fryer instead of the oven?
▾
You absolutely can! Work in smaller batches so chips don’t get overcrowded: layer a single portion of chips, cheese, drained seasoned beef, and beans in the air fryer basket, and cook at 375°F for 3 to 5 minutes, until cheese is fully melted. Keep finished batches warm on a sheet pan in a low oven while you cook the rest for a crowd.
9.Why does the recipe call for low-sodium taco seasoning instead of regular?
▾
Low-sodium taco seasoning lets you control the salt level of the whole dish, which is extra important here because canned black beans, pre-shredded cheese, and common toppings like pickled jalapeños already carry plenty of salt. You can always add a pinch more salt to taste after browning beef, but you can’t remove excess salt once mixed in.
10.How do I make sure every chip has toppings, instead of a pile of plain chips at the bottom?
▾
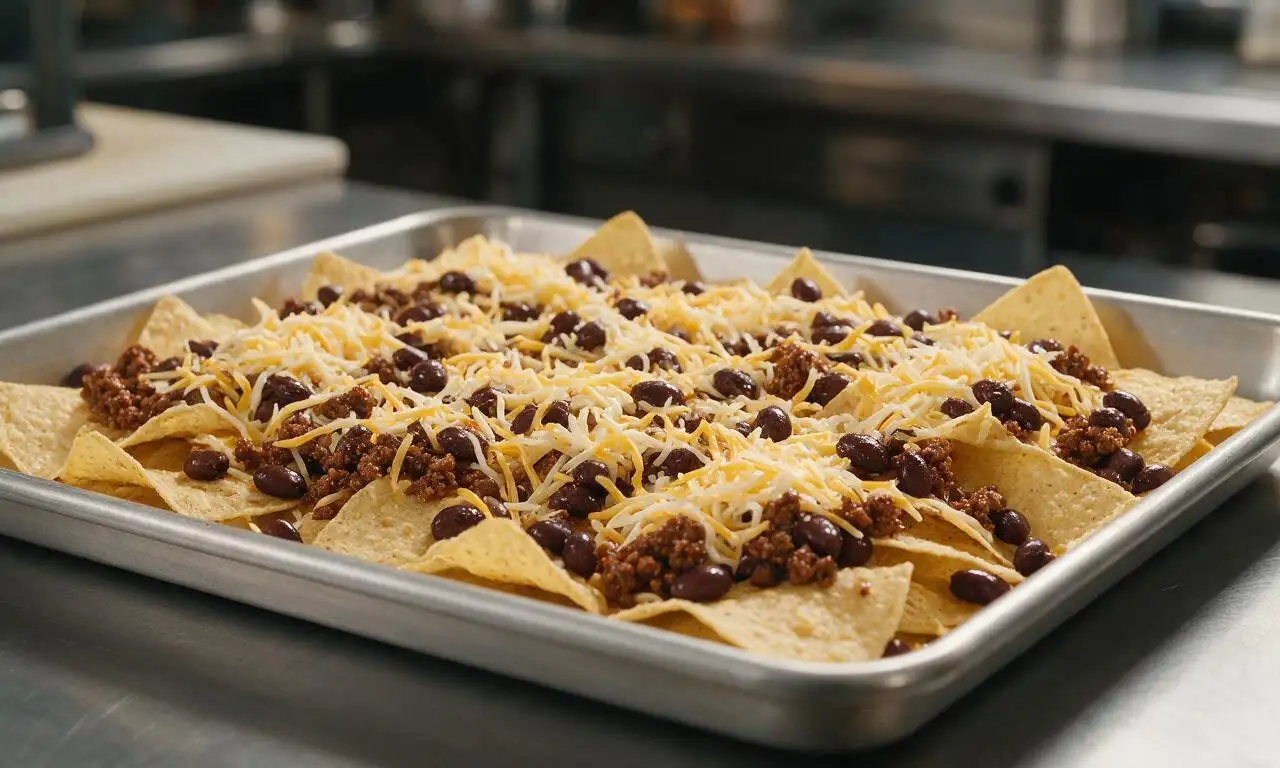
Skip the tall, mountain-style chip pile if you want every bite loaded. Build nachos in thin, even layers on a wide rimmed baking sheet: start with a single chip layer, add a sprinkling of cheese, beef, and beans, then repeat with one more thin chip layer and more toppings. This way, no chip is left bare, and toppings don’t slide to the pan bottom.
11.Can I make a vegetarian version of these nachos without losing classic Tex-Mex flavor?
▾
Definitely! Swap the seasoned ground beef for crumbled plant-based ground cooked with the same low-sodium taco seasoning, or swap in extra roasted corn and extra black beans for a plant-based twist. Keep the same cheddar-Jack blend (or use a dairy-free shredded melting cheese) and your favorite fresh toppings for that same loaded, crispy experience.
12.What’s the best way to serve these nachos for a group so they stay crisp the whole time?
▾
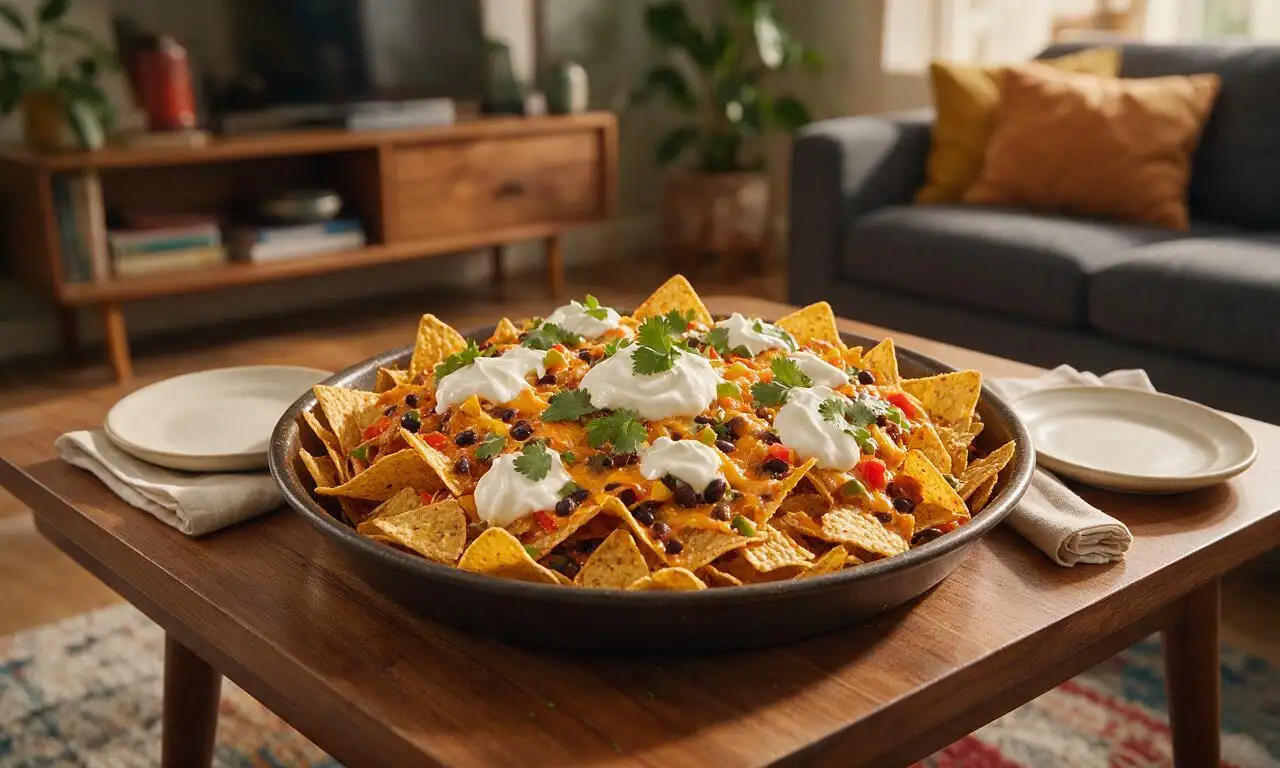
Serve baked nachos straight on the warm baking sheet lined with parchment for easy cleanup, and set out all cold fresh toppings on the side so guests can customize their portions. Don’t cover nachos with a lid or foil while serving—trapped steam will turn chips soggy in minutes, so leave them open to the air for the best texture.







Made these for my kids’ after school snack today and they gobbled them up in 10 minutes flat! I left off the jalapeños on half for the picky eaters and loaded the other half up for me and my husband. So crispy, so cheesy, way better than the takeout nachos we usually order. Already added the ingredients to my weekly grocery list!
Tried these last night for family taco night and let me tell you, my teen son who hates literally everything ate three full plates. Only issue I had was that my chips got a little soggy on the bottom layer? Did I layer too much cheese or something? I want to nail these next time because they were so good otherwise.
I made these at my parents’ house over spring break and they were so good, but I’m back in my dorm now—can I make these in a dorm microwave if I don’t have an oven? My dorm doesn’t have a full kitchen and I’m craving them so bad after midterms lol
Super easy recipe, took me exactly 25 minutes like the recipe said! I added a drizzle of hot honey on top after pulling them out of the oven and oh my gosh, the sweet and spicy combo is unreal. Used pickled red onions instead of regular white ones for an extra tang, 10/10 no notes.
Brought these to my neighborhood potluck last weekend and people were asking me for the recipe before I even set the platter down! Only note is that I’d recommend making the fresh pico de gallo the night before so the flavors have time to meld, that made such a difference. Will be bringing these to every block party from now on!
OMG these are SO good. I made them for my roommate’s birthday movie night and we ate the entire tray before the first movie even ended. I added a layer of refried beans between the chips and cheese and it was chef’s kiss. Anyone ever try adding grilled corn to these? I feel like that would slap next time.
I was worried these would be too much work for a quick weeknight dinner but they were so fast! I prepped all the toppings while the meat browned and it all came together in 25 minutes exactly like the recipe said. My partner said these are restaurant quality, which is the highest compliment he gives lmao
Made these for our tailgate last weekend and they were gone in literally 15 minutes. Quick question though—can I prep the components ahead of time for tailgates this season? I’d love to be able to throw them together quick when we get to the parking lot instead of assembling everything at home.