
nachos recipe oven
intro
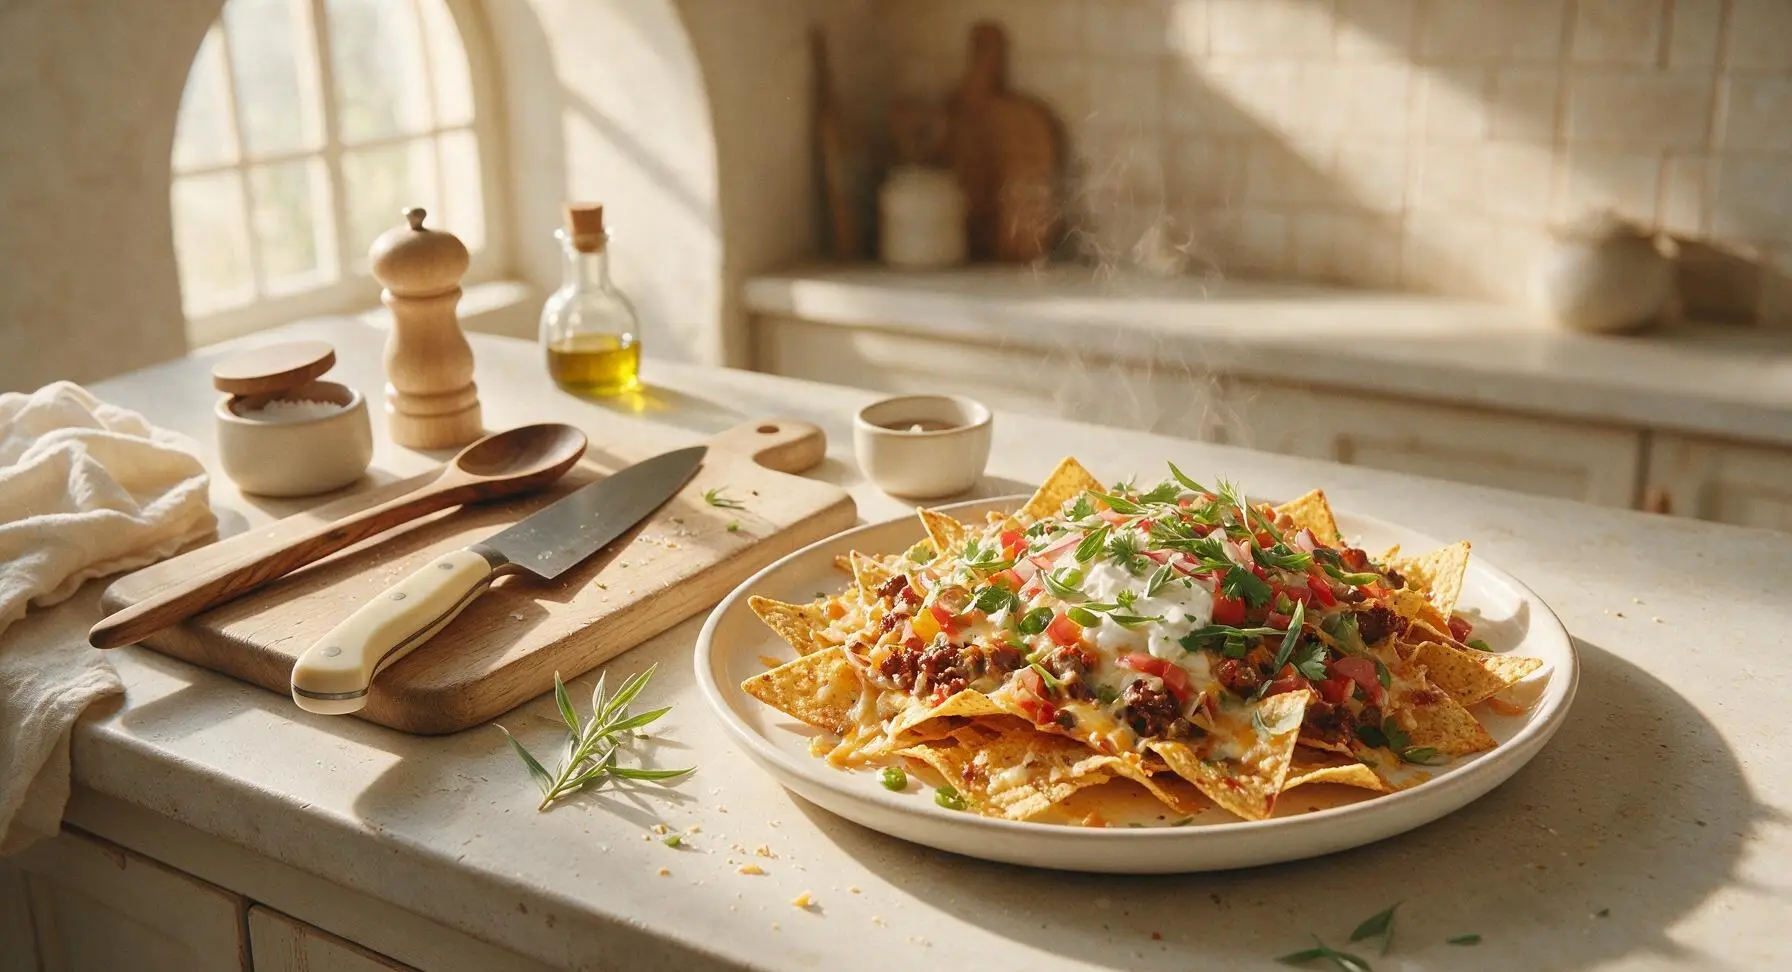
Crispy, cheese-loaded oven-baked nachos layered with savory toppings and bright fresh garnishes—no deep frying required, perfect for group sharing.
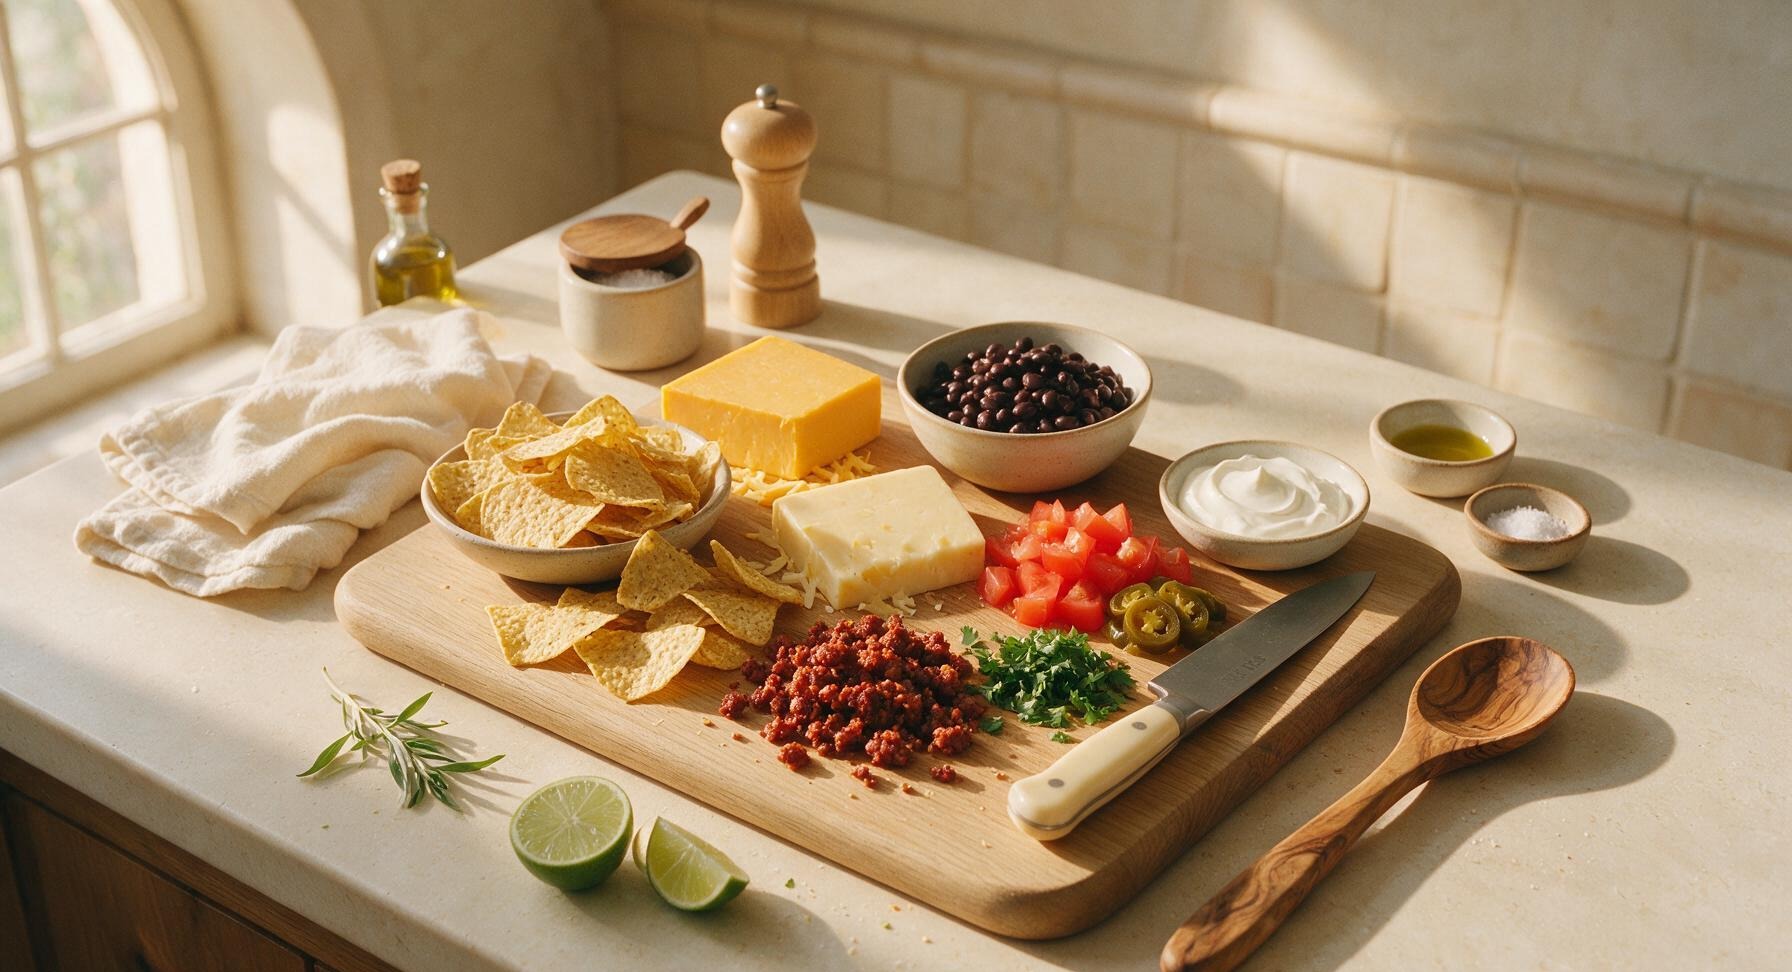
Ingredients
Steps
Preheat Oven, Prep Pan
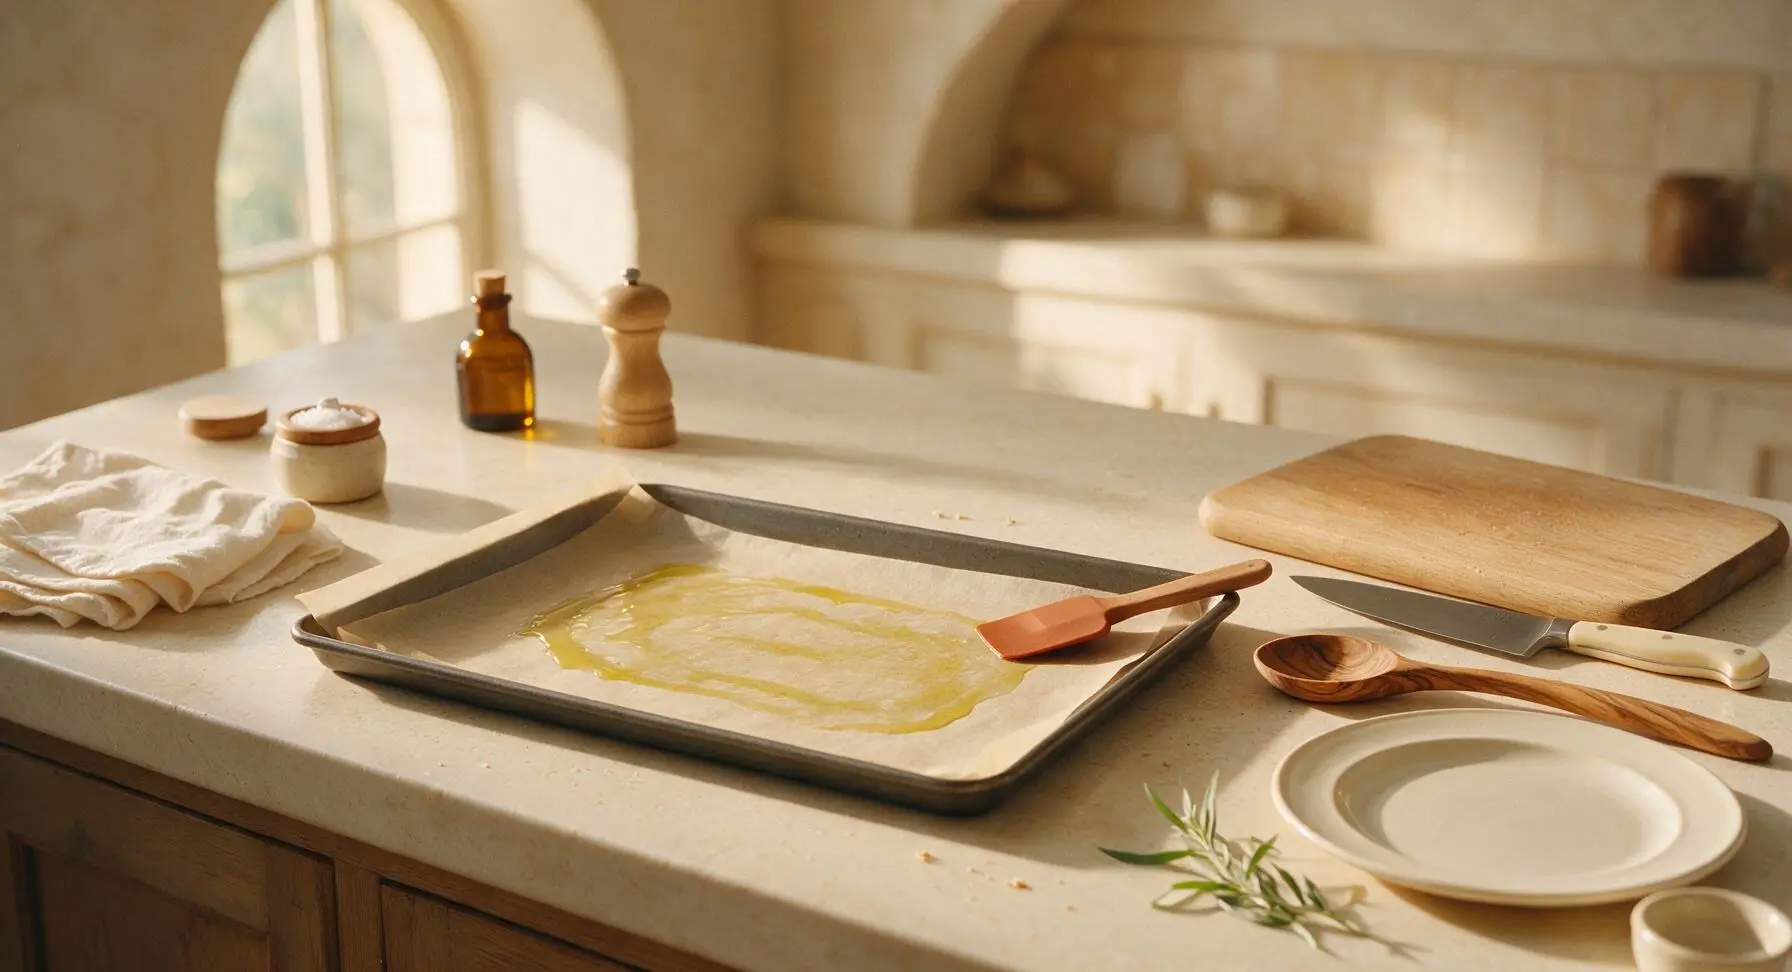
Adjust your oven rack to the middle position, then preheat the oven to 400°F (200°C). Retrieve the large dark gray carbon steel baking sheet from below the counter and place it center on the work surface. Line the sheet with a single piece of unbleached parchment paper, leaving a 1cm overhang on all edges for easy cleanup. Drizzle 1 teaspoon of olive oil across the parchment, then use the terracotta silicone spatula to spread it into a thin, even coat to prevent chips from sticking during baking.
Grate and Mix Cheeses
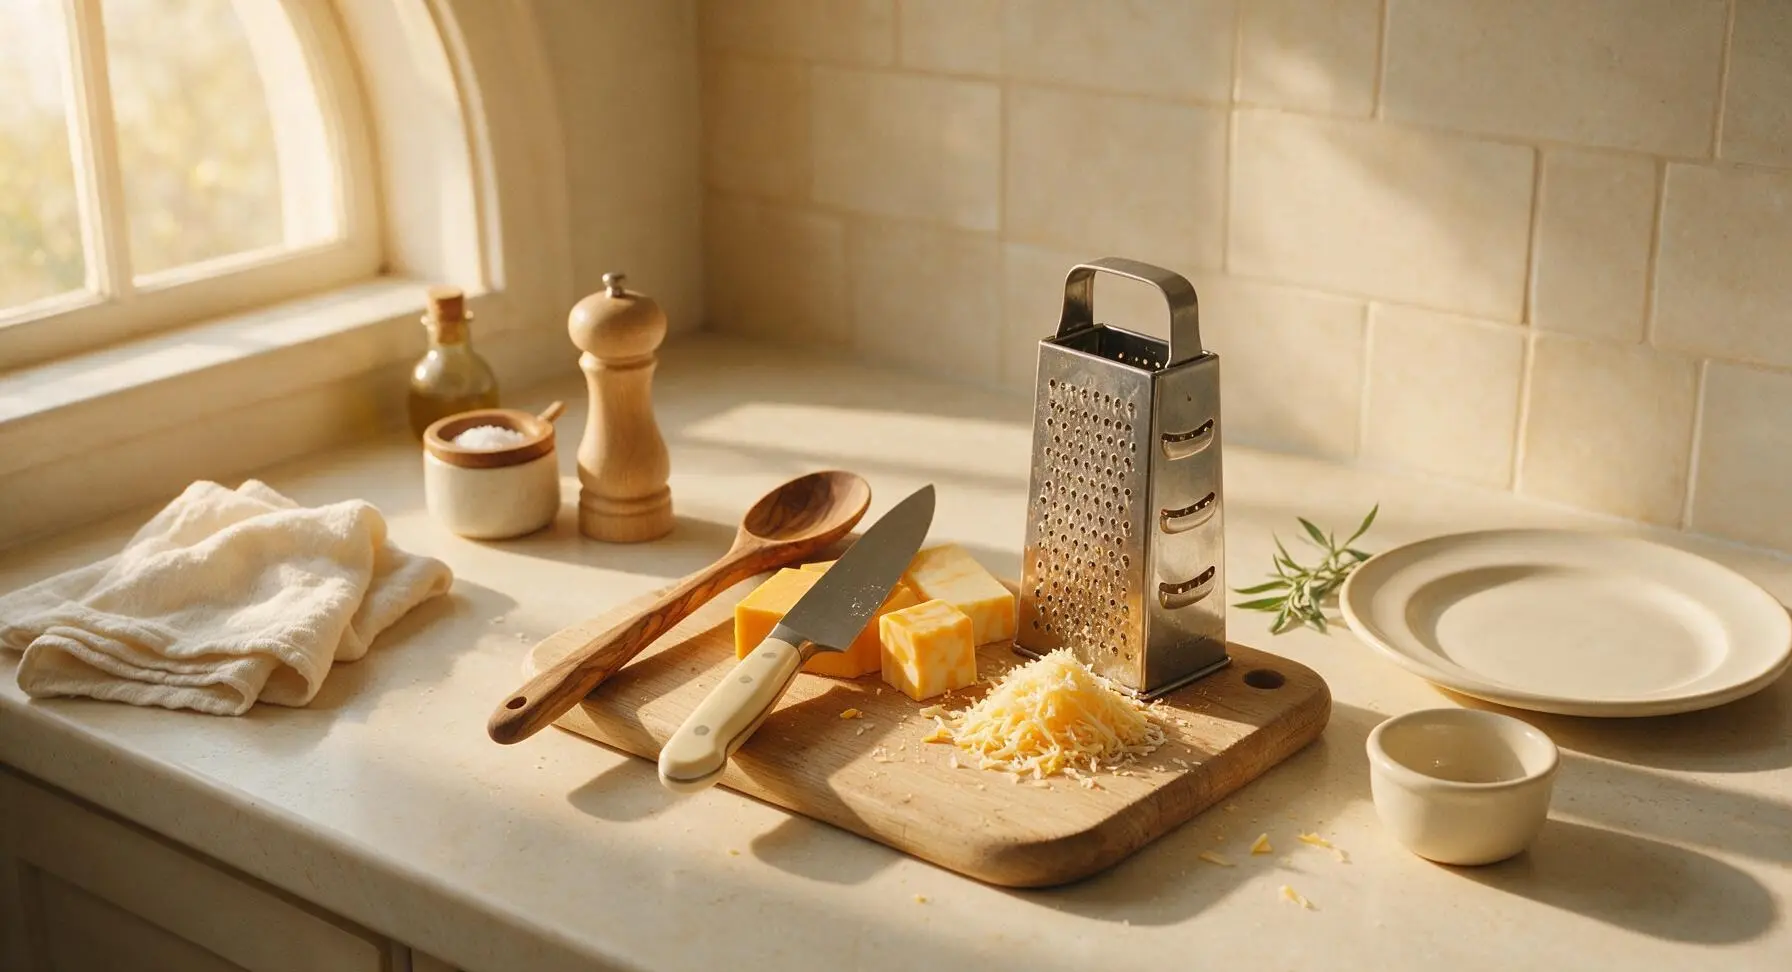
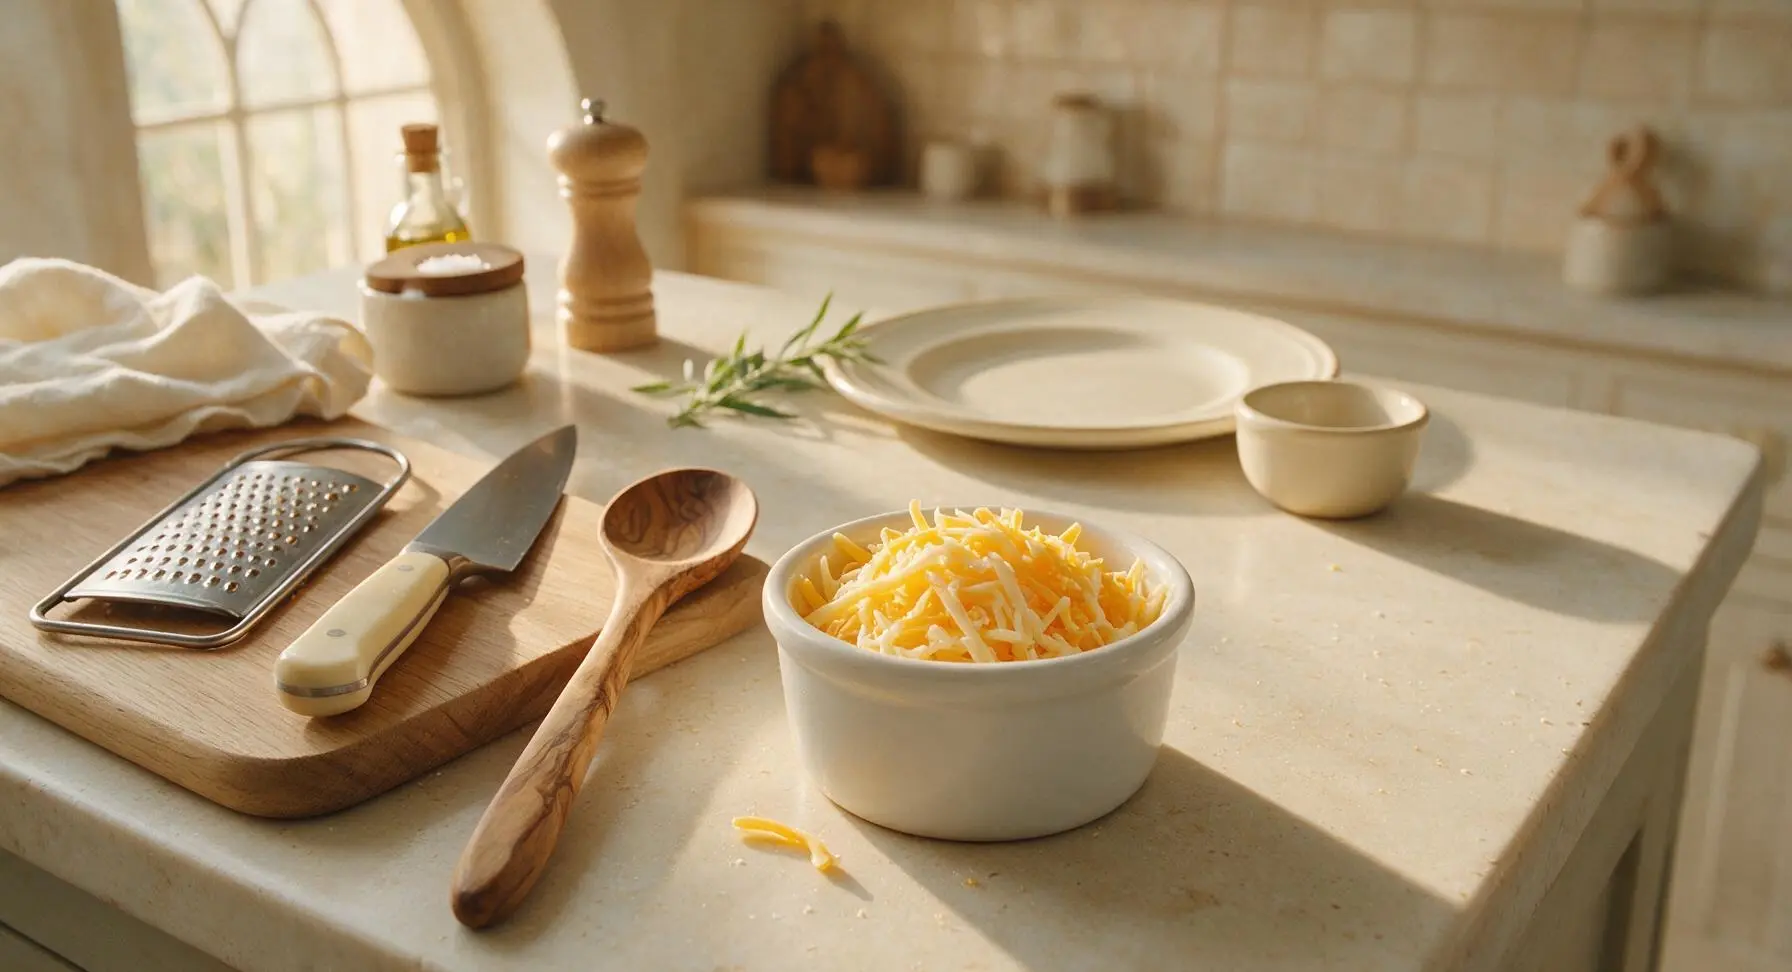
Place the stainless steel box grater on the fixed acacia wood cutting board. Cut the cheddar and Monterey Jack blocks into 5cm wide chunks with the chef knife, then grate both cheeses into coarse, uneven shreds. Collect the shreds in one of the small white ceramic ramekins, tossing gently to mix the two cheeses evenly. Do not use pre-shredded cheese for this recipe, as its powdered anti-caking coating prevents smooth, stretchy melting.
Arrange Chip Base
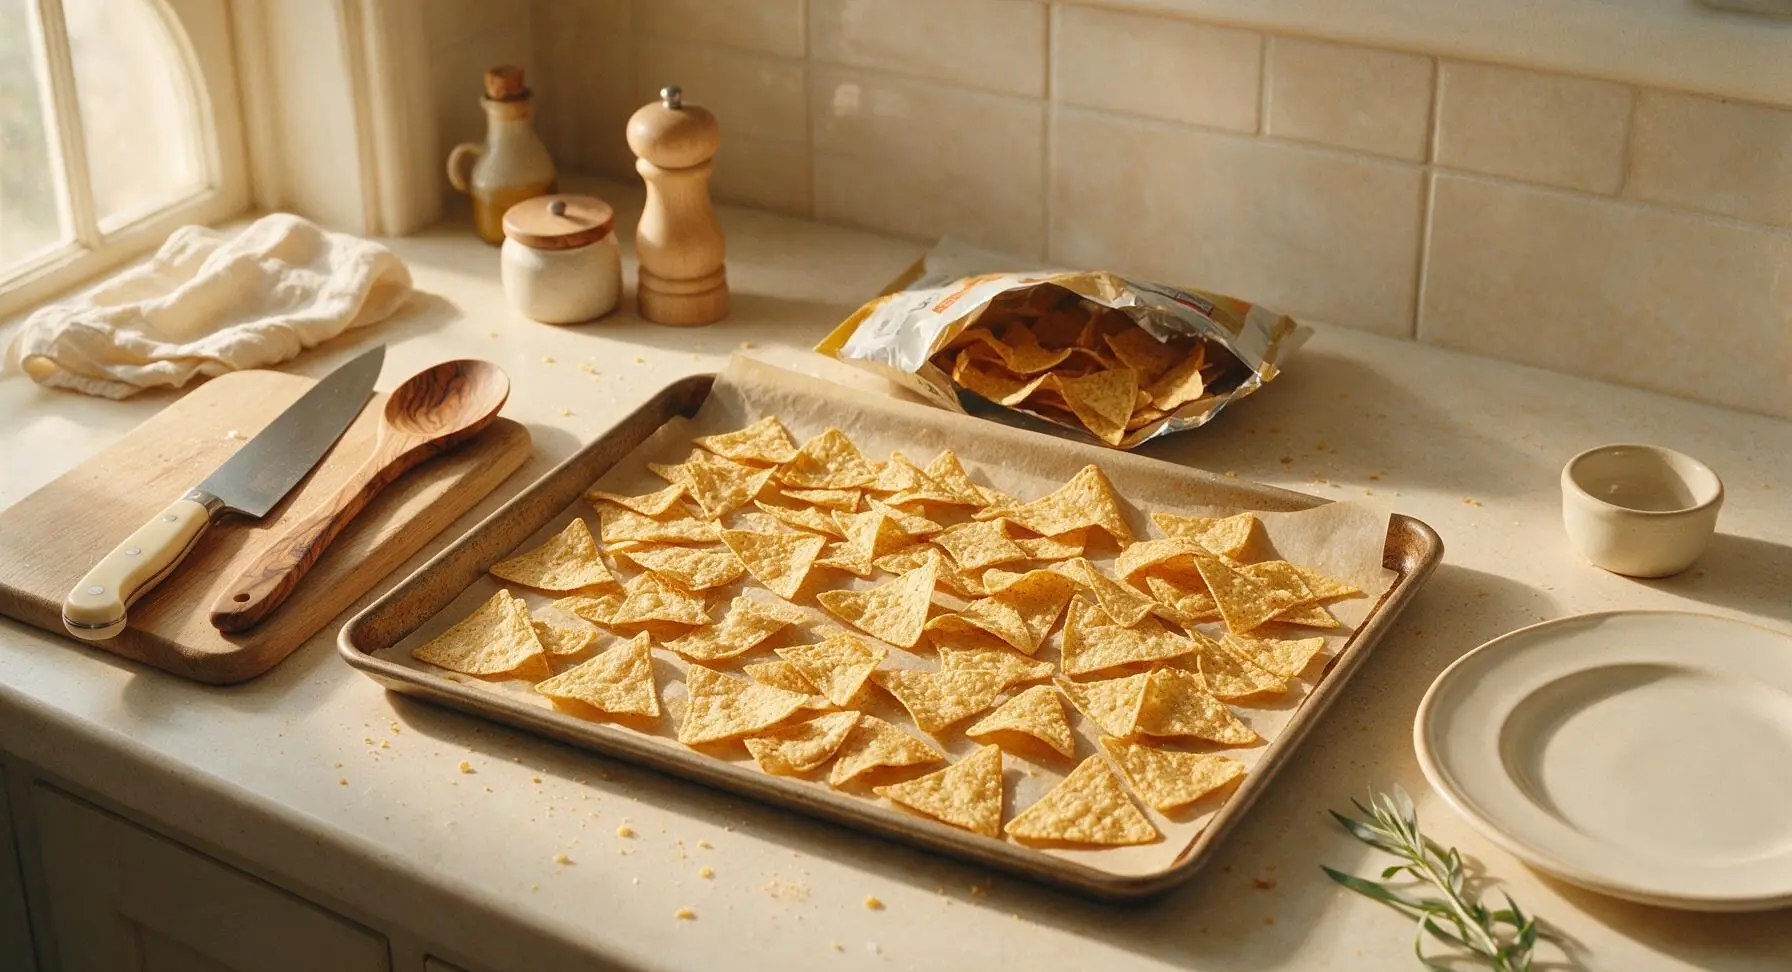
Pour the thick-cut tortilla chips across the oiled parchment-lined baking sheet, spreading them into a single, loosely overlapping layer. Check for large bare gaps in the chip layer and fill them with extra chips, making sure no section of parchment is exposed. Avoid stacking chips more than two layers deep, as thick stacks will leave inner chips uncoated in cheese and turn soggy.
Layer Cheese and Toppings
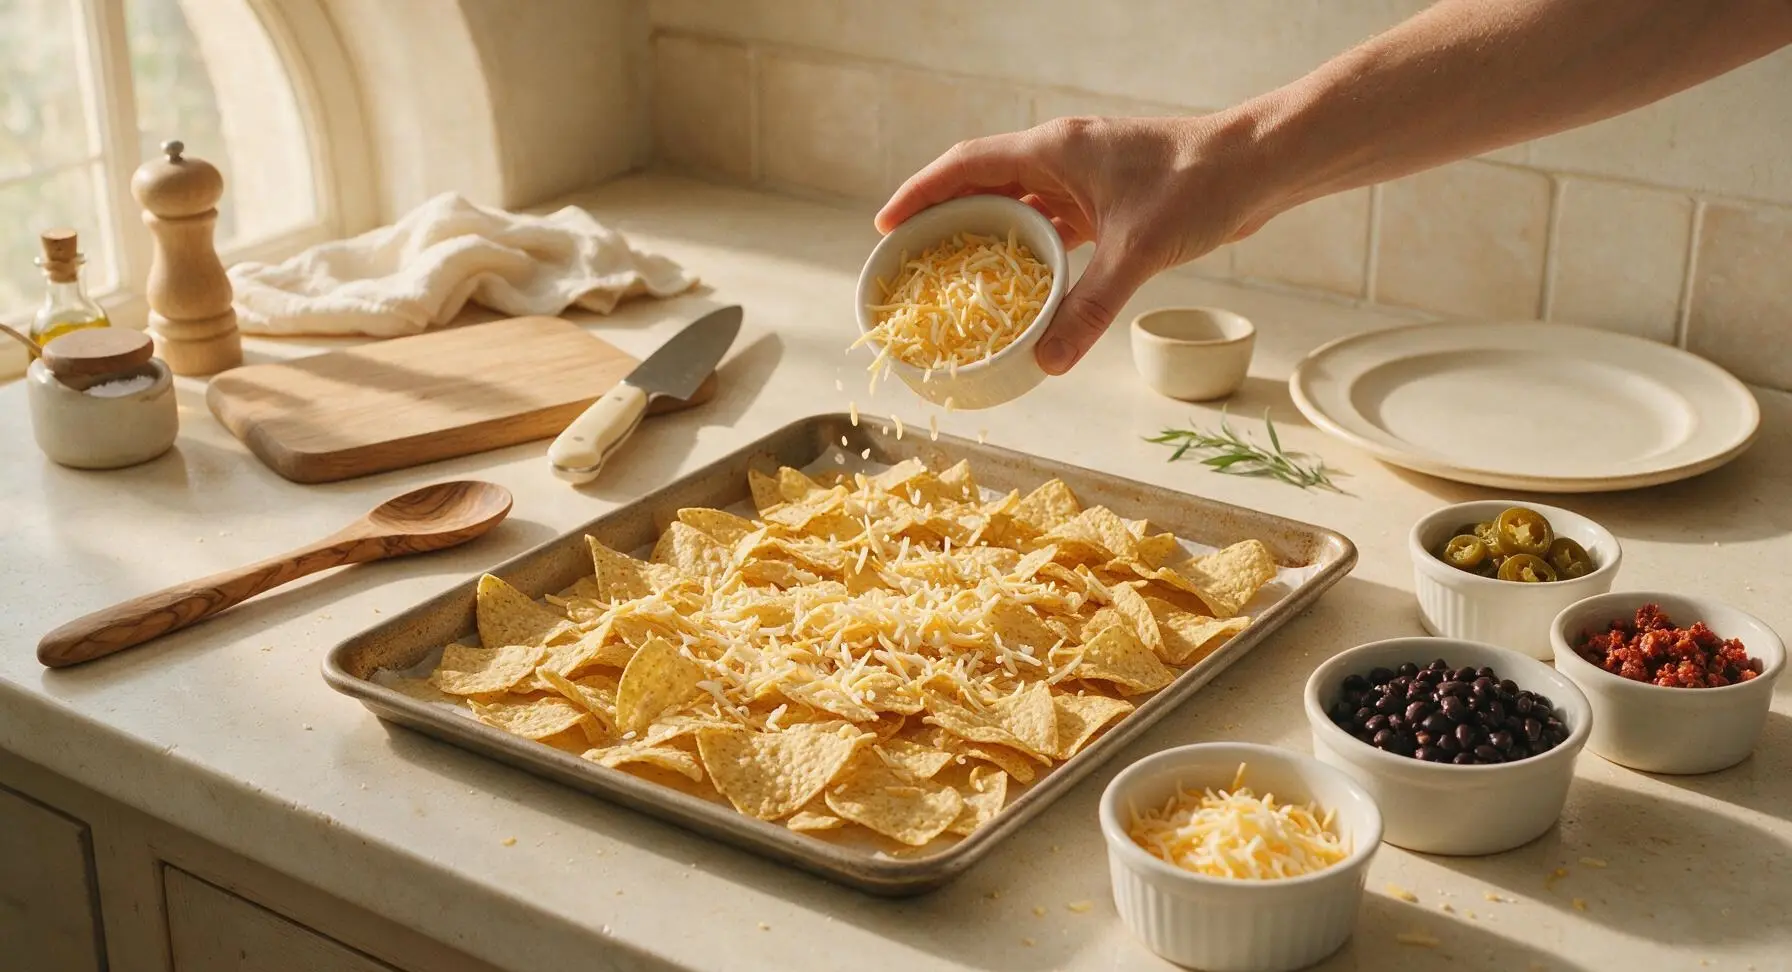
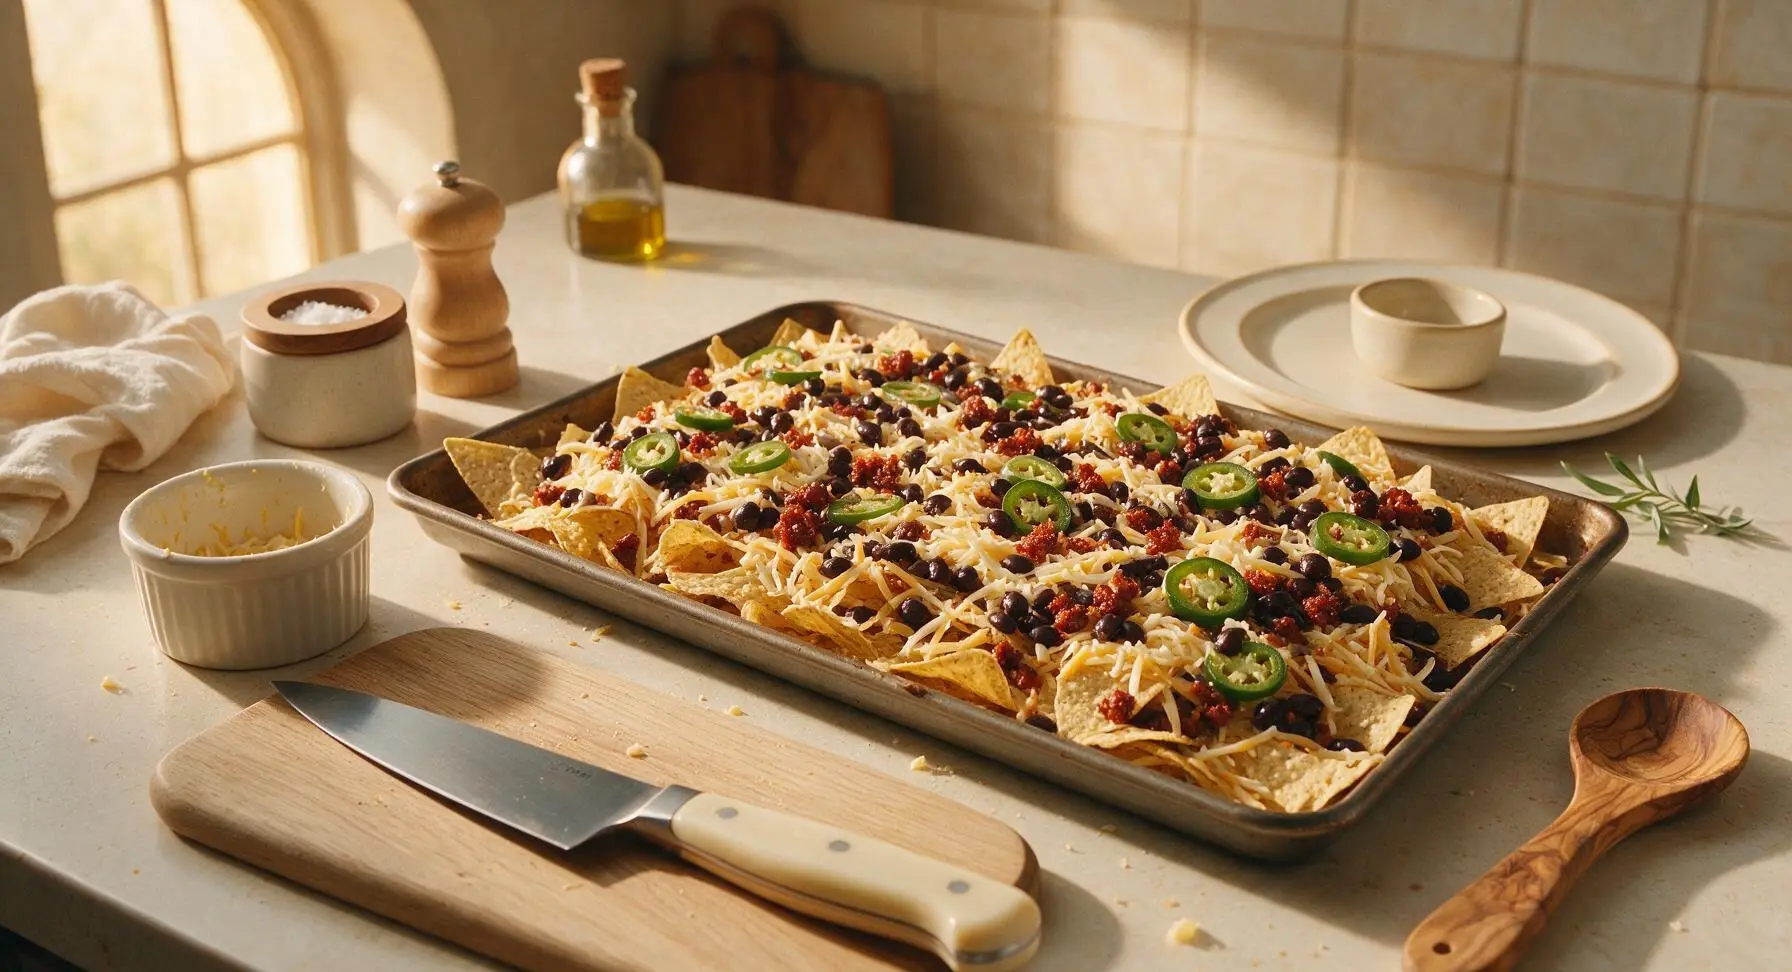
Sprinkle two-thirds of the mixed shredded cheese evenly across the entire chip layer, making sure every chip gets a light coating of cheese. Top the cheese with rinsed drained black beans, crumbled cooked chorizo, and half of the pickled jalapeño slices, distributing toppings evenly to avoid overloading any single section. Sprinkle the remaining one-third of the cheese over the top of the toppings to create a melted 'glue' that holds toppings to chips as it bakes.
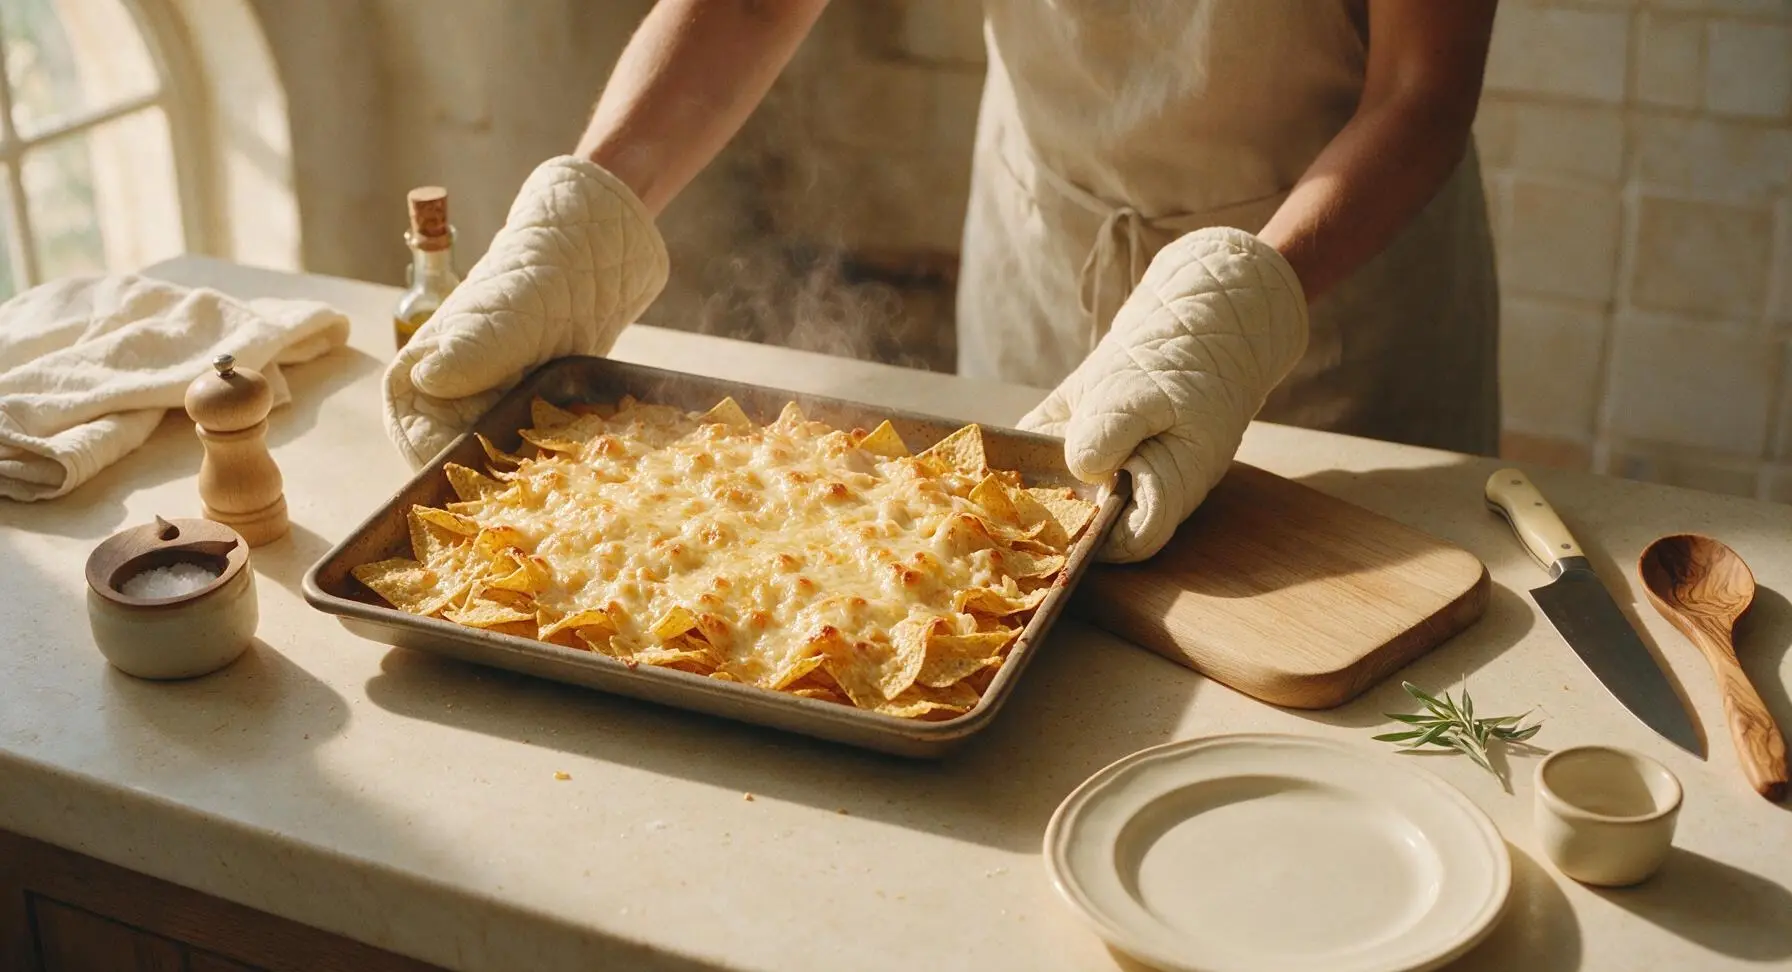
Bake Until Cheese Bubbles
Carefully slide the loaded baking sheet onto the middle oven rack. Bake for 8 to 10 minutes, until the cheese is fully melted and bubbly across the entire surface, and the edges of the outermost chips turn a deep, toasty golden brown. Start checking for doneness at the 7 minute mark to avoid burning cheese or crisping chips too far.
Add Fresh Garnishes
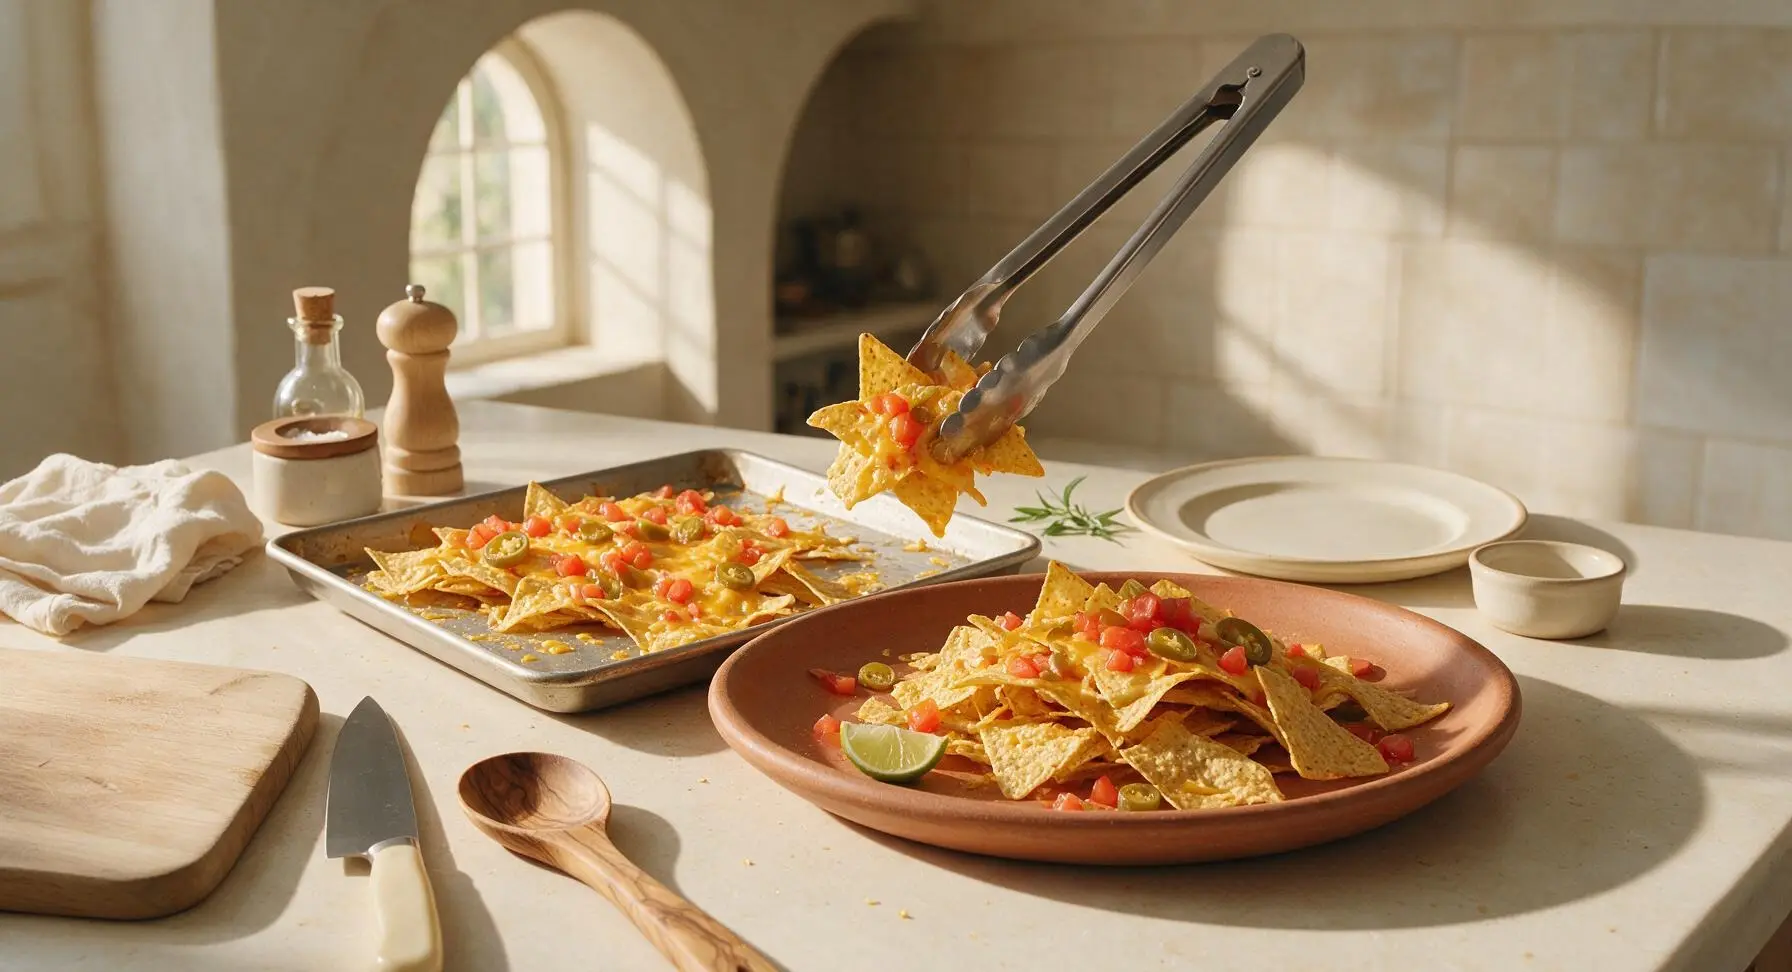
Use the stainless steel serving tongs to transfer the hot cheesy nachos from the baking sheet to the large matte terracotta serving platter, piling them loosely in the center. Top the hot nachos with diced fresh Roma tomato, the remaining pickled jalapeño slices, and a light 1/4 teaspoon sprinkle of kosher salt. Squeeze juice from two lime wedges evenly across the top for a bright, acidic kick.
Top and Serve Immediately
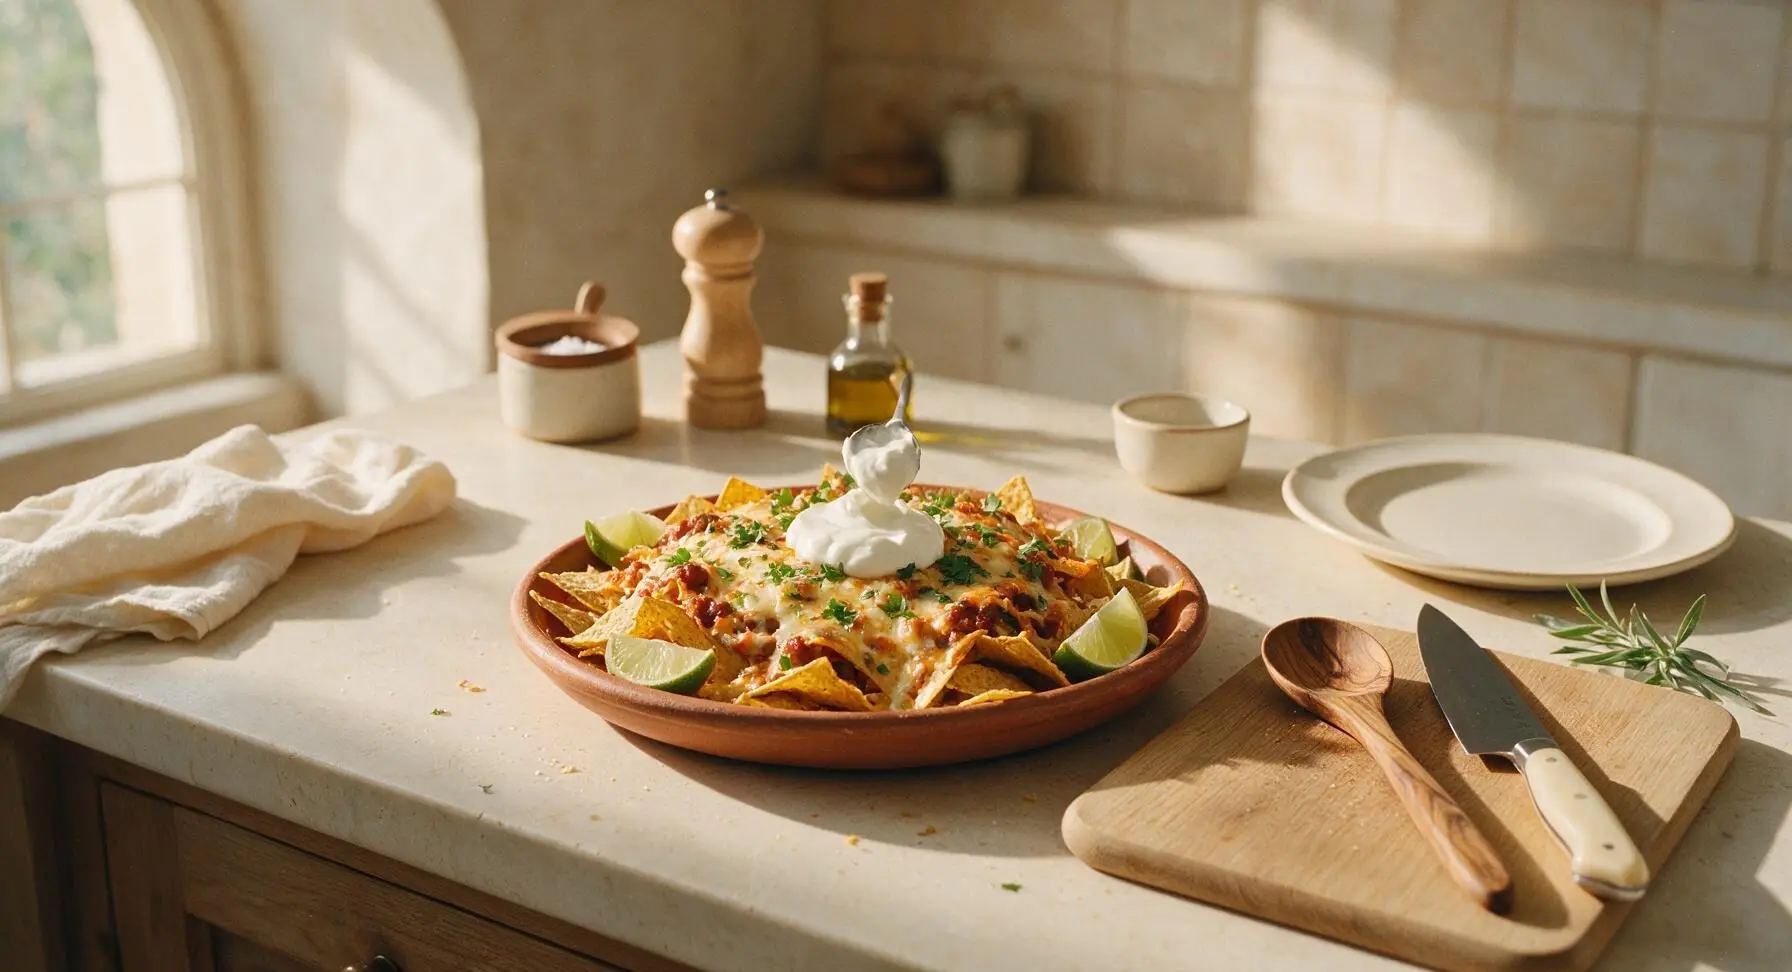
Drop three 2-tablespoon dollops of sour cream across the top of the nacho pile, then sprinkle with freshly chopped cilantro. Tuck the remaining two lime wedges around the edge of the platter for guests to squeeze as desired. Serve right away while the cheese is hot and stretchy, as nachos lose their crispness quickly once cool.
Tips
2.Always place a layer of cheese both below and on top of your solid toppings (beans, chorizo, jalapeños): this creates a melted cheese bond that keeps toppings attached to chips, so you don’t end up with all the good bits sliding to the bottom of the platter.
3.Hold off on adding wet, fresh toppings (diced tomato, sour cream, cilantro) until after the nachos come out of the oven: adding these before baking will introduce excess moisture that sogs out chips, and high heat will turn cilantro wilted and bitter.






OMG these were SO good! Threw them together for our last minute game night watch party and everyone was raving. 10 minute cook time is no joke, I didn’t even have to stress about missing kickoff. Will be making these every Sunday from now on, total game changer!
My kids loved it! I was scrambling for a quick after-school dinner before soccer practice and these came together so fast. I swapped the ground beef for leftover shredded chicken I had in the fridge and they ate every single bite, no complaints (which is basically a miracle with my two picky eaters).
Brought these to our neighborhood potluck last weekend and the pan was empty in 10 minutes flat. I added a dollop of guac and a drizzle of sour cream on top right before serving and people kept asking me for the recipe. So easy to transport too, just assemble on a big baking sheet and pop it in the host’s oven when you get there!
Super easy to make in my tiny dorm oven! Only reason I’m not giving 5 stars is I overloaded the chips a little too much so the bottom layer got soggy oops. Still tasted amazing though, way better than paying $12 for sad nachos from the campus dining hall.
Made a fully vegetarian version of these with black beans, corn, diced bell peppers, and pickled red onions and it was *chef’s kiss*. Even my meat-loving boyfriend went back for seconds! 10 minutes cook time is perfect for weeknights when I don’t feel like putting a ton of effort into dinner.
Made these for movie night with my teen daughter and her friends and they demolished the whole pan. I added some crumbled chorizo in with the cheese for extra flavor and everyone said they were better than the nachos at our local movie theater. 10/10, no notes.
These are really solid, only 4 stars because my oven runs hot so they were done in 8 minutes instead of 10 and I almost burned the edge chips! I added a bunch of sliced habaneros and a drizzle of hot honey for a sweet-spicy kick and it was chef’s kiss. Heads up for anyone with a finicky oven: start checking around 8 minutes to avoid burnt chips, and split toppings across two smaller sheets if you have a tiny oven so everything cooks evenly.
Y’all. This recipe saved my taco Tuesday last week when I forgot to pick up taco shells! I just used all the taco toppings I already had on top of the tortilla chips, baked for 10 minutes, and my family said it was better than actual tacos. Who knew?!
Prepped all the toppings ahead of time for our post-hike meal last weekend and all we had to do was assemble and throw in the oven when we got home. Tasted so good after 6 miles out on the trail, total comfort food.
Used smoked brisket leftovers on these instead of ground beef and holy cow, it was next level. Threw a little extra BBQ sauce drizzle on top and my buddies said it was the best tailgate food we’ve had all season. 10 minutes in the oven is all it takes, no fancy equipment needed.
I live in a tiny NYC apartment with a tiny wall oven and I was worried these wouldn’t turn out, but they were perfect! I used a quarter sheet pan so it fit in my tiny oven and baked exactly 10 minutes, cheese was perfectly melted, chips were crispy. Perfect lazy Friday night dinner.
Game changer for lazy weeks! I keep a big bag of tortilla chips, shredded cheese, and canned black beans in my pantry at all times so I can throw these together even when I haven’t gone grocery shopping in a week. No fancy ingredients required, which is my favorite kind of recipe.
Made these for my son’s soccer team snack after their big win on Saturday and all the kids (and parents!) were obsessed. I made a big sheet pan of them, set out little cups of sour cream and salsa for dipping, and it was so much easier than making a bunch of sandwiches. Will be my new go-to team snack!
4 stars because I only had super basic ingredients on hand when I made these, but they still slapped! Threw them together last night when my friends showed up unannounced to play video games—all I had was chips, a bag of shredded cheese, and a jar of salsa, no extra toppings. Next time I’ll pick up some jalapeños, guac, and black beans to load them up properly, but for a last minute pantry-staple snack it was chef’s kiss.
So happy this recipe is naturally gluten free as long as you use corn tortilla chips! I have celiac and it’s so hard to find easy, shareable snacks I can bring to friend gatherings without worrying about cross contamination. These were a hit at our girls’ night last night, no one even realized they were gluten free!
Tried these out as an appetizer for our Sunday family dinner with my in-laws and I got so many compliments. I added a layer of refried beans between the chips and cheese and it added such a great creamy texture, everyone was asking how I made them. So easy even a beginner cook like me can pull it off without messing up.
Just pulled these out of the oven and they smell incredible! I added some pickled jalapeños, black olives, and diced tomatoes on top and can already tell this is going to be a new household staple. Perfect for when my husband gets home from his late shift tonight, he’s going to lose his mind over how good these are.