
ninja rice pudding
intro
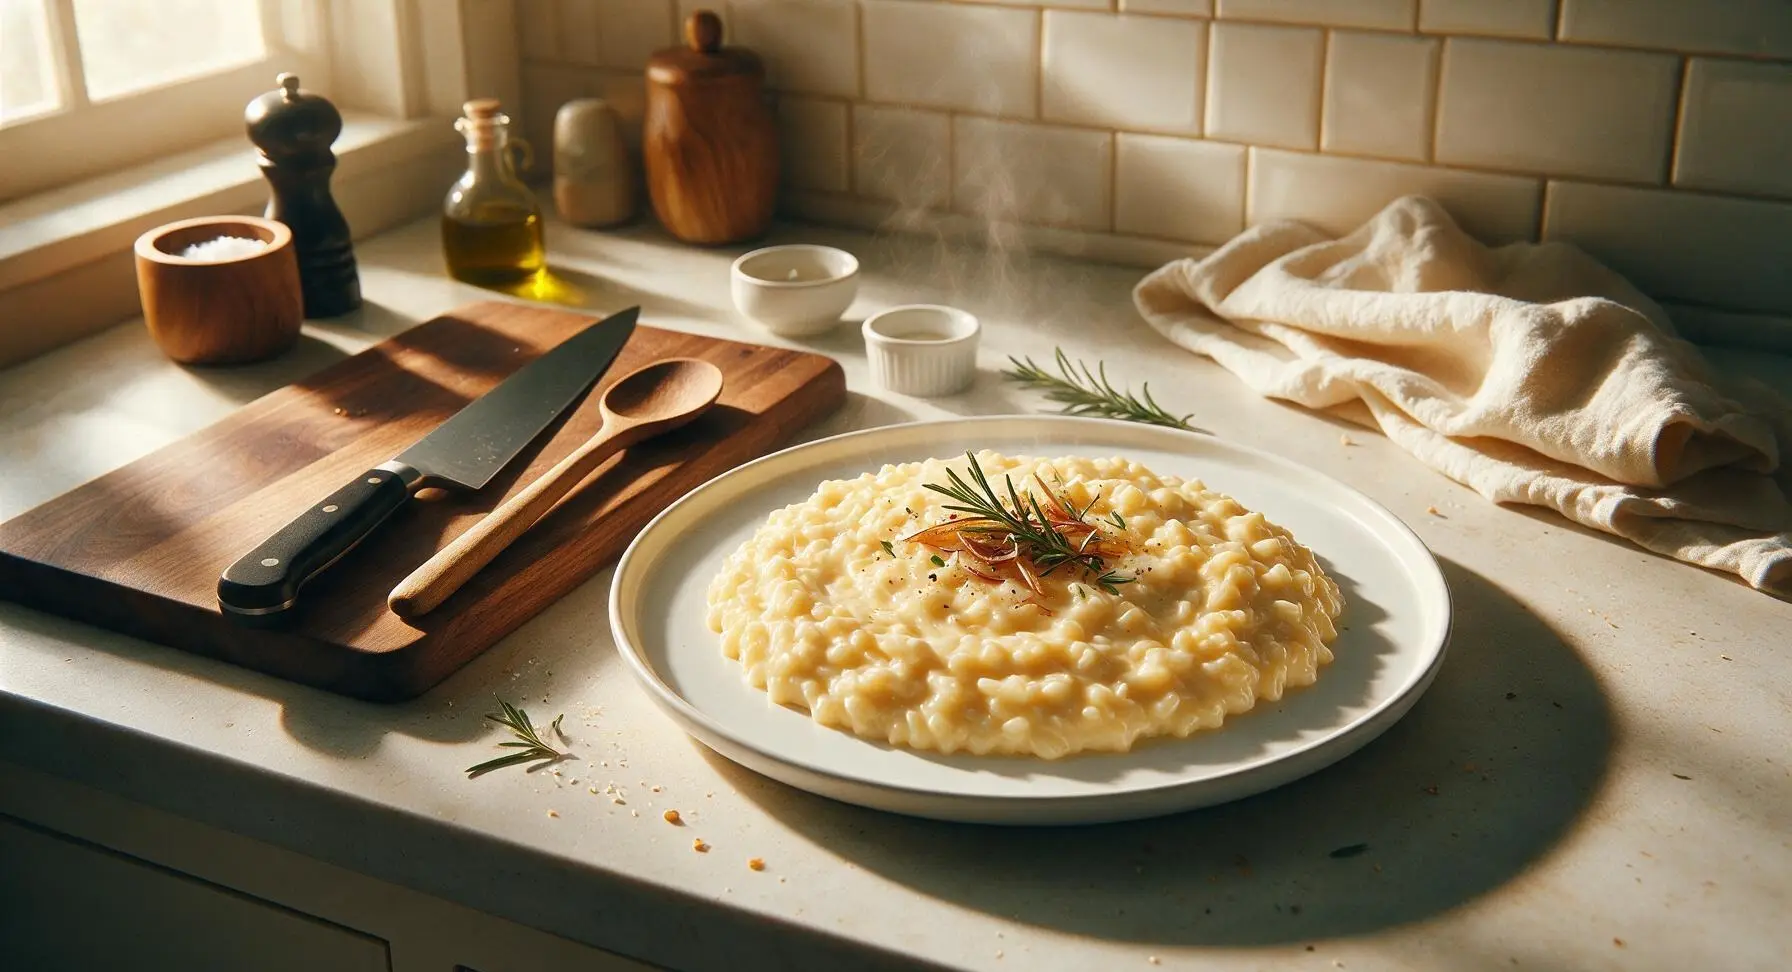
Ultra-creamy, no-stir short-grain rice pudding ready in 30 minutes with zero constant stirring—rich, vanilla-kissed, and perfectly silky, living up to its fast, fuss-free 'ninja' name.
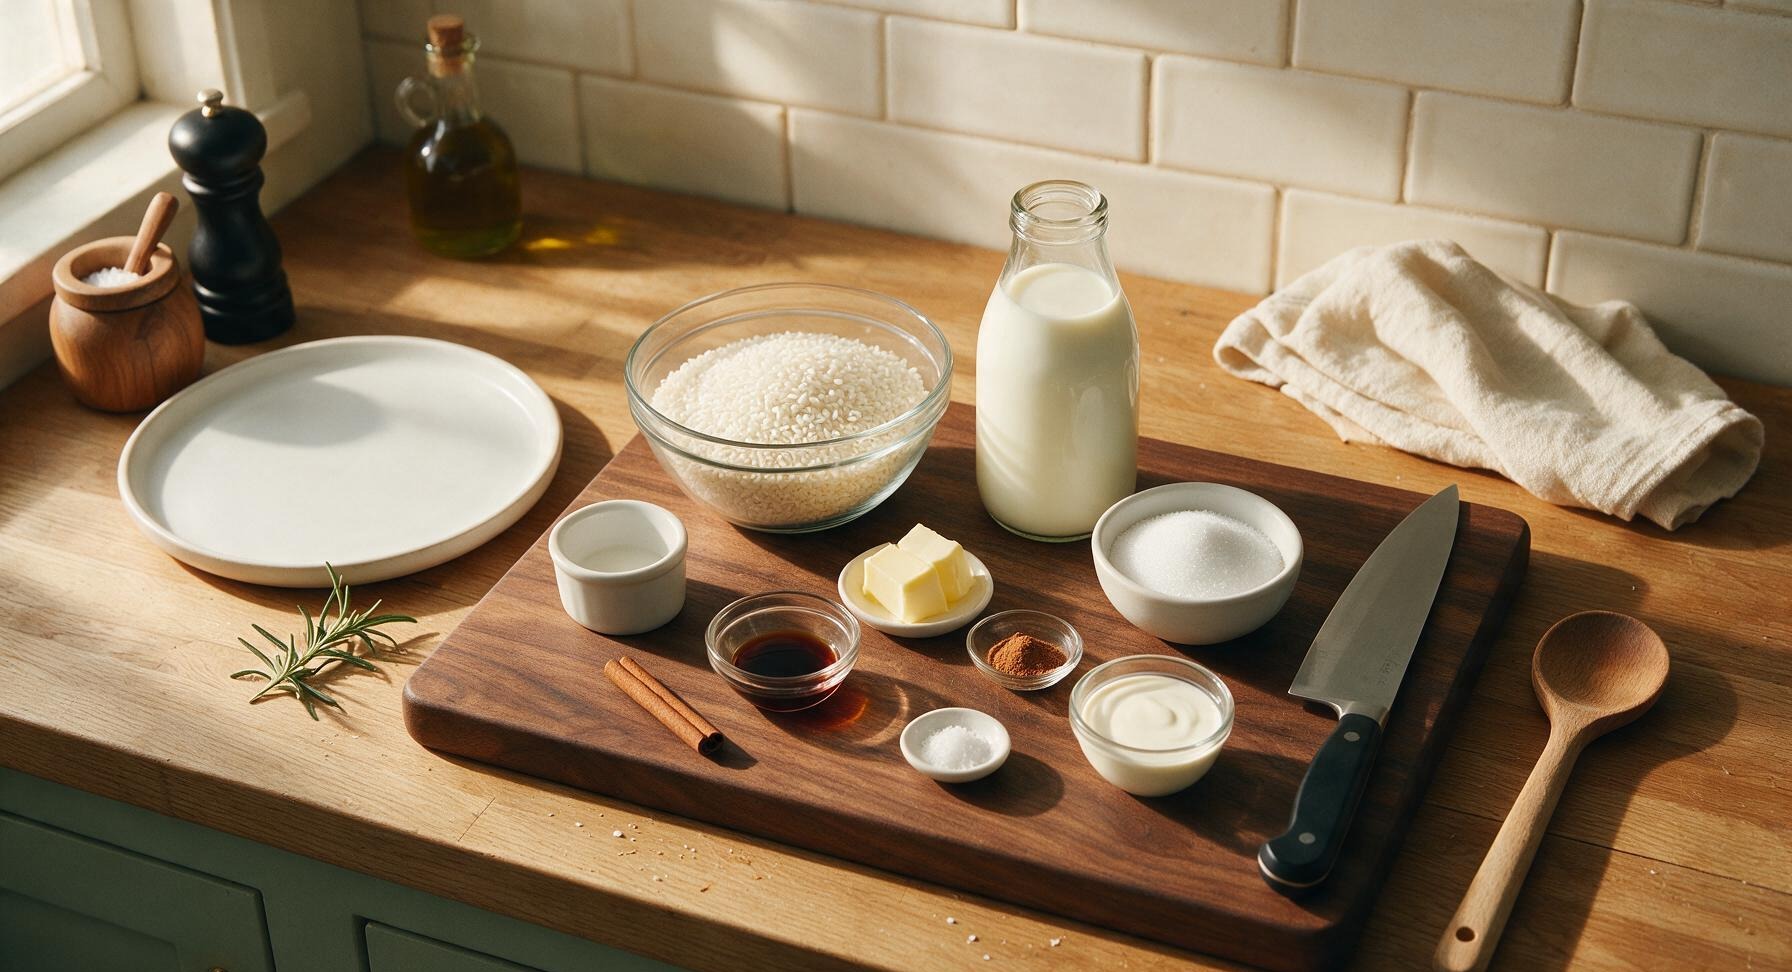
Ingredients
Steps
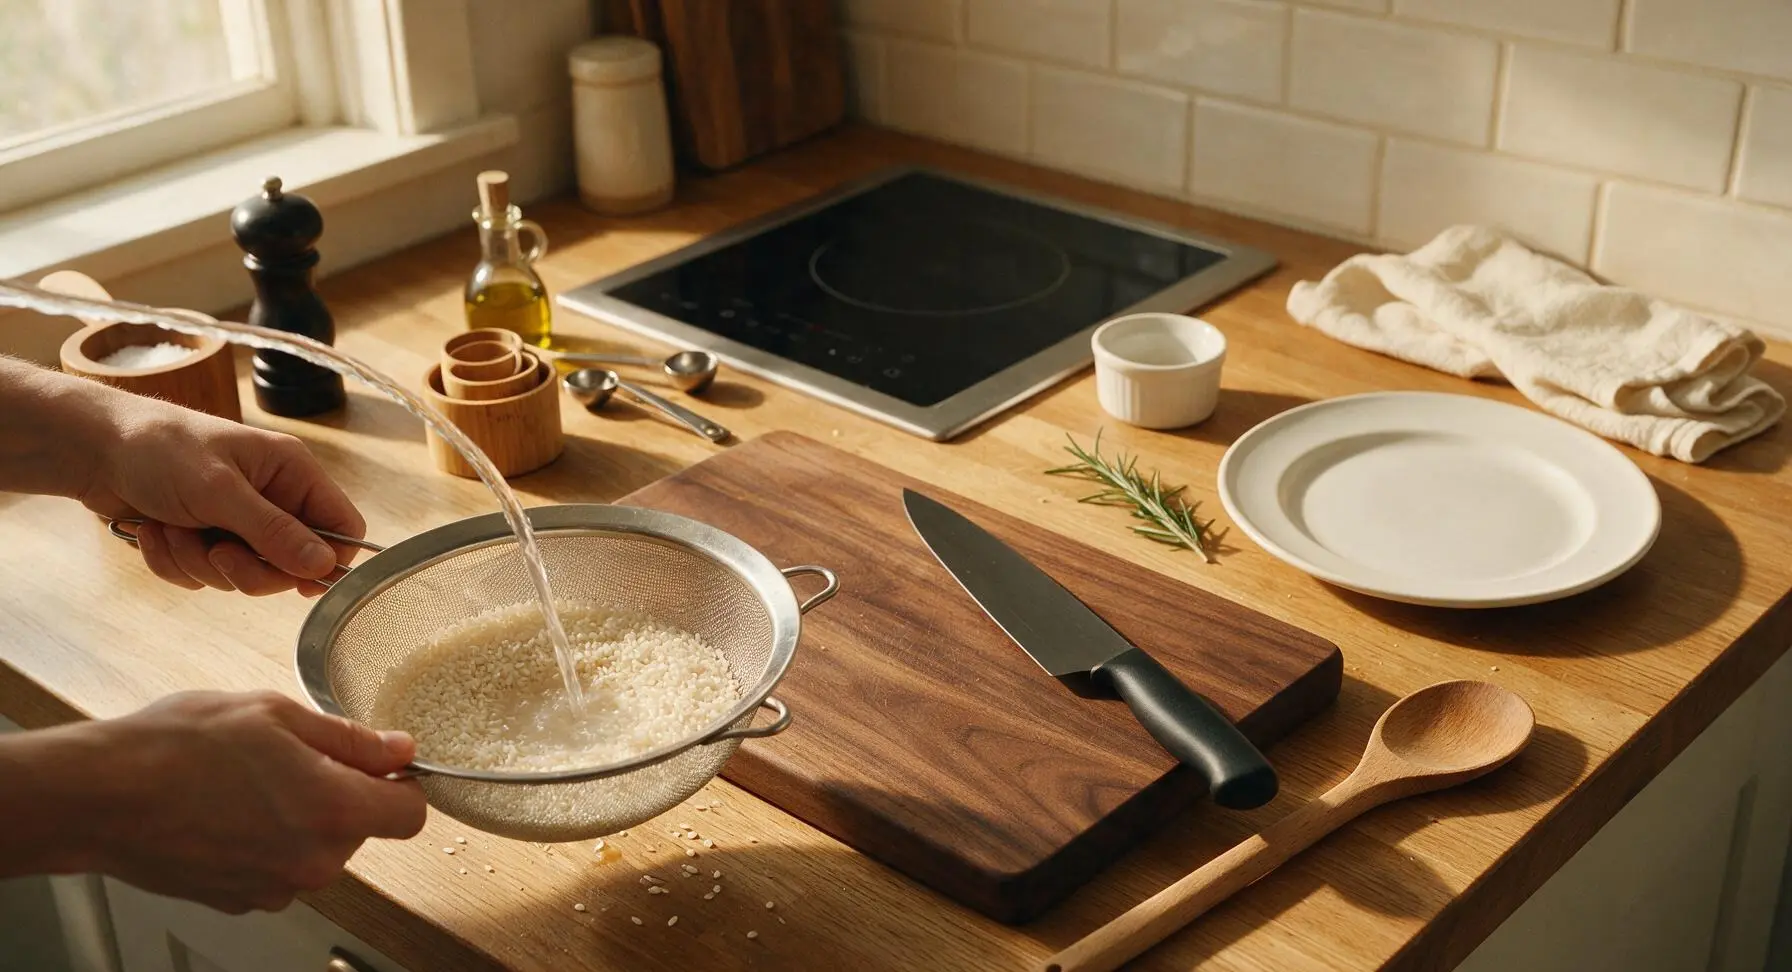
Rinse Short-Grain Rice
Measure 1 cup of Japanese short-grain white rice using the 1-cup bamboo measure. Place rice in the 10cm fine-mesh stainless sieve and rinse under cool running water for 30 seconds until the water runs just slightly cloudy, not completely clear. Drain well—this removes excess surface starch so the pudding is creamy, not gluey.
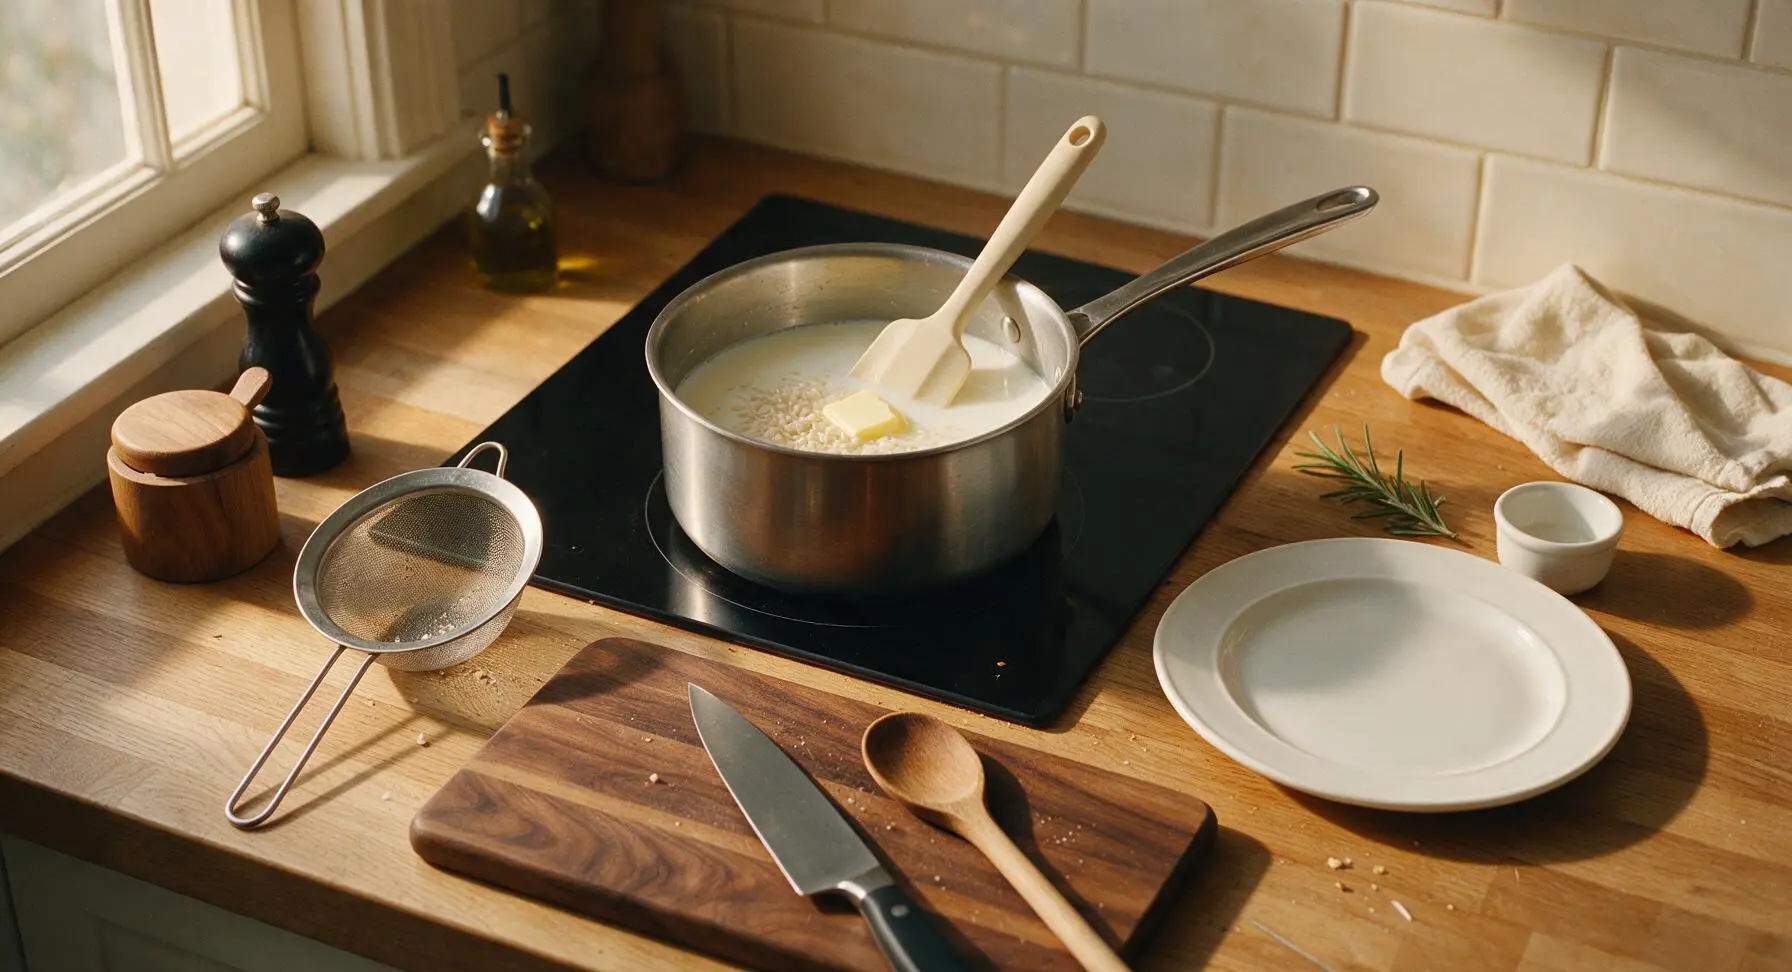
Combine Base Ingredients
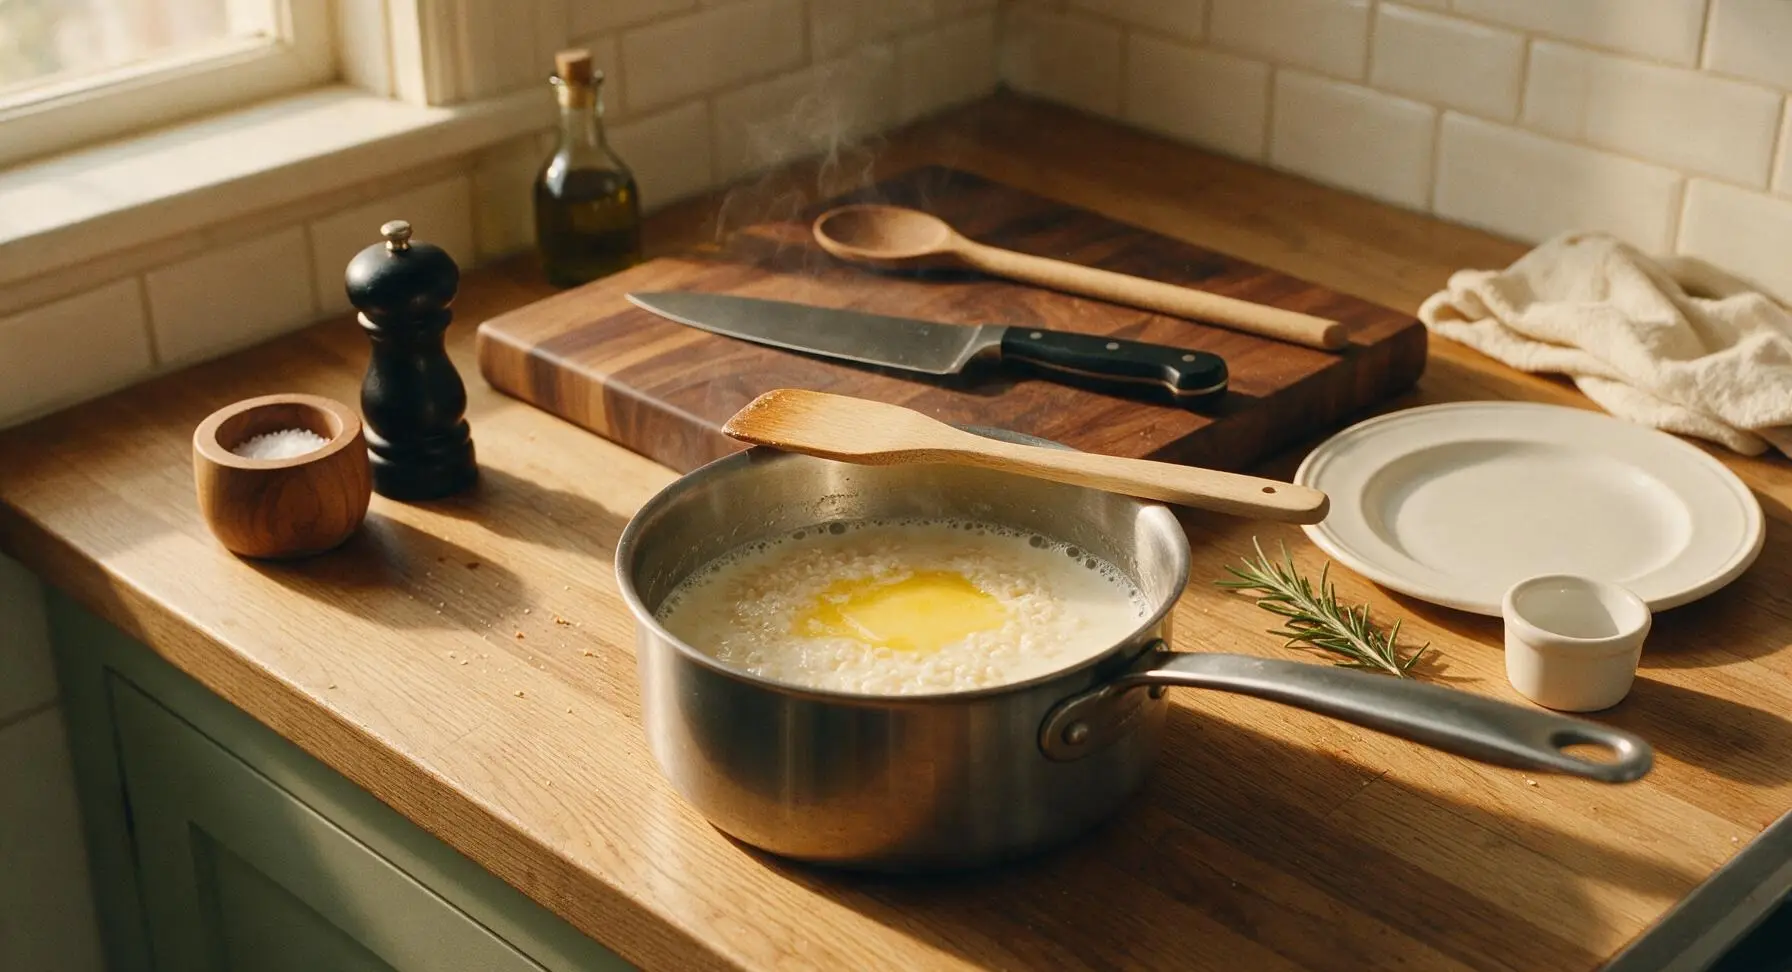
Set the rinsed, drained rice into the 2-quart brushed stainless steel saucepan placed on the center induction burner. Add 3 cups whole milk, 1/4 tsp fine sea salt, and 1 tbsp unsalted butter to the pan. Stir once gently with the matte cream silicone spatula to lift any rice grains off the pan bottom, ensuring no grains are stuck before heating begins. Set the induction burner to medium heat (350°F / 175°C) to bring the mixture to a gentle simmer.
Bring to Gentle Simmer
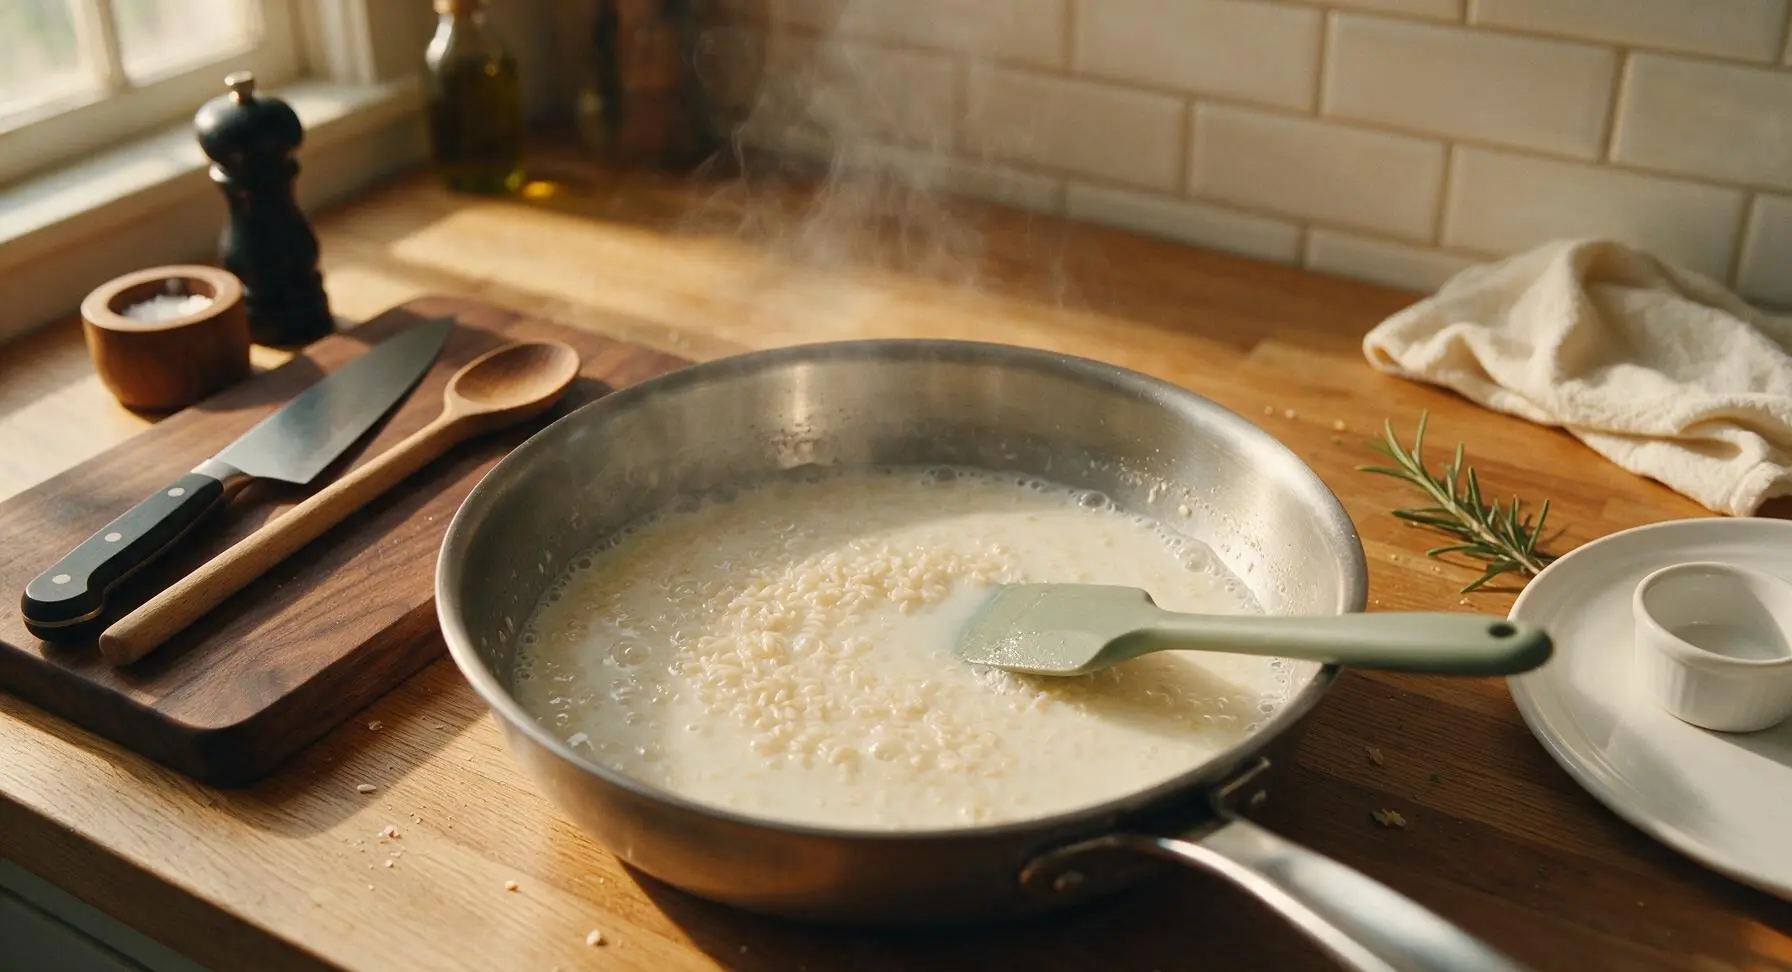
Heat the milk and rice mixture for 6-8 minutes, stirring once every 2 minutes with the silicone spatula to prevent rice from sticking to the pan bottom, until the mixture reaches a gentle, bubbling simmer (not a rolling boil—boiling will cause the milk to scald and curdle). Small steady bubbles should break around the pan edges, with steam rising steadily from the surface.
Reduce Heat to Cook
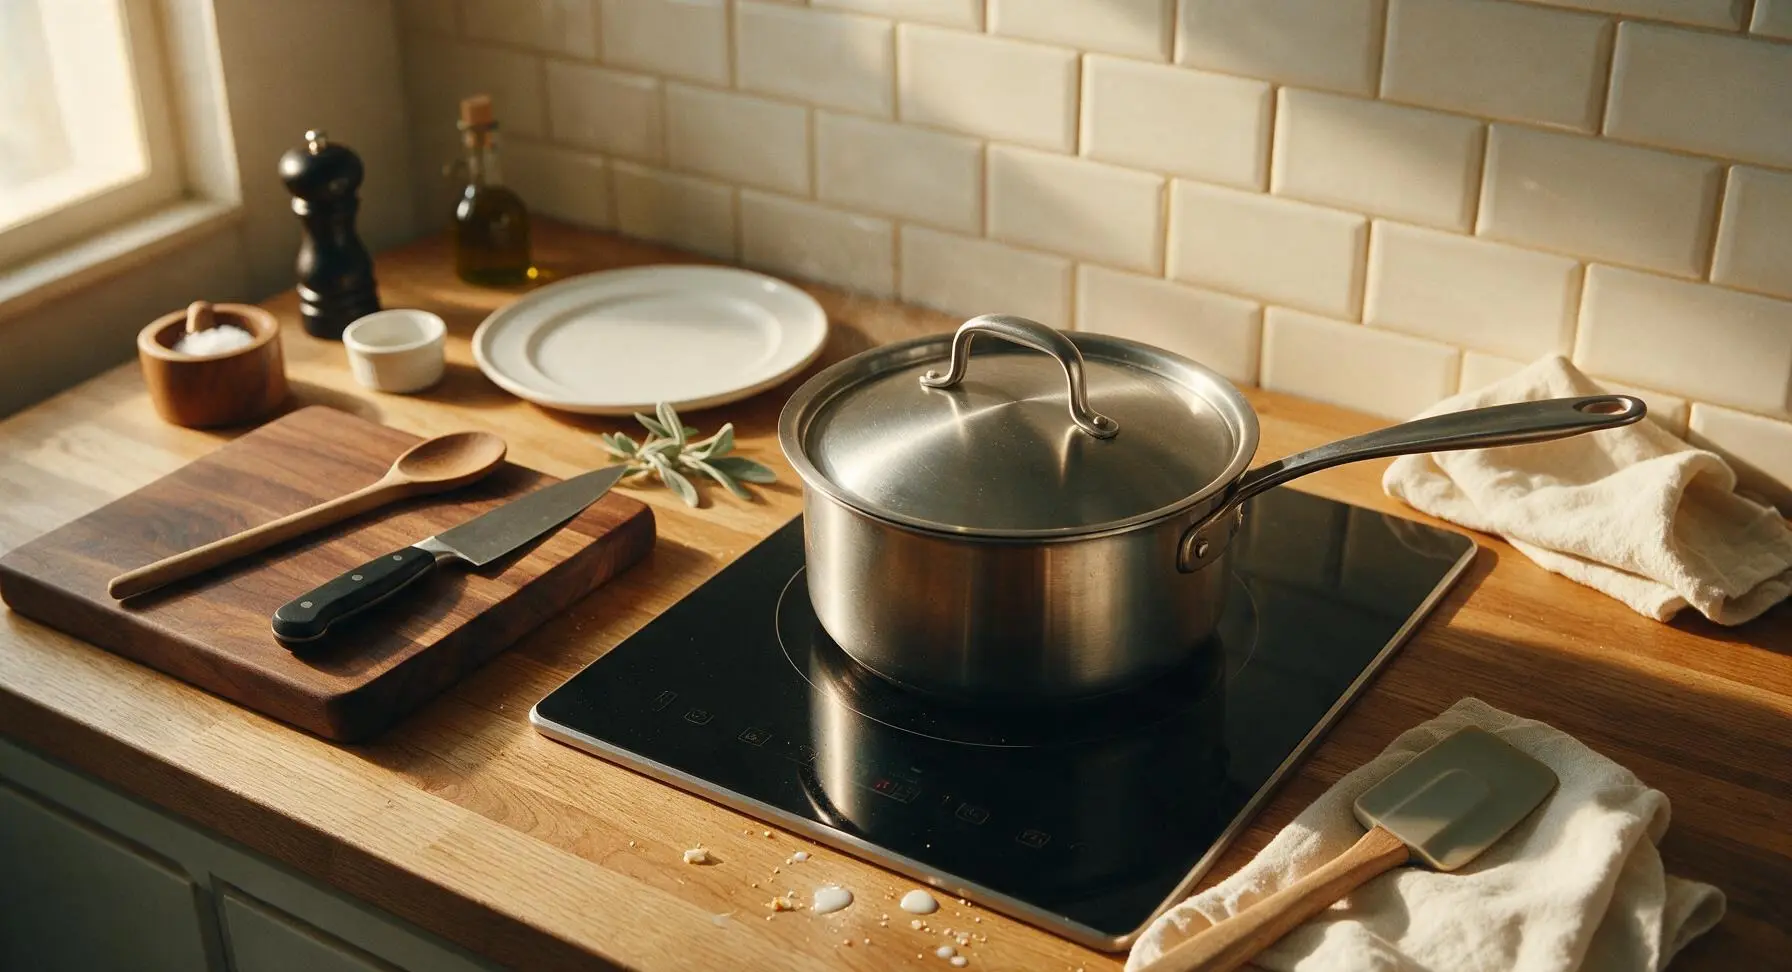
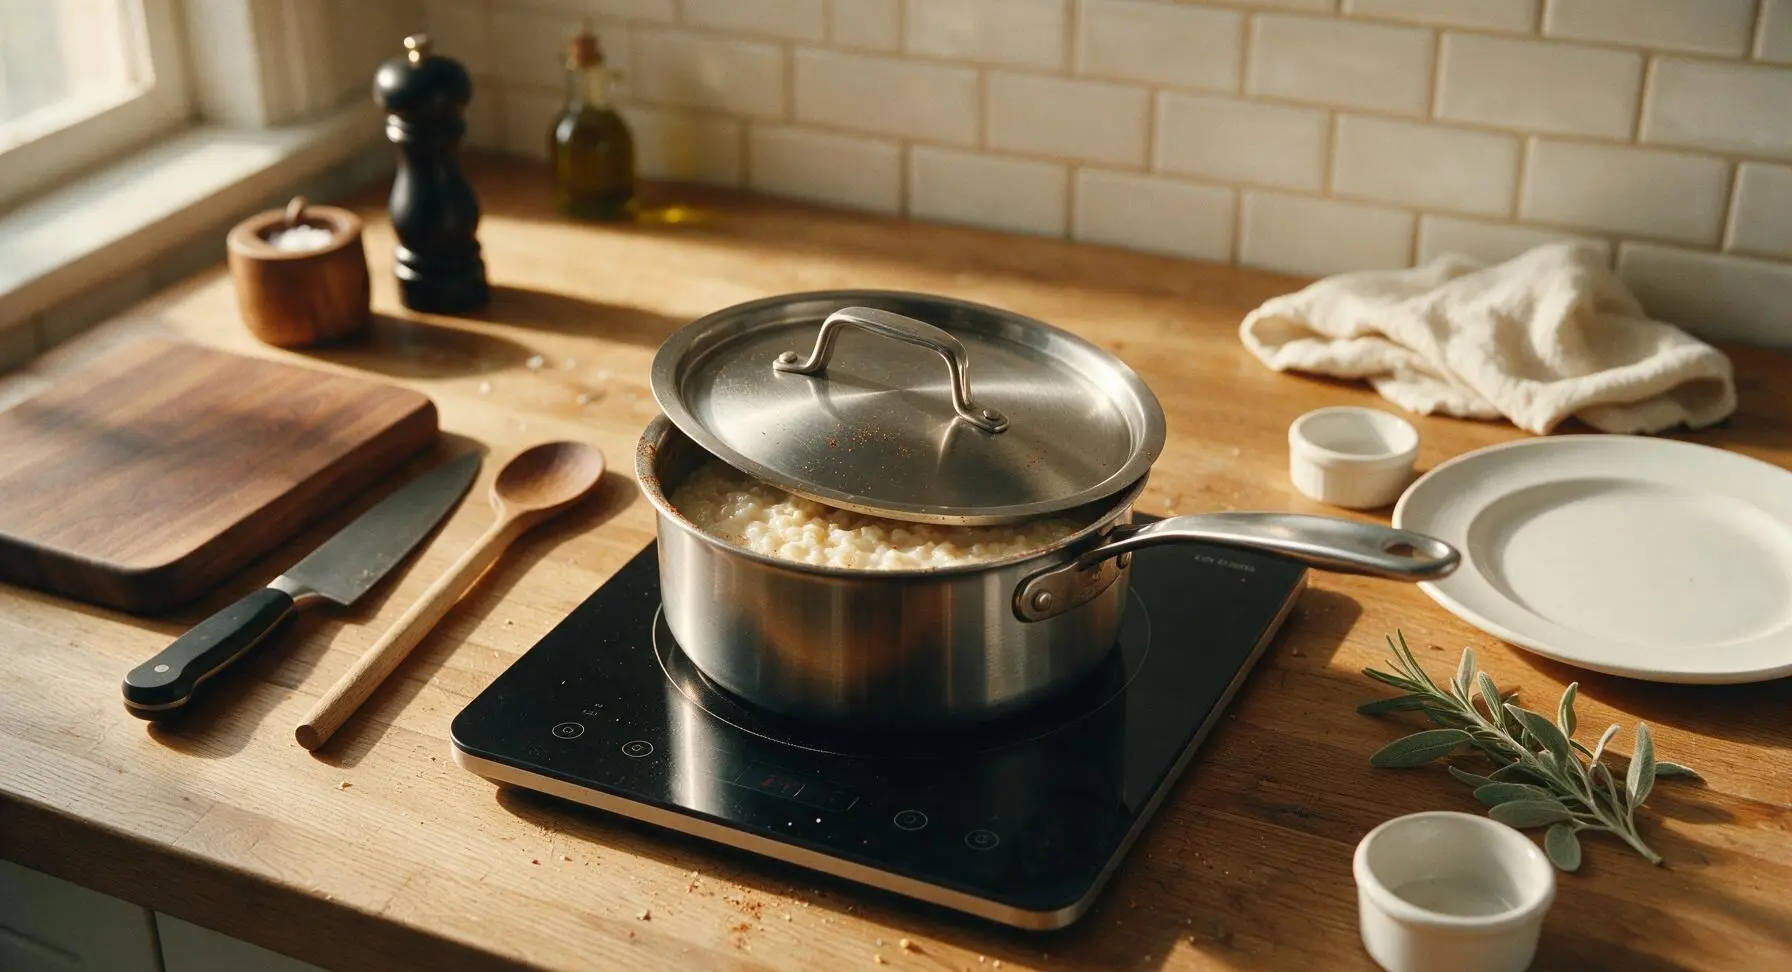
Turn the induction burner down to low heat (200°F / 95°C), cover the saucepan with its tight-fitting stainless lid, and set a timer for 15 minutes. Do not lift the lid to stir during this time—trapped steam will cook the rice evenly and release starch to create a silky texture without constant stirring, the signature 'ninja' trick for perfect rice pudding.
Stir in Sugar and Vanilla
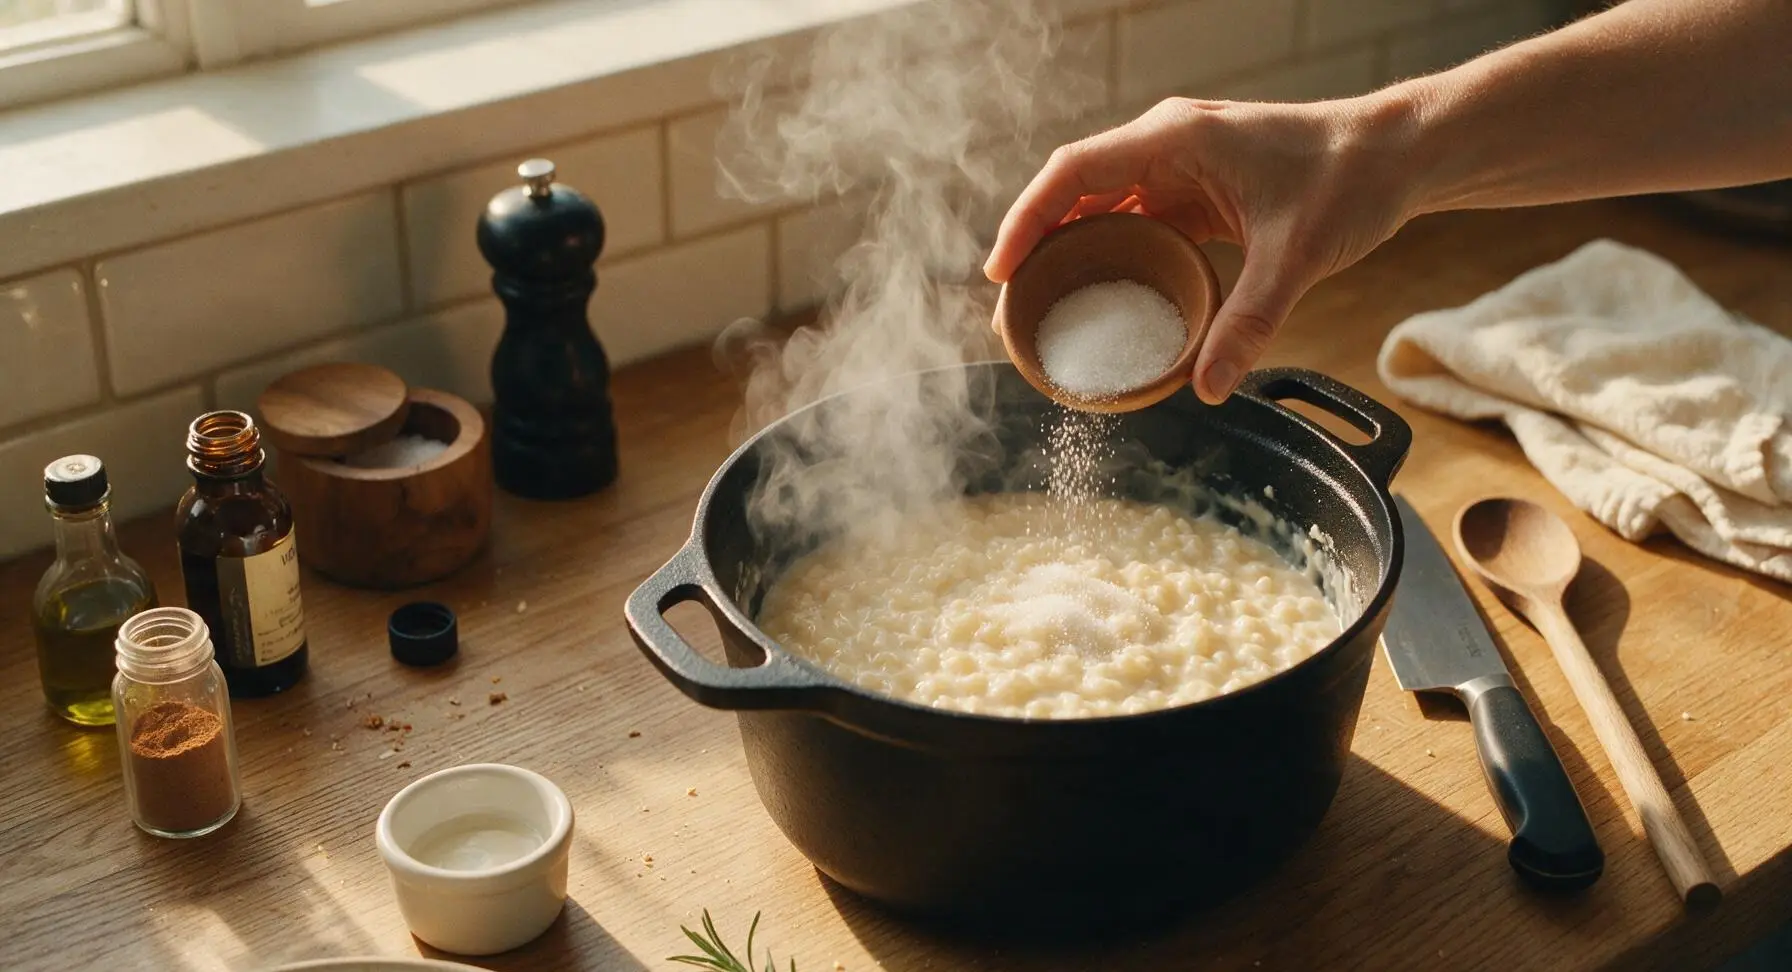
After 15 minutes of covered cooking, turn off the heat. Lift the lid carefully (tilt it away from your face to avoid steam burns), and add 1/3 cup granulated sugar, 1 tsp pure vanilla extract, 1/2 tsp ground cinnamon, and the remaining 1 tbsp unsalted butter to the pan. Stir slowly and gently with the silicone spatula for 1 minute, folding the ingredients into the rice until the sugar and butter are fully melted, and the pudding is thick and creamy.
Rest to Thicken
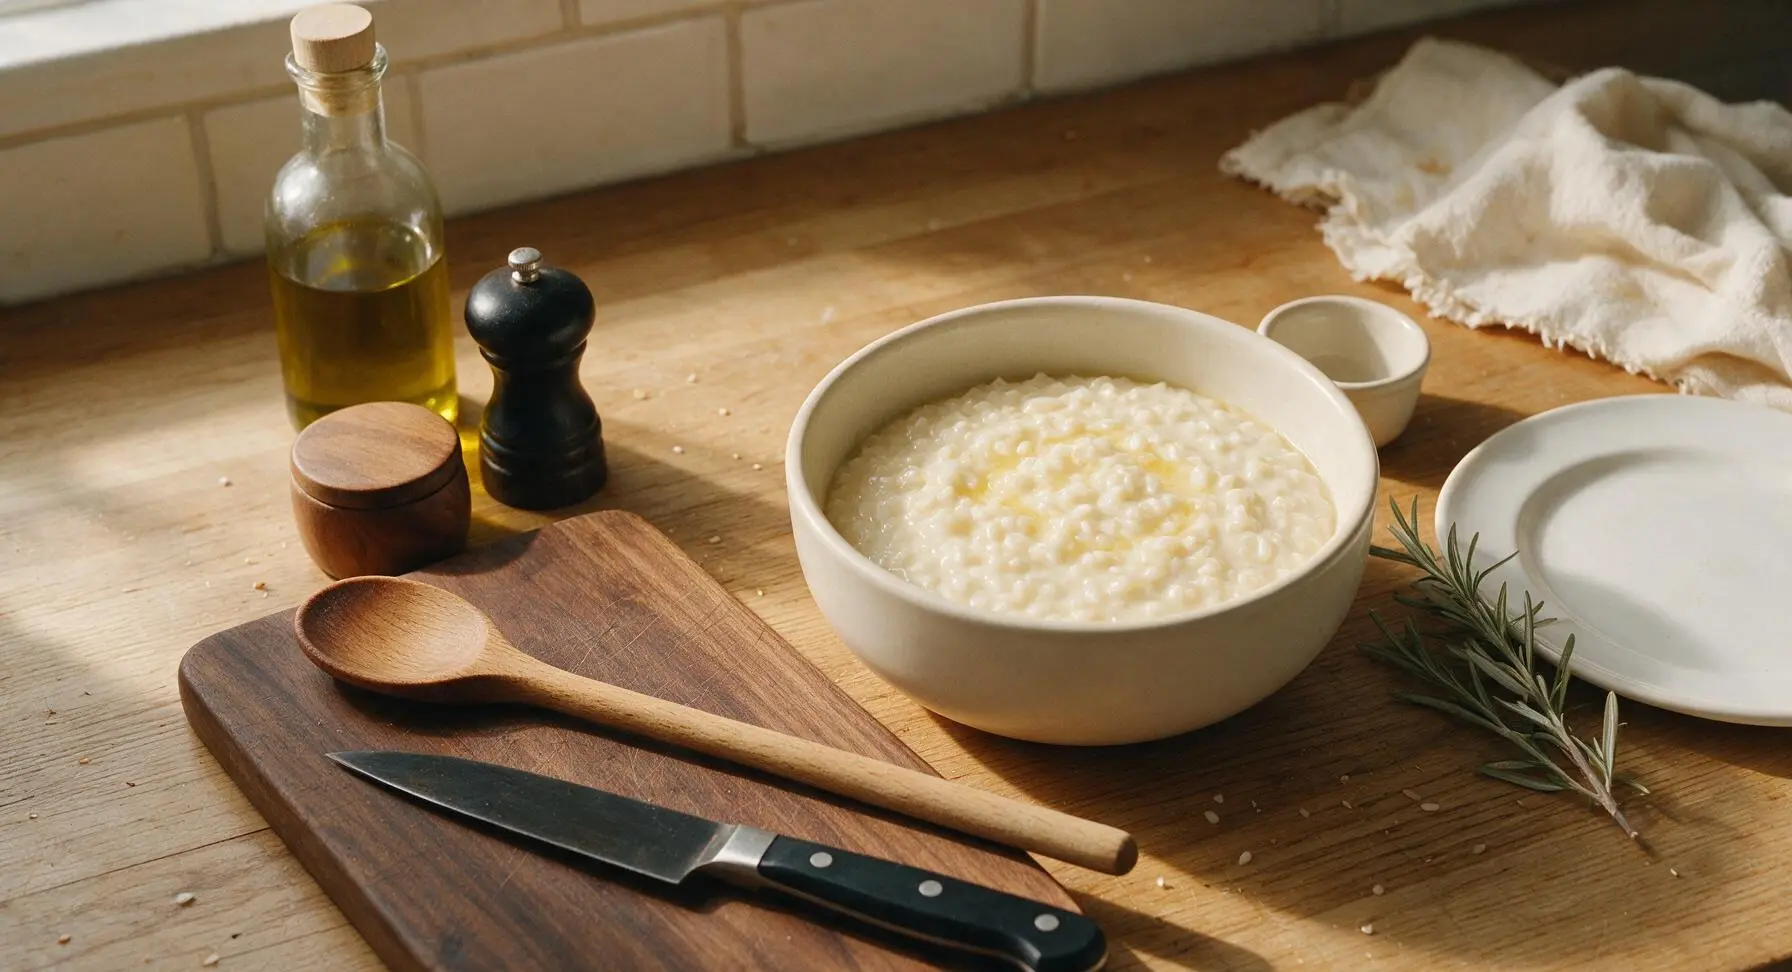
Replace the lid on the saucepan loosely, and let the pudding rest off the heat for 5 minutes. During this time, the rice will absorb more liquid, and the pudding will thicken to the perfect rich, spoon-coating consistency. It will continue to thicken as it cools, so don't worry if it looks slightly loose right after stirring.
Fold in Heavy Cream
Remove the lid, add 1/4 cup cold heavy cream to the pudding, and stir gently with the silicone spatula to combine. The cold cream will add a luxurious, silky richness and cool the pudding slightly to a perfect warm serving temperature. Taste and add a tiny pinch more salt if needed to balance the sweetness.
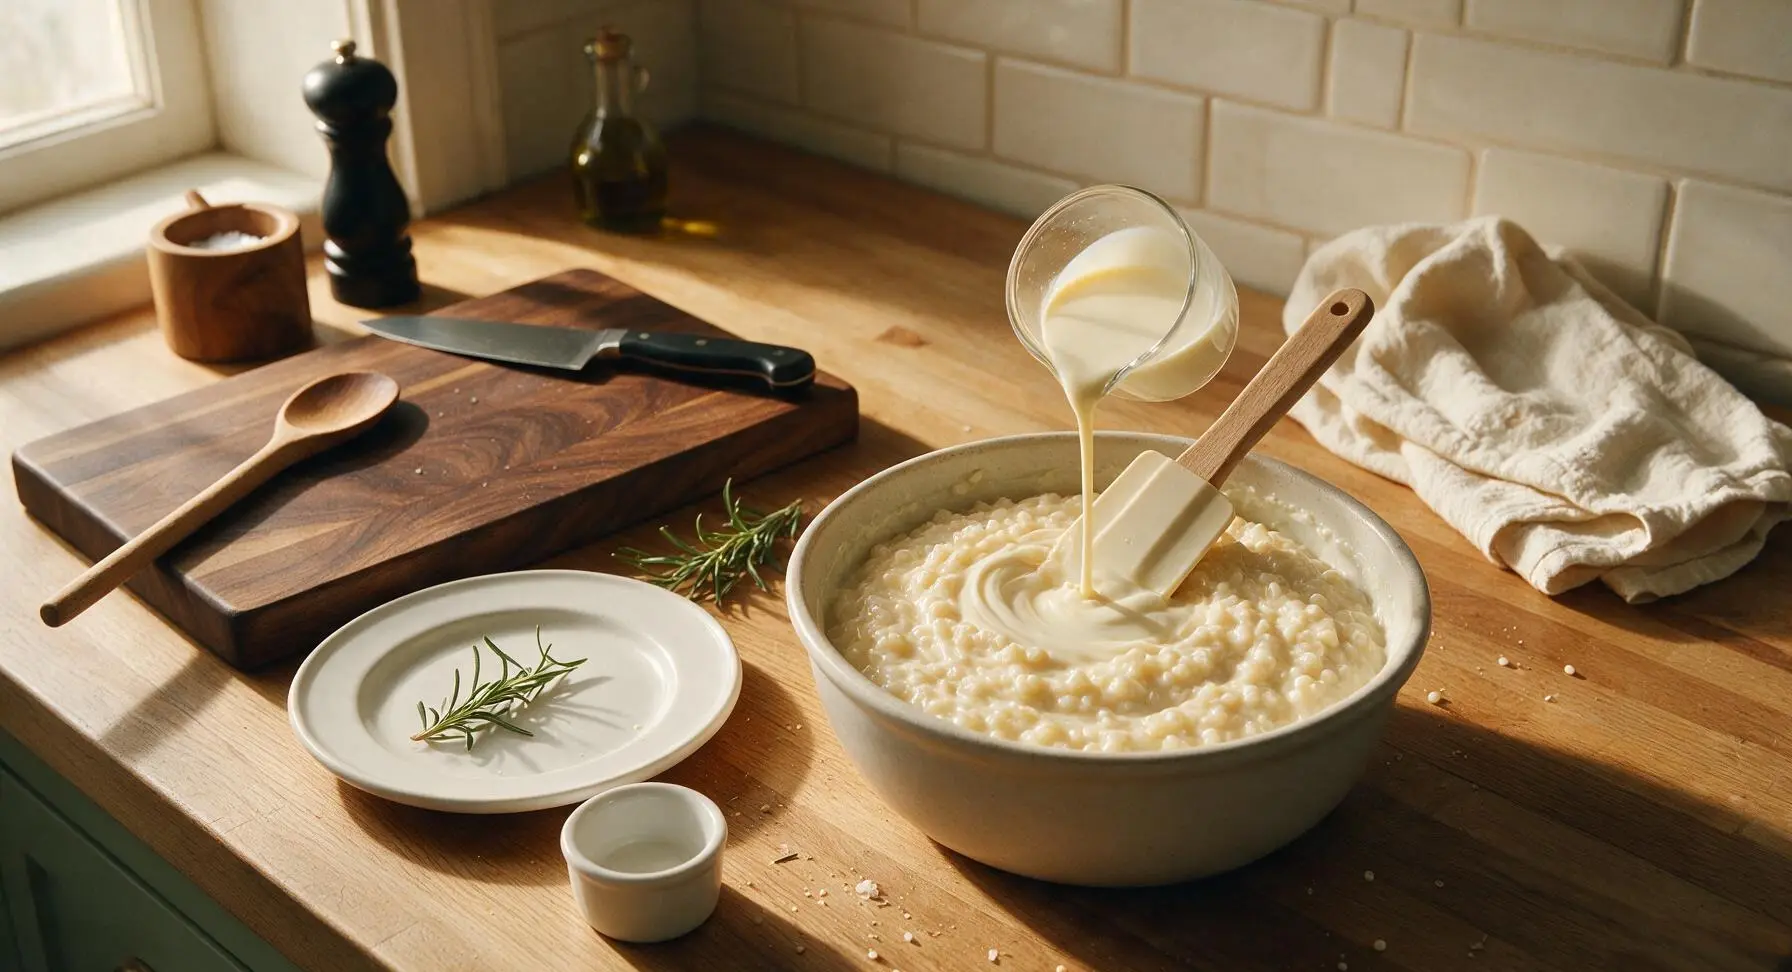
Plate and Garnish
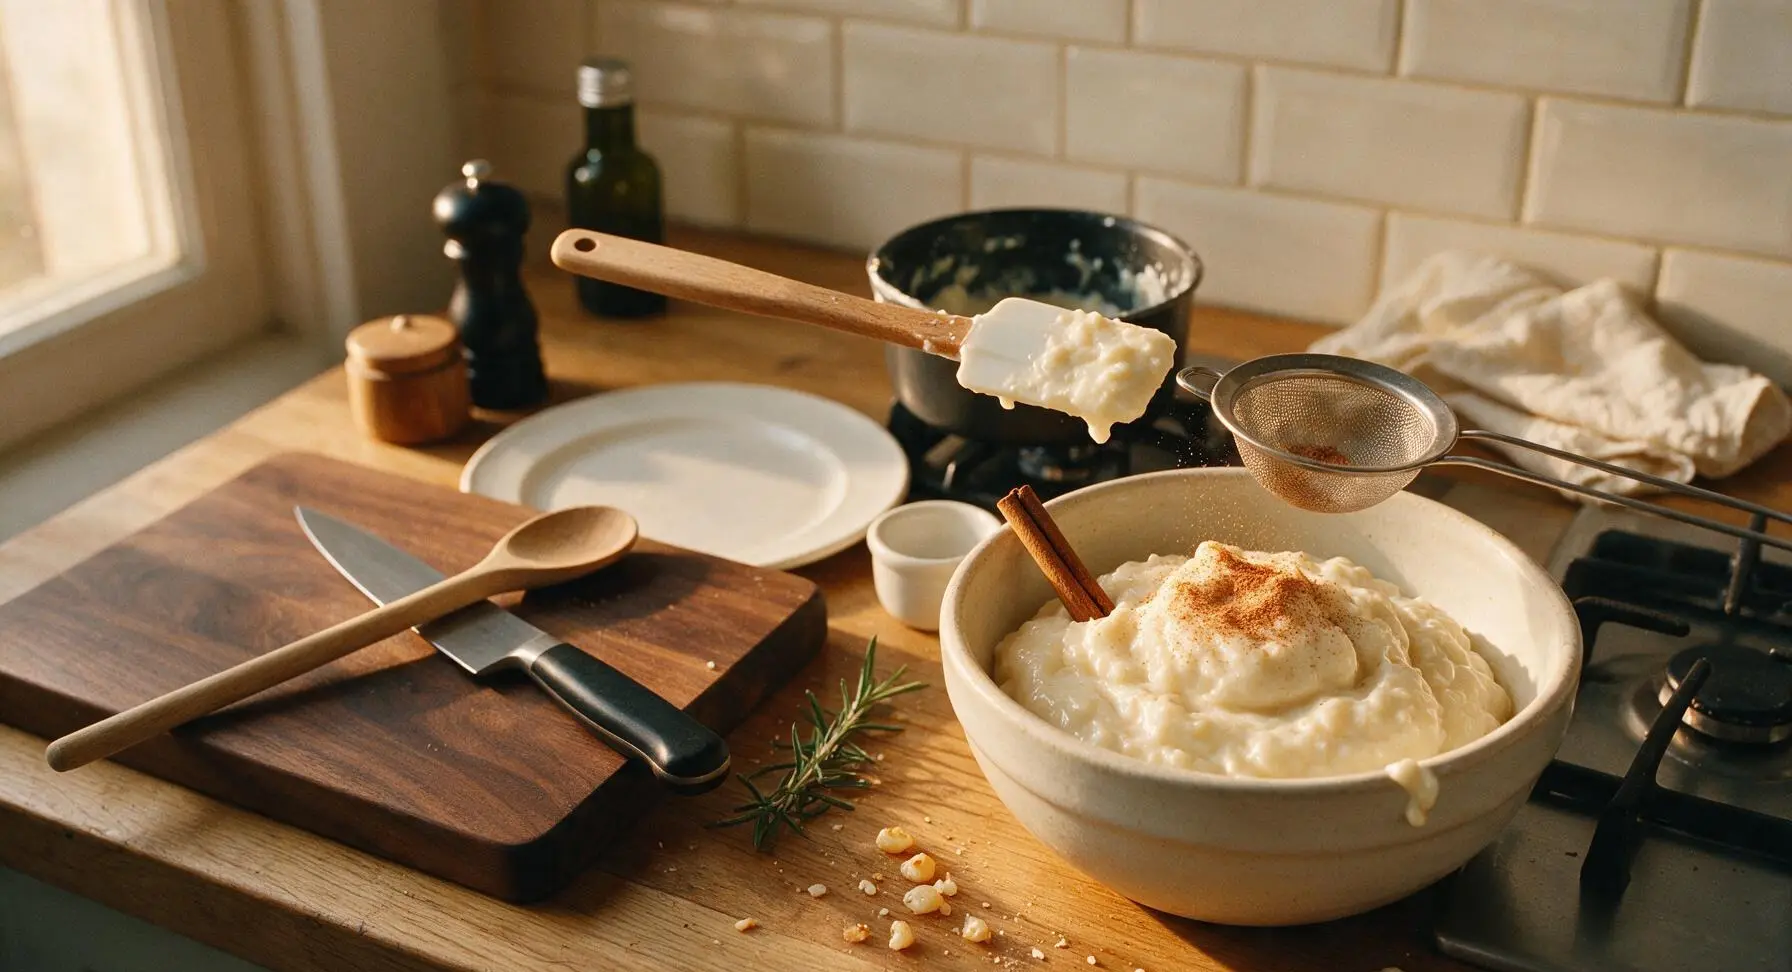
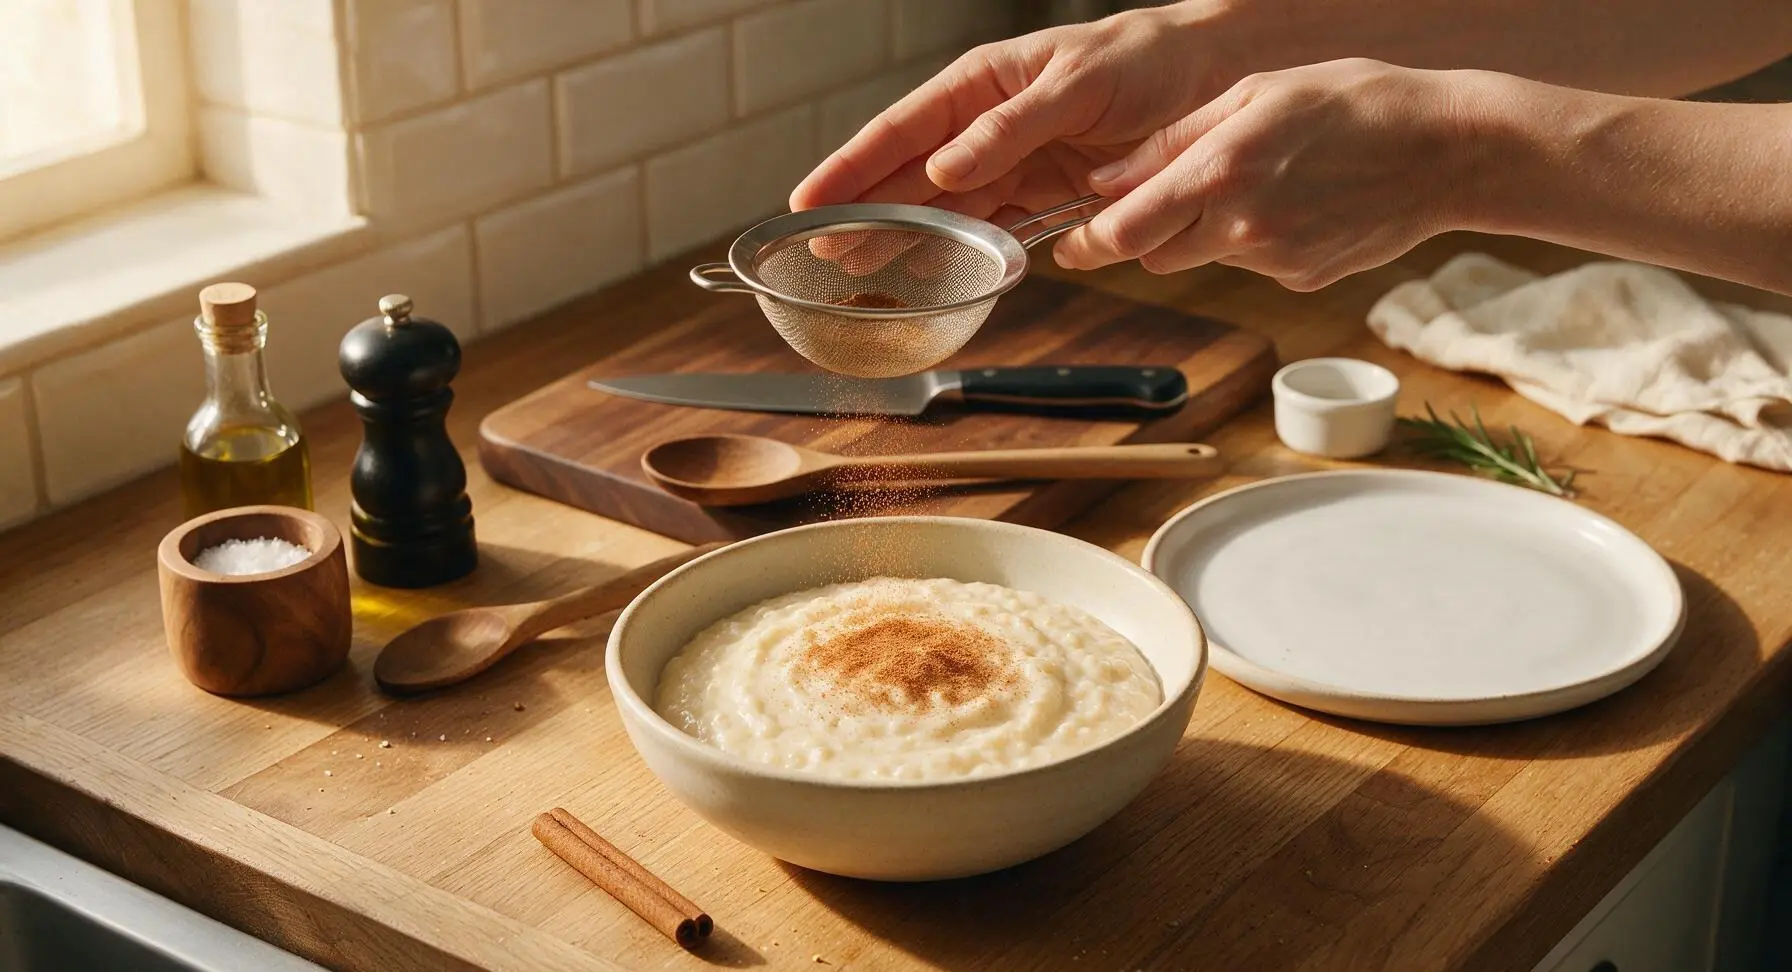
Scoop the finished rice pudding into the matte cream hand-thrown ceramic serving bowl. Place 1/2 tsp extra ground cinnamon in the fine-mesh stainless sieve, and tap the sieve lightly to dust a soft, even layer of cinnamon across the pudding surface. Tuck one whole cinnamon stick into the pudding at the 10 o'clock position for garnish. Serve warm.
Tips
2.Resist the urge to lift the pan lid during the 15-minute covered cook time: every lid release drops the internal pan temperature by 20–30°F and lets trapped steam escape, leading to unevenly cooked, crunchy rice and a thinner, less creamy final result.
3.Adjust consistency right before serving: if the pudding thickens too much as it rests, stir in 1–2 tablespoons of warm milk, one tablespoon at a time, until it reaches a smooth, spoon-coating thickness. Pudding will always thicken more as it cools, so err on the slightly looser side while warm.






OMG this Ninja rice pudding is SO good!!! I threw it together last night for my kid’s after-school snack and they begged for seconds before they even finished their first bowl. 25 minute cook time is no joke, I was shocked how creamy it got without standing over the stove stirring forever. 10/10 will be making this for our next neighborhood potluck!
Game changer for meal prep! I make a big batch on Sunday and portion it out for weekday breakfasts, top it with a little fresh berries and granola and it’s better than the sad coffee shop oatmeal I used to grab on my commute. Super easy even for someone who burns toast half the time lmao
Made this last minute when my son’s soccer friends showed up after practice and it was a total hit! I only had long grain white rice on hand instead of short grain and it still came out perfectly creamy. Didn’t even have to run to the grocery store, total mom win!
Wait has anyone tried making this with oat milk? I’m dairy free and dying for a good rice pudding recipe that doesn’t come out watery and bland. The 25 minute cook time sounds perfect for my weeknight dessert cravings!
Haven’t had good rice pudding since my mom made it when I was a kid, and this recipe hit that exact nostalgia spot. So easy I didn’t even have to pull out my old tattered recipe box, the Ninja did all the work. My grandkids ate two bowls each when they came over for Sunday dinner.
Tossed in a handful of plump raisins and an extra splash of vanilla because that’s how my abuela used to make it, and wow. This recipe is such a perfect base, I’ll be tweaking it with different mix-ins for months. 10/10 no notes.
Bro I live in a dorm with a Ninja and I thought I could only make frozen burritos and ramen in it??? This rice pudding tastes like something you’d pay $8 for at a fancy dessert shop downtown, and it cost me like $2 worth of rice, milk, and sugar. Absolute win for my broke college student budget.
Wait this is naturally gluten free right? I’m bringing dessert to my friend’s game night and half the group has gluten sensitivities, so I need something that’s safe for everyone without tasting like boring “diet food.”
Took me a second to get the Ninja setting right the first time (accidentally hit pressure cook instead of the rice/porridge mode oops) but even when I messed it up a little it still came out tasty, just a little thicker than intended. Second time was perfect, creamy all the way through, no burnt bits stuck to the bottom. Will be making this regularly for my weekly meal prep.
Served this at my weekend brunch instead of the usual french toast casserole, and people were asking for the recipe before they even left. Topped it with a little salted caramel drizzle and toasted pecans, *chef’s kiss*. Way less work than baking a whole casserole too!
Is this sweet enough on its own or do I need to add extra sugar? I have a massive sweet tooth but my partner prefers less sugary desserts, so I’m trying to find a middle ground that works for both of us.
Y’all I added a little dollop of homemade peach jam on top when I served this last night and it was life changing. The creamy rice paired with the sweet tangy peach? *Chef’s kiss* I’ll never eat plain rice pudding again.
I’m usually the guy who only sticks to savory meals in my Ninja — think ribs, chili, roasted veggies, all that hearty stuff. But my 10 year old daughter begged me to try this sweet rice pudding recipe and I’m not even mad about it. Came out perfectly creamy on the first try, zero fancy skills required. Even my super picky 8 year old son cleaned his bowl and asked for seconds. Total win for a quick weeknight family dinner dessert.