
No-Knead Crusty Dinner Rolls
intro
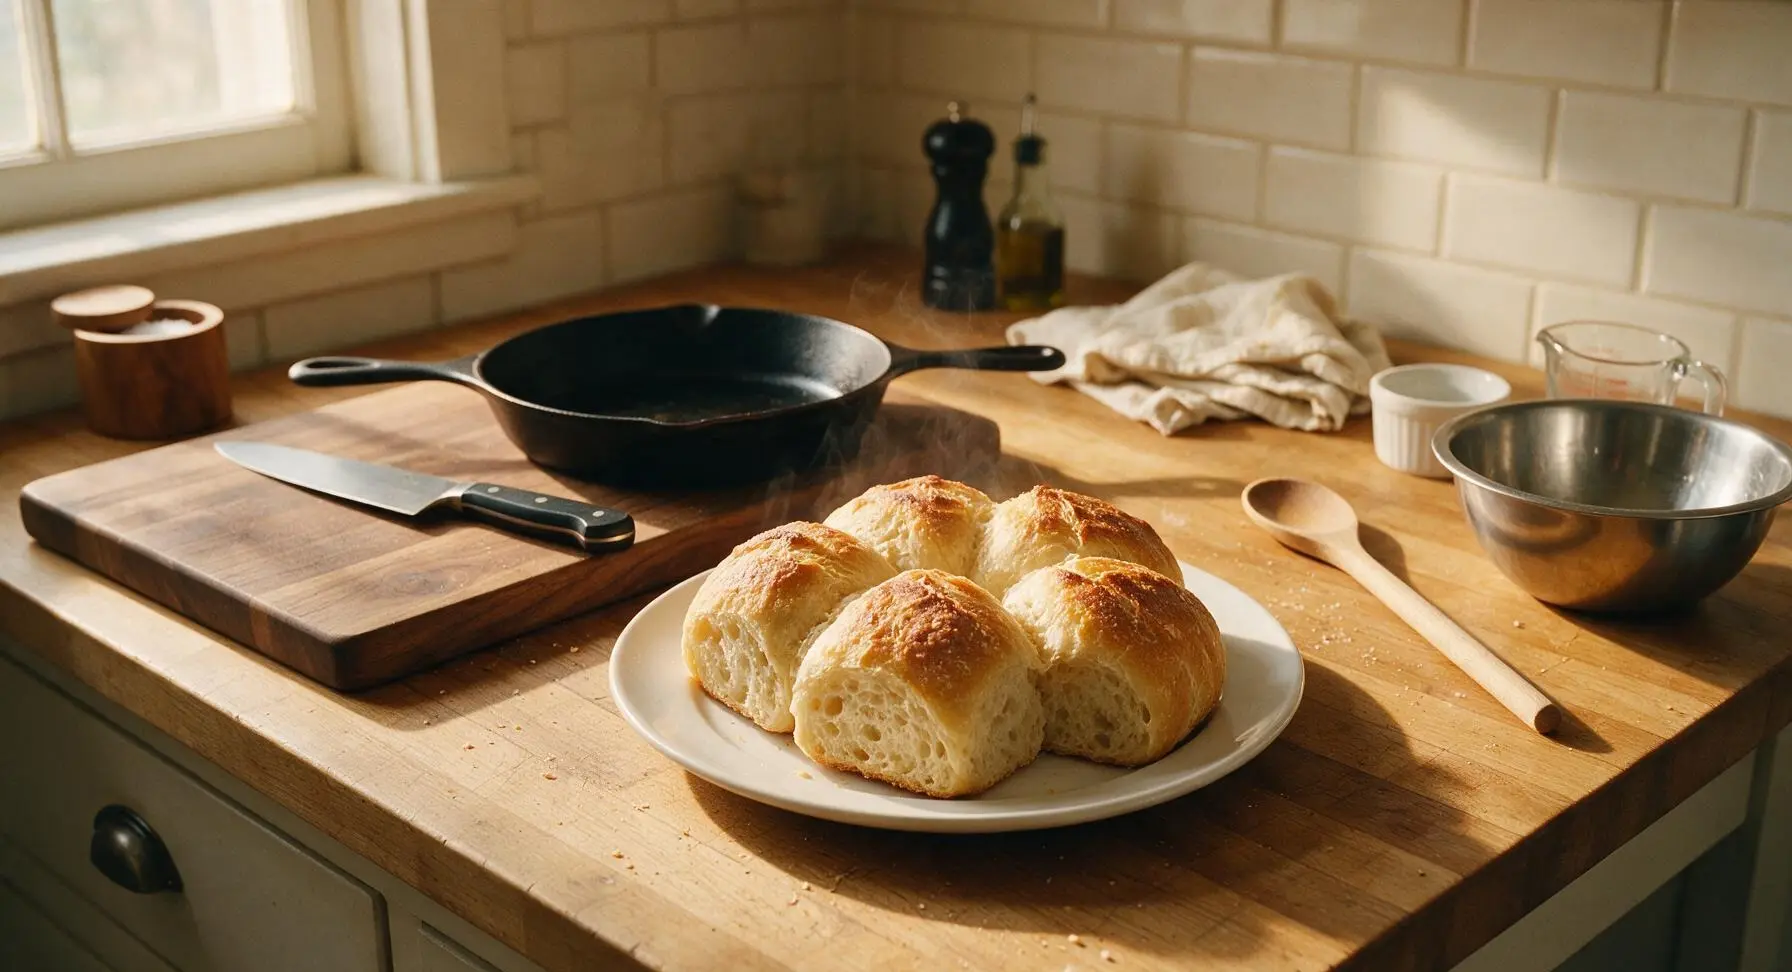
Crackly golden crust, soft holey crumb, and zero kneading required—these foolproof rustic rolls are the perfect cozy accompaniment to any family dinner.
Ingredients
Steps
Mix Shaggy Dough
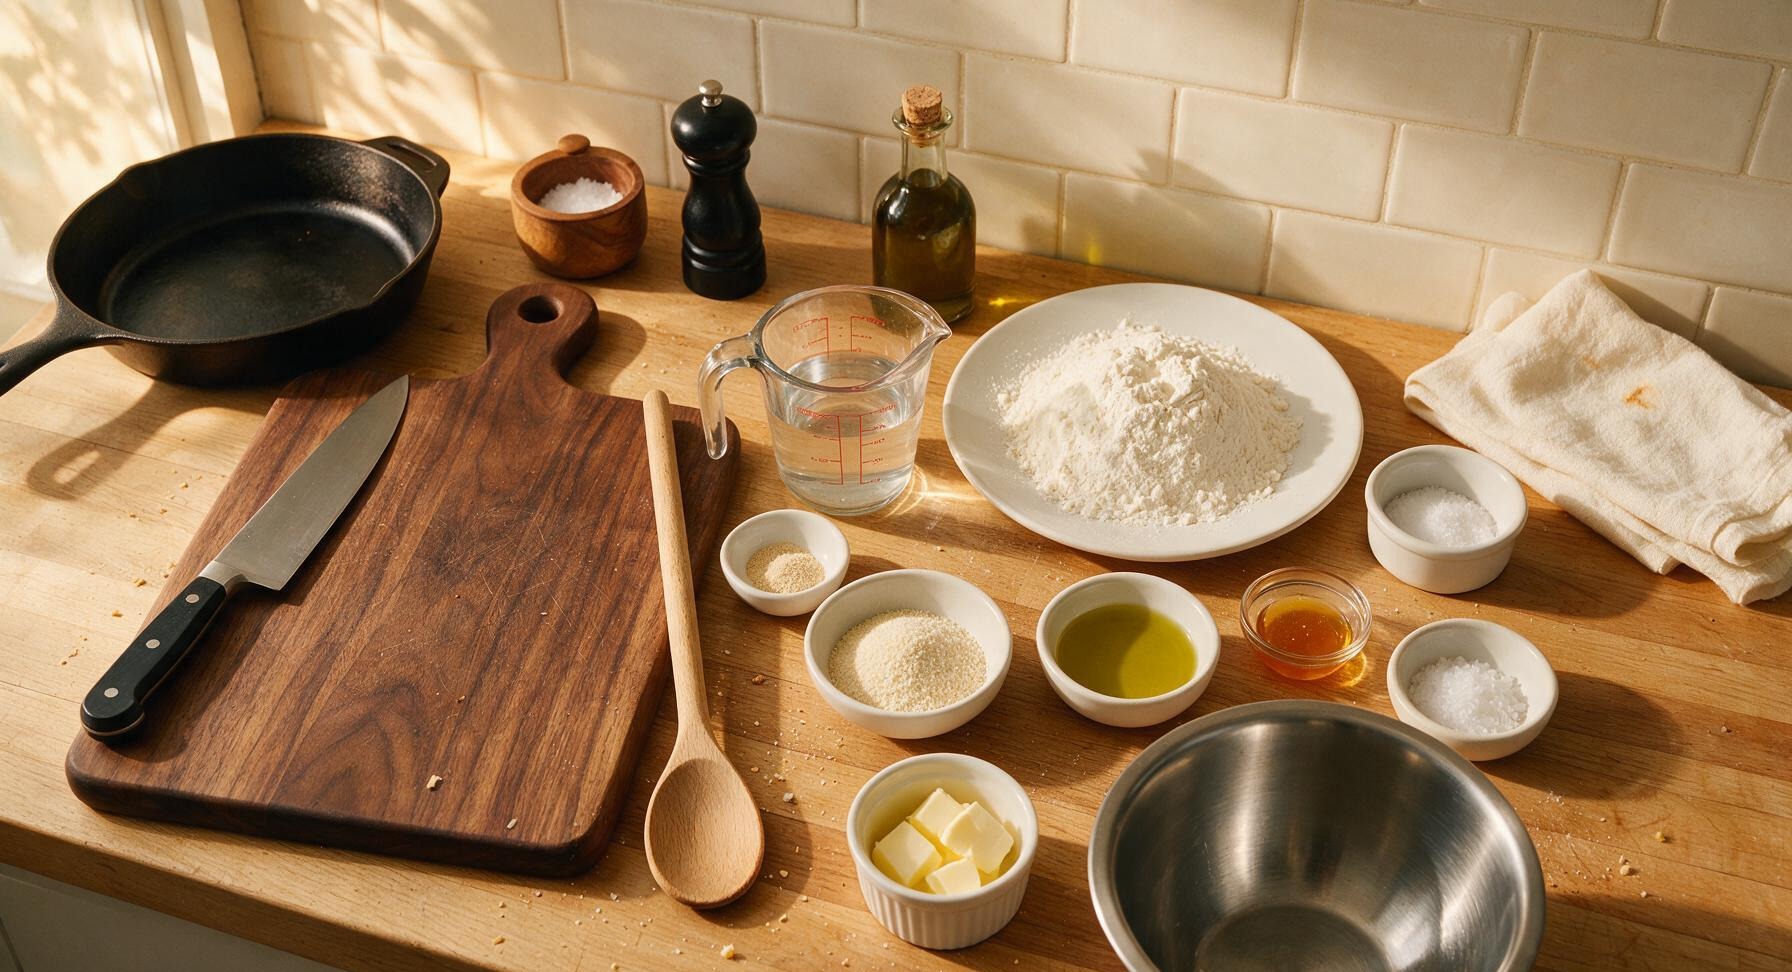
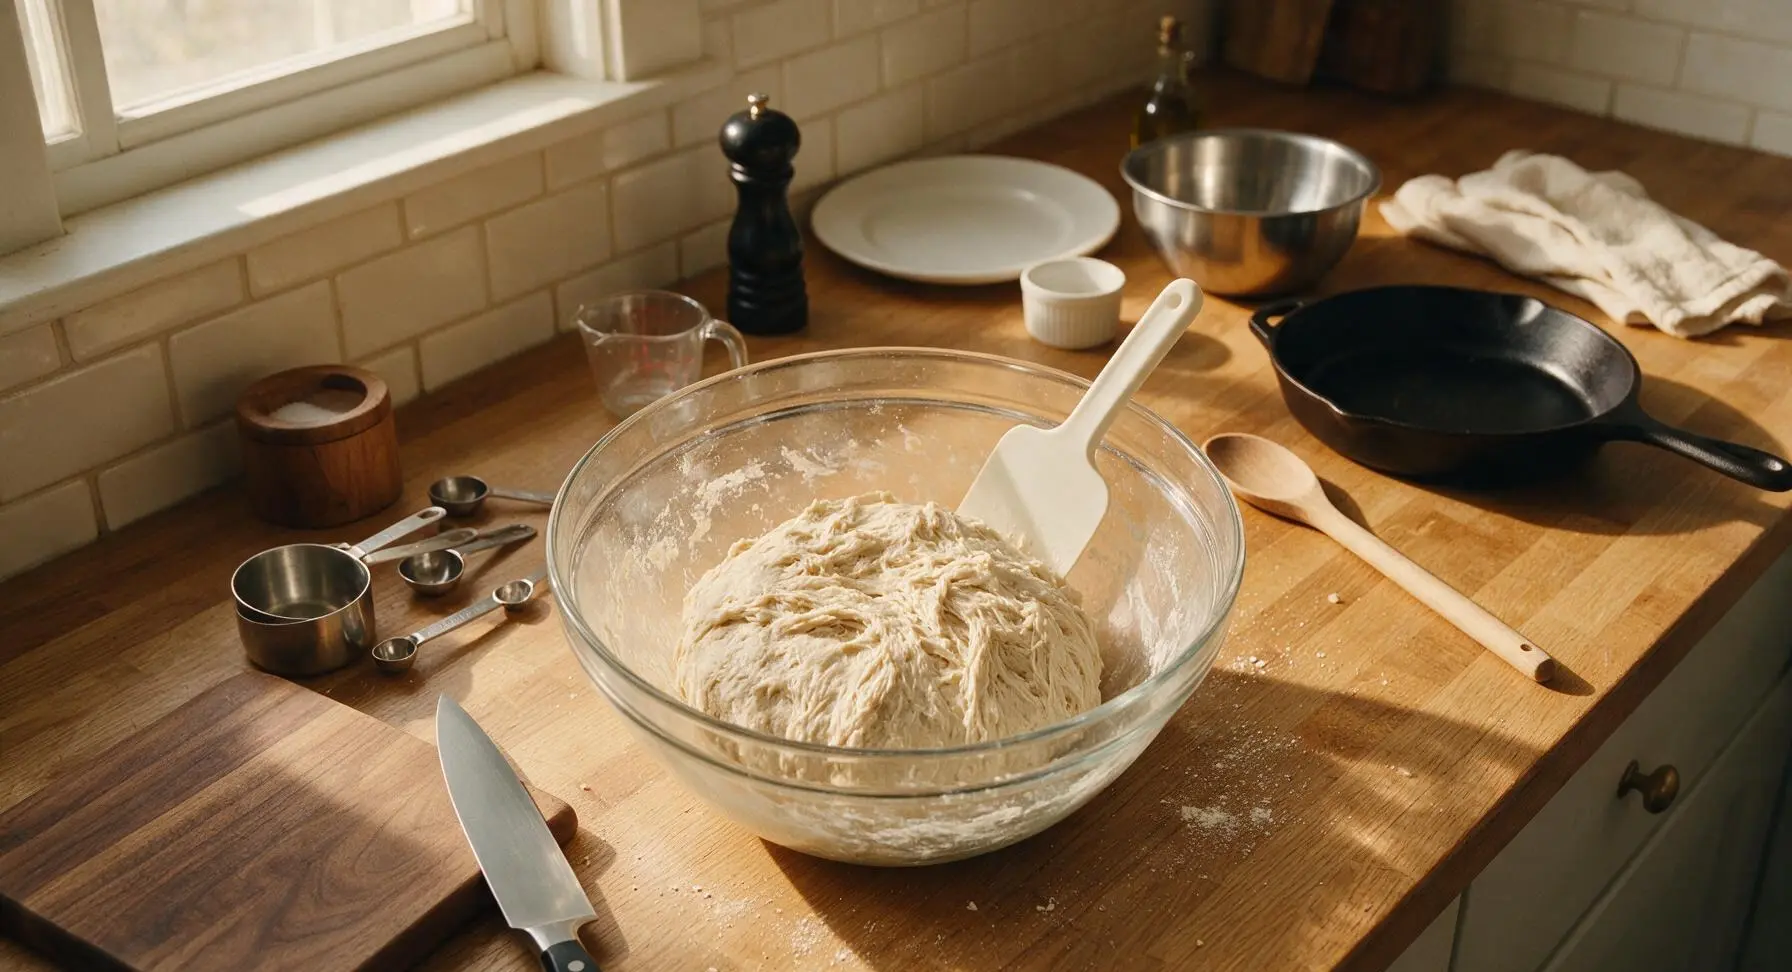
In the large glass mixing bowl, whisk together 3 ½ cups (420g) bread flour, 1 ½ teaspoons fine sea salt, and ¼ teaspoon instant yeast until evenly combined. Add 1 teaspoon raw honey, 1 tablespoon extra-virgin olive oil, and 1 ½ cups (360ml) lukewarm water (100°F/38°C, warm to the touch, not hot enough to burn skin). Stir with the white silicone dough scraper until no dry flour pockets remain, forming a rough, sticky, shaggy dough that pulls away slightly from the bowl sides. Do not knead.
Let Dough Rise
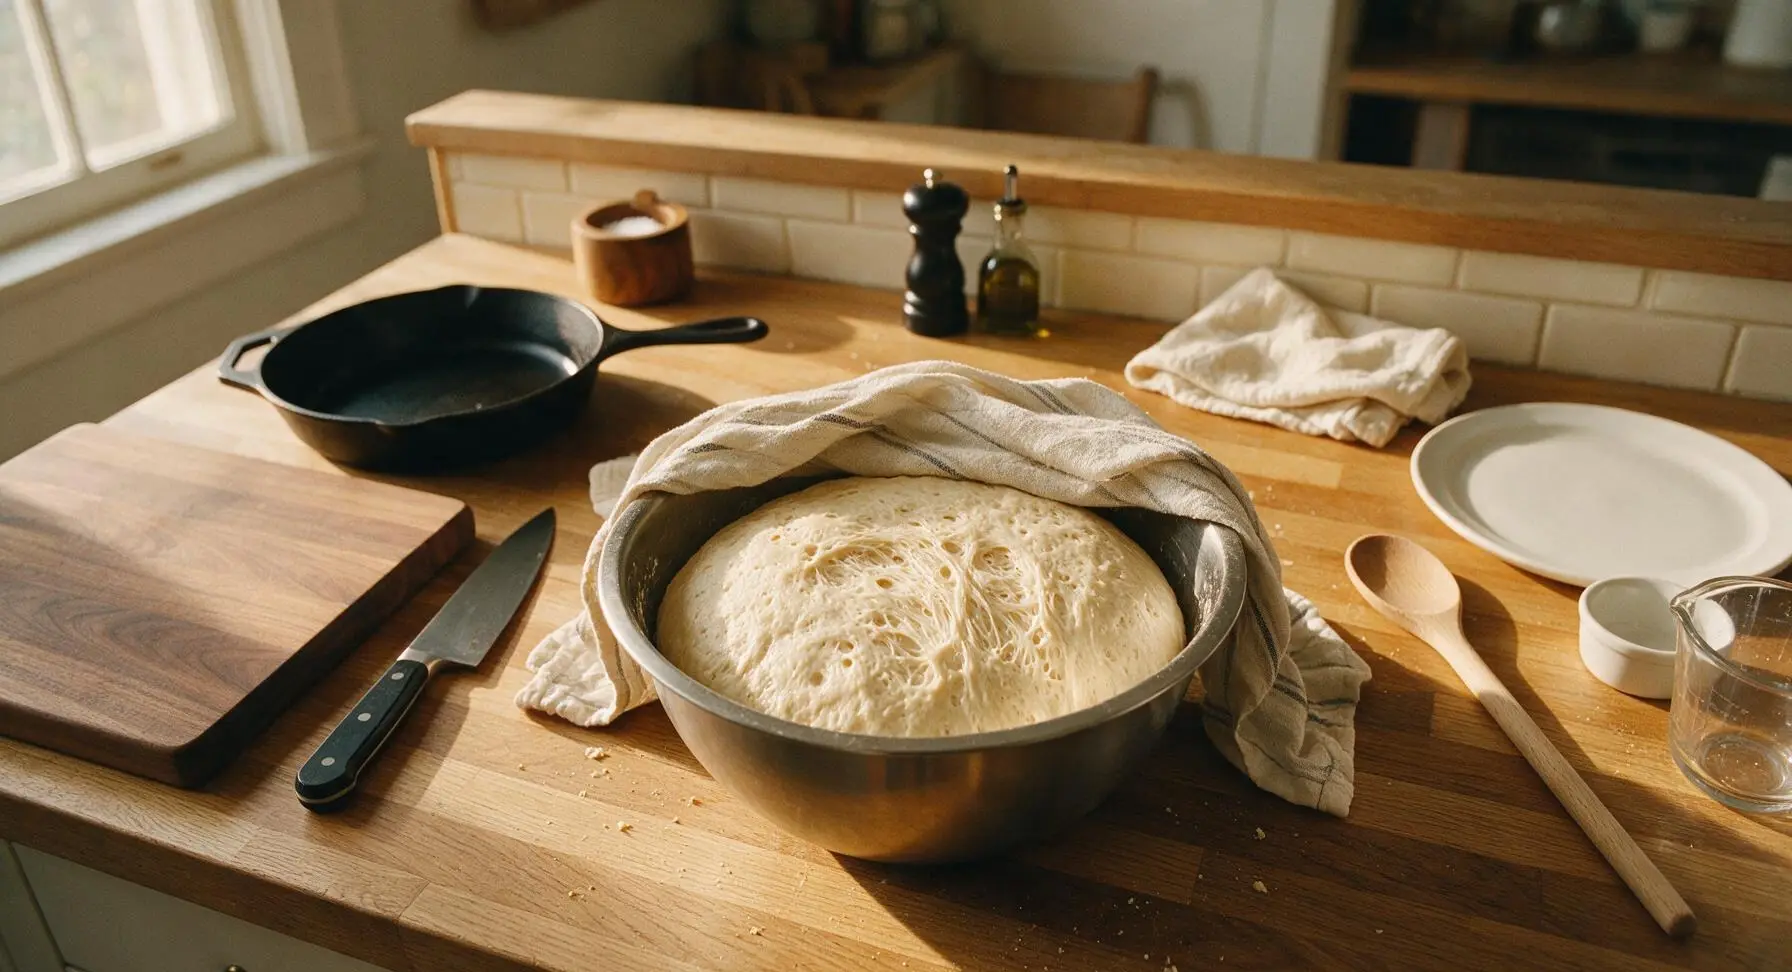
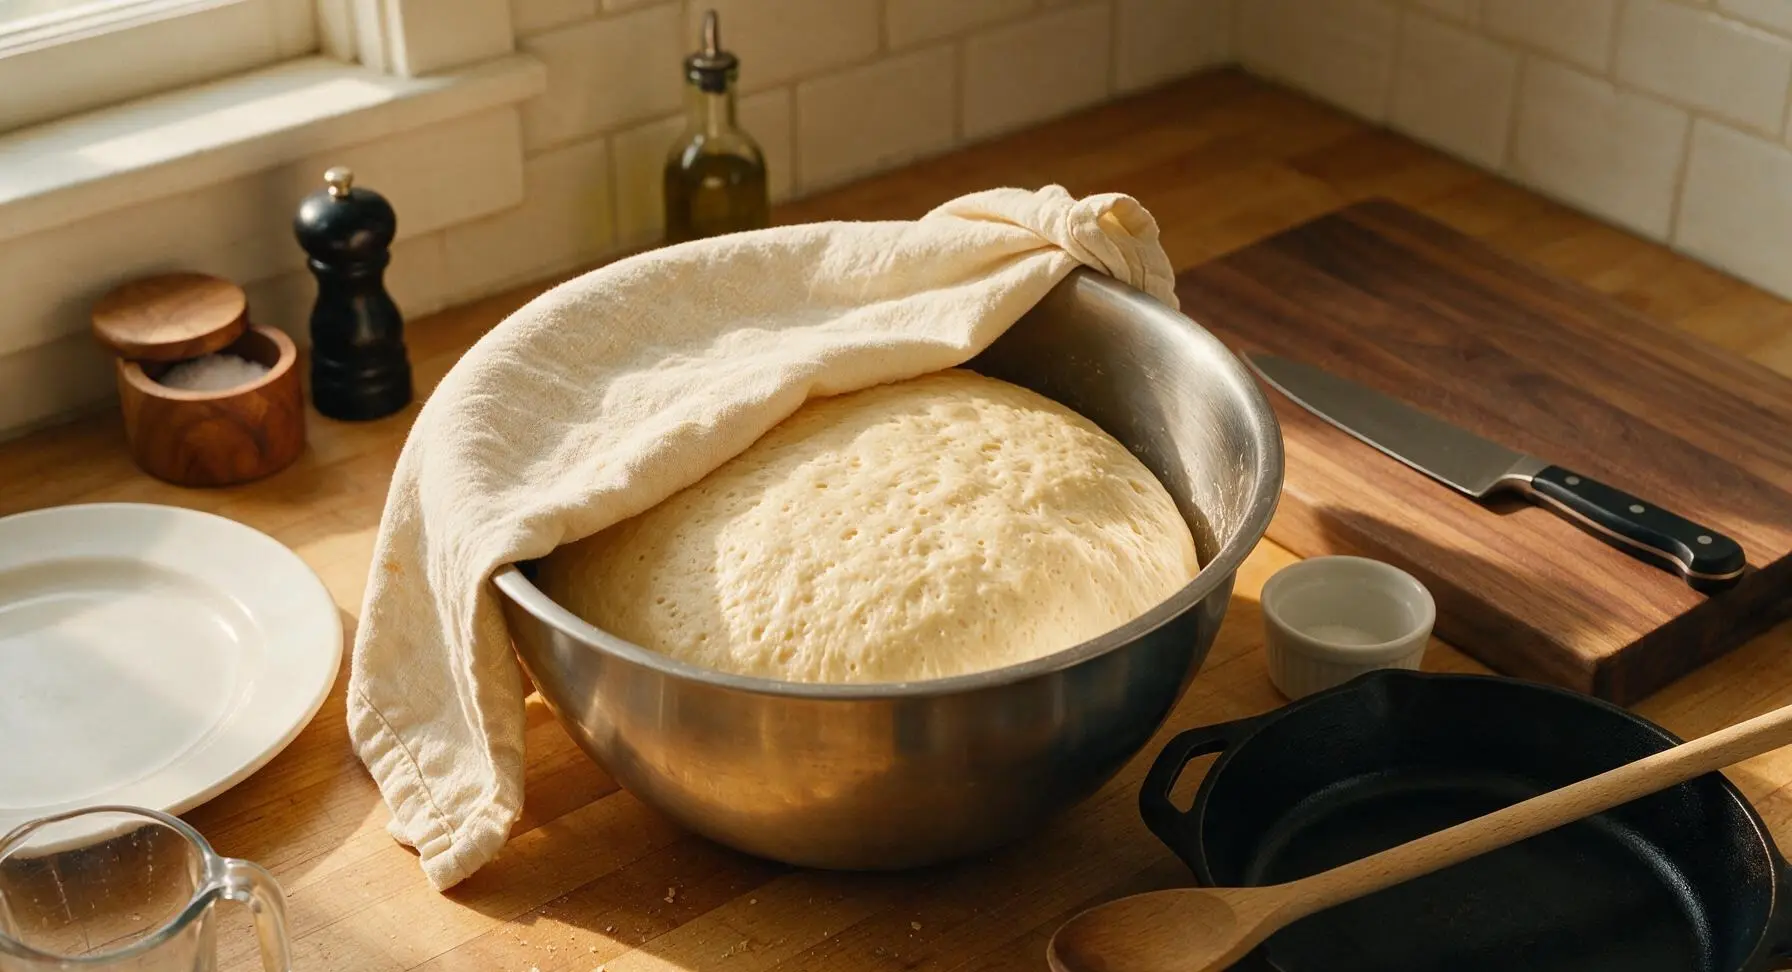
Dampen the folded striped linen towel slightly and drape it tightly over the top of the mixing bowl to prevent a dry skin from forming on the dough. Let the dough rest at cool room temperature (68-72°F/20-22°C) for 12-18 hours (an overnight rest works perfectly for busy schedules). The dough is fully risen when it has doubled in volume, is dotted with tiny air bubbles across its surface, and has a stretchy, web-like texture when lifted with the scraper.
Shape Dough Balls
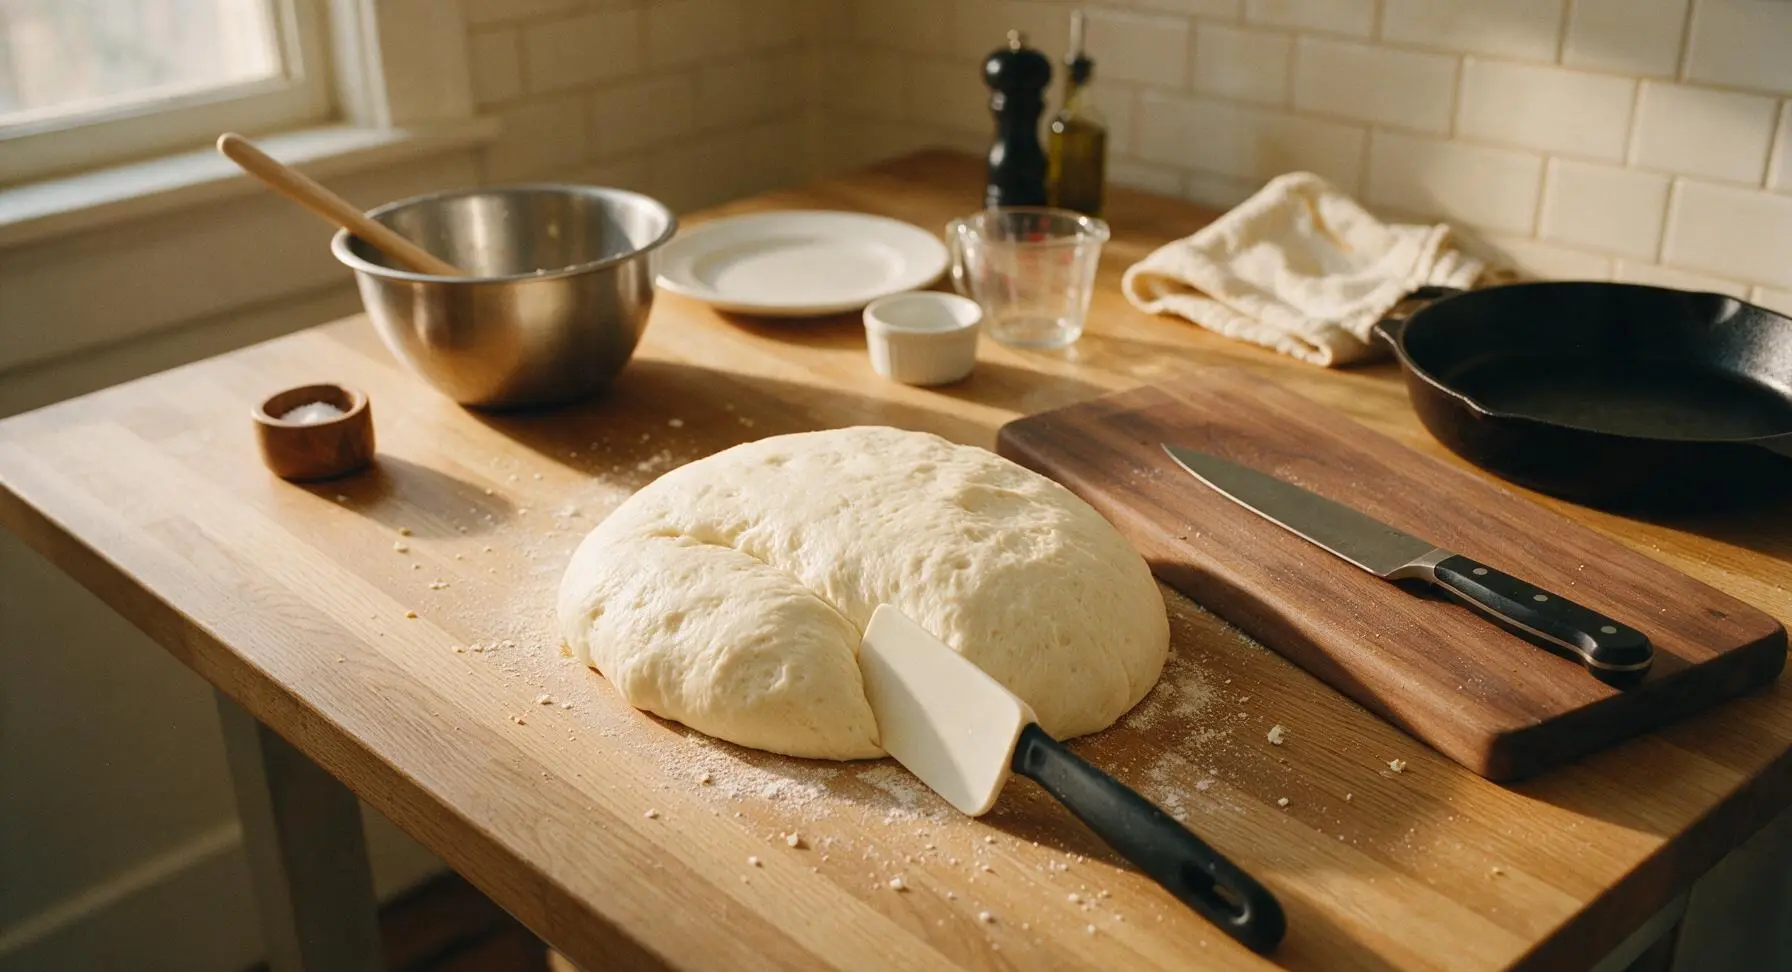
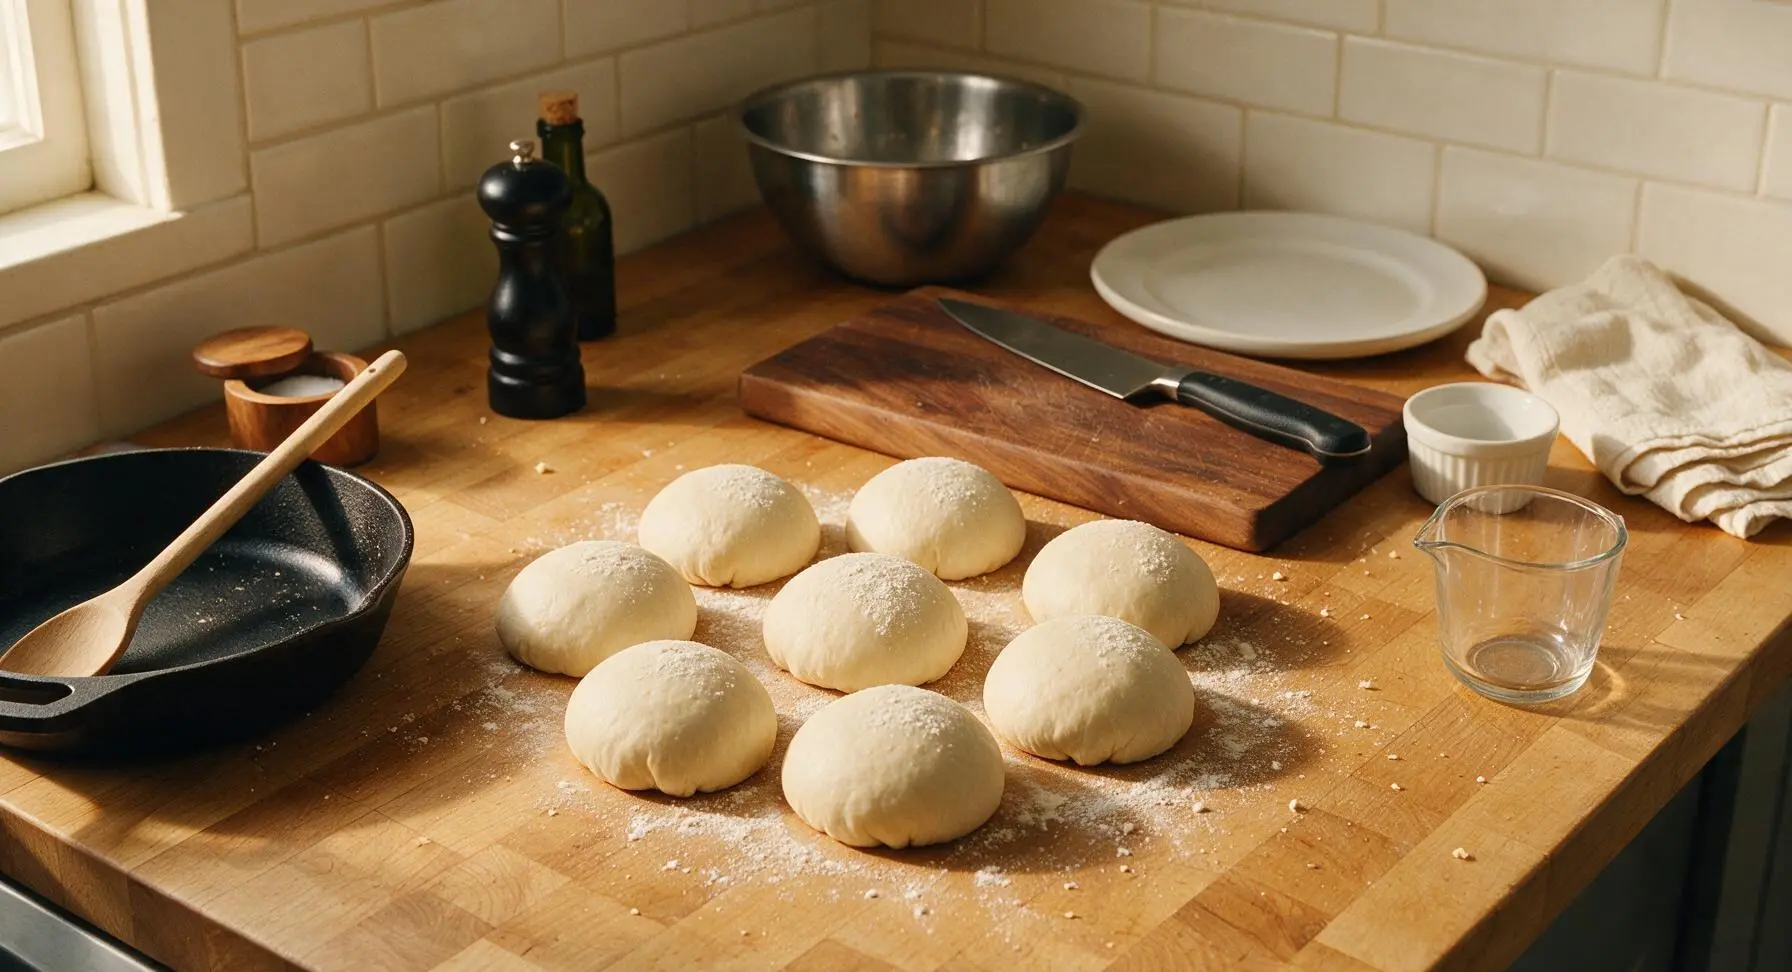
Lightly dust a clean section of the counter with a pinch of bread flour (use no more than 1 teaspoon, as excess flour will create dry, tough rolls). Use the silicone scraper to gently turn the risen dough out onto the floured surface—do not punch or deflate the dough, to preserve the trapped air bubbles that create the soft crumb. Use the scraper to cut the dough into 8 equal portions (approximately 95g each). Tuck the edges of each portion under to form tight, smooth round balls, pinching the seams firmly closed at the bottom to hold their shape.
Proof and Preheat Oven
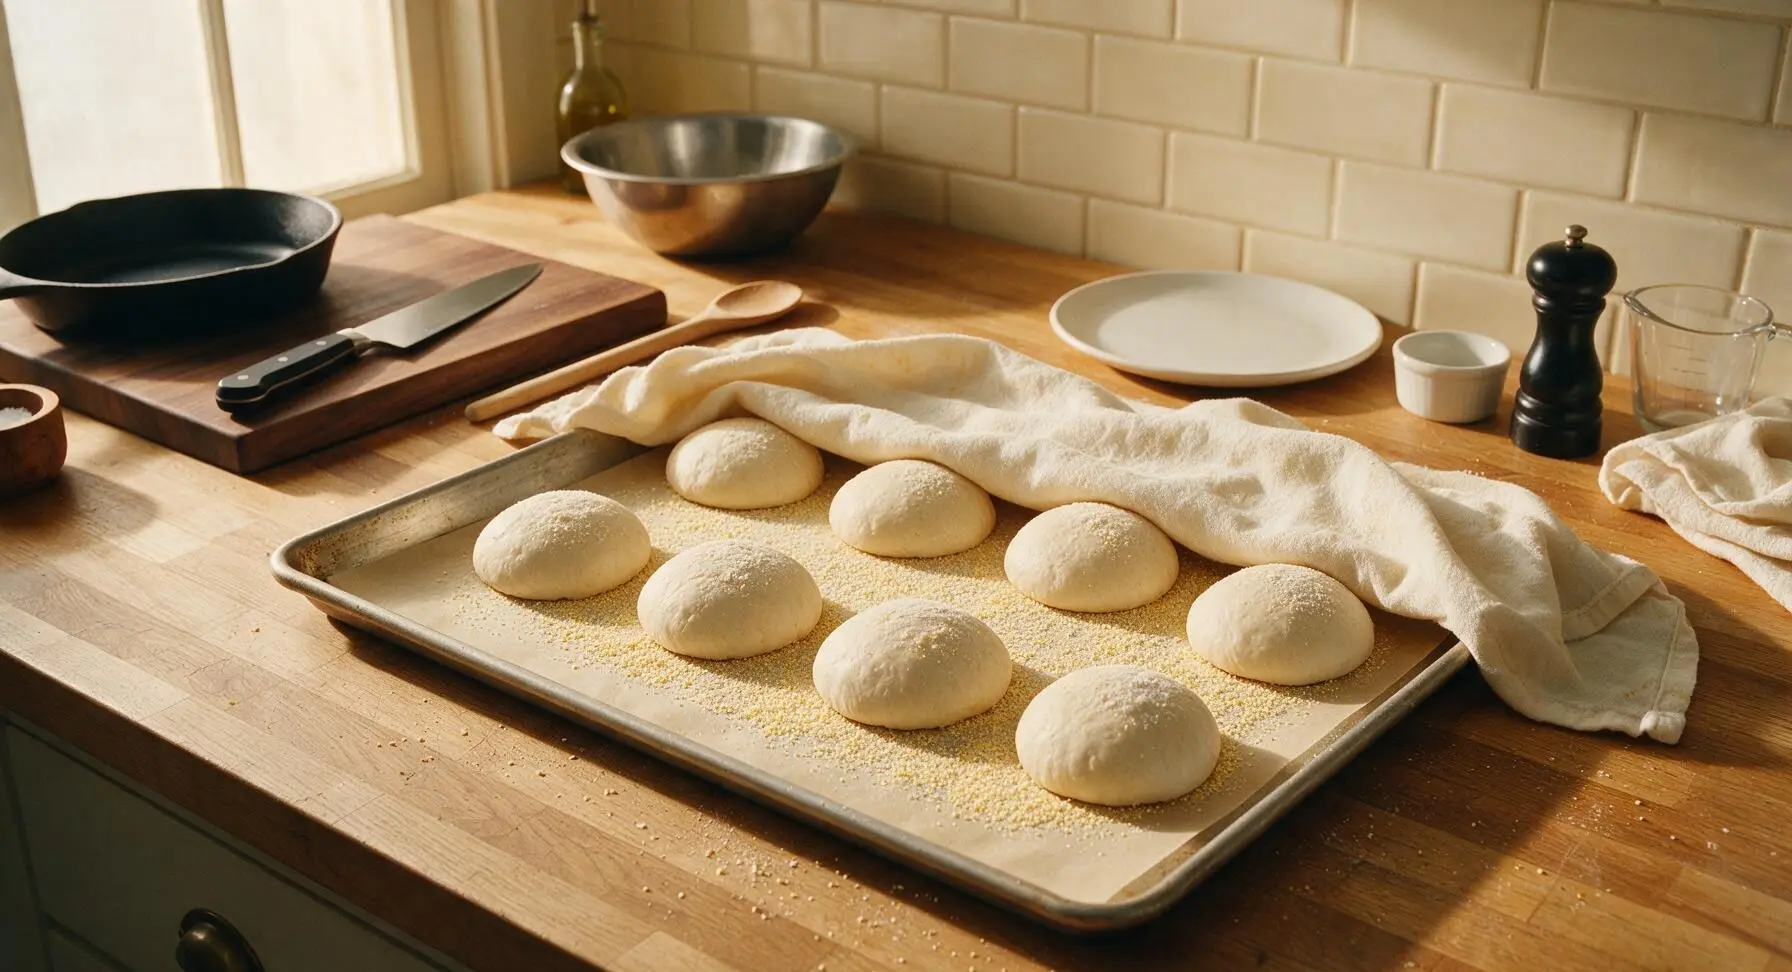
Line the heavy-gauge rimmed baking sheet with unbleached parchment paper, then sprinkle the paper evenly with 1 tablespoon coarse semolina flour to prevent sticking and add a subtle crunch to roll bottoms. Arrange the shaped dough balls 2 inches apart on the prepared sheet to give them room to expand. Drape the linen towel loosely over the rolls and let them rest for 30 minutes at room temperature, while the oven preheats to 450°F (230°C) with a rack positioned in the middle. The rolls are ready to bake when they puff slightly and leave a slow indentation when poked gently with a floured finger.
Score and Bake Rolls
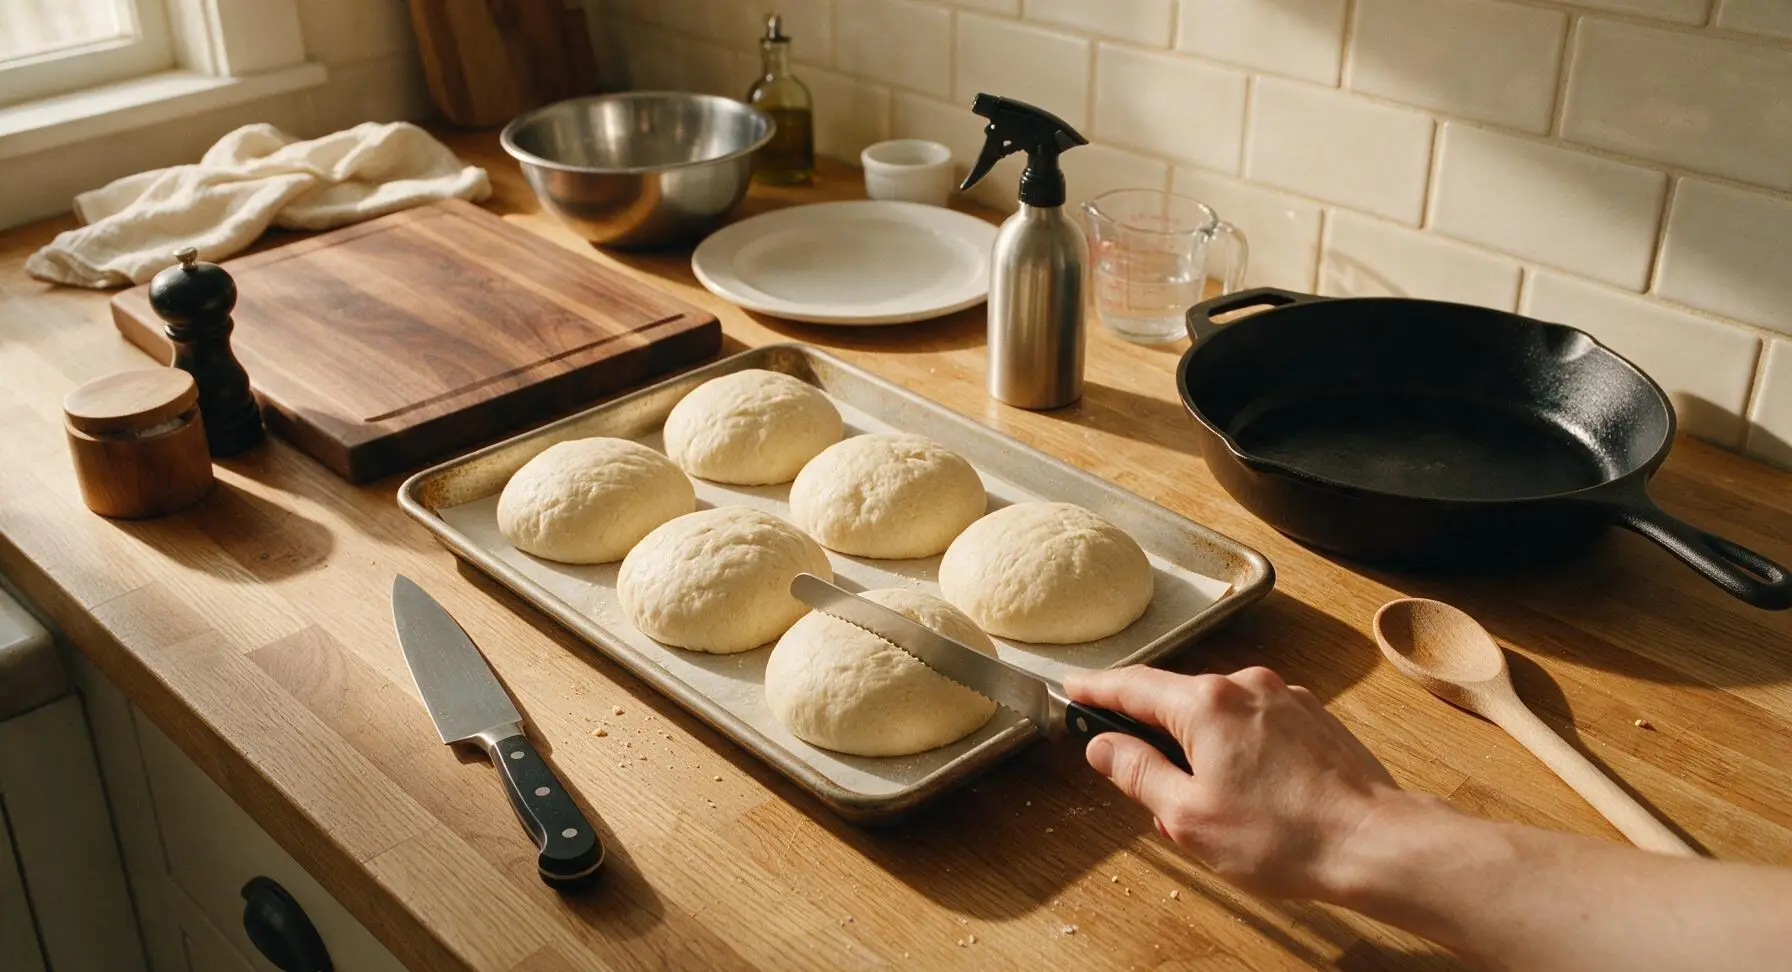
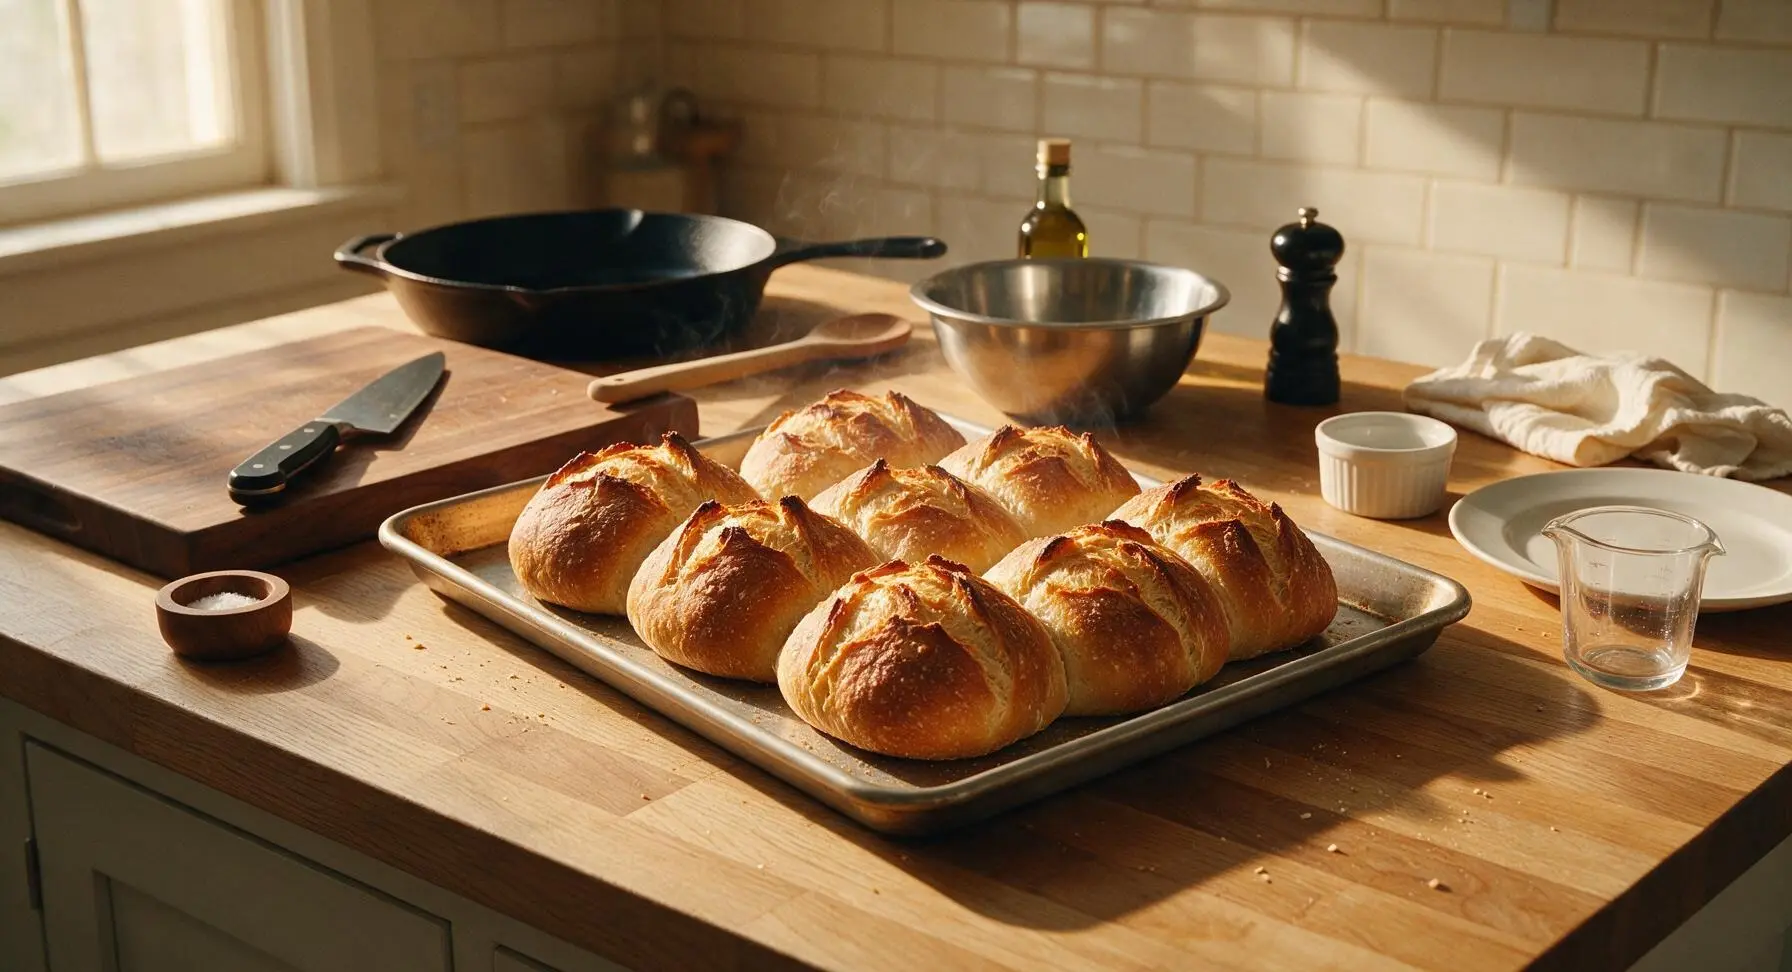
After the 30-minute proof, remove the linen towel from the rolls and return it to its fixed top left position. Use the serrated bread knife to score a ¼-inch deep, 2-inch long slash across the top of each roll—this allows the rolls to expand evenly in the oven without splitting randomly. Fill the stainless steel spray bottle with plain water, and mist the tops of the rolls lightly, then spritz the hot oven walls 3-4 times immediately after placing the baking sheet inside to create a burst of steam (this creates the signature shatteringly crisp crust). Bake for 22-25 minutes, until the rolls are deep golden brown all over, and sound hollow when tapped firmly on the bottom.
Cool and Finish Rolls
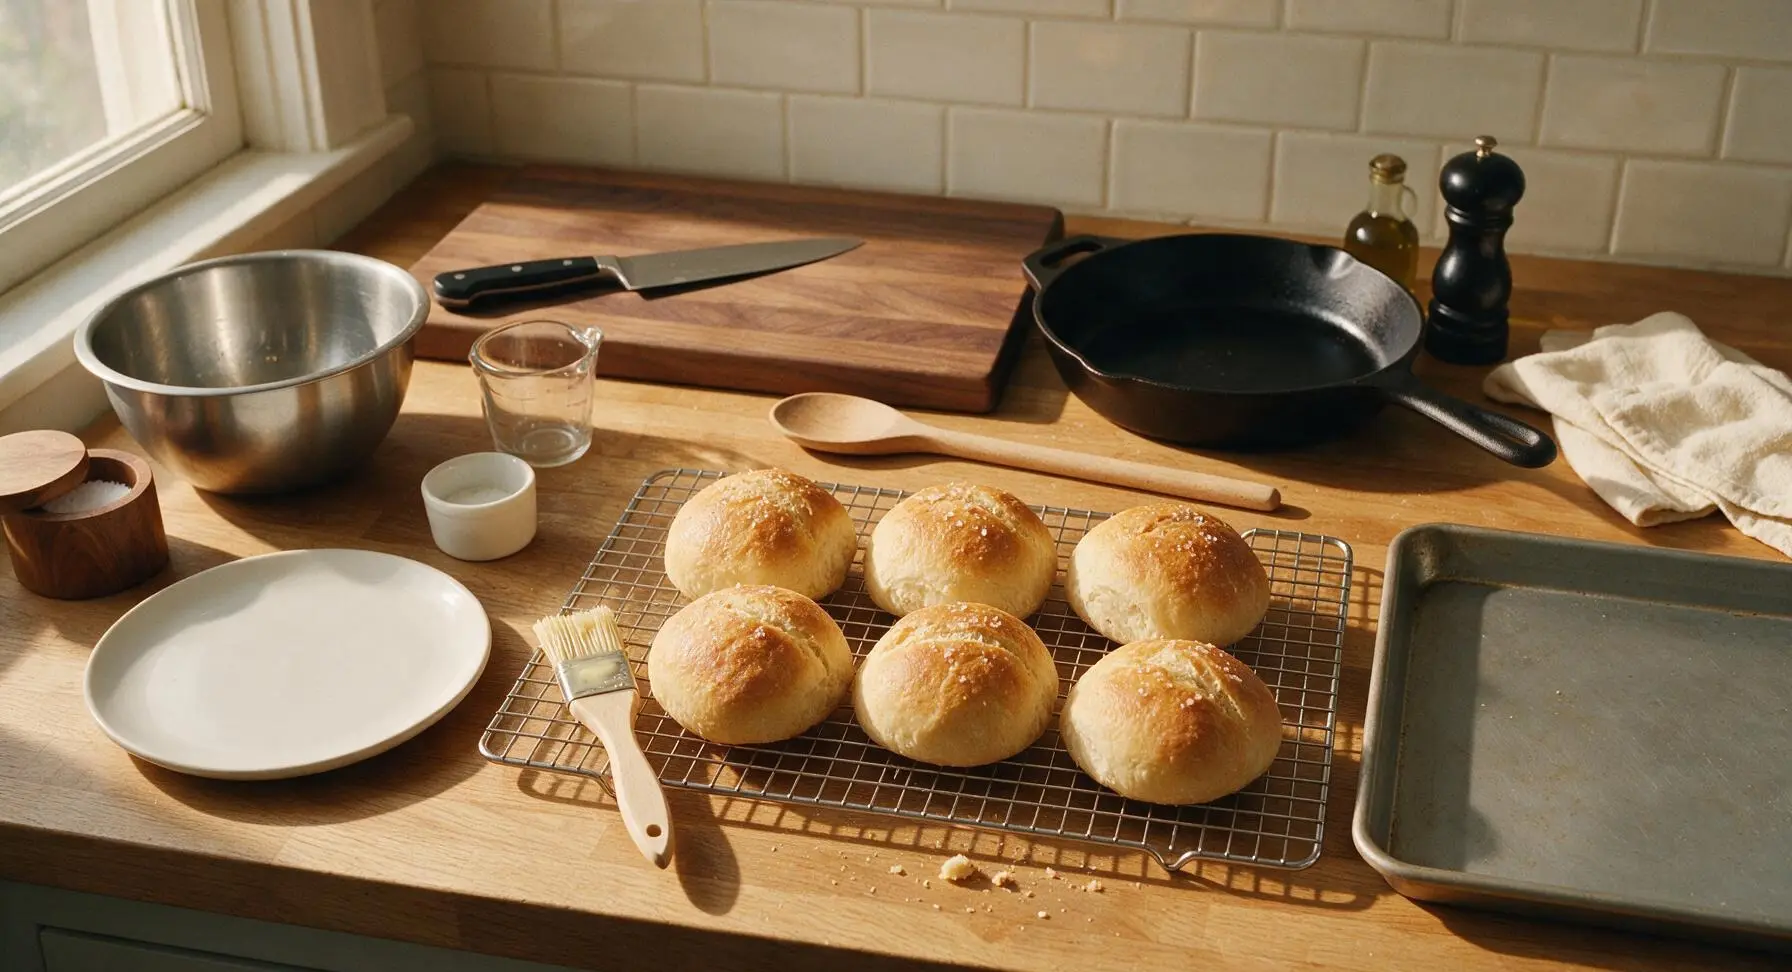
Use the silicone scraper to transfer the hot rolls from the baking sheet to the chrome wire cooling rack. If desired, brush the tops lightly with melted unsalted butter using the silicone pastry brush, then sprinkle with a pinch of flaky sea salt for extra flavor and texture. Let the rolls cool for 5 minutes before serving—their crust will crisp further as they rest, and the interior will set to a soft, airy texture.
Tips
2.For the crispiest crust, do not skip the steam step when baking: the initial burst of steam keeps the dough surface soft as it rises in the oven, allowing maximum expansion, and gelatinizes surface starches to create that signature shattery, golden crust.
3.Resist the urge to add extra flour when shaping the sticky dough: over-flouring will create tough, dry rolls with a tight crumb. Lightly oil your hands instead of adding more flour if the dough sticks too much when shaping.






OMG these no-knead rolls are a total game changer for my weekly Sunday family dinner! I was so intimidated to make crusty bread at home before, but this was so easy even my 10 year old helped stir the dough. They came out perfectly crispy on the outside, soft and fluffy inside, zero kneading required. My husband ate 3 straight out of the oven!
I brought these to my neighborhood block party potluck last weekend and people were begging me for the recipe all night! I added a little sprinkle of flaky sea salt on top right before baking and *chef’s kiss*. Only thing is my first batch stuck a little to the baking sheet – any tips to avoid that next time?
These are perfect for my weekly meal prep! I make a double batch on Sundays, let them cool completely, then freeze half. 30 seconds in the microwave and they taste just as fresh as the day I baked them. SO good with soup, chili, even breakfast with a little jam.
Wait, no kneading at all? I was convinced I’d mess this up because I’ve never made bread that didn’t come out dense like a hockey puck. Followed the directions exactly, 25 minute cook time, and they’re perfect! Crusty outside, airy inside, even my roommate said they taste like the rolls from our favorite Italian restaurant.
Tried these last night to go with our taco night (don’t judge, crusty rolls with butter go with everything) and they were a hit with the kids! Only issue was my crust wasn’t as crispy as I was hoping for – did I do something wrong?
I’ve been making dinner rolls for over 40 years, and I was skeptical a no-knead version could hold a candle to my old recipe. Color me impressed! These are so quick to throw together, no sore arms from kneading, and the crust is just perfect. I’ll be making these for Thanksgiving this year for sure.
Super easy recipe for someone who only has a tiny dorm oven and zero fancy baking equipment! I didn’t even have a mixing bowl big enough so I stirred the dough in a big pot, let it rise overnight, and it still worked out. Saved me so much money instead of buying rolls from the campus bakery every week.
Pro tip: Melt a little garlic butter and brush it on the tops the second you pull these out of the oven. I did that last night and my entire house smelled like a fancy steakhouse. 10/10, will be making these every single week from now on.
Made these to go with my famous three-bean chili last night and they were the perfect side! The crust holds up so well when you dip it in chili, no soggy mess. The 25 minute cook time is perfect too – I popped them in the oven right when my chili was almost done and they were ready at the exact same time.
I was looking for a quick side to go with last minute meatloaf last night and this recipe popped up. It was so easy to throw together, no fancy steps, and even though I forgot to let the dough rise as long as the recipe said? They still came out fluffy and delicious. Will definitely be keeping this in my regular rotation.
Wait, does this really get as crusty as a bakery roll without a dutch oven? I tried another no-knead roll recipe last month that came out soft all over, no crunch at all, so I’m hesitant to buy all the ingredients if it won’t give me that crispy crust I’m craving.
My kids loved these! I let them brush a little honey butter on top after they cooled for a minute and they ate two rolls each before dinner even made it to the table. So easy to make, no messy kneading to clean up after, which is a total win for this tired mom.
These are exactly what I’ve been looking for to pair with all my fall soups! They don’t require a ton of active time, so I can let the dough rise while I chop veggies for soup, then toss them in the oven when the soup is simmering. Perfect texture, perfect crust, zero complaints.
Made these for my annual Labor Day cookout and they were gone in 10 minutes! People kept asking if I bought them from the fancy bakery down the street, they couldn’t believe I made them at home with no kneading. The easy difficulty rating is no joke, literally anyone can make these.
Has anyone tried making these with half whole wheat flour? I’m trying to add a little more whole grain to our meals but don’t want to mess up the texture.
Made these for my football watch party earlier today and they were the perfect side for my pulled pork sliders! I sliced them open, piled in pulled pork and a little coleslaw, and people raved the whole game. Way easier than making slider buns from scratch, and the crust adds such a great texture.