
No-Knead Dinner Rolls

title 1
No-Knead Dinner Rolls
⏱️ cook time 25 minutes
🍽️ servings 12
⚡ Difficulty easy

intro

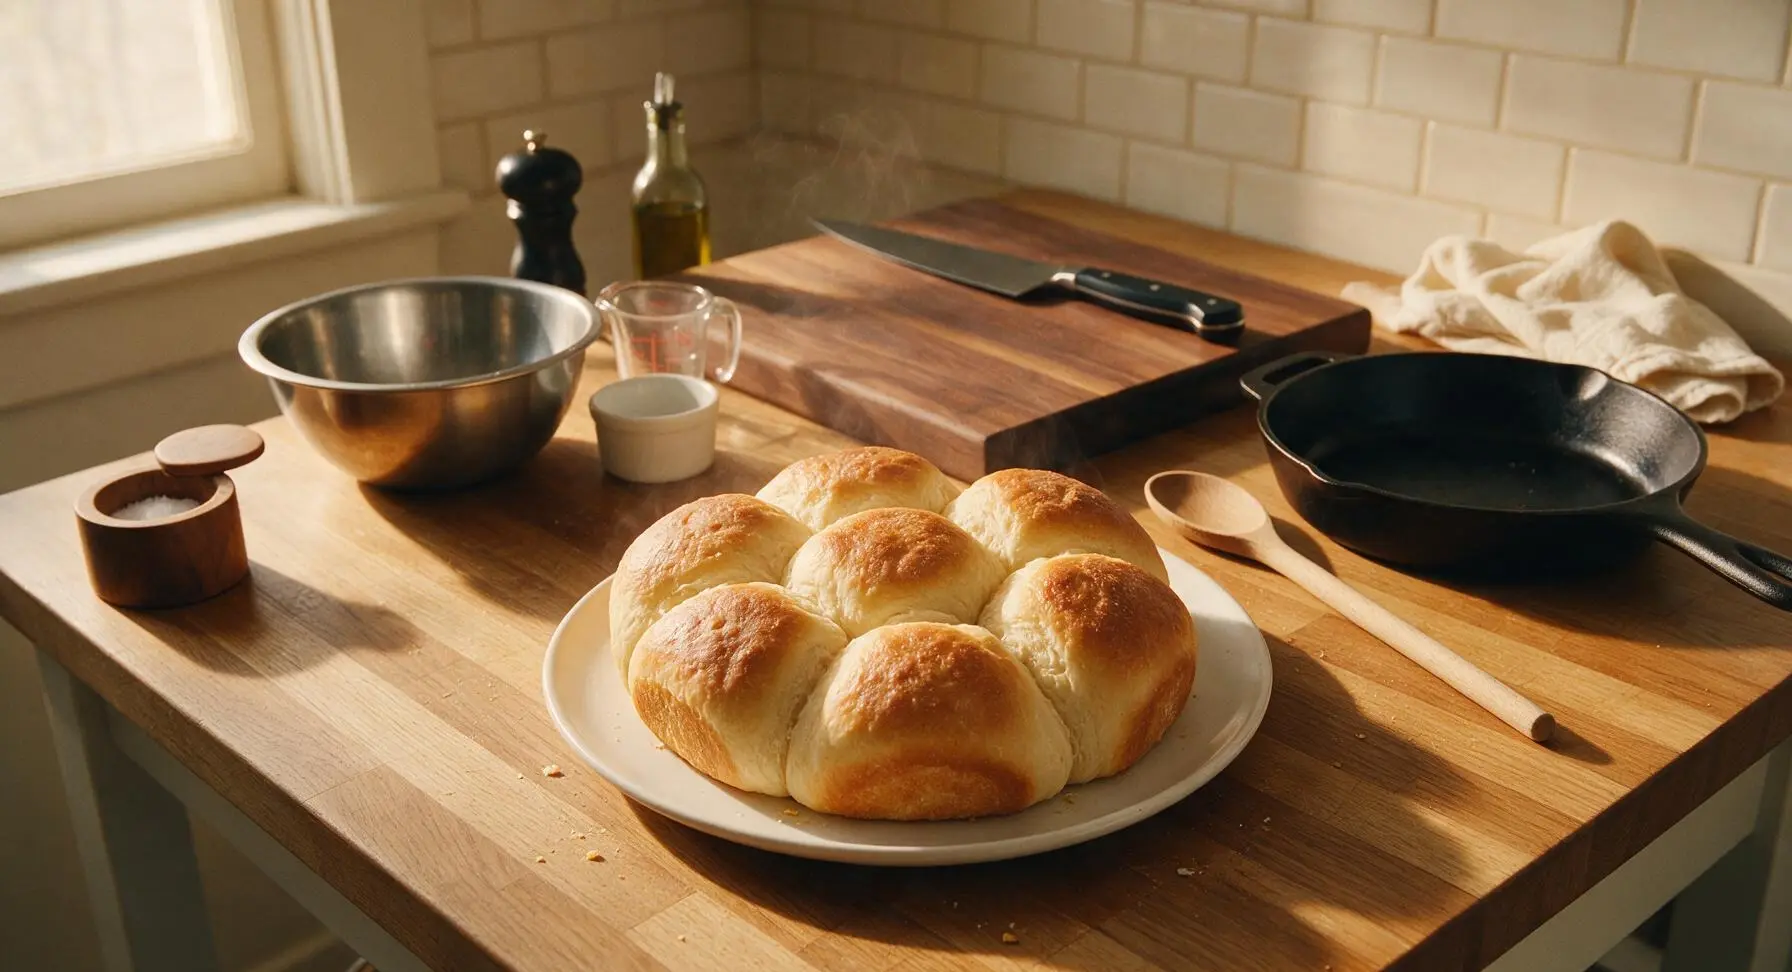
Soft, pillowy, buttery pull-apart no-knead dinner rolls with a crisp golden crust, requiring zero complicated kneading—perfect for sopping up gravy or spreading with salted butter at family meals.

Ingredients
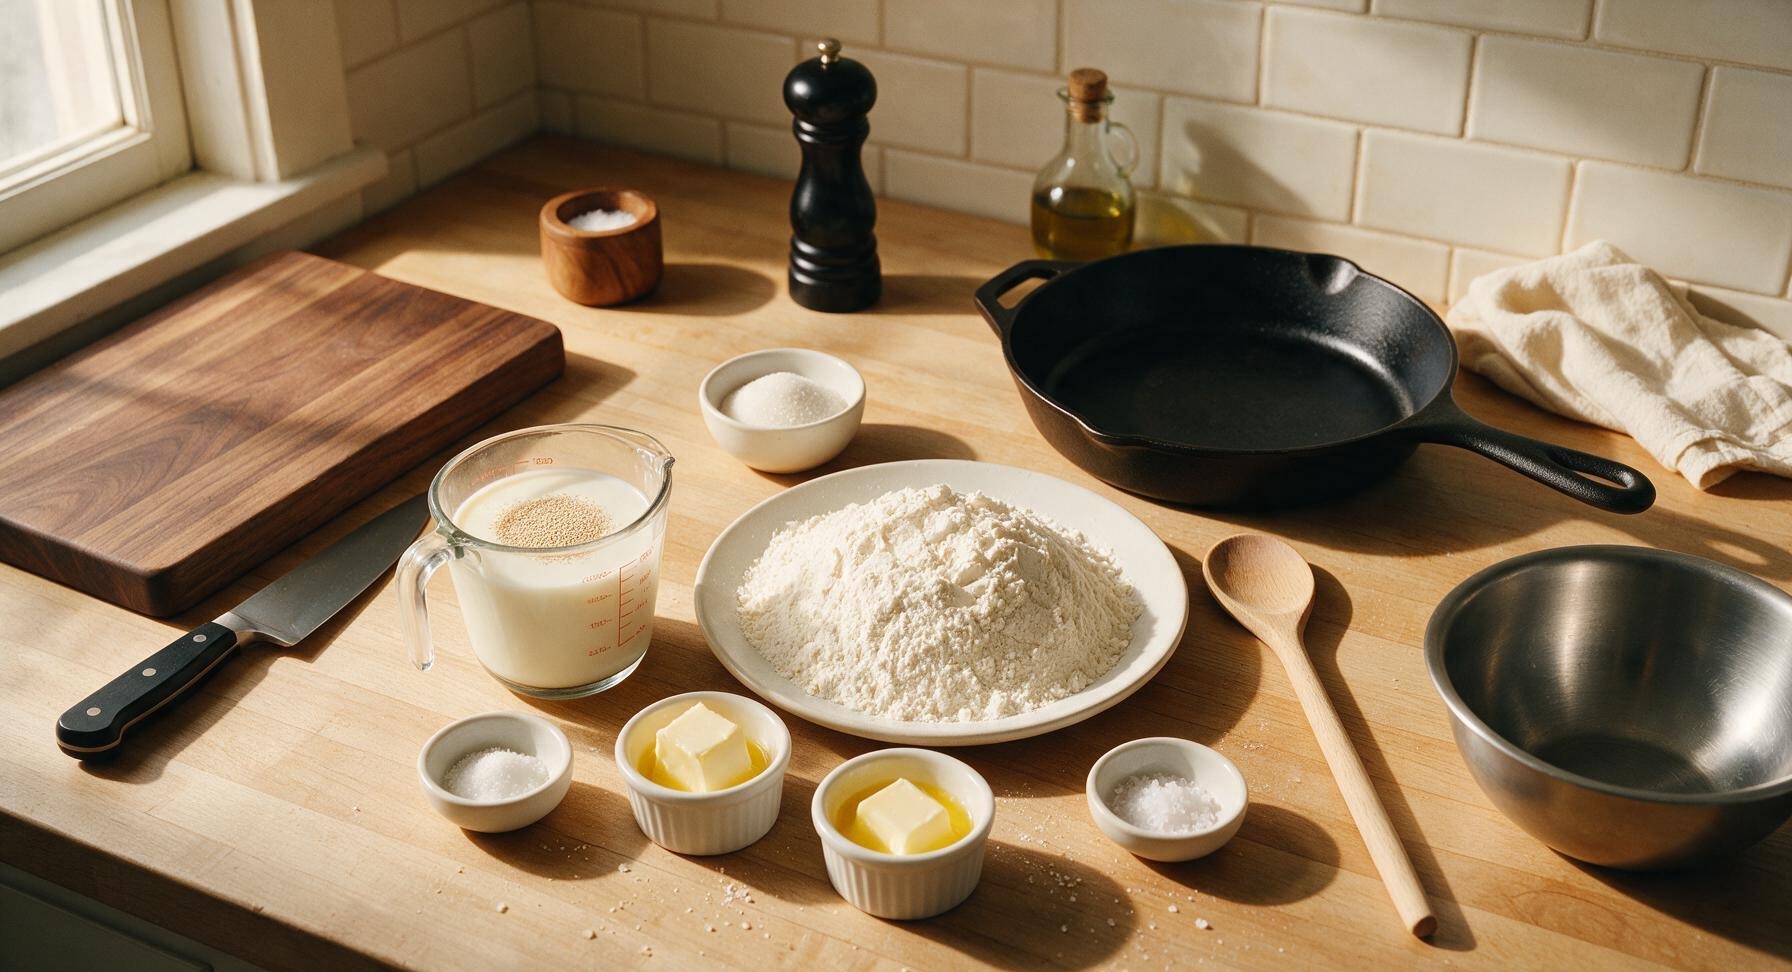
All-purpose flour 4 cups (480g)
Whole milk 1.5 cups (360ml), warmed to 110°F
Unsalted butter 6 tbsp (85g), divided (4 tbsp melted for dough, 2 tbsp melted for topping)
Active dry yeast 2 1/4 tsp (7g, 1 standard packet)
Granulated sugar 2 tbsp (25g)
Fine sea salt 1 tsp (6g)
Flaky sea salt 1/4 tsp, for topping

Steps

1

Activate the Yeast

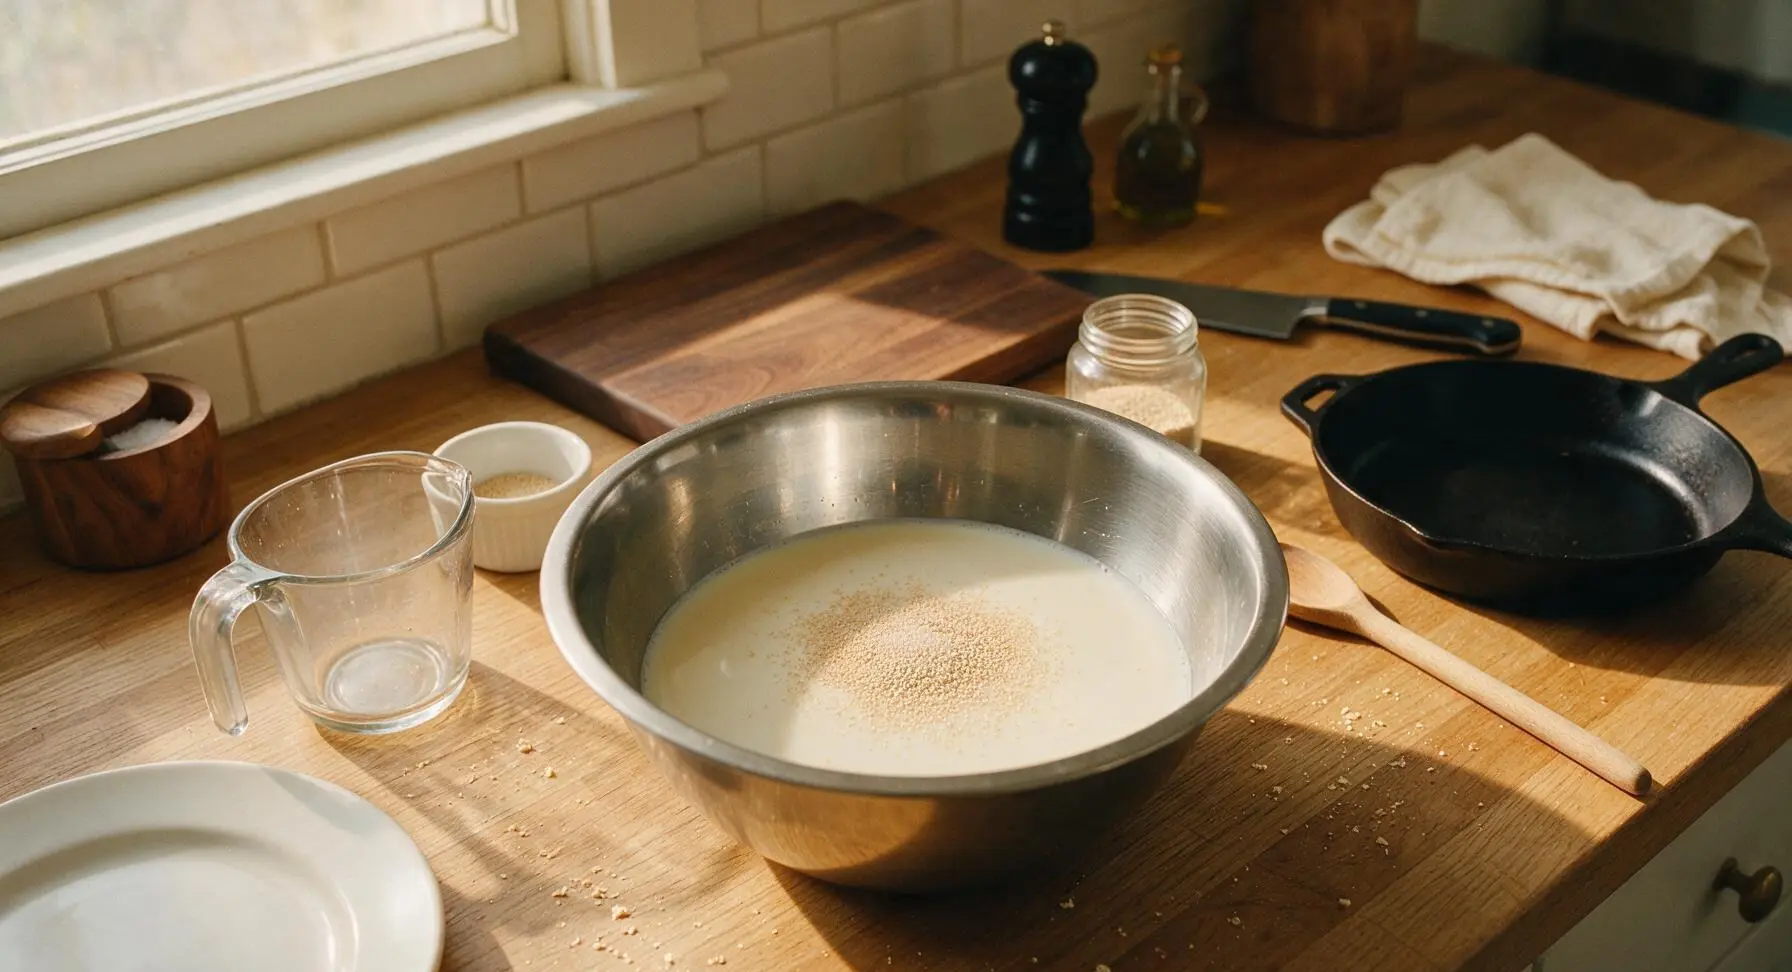
Pour 1.5 cups warm whole milk (110°F, feels like warm bath water, not hot to the touch) into the large stainless steel mixing bowl. Stir in 2 tablespoons granulated sugar until fully dissolved, then sprinkle 2 1/4 teaspoons active dry yeast evenly over the milk surface. Let rest for 5 minutes, until the mixture forms a thin foamy layer on top and smells faintly of bready yeast—this confirms the yeast is active. If no foam appears after 7 minutes, your yeast is expired and you will need to replace it before proceeding, as inactive yeast will result in dense, unrisen rolls.
Step 1
step1:Activate the Yeast
2

Mix Shaggy Dough

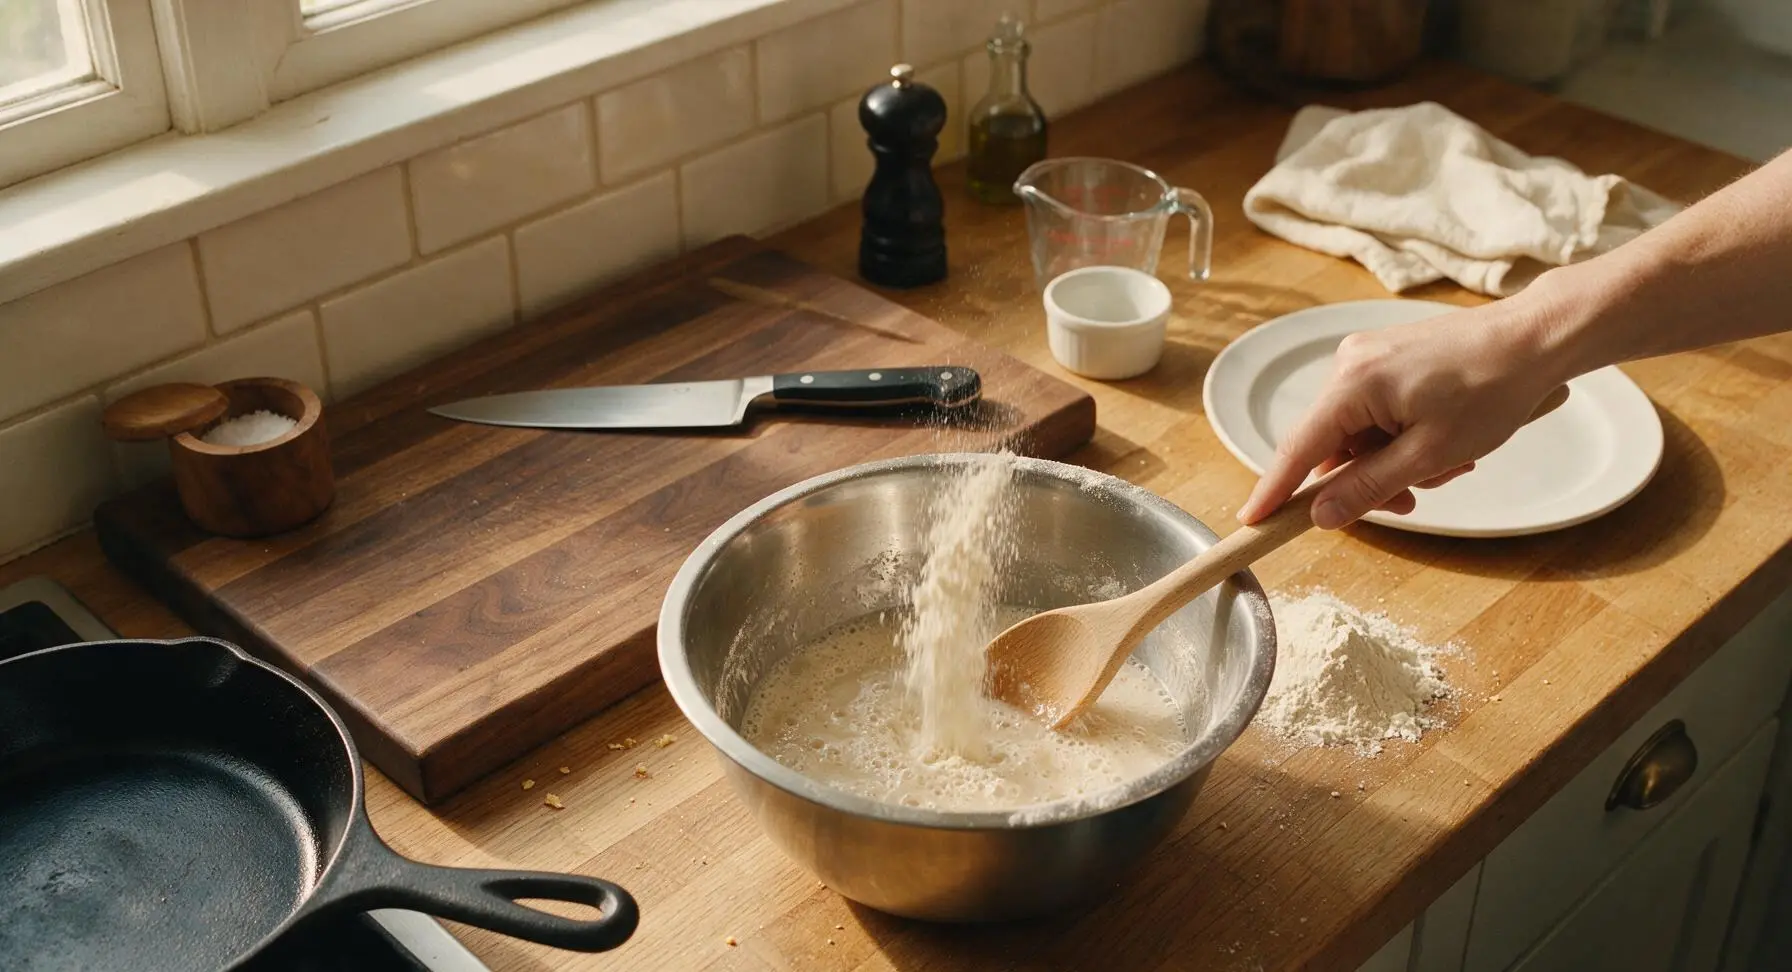
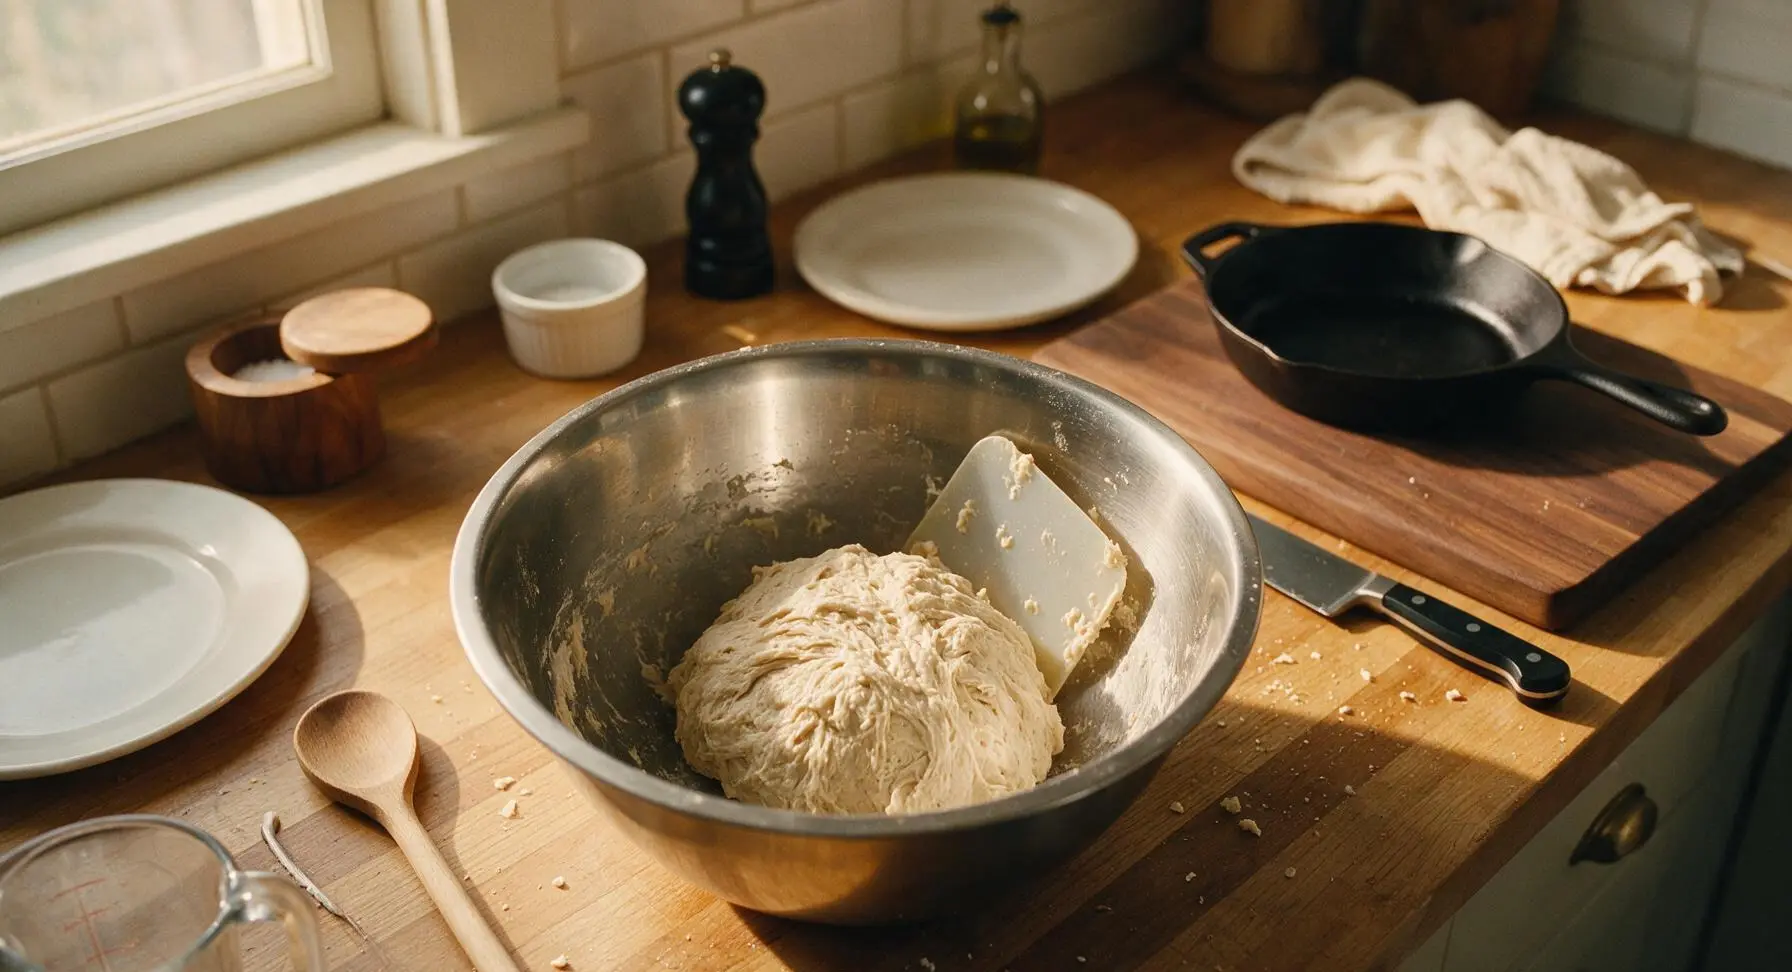
Add 4 tablespoons melted, cooled unsalted butter and 1 teaspoon fine sea salt to the foamy yeast mixture, stirring once with the beech wood mixing spoon. Gradually add all 4 cups of all-purpose flour, stirring slowly until no dry flour pockets remain. The finished dough will be shaggy, sticky, and rough-looking—do NOT knead it, as the long slow rise will develop gluten on its own. Use the silicone dough scraper to scrape down the bowl sides, gathering all dough into a loose, rough ball in the bowl center.
Step 2
step2:Mix Shaggy Dough
Step 2
step2:Mix Shaggy Dough
3

Let Dough Rise

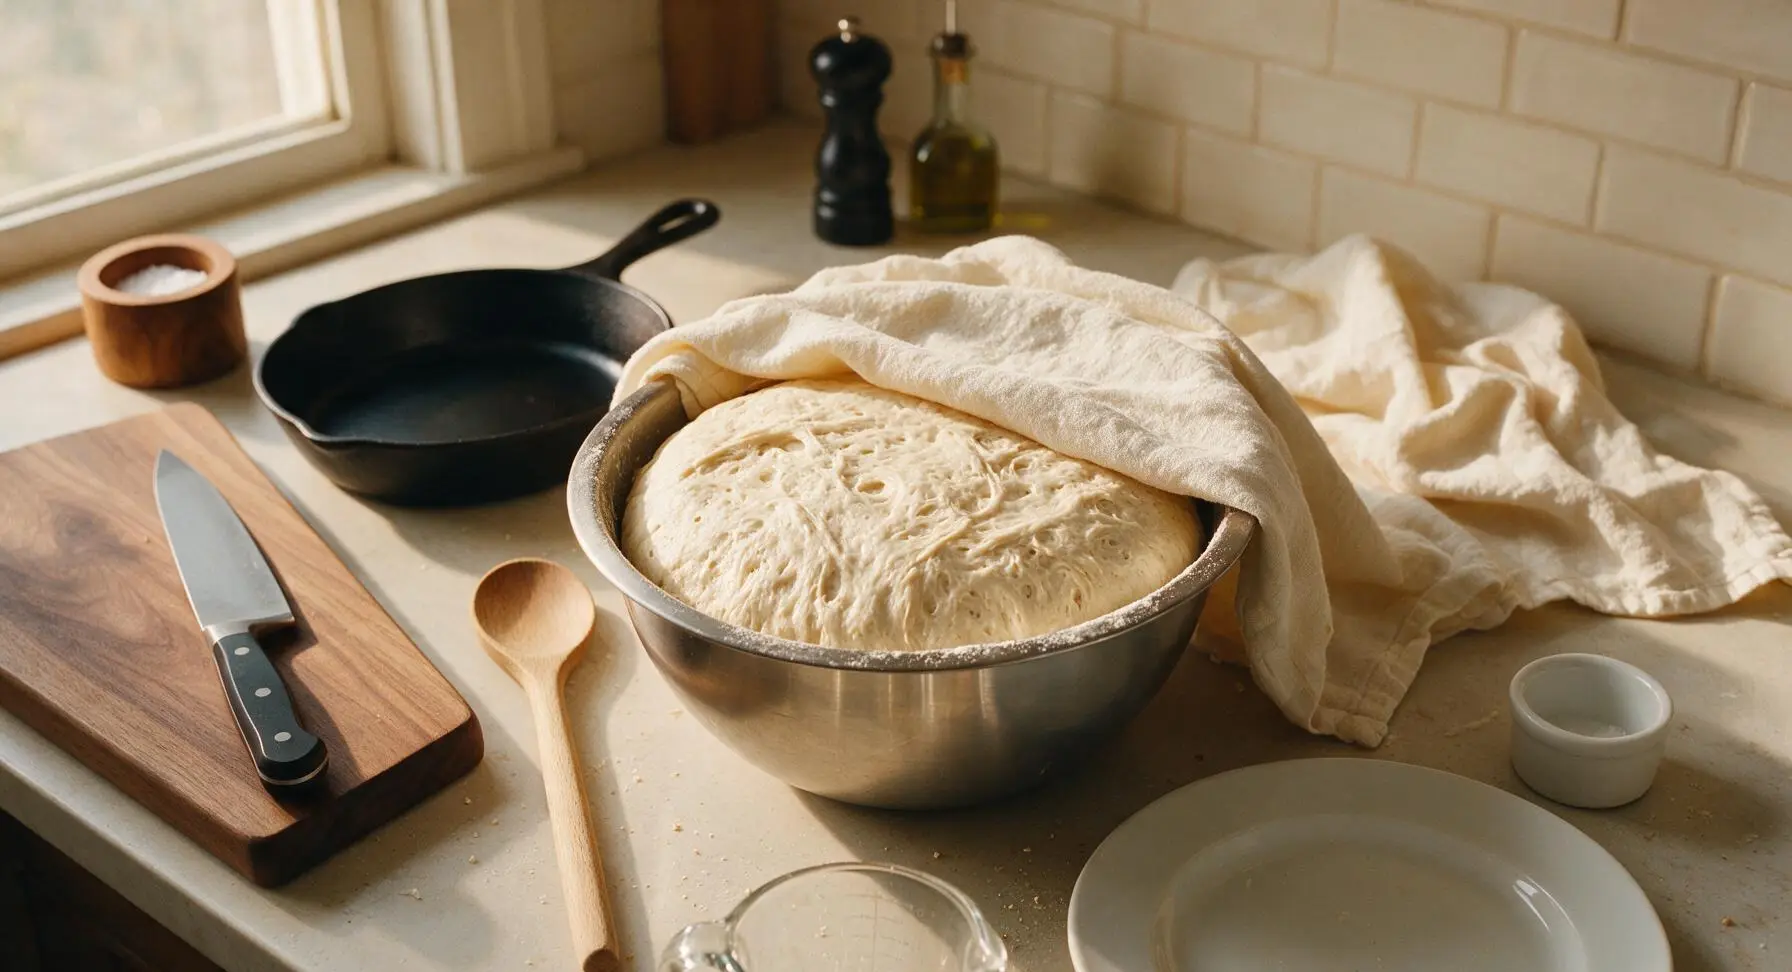
Cover the mixing bowl tightly with a corner of the cream linen towel (pulled gently from its fixed top-left position) and let the dough rest in a warm, draft-free spot on the counter for 2 hours, until it doubles in size, looks light and puffy, and has visible air bubbles across its surface. Do not punch or deflate the dough at this stage. Return the towel to its fixed corner after covering the bowl.
Step 3
step3:Let Dough Rise
4

Portion Dough Balls

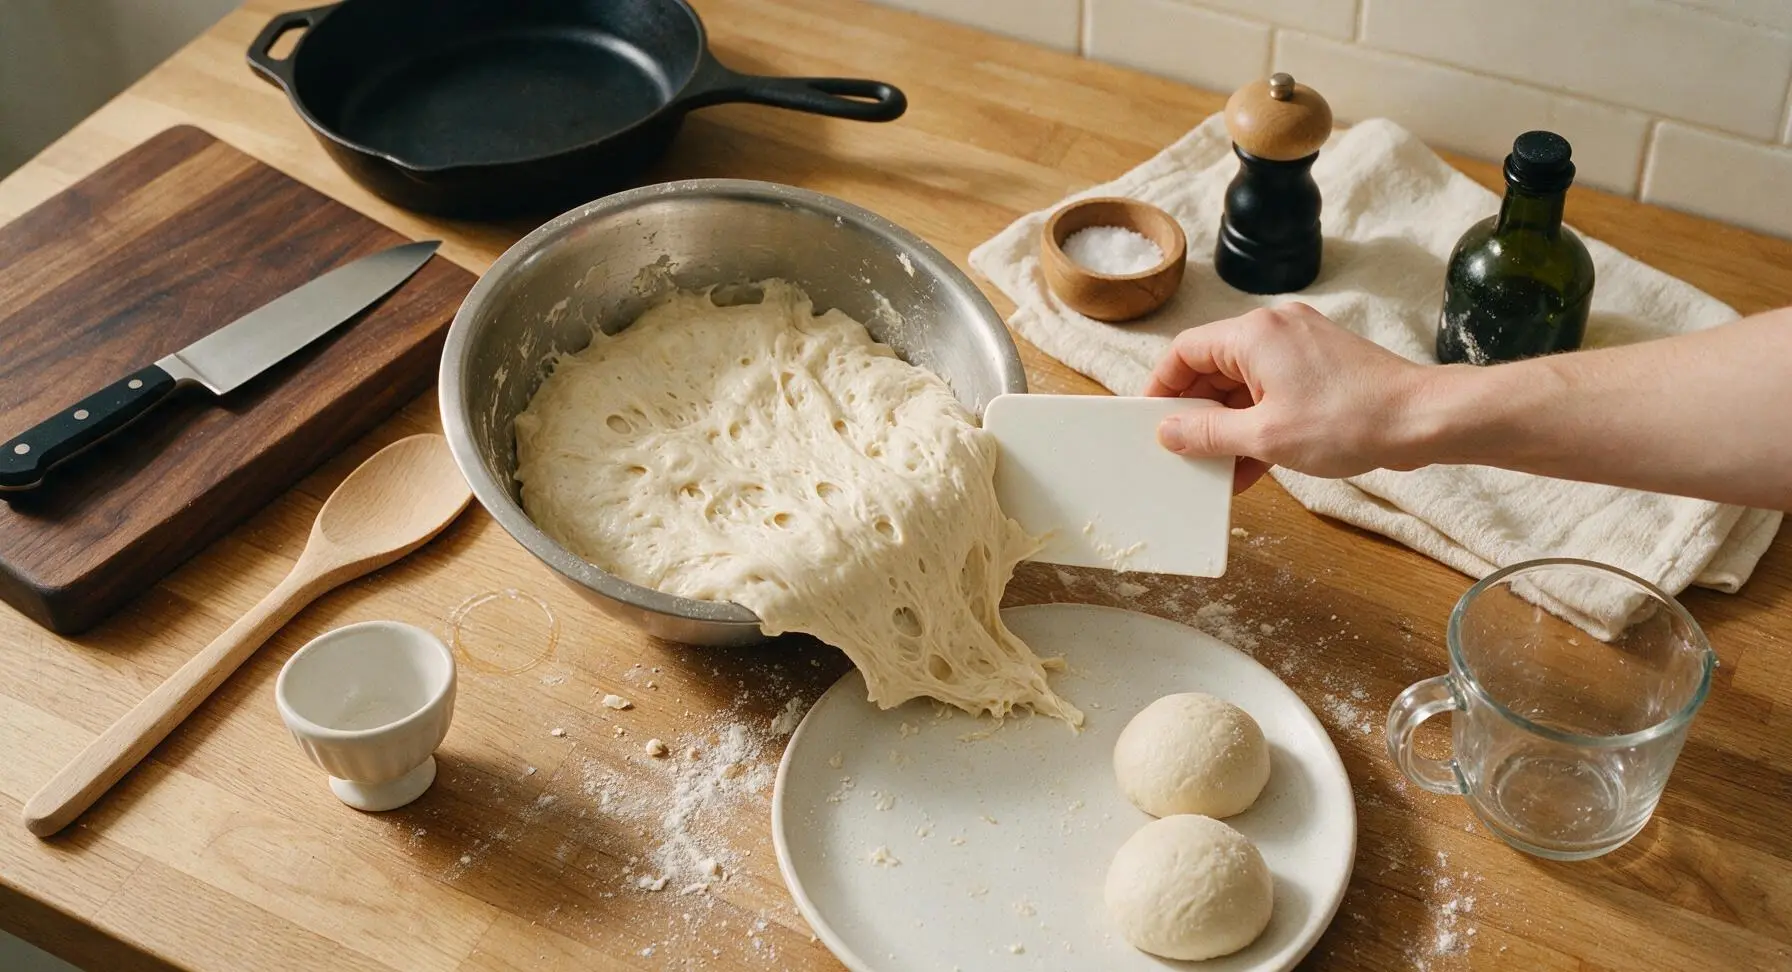
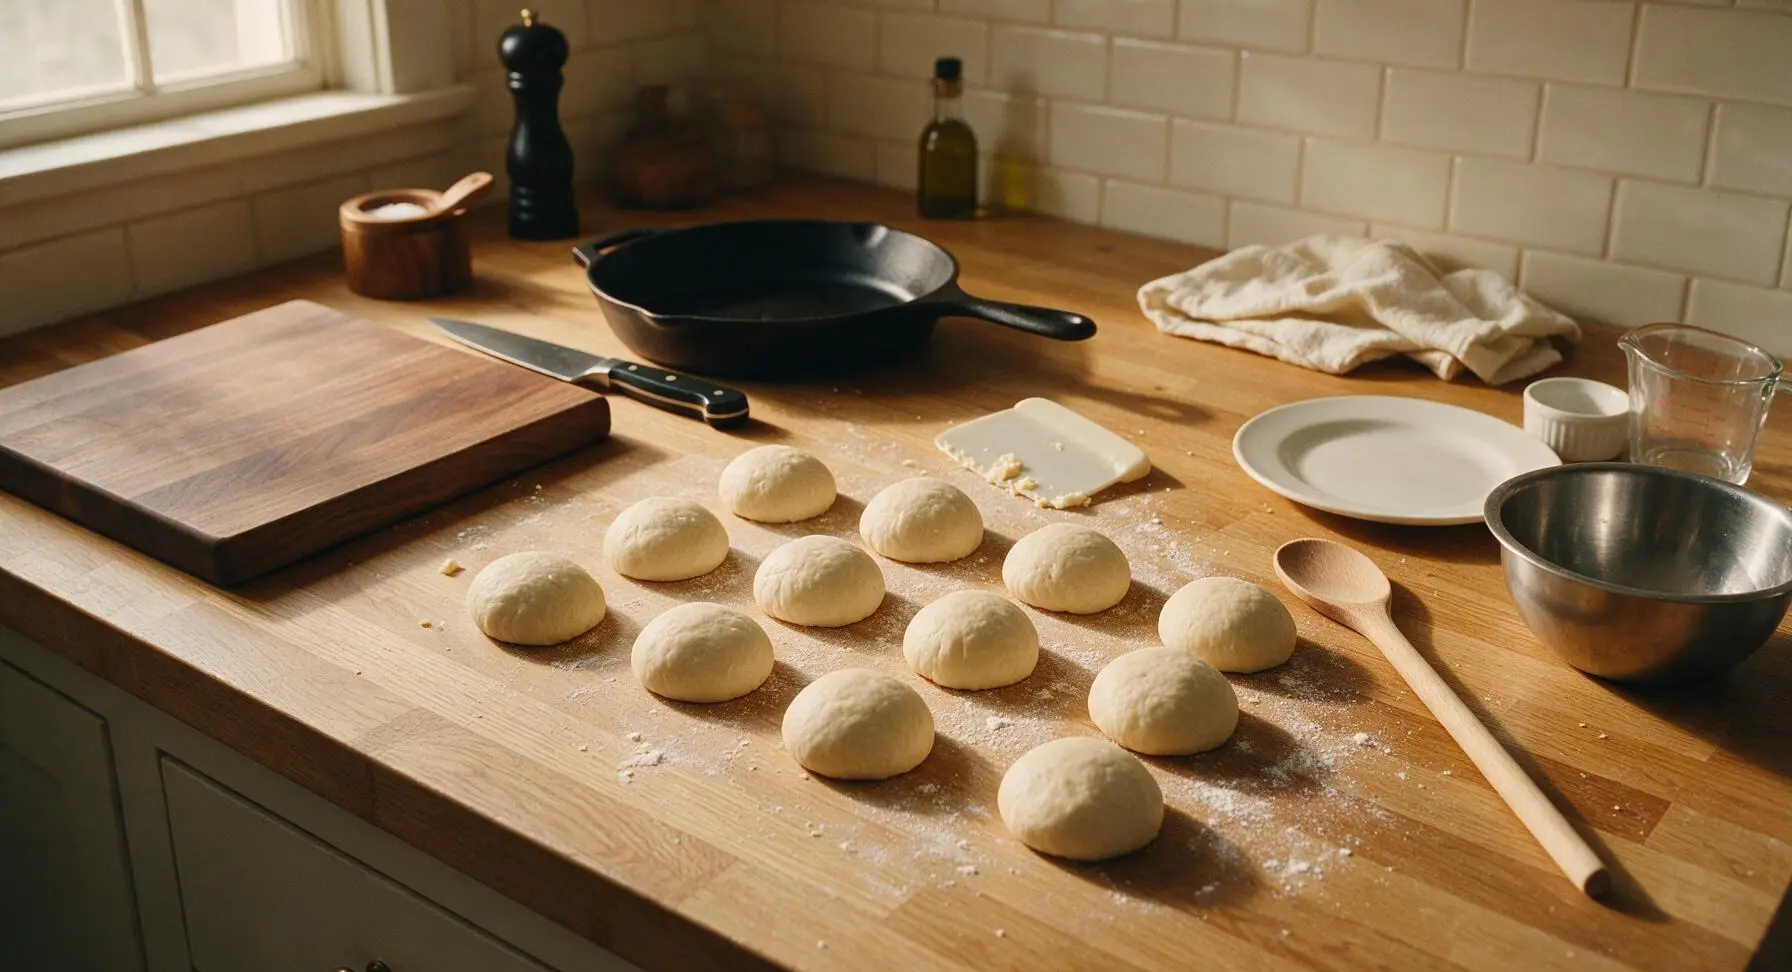
Uncover the risen dough, lightly flour your hands, and use the silicone dough scraper to gently scrape the puffy dough out onto a lightly floured section of the counter. Divide the dough evenly into 12 equal portions (roughly 70g each), pulling the edges of each portion down toward the bottom to form tight, smooth round balls. Do not overwork the dough—gentle shaping is all that is needed to create soft rolls.
Step 4
step4:Portion Dough Balls
Step 4
step4:Portion Dough Balls
5

Arrange in Baking Dish

Rub a thin coat of softened butter across the interior of the 9x13 inch matte light gray ceramic baking dish to prevent sticking. Place the 12 shaped dough balls into the dish, spaced evenly in 3 rows of 4, leaving small 1/2-inch gaps between each ball to allow room for the second rise.
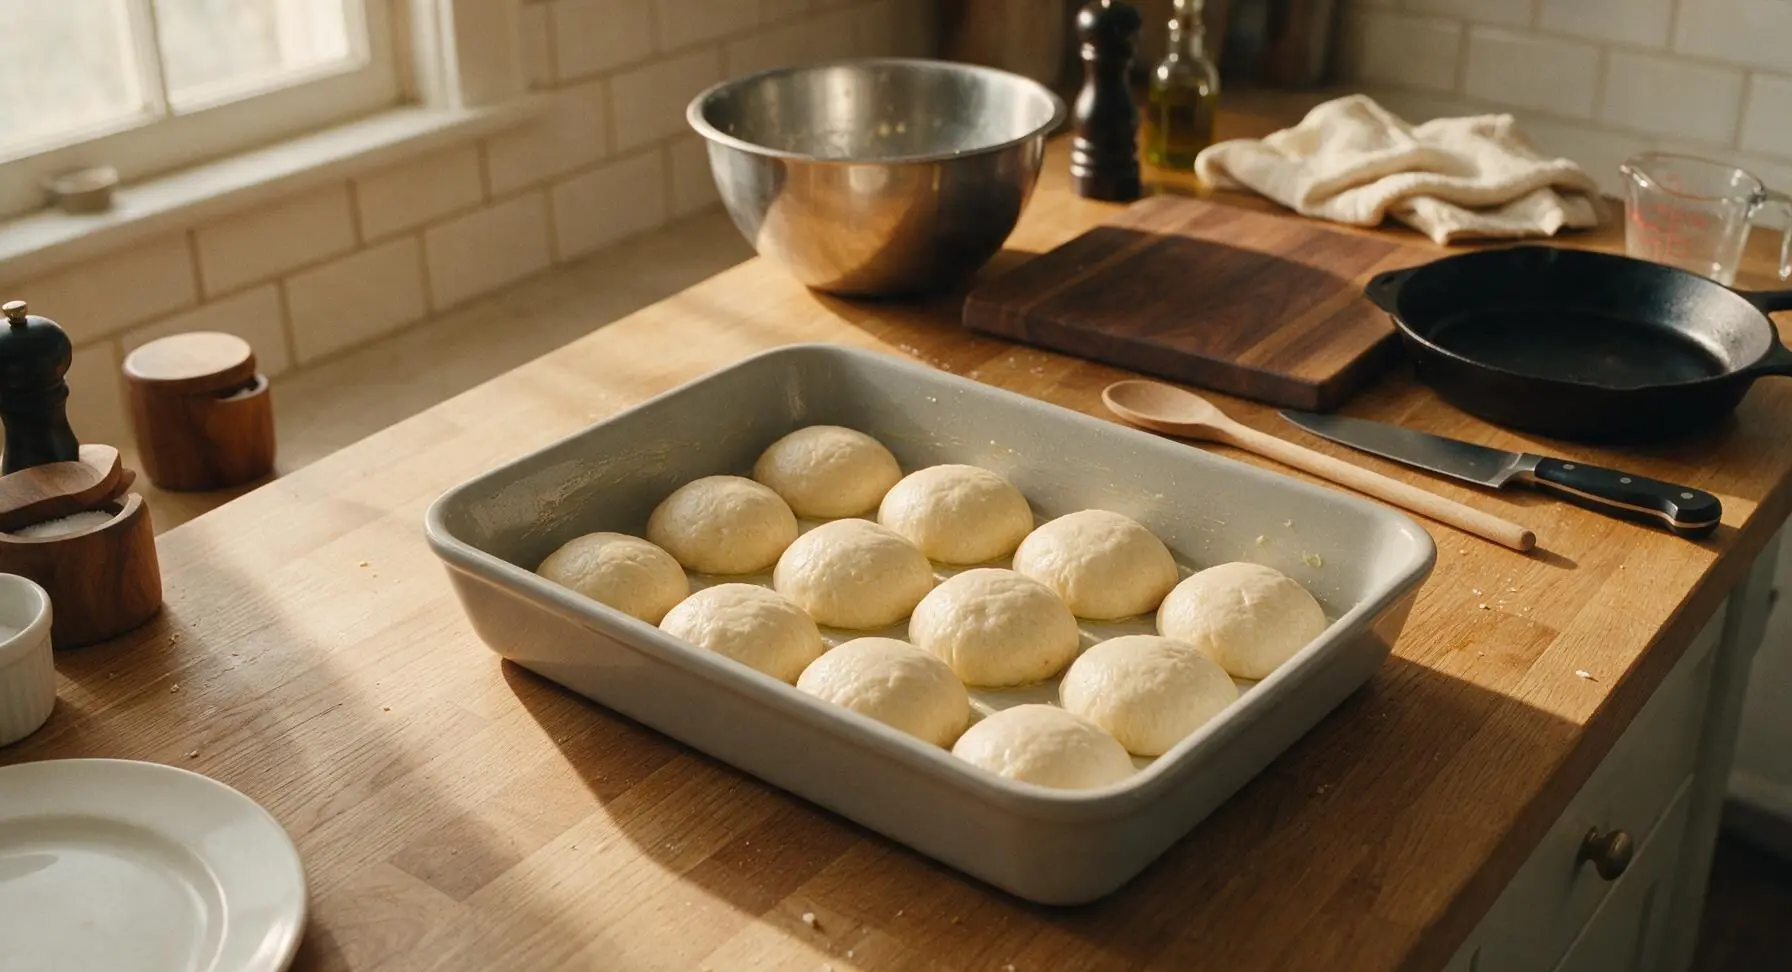
Step 5
step5:Arrange in Baking Dish
6

Second Dough Rise

Cover the baking dish loosely with the cream linen towel again and let the rolls rise for 30 minutes, until they puff up to fill the gaps between each other, nearly doubling in size and pressing gently against their neighboring rolls. While the rolls rise, preheat your oven to 375°F (190°C) with the rack positioned in the center.
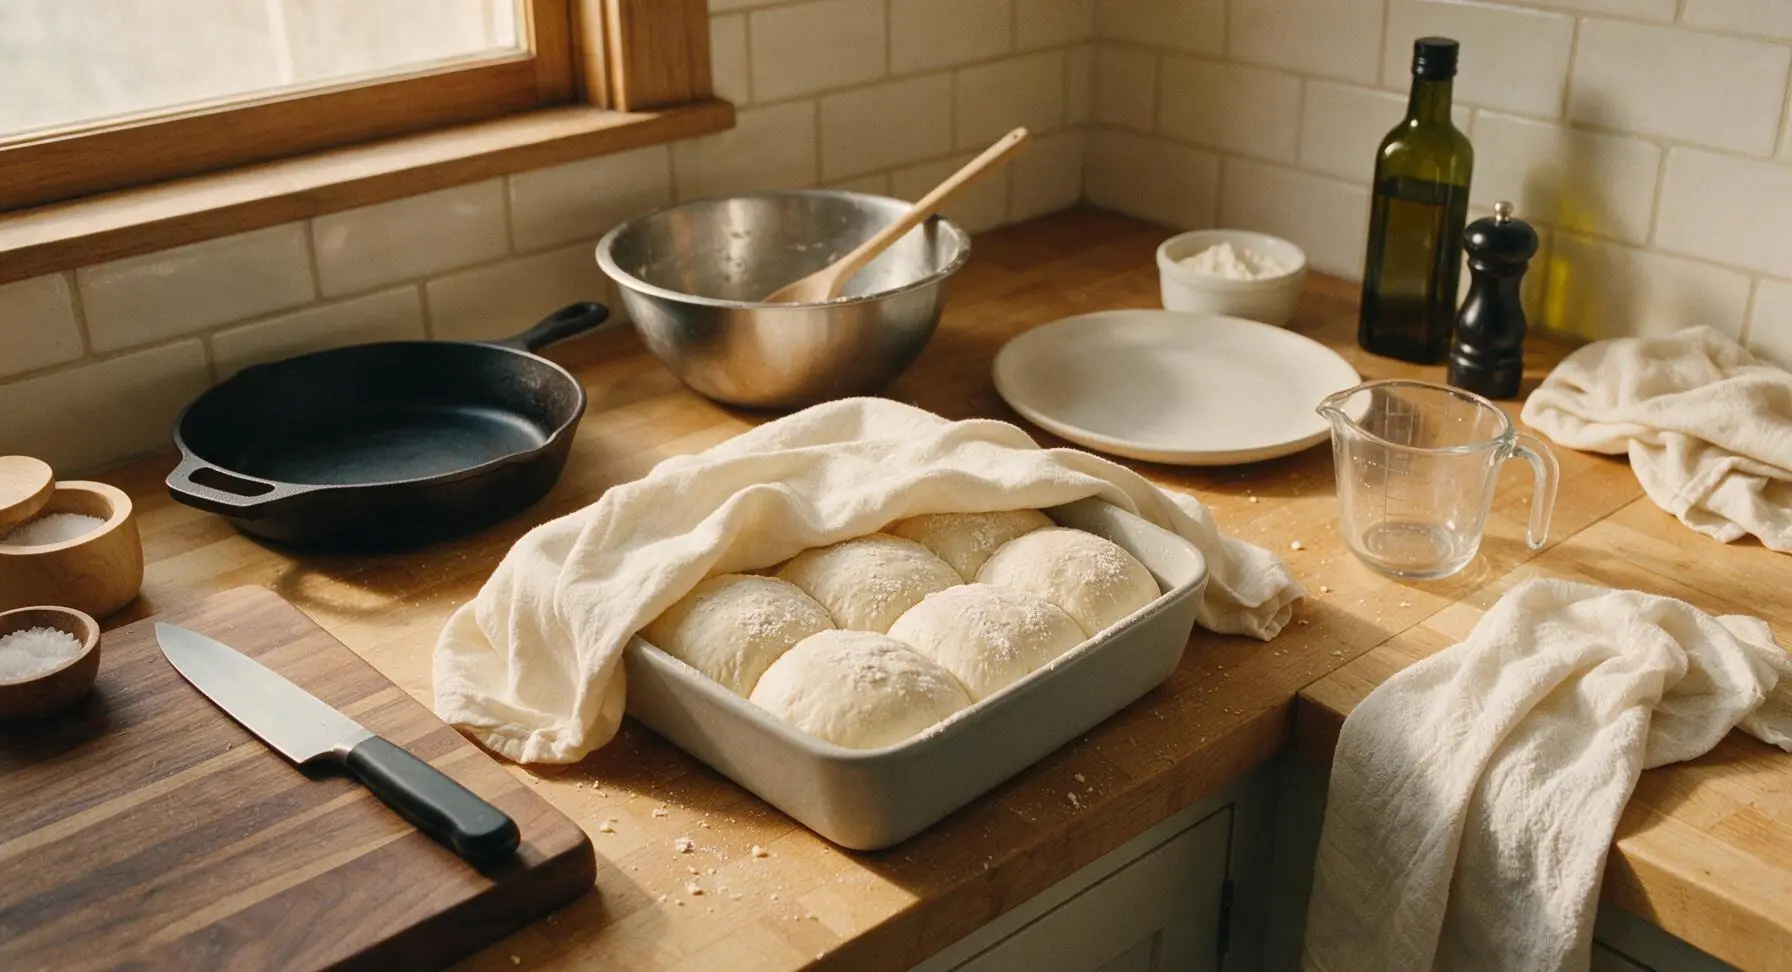
Step 6
step6:Second Dough Rise
7

Bake Until Golden

Uncover the fully risen rolls and place the baking dish on the center rack of the preheated 375°F oven. Bake for 22-25 minutes, until the tops are deep golden brown, and the internal temperature of the center roll reads 190°F (88°C) on a food thermometer. Fully baked rolls will sound hollow when tapped gently on the top crust.
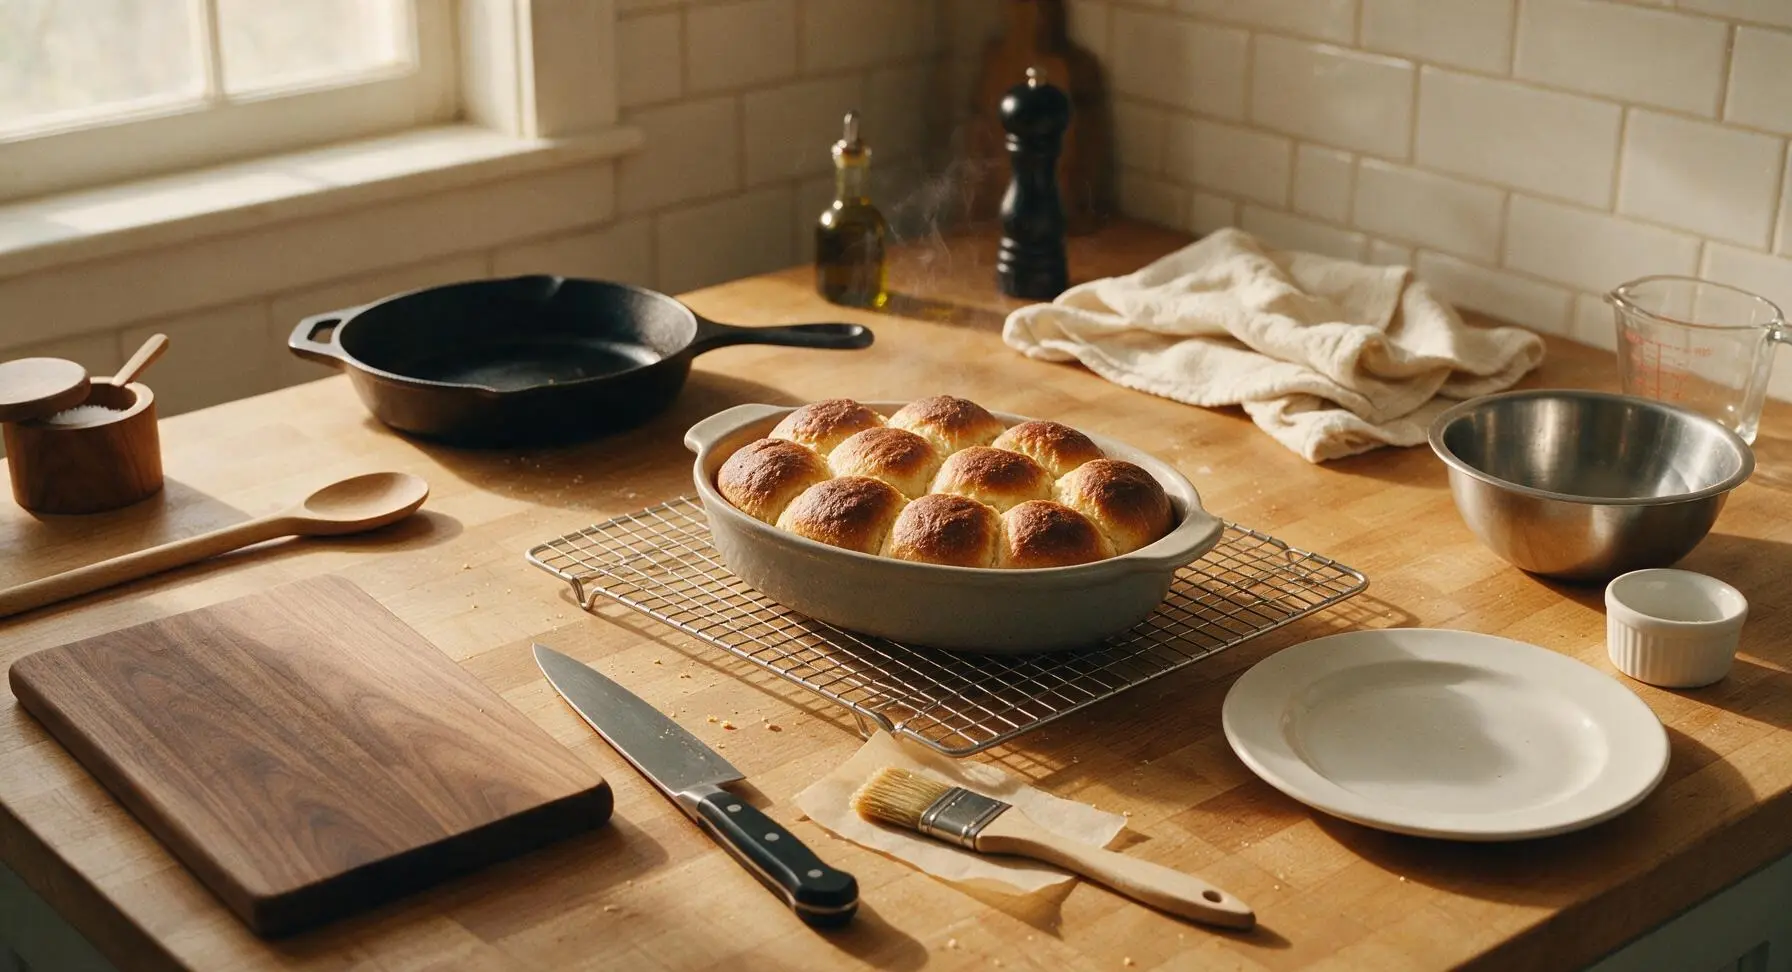
Step 7
step7:Bake Until Golden
8

Butter and Serve

Use the stainless steel pastry brush to brush the tops of the hot rolls with the remaining 2 tablespoons of melted unsalted butter, then sprinkle lightly with flaky sea salt. Let the rolls cool in the baking dish for 5 minutes, then transfer them to the round cream ceramic serving platter to serve warm, with extra softened butter on the side.
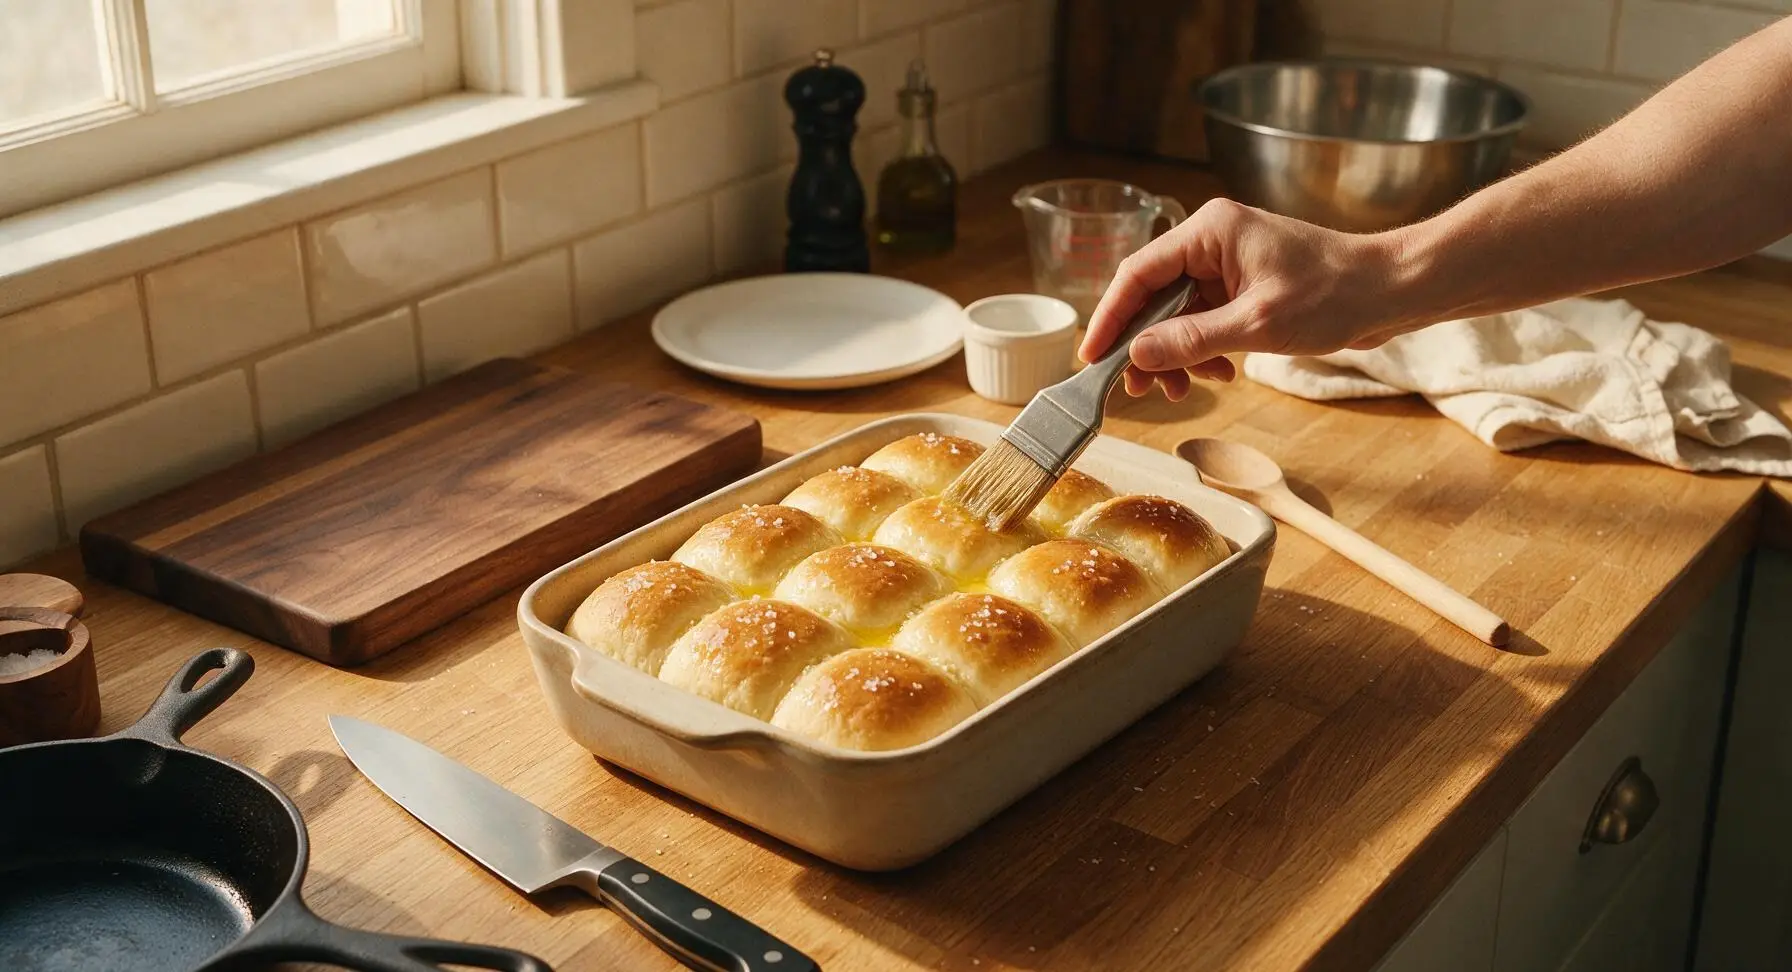
Step 8
step8:Butter and Serve

Tips

1.Do not use milk hotter than 115°F to activate your yeast—temperatures above 140°F will kill live yeast, preventing your rolls from rising and resulting in dense, heavy bread with no soft, pillowy crumb.
2.Resist the urge to knead the dough! The 2-hour slow first rise develops gluten strands naturally without manual kneading, and overworking the dough will create tough, chewy rolls instead of the soft, pull-apart texture you want.
3.Brush the rolls with melted butter immediately after pulling them from the oven—this traps moisture in the crust, preventing it from hardening as it cools, and adds a rich, savory buttery flavor that soaks into the warm top layer of each roll.


✨ You May Also Like

Side Dishes
🍜 India

Velvety, aromatic all-purpose curry sauce perfect for tossing with roasted veggies, grilled protein, or rice for fast, cozy, flavorful meals.

⏱️ 25 minuteSide Dishes ★ 4.8
Side Dishes
🍜 Spain

Tender, starchy boiled yuca tossed in bright, garlicky citrus mojo sauce—an iconic, zesty side that pairs beautifully with roasted pork, grilled meats, and rice and beans.

⏱️ 40 minuteSide Dishes ★ 5
Side Dishes
🍜 United States

Tender, paper-thin potato flatbread, a beloved Norwegian-American Minnesota Christmas staple, griddled until softly spotted and served warm with butter.

⏱️ 1 hour 30Side Dishes ★ 4.6
Side Dishes
🍜 United States

Rich, deeply savory cured salt pork, a long-lasting kitchen staple perfect for frying crispy as a side or adding umami to stews, beans, and chowders.

⏱️ 7 days (2Side Dishes ★ 4.9
Side Dishes
🍜 United States

Crispy, tangy classic Southern fried green tomatoes with a crunchy cornmeal crust, served hot for a nostalgic, comforting summery bite.

⏱️ 25 minuteSide Dishes ★ 4.9
Side Dishes
🍜 United States

Moist, golden-crusted savory muffins with sweet corn, zesty jalapeño, and melted cheddar, perfect for pairing with smoky summer grilled fare.

⏱️ 30 minuteSide Dishes ★ 4.9

No-Knead Dinner Rolls:Frequently Asked Questions

1.Do I truly not have to knead these dinner rolls at all? ▾
You got it! The long, slow rise in this recipe develops gluten strands the same way traditional kneading does, zero elbow grease required. All you need to do is mix ingredients until no dry flour remains—no stand mixer, no 10-minute hand kneading, no sore arms needed for that signature soft, pillowy crumb.
2.Can I use instant yeast instead of active dry yeast for this recipe? ▾
Absolutely! Swap active dry for instant yeast at a 3:4 ratio (use 25% less instant yeast than the active dry amount called for). You don’t need to proof instant yeast in warm milk first—just stir it directly into dry ingredients before adding wet ingredients, and it will activate perfectly during the rise.
3.Why did my rolls turn out dense instead of light and pillowy? ▾
Dense rolls almost always trace back to one of three common issues: your yeast was expired and didn’t activate, you used milk that was too hot and killed the yeast, or you cut the first rise short. Make sure milk is 105–110°F for proofing, test yeast freshness first, and let dough double fully before shaping.
4.Can I make the dough ahead of time to bake for a dinner party? ▾
You absolutely can—that’s one of the best perks of this no-knead recipe! After mixing the dough, cover it tightly and let it do a slow rise in the fridge for up to 3 days. When ready to bake, pull it out, shape rolls, let them puff 45 minutes, then bake for fresh, hot rolls right at mealtime.
5.Do I have to use whole milk, or can I swap in lower-fat milk? ▾
Whole milk gives these rolls their rich, tender crumb and subtle creamy flavor, but you can swap in 2% milk if that’s what you have on hand. Skip skim milk, though—it produces a drier, less flavorful roll that won’t have that soft, pillowy texture perfect for sopping up gravy.
6.How do I get that perfectly golden, crisp top crust on the rolls? ▾
Right before baking, brush the tops of the puffed rolls with melted unsalted butter, and make sure your oven is fully preheated to 375°F before the pan goes in. For an extra glossy, crisp finish, add a tiny pinch of flaky salt to the butter wash to amp up flavor and make the crust sparkle.
7.My dough is super sticky after mixing—did I do something wrong? ▾
Don’t panic! No-knead dough made with all-purpose flour is supposed to be much wetter and stickier than traditional kneaded roll dough. Resist the urge to add extra flour to make it less tacky, because that will make finished rolls dense. Just lightly oil your hands when shaping rolls to keep dough from sticking instead.
8.Can I freeze these baked rolls for later use? ▾
Definitely! Let baked rolls cool completely to room temperature, then tuck them into a tightly sealed freezer bag and squeeze out all excess air. They’ll keep well in the freezer for up to 3 months. To reheat, wrap in foil and warm in a 325°F oven for 10–12 minutes until soft all the way through.
9.Will the granulated sugar make these rolls taste sweet? ▾
The small amount of granulated sugar in this recipe isn’t there to make rolls sweet—it’s food for the yeast to help it activate and create that light, airy rise, plus it adds subtle depth that balances butter and salt. Your finished rolls will taste savory, buttery, and neutral, not like sweet dessert bread.
10.What size pan should I use for classic pull-apart rolls? ▾
For classic pull-apart rolls that touch as they bake and have soft, tender sides, use a well-buttered 9x13 inch metal baking pan. You can also use a 12-cup cast iron skillet for slightly crispier edges on every roll, just space shaped dough balls evenly so they have room to puff.
11.How do I know when the rolls are fully done baking? ▾
Rolls are done when tops are a deep golden brown, and the internal temperature of the center roll hits 190°F on an instant-read thermometer. If you don’t have a thermometer, tap the top of the center roll—if it sounds hollow instead of dense, they’re ready. Don’t overbake, or they’ll dry out.
12.Can I add mix-ins like garlic, herbs, or cheese to these rolls? ▾
Go for it! This simple base recipe is super customizable. Stir minced roasted garlic, chopped fresh rosemary or thyme, or shredded cheddar or parmesan into the dough when you first mix ingredients, or sprinkle extra cheese and herbs on top with the butter wash right before baking.
13.Do I need to proof active dry yeast first, or can I mix it straight in? ▾
It’s always a safe bet to proof active dry yeast first to confirm it’s still active: stir it into warm (105–110°F) milk with a pinch of the sugar, and wait 5–10 minutes until it gets foamy. If it doesn’t foam, your yeast is dead, and you’ll need a new packet before wasting other ingredients.
14.Why do my rolls spread out flat instead of puffing up tall? ▾
If rolls spread flat instead of rising tall, it’s usually because the post-shaping second rise went too long, making the dough too weak to hold its structure, or your oven wasn’t hot enough when you put them in. Stick to the 45-minute room temp post-shape rise, and preheat your oven for at least 15 minutes before baking.
15.What’s the best way to keep leftover rolls soft for a few days? ▾
Store fully cooled leftover rolls in an airtight container or resealable bag at room temperature for up to 3 days. Don’t store them in the fridge—that will make them go stale much faster. To refresh day-old rolls, wrap in a damp paper towel and microwave 10–15 seconds, or warm in the oven with a little extra butter.

Comments (19)

2 days ago

OMG these no-knead dinner rolls are a total game changer!!! I’ve always been intimidated by yeast breads because I thought you had to knead forever, but these were so low effort. My kids devoured half the batch straight out of the oven with salted butter last night for our Sunday family dinner. 10/10 will make every week from now on.

yesterday

Wait did you do any adjustments for high altitude? I’m in Denver and nervous my first try will flop!

yesterday

Great question! If you’re at over 3000ft elevation, just add an extra 2 tbsp of flour and reduce the yeast by 1/4 tsp, and let the rise happen in a slightly warmer spot, you’ll get perfect rolls every time!

1 week ago

Brought these to my neighborhood block party potluck last weekend and people were asking me for the recipe before I even set the platter down! They’re so fluffy, slightly sweet, and that golden crust? *Chef’s kiss* I brushed mine with a little garlic butter right after baking and it was chef’s kiss.

5 days ago

The garlic butter brush is such a good call! I did that last time too and my partner said they’re better than the fancy steakhouse rolls we get on date night.

3 days ago

Love the garlic butter hack! So many people swap the plain melted butter for garlic herb, honey butter, or even cinnamon sugar for a sweet twist, all work beautifully.

3 days ago

These are SO good! I made a double batch on Sunday to pair with soups and stews all week, and they hold up really well in an airtight container. Only knock is I wish the recipe noted how long to let them rise the first time because I think I let mine go a little too long and they spread more than puffed, but still tasted amazing.

2 days ago

So glad you loved the flavor! The ideal first rise is 1-2 hours in a warm, draft-free spot until the dough doubles in size—if your kitchen is extra warm, it might go faster, so just keep an eye on it after the 1 hour mark!

5 days ago

Wait I’m a total beginner who’s never baked bread in my life and these actually turned out??? No fancy stand mixer, no kneading, just mix the dough the night before and let it hang in the fridge? I thought for sure I’d mess it up but they’re soft, fluffy, taste like the rolls my grandma used to make. Insane.

3 days ago

Wait you left it in the fridge overnight? I was gonna make them same-day, does that change the texture at all?

2 days ago

The cold fridge rise actually makes the flavor better imo! I do that every time, it’s way less stressful than rushing the rise same day.

2 weeks ago

Has anyone tried making these with a 1:1 gluten free all purpose flour? I’ve been hunting for an easy dinner roll recipe for Thanksgiving since my celiac diagnosis and I’m tired of the dense, rock hard GF rolls from the grocery store.

2 weeks ago

Hi Gail! We’ve tested this with a popular 1:1 GF baking flour (the one with xanthan gum already added) and it works really well! Just add an extra 1 tsp of xanthan gum if your flour blend doesn’t have it, and you’ll get super soft rolls that hold together perfectly.

yesterday

Made these to go with my spaghetti and meatballs last night and they were perfect. Slightly chewy crust, soft pillowy inside, sopped up sauce like a dream. No kneading required means I don’t have flour all over my counter for 3 days after, which is a huge win for me. Will absolutely be adding these to the regular rotation.

2 hours ago

Just pulled these out of the oven for tonight’s dinner and holy cow, my whole house smells like a bakery. I was worried because I only had instant yeast instead of active dry, but I just tossed it right in and it worked perfectly. Can’t wait to tear into these with some honey butter when my kid gets home from soccer practice.

30 minutes ago

Instant yeast swap is my go-to too! I never keep active dry around because I always forget to proof it first. Did you score the tops before baking? Mine split a little weird last time.

5 minutes ago

So glad the yeast swap worked out for you! If you want to prevent weird splitting, just make sure you pinch the seams of the rolls really tight when you shape them before the second rise, no fancy scoring needed!

1 week ago

These are really tasty, but mine came out a little paler on top than the photos even after baking the full 25 minutes. I think my oven runs a little cool, so I’ll add 3-4 minutes next time and maybe brush with a little extra butter halfway through. Still super soft and delicious though!

5 days ago

Oven temps can vary so much! If your oven runs cool, definitely bump the bake time a few minutes, and you can always broil for 30-60 seconds at the very end to get that perfect golden top—just watch them closely so they don’t burn!

30 minutes ago

Swapped the dairy milk for oat milk and the butter for vegan butter, and these came out perfectly!!! I’ve tried so many vegan dinner roll recipes that come out dense or weirdly gummy, but these are light, fluffy, and even my non-vegan roommate said they’re the best rolls she’s ever had. 10/10 for potlucks, no one will even know they’re vegan.

3 days ago

I’m hosting Thanksgiving for the first time this year and I was stressing so hard about making rolls from scratch because I thought they’d take all day. These were so easy I did a test run last night and they came out perfect? I don’t think I’m even stressed about the rest of the meal now tbh.

2 days ago

Pro tip: make the dough two days ahead and keep it in the fridge! It cuts down on so much work the day of, you just pull it out, shape, let rise, and bake. I’ve done this for three years now and no one knows I didn’t slave over them all day.

yesterday

Second this! The make-ahead hack is a lifesaver for holidays. I made these for Easter brunch this year and they were the first thing gone off the table.

5 days ago

Brushed these with salted honey butter right when they came out of the oven and I swear I could’ve eaten the entire pan by myself. I made these to go with my pot roast last night and even my super picky father-in-law asked for seconds, which is basically a Michelin star in his book. Obsessed.

3 days ago

The salted honey butter combo is unreal! I did that for Christmas dinner last year and my family still brings up how good the rolls were.

just now

I live in a tiny studio apartment with zero counter space so any recipe that doesn’t require me to roll out dough and knead for 10 minutes is an automatic win. These mixed up right in one bowl, no mess, no extra equipment, and taste like they came from a fancy bakery. 10/10 for small kitchens.

2 weeks ago

These freeze really well! I baked a full batch, let them cool completely, tossed them in a freezer bag, and pulled one out to reheat for dinner last week and it tasted just as fresh as the day I baked it. Only thing is I wish the recipe had a note about freezing instructions because I had to guess how long to reheat for.

1 week ago

Great note! To reheat frozen rolls, just wrap them in foil and bake at 350F for 10-12 minutes until warmed through, they’ll taste like you just baked them! We’ll add that tip to the recipe notes soon!

2 days ago

Made mini versions of these for brunch last weekend and served them with jam, whipped cream cheese, and lemon curd. They were the perfect bite sized addition to the spread! I even added a little lemon zest to the dough for a bright twist and it was chef’s kiss. Will be making these for every brunch from now on.

yesterday

After killing three sourdough starters in a row I swore off bread baking forever, but these no-knead rolls convinced me to give it another shot. No fussy starter, no complicated kneading, no waiting days for it to ferment—just mix, rise, bake, perfect rolls. Game. Changer.

2 hours ago

Same! I killed two starters last year and thought homemade bread just wasn’t for me, these were so easy I felt like a professional baker when they came out fluffy!

30 minutes ago

Made these on a random weeknight when I realized we had no bread to go with our chili, and they came together so fast. I mixed these up after work, let them rise while I walked the dog and made the chili, baked them for 25 minutes, and had fresh hot rolls on the table in no time. Way easier than running to the grocery store for a bag of rolls that taste like preservatives. SO good.

5 days ago

I don’t know what wizardry this is, but how is it possible to get such soft, fluffy rolls without kneading? I’ve made traditional dinner rolls a dozen times that required 15 minutes of kneading and they never turn out this light. My whole family is obsessed, my husband asked if we can have these every Sunday for dinner from now on.

3 days ago

It’s all the magic of the long, slow rise! The gluten develops on its own while the dough rests, so you don’t have to do all the hard work of kneading to get that perfect soft, fluffy texture. So glad your family loves them!

1 week ago

Made these for my first ever work potluck and they were a huge hit! I accidentally added a little too much salt because I was measuring while on a work call, but even then they were still really good. Next time I’ll pay better attention to my measurements instead of multitasking, oops.

5 days ago

Oh I’ve done that so many times! Multitasking while measuring is how I once put cinnamon instead of cumin in my chili, total disaster. Glad the rolls still turned out good even with extra salt!

yesterday

My 7 year old helped me mix the dough for these last night and she was so proud when they came out of the oven! She kept telling everyone at dinner that she made “fancy restaurant rolls” all by herself. They’re so easy even a kid can help make them, which makes them a winner in my book. My kids loved them, we had zero leftovers.



