
Nutritional Yeast Grilled Cheese

title 1
Nutritional Yeast Grilled Cheese
⏱️ cook time 8 minutes
🍽️ servings 2
⚡ Difficulty easy

intro

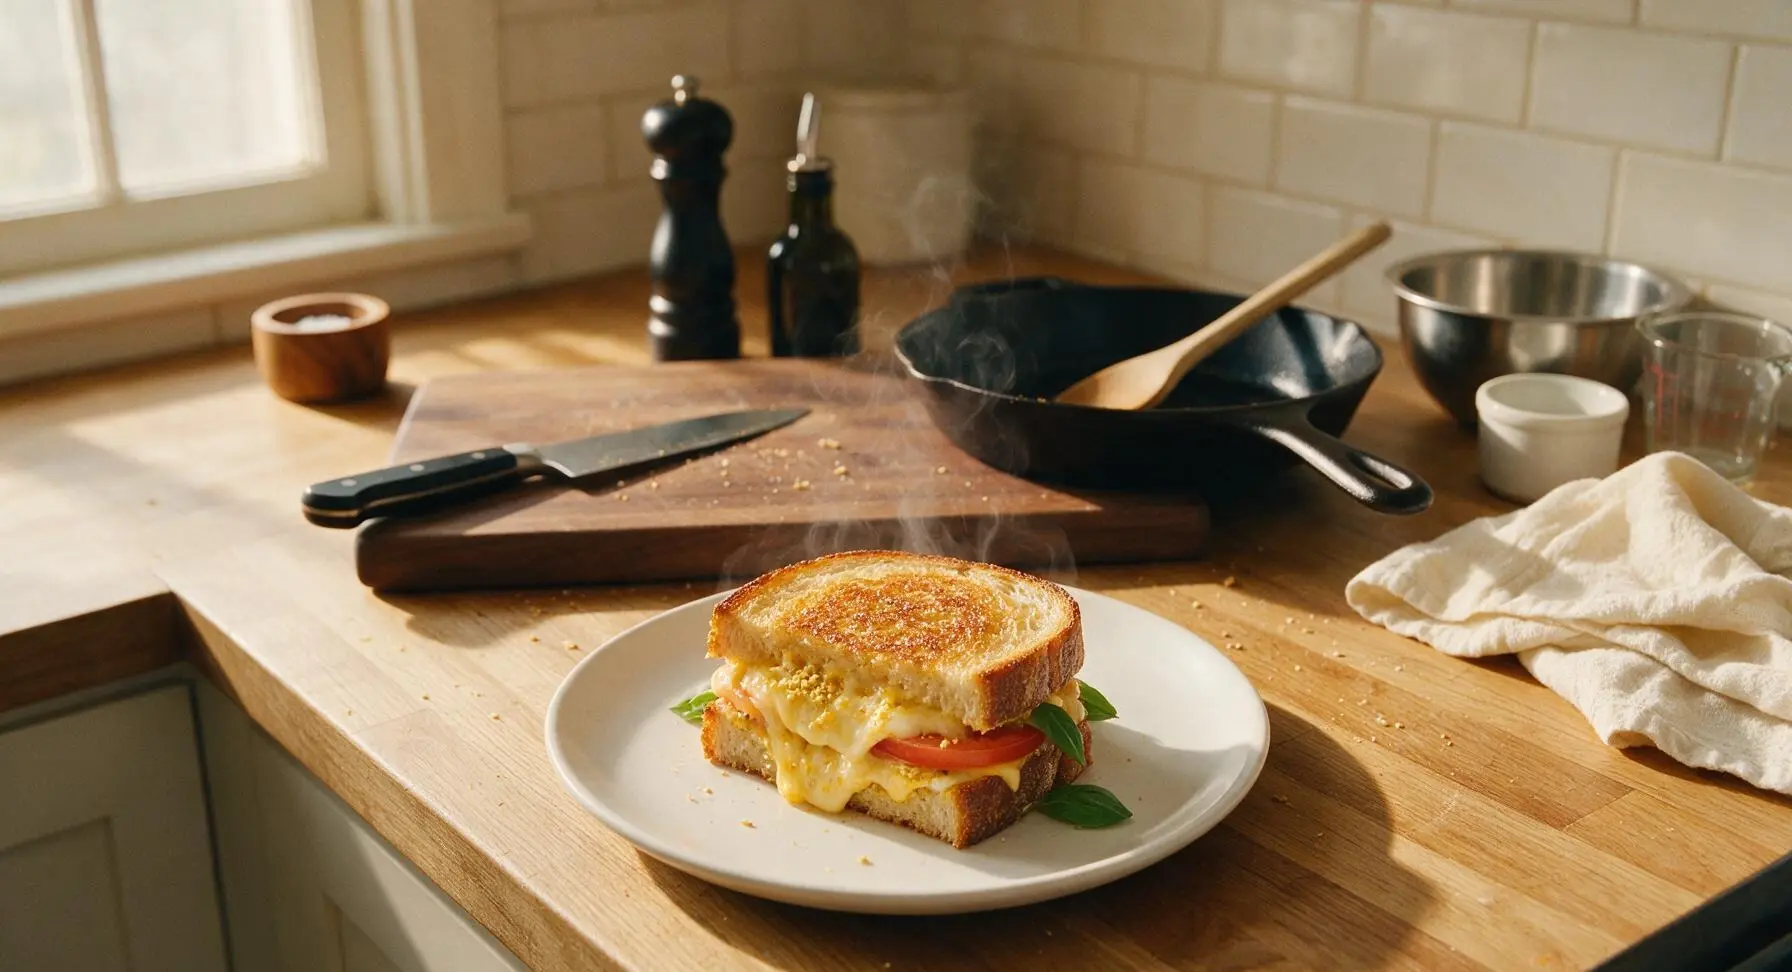
Crispy, buttery sourdough oozing with melty sharp cheddar boosted by nutty, umami-packed nutritional yeast—this elevated grilled cheese is quick, cozy, and endlessly satisfying.

Ingredients
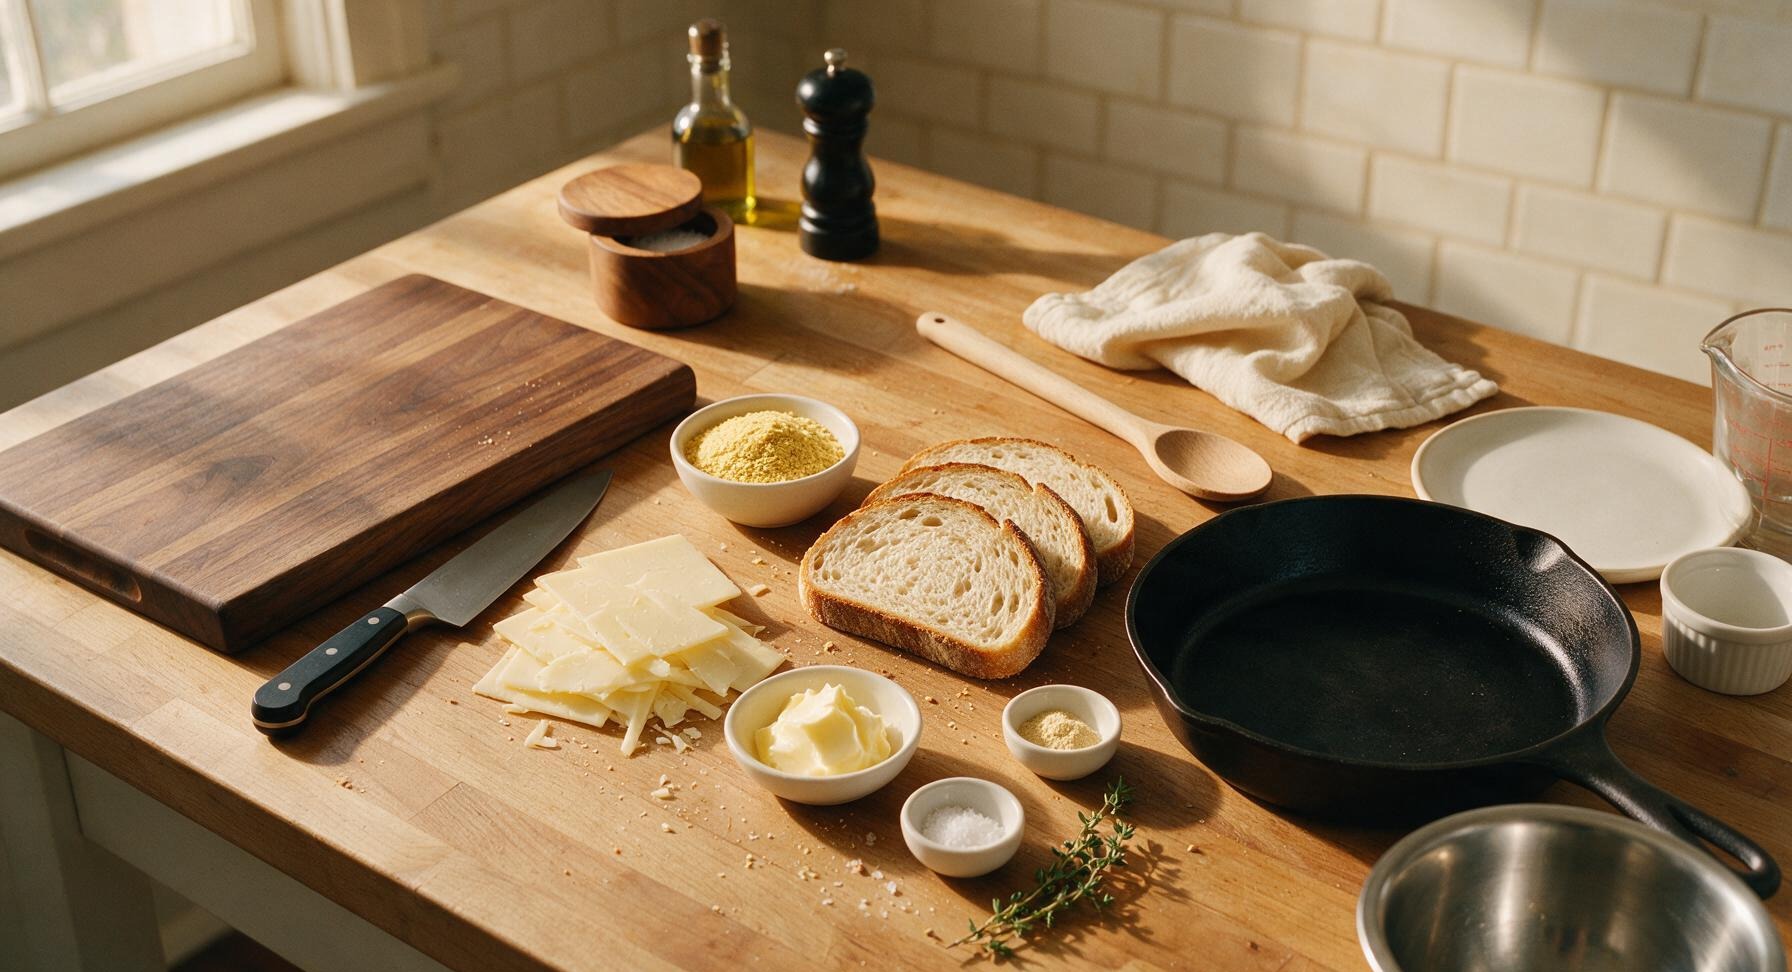
Sourdough bread (1.5cm thick slices) 4 slices (140g total)
Sharp white cheddar cheese, thinly sliced 60g
Nutritional yeast 1/4 cup (20g)
Unsalted butter, softened to room temperature 1.5 tbsp (21g)
Garlic powder 1/4 tsp
Flaky sea salt 1/8 tsp
Fresh thyme sprigs 2 sprigs

Steps

1

Mix Nutritional Yeast Butter

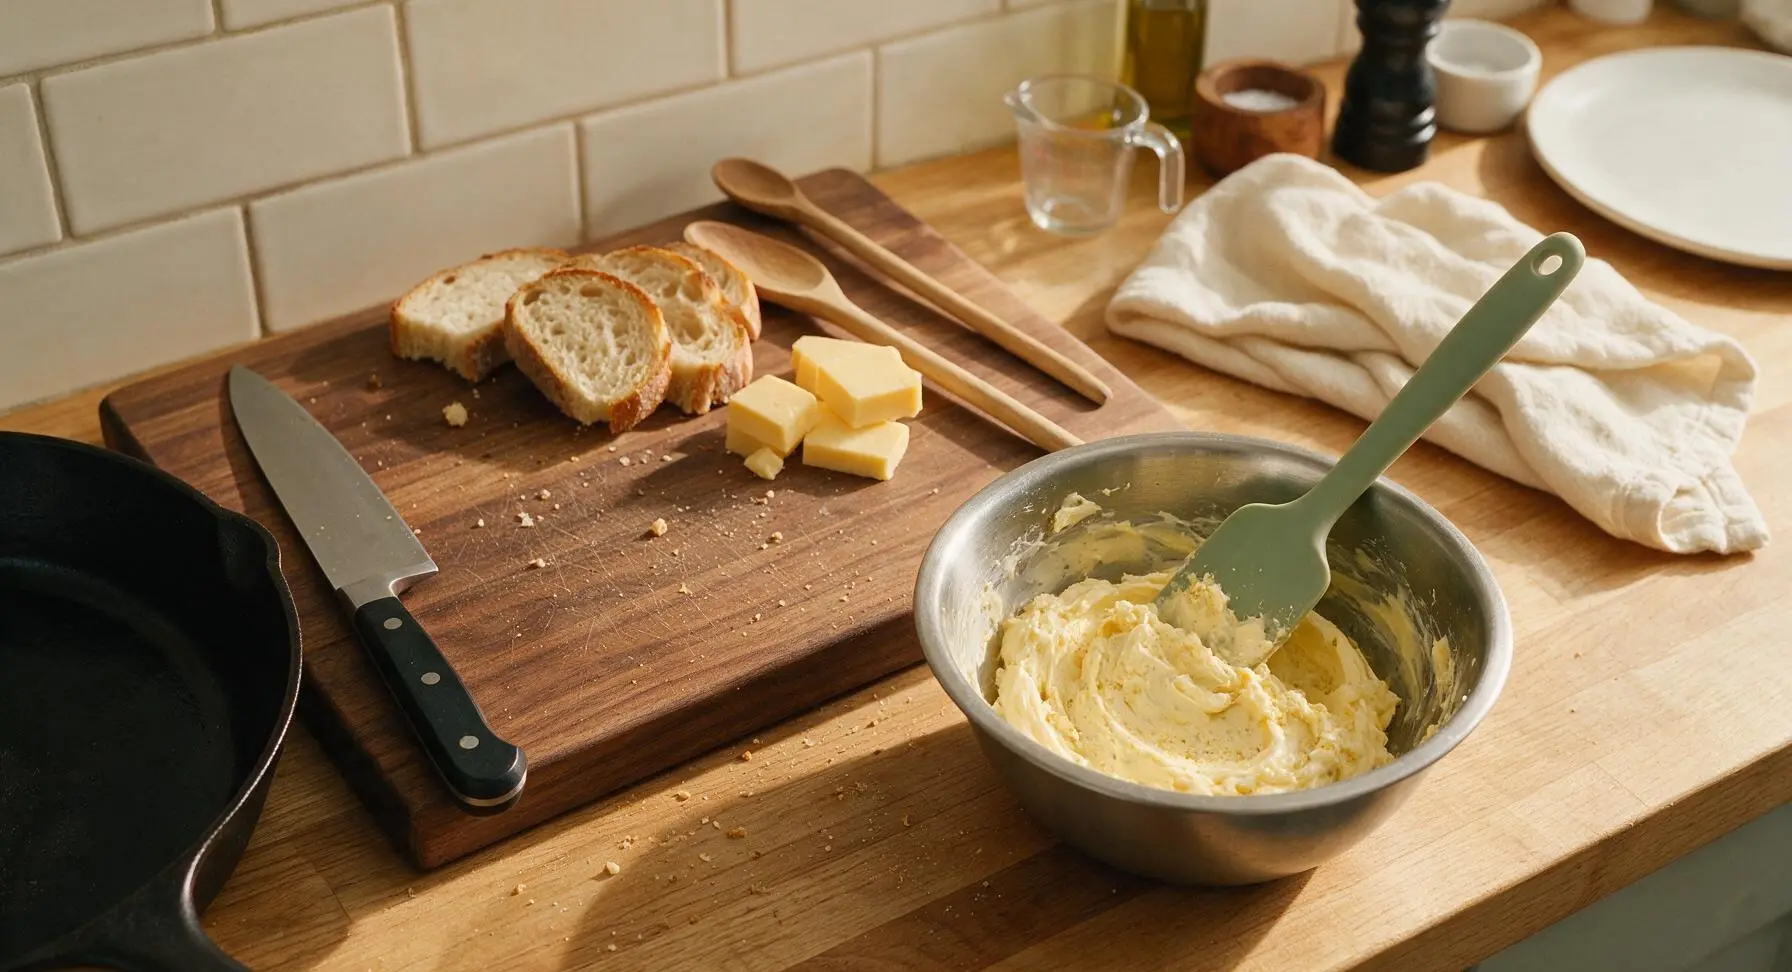
Place 1.5 tablespoons softened unsalted butter, 3 tablespoons of the measured nutritional yeast, 1/4 teaspoon garlic powder, and 1/8 teaspoon flaky sea salt into the small stainless steel mixing bowl. Use the matte sage green silicone spatula to stir the mixture until fully combined, smooth, and evenly flecked with nutritional yeast, about 30 seconds of mixing. Set aside the remaining 1 tablespoon of nutritional yeast for finishing.
Step 1
step1:Mix Nutritional Yeast Butter
2

Coat Bread Slices Evenly

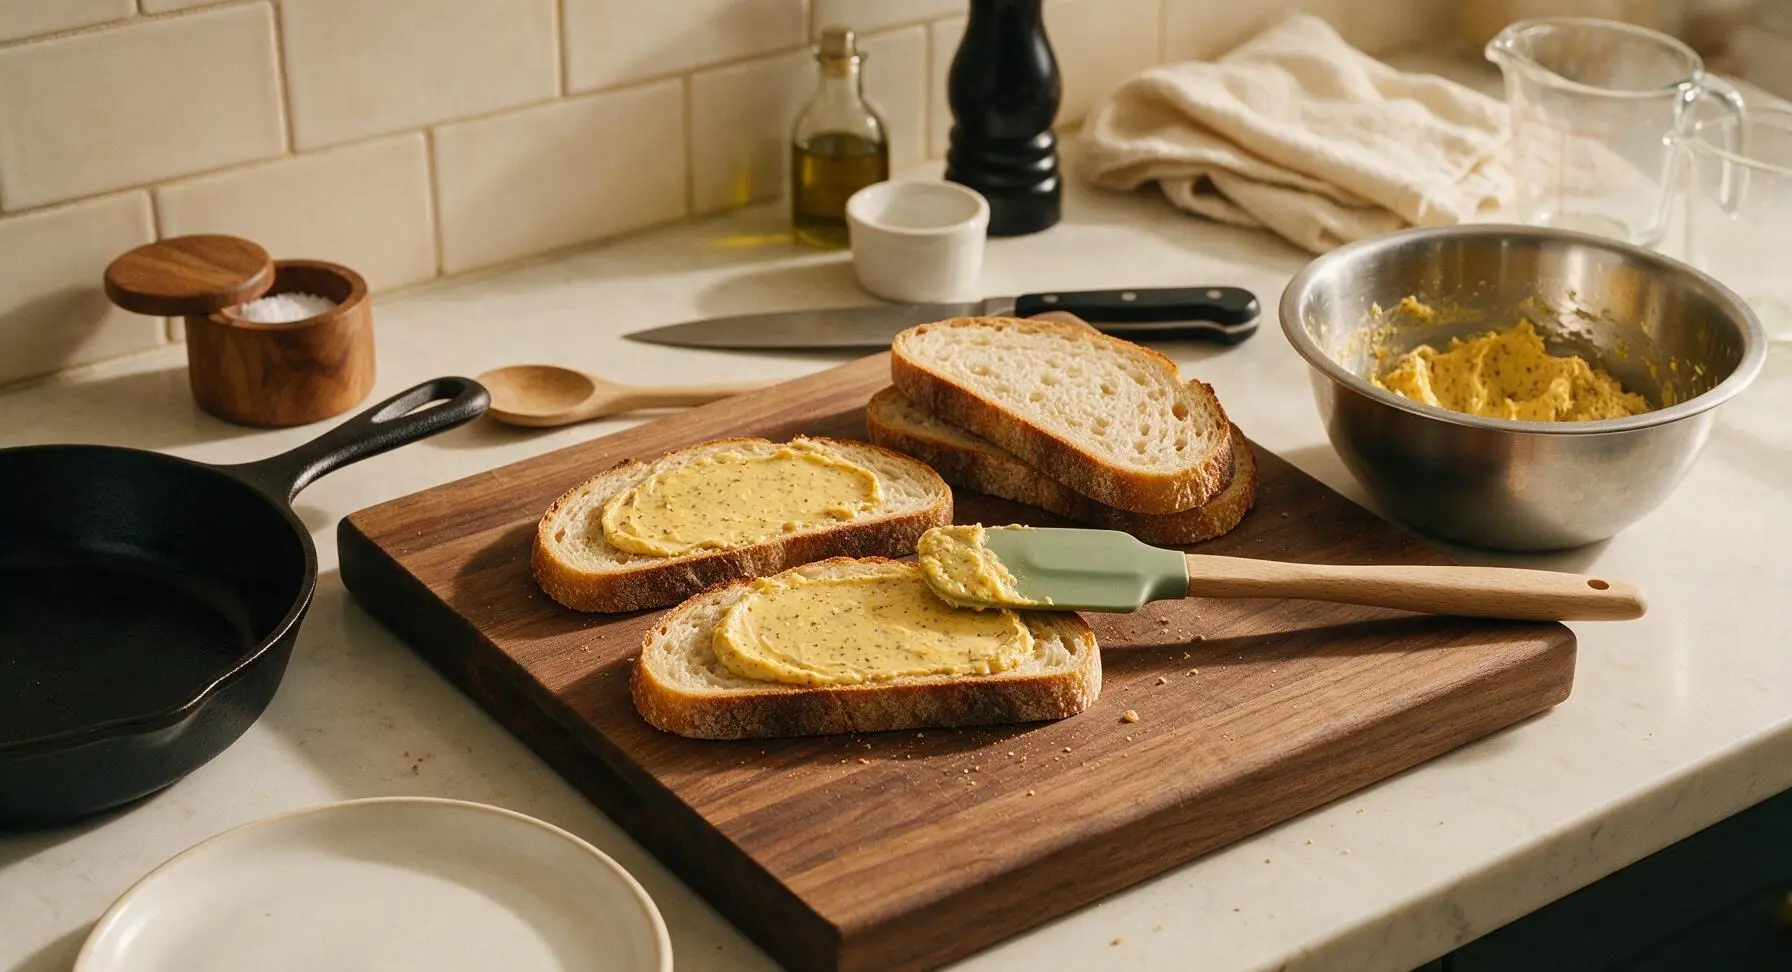
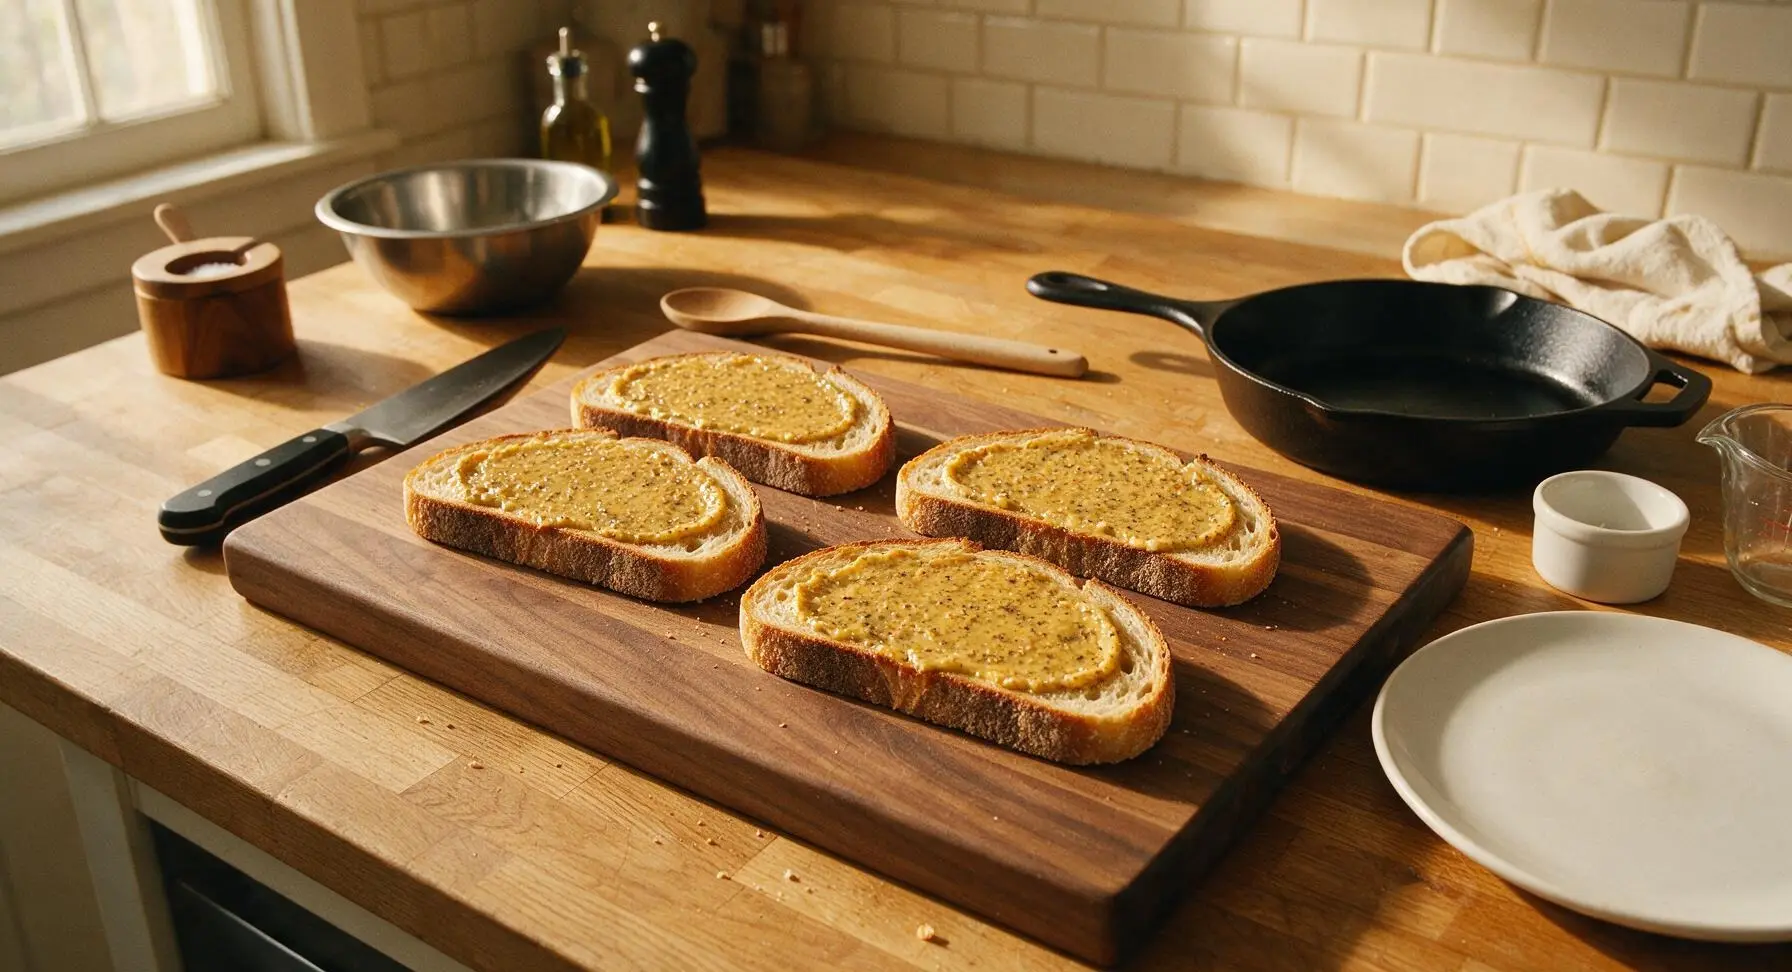
Lay all 4 sourdough slices flat on the beech wood cutting board. Use the silicone spatula to spread half of the nutritional yeast butter mixture in a thin, even layer across one outer side of each bread slice, covering the entire surface right to the crust edges. The coated sides will be the crispy exterior of the sandwich, so ensure no bare bread spots remain to prevent uneven toasting.
Step 2
step2:Coat Bread Slices Evenly
Step 2
step2:Coat Bread Slices Evenly
3

Assemble Sandwich Fillings

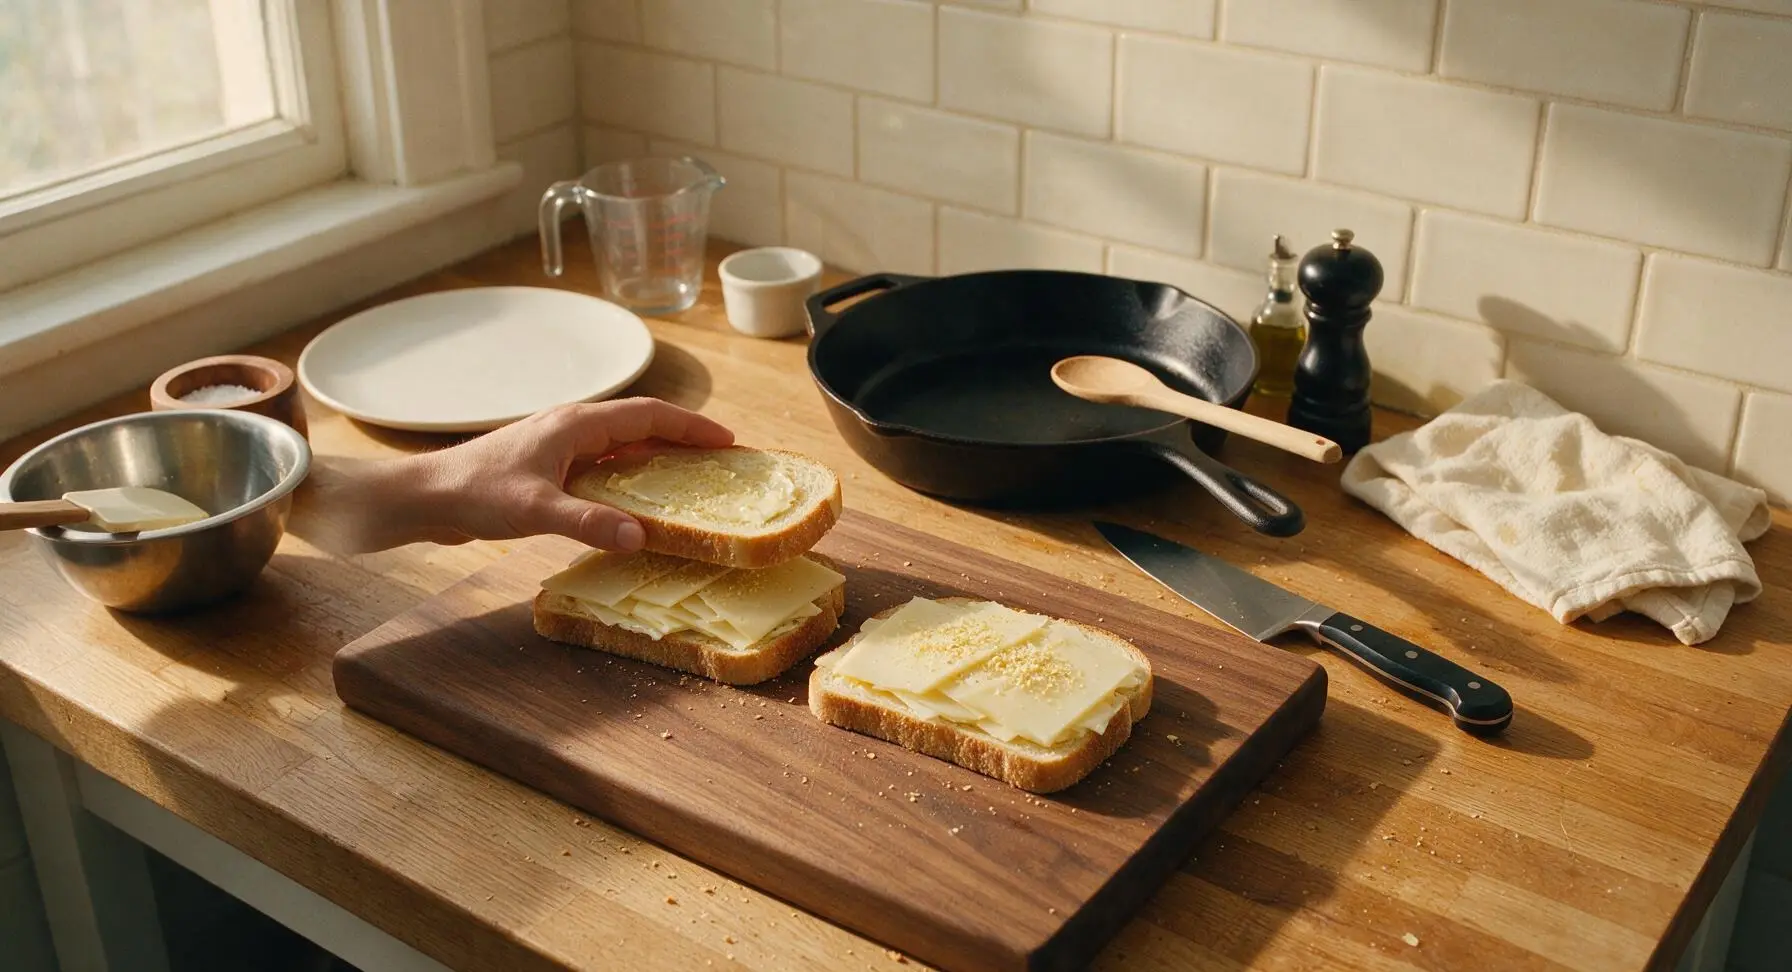
Flip two of the bread slices so the buttered side faces down on the cutting board. Divide the thinly sliced sharp white cheddar evenly across the unbuttered side of these two slices, spreading the cheese in an even layer that reaches 1cm from the crust edge. Sprinkle the remaining 1 tablespoon of nutritional yeast evenly over the cheese layers for extra umami depth. Top each with the remaining two bread slices, buttered side facing up, to form two complete sandwiches. Press down gently on the top of each sandwich to help the layers adhere.
Step 3
step3:Assemble Sandwich Fillings
4

Preheat Carbon Steel Skillet

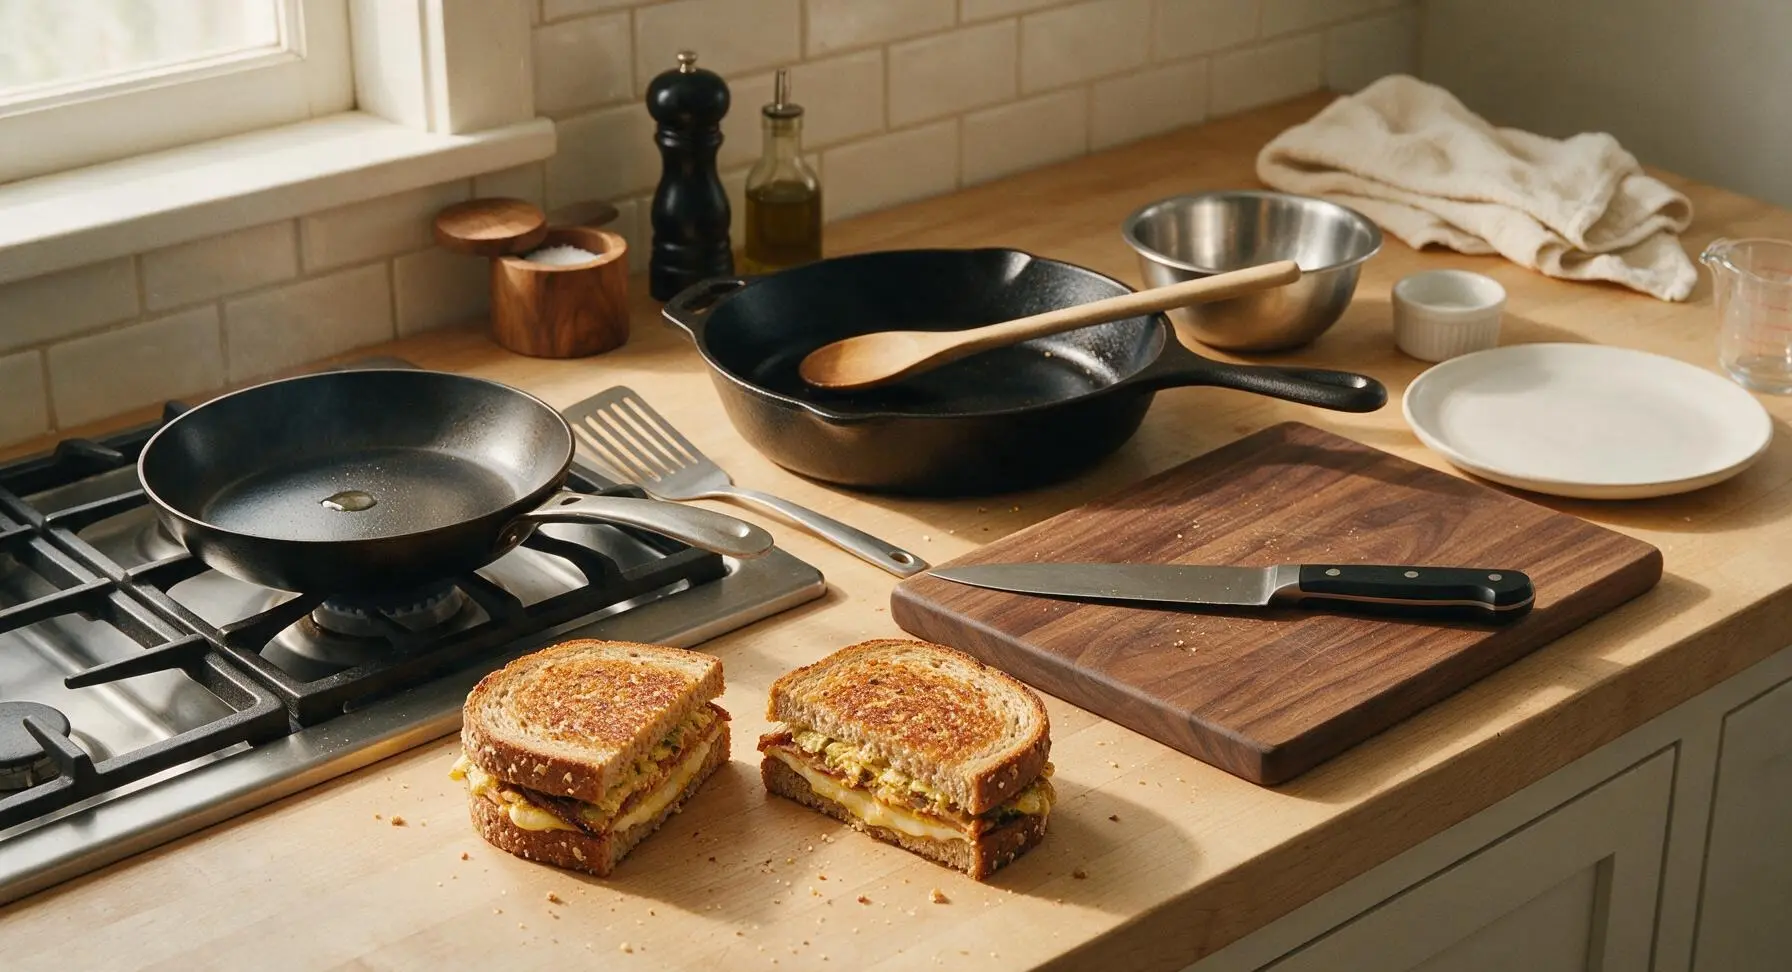
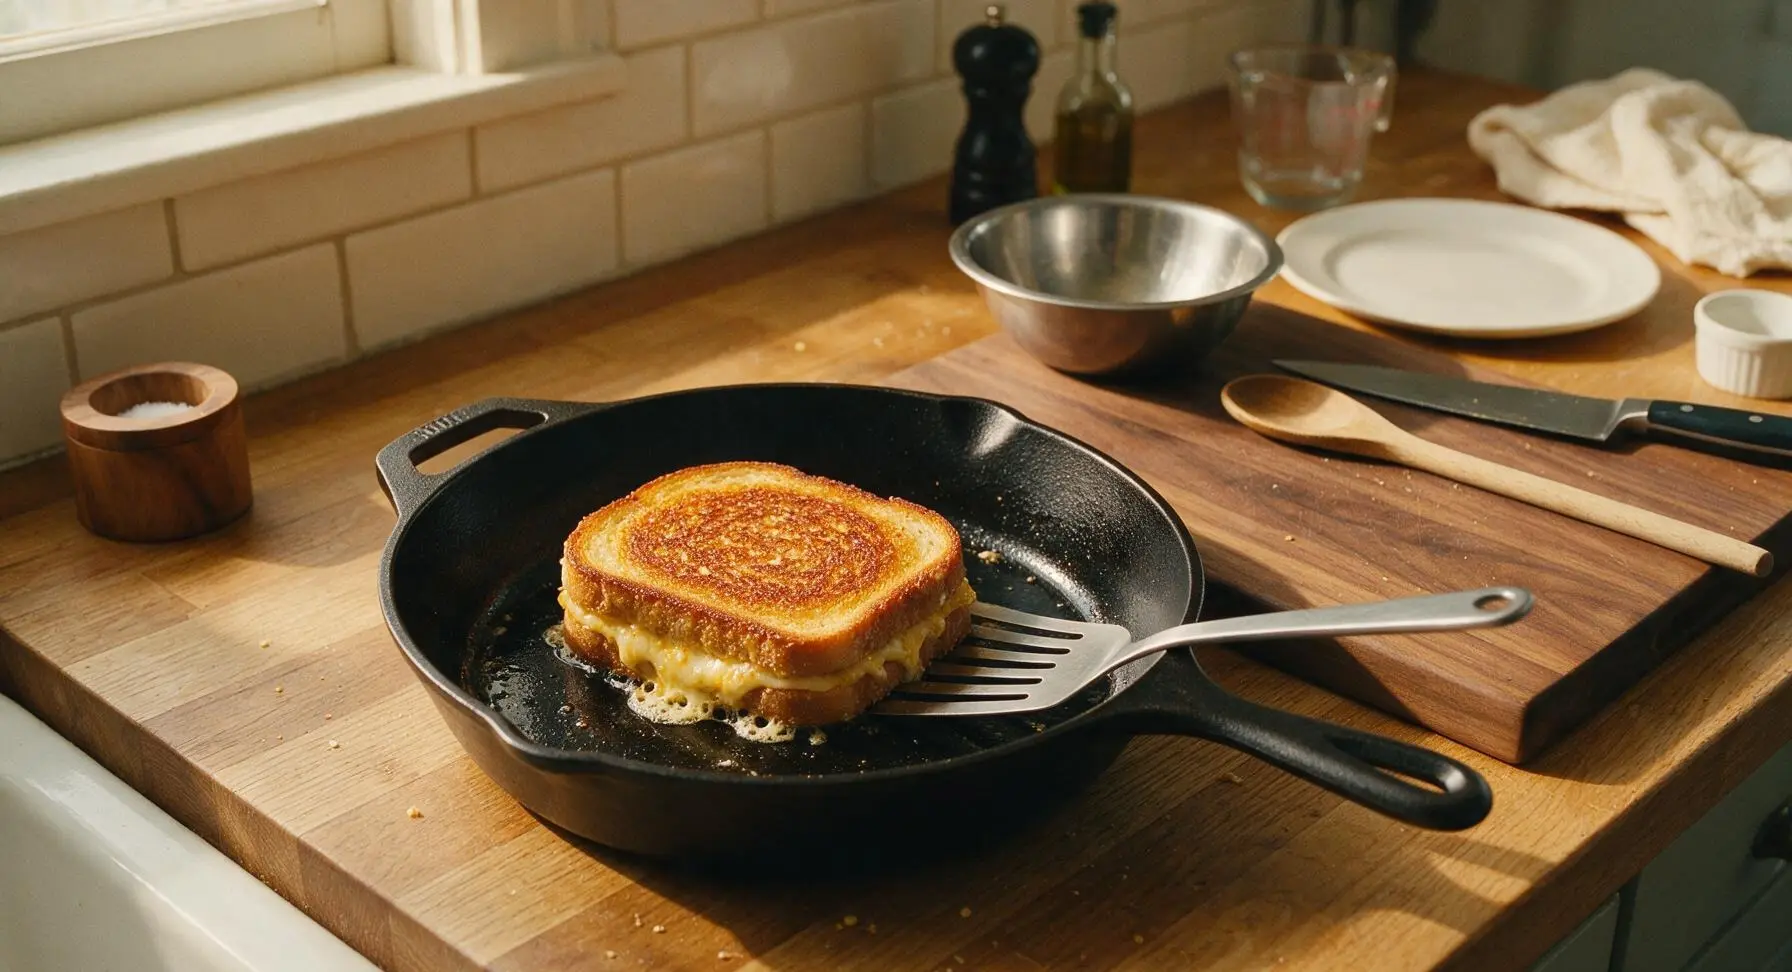
Place the 10-inch matte black carbon steel skillet on the left rear gas stovetop burner over medium-low heat (3/10 on most stove dials, surface temperature around 160°C/325°F). Let the skillet preheat for 2 minutes, until a drop of water flicked onto the surface sizzles gently and evaporates slowly over 3 seconds—if it vanishes instantly, the pan is too hot and will burn the bread before the cheese melts.
Step 4
step4:Preheat Carbon Steel Skillet
5

Grill First Sandwich Side

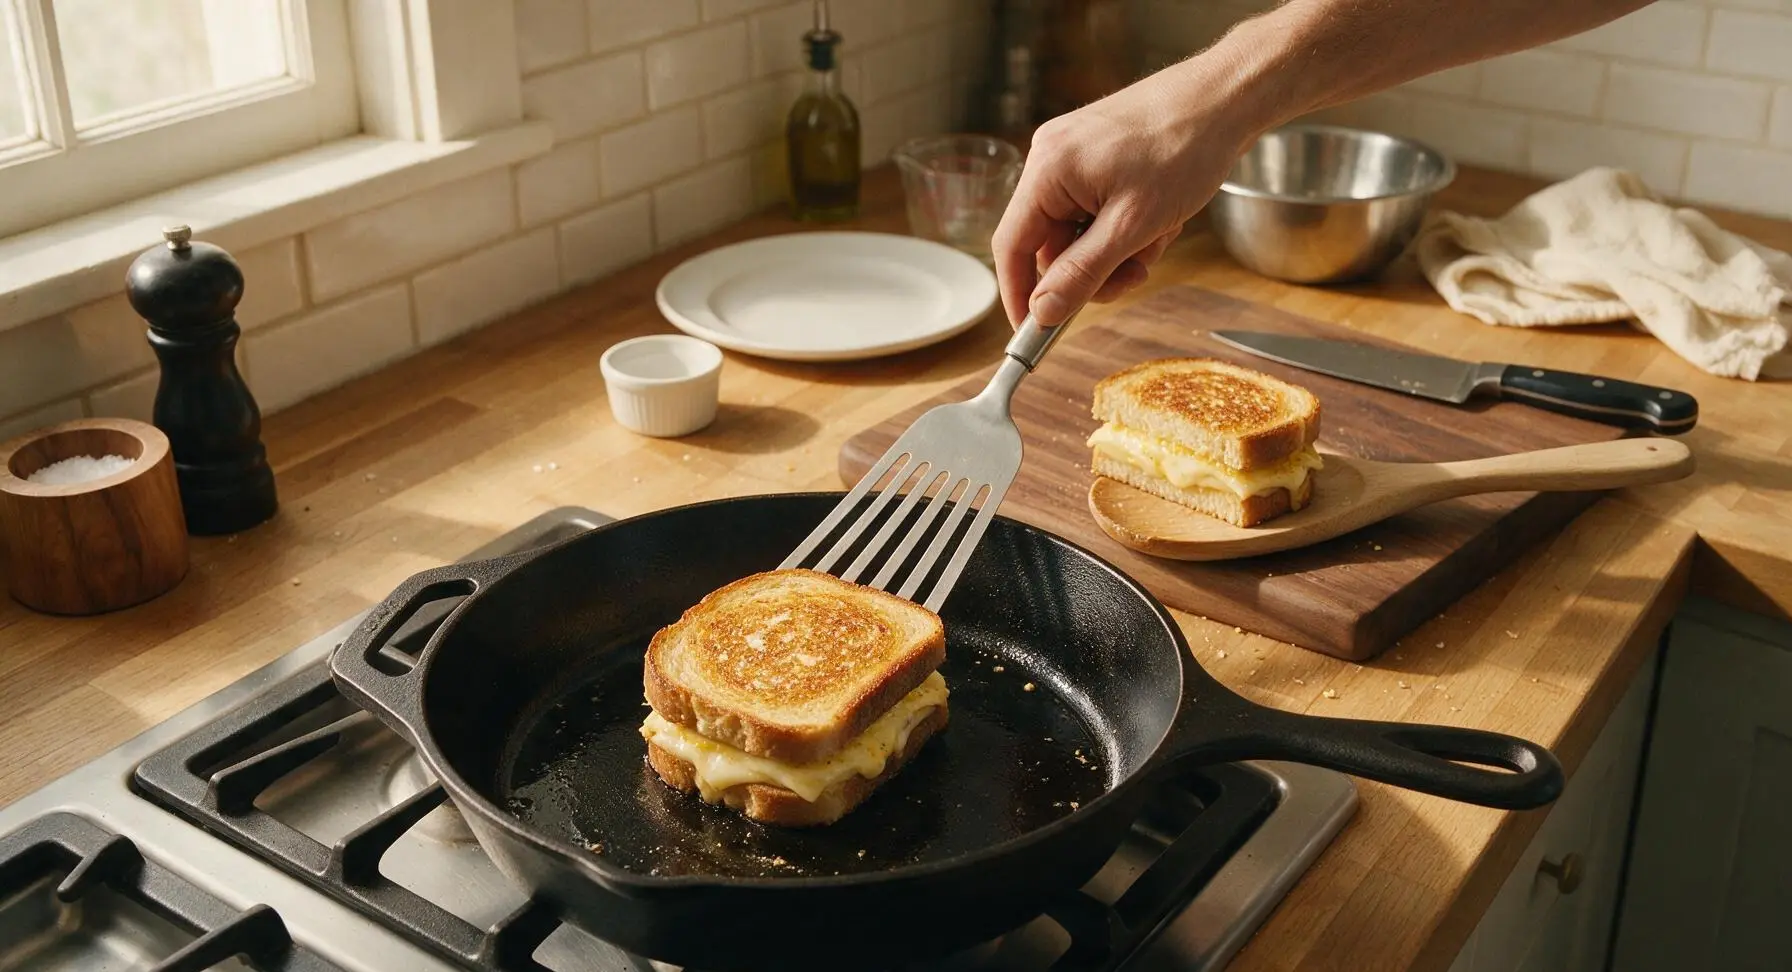
Carefully place one assembled sandwich into the preheated skillet using the slotted stainless steel turner. Let it cook for 3-4 minutes, without pressing down on the sandwich, until the bottom bread slice is deep golden brown, crispy, and the cheese closest to the pan has started to melt. Resist the urge to move the sandwich around during this time to ensure even toasting.
Step 5
step5:Grill First Sandwich Side
Step 5
step5:Grill First Sandwich Side
6

Flip and Cook Second Side

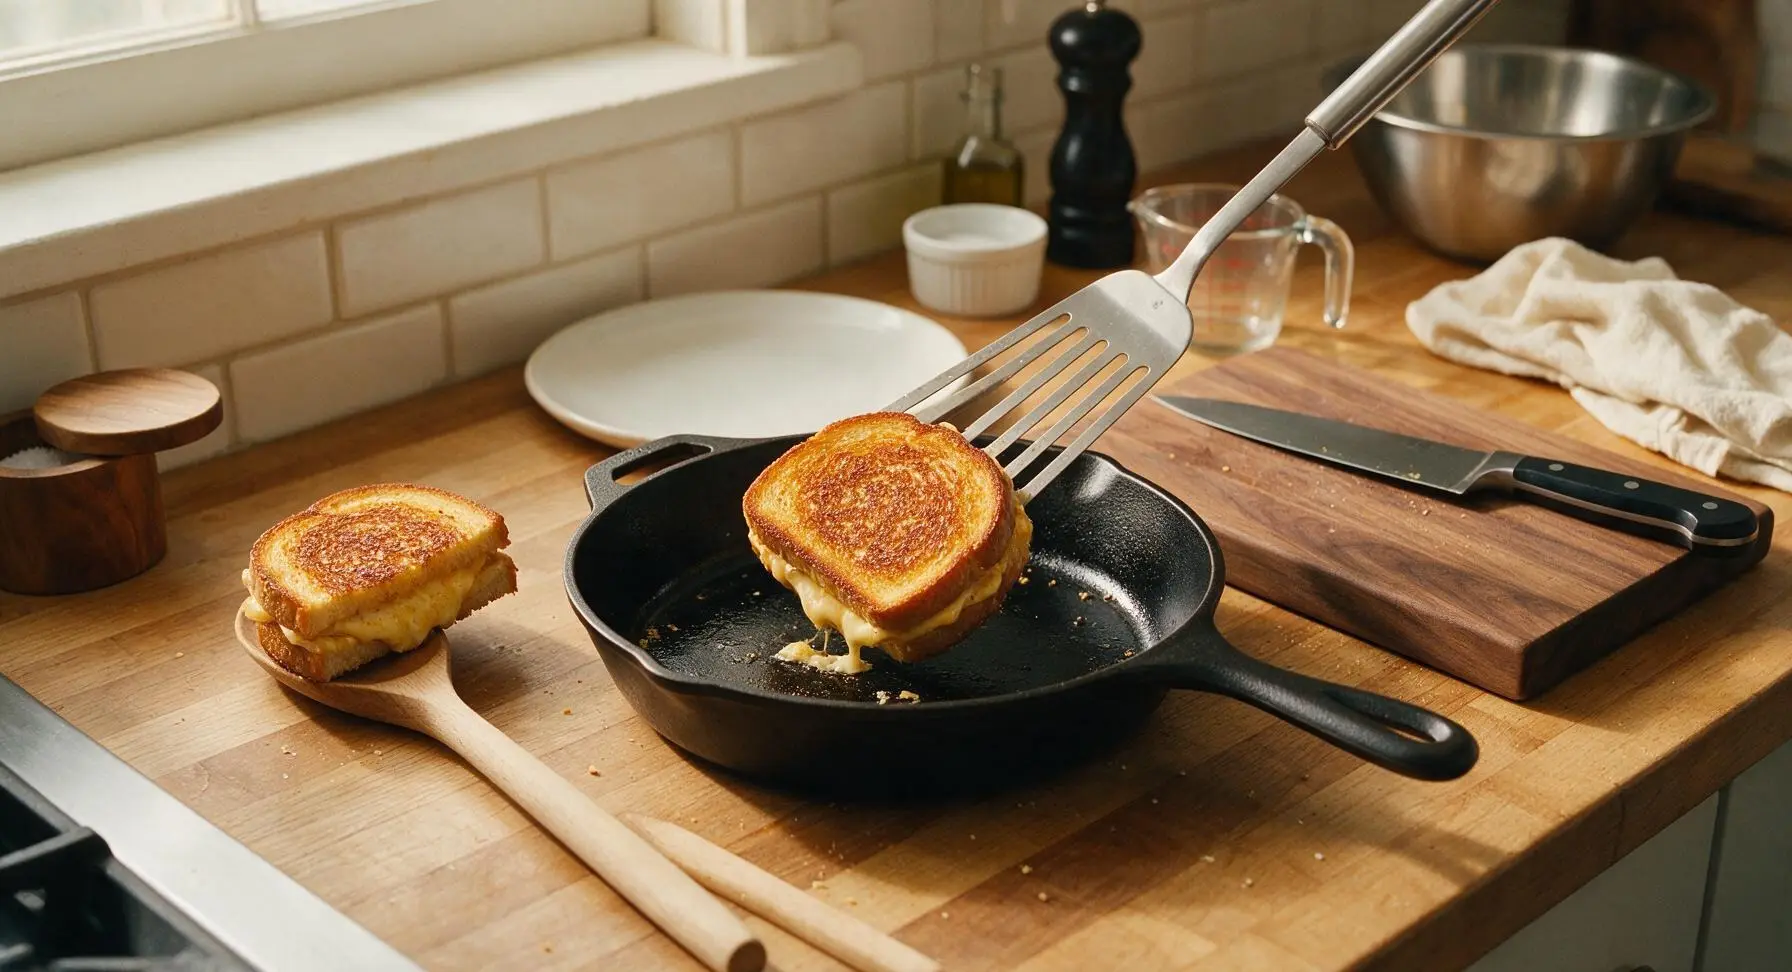
Slide the slotted turner under the sandwich and flip it in one smooth motion. Cook the second side for another 2-3 minutes, until it matches the deep golden brown crispy exterior of the first side, and all the cheese in the center is fully melted and oozing when you gently lift the edge of the top bread slice. Transfer the finished sandwich to a clean corner of the cutting board, then repeat the cooking process with the second sandwich.
Step 6
step6:Flip and Cook Second Side
7

Rest, Slice, and Serve

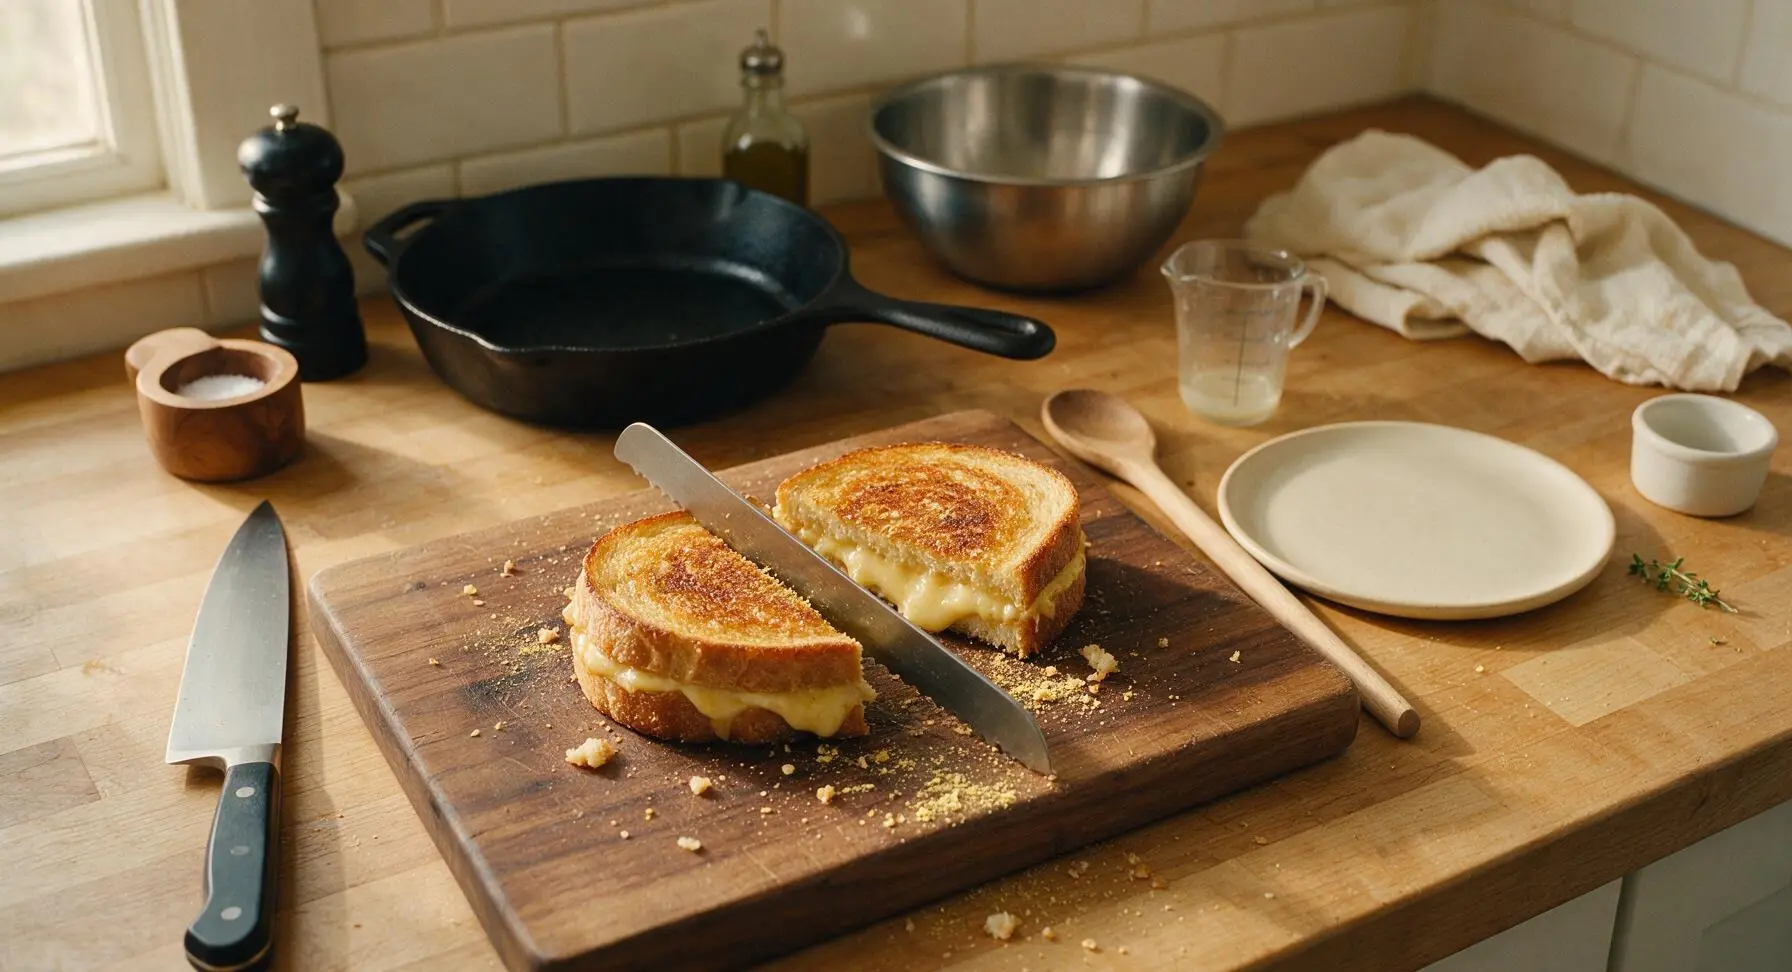
Let both cooked sandwiches rest for 1 minute on the cutting board to allow the cheese to set slightly (this prevents all the cheese from oozing out when you cut it). Cut each sandwich diagonally into two triangular halves. Arrange the halves on the matte cream ceramic dinner plate, sprinkle with a pinch of the reserved nutritional yeast, and garnish with a small fresh thyme sprig. Serve immediately while warm and crispy.
Step 7
step7:Rest, Slice, and Serve

Tips

1.Use medium-low heat exclusively when grilling: the nutritional yeast in the butter coating can burn quickly at high heat, turning bitter before the cheese has time to fully melt through the sandwich center. Slow, gentle heat creates a uniformly crispy crust without dark, bitter burnt spots.
2.Soften butter to room temperature before mixing with nutritional yeast: cold butter is firm and lumpy, making it impossible to spread in a thin, even layer across bread slices. Uneven butter leads to patchy toasting, with dry, pale bare spots that never crisp up properly.
3.Let cooked sandwiches rest for 1 full minute before slicing: this short pause lets the melted cheese thicken slightly, so it stays trapped between the bread layers instead of running out onto the plate the second you cut into it, ensuring every bite has a perfect ratio of crispy bread to melty cheese.


✨ You May Also Like

Lunch
🍜 United States

Creamy, salty, tangy nostalgic Midwestern sandwich pairing rich peanut butter with crisp briny dill pickles for a fast, satisfying no-cook meal.

⏱️ 5 minutesLunch ★ 4.6
Lunch
🍜 United States

Crispy, melty pressed sandwich layered with savory roast pork, ham, Swiss cheese, pickles, and tangy mustard: a beloved Cuban-American comfort classic.

⏱️ 25 minuteLunch ★ 4.9
Lunch
🍜 United States

Hearty, briny New Orleans pressed sandwich stacked with cured Italian meats, provolone, and zesty olive salad, served cold for bold, portable flavor.

⏱️ 1 hour 20Lunch ★ 4.7
Lunch
🍜 United States

A tangy, creamy Southern American staple, this no-cook cheesy sandwich is packed with sharp cheddar and sweet pimentos for a satisfying, portable bite.

⏱️ 1 hour 15Lunch ★ 4.8
Lunch
🍜 United States

Crispy Cajun-spiced fried shrimp piled on crusty French bread with tangy remoulade and fresh toppings, the iconic Louisiana street food sandwich.

⏱️ 35 minuteLunch ★ 4.4
Lunch
🍜 United States

Stacked, savory deli-style corned beef sandwich with melted Swiss, tangy mustard, and crisp griddled rye— a fast, hearty, satisfying classic.

⏱️ 15 minuteLunch ★ 4.9

Nutritional Yeast Grilled Cheese:Frequently Asked Questions

1.What does nutritional yeast actually add to a classic grilled cheese? ▾
It brings a rich, nutty, umami-packed depth that amplifies sharp white cheddar’s tang without extra dairy, plus a subtle Parmesan-like savoriness that keeps every bite from tasting flat. It also adds a small boost of B vitamins for a tiny nutritional win, with zero compromise on that cozy, indulgent melt you crave.
2.Why do you recommend 1.5cm (roughly ½-inch) thick sourdough slices specifically? ▾
That thickness hits the perfect balance of crispy, buttery crust and soft, chewy interior that won’t get soggy under melted cheese. Thinner slices burn easily before cheese melts through, while thicker slices end up overly bready, throwing off the ideal ratio of cheddar and nutritional yeast filling in every bite.
3.Do I have to use sharp white cheddar, or can I swap in another cheese? ▾
Sharp white cheddar is ideal because its tangy, bold flavor pairs perfectly with nutritional yeast’s nuttiness, and it melts into that perfect stringy, oozing texture. That said, you can swap in 25% mozzarella for extra stretch, or a sprinkle of smoked gouda for depth—just avoid overly soft, high-moisture cheeses that make bread soggy.
4.Why does the butter need to be softened to room temperature first? ▾
Softened butter spreads evenly across every inch of the bread surface without tearing the sourdough crumb, which means you get a uniformly golden, crispy crust instead of patchy, burnt spots or dry, unbuttered gaps. Cold butter clumps, leading to uneven browning and sections of bread that never get that signature buttery crunch.
5.How much nutritional yeast should I add per sandwich for the best flavor? ▾
Aim for 1 to 1.5 teaspoons of nutritional yeast per sandwich, sprinkled evenly between the cheese slices so it doesn’t spill out onto the pan as it cooks. That amount is enough to boost umami without overpowering the sharp cheddar, so you get subtle, nutty depth rather than a strong, overly yeasty aftertaste.
6.Can I make this vegan by swapping out the dairy ingredients? ▾
Absolutely! Swap the sharp white cheddar for your favorite melty vegan sharp cheddar alternative, use softened plant-based butter in place of dairy butter, and keep the nutritional yeast and garlic powder measurements exactly as written. Stick to the same sourdough thickness, and you’ll get a nearly identical crispy, oozing, savory final sandwich.
7.What heat setting should I use to get melty cheese without burnt bread? ▾
Cook over medium-low heat for 3 to 4 minutes per side. This low-and-slow approach gives the cheese time to fully melt through before the buttered bread burns, and lets the garlic powder and nutritional yeast warm up to release their full savoriness instead of scorching on the hot pan. Resist the urge to crank heat to speed things up!
8.Why is garlic powder included, and how much should I use? ▾
A tiny pinch—about 1/8 teaspoon per sandwich, mixed into the softened butter before spreading—adds subtle, warm savoriness that ties the nutty nutritional yeast and tangy cheddar together. It won’t taste like garlic bread; it just adds quiet background depth that makes the whole sandwich taste more rounded, no harsh raw garlic bite.
9.My grilled cheese always turns out soggy—how do I avoid that here? ▾
First, stick to 1.5cm thick sourdough, which has a sturdy crumb that resists sogginess. Don’t overstuff with cheese, which releases excess moisture as it melts, and cook over medium-low heat so the bread toasts fully before the cheese sweats too much. Nutritional yeast between cheese layers also helps absorb tiny bits of excess moisture.
10.Can I add extra fillings like tomato or bacon to this sandwich? ▾
You absolutely can, just take one quick step to avoid sogginess: pat tomato slices dry with a paper towel before adding, and cook bacon fully and drain off excess grease first. Stick to thin layers of add-ins so the sharp cheddar and nutritional yeast flavor still shines, and your sandwich doesn’t slide apart when you take a bite.
11.Is nutritional yeast the same thing as baking yeast or brewer’s yeast? ▾
No, they’re totally different products! Nutritional yeast is deactivated, so it won’t make bread rise or add the bitter, beery aftertaste common with brewer’s yeast. It’s grown specifically for culinary use, with that signature nutty, cheesy flavor, so don’t swap in baking or brewer’s yeast—you’ll end up with a very odd, unappetizing sandwich.
12.Do I need a special pan to make this grilled cheese turn out well? ▾
No fancy equipment is required! A heavy-bottomed cast iron skillet or nonstick frying pan works perfectly, as long as it heats evenly. If you have a cast iron press, you can use it to press the sandwich lightly for extra crispness, but a flat spatula pressed gently as it cooks works just as well for even, crispy results.
13.How do I make sure the cheese is fully melted all the way to the center? ▾
Slice your cheddar thinly instead of using thick chunks, so it melts fast and evenly as the bread toasts. Cooking over medium-low heat, covered with a small lid for the first 2 minutes per side, traps just enough steam to help cheese melt through completely without sogginess, so you never get cold, unmelted cheese in the middle.
14.Can I meal prep these sandwiches ahead of time for quick lunches? ▾
You can assemble uncooked sandwiches 1 day ahead, wrap them tightly in plastic wrap, and store them in the fridge until you’re ready to cook. Don’t cook them ahead and reheat later, though—they’ll get soggy in the fridge or microwave. When ready to eat, butter the outsides and cook as normal for fresh, crispy results.
15.What’s the best way to reheat leftover cooked grilled cheese? ▾
Skip the microwave, which makes bread rubbery and cheese greasy. Reheat leftover slices in a dry skillet over low heat for 2 to 3 minutes per side, or in a 350°F toaster oven for 5 minutes, until the bread is crispy again and the cheese is oozing. It will taste almost as good as fresh, with that same buttery crunch.
16.Should I sprinkle nutritional yeast on the outside of the bread with the butter? ▾
I don’t recommend it! Nutritional yeast sprinkled on the buttered exterior will burn quickly over pan heat, turning bitter and crumbly instead of nutty. Always tuck all the nutritional yeast between the cheese slices inside the sandwich, where it can warm and meld with melting cheddar without scorching.
17.Can I use a different bread if I don’t have sourdough on hand? ▾
Sourdough’s tangy, chewy crumb pairs perfectly with the nutty yeast and sharp cheddar, but you can swap in other sturdy, thick-cut breads if needed. Country white, whole wheat, or rye all work well, just make sure slices are cut to 1.5cm thick, and avoid super soft, thin sandwich bread that gets soggy or tears easily.
18.How do I keep my sandwich from sticking to the pan while cooking? ▾
First, make sure your softened butter is spread evenly all the way to the edges of the bread, so there are no dry spots that can catch and stick. Don’t move the sandwich around for the first 2 minutes of cooking per side—letting the golden crust form fully first means it will release easily from the pan when you flip, no scraping or torn bread required.

Comments (16)

2 hours ago

OMG this is a total game changer for my vegan grilled cheese nights! I’ve been missing that cheesy, umami kick forever and nutritional yeast did NOT disappoint here. 8 minutes total cook time? Perfect for my lazy weeknight dinners when I don’t feel like slaving over the stove. My roommate even stole half the sandwich off my plate lmao

30 minutes ago

Wait did you add a little garlic powder too? I tried that last time I made this and it took it to a whole other level!

5 minutes ago

So stoked you loved it, Jessie! Garlic powder is such a great add-in, we’re big fans of mixing a pinch right into the nutritional yeast spread for extra depth.

yesterday

My kids loved it!!! I’ve been struggling to find meatless Monday meals they don’t turn their noses up at, and they all asked for seconds. I used whole grain bread and a little dairy-free butter to spread on the outside, came out perfectly crispy every time. SO good, will be adding this to our weekly rotation for sure.

2 hours ago

That makes our day to hear! Whole grain bread is such a smart swap, it adds such a nice nutty contrast to the cheesy nooch flavor. So happy the kids approved!

3 days ago

Bro this is so easy even I can’t mess it up. 8 minute cook time? Perfect for between study sessions when I don’t have time to run to the dining hall. I make a couple of these on Sunday to keep in the fridge for quick lunches all week, they reheat great in the panini press.

5 days ago

Great base recipe! I used gluten-free sourdough and had to cook it a minute longer on each side to get that perfect crunch, but the flavor was spot on. The nutritional yeast gives it that cheesy tang I’ve been missing since cutting out dairy, 10/10.

3 days ago

Oh I do GF sourdough too! I found toasting the bread lightly first before adding the filling keeps it from getting soggy, game changer.

1 week ago

Brought these cut up into little bite-sized squares to our neighborhood potluck last weekend and they were gone in 10 minutes flat! Multiple people asked for the recipe, I couldn’t believe how big of a hit they were. Who knew nooch grilled cheese would be the star of the cookout?

5 days ago

Wait that’s such a good potluck idea! I’ve been trying to think of easy vegetarian apps for our next block party, stealing this for sure.

3 days ago

We’re obsessed with the bite-sized potluck idea! Dipping them in a little tomato soup shot on the side is chef’s kiss if you want to level it up next time.

30 minutes ago

First time cooking anything that didn’t come out of a microwave and this actually turned out edible! Super easy instructions, no fancy ingredients needed. I did burn the first side a little because I got distracted scrolling TikTok, but that’s on me not the recipe lol.

2 days ago

Love that this is high protein from the nutritional yeast without all the saturated fat of regular grilled cheese. I make this post-gym when I’m craving something cozy but don’t want to blow my calorie goals for the day. Tastes exactly like the comfort food I grew up on, no guilt!

yesterday

Love that you’re making this work for your fitness goals! Adding a handful of spinach between the slices is a great way to sneak in some extra greens post-workout too.

2 weeks ago

Made this for my grandkids when they were visiting over the weekend and they had no clue it wasn’t ‘real’ cheese! I added a thin slice of tomato to each sandwich like I used to do for their dad when he was little, and they ate every last bite. Such a wonderful, simple recipe.

1 week ago

The tomato slice trick is the best! My grandma always did that too, adds a little juiciness that cuts through the rich cheesy flavor perfectly.

5 days ago

That’s the highest compliment, Pat! The classic tomato addition is timeless, we love that you put your own family spin on it.

just now

Solid base, I added a sprinkle of smoked paprika and a dash of hot sauce to the nooch mix for a little kick and it was insane. If you like a little heat, highly recommend playing around with seasonings here, the base is super versatile.

5 minutes ago

Finally!!! A grilled cheese that doesn’t leave me curled up on the couch with a stomach ache for 3 hours after eating. I’ve tried so many vegan cheese slices that taste like plastic, but the nutritional yeast spread here is perfect. Tangy, salty, exactly what I want from a grilled cheese.

just now

Right?! I thought I’d never have a good grilled cheese again after going dairy free, this recipe completely changed the game for me too.

1 week ago

I make a big batch of the nooch cheese spread at the start of the week so I can whip these up in literal minutes for quick lunches for my husband and I to take to work. Way cheaper than buying takeout sandwiches, and way more satisfying. 10/10 for ease and flavor.

3 days ago

Wait how long does the spread last in the fridge? I’ve been making it fresh every time but pre-making it would save me so much time on busy mornings!

2 days ago

Great question! The spread will stay good in an airtight container in the fridge for up to 5 days, so it’s perfect for weekly meal prep. Give it a quick stir before using it!

2 days ago

Made this at 2am after a night out with friends and it hit DIFFERENT. Crispy, salty, cheesy, exactly what I needed to soak up the night. 10/10 drunk food, 10/10 sober food too honestly, I made it again for lunch today.

3 days ago

I was skeptical because nutritional yeast sounds like something you’d put in a health food smoothie, not a grilled cheese, but wow was I wrong. It has that same nutty, salty, cheesy flavor as a good sharp cheddar, especially when you get the bread nice and buttery and crispy. This is going to be a staple for me.

2 days ago

We love winning over the skeptics! So glad you gave it a shot, that crispy buttery bread really makes all the difference for that classic grilled cheese texture.

5 days ago

I’ve been making vegan grilled cheese for years and this is hands down the best version I’ve tried. The ratio of nutritional yeast to the other spread ingredients is perfect, no weird powdery aftertaste like some nooch recipes have. My non-vegan training partner tried a bite and asked me to make him one next week!

3 days ago

Wait do you use vegan butter or olive oil on the outside? I’ve tried both and can’t decide which gets crispier, curious what you prefer!

2 days ago

That’s the best review we could ask for! For what it’s worth, we’re partial to vegan butter for that classic buttery crisp, but olive oil works amazing too if you’re going for a lighter option.

yesterday

Perfect for my tiny studio kitchen! No fancy equipment needed, just a pan and a spatula, and it cooks in 8 minutes so I don’t set off my smoke alarm like I do with longer cooking recipes lol. Came out perfectly golden on both sides, no burnt edges (miracle for me).

30 minutes ago

Girl same! My smoke alarm goes off if I so much as look at my stove wrong, so fast-cook recipes like this are the only thing I can make without my neighbors banging on the door.

1 week ago

Paired this with a bowl of creamy tomato basil soup for a rainy Saturday lunch and it was the coziest meal I’ve had all month. The crispy, cheesy sandwich dipped in the soup? Absolute perfection. Don’t skip dipping it, trust me.



