
o brien potato casserole
intro
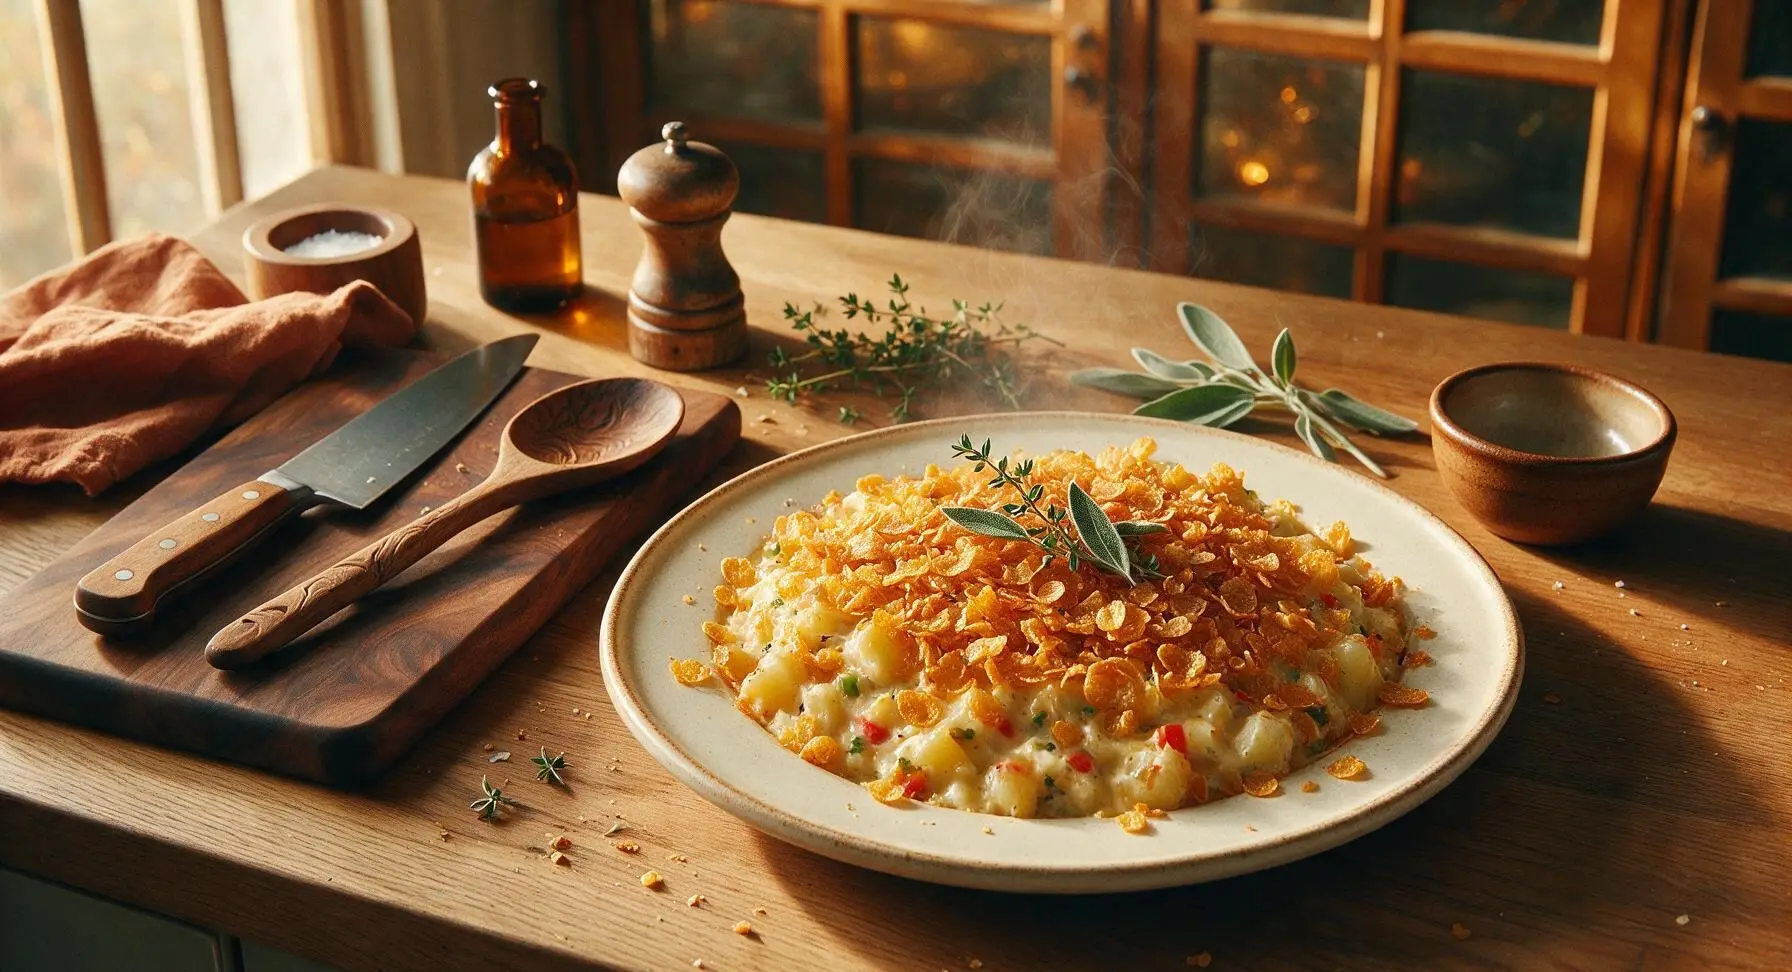
Creamy, cheesy O’Brien potato casserole topped with buttery crisp cornflakes is nostalgic, shareable comfort food, loaded with tender potatoes and bright pepper bits for potlucks and family meals.
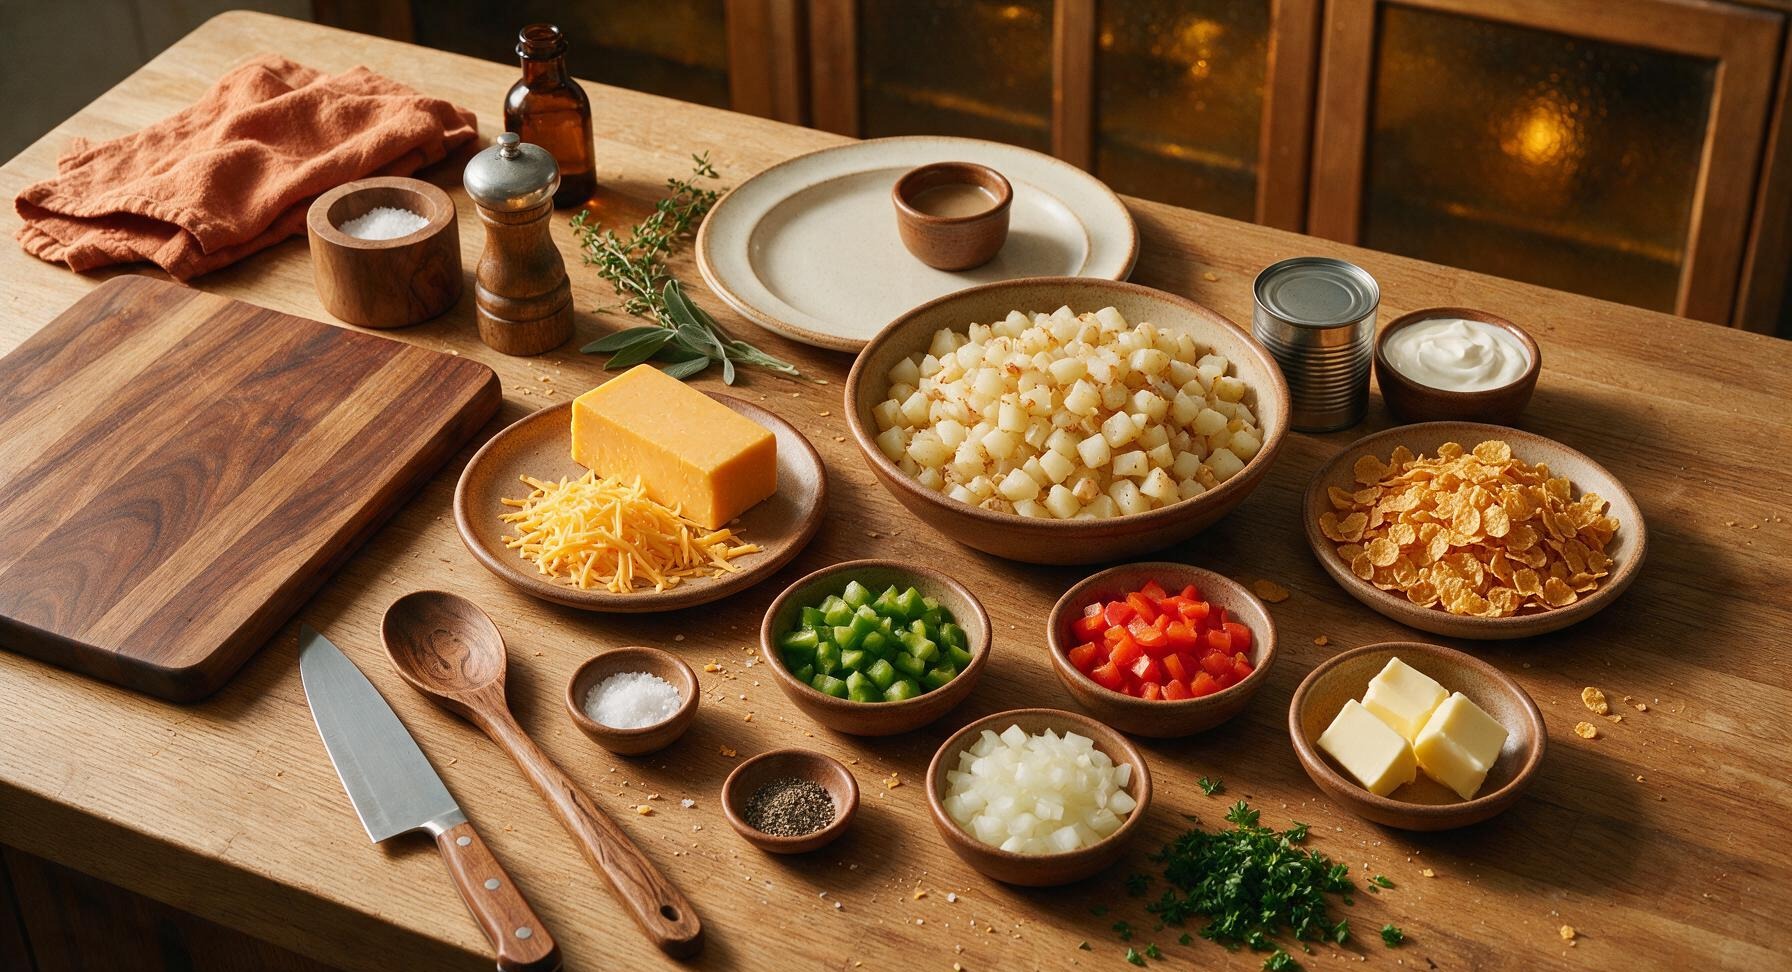
Ingredients
Steps
Prep Baking Dish
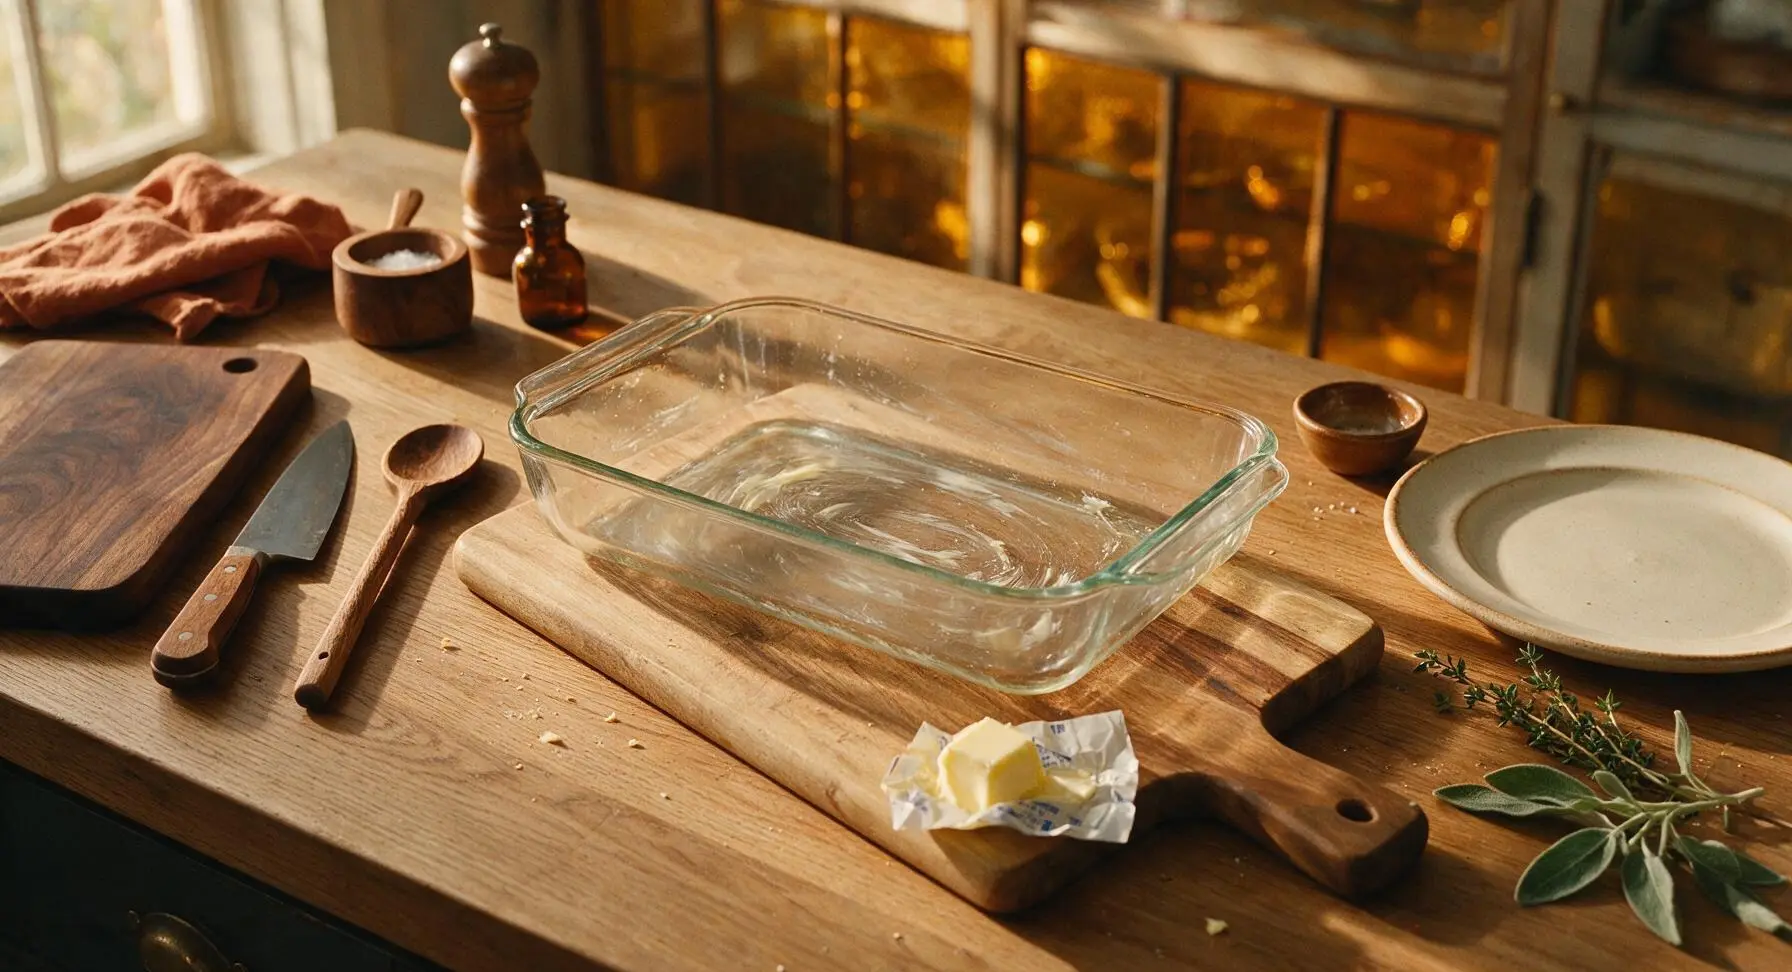
Adjust your oven rack to the middle position and preheat to 375°F (190°C). Use ½ tablespoon of the unsalted butter to lightly grease the entire interior (bottom and 1 inch up the sides) of the 9x13 inch clear glass baking dish, which prevents the casserole from sticking as it bakes. Set the greased dish at the center of your work surface.
Grate Sharp Cheddar
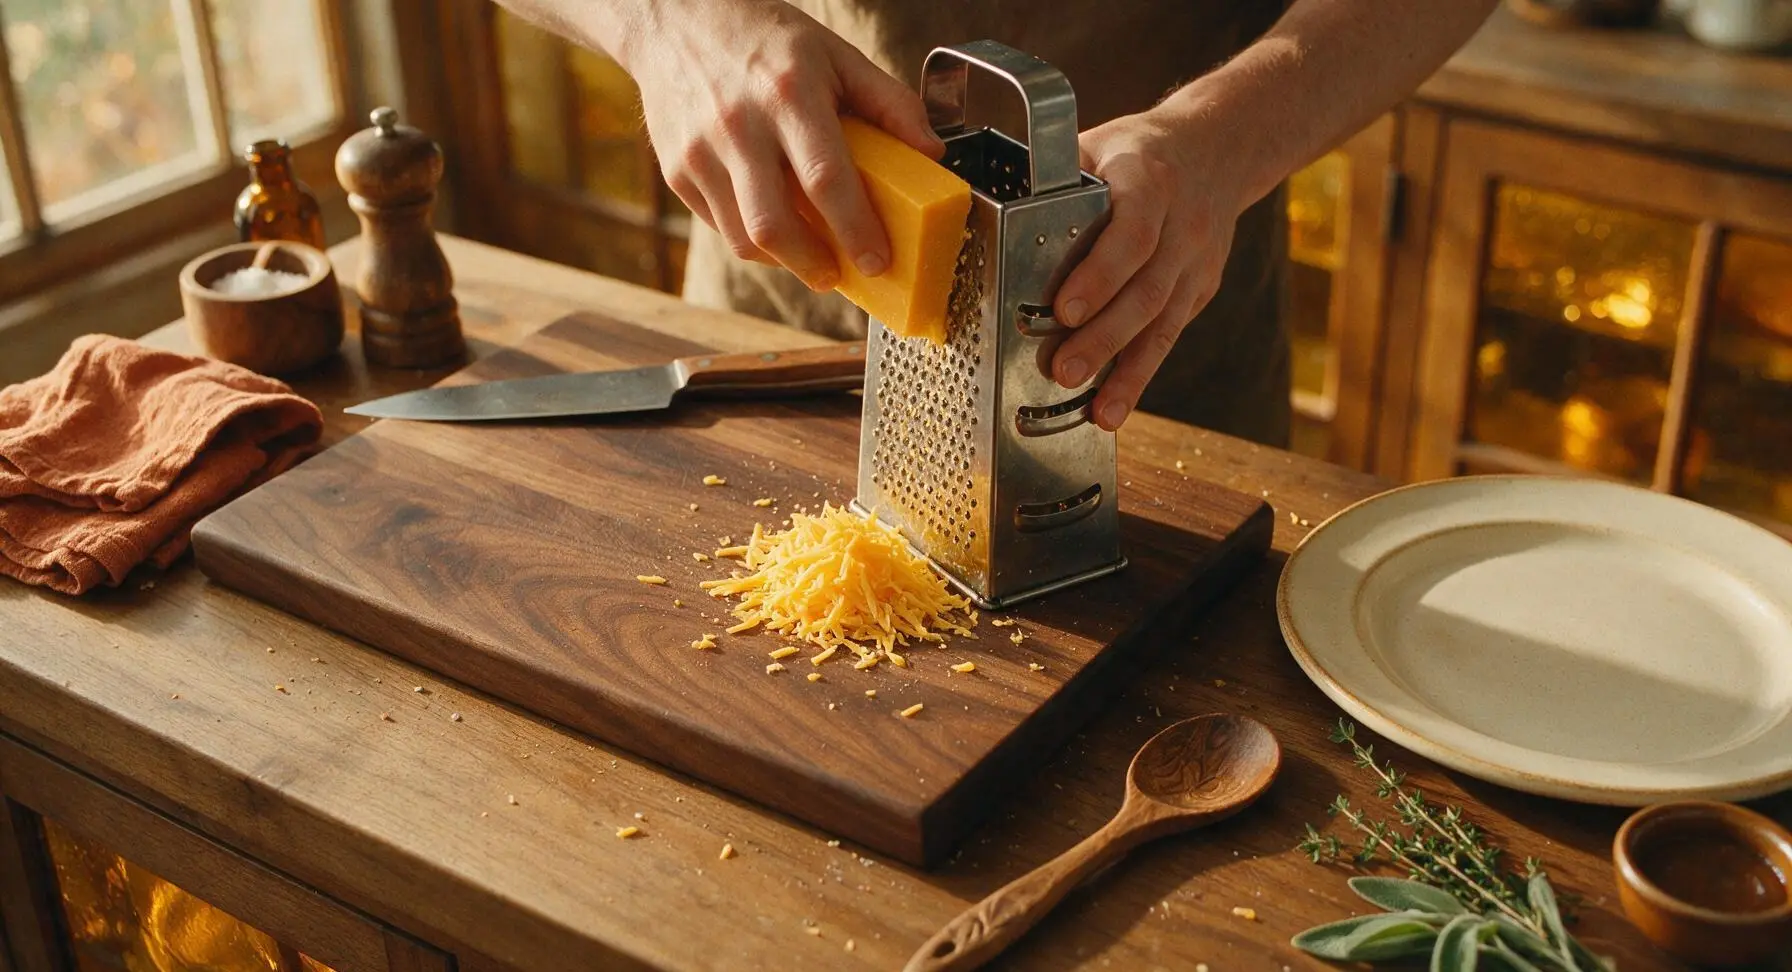
Place the stainless steel box grater on the right side of the acacia wood cutting board. Grate all 8oz of sharp cheddar cheese on the coarse grating side, creating fluffy, uneven shreds. Set aside ¼ cup of the shredded cheese for topping, and add the remaining ¾ to the matte white ceramic mixing bowl.
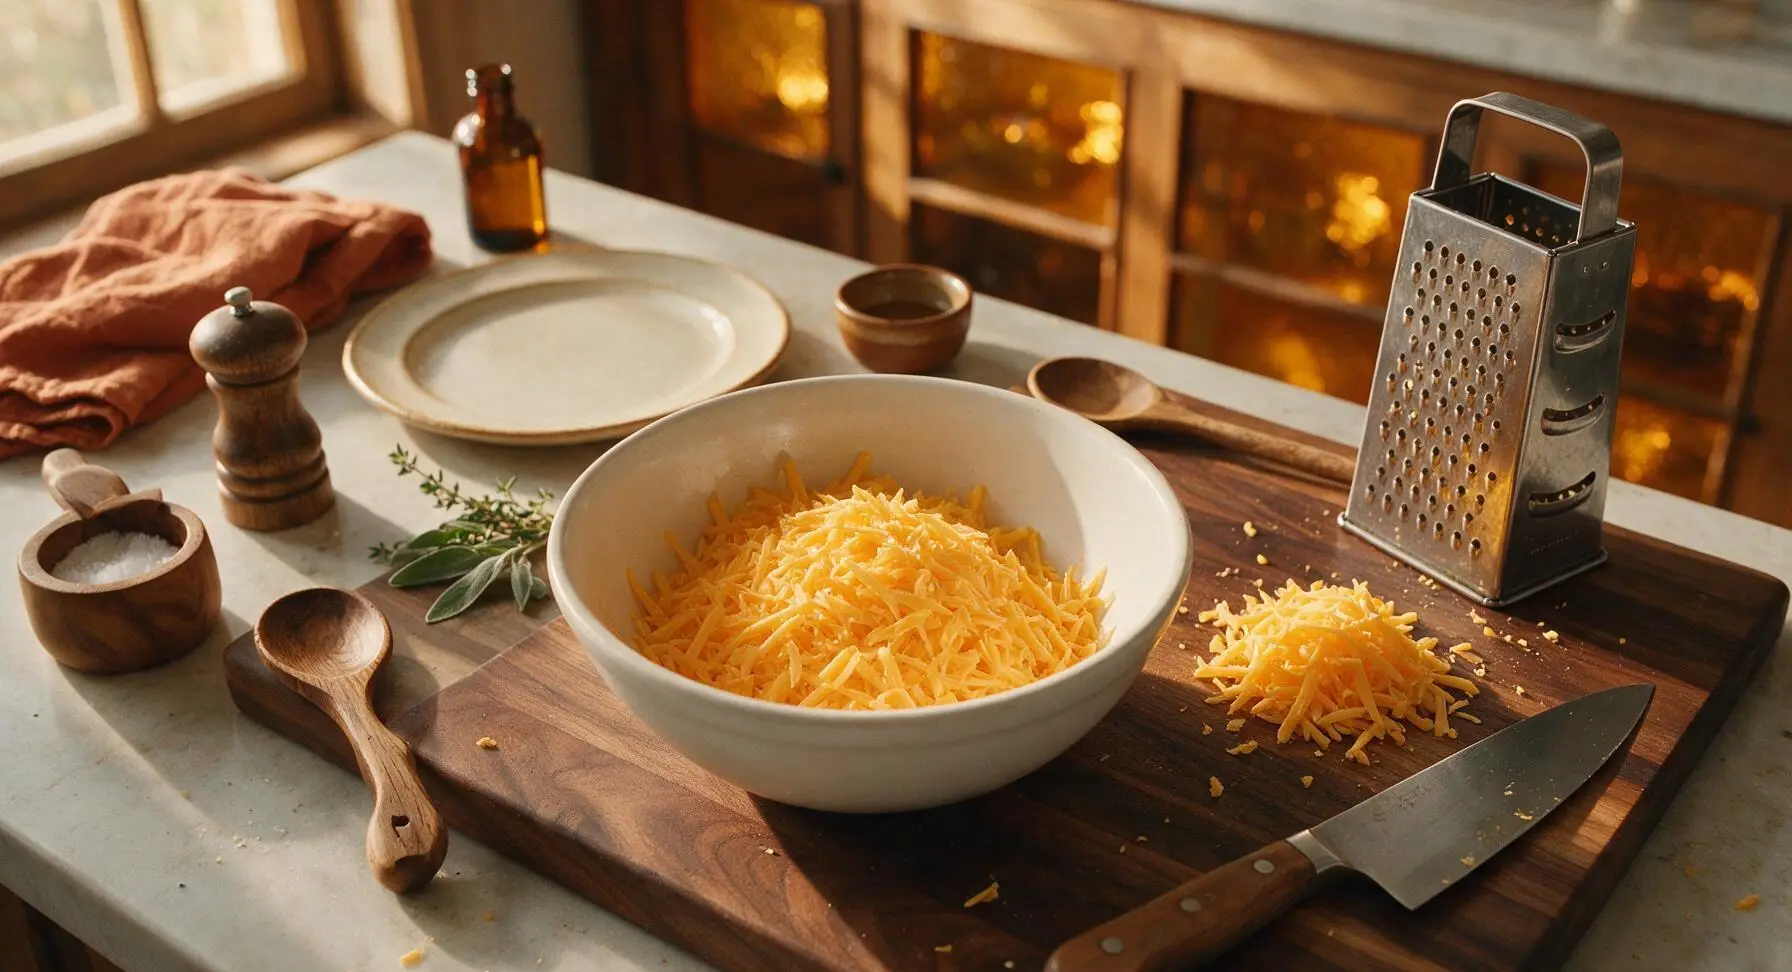
Combine Casserole Base
Add the thawed, fully drained O’Brien potatoes, condensed cream of chicken soup, full-fat sour cream, diced green bell pepper, diced red bell pepper, diced yellow onion, kosher salt, and black pepper to the mixing bowl with the shredded cheddar. Use the matte pale yellow silicone spatula to fold all ingredients together until evenly combined, with no dry pockets of sour cream or soup remaining. The mixture should be thick, creamy, and dotted with red and green pepper pieces.
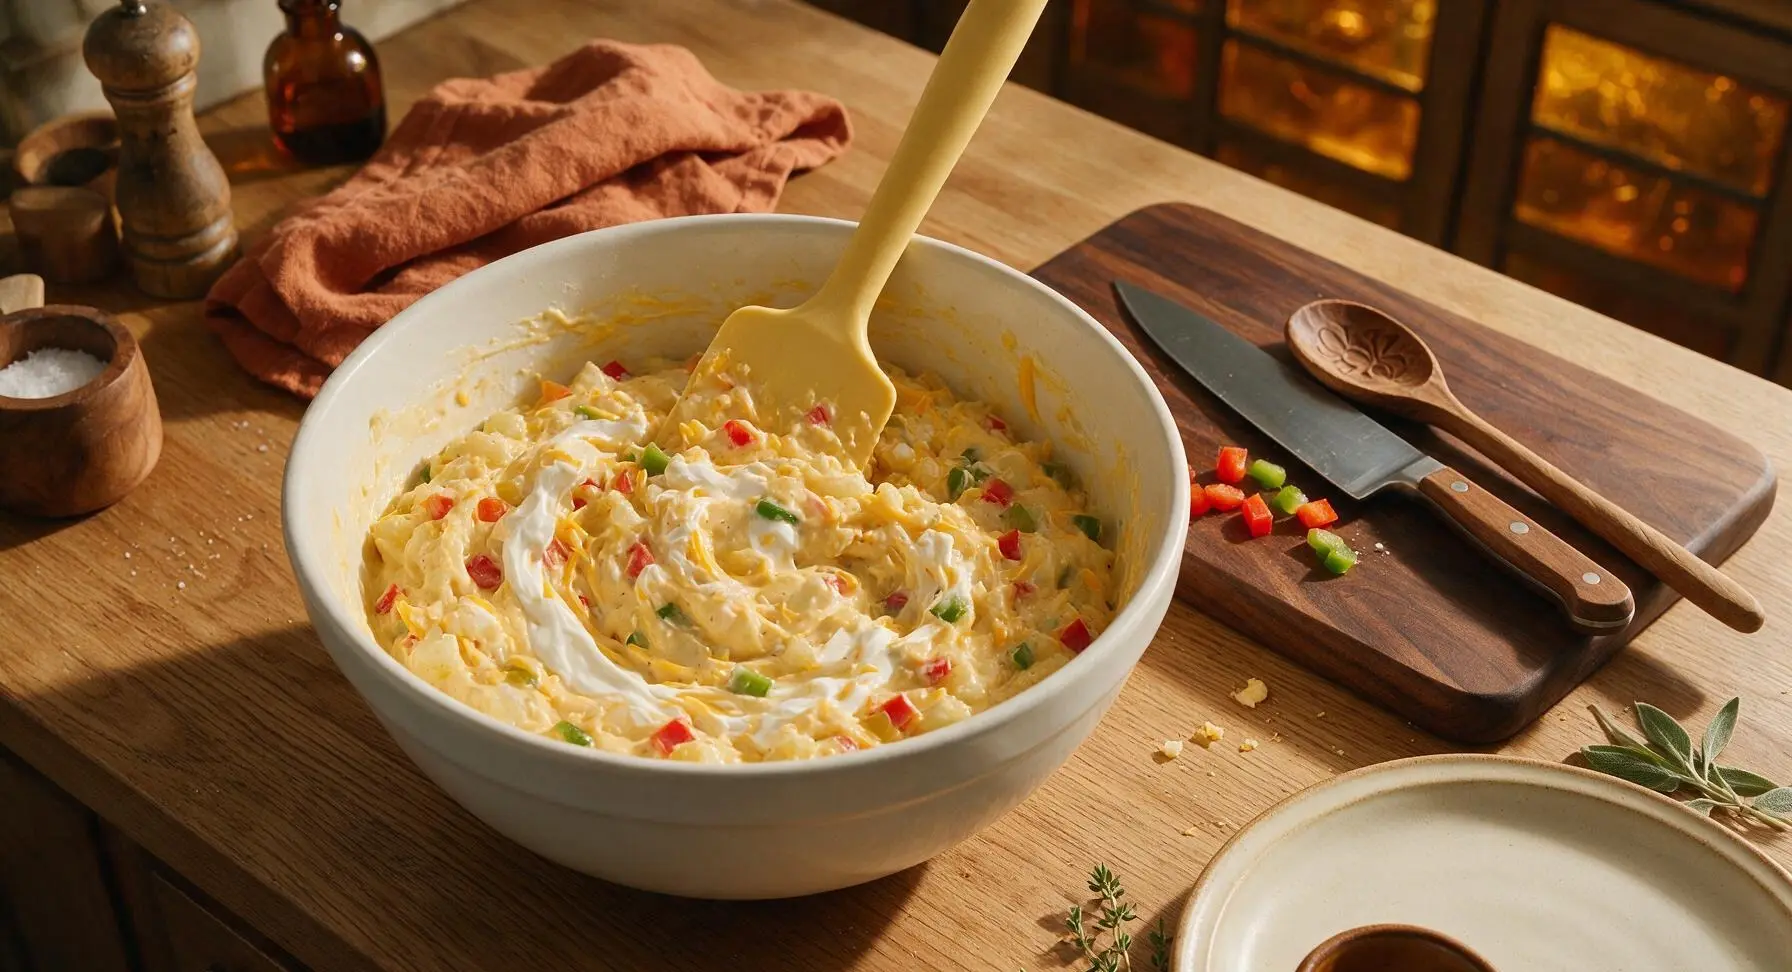
Fill Baking Dish
Scrape the entire creamy potato mixture from the mixing bowl into the greased 9x13 inch clear glass baking dish. Use the silicone spatula to spread the mixture into an even, flat layer across the dish, pressing gently to eliminate air gaps. Make sure the layer is consistent thickness from edge to edge for even baking.
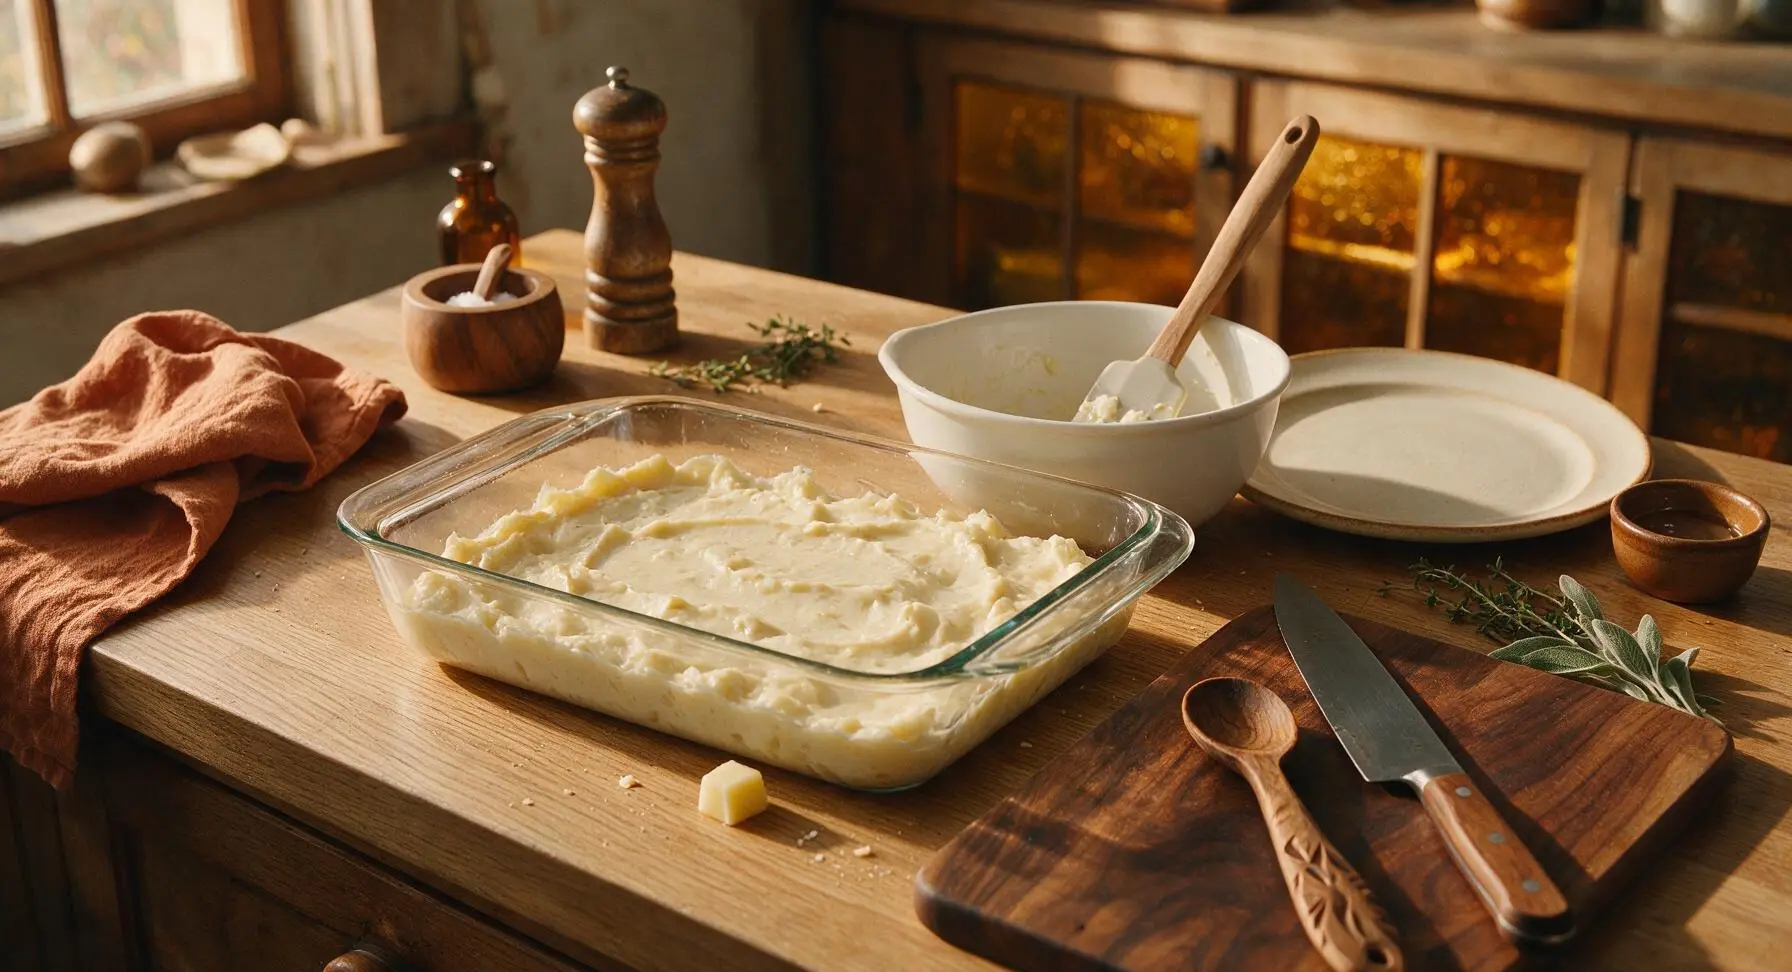
Add Crispy Topping
Melt the remaining 3.5 tablespoons of unsalted butter in the small white ceramic ramekin (microwave for 30 seconds, or melt on stovetop). Add the 1 cup of plain cornflakes to the ramekin and toss gently until all flakes are evenly coated with melted butter. Sprinkle the buttered cornflakes and the reserved ¼ cup shredded cheddar evenly over the top of the potato mixture in the baking dish.
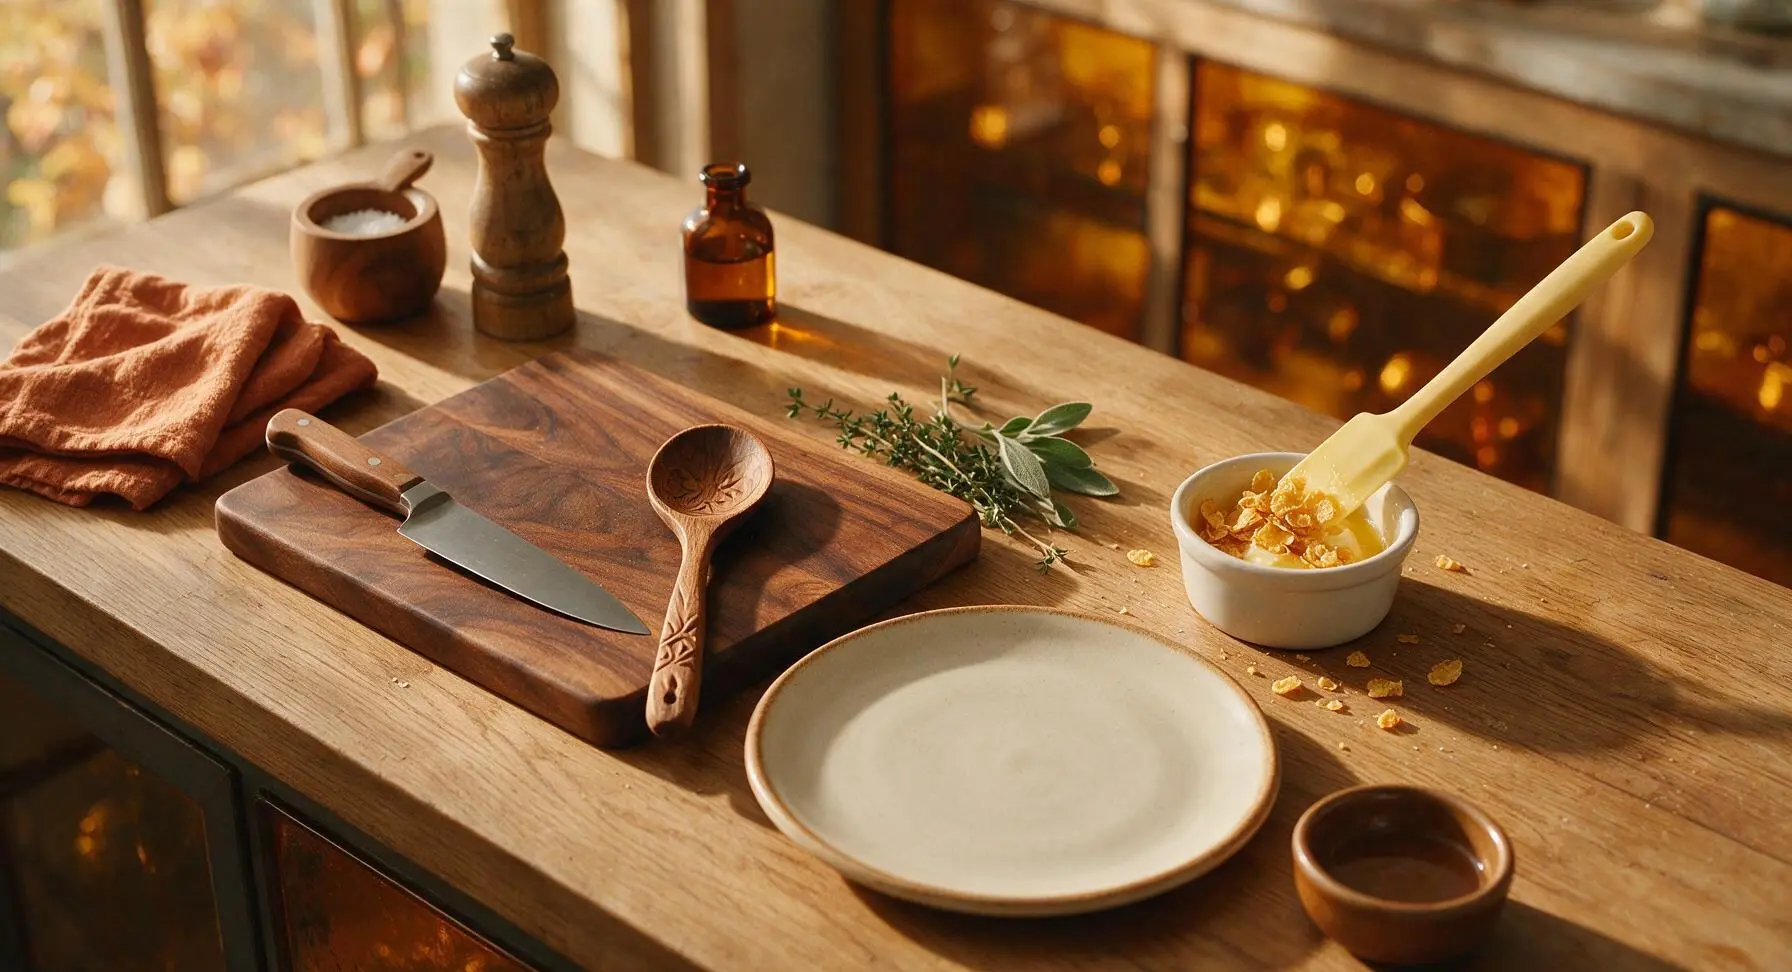
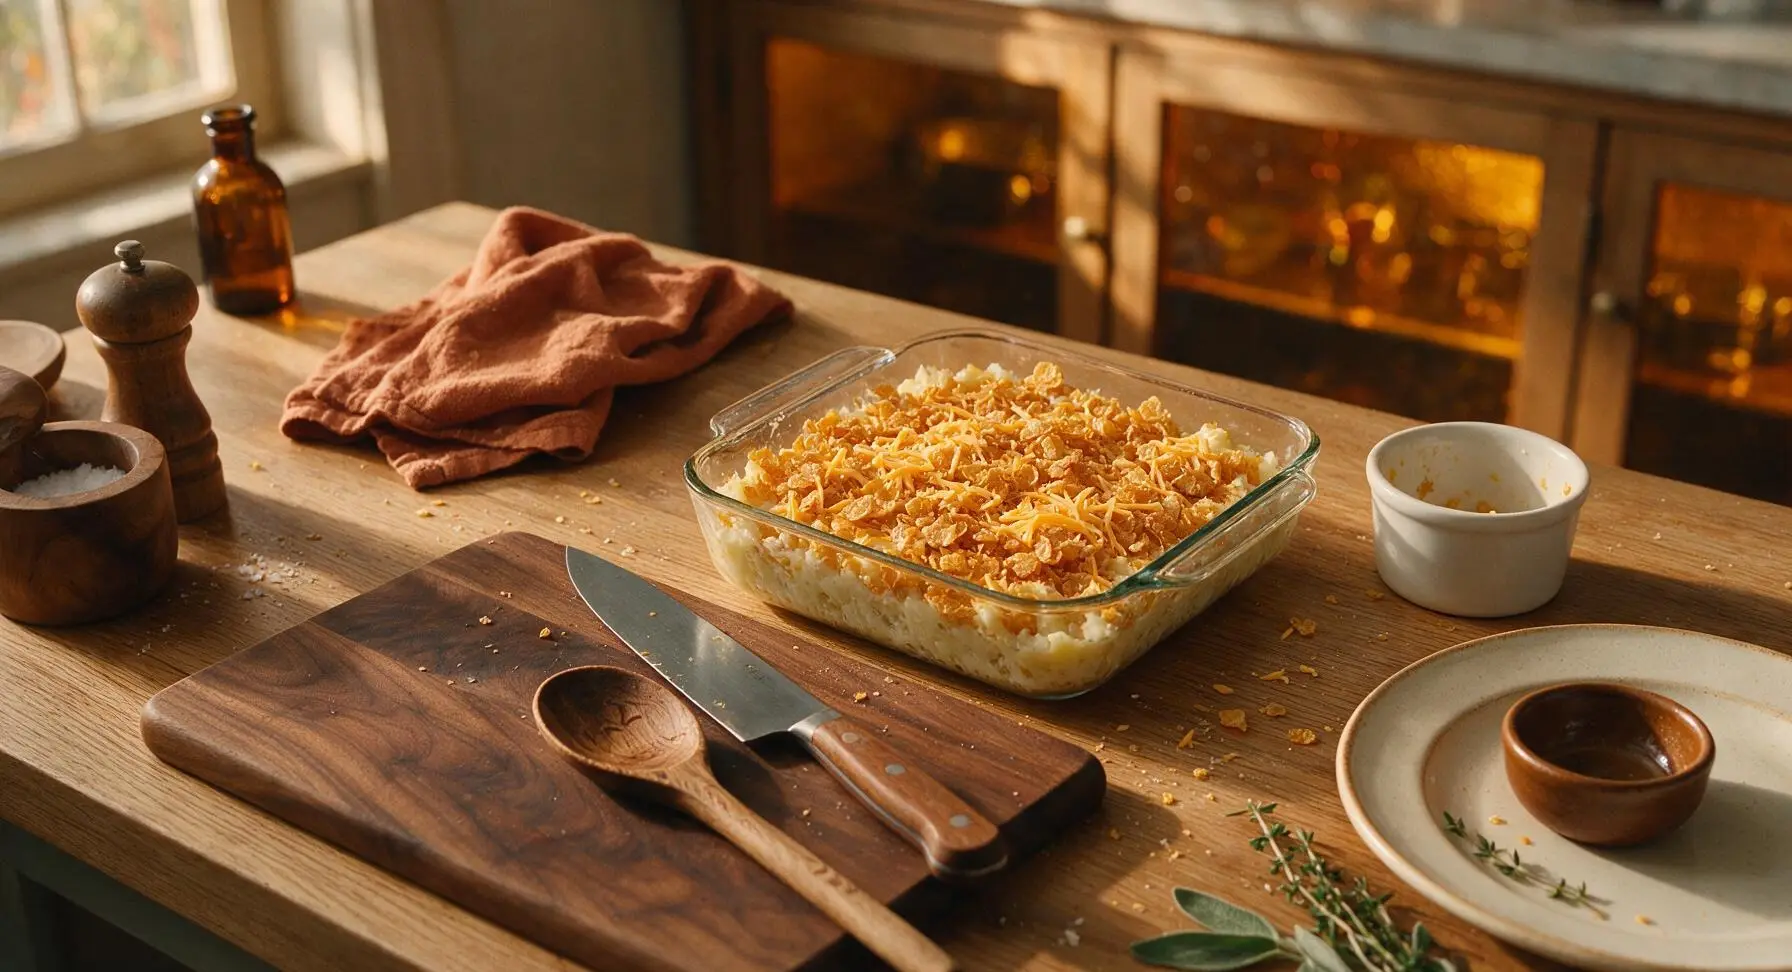
Bake Covered First
Tear a sheet of aluminum foil large enough to cover the baking dish, and crimp it tightly around the edges to seal in steam. Place the dish on the middle oven rack, and bake covered for 40 minutes at 375°F (190°C). The potatoes will be tender when pierced with a fork through the foil at this stage.
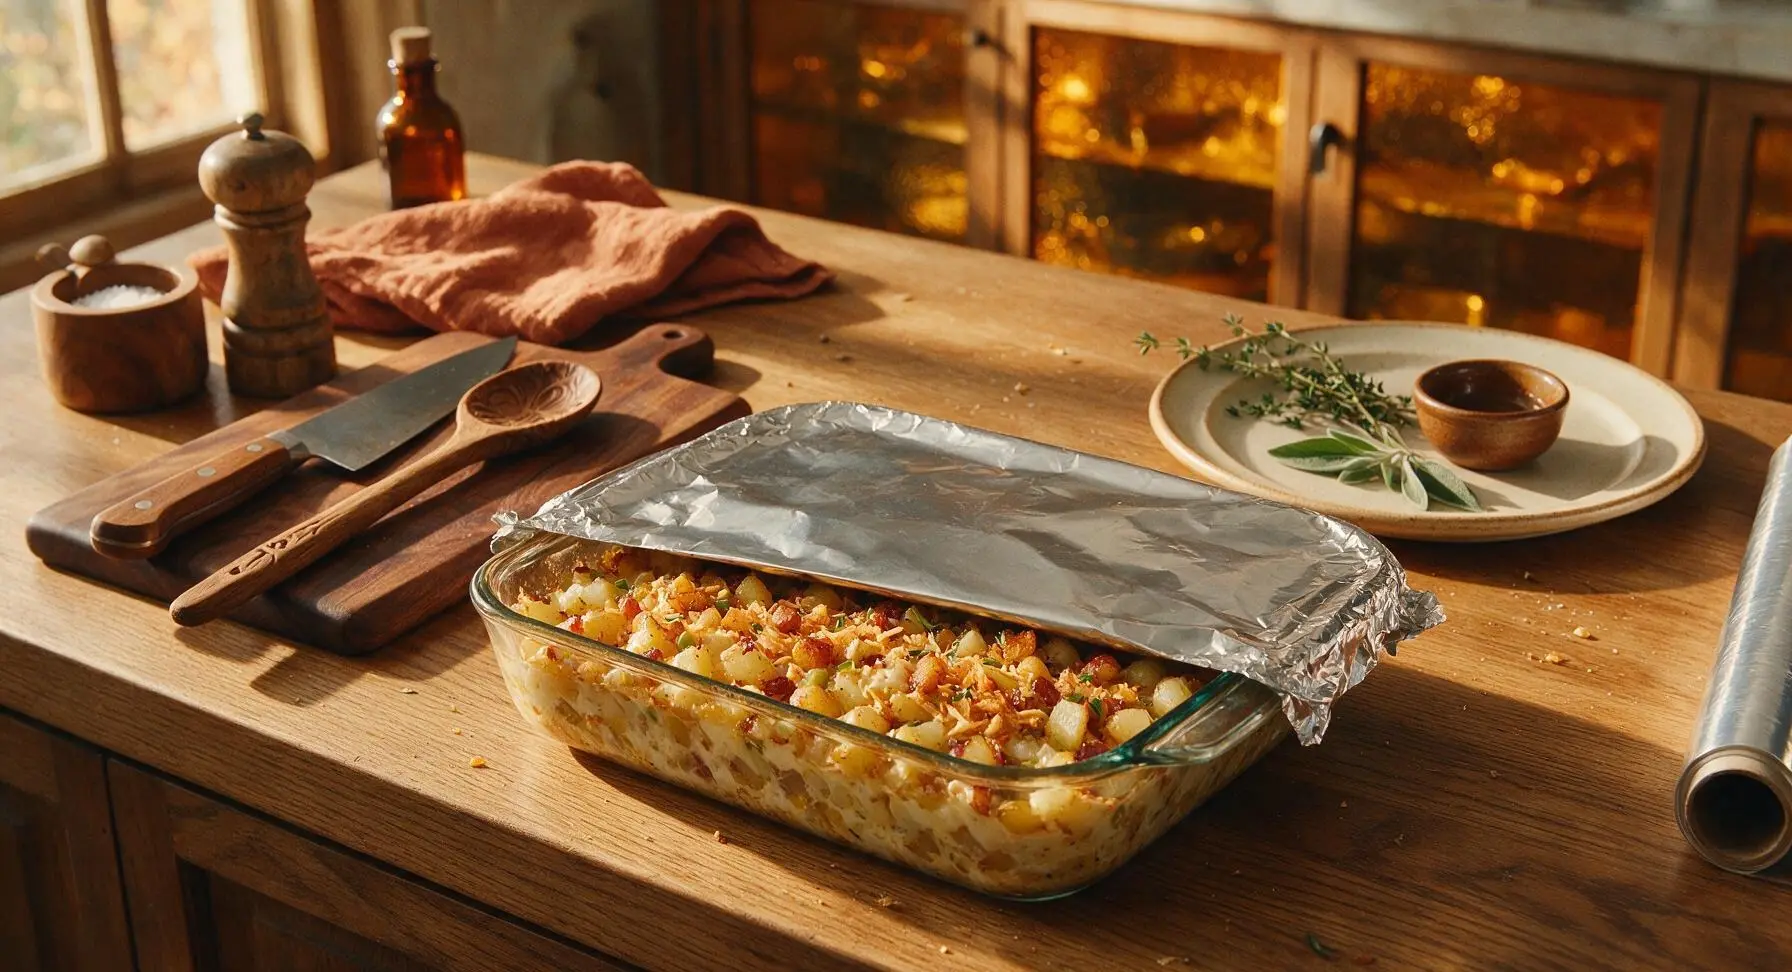
Crisp Top Uncovered
After 40 minutes of covered baking, carefully remove the aluminum foil from the dish (watch for escaping steam). Return the dish to the middle oven rack, and bake uncovered for an additional 15 minutes, until the cornflake topping is deep golden brown and crispy, the edges of the casserole are bubbling, and the cheese on top is fully melted.
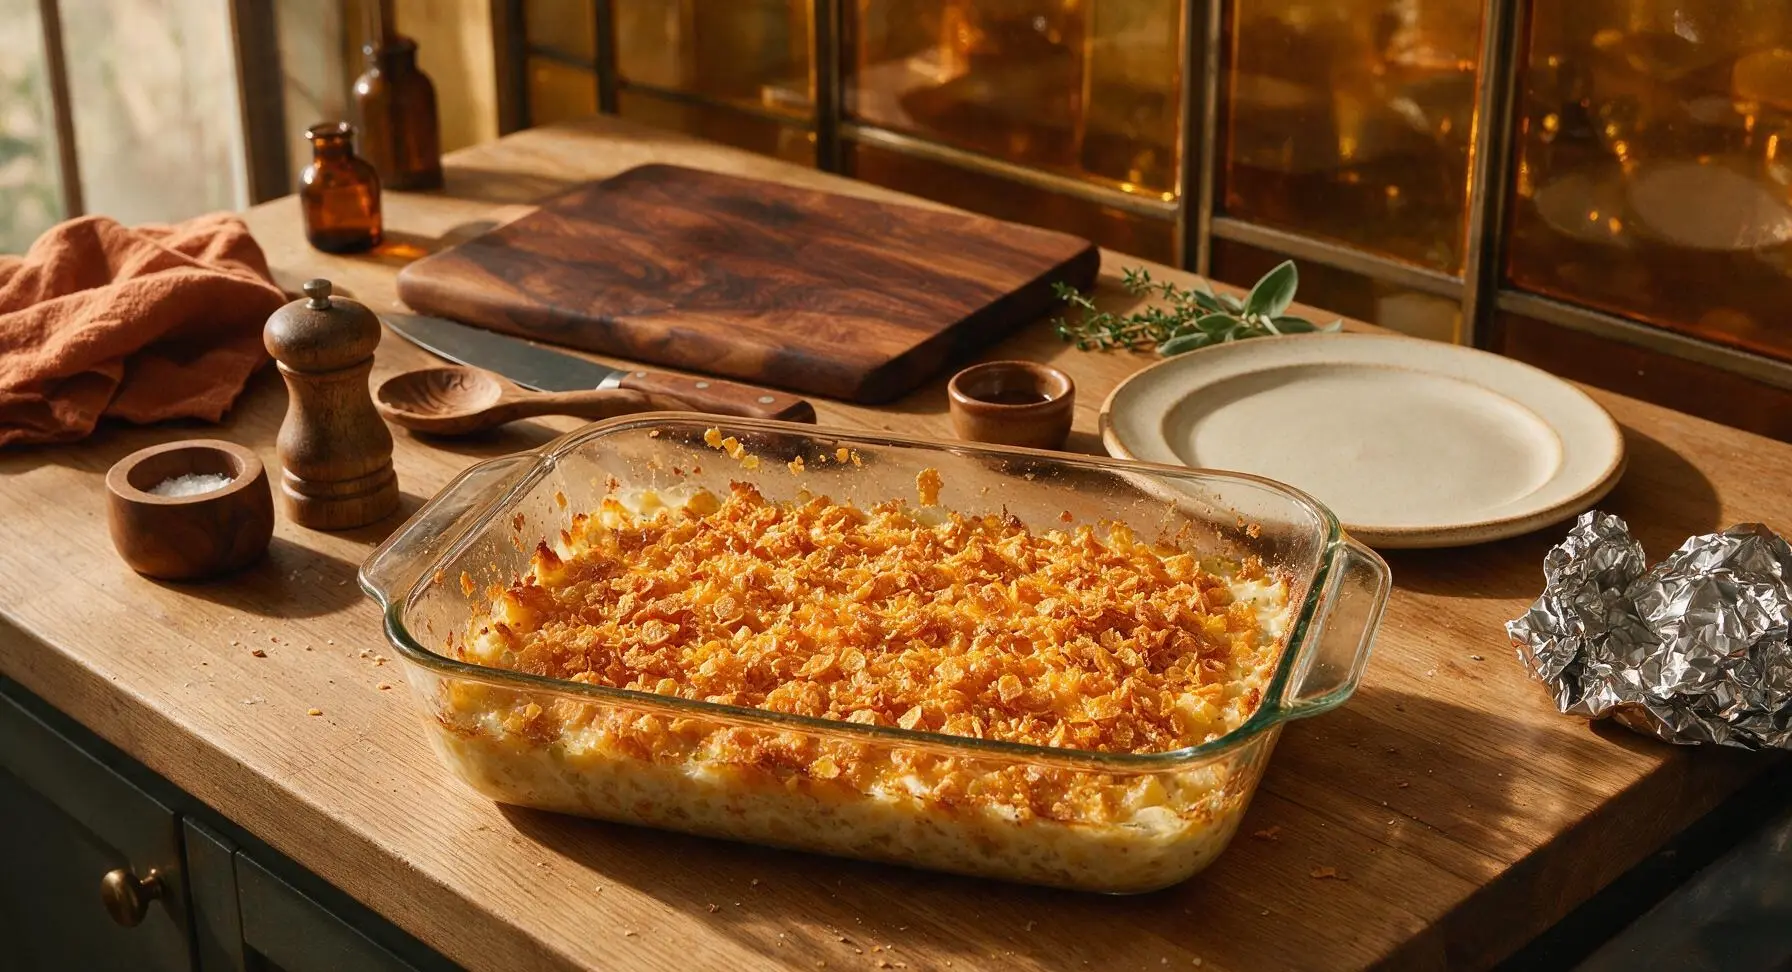
Rest and Garnish
Remove the finished casserole from the oven, and let it rest for 10 minutes at room temperature to set (this prevents it from being runny when served). While it rests, chop the fresh curly parsley from the counter bunch, and sprinkle it lightly over the top of the warm casserole.
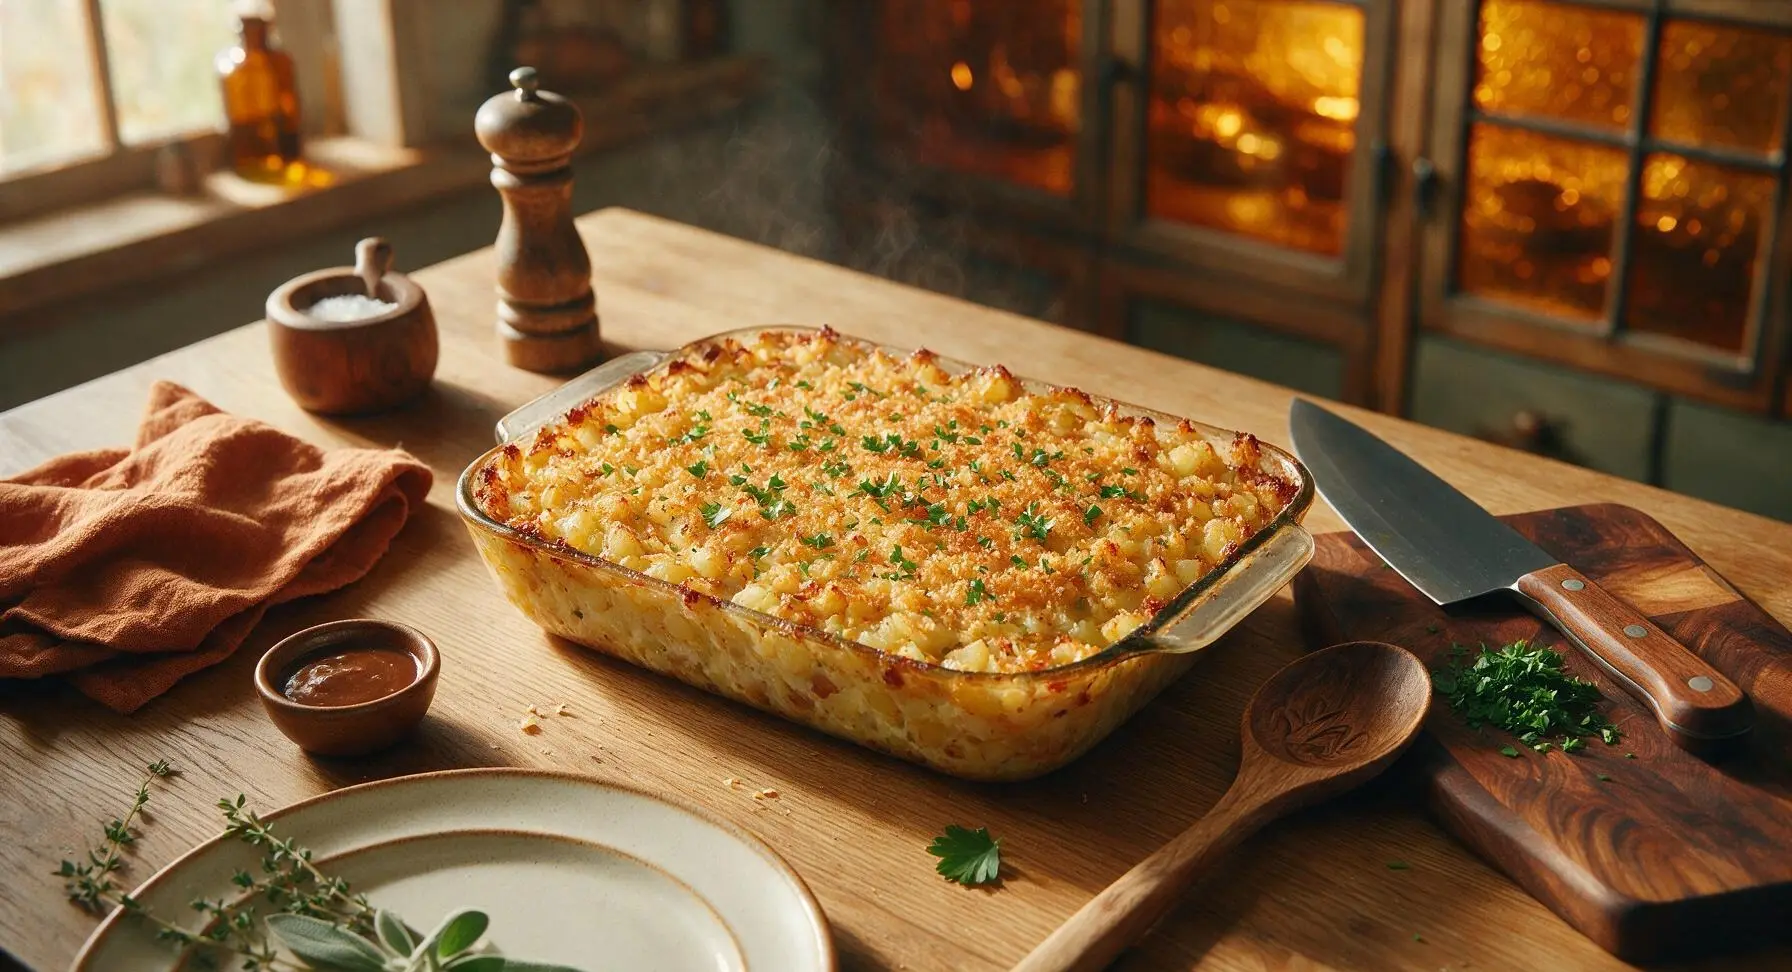
Tips
2.Let the baked casserole rest for 10 full minutes before serving; this allows the creamy cheese and potato filling to set, so portions hold their shape instead of sliding apart.
3.Crush cornflakes very lightly before tossing with butter; this creates a more evenly distributed crispy topping, while leaving some larger flakes for satisfying crunch.






Just pulled this out of the oven and had to leave a review immediately! The whole house smells amazing, I snuck a bite before my partner got home and WOW. The creamy sauce, the little bits of pepper and onion, the crunchy cornflake top? Wait why did I wait so long to make this? It’s going to be a new regular in our dinner rotation for sure.
Decent recipe, but it took me way longer than 55 minutes total? Maybe my oven runs cool, but I had to add almost 20 extra minutes of cook time to get the potatoes soft all the way through and the top browned. Flavor was good once it finally cooked, just wish I’d planned for the extra time so my dinner wasn’t late.
This was so tasty! I added a handful of crumbled cooked bacon on top because everything is better with bacon, right? The only heads up I have for people is to make sure you squeeze as much liquid out of the thawed frozen potatoes as you can, otherwise your casserole might turn out watery. I learned that the hard way with a similar recipe a few years back!
SO good! I made this for my daughter’s cheer team pre-game dinner last night, and all the girls were raving about it. Several parents asked me for the recipe, which I already sent them the link to! I used frozen O’Brien potatoes straight from the bag like the recipe said, and it was so easy — no chopping a million veggies after running kids to practice all afternoon.
OMG this casserole was the star of our family potluck last Sunday! I followed the recipe exactly, and my kids loved it — even my super picky 7 year old asked for seconds. The crispy edges with the soft, cheesy potato middle? *Chef's kiss* I did add a little extra sprinkle of cheddar on top the last 10 minutes because we’re cheese obsessed in this house, no regrets. Will 100% be making this for our Thanksgiving side this year!
Game changer for my weekly meal prep! I made a big pan of this on Sunday, portioned it out for lunches all week, and it reheats SO good in the microwave. I was worried the potatoes would get mushy, but they held up perfectly even after 4 days in the fridge. Saved me so much money on takeout this week, thank you!!
I’ve been making O’Brien casserole for family dinners for over 40 years, and I have to say this version is just as good as my old handwritten recipe! I was skeptical trying a new online recipe, but the ratios are perfect — not too soupy, not too dry, just the right amount of onion and pepper. My grandkids devoured half the pan before we even sat down for dinner.
Really solid recipe! Super easy to throw together on a weeknight when I don’t feel like spending an hour in the kitchen after work. Only reason it’s not 5 stars is I wish there was a little more bell pepper flavor — I tossed in an extra half cup of diced red and green pepper when I made it and that balanced it out for my taste. Great base recipe to tweak to your family’s preferences!