
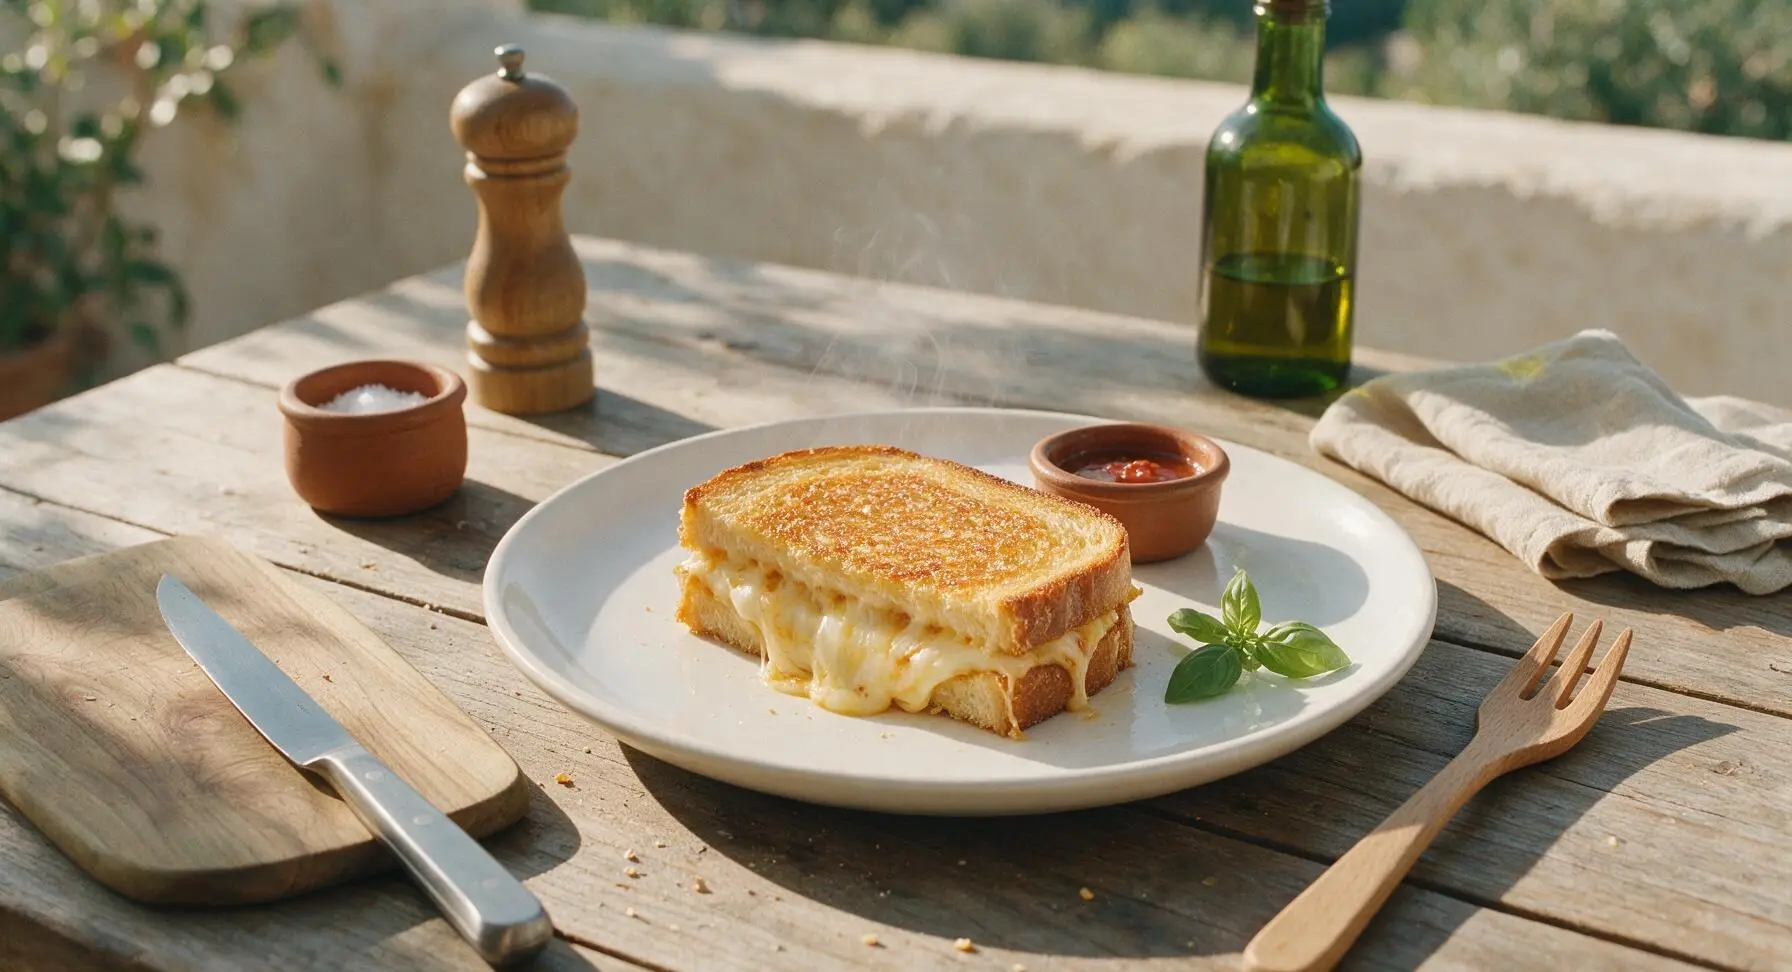
oven grilled cheese

title 1
oven grilled cheese
⏱️ cook time 12 minutes
🍽️ servings 4
⚡ Difficulty easy

intro

Crisp, buttery golden bread oozing with tangy, stretchy melted cheese, made hands-off in the oven for batch-friendly, even results with no stovetop flipping. Cozy, classic comfort food.

Ingredients
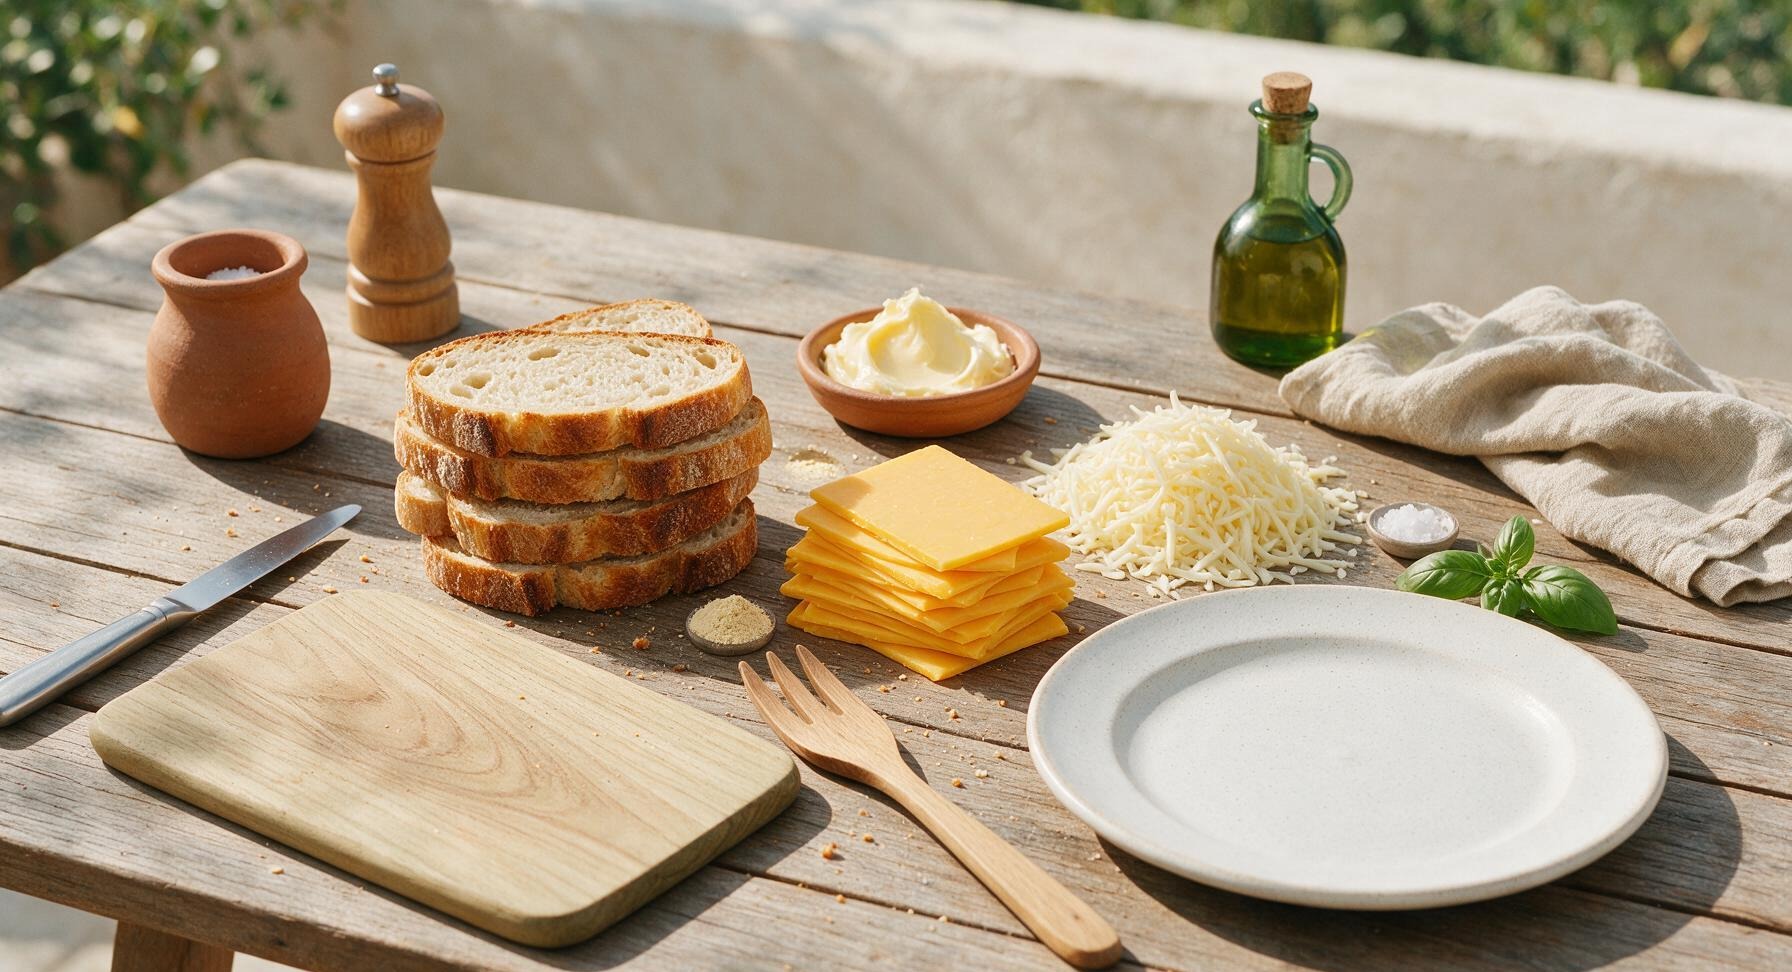
Sourdough bread 8 slices (320g total)
Sharp yellow cheddar cheese 160g, thinly sliced
Low-moisture mozzarella cheese 80g, shredded
Unsalted butter 45g (3 tbsp), softened to room temperature
Garlic powder 1 tsp
Flaky sea salt 1/4 tsp

Steps

1

Preheat Oven and Pan

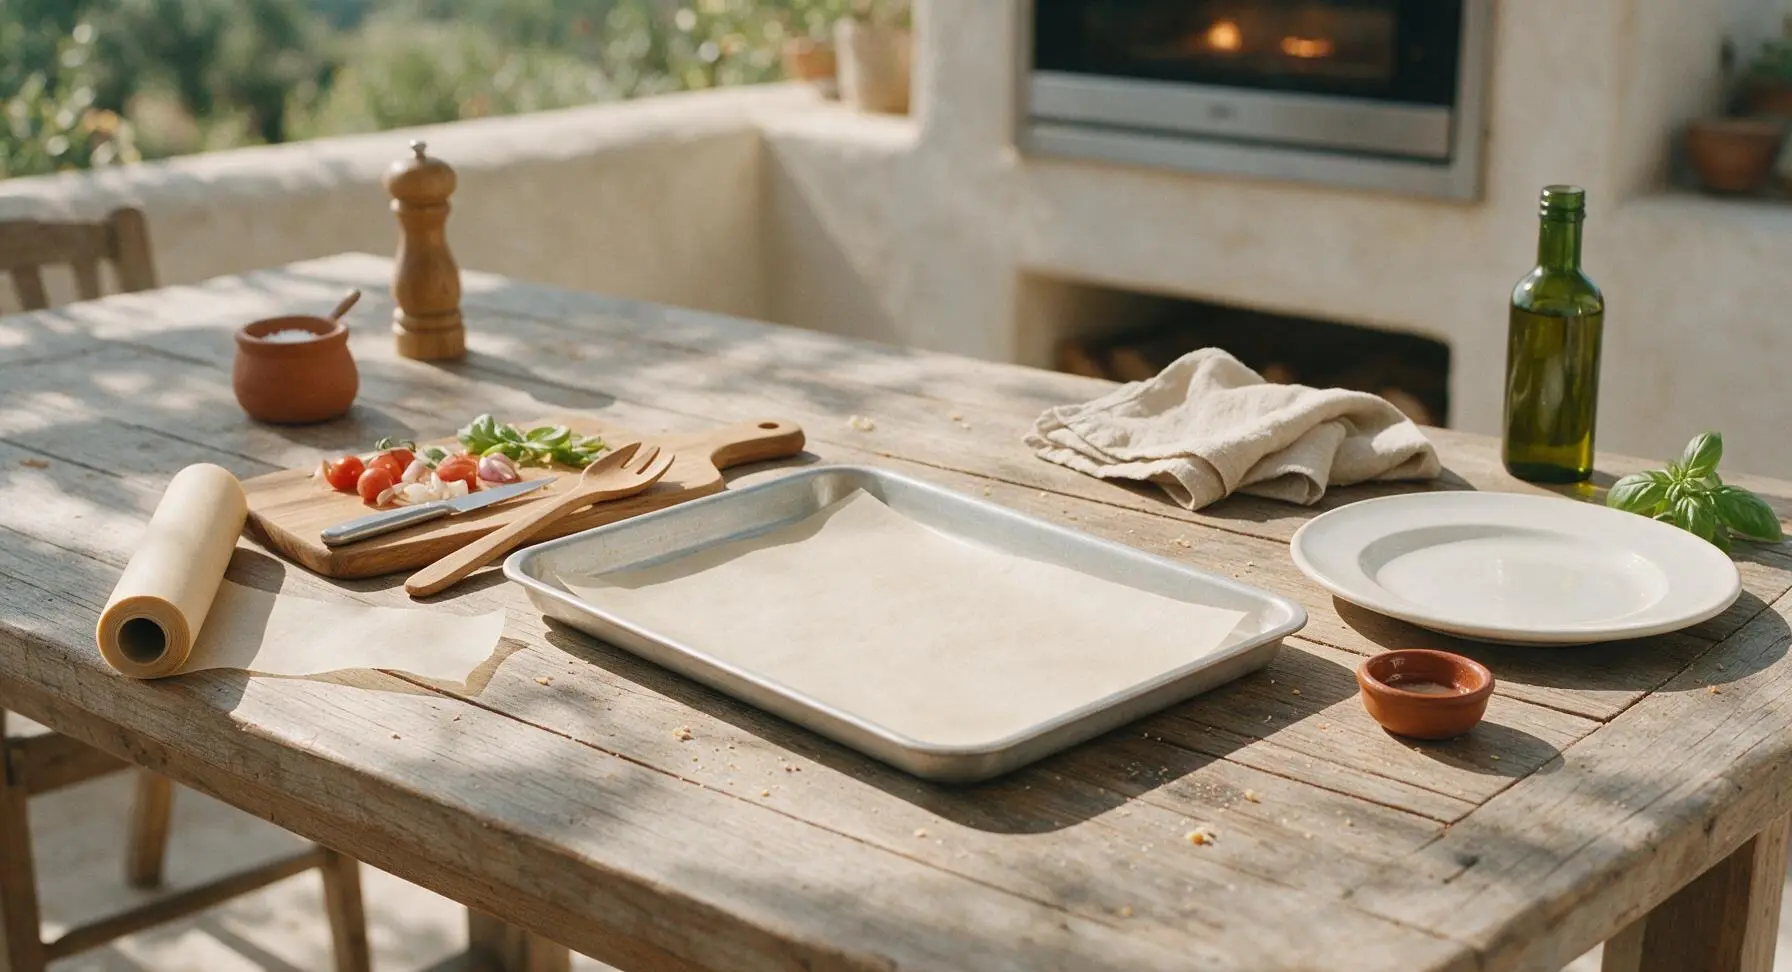
Adjust your oven rack to the upper-middle position, then preheat the oven to 425°F (220°C). Tear a sheet of unbleached parchment paper from the roll to line the 18x13 inch aluminum baking sheet, trimming any overhang so paper lies flat and does not touch oven heating elements. Set the lined pan at the center of the counter.
Step 1
step1:Preheat Oven and Pan
2

Mix Garlic Butter

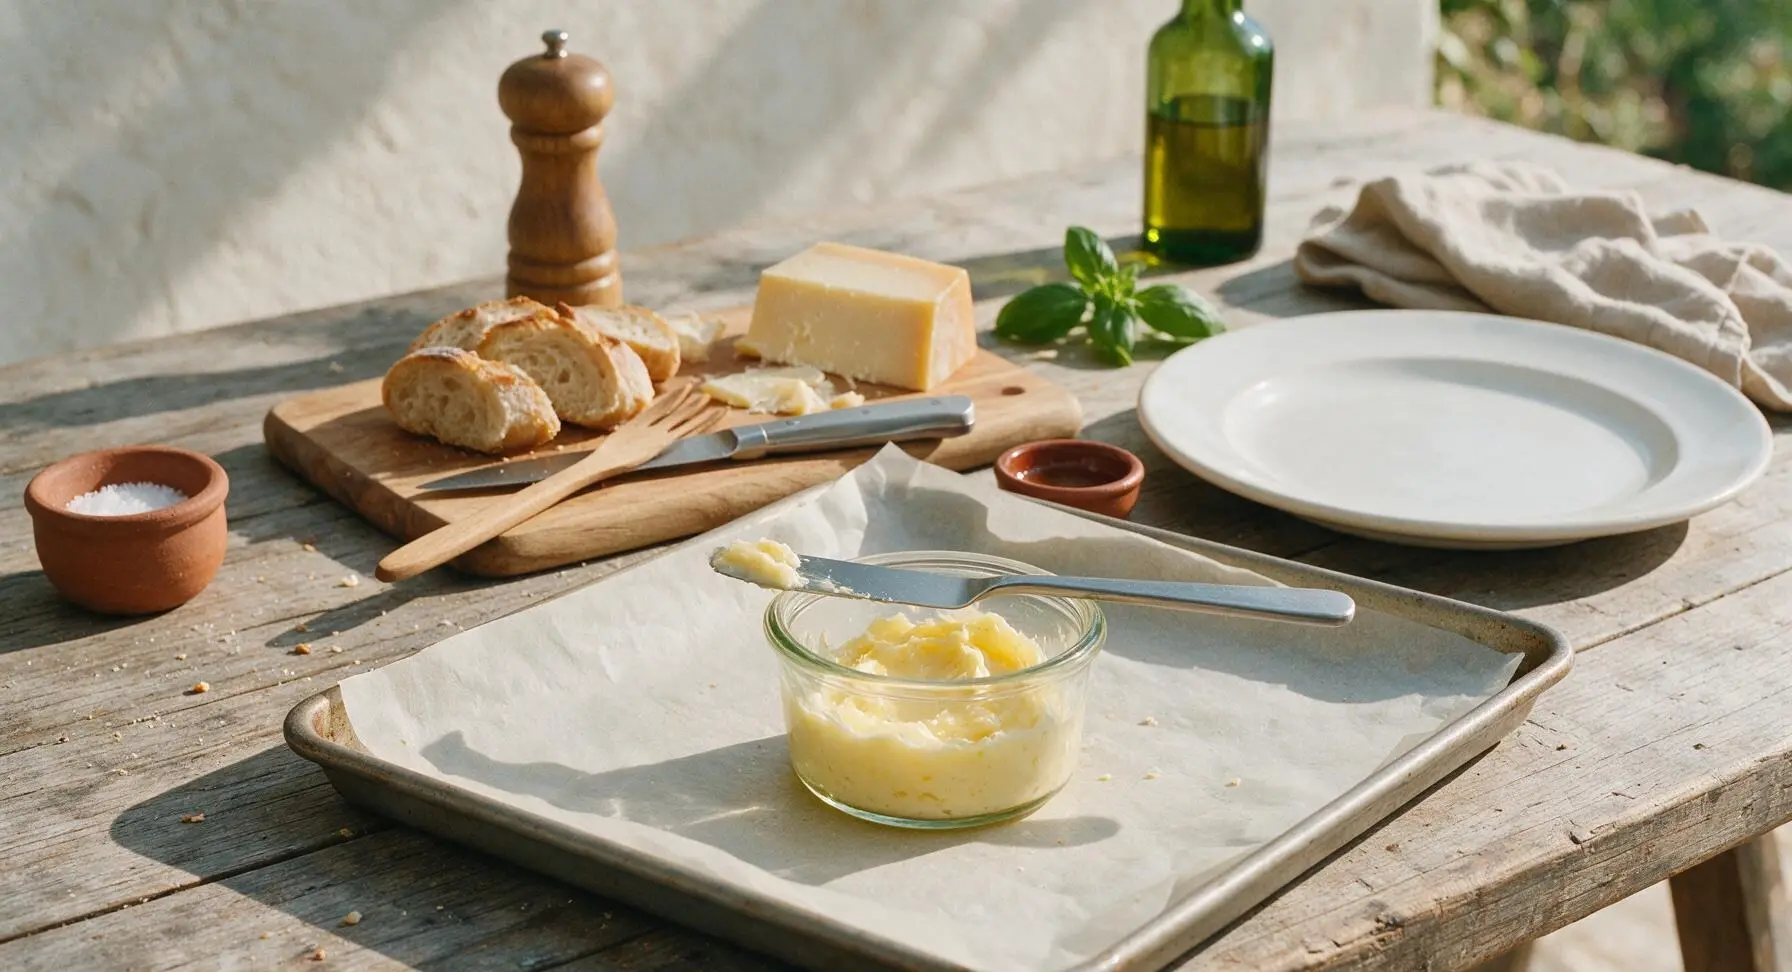
Place 45g of softened room-temperature unsalted butter into the 8cm clear glass ramekin, add 1 tsp garlic powder, and stir with the tip of the offset spatula until fully smooth, with no visible dry garlic powder clumps. The butter should be soft enough to spread easily but not melted, to avoid soggy bread.
Step 2
step2:Mix Garlic Butter
3

Butter Bread Slices

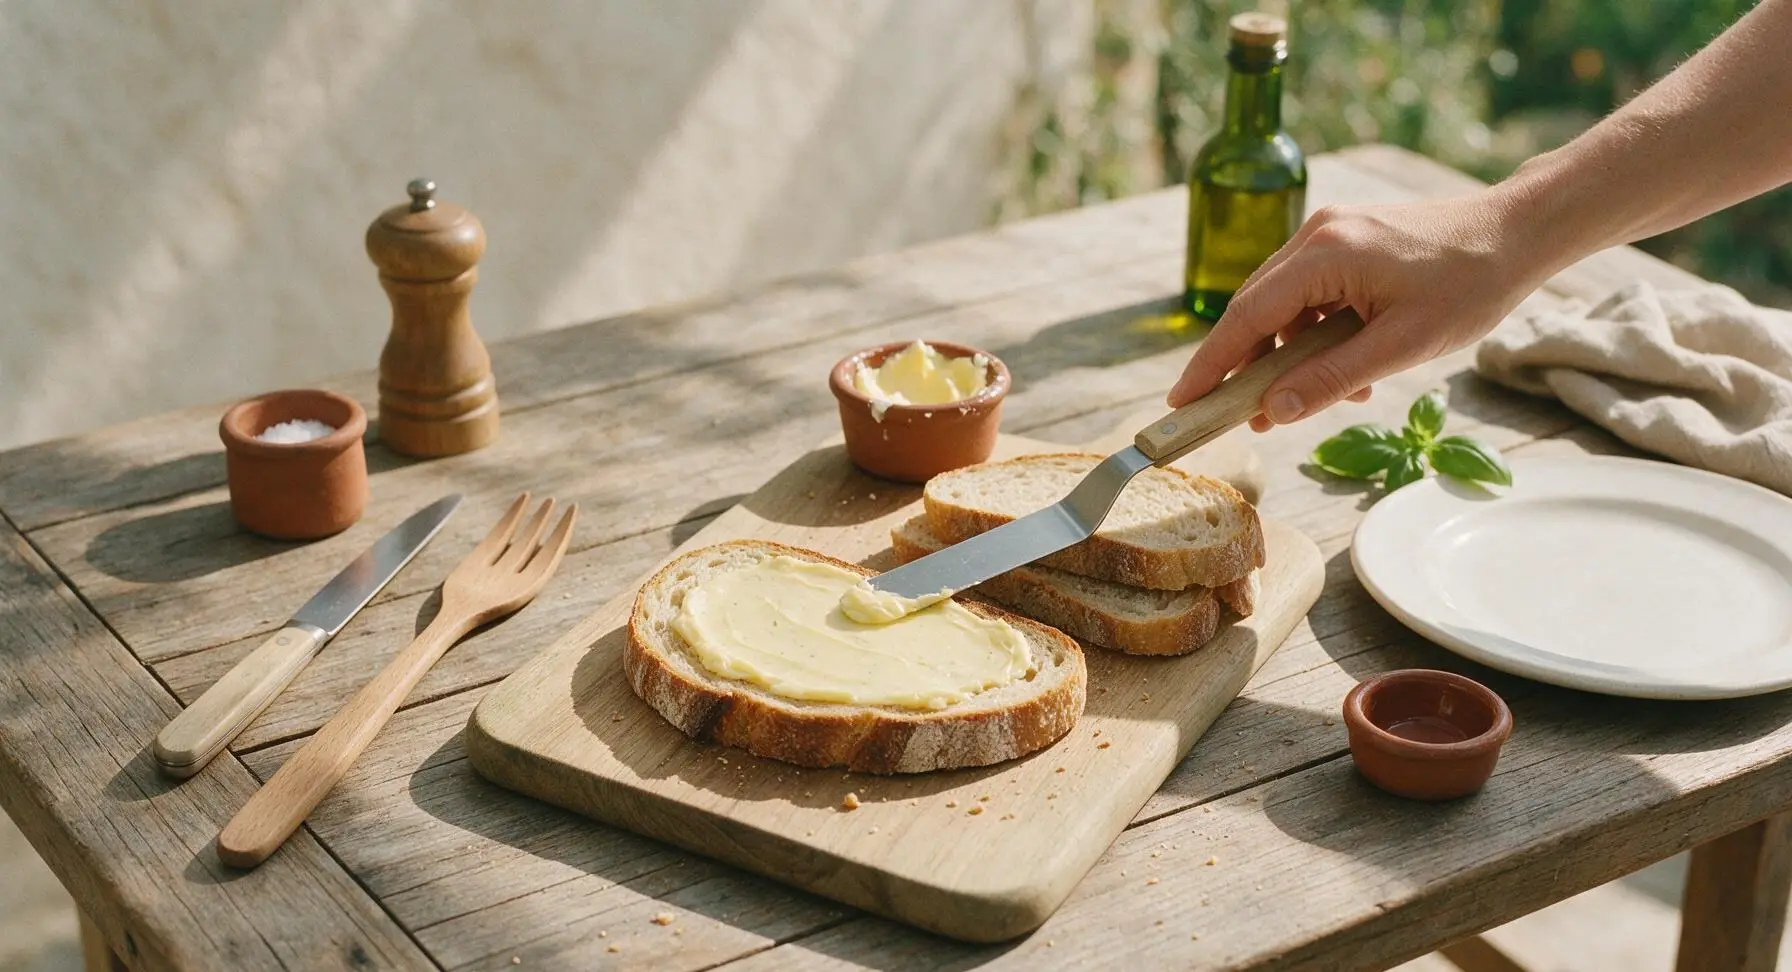
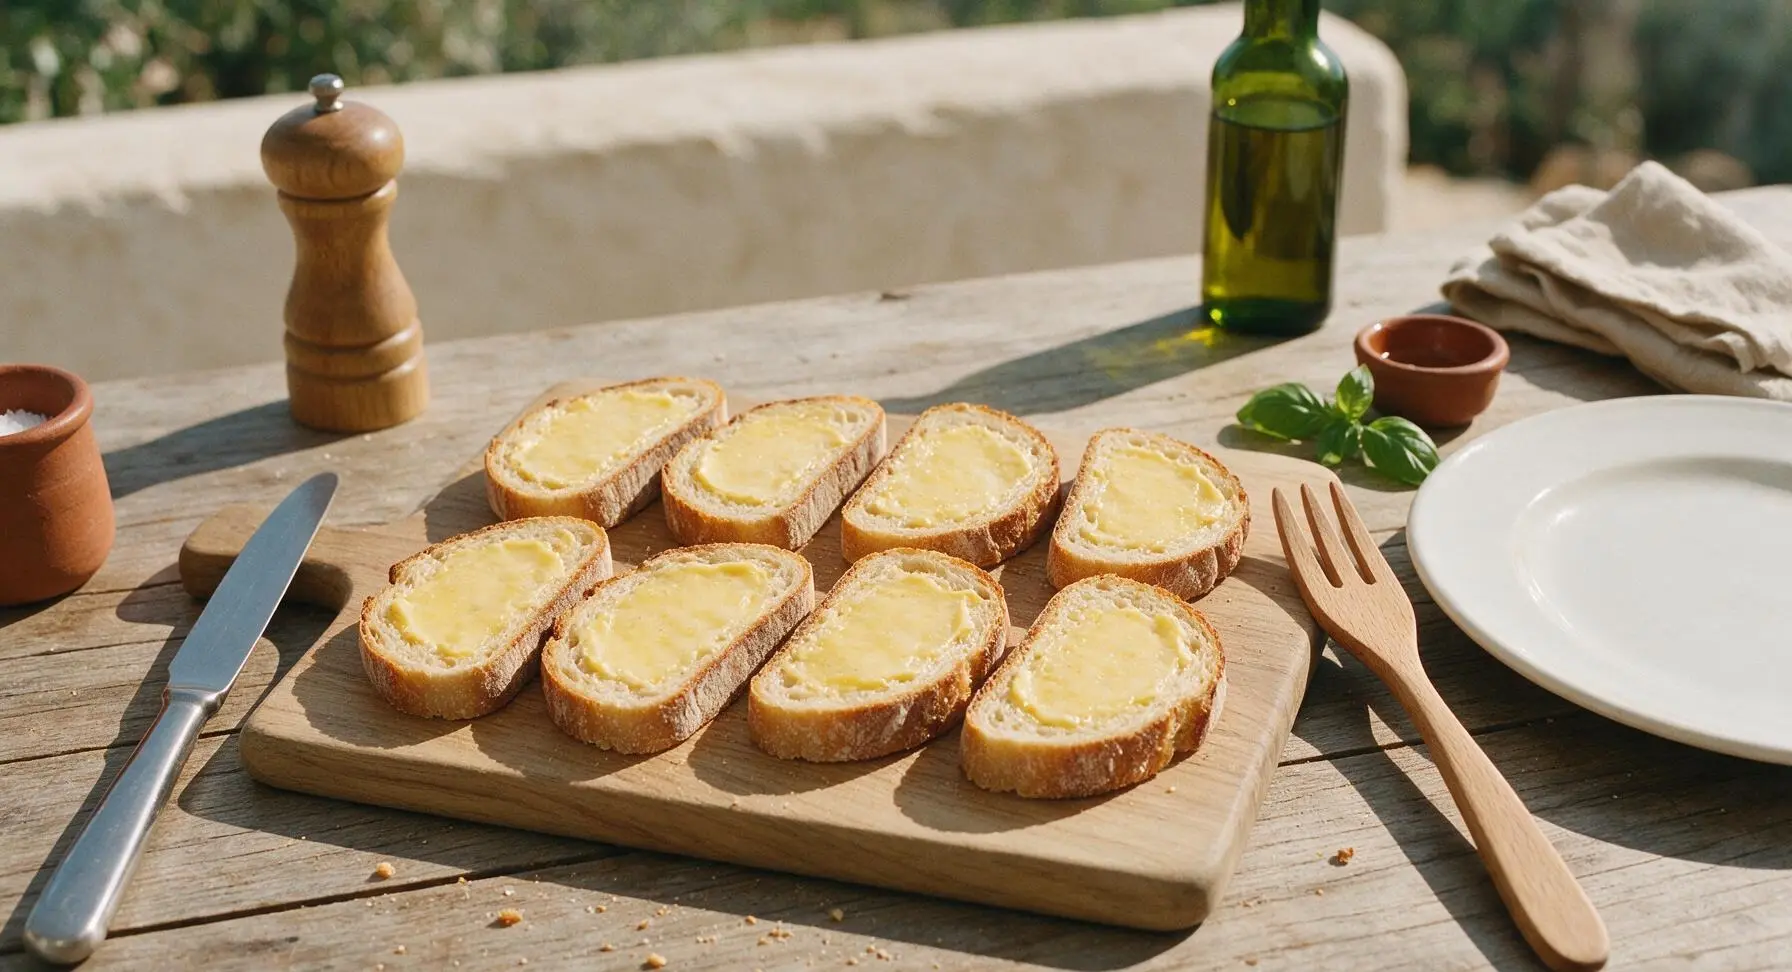
Lay all 8 sourdough slices flat on the maple cutting board. Use the offset spatula to spread a thin, even layer of garlic butter (roughly 1.5 tsp per slice) across one full side of every bread slice, spreading all the way to the crust edges to ensure uniform crispness. Avoid applying butter too thickly, which will soak into the bread and cause soggy spots.
Step 3
step3:Butter Bread Slices
Step 3
step3:Butter Bread Slices
4

Layer Cheese Filling

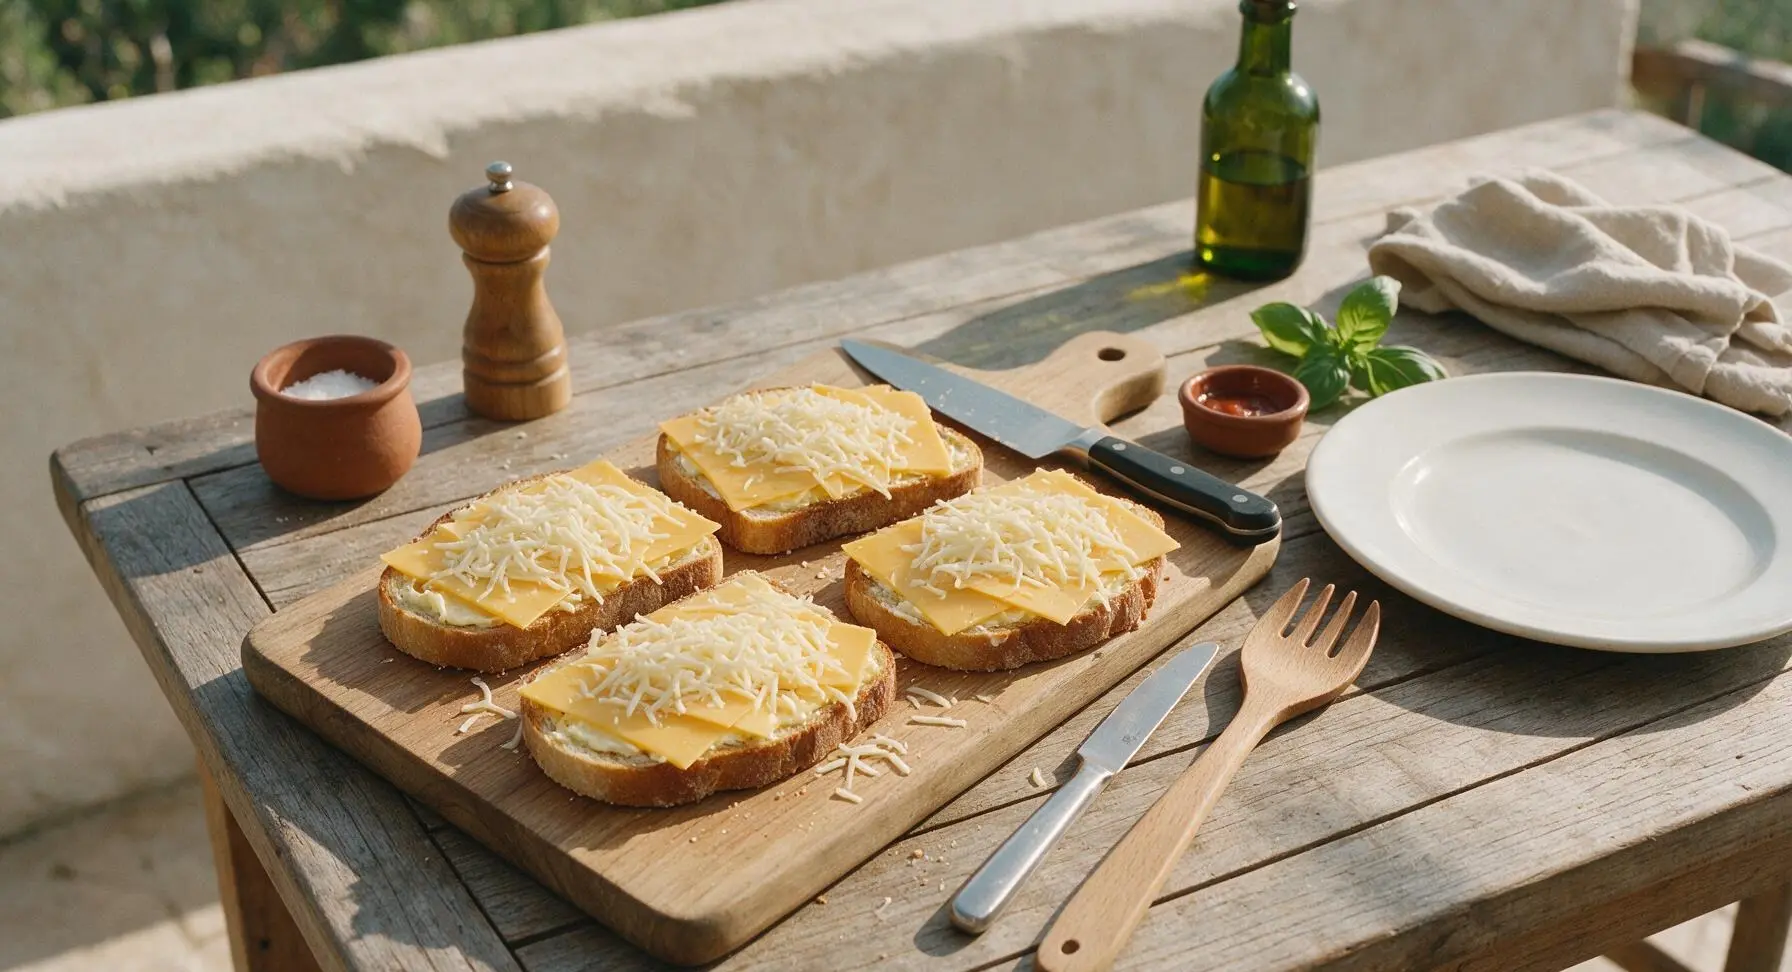
Flip 4 of the buttered bread slices over so the buttered side faces down against the cutting board. Layer 40g of thinly sliced sharp cheddar and 20g of shredded low-moisture mozzarella evenly across each of these 4 base slices, spreading cheese to within 1/4 inch of the crust to reduce excessive overflow while melting. Top each cheese-covered base with a remaining bread slice, keeping the buttered side facing outward, to form 4 full sandwiches.
Step 4
step4:Layer Cheese Filling
5

Transfer to Baking Sheet

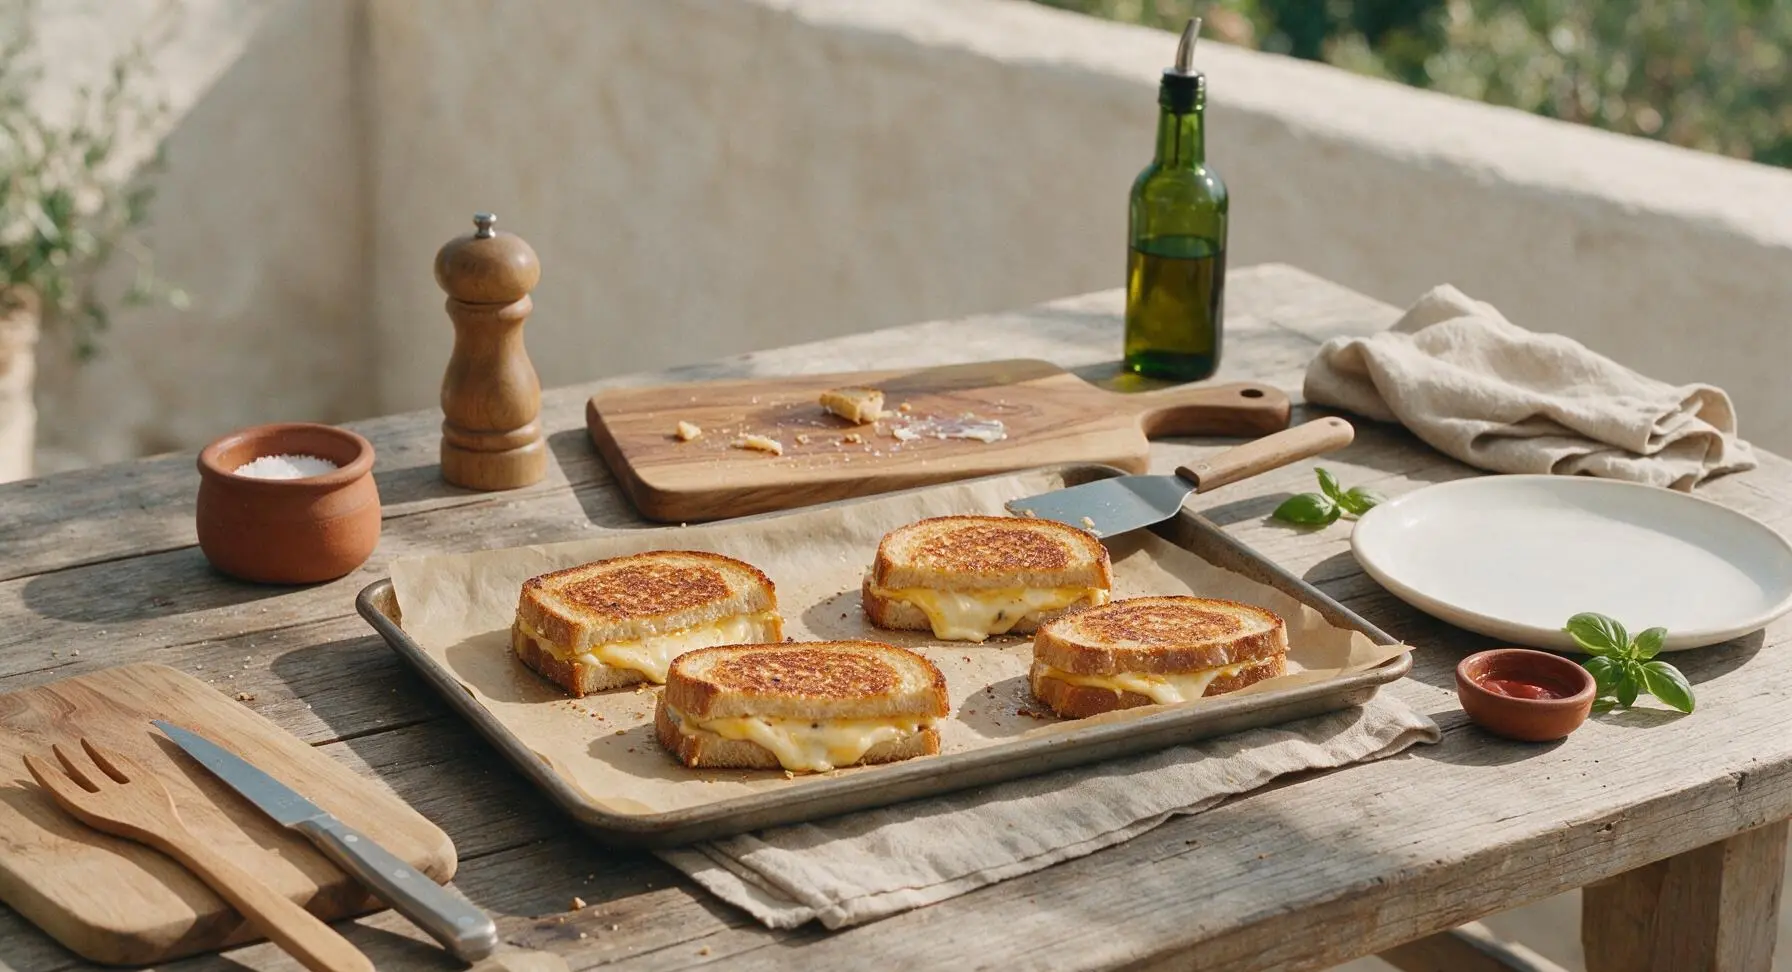
Use the offset spatula to carefully lift each assembled sandwich and place it on the parchment-lined baking sheet, leaving 1 inch of open space between each sandwich to let hot oven air circulate for even browning. Press the top of each sandwich gently with the spatula to help bread adhere to the cheese filling.
Step 5
step5:Transfer to Baking Sheet
6

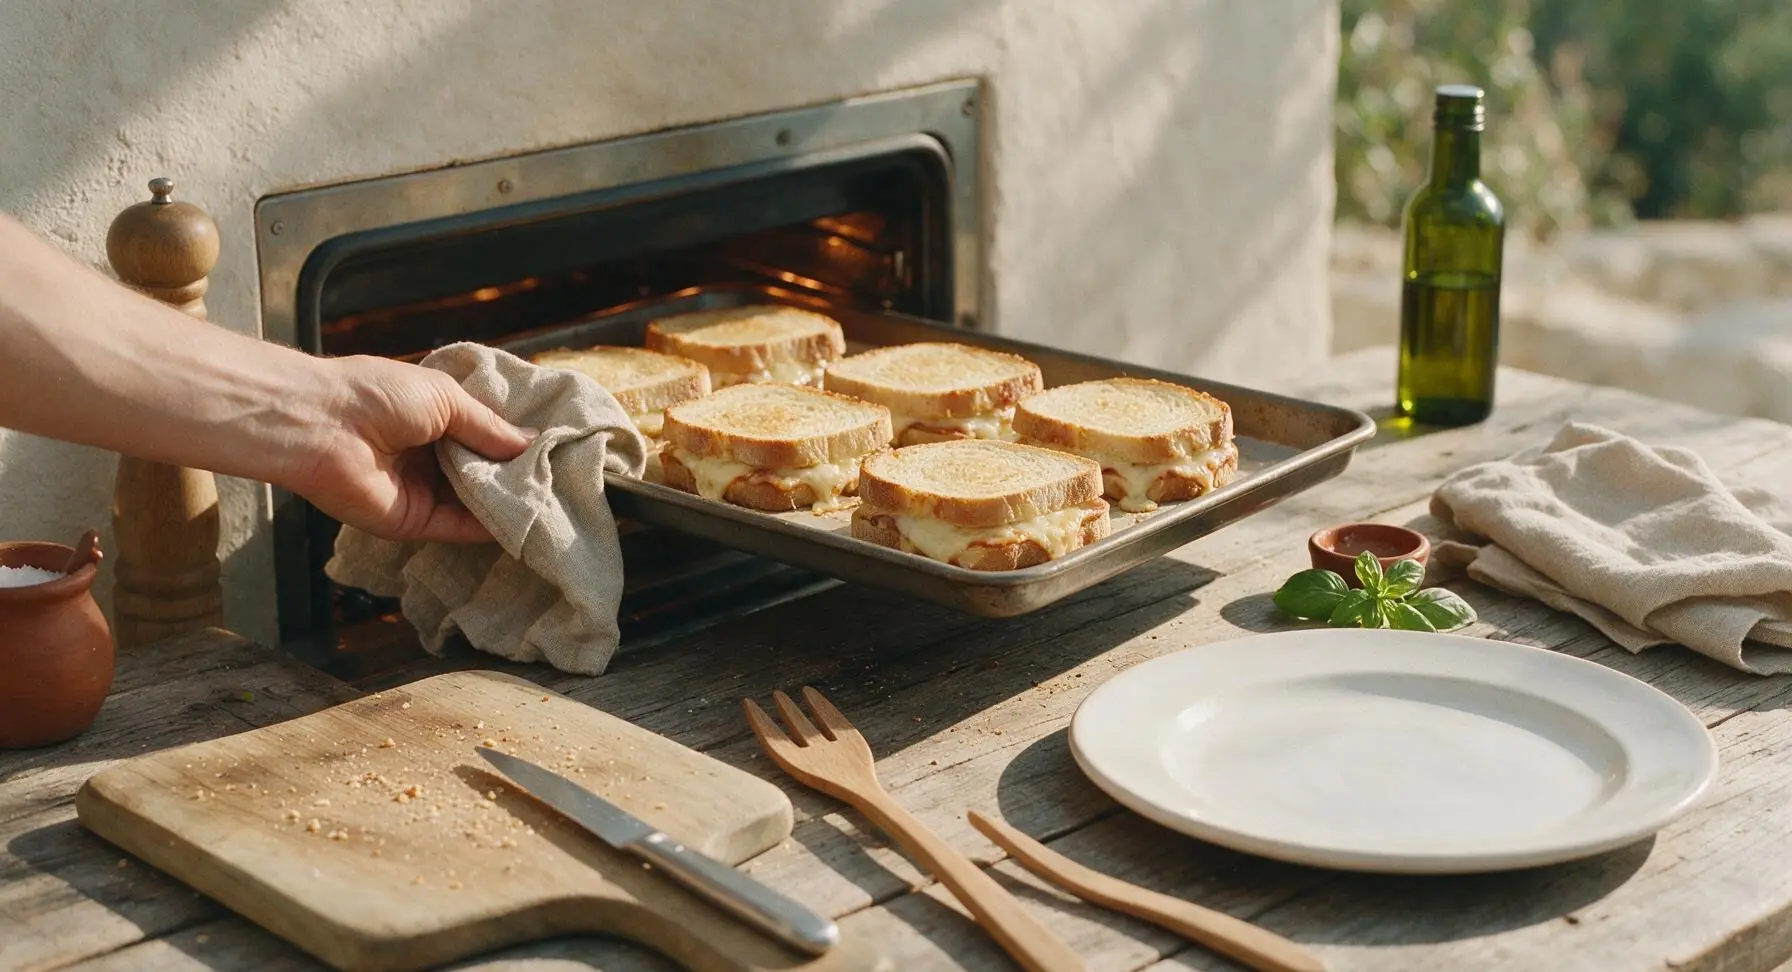
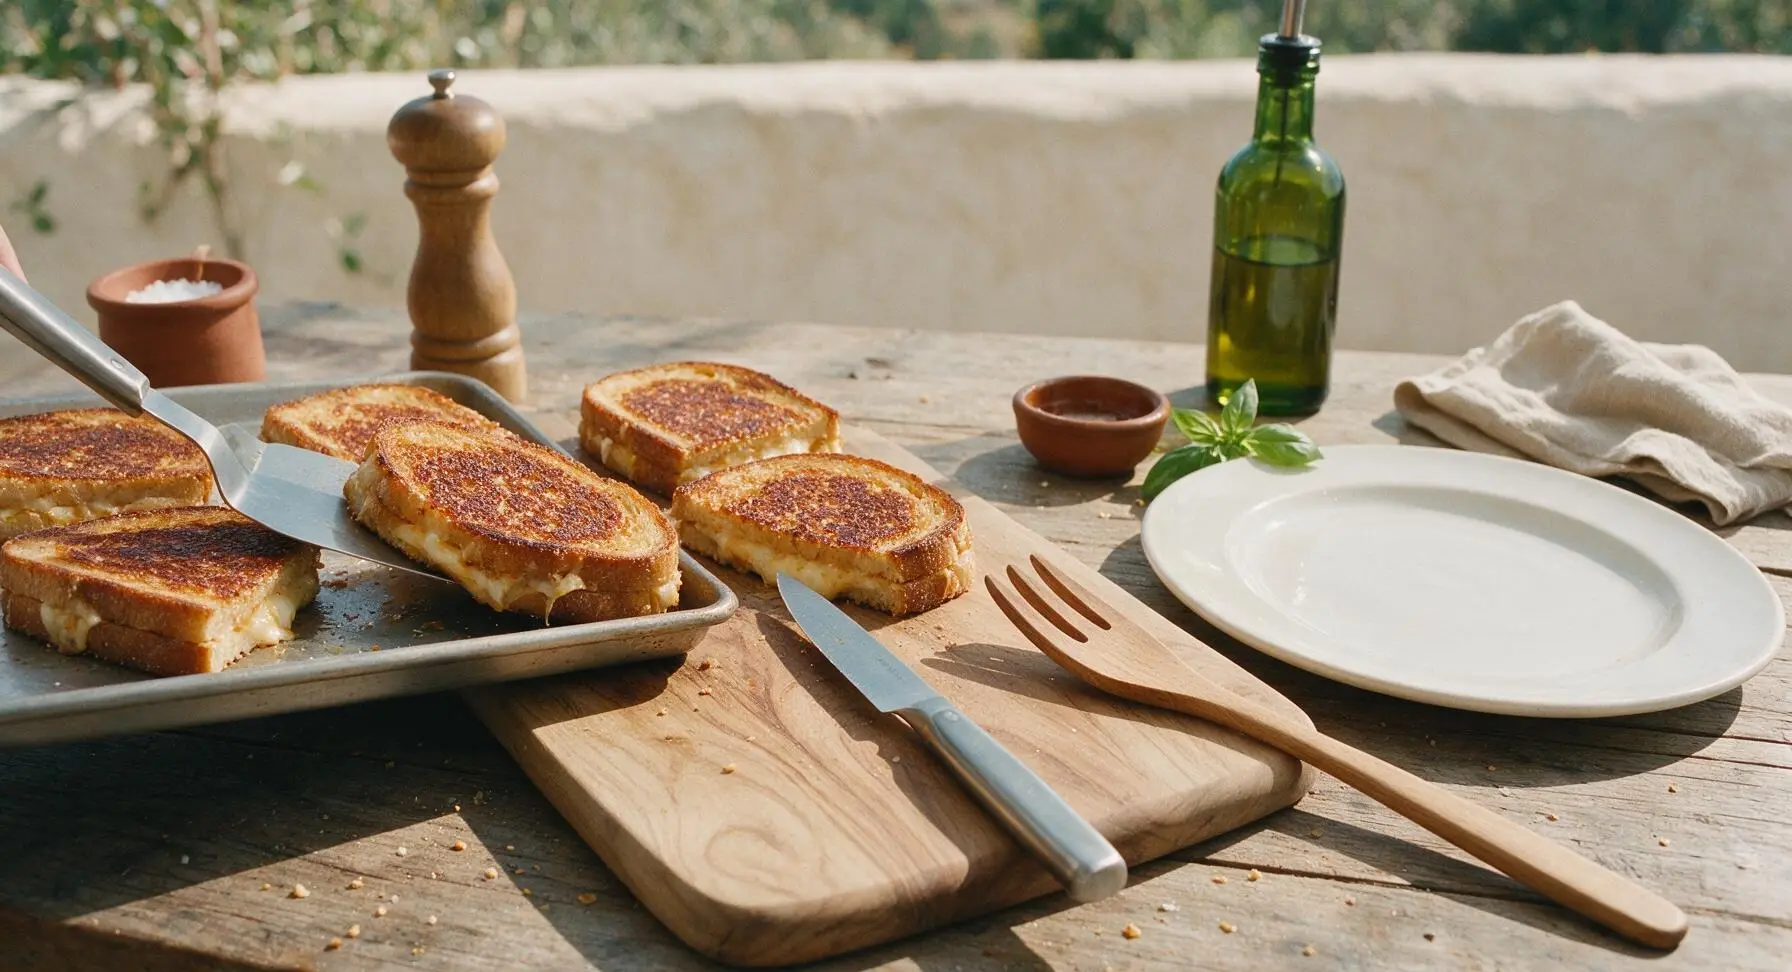
Bake First Side

Carefully slide the baking sheet onto the upper-middle rack of the preheated 425°F (220°C) oven. Bake for 6 minutes, until the bottom bread slice is deep golden brown and crispy, and cheese has just started to bubble at the sandwich edges. Avoid opening the oven door for the first 5 minutes to maintain consistent cooking temperature.
Step 6
step6:Bake First Side
Step 6
step6:Bake First Side
7

Flip All Sandwiches

Use the offset spatula to carefully flip each sandwich over on the baking sheet, taking care not to squeeze melted cheese out of the sides. Press the top of each flipped sandwich gently with the spatula to ensure even contact between bread and the hot parchment for uniform browning on the second side.

Step 7
step7:Flip All Sandwiches
8

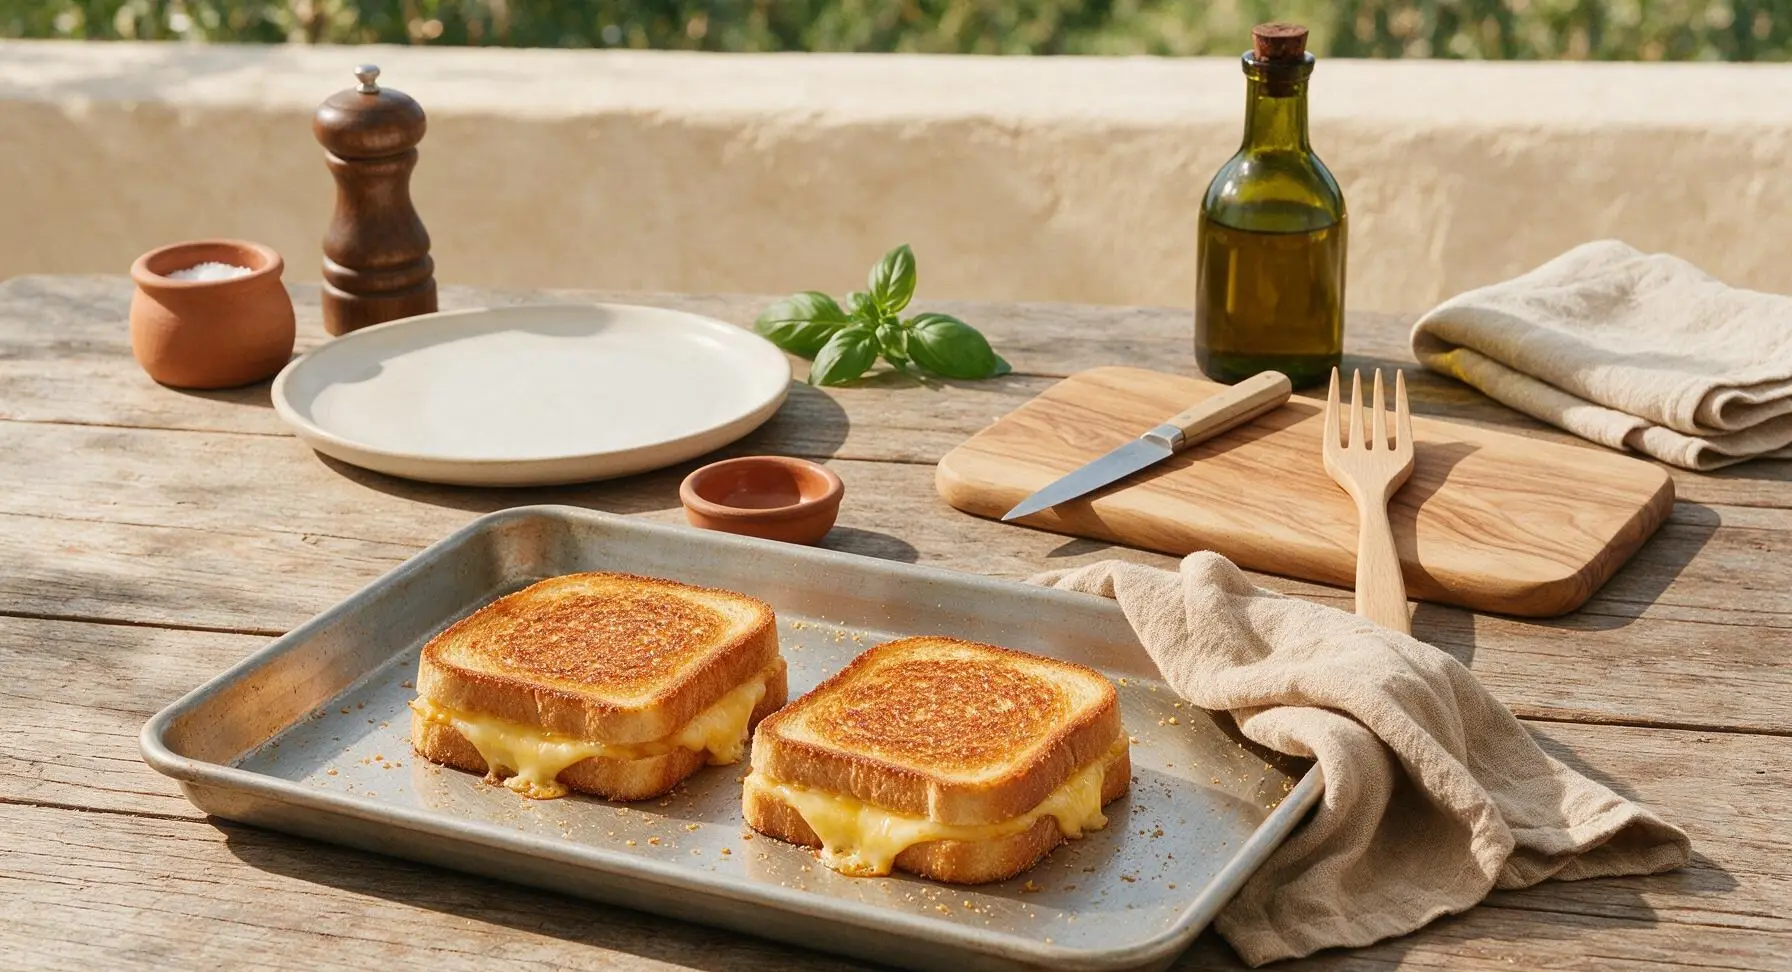
Bake Second Side

Return the baking sheet to the oven and bake for an additional 5 to 6 minutes, until the second side is deep golden brown and crispy, and all cheese is fully melted with no remaining solid lumps. Watch closely during the final 2 minutes of baking to prevent burnt crust edges.
Step 8
step8:Bake Second Side
9

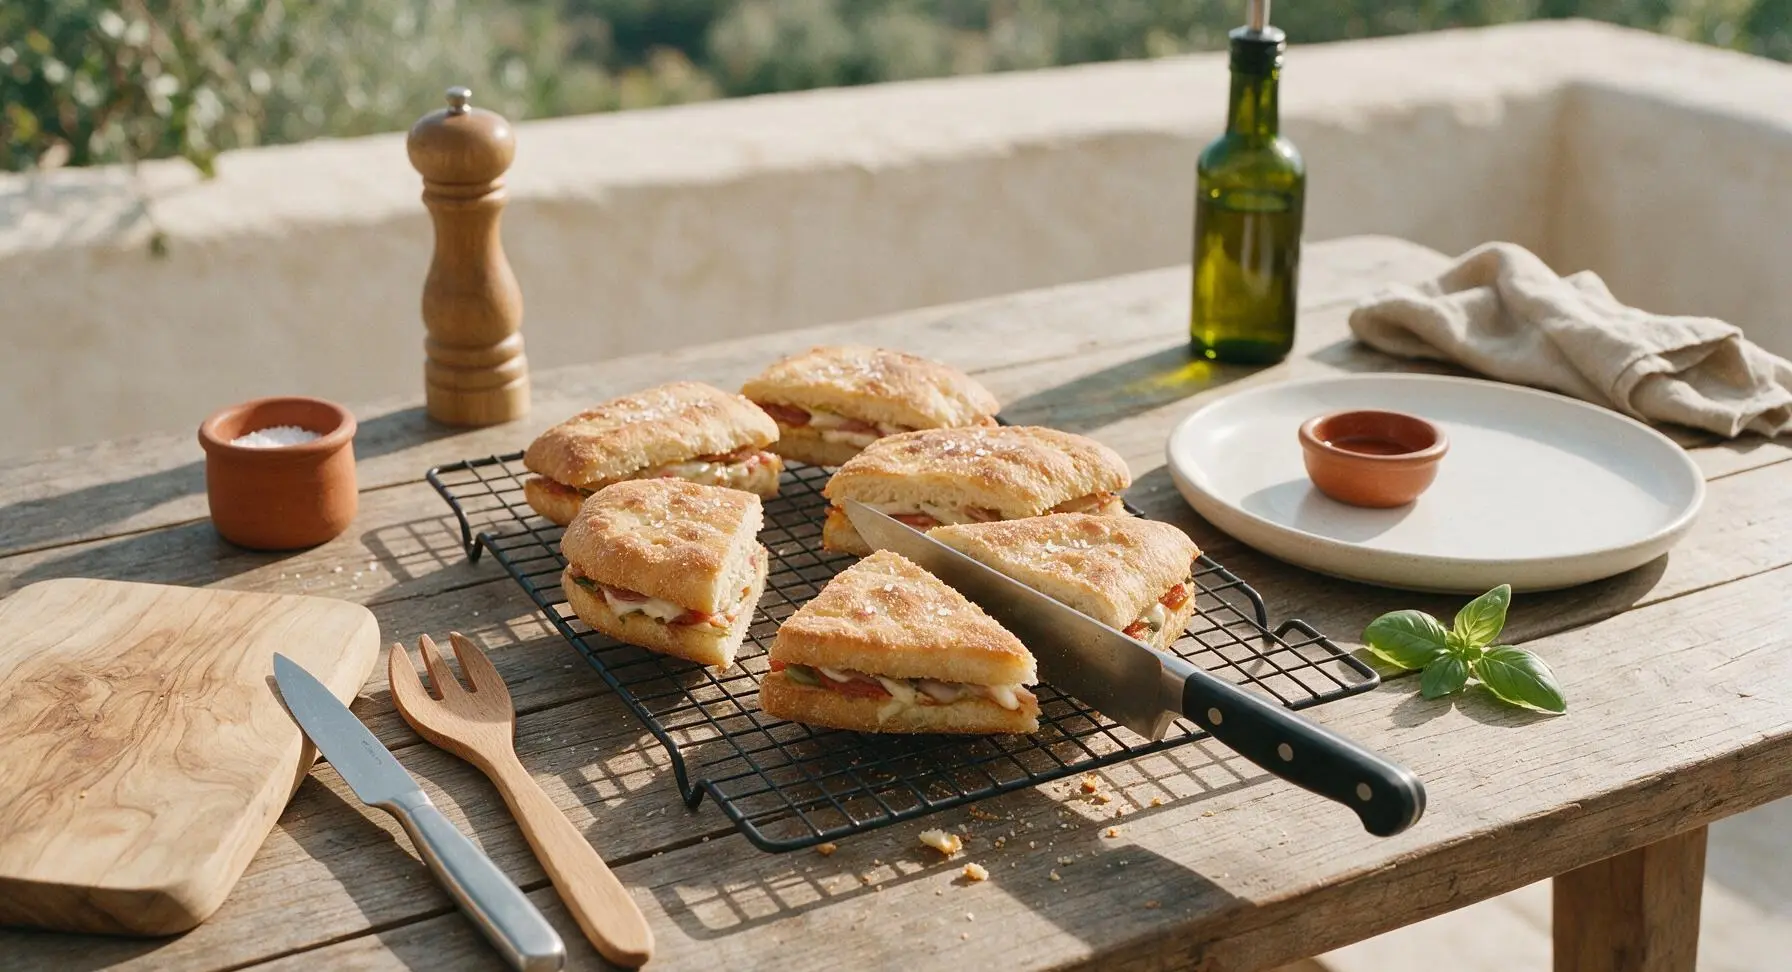
Rest, Cut, and Serve

Lift baked sandwiches from the baking sheet with the offset spatula and transfer them to the black wire cooling rack (positioned to the right of the pan) to rest for 2 minutes, allowing cheese to set slightly so it does not slide out when cut. Sprinkle tops lightly with 1/4 tsp flaky sea salt, cut each sandwich diagonally into two triangles, and arrange on the top matte cream white ceramic dinner plate for serving.
Step 9
step9:Rest, Cut, and Serve

Tips

1.Stick to room-temperature softened butter instead of melted butter: Melted butter soaks deep into the bread crumb to create soggy, uneven spots, while softened spreadable butter coats only the bread surface to build a shatteringly crisp, evenly browned crust.
2.Mix sharp cheddar with low-moisture mozzarella: Sharp cheddar delivers bold, tangy flavor but can turn greasy and separate when fully melted, while low-moisture mozzarella creates the iconic stretchy, pull-apart cheese texture without excess oil.
3.Don’t skip the 2-minute cooling rack rest: Cutting sandwiches immediately after removing them from the oven causes runny, sliding melted cheese that pours out of the crust; the short rest lets cheese set just enough to stay in place while remaining perfectly gooey.


✨ You May Also Like

Lunch
🍜 United States

Creamy, salty, tangy nostalgic Midwestern sandwich pairing rich peanut butter with crisp briny dill pickles for a fast, satisfying no-cook meal.

⏱️ 5 minutesLunch ★ 4.6
Lunch
🍜 United States

Crispy, melty pressed sandwich layered with savory roast pork, ham, Swiss cheese, pickles, and tangy mustard: a beloved Cuban-American comfort classic.

⏱️ 25 minuteLunch ★ 4.9
Lunch
🍜 United States

Hearty, briny New Orleans pressed sandwich stacked with cured Italian meats, provolone, and zesty olive salad, served cold for bold, portable flavor.

⏱️ 1 hour 20Lunch ★ 4.7
Lunch
🍜 United States

A tangy, creamy Southern American staple, this no-cook cheesy sandwich is packed with sharp cheddar and sweet pimentos for a satisfying, portable bite.

⏱️ 1 hour 15Lunch ★ 4.8
Lunch
🍜 United States

Crispy Cajun-spiced fried shrimp piled on crusty French bread with tangy remoulade and fresh toppings, the iconic Louisiana street food sandwich.

⏱️ 35 minuteLunch ★ 4.4
Lunch
🍜 United States

Stacked, savory deli-style corned beef sandwich with melted Swiss, tangy mustard, and crisp griddled rye— a fast, hearty, satisfying classic.

⏱️ 15 minuteLunch ★ 4.9

oven grilled cheese:Frequently Asked Questions

1.Why would I make grilled cheese in the oven instead of on the stovetop? ▾
It’s a total game-changer for low-effort, consistent results! You won’t have to stand over the stove flipping sandwiches nonstop, you can make a whole batch of 4-6 at once for family or guests, and every bite gets evenly crisp, buttery bread with zero patchy burnt edges from uneven stovetop heat.
2.What oven temperature works best for oven grilled cheese? ▾
I recommend 425°F (220°C) for perfect results. This temp is hot enough to crisp the buttered bread to that ideal golden crunch in 6-8 minutes per side, without burning the crust before the sharp cheddar and low-moisture mozzarella fully melt into that signature stretchy, oozing texture.
3.Do I need to flip the sandwiches while they bake? ▾
Yes, just one quick flip halfway through baking! Unlike stovetop grilled cheese that needs frequent adjusting, you only flip once after the first side turns deep golden, usually 6-7 minutes in, then bake 5-6 more minutes to crisp the second side and finish melting the cheese blend.
4.Why use both sharp cheddar and low-moisture mozzarella instead of just one cheese? ▾
That blend hits every perfect grilled cheese note! Sharp yellow cheddar brings that bold, tangy, classic comfort food flavor, while low-moisture mozzarella adds that iconic stretchy, pull-apart melt without making the bread soggy the way high-moisture fresh mozzarella would.
5.Can I use a different type of bread instead of sourdough? ▾
Absolutely! Sourdough is my top pick for its tangy flavor and sturdy crust that crisps perfectly, but you can swap it for thick-cut white sandwich bread, country wheat, or rye. Just avoid super thin, soft sliced bread, which will get soggy under melted cheese and butter before it crisps up.
6.How do I keep the bread from getting soggy when baking grilled cheese? ▾
A few easy tricks prevent sogginess! First, stick to low-moisture cheeses instead of watery options like fresh mozzarella. Second, spread softened (not melted) unsalted butter evenly all the way to the edges of each slice. Third, bake directly on a sheet pan instead of wrapping sandwiches in foil.
7.Should I preheat the baking sheet before putting the sandwiches on it? ▾
Highly recommended! Preheat your rimmed baking sheet for 3-4 minutes while the oven comes up to temperature to give the buttered bread an immediate sear when you set the sandwiches down. This cuts down on bake time, boosts crispy crust, and prevents bread from soaking up excess butter as it cooks.
8.How much garlic powder should I add, and when do I apply it? ▾
I use ¼ teaspoon of garlic powder per full sandwich for a subtle, savory kick that doesn’t overpower the cheese. Mix it right into your softened unsalted butter before spreading it on the outer sides of the bread, so the garlic toasts gently instead of burning or falling off the crust.
9.Can I add extra fillings like tomato or bacon to my oven grilled cheese? ▾
You totally can, just prep fillings wisely to avoid sogginess! Cook bacon fully and pat it dry, and thinly slice tomato then press out excess seeds and juice between paper towels before adding. Keep fillings light—too many heavy add-ins prevent even cheese melt and make bread slide apart.
10.How thick should I slice the cheese for the best melt? ▾
Aim for ⅛-inch thick slices, or ¼ cup of shredded cheese per sandwich, for even melting. Thick cheese chunks won’t fully melt by the time the bread is crisp, while paper-thin slices will melt too fast and ooze out all over the baking sheet before the crust is done toasting.
11.Do I need to line my baking sheet with parchment paper for this recipe? ▾
It’s optional, but I prefer a light layer of parchment for super easy cleanup! Just note that parchment slightly slows the initial sear on the bottom bread slice, so add 1 minute to the first side bake time if you use it. Skip parchment if you want the absolute crispiest possible crust.
12.How do I know when the oven grilled cheese is done cooking? ▾
Your sandwiches are perfect when both sides are a deep, even golden brown, the edges are crisp to the touch, and the cheddar-mozzarella blend is fully melted and oozing just a little out of the sides. Total bake time is usually 11-13 minutes, depending on your oven and bread thickness.
13.Can I make these sandwiches ahead of time for meal prep? ▾
They’re best eaten fresh right out of the oven for peak crispness, but you can prep components ahead! Slice cheese and mix your garlic butter up to 3 days in advance, and assemble sandwiches right before baking. Avoid assembling fully ahead, as moisture will make bread go soggy in the fridge.
14.My cheese oozed all over the baking sheet while baking—what did I do wrong? ▾
That’s super common, and easy to fix! Most often it happens if you overstuff the sandwich with too much cheese, or if you sliced cheese too thick so it doesn’t set before melting out. Leave a ¼-inch border around the bread edge when adding cheese to give it room to melt without spilling.
15.What’s the best way to reheat leftover oven grilled cheese? ▾
Skip the microwave, which turns bread soggy and cheese rubbery! Reheat leftovers on a baking sheet in a 375°F oven for 5-7 minutes, flipping halfway, until the crust is crisp again and cheese is remelted. For a single serving, reheat in a dry skillet over medium-low for 2-3 minutes per side.

Comments (12)

2 days ago

OMG this is such a game changer! I used to stand over the stove flipping grilled cheese one by one for dinner every other week and it took forever. Did a whole sheet pan of these last night for the kids and their after-school friends, everyone went back for seconds. I used sourdough and a mix of cheddar and mozzarella, *chef's kiss*. 12 minutes exactly and they were perfectly crispy on the outside, melty in the middle.

yesterday

Wait did you butter both sides of the bread like the recipe says? I tried that once for sheet pan grilled cheese and the bottom got a little soggy, wondering if I did something wrong!

yesterday

Great question! Make sure your oven is fully preheated before you put the tray in, and if you're using a lighter colored baking sheet you can pop it on the lower rack for the first 6 minutes to get that extra crisp on the bottom. So glad you loved the recipe!

3 days ago

Bro this is so easy even I can't mess it up. No fancy equipment, no burnt edges from me getting distracted scrolling TikTok while I cook. Meal prepped 4 of these on Sunday to eat between classes all week, just pop em in the toaster oven to reheat and they taste fresh. SO good, saved me so many meal swipes this week.

2 days ago

Love that! Pro tip for reheating: wrap them in a little foil when you pop them in the toaster oven so the cheese melts all the way through before the bread gets too toasty. So stoked this works for your busy class schedule!

1 week ago

Made these for our church potluck last Sunday, cut them into little squares and put a toothpick in each, they were the first plate gone! I added a thin slice of tomato to half of them for the folks that like a little extra, worked like a charm. Reminds me of the grilled cheese my mom used to make for us after church when we were kids, just way less work.

2 days ago

Wait, can you use dairy-free cheese for this? My partner is lactose intolerant and we've been looking for an easy weeknight dinner that doesn't require a ton of cleanup. I've had bad luck with dairy-free cheese not melting right in the oven before, curious if anyone's tested it with this method.

yesterday

I used vegan cheddar slices last week and it worked great! Just make sure you don't skimp on the butter (I used vegan butter too) and don't overcrowd the pan, they melted perfectly and got crispy just like regular cheese!

yesterday

Tried these last night for family dinner and my 7 year old who refuses to eat literally anything ate two whole sandwiches and asked for more. Win in my book. I did add a little garlic powder to the butter like I do for stovetop grilled cheese, highly recommend that hack. Only thing was my edges got a little darker than I wanted after 12 minutes, might shave a minute or two off next time.

2 hours ago

The garlic powder hack is elite, I do that too! I found that if I use convection bake they cook a little faster, so I drop the temp 25 degrees and do 10 minutes flat, no burnt edges.

30 minutes ago

So glad your kiddo enjoyed them! Oven temps can vary a lot between models, so adjusting the cook time for your specific oven is always a smart call. The garlic powder butter addition sounds incredible, definitely going to try that myself!

5 days ago

Game. Changer. I made these to go with tomato soup for our lazy Sunday movie night and I will never make stovetop grilled cheese again. I used a mix of pepper jack and American, got that perfect cheese pull when you bite into it, zero burnt spots. 10/10, no notes.

1 week ago

How well do these hold up in the fridge for meal prep? I'm always looking for easy lunches I can make for my husband and I to take to work, and these look way better than the sad frozen sandwiches we've been buying.

5 days ago

They hold up great in the fridge for up to 3 days! Let them cool completely before storing in an airtight container with a little parchment paper between sandwiches so they don't stick. Reheat in a toaster oven or air fryer at 350 for 3-4 minutes and they crisp right back up!

2 weeks ago

Wait a second, I've been making grilled cheese wrong my whole life? Why did no one tell me you can do a whole tray in the oven at once? I hosted a game night last weekend and made a bunch of these with different fillings (bacon! brie and fig jam! ham and swiss!) and everyone was raving. So easy, zero stress, I didn't even have to leave my guests to stand over the stove.

1 week ago

The brie and fig jam combo sounds insane, I'm stealing that for my next game night! Did you put the fig jam inside with the cheese or spread it on after?

30 minutes ago

Tried these last night and followed the recipe exactly, but my bread came out a little soggy on the bottom. Flavor was great, cheese was perfectly melty, just missing that crunch I love on grilled cheese. Wondering if I used too much butter?

5 minutes ago

I had that issue the first time too! Turns out I put my tray on the middle rack instead of the upper-middle like the recipe says, moved it up the second time and it was perfectly crispy on both sides.

just now

Sorry to hear the first batch was soggy, Ben! A few common culprits: too much butter, oven not fully preheated, or using an insulated baking sheet that doesn't conduct heat as well. Give the upper-middle rack trick a try next time, I bet you'll get that perfect crunch!

3 days ago

Obsessed! I made these with sourdough, vegan cheddar, and a little pickled jalapeno on half for a little kick, they came out so crispy and flavorful. My meat-and-cheese obsessed roommate didn't even realize it was dairy free until I told him. 12 minutes is exactly right, no guesswork, super easy cleanup since it's just one baking sheet.

1 week ago

Made these for my kid's soccer team snack after practice Saturday, cut them into strips so they were easy for the kids to hold, and every single one got eaten. Coaches were asking for the recipe! I added a little ham to half for extra protein, worked perfectly. Can't believe how fast these come together, perfect for busy sports weekends.

5 days ago

Soccer team snacks are the ultimate test for an easy recipe, so glad these were a hit! Cutting them into strips is such a smart call for little hands, I'll have to remember that for my nephew's next game.

just now

Just made these for lunch and WOW, so much better than standing over the stove. I used Texas toast for extra thickness, a blend of American and gruyere, and dipped them in tomato soup. Perfect crispy exterior, melty cheesy pull, zero mess. I'll be making these every single weekend from now on.



