
Oyster Murukku
intro
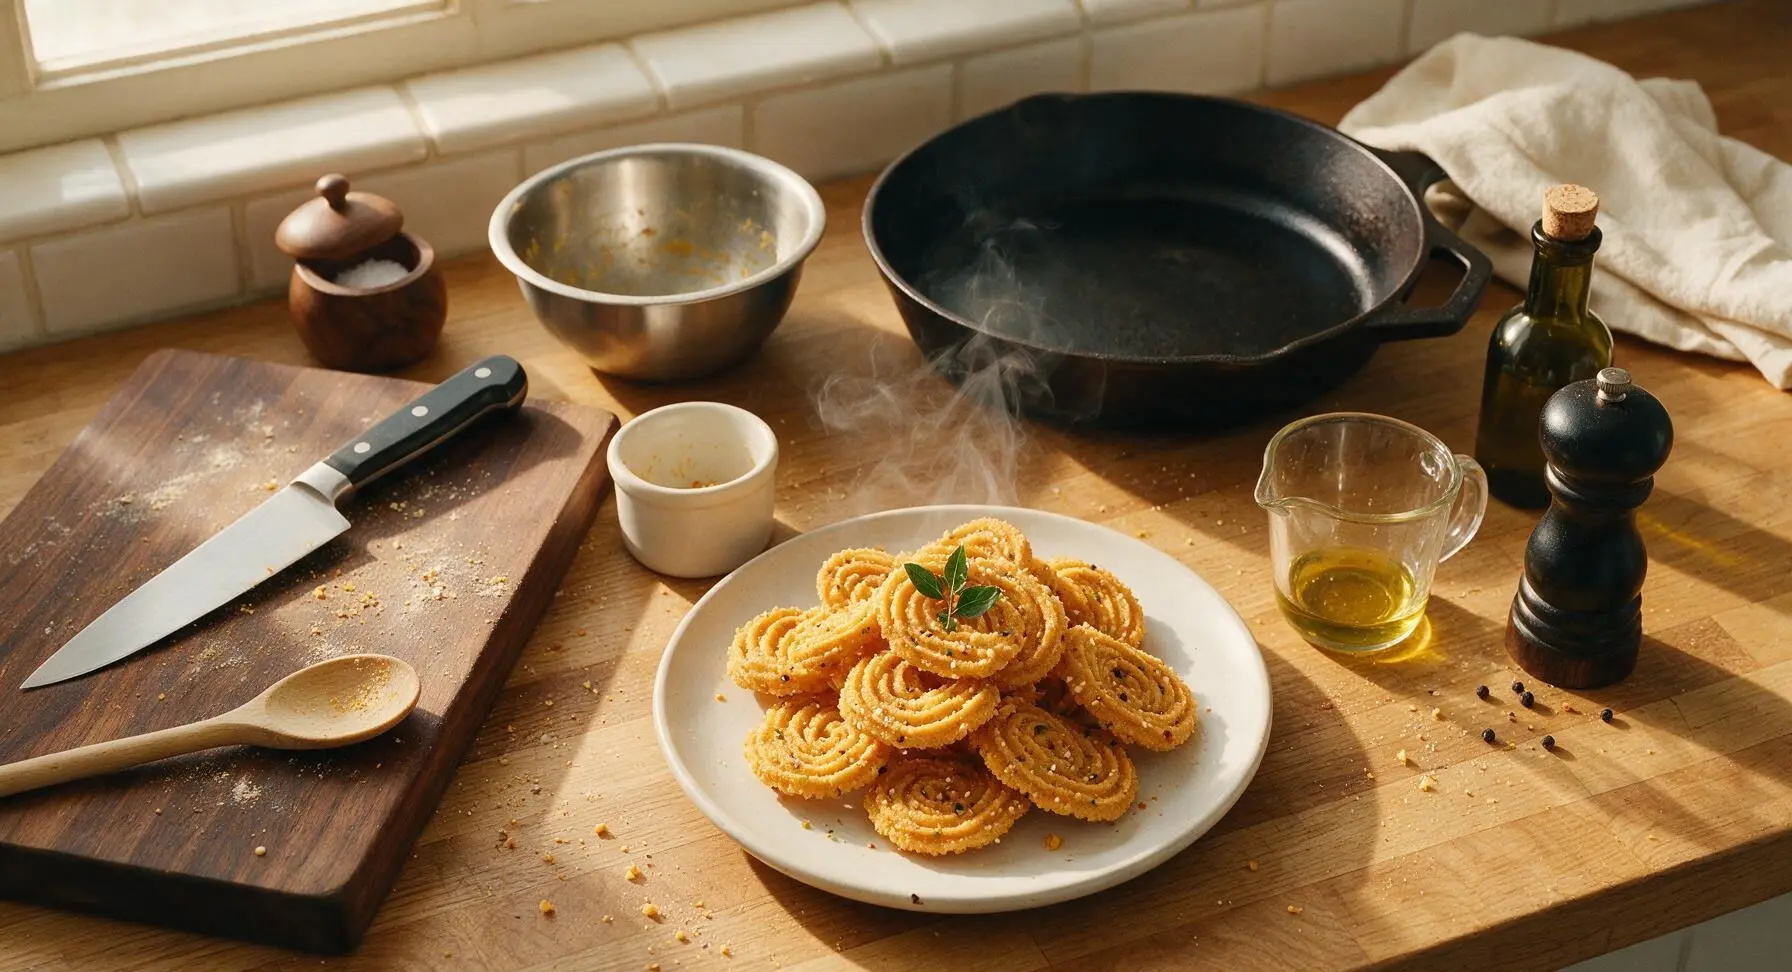
Crisp, buttery South Indian oyster-shell shaped murukku, seasoned with cumin and sesame, for light, savory, addictive crunch at any gathering.
Ingredients
Steps
Combine Dry Ingredients
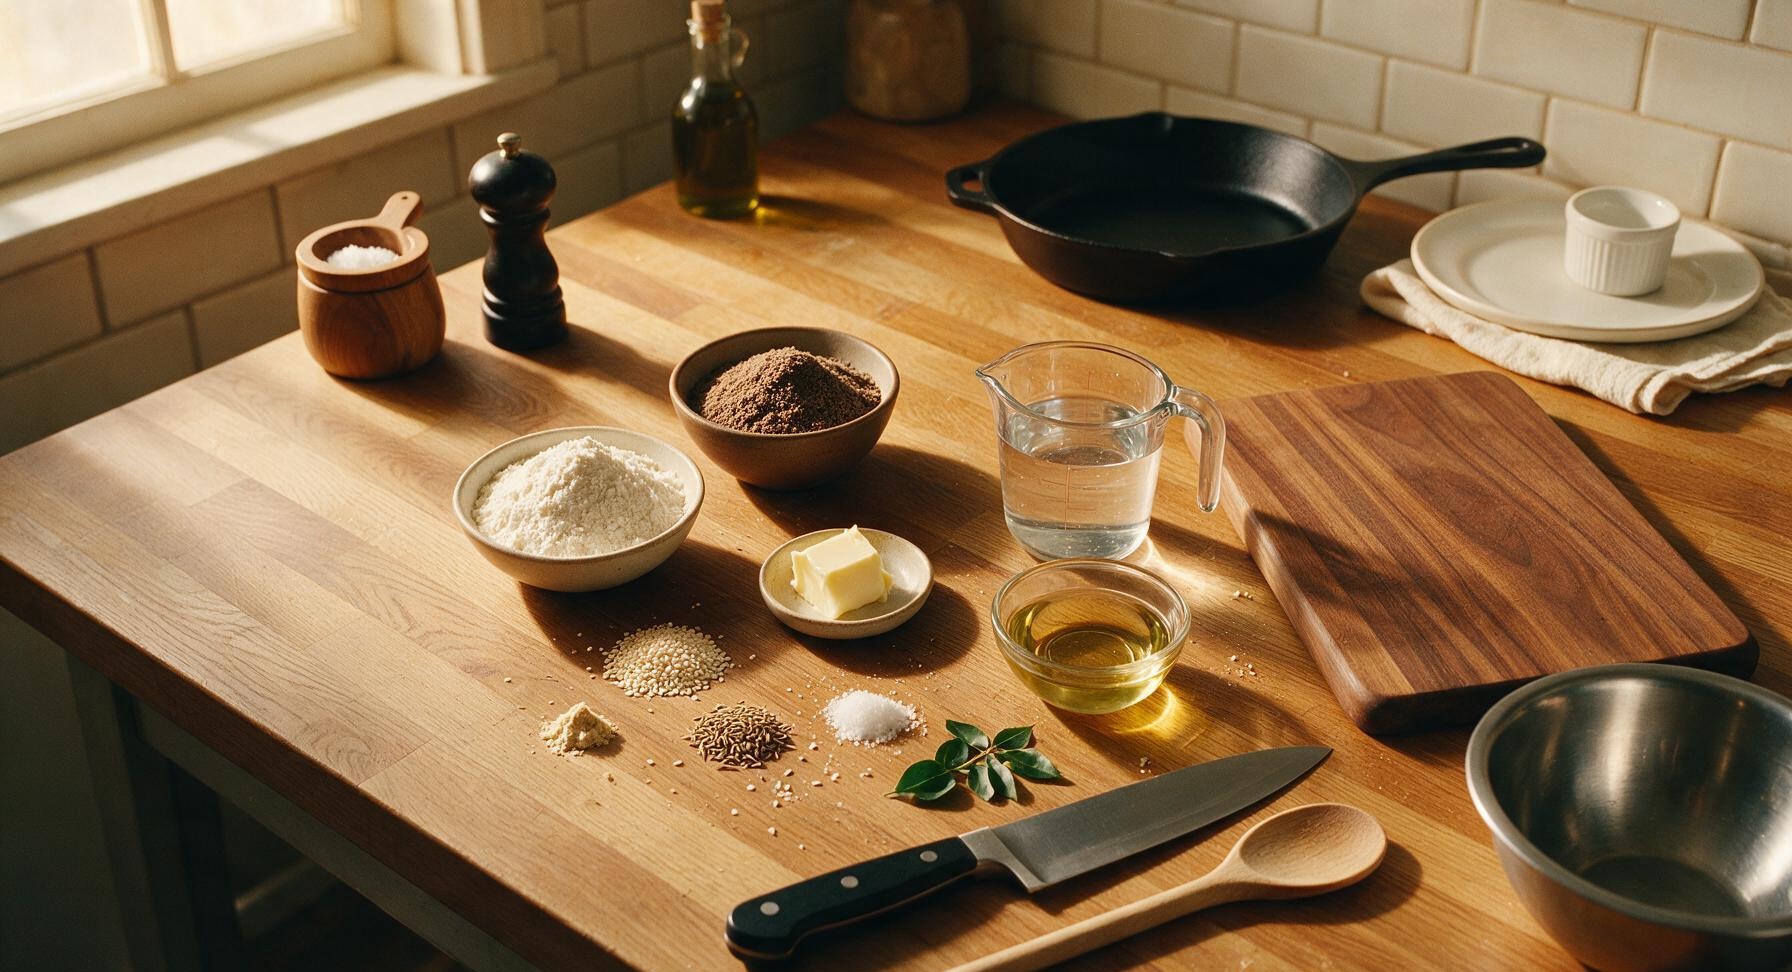
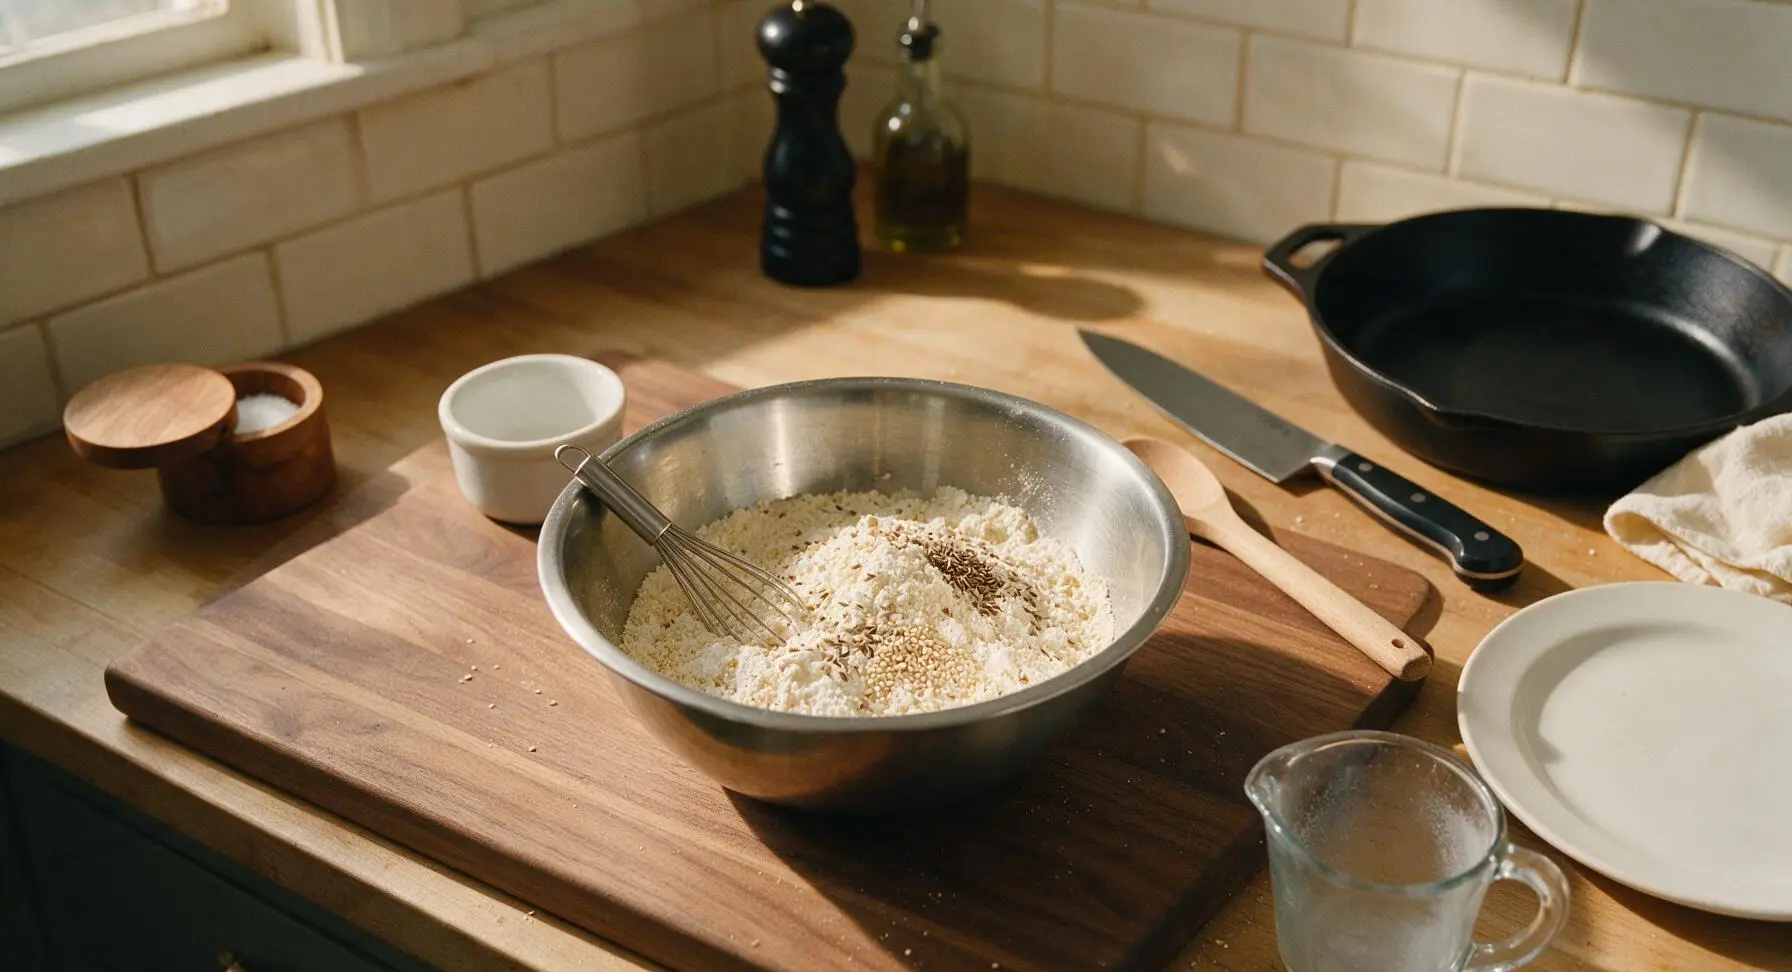
Set the medium stainless steel mixing bowl on the center of the teak counter. Add 2 cups white rice flour, 1/4 cup roasted urad dal flour, 1 tsp whole cumin seeds, 1 tsp white sesame seeds, 1/4 tsp asafoetida, and 1 tsp fine sea salt to the bowl. Use the small stainless steel whisk to mix for 30 seconds, until all dry ingredients are evenly combined with no visible clumps of urad dal flour.
Cut in Soft Butter
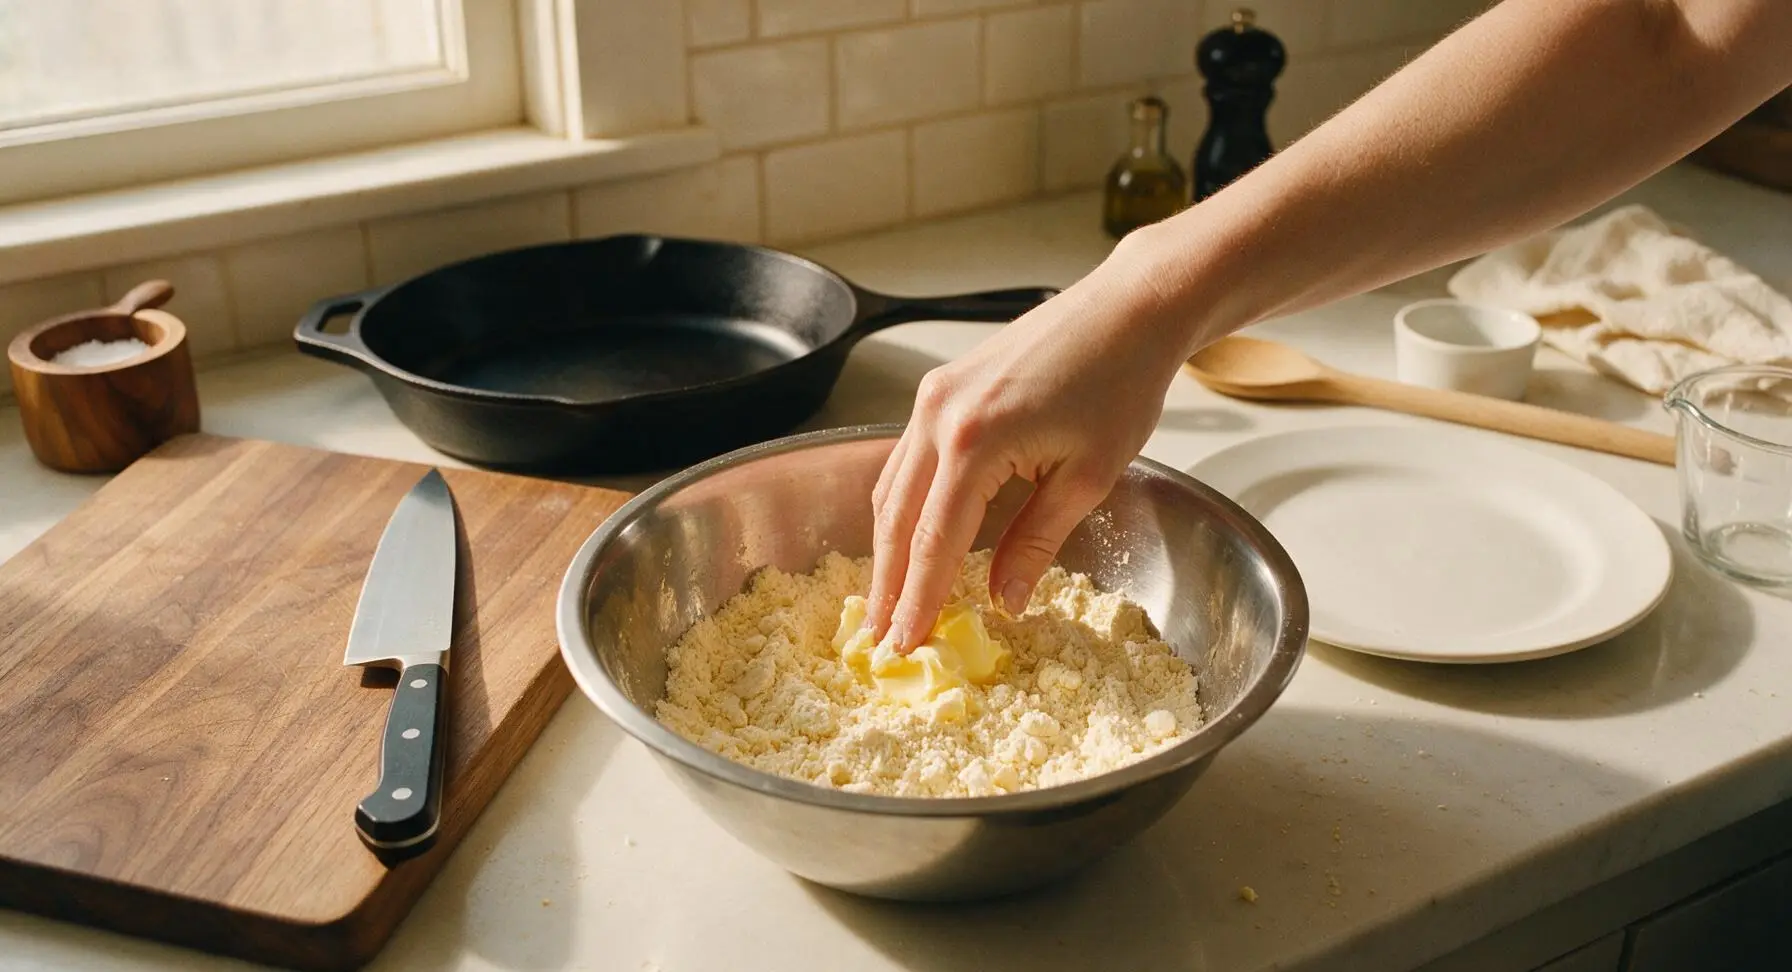
Add the 2 tbsp softened unsalted butter to the dry ingredient mixture. Use your clean fingertips to rub the butter into the flour for 2 minutes, until the entire mixture resembles coarse, damp breadcrumbs with no large butter lumps remaining. Test consistency by squeezing a handful of the mix: it should hold together loosely before crumbling apart.
Knead Soft Dough
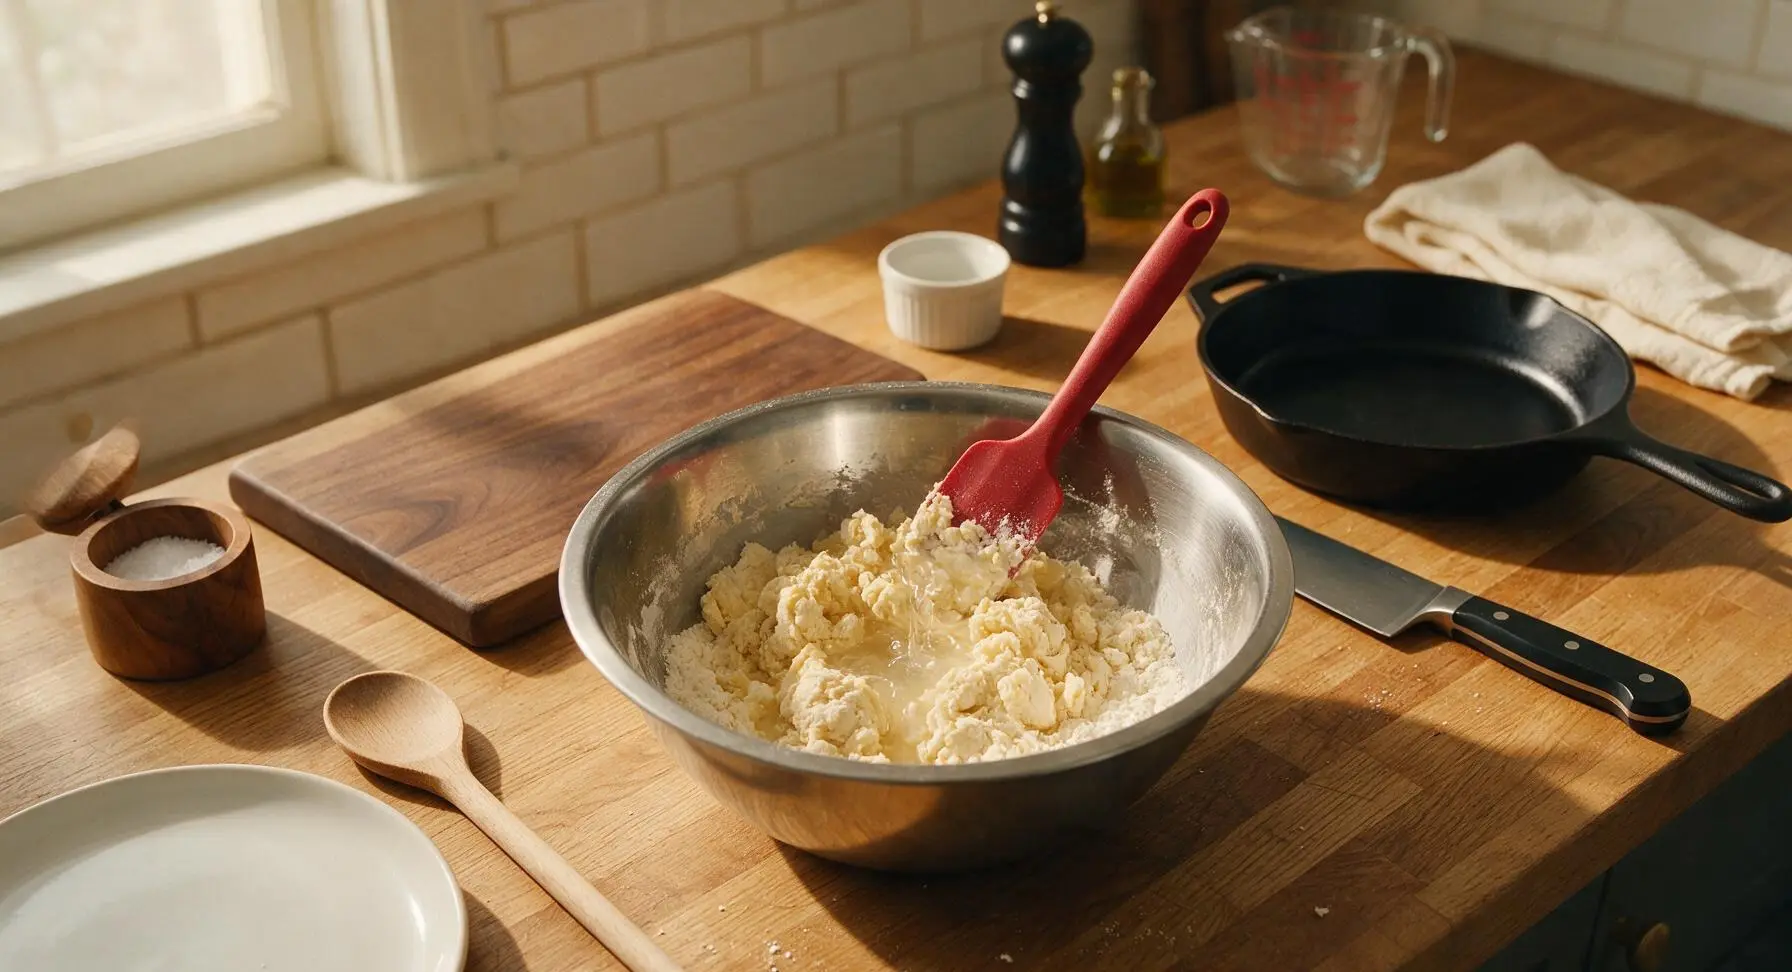
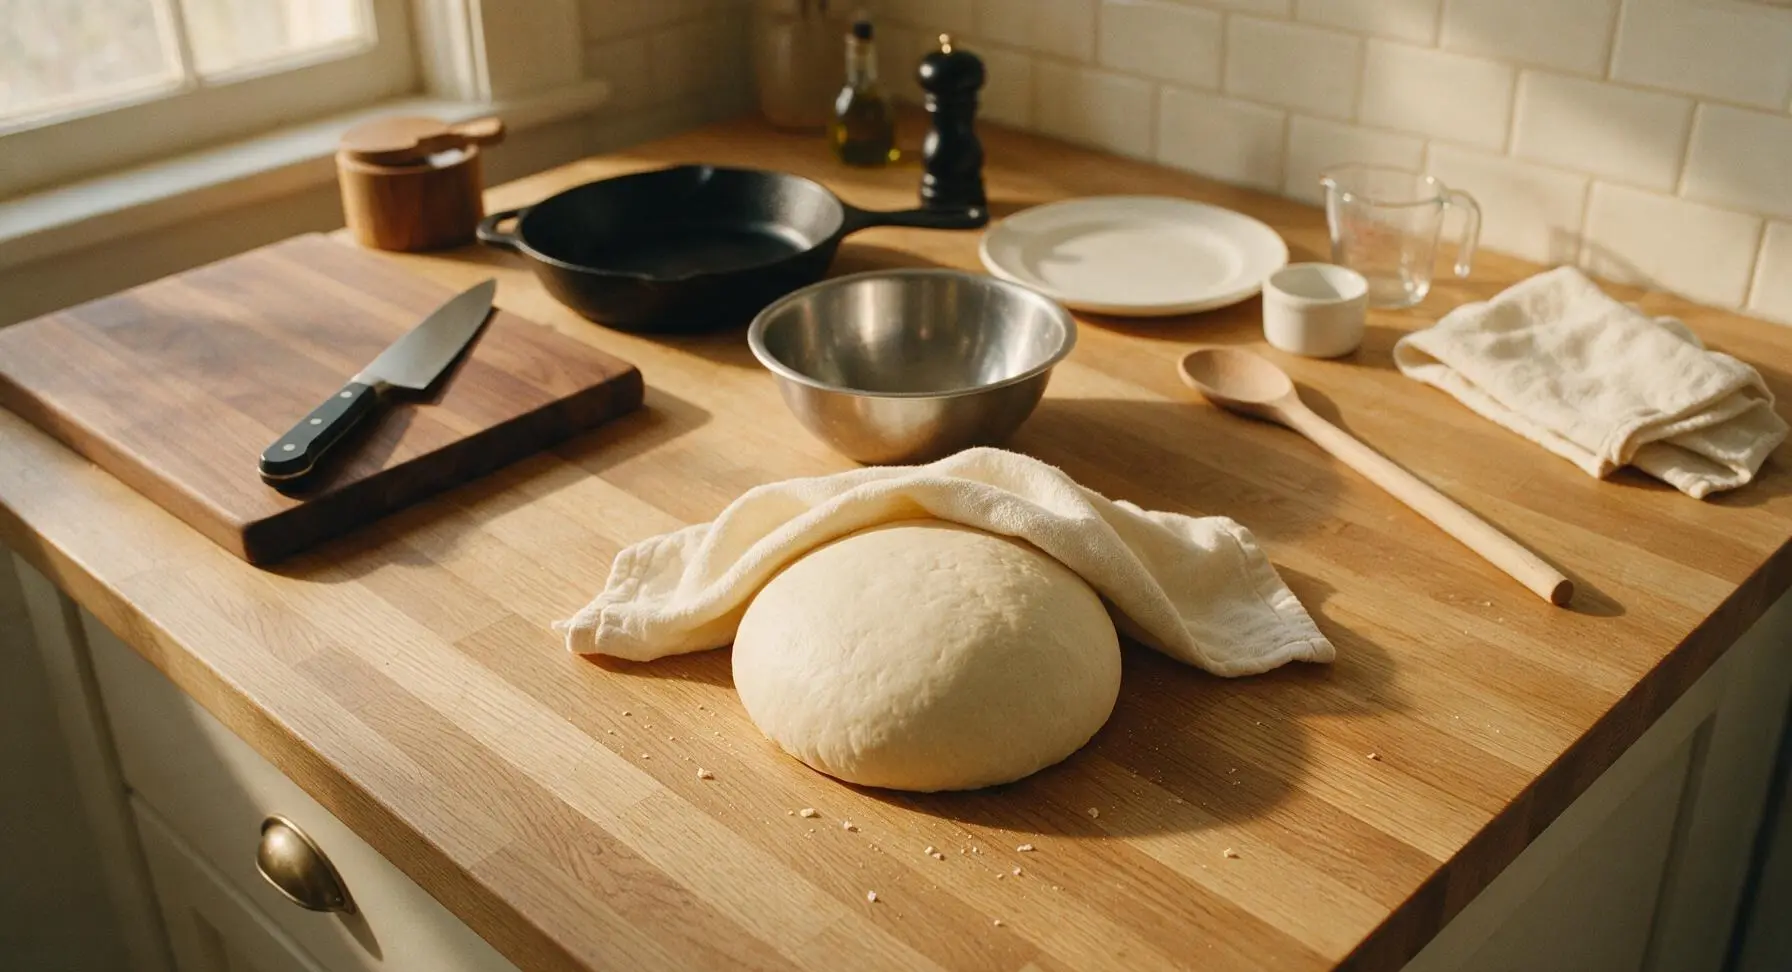
Gradually pour 3/4 cup room temperature water into the flour-butter mix, stirring continuously with the matte red silicone spatula to form a shaggy mass. Turn the shaggy dough out directly onto the clean teak counter (no extra flour needed) and knead gently for exactly 1 minute, until a smooth, soft, non-sticky dough ball forms. Adjust consistency if needed: add 1 tsp extra water if the dough cracks when pressed, or 1 tsp extra rice flour if the dough sticks to your palms. Drape a corner of the cream cotton towel over the dough and let it rest for 10 minutes at room temperature.
Heat Frying Oil
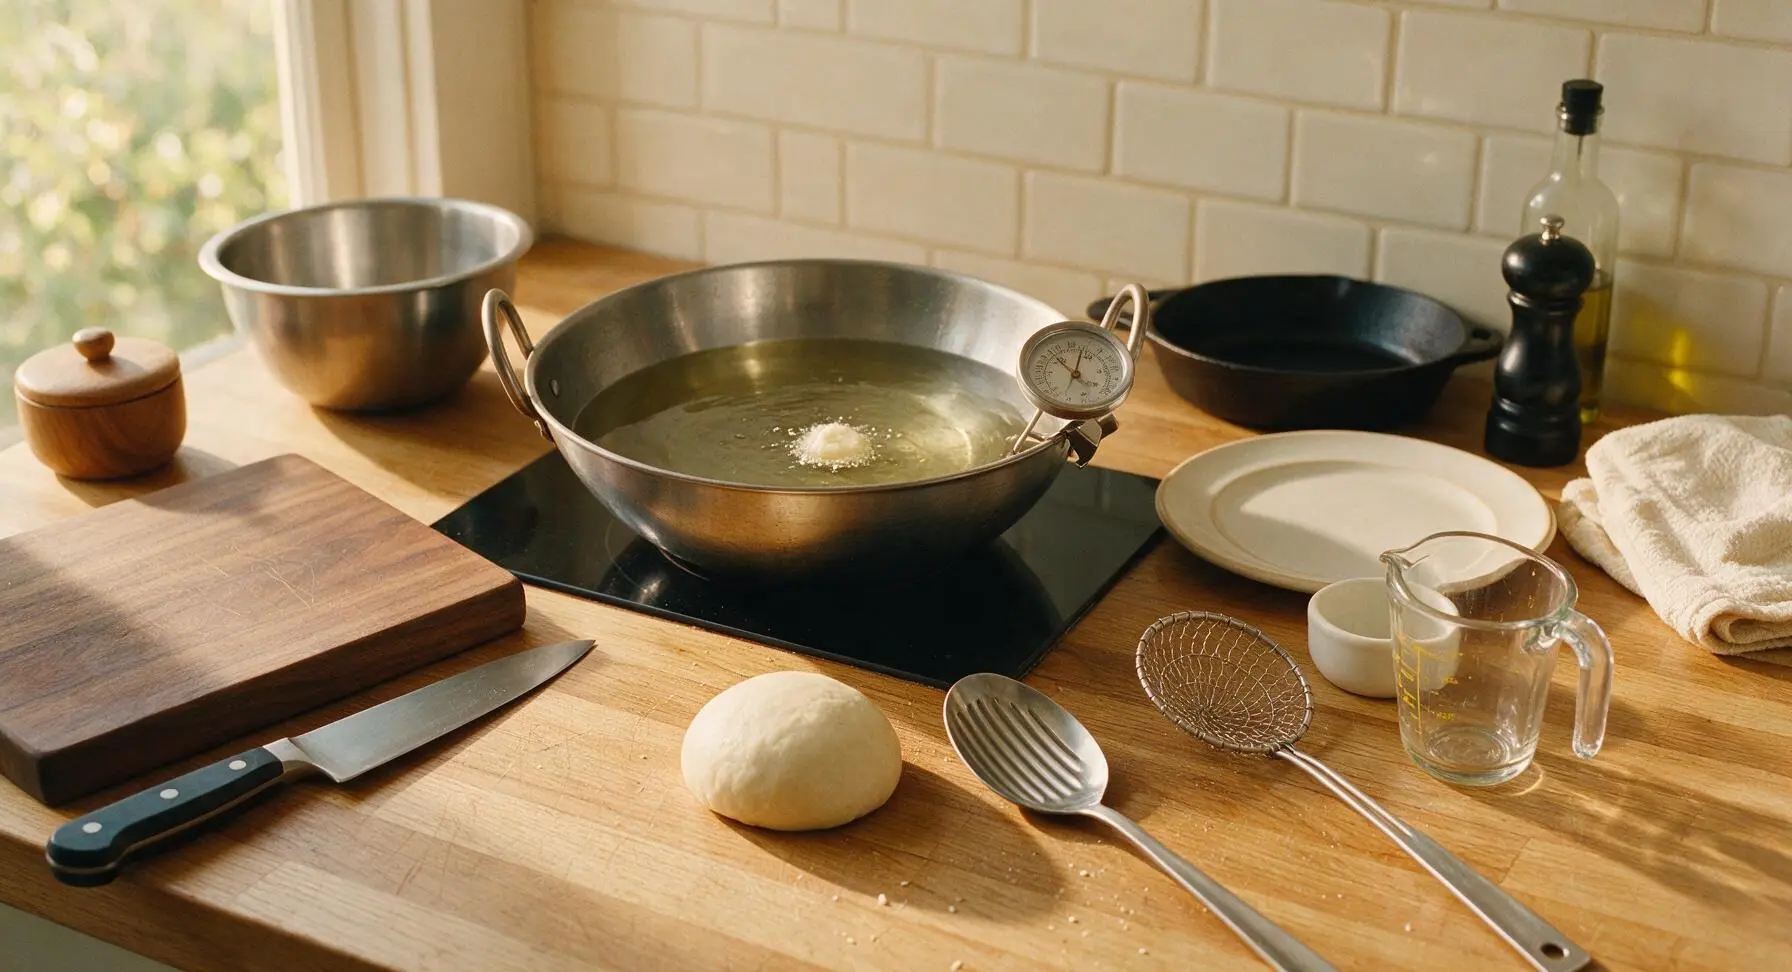
Place the heavy-bottomed stainless steel kadai on the recessed induction burner at the back center of the counter. Pour 1 liter of neutral frying oil into the kadai, then clip the stainless steel kitchen thermometer to the kadai rim. Heat the oil over medium heat until it reaches a steady 350°F (175°C). Test temperature by dropping a tiny pinch of dough into the oil: the dough should rise steadily to the surface in 2 seconds, without browning immediately. Wait to fry until this test passes, as incorrect oil temperature will ruin the murukku texture.
Shape Shell Murukku
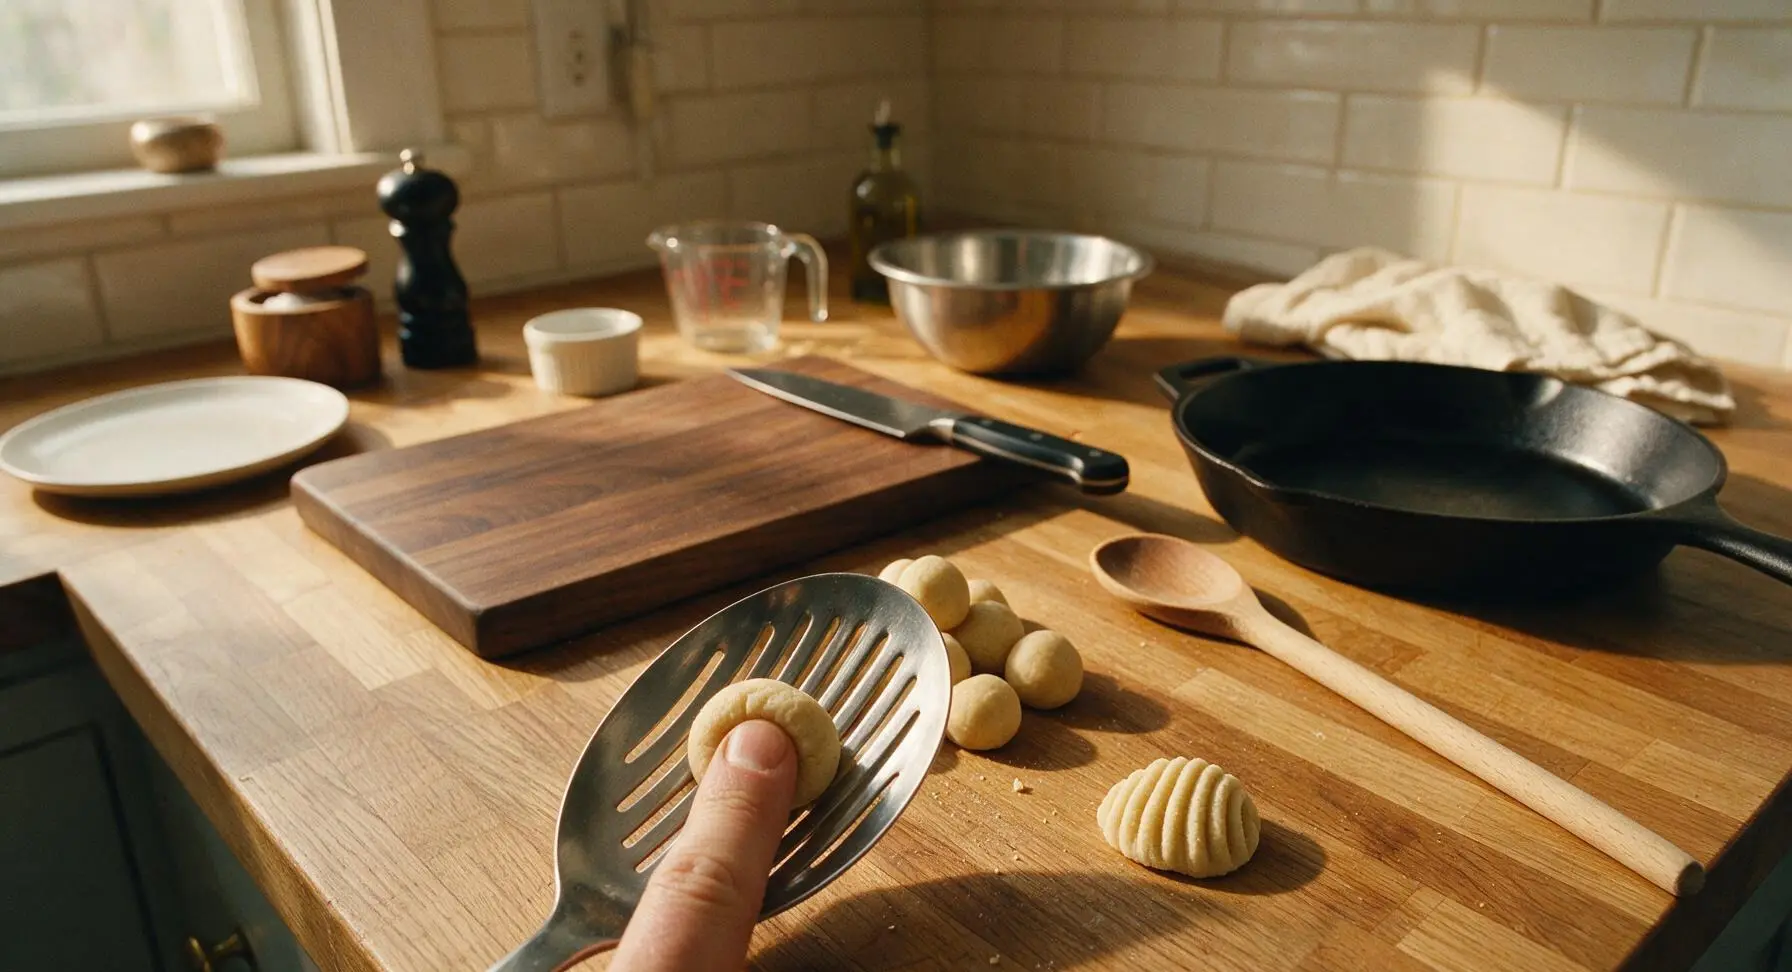
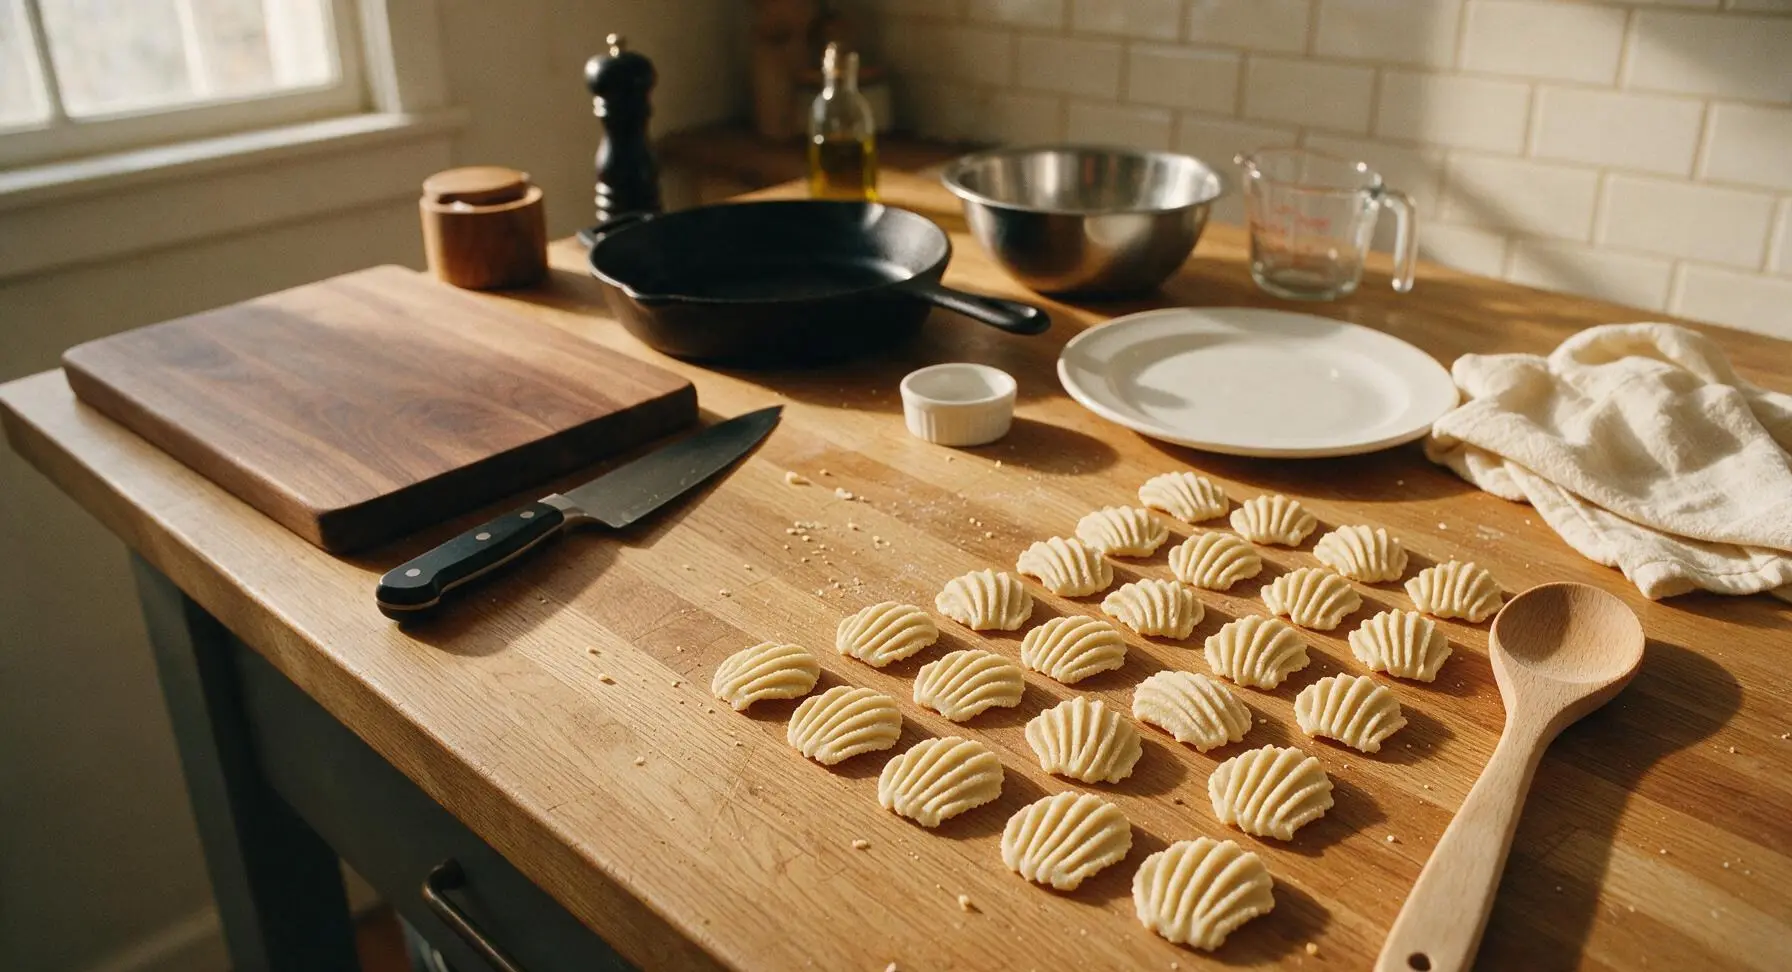
Uncover the rested dough, pinch off 1 tsp-sized pieces, and roll each between your palms into a smooth 1cm ball, setting the balls on a small clear section of counter. Hold the ridged stainless steel slotted serving spoon at a 45-degree angle, press one dough ball firmly against the spoon’s ridged slots with your thumb, dragging it slightly downward to form a thin, curved, ridged oyster-shell shape. Set shaped pieces in a single layer on the counter, making sure they do not touch or stick together. Repeat until all dough is shaped, keeping unshaped dough balls covered with the damp towel corner to prevent them from drying out and cracking.
Fry Until Golden
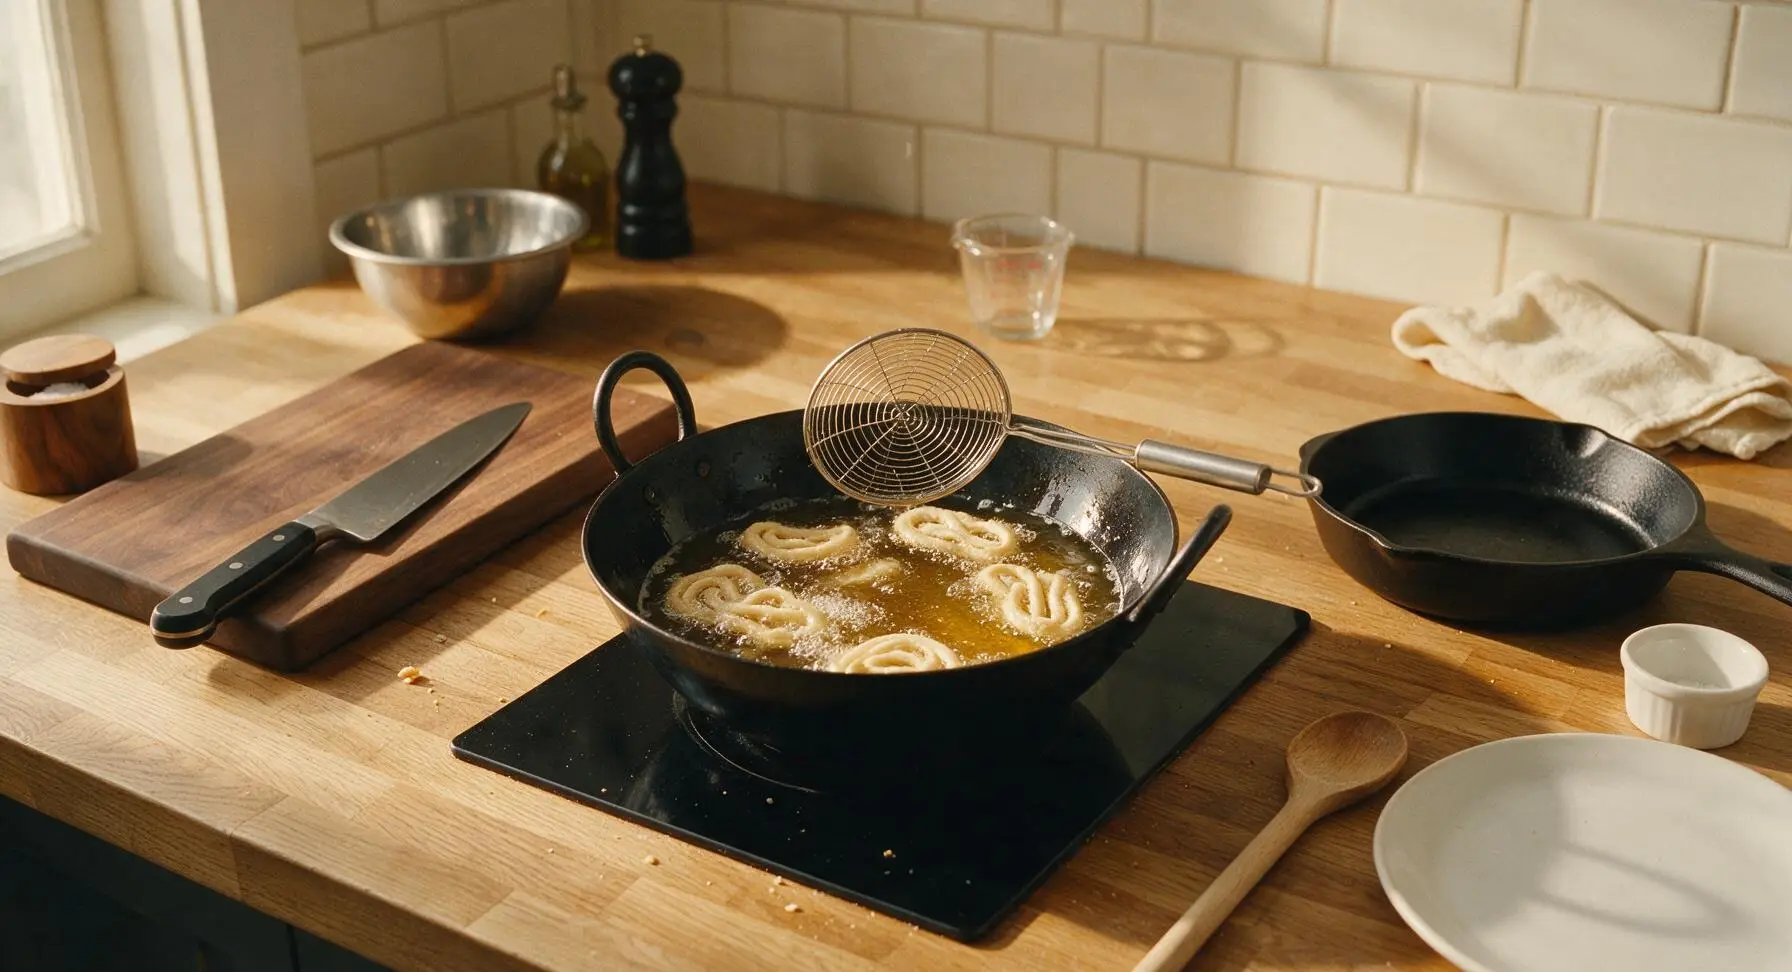
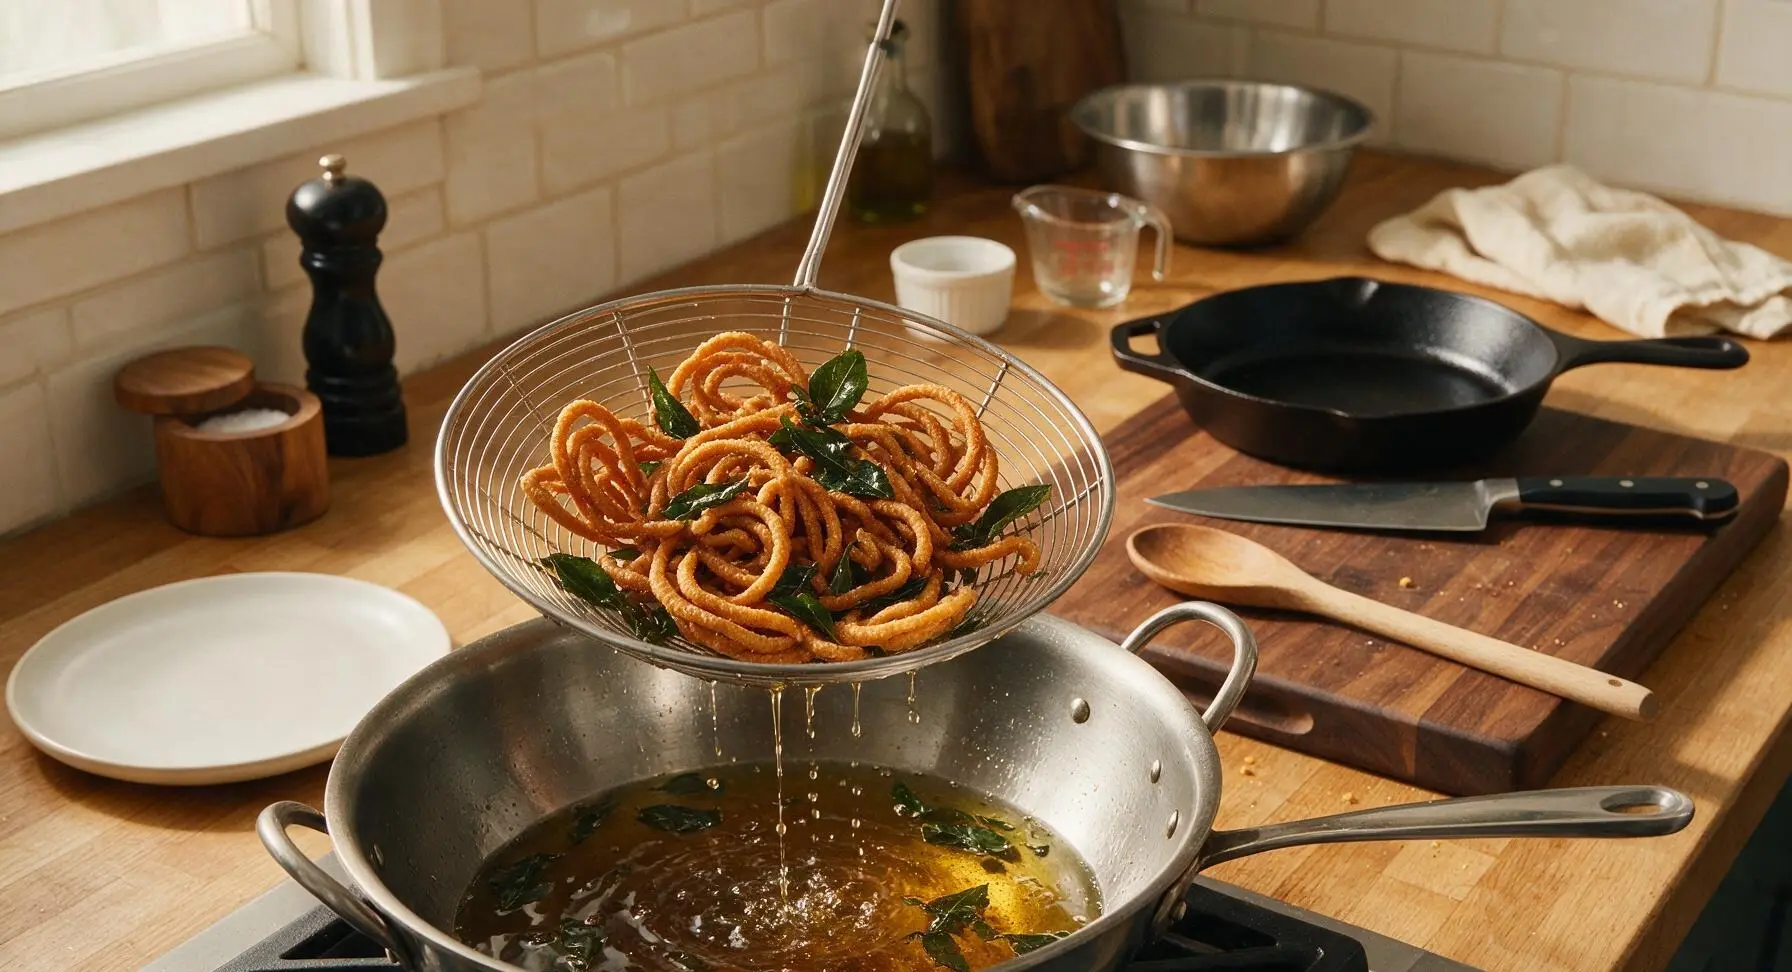
Carefully drop 6-8 shaped murukku pieces into the preheated 350°F oil, taking care not to splash hot oil. Do not overcrowd the kadai, as this will drop the oil temperature too quickly. After 1 minute of frying, use the stainless steel spider strainer to gently turn the murukku pieces. Continue frying for a total of 2-2.5 minutes, until the murukku turn an even deep golden brown all over, and the vigorous bubbling around the pieces slows noticeably (a sign all excess moisture has cooked out, ensuring long-lasting crispness). Toss 2-3 fresh curry leaves into the oil during the last 10 seconds of frying to release their aroma. Wait 30 seconds between batches to allow the oil to return to 350°F before adding more dough.
Drain Excess Oil
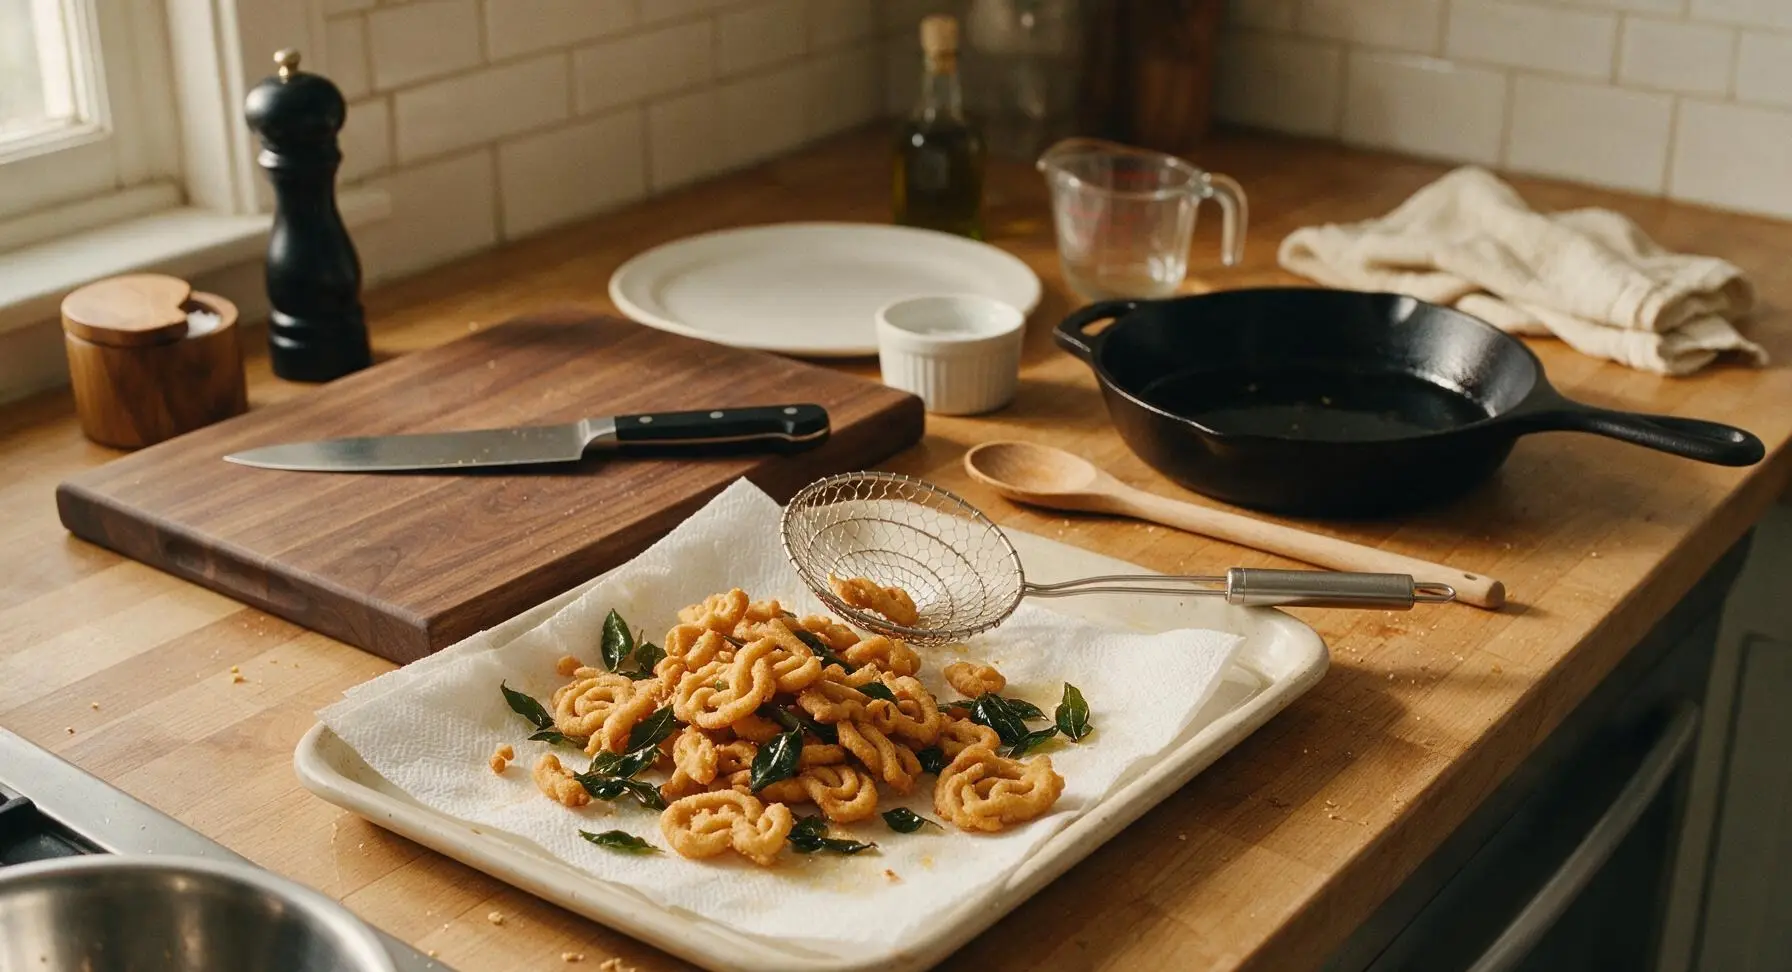
Transfer the freshly fried murukku and curry leaves immediately to the paper towel-lined off-white ceramic draining tray positioned to the left of the kadai, to absorb excess oil for 2 minutes. Let the murukku cool completely for 15 minutes at room temperature before serving; they will feel slightly soft when hot, but will crisp to a perfect melt-in-your-mouth texture as they cool. Once fully cool, store leftover murukku in an airtight container for up to 2 weeks.
Tips
2.Avoid over-kneading the dough: overworking the dough will develop excess gluten from the rice and urad dal flours, leading to tough, chewy murukku. Knead only for the 1 minute specified, just until the dough comes together into a smooth ball with no cracks.
3.Maintain a steady 350°F oil temperature for every batch: oil that is too hot will burn the outside of the murukku while leaving the center raw and soft, while oil that is too cool will cause the murukku to absorb excess oil and turn greasy. Check the thermometer between each batch, and adjust heat as needed to hold the temperature steady.






OMG this oyster murukku recipe is a total game changer! I brought a batch to my Diwali potluck last weekend and people were begging me for the recipe the whole night. It’s got that perfect crispy, salty crunch that doesn’t leave your mouth greasy like the store-bought stuff. I was worried the difficulty was medium so I’d mess it up, but the steps were so straightforward even my teen helped me press the dough!
SO good! I added a little extra Kashmiri chili powder for a subtle spicy kick and it turned out chef’s kiss. Only reason I’m not giving 5 stars is my first batch burned a little on the edges because my oil temp was too high at first, oops. Adjusted it to medium-low for the second batch and they were perfect. Great snack to keep on hand for midday munchies at work.
My kids loved it! I meal prepped a big container of these last Sunday and they were all gone by Wednesday. The kids kept grabbing them after school instead of reaching for cheese puffs, which is a total mom win. I didn’t even know what sippi murukku was before seeing this recipe pop up on my feed, now it’s a permanent entry in our snack rotation.
Taste was great but I struggled a lot with getting the dough to the right consistency for the murukku press. Mine kept cracking when I tried to squeeze it out, so a bunch of my shapes looked super wonky and didn’t hold that classic oyster shape. Flavor was 10/10 though, just wish there was a note on how to adjust the dough if it’s too dry or wet.
Brought these on a day hike with my buddies over the weekend and they were the perfect trail snack! Light, crunchy, didn’t get smashed in my pack like potato chips do, and the savory flavor hit so good after a couple miles of climbing. Will definitely be making these for all our upcoming backpacking and camping trips.
My neighbor from Chennai brought over homemade sippi murukku last year and I’ve been chasing that exact flavor ever since. This recipe is dead on! It tastes exactly like what she made, I almost cried when I took the first bite. 10/10, no notes, will be making this monthly from now on.
Made these for our office potluck and they were gone in 10 minutes flat! So many people asked what they were, most of my coworkers had never tried murukku before and were totally obsessed. Only knock is the cook time was a little longer than 20 minutes for me, but that’s probably because I was making a quadruple batch to feed 30 people in the office.
Game changer alert! I air fried half the batch instead of deep frying to cut down on oil and they still came out perfectly crispy. Sprayed them with a little avocado oil, cooked at 375F for 8 minutes, shaking halfway, and you couldn’t even tell they weren’t deep fried. Great for anyone who doesn’t want to deal with a big pot of hot oil on the stove.
I grew up eating sippi murukku at every family dinner and festival but was always too intimidated to make it myself because I thought it was super complicated and required special skills. This recipe broke every step down so simply, my first batch came out perfectly shaped and crispy. I called my mom after to brag, she can’t believe I didn’t mess it up!
Made these for my Sunday football watch party and they were a total touchdown! Everyone kept reaching for them over the usual chips and pretzels, even my picky brother-in-law who refuses to try “weird new food” went back for thirds. The little oyster shape is so fun too, people kept asking how I got them to hold that cute shell shape.