
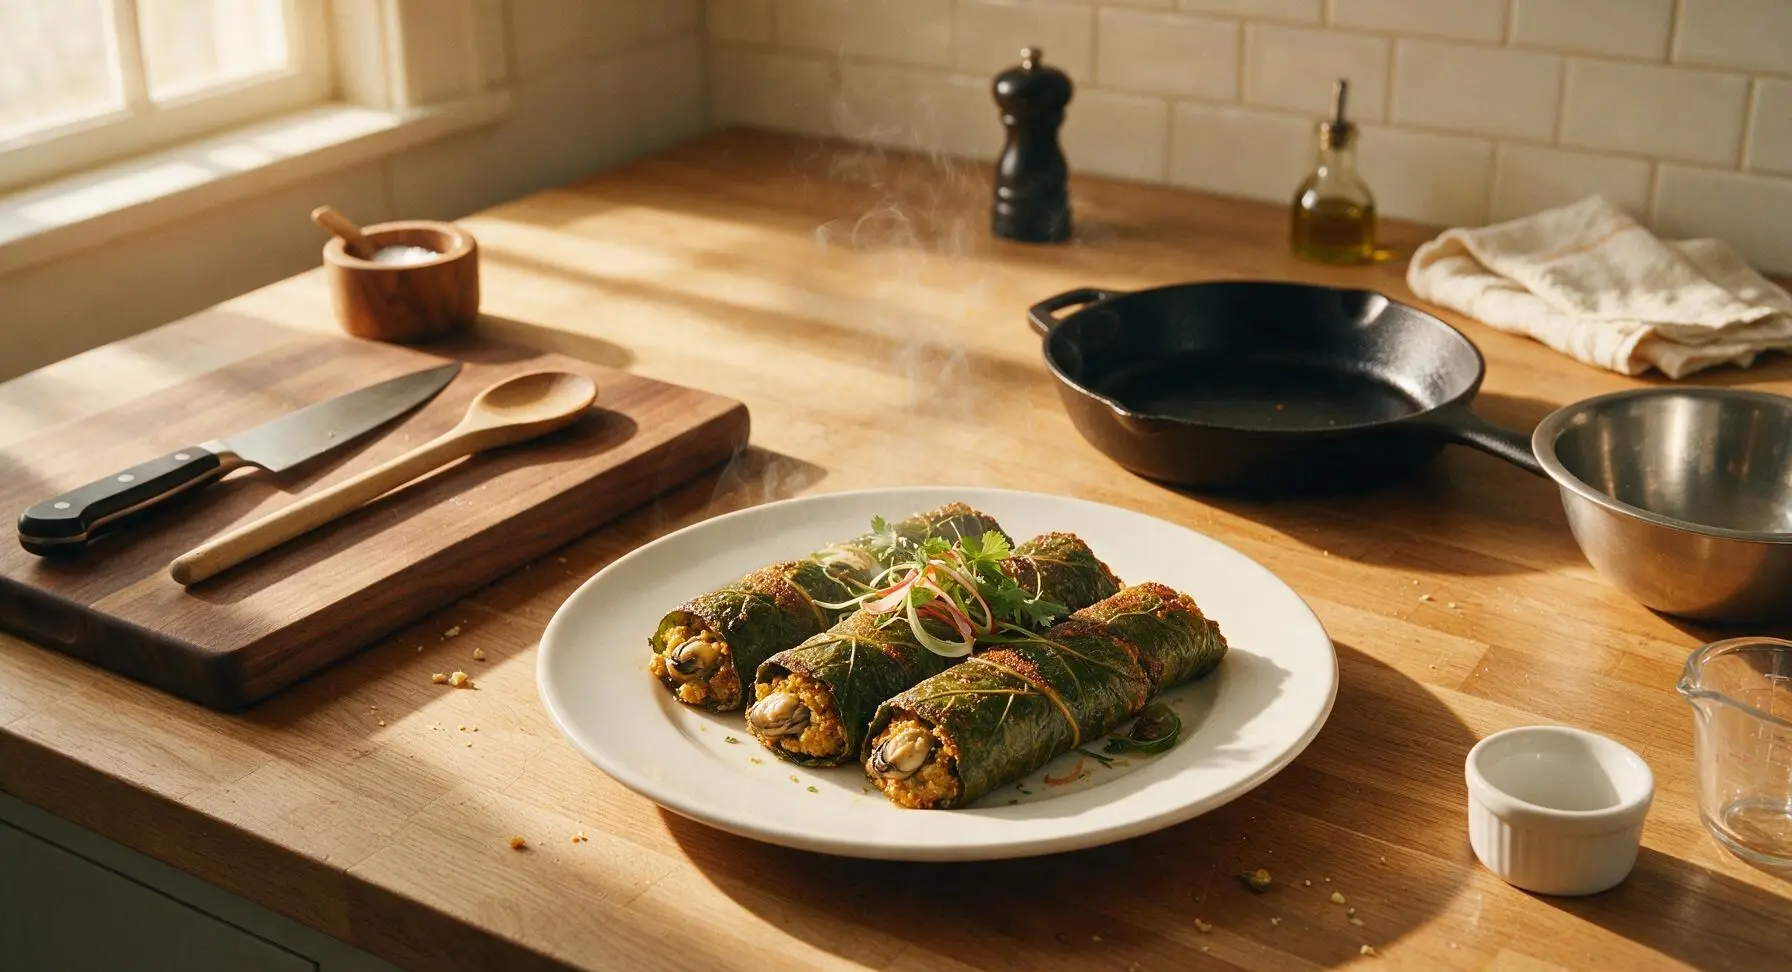
Oyster Patra

title 1
Oyster Patra
⏱️ cook time 30 minutes
🍽️ servings 4
⚡ Difficulty medium

intro

Tender spiced oyster filling wrapped in earthy colocasia leaves, steamed then pan-fried to crispy golden perfection—bright, briny, packed with warm coastal Indian flavor.

Ingredients

Fresh shucked oysters 200g
Fresh colocasia (taro) leaves 8 large (approx 15cm each)
Chickpea flour (besan) 150g
Tamarind pulp 50g
Ginger-garlic paste 2 tbsp
Ground turmeric 1 tsp
Kashmiri red chili powder 1.5 tsp
Ground coriander 1 tsp
Cumin seeds 1 tsp
Fresh curry leaves 12 leaves
Grated fresh coconut 2 tbsp
Cold-pressed coconut oil 3 tbsp
Coarse sea salt 1 tsp
Freshly ground black pepper 1/2 tsp
Cool water 100ml
Fresh coconut chutney (for serving) 60g

Steps

1

Prep Taro Leaves

Lay the 8 colocasia (taro) leaves flat on the teak cutting board. Use the 7-inch rosewood-handled chef knife to carefully trim off the thick, fibrous central stem from each leaf, taking care not to tear the delicate leaf surface. Gently wipe each leaf with a damp paper towel to remove residual dust or dirt, then stack them vein-side up on the edge of the board. Leaves will lie completely flat without raised, stiff veins when trimmed correctly.
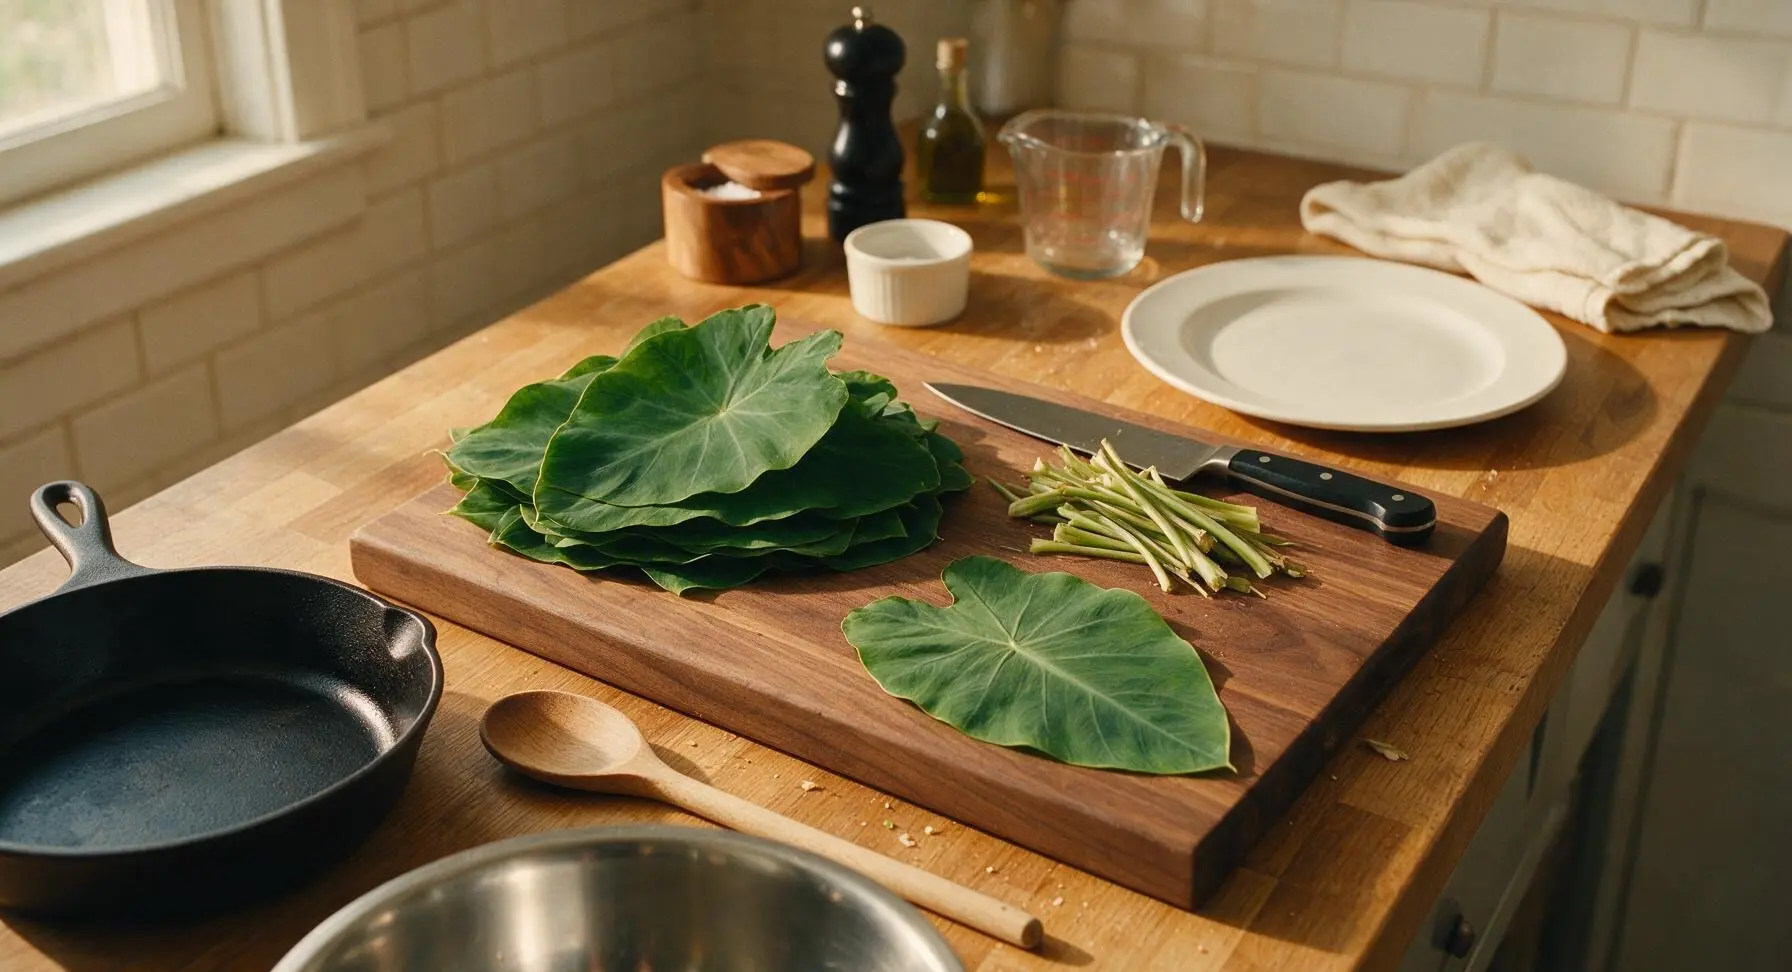
Step 1
step1:Prep Taro Leaves
2

Mix Spiced Batter

Add 150g chickpea flour, 1 tsp ground turmeric, 1.5 tsp Kashmiri red chili powder, 1 tsp ground coriander, 1 tsp coarse sea salt, and 1/2 tsp freshly ground black pepper to the medium stainless steel mixing bowl. Pour in 100ml cool water and 20g tamarind pulp, then stir with the forest green silicone spatula until you achieve a thick, spreadable batter the consistency of heavy cream, with no dry lumps remaining. The batter will evenly coat the back of the spatula without running off immediately when ready; set aside.

3

Prep Oyster Filling

Pat 200g shucked oysters completely dry with a corner of the striped cotton kitchen towel, then chop them into rough 1cm pieces on the teak cutting board using the chef knife. Transfer chopped oysters to the small stainless steel mixing bowl, add the remaining 30g tamarind pulp, 2 tbsp ginger-garlic paste, 1 tsp cumin seeds, 2 tbsp grated fresh coconut, and 6 torn fresh curry leaves. Stir gently to combine, taking care not to mash the delicate oyster pieces. The finished filling will have evenly coated oyster chunks visible throughout the tangy spice mix.
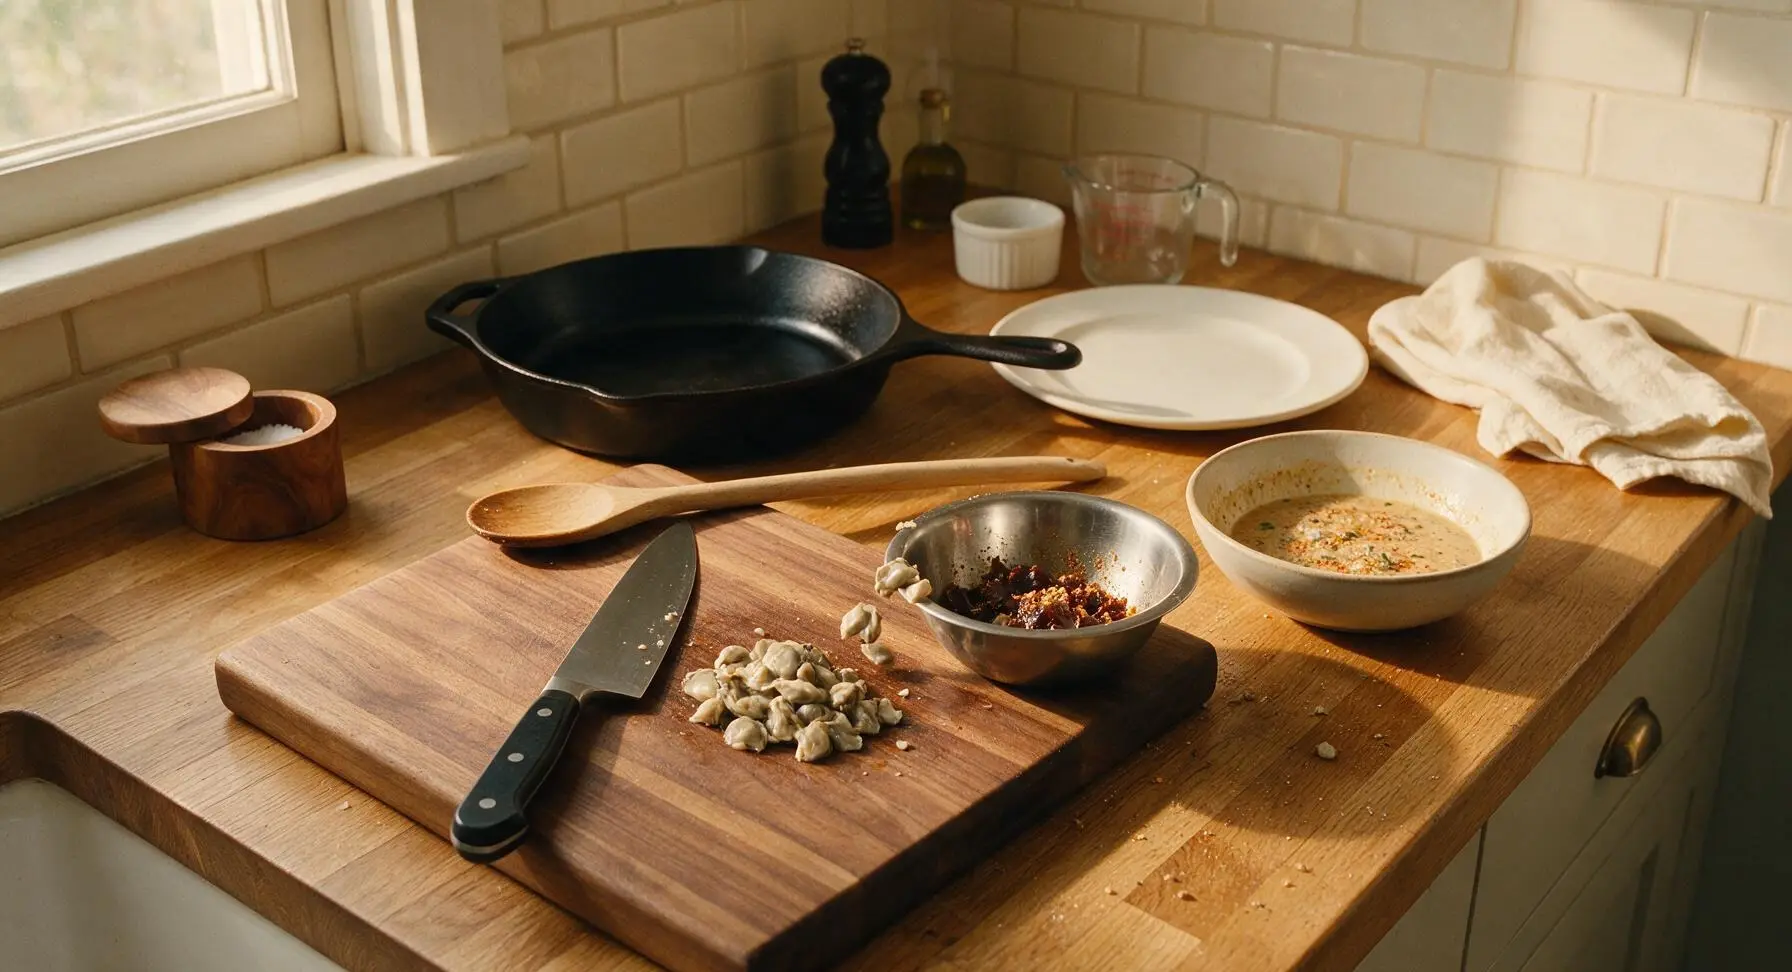
Step 3
step3:Prep Oyster Filling
4

Roll Stuffed Leaves

Lay one trimmed colocasia leaf vein-side up on the cutting board. Use the silicone spatula to spread a thin, even layer of spiced batter across the entire leaf surface, leaving a 1cm border at all edges. Spoon 2 tbsp of oyster filling in a thin, even line down the center of the leaf. Fold the left and right leaf edges in over the filling, then roll the leaf tightly from the bottom edge up to the tip like a compact burrito, sealing the loose tip with a small dab of batter. Repeat with all remaining leaves, batter, and filling to make 8 tight, 3cm diameter rolls, with no filling leaking from the seams.
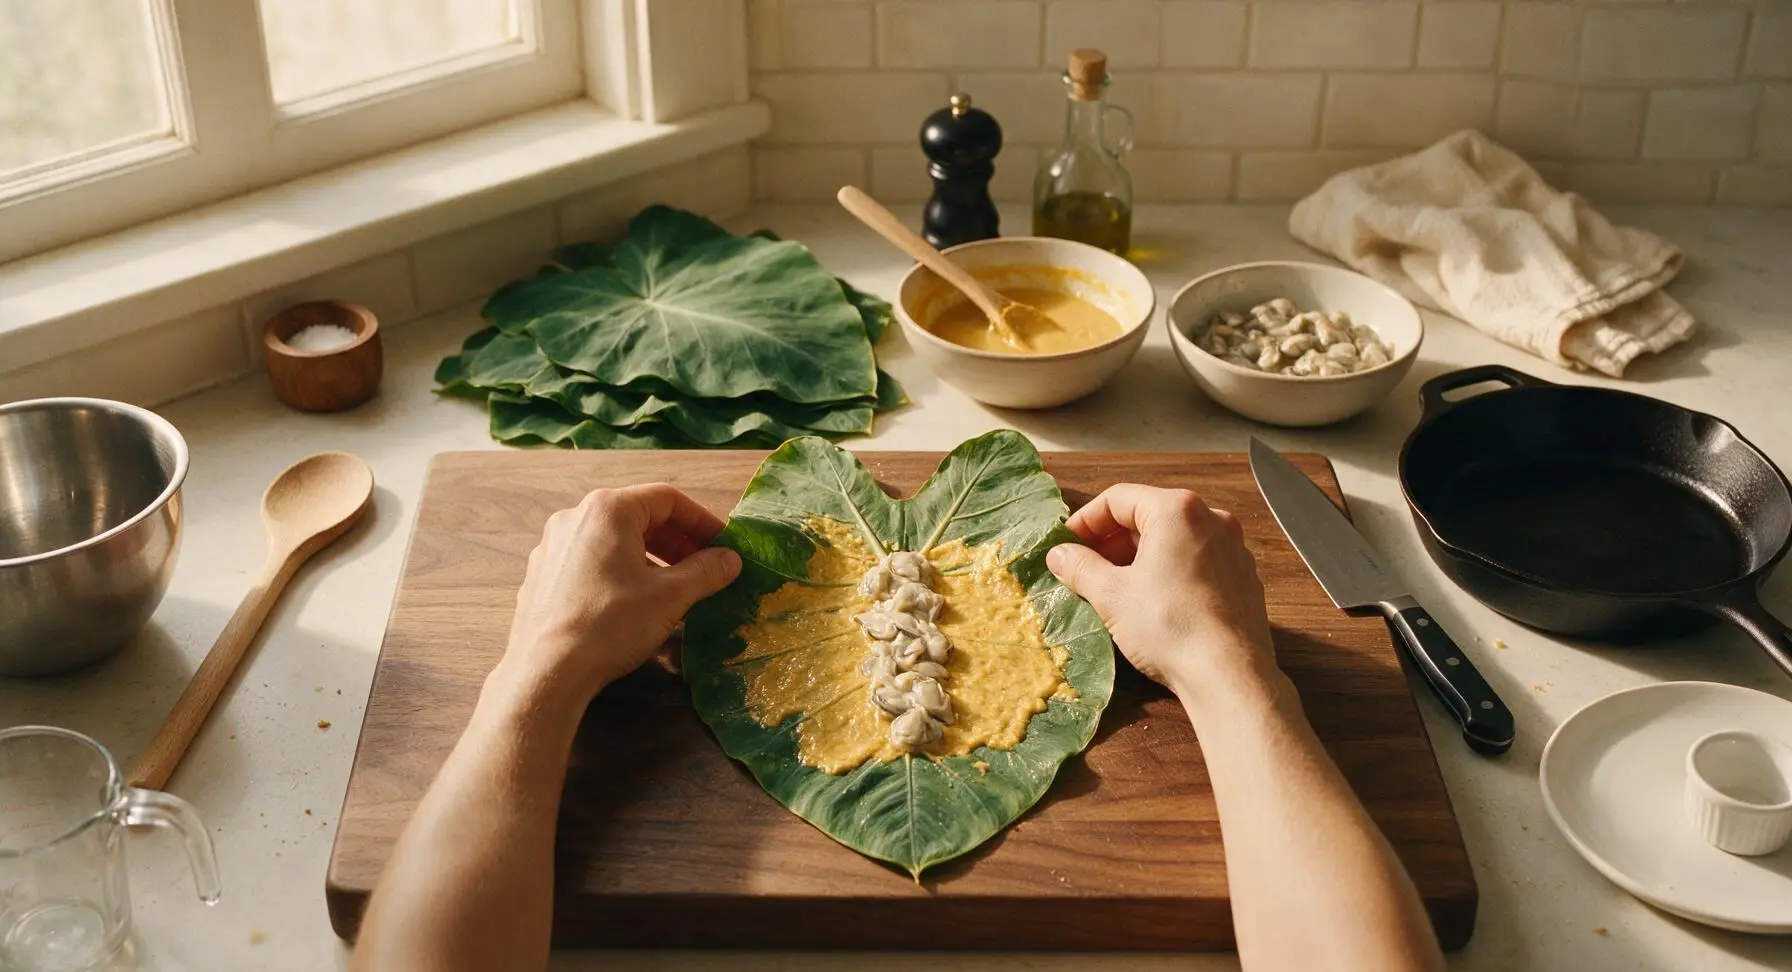
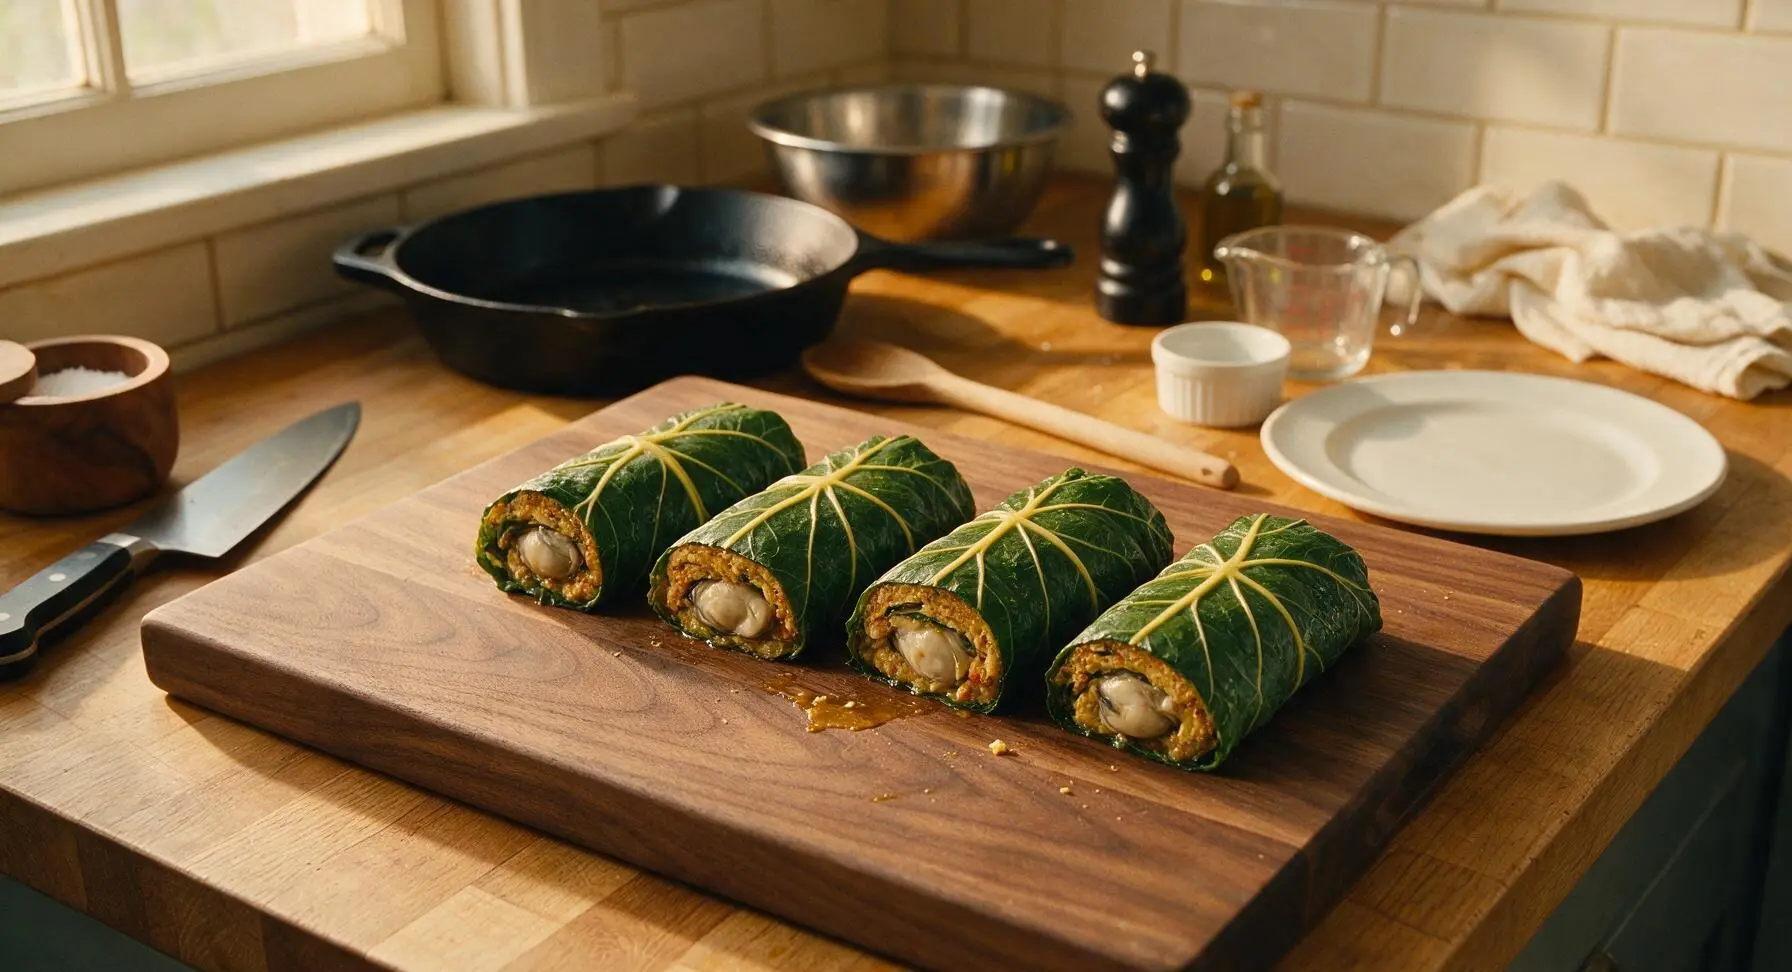
Step 4
step4:Roll Stuffed Leaves
Step 4
step4:Roll Stuffed Leaves
5

Steam Assembled Rolls

Pour 5cm of cool water into the bottom of the stainless steel steamer pot, set on the back-center induction cooktop, and bring to a gentle rolling boil over medium heat. Arrange the stuffed leaf rolls seam-side down in the steamer basket, leaving 1cm of space between each roll for even steam circulation. Place the tempered glass lid on the steamer, reduce heat to medium-low, and cook for 15 minutes. Rolls will be firm to the touch, and leaves will turn a deeper, muted olive green when fully steamed. Turn off heat and let rolls rest, covered, for 5 minutes before removing.
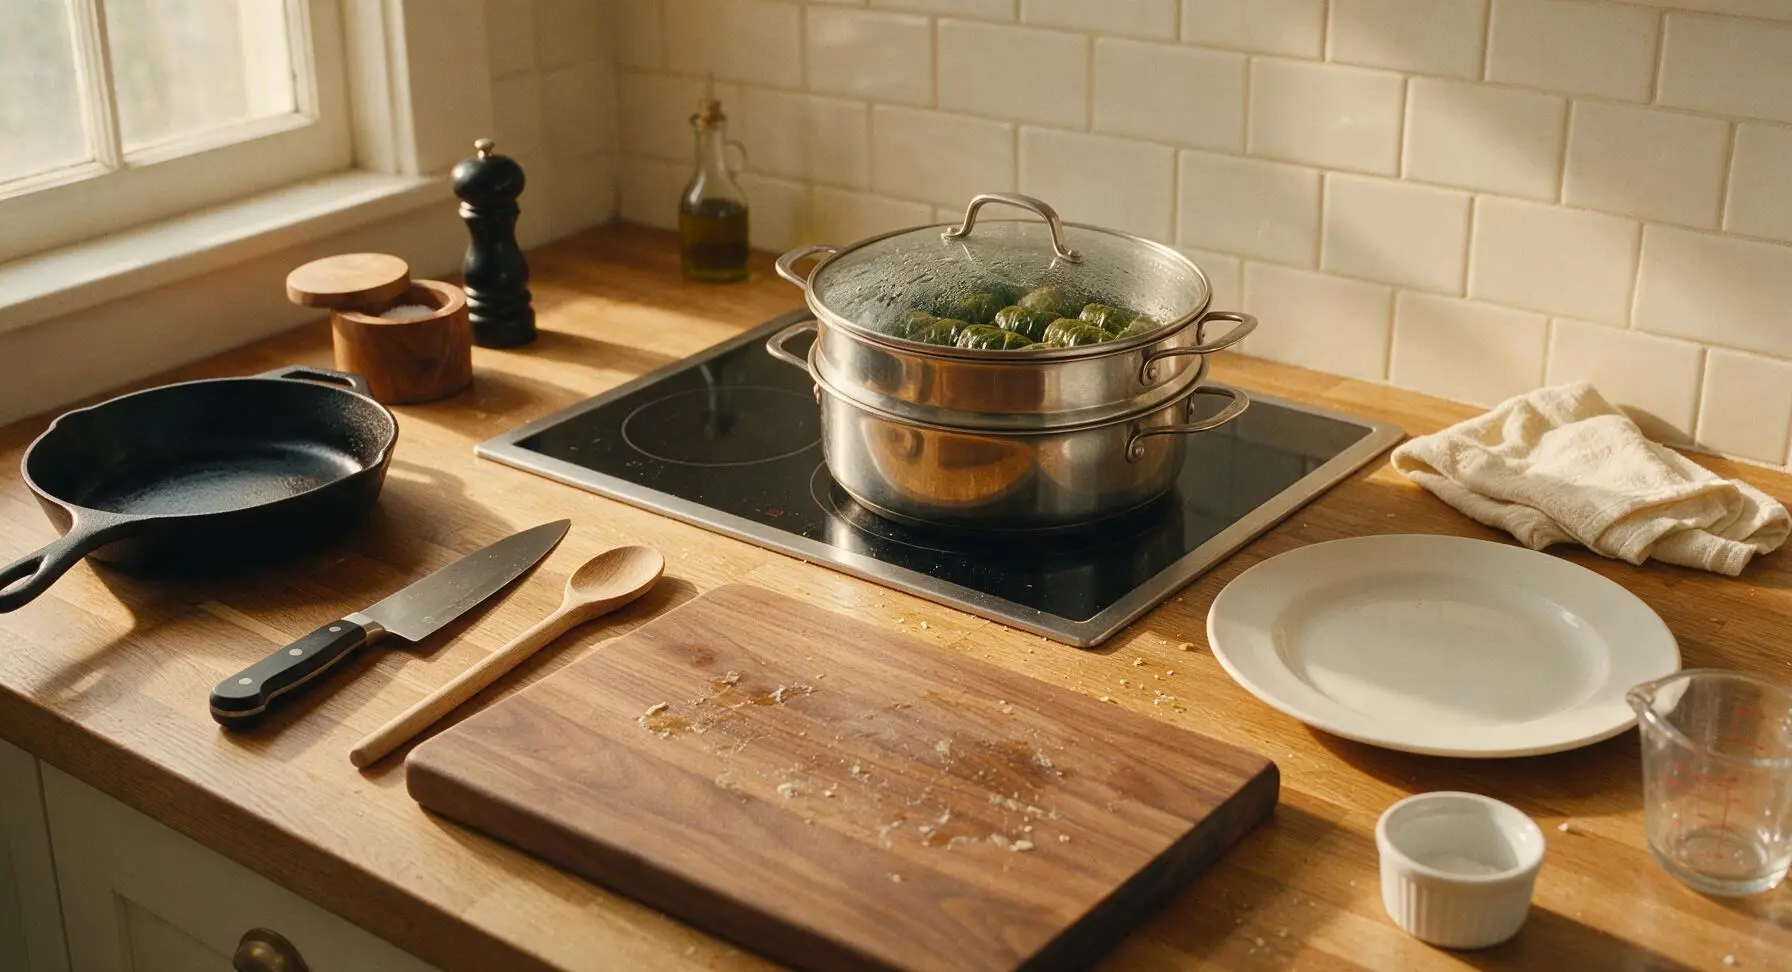
Step 5
step5:Steam Assembled Rolls
6

Slice Cooled Rolls

Carefully lift the steamed rolls from the steamer basket using the slotted stainless steel turner, and transfer them back to the teak cutting board. Let rolls cool for 5 full minutes to set, then use the chef knife to cut each roll into uniform 2cm thick round slices, wiping the knife blade with a damp cloth between cuts to prevent sticking. Each finished slice will show distinct, even layers of green leaf, golden batter, and oyster filling, with no oozing or falling apart.
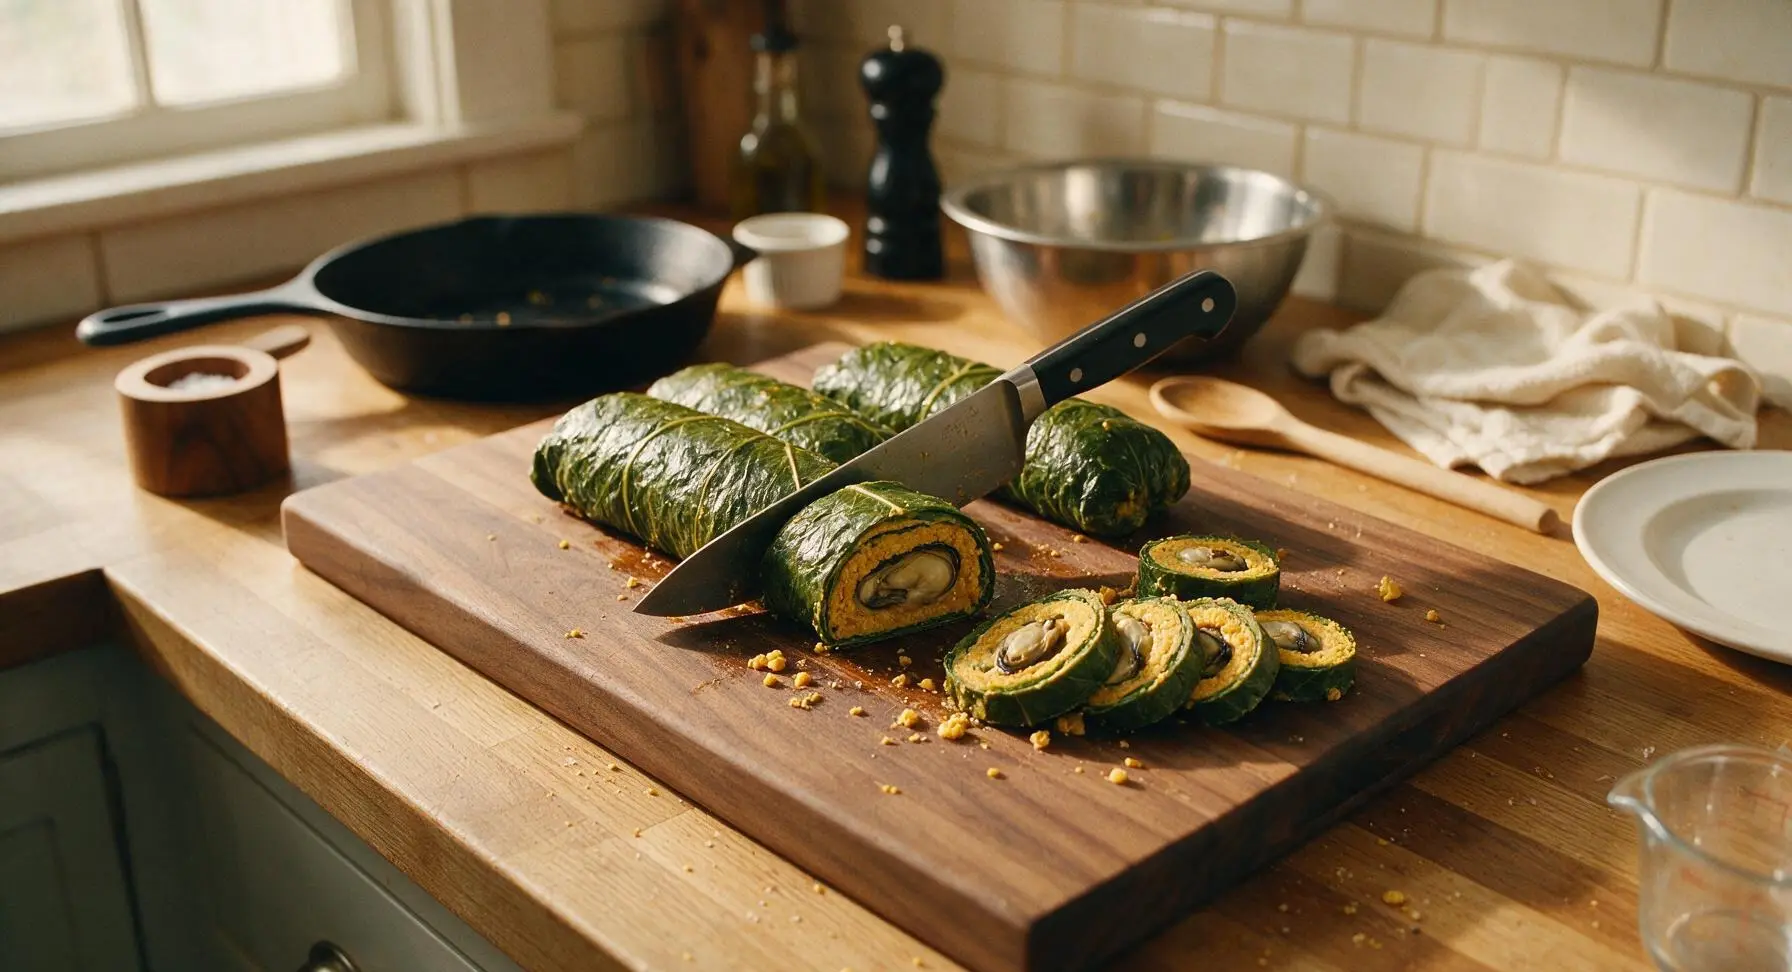
Step 6
step6:Slice Cooled Rolls
7

Pan-Fry to Crisp

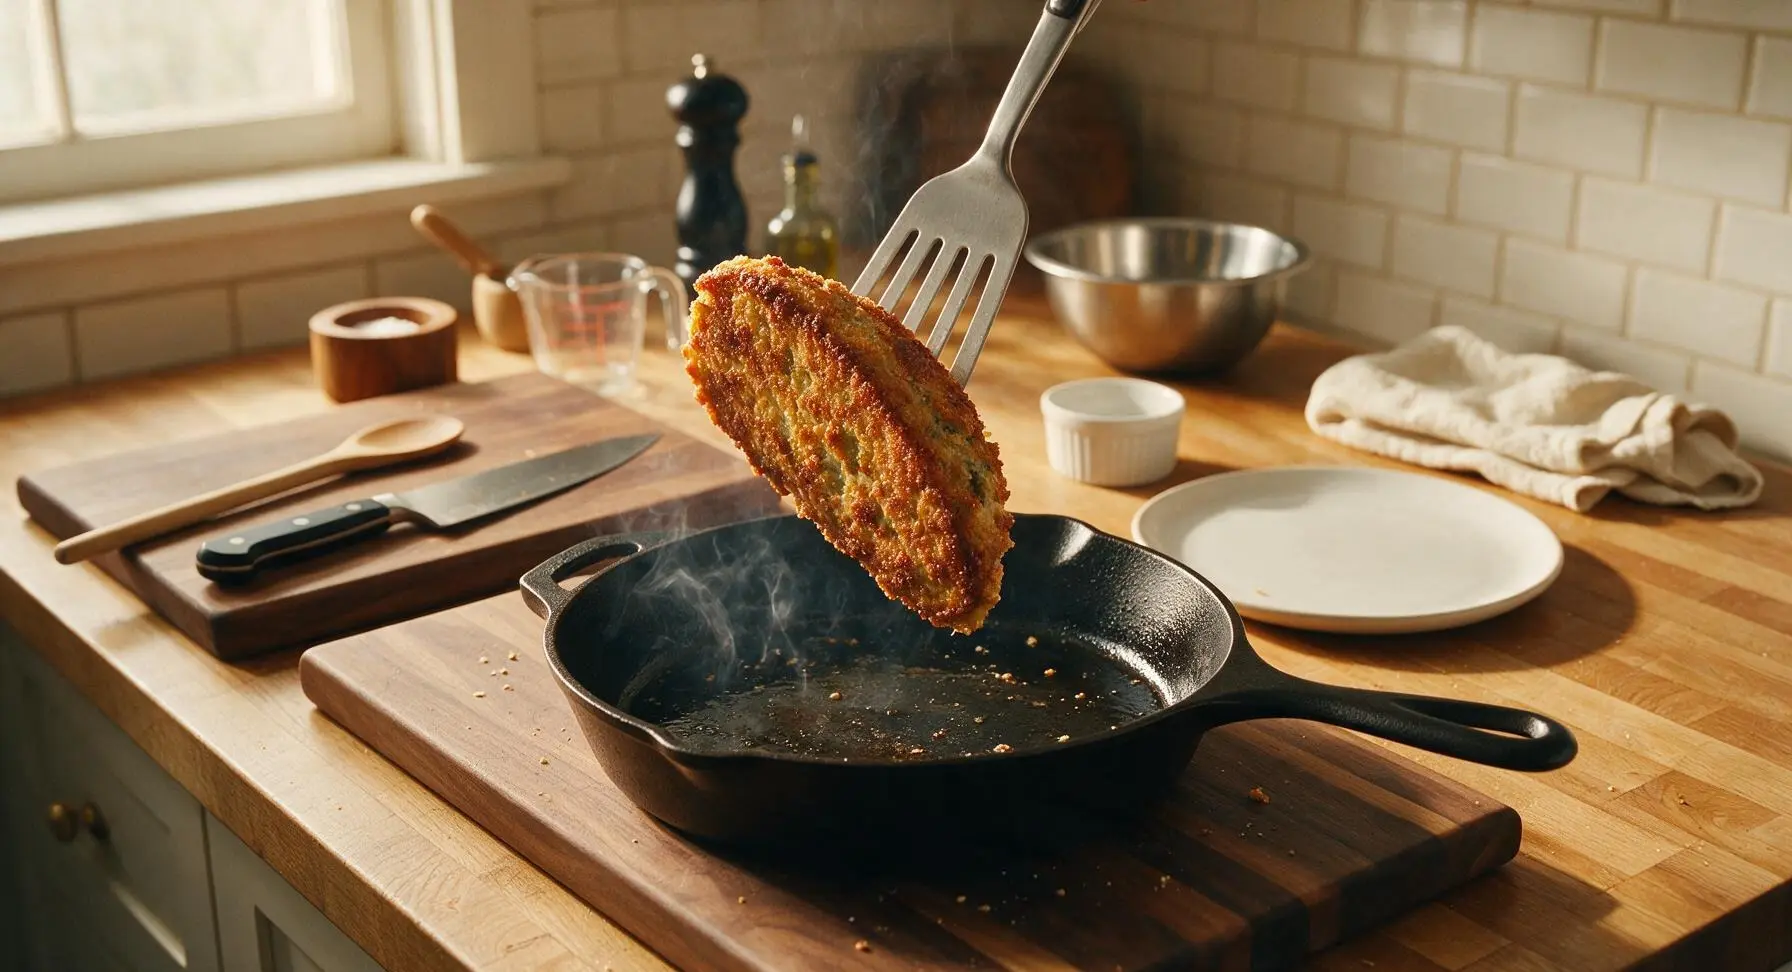
Heat 3 tbsp cold-pressed coconut oil in the seasoned black carbon steel frying pan on the induction cooktop over medium heat. Once the oil shimmers (reaches approximately 175°C/350°F), add the sliced patra rounds in a single layer, working in 2 batches to avoid crowding the pan (crowding causes steaming instead of crisping). Fry for 2 minutes per side, using the slotted turner to flip each slice, until the cut surfaces are deep golden and crisp. Transfer fried slices to a paper-towel lined surface to drain excess oil for 30 seconds before plating.
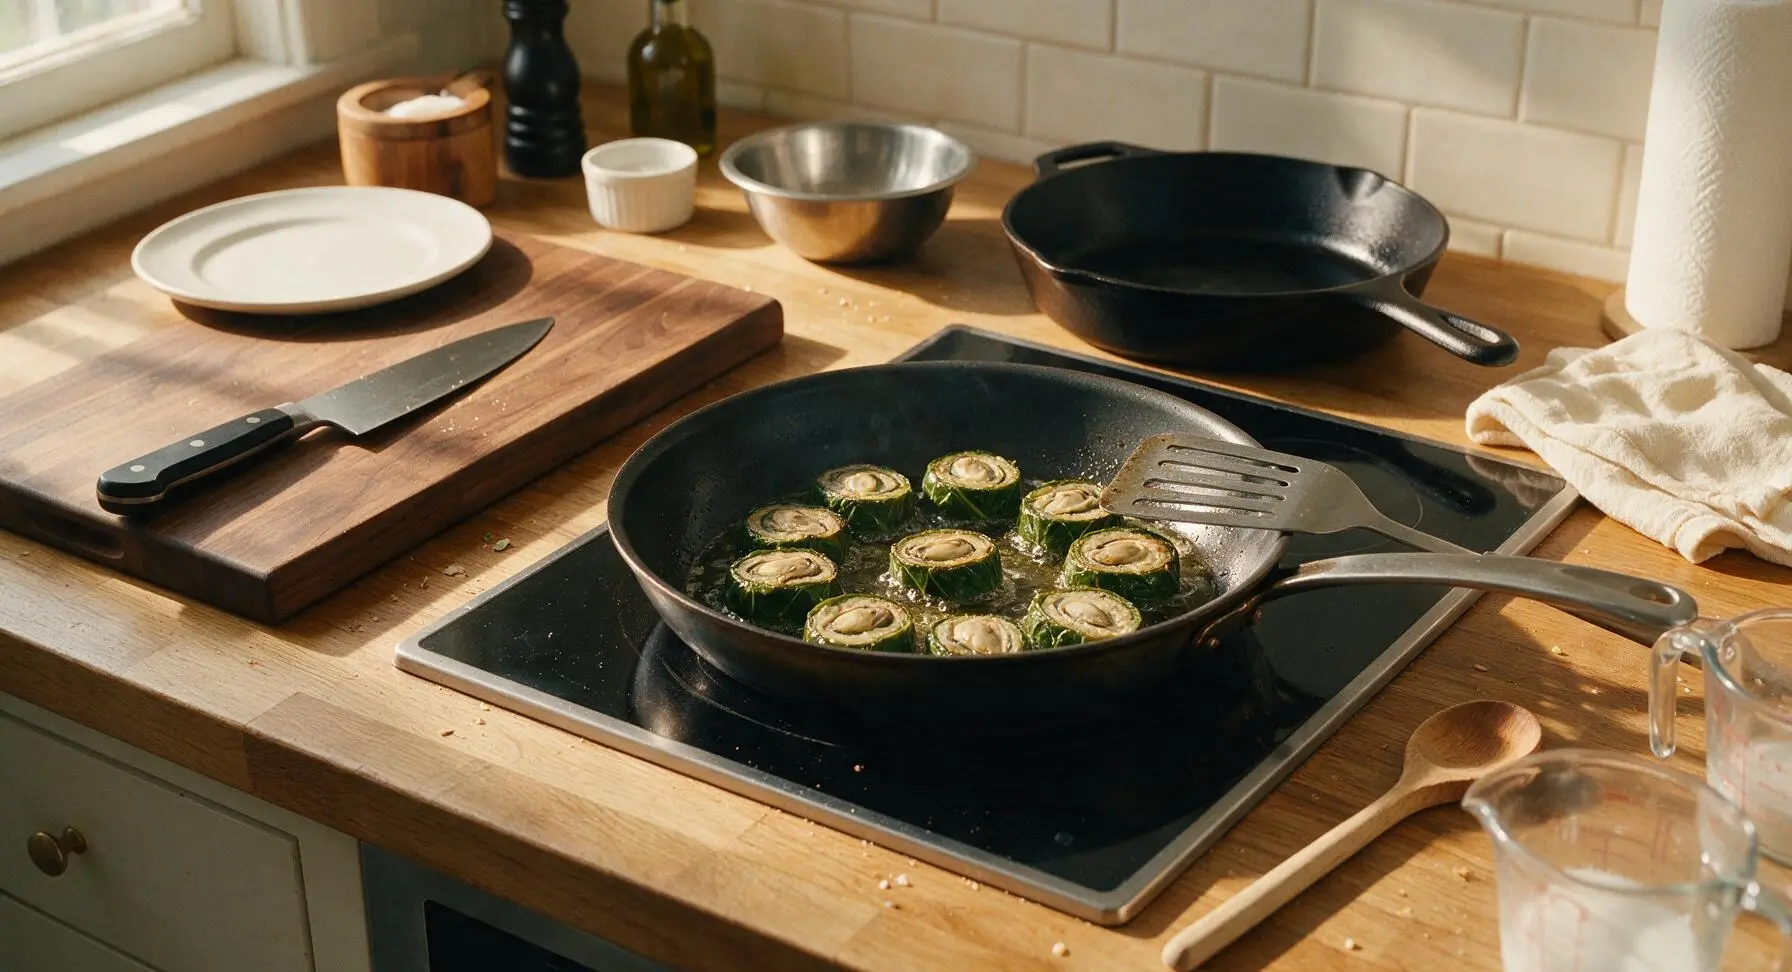
Step 7
step7:Pan-Fry to Crisp
Step 7
step7:Pan-Fry to Crisp

Tips

1.Always fully trim the thick central vein from each colocasia leaf: the fibrous vein has a tough, unpleasant texture and can cause mild throat itchiness if left intact, and it prevents you from rolling tight, even rolls that hold their shape during steaming.
2.Wait the full 5 minutes after steaming before slicing the rolls: this rest time allows the chickpea flour batter to set completely, so slices hold clean, even layers instead of oozing filling or falling apart during frying.
3.Pat shucked oysters completely dry before chopping for the filling: excess oyster brine will thin the spiced batter and make the steamed rolls soggy, preventing the fried edges from turning perfectly crisp.


✨ You May Also Like

Snacks & Appetizers
🍜 Mexico

Crispy thick-cut tortilla chips piled high with seasoned beef, melted cheese, and bright fresh toppings for a shareable, crowd-favorite bite.

⏱️ 25 minuteSnacks & Appetizers ★ 4.8
Snacks & Appetizers
🍜 United States

Crisp, sweet-tangy spiced pickled watermelon rind is a zero-waste summer staple, perfect with grilled meats, charcuterie, or eaten straight from the jar as a bright snack.

⏱️ 30 minuteSnacks & Appetizers ★ 4.6
Snacks & Appetizers
🍜 Germany

A tangy, jellied pork cold cut slow-simmered with aromatic spices, set into a firm sliceable loaf, served cold with mustard and crusty bread.

⏱️ 3 hours 4Snacks & Appetizers ★ 4.8
Snacks & Appetizers
🍜 United States

Creamy, tangy, perfectly seasoned hard-boiled egg halves filled with a rich, smooth yolk mixture, a timeless, crowd-pleasing bite for holiday and casual gatherings alike.

⏱️ 40 minuteSnacks & Appetizers ★ 4.8
Snacks & Appetizers
🍜 Russia

Silky, dill-forward no-smoke cured salmon, a Scandinavian classic with bright salty-sweet flavor, ideal for holiday starter platters and open-faced rye sandwiches.

⏱️ 48 hours Snacks & Appetizers ★ 4.7
Snacks & Appetizers
🍜 Japan

Crisp golden bottoms, juicy savory pork and vegetable filling, and tangy dipping sauce make these pan-fried gyoza a beloved shareable bite.

⏱️ 45 minuteSnacks & Appetizers ★ 4.8

Oyster Patra:Frequently Asked Questions

1.How do I pick the best fresh colocasia leaves for oyster patra? ▾
Select medium-sized, bright deep green colocasia leaves with no brown spots, tears, or wilting. Smaller young leaves are more tender with less bitter, acrid sap, while overly large mature leaves can be tough and require extra trimming of their thick, fibrous center veins before rolling.
2.Do I need to cook the oysters before wrapping them in the leaves? ▾
No pre-cooking is required for shucked fresh oysters! Pat them very dry first, then toss them directly in the spiced chickpea flour batter—they will cook fully during the initial 12–15 minute steam, staying tender and briny instead of turning rubbery from extra pre-cooking.
3.Why does my patra turn out bitter after cooking, or cause a scratchy throat? ▾
Bitter flavor or scratchy throat irritation after eating almost always comes from underprepared mature colocasia leaves. Always trim the tough, raised central vein completely, avoid overly large, dark, or damaged leaves, and steam rolls fully to break down irritating oxalate crystals. A tiny pinch of light brown sugar in the batter balances faint residual bitter notes.
4.Can I make this recipe ahead of time for a party? ▾
Absolutely! You can steam the wrapped rolls 2 days in advance, let them cool fully, then store them in an airtight container in the fridge. When you’re ready to serve, slice the rolls and pan-fry them to crispy golden perfection—this cuts down on day-of work without sacrificing texture or briny oyster flavor.
5.What’s the best substitute for tamarind pulp if I don’t have it on hand? ▾
For a close flavor match, mix 2 parts lime juice with 1 part light brown sugar and a tiny pinch of salt to replicate tamarind’s bright, tangy-sweet profile. Avoid using straight vinegar as a swap—it’s too sharp and will overpower the delicate briny flavor of the fresh oysters in the filling.
6.How do I keep the oyster filling from making the rolls soggy? ▾
Sogginess comes from excess moisture, so pat shucked oysters completely dry with paper towels before tossing them in the thick, spreadable chickpea flour batter. Make sure your batter isn’t too runny—it should hold a soft peak when you lift a spoon, so it sticks without dripping during steaming.
7.Can I use jarred ginger-garlic paste instead of fresh for this recipe? ▾
Jarred ginger-garlic paste works perfectly fine for this recipe, just look for a brand with no added preservatives or extra vinegar that can throw off the bright, balanced coastal flavor. Give the paste a quick stir before measuring, and use the exact same amount as you would fresh homemade paste.
8.Do I need to do any special prep for shucked oysters before adding them to the batter? ▾
Once oysters are shucked, check for any tiny bits of broken shell, fish those out with a small fork, and pat the oyster meat completely dry—that’s all the prep you need! There’s no peeling or trimming required for fresh, high-quality shucked oysters, as their tender meat cooks perfectly in the standard steam time.
9.Can I bake these rolls instead of pan-frying them to cut down on oil? ▾
Yes! After steaming and slicing the rolls, arrange them on a parchment-lined baking sheet, brush lightly with neutral oil, and bake at 400°F for 12–15 minutes, flipping halfway, until crispy and golden on both sides. They won’t have the exact shatter-crisp crust of pan-fried versions, but they’re bright, flavorful, and lower in added oil.
10.How do I stop the rolled colocasia leaves from unravelling while steaming? ▾
Spread a thin, even layer of batter all the way to the edges of each leaf before rolling tightly from the stem end up to the tip, like you’re rolling a burrito. Secure rolls with a couple of short toothpicks if needed, and place them seam-side down in your steamer basket so they hold their shape as they cook.
11.Can I use regular all-purpose flour instead of chickpea flour (besan) for the batter? ▾
All-purpose flour is not a great direct swap, as it lacks the nutty, earthy flavor and firm binding quality that helps traditional patra hold its shape through steaming and frying. If you don’t have besan, use a mix of 3 parts fine rice flour and 1 part cornstarch for a crisp, gluten-free alternative.
12.How do I know when the steamed rolls are fully cooked and ready to fry? ▾
Fully steamed rolls will feel firm to the touch, with no raw, wet batter oozing out when you gently press the side with a finger. The leaves will turn a deeper, muted olive green, and a toothpick inserted into the center will come out clean, with no sticky raw batter clinging to it after 12–15 minutes over boiling water.
13.What dipping sauces pair best with these oyster patra rolls? ▾
These briny, spiced rolls pair beautifully with bright, tangy dips: classic coconut chutney, mint-cilantro chutney, or sweet-spicy tamarind date chutney all work wonderfully. For a quick, easy option, mix plain Greek yogurt with roasted cumin, salt, and a squeeze of lime for a cool, creamy contrast.

Comments (4)

2 days ago

OMG, I made these for my coastal-themed potluck last weekend and everyone was hounding me for the recipe! I was low-key nervous working with colocasia leaves for the first time, but the 30 minute cook time was totally doable even for a medium-skill dish. The briny oyster flavor pairs so perfectly with the spiced, earthy leaf wrap — total game changer for my appetizer rotation.

yesterday

Wait did you track down fresh colocasia leaves at a regular grocery store or did you hit up the local Asian market? I’ve been dying to try these but can never find the leaves anywhere!

yesterday

Great question! Most well-stocked Asian grocery stores carry fresh colocasia leaves year-round, but you can also order them frozen from specialty online retailers if you don’t have a local shop — just make sure to pat them completely dry before spreading the oyster filling to avoid soggy, mushy rolls!

3 days ago

SO good! I was fully convinced my two picky kids would turn their noses up at anything with oysters, but they devoured three rolls each at dinner last night. I swapped the fresh chili for smoked paprika to cut the heat for them, and it still turned out absolutely delicious. Will absolutely be adding this to our weekly meal prep rotation!

2 hours ago

Tried this last night and ran into a little trouble with the colocasia leaves tearing when I went to roll them — any tips for getting tight, neat rolls without the leaves splitting? Flavor was 10/10 even if my rolls looked a little lumpy and messy, my roommate said they tasted better than the oyster rolls we got at that coastal seafood spot last month!

30 minutes ago

So glad the flavor landed for you! The trick to preventing tears is to gently press out the thick central vein on the back of each colocasia leaf with the flat side of a knife before you add the filling — that softens the leaf so it rolls smoothly without splitting. A light spritz of water on the leaf surface helps make it more pliable too!

1 week ago

Made these as a starter for family dinner when my in-laws were in town last week, and even my father-in-law who swears he hates all shellfish went back for seconds. I stirred a little extra fresh lemon zest into the oyster filling and it brightened the whole dish up so much. 10/10, will absolutely be making these again for our next backyard cookout.

5 days ago

Oh the lemon zest addition sounds chef’s kiss! I’m making these for a dinner party this weekend and I’m totally stealing that tip, thanks so much for sharing!



