
Oysters with Lemon
intro
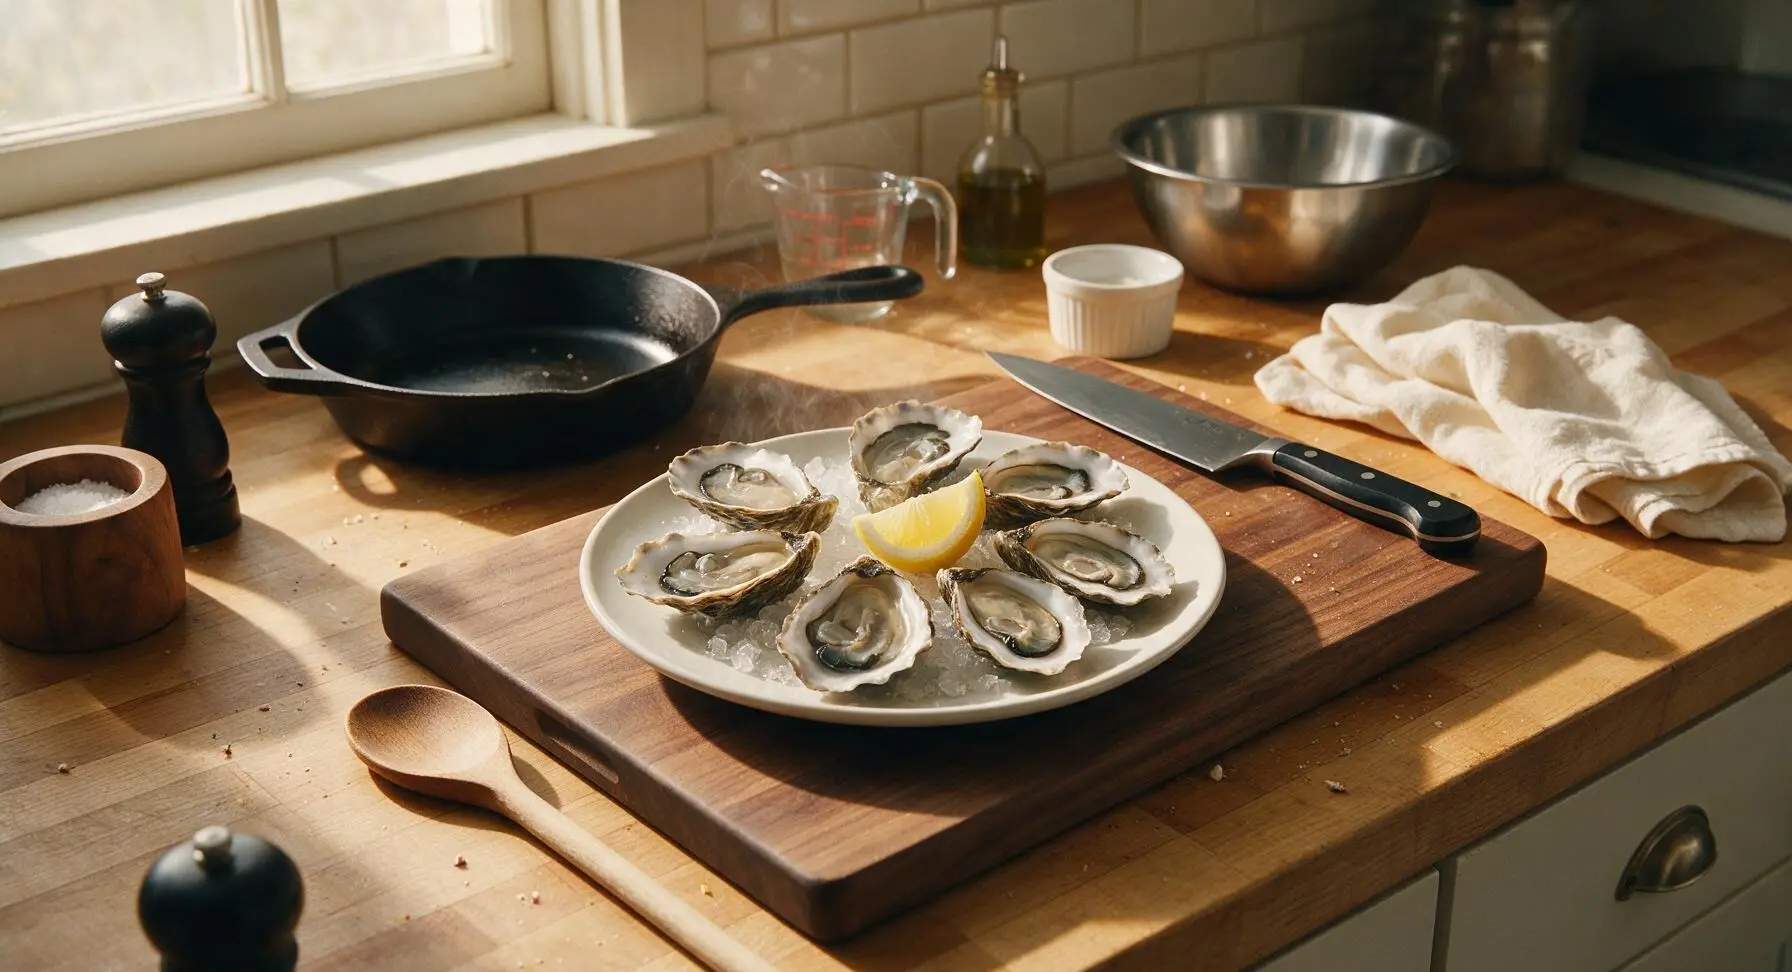
Briny, ice-cold fresh oysters on the half shell, brightened with a squeeze of zingy fresh lemon. This simple, classic preparation lets the clean, oceanic flavor of the shellfish shine.
Ingredients
Steps
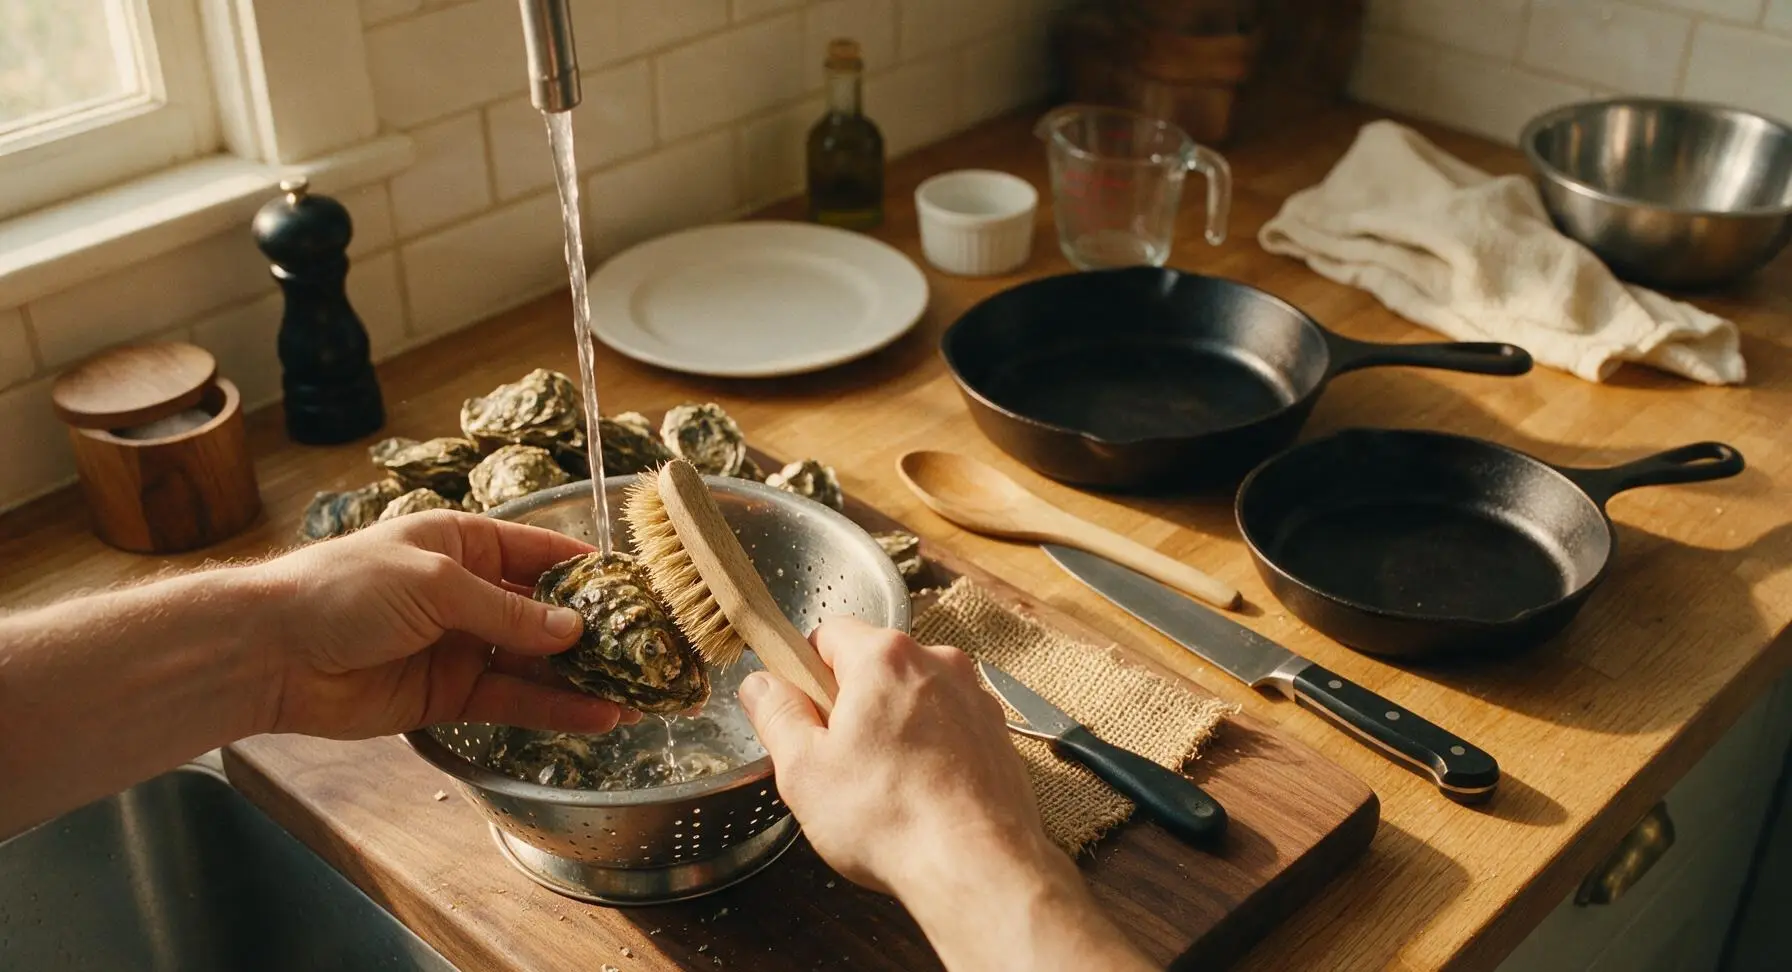
Scrub Oyster Shells
Place the 12 whole live oysters in the small stainless steel colander. Hold each oyster under cold running tap water, using the stiff natural bristle scrub brush to scrub away all mud, barnacles, and loose debris from the rough outer shell. As you clean, tap each oyster firmly: discard any oysters that remain open and do not clamp shut, as these are dead and unsafe to eat raw. Pat cleaned shells lightly with the edge of the cream linen towel to remove excess surface water.
Prepare Ice Bed
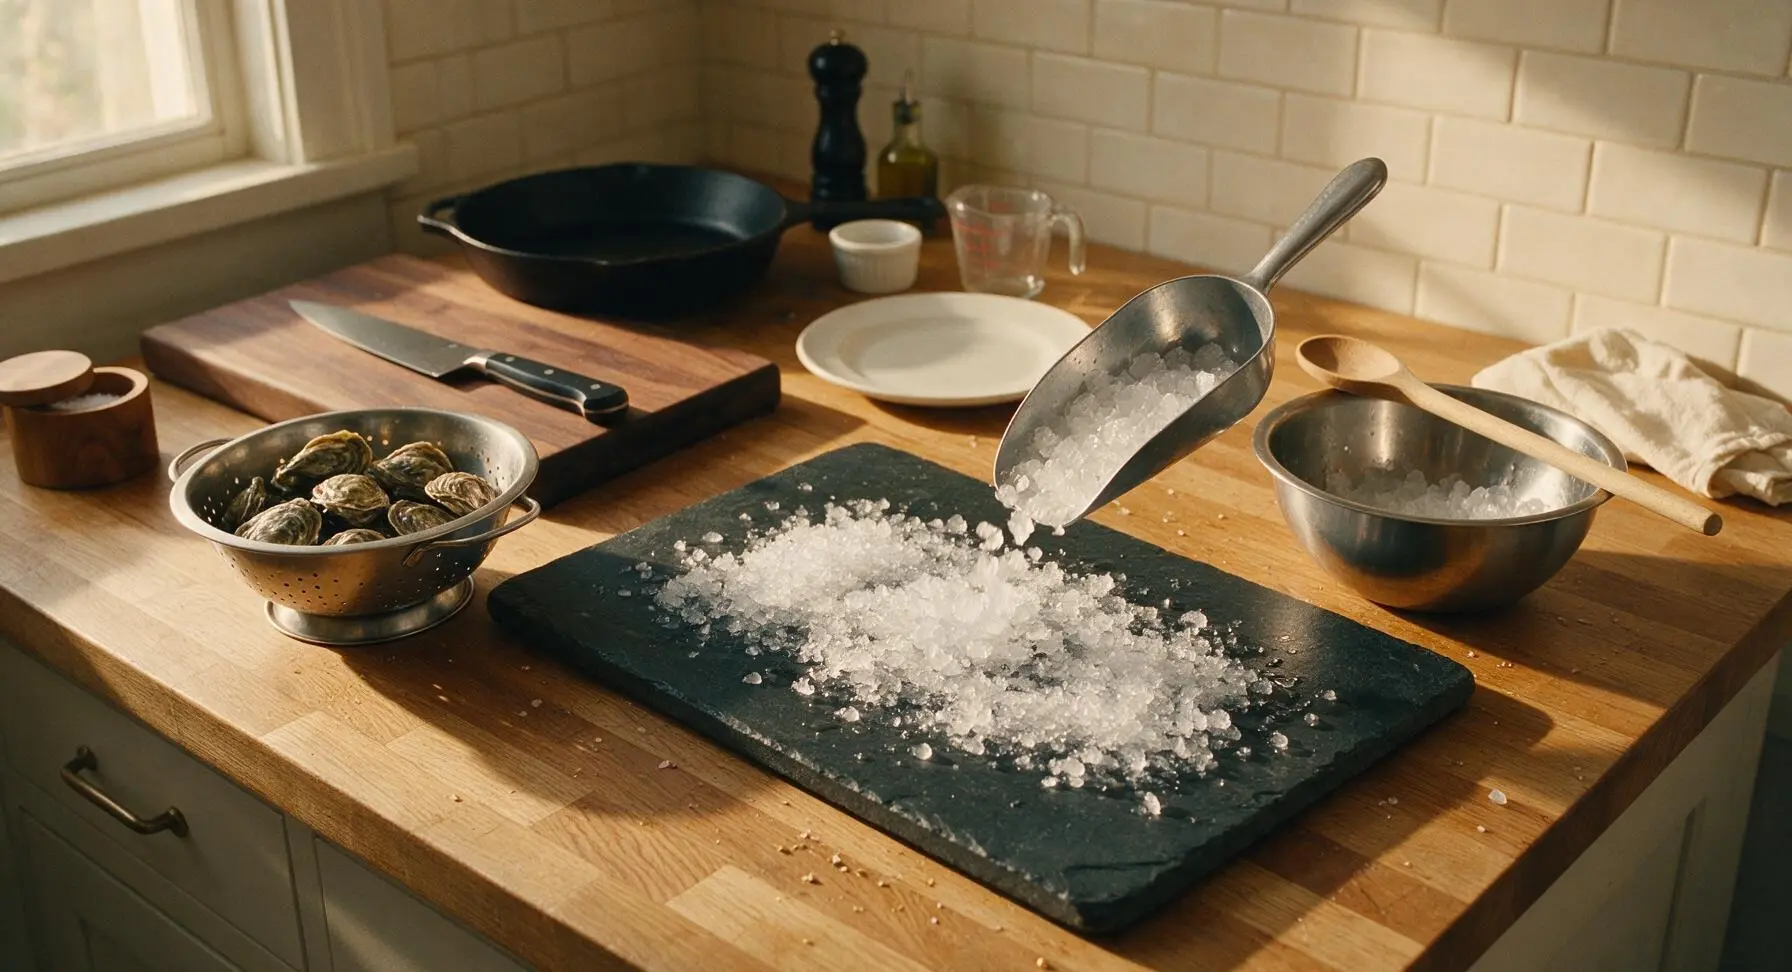
Use the stainless steel ice scoop to transfer 4 cups of crushed ice from the stainless steel mixing bowl, spreading the ice in an even 2cm thick layer across the entire surface of the large slate serving platter. Place the ice-lined platter in the refrigerator to chill for 5 minutes while you begin shucking, to ensure the serving surface stays cold enough to keep oysters fresh.
Secure Oyster for Shucking
Fold the tan burlap shucking mat into a thick double layer and lay it flat on the counter in front of you. Place one cleaned oyster on the mat, cupped (deeper, rounded) shell side down, flatter shell side up, with the pointed oyster hinge facing toward your dominant hand. Fold the loose edge of the mat over the top half of the oyster to hold it firmly in place, leaving only the hinge exposed, to protect your hand from knife slips during shucking.
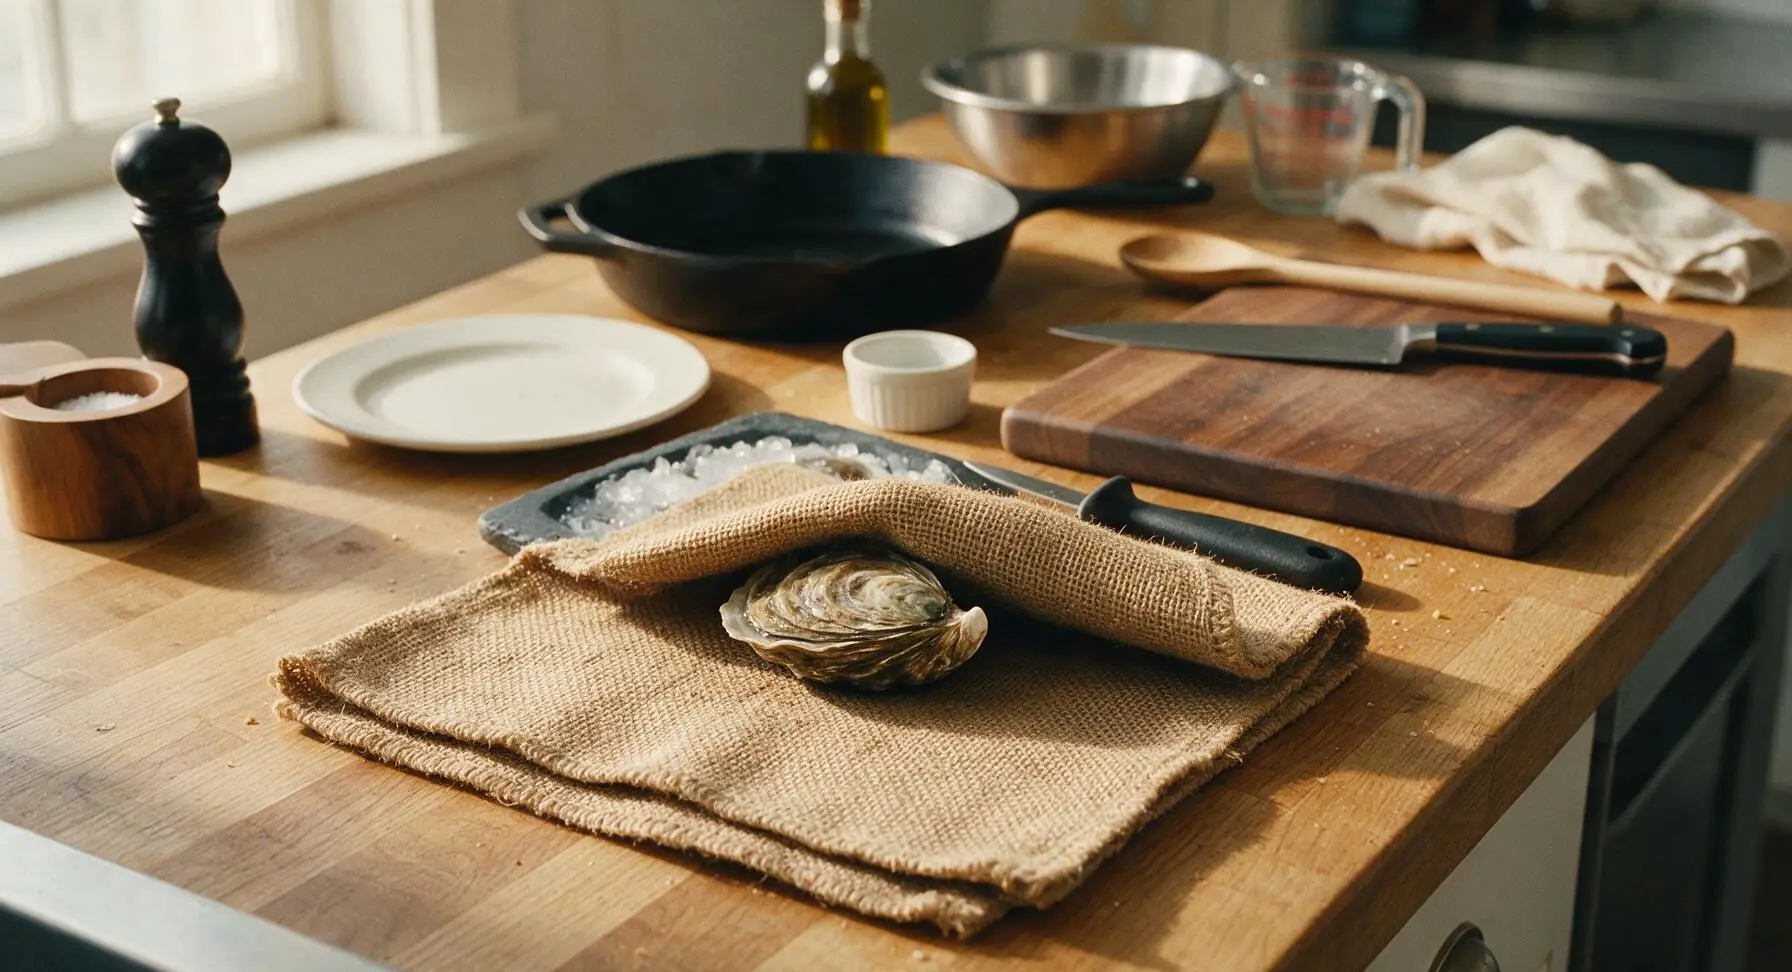
Pry Open Oyster Hinge
Hold the mat-covered oyster firmly to the counter with your non-dominant hand. Grip the oyster shucking knife tightly, wiggling the sharp tip of the blade into the narrow gap at the oyster hinge. Apply gentle, steady forward pressure while twisting your wrist 45 degrees to pop the hinge seal — you will hear a faint, distinct suction pop when the seal breaks. Do not jam the blade hard into the hinge, as this can break shell fragments into the oyster meat.
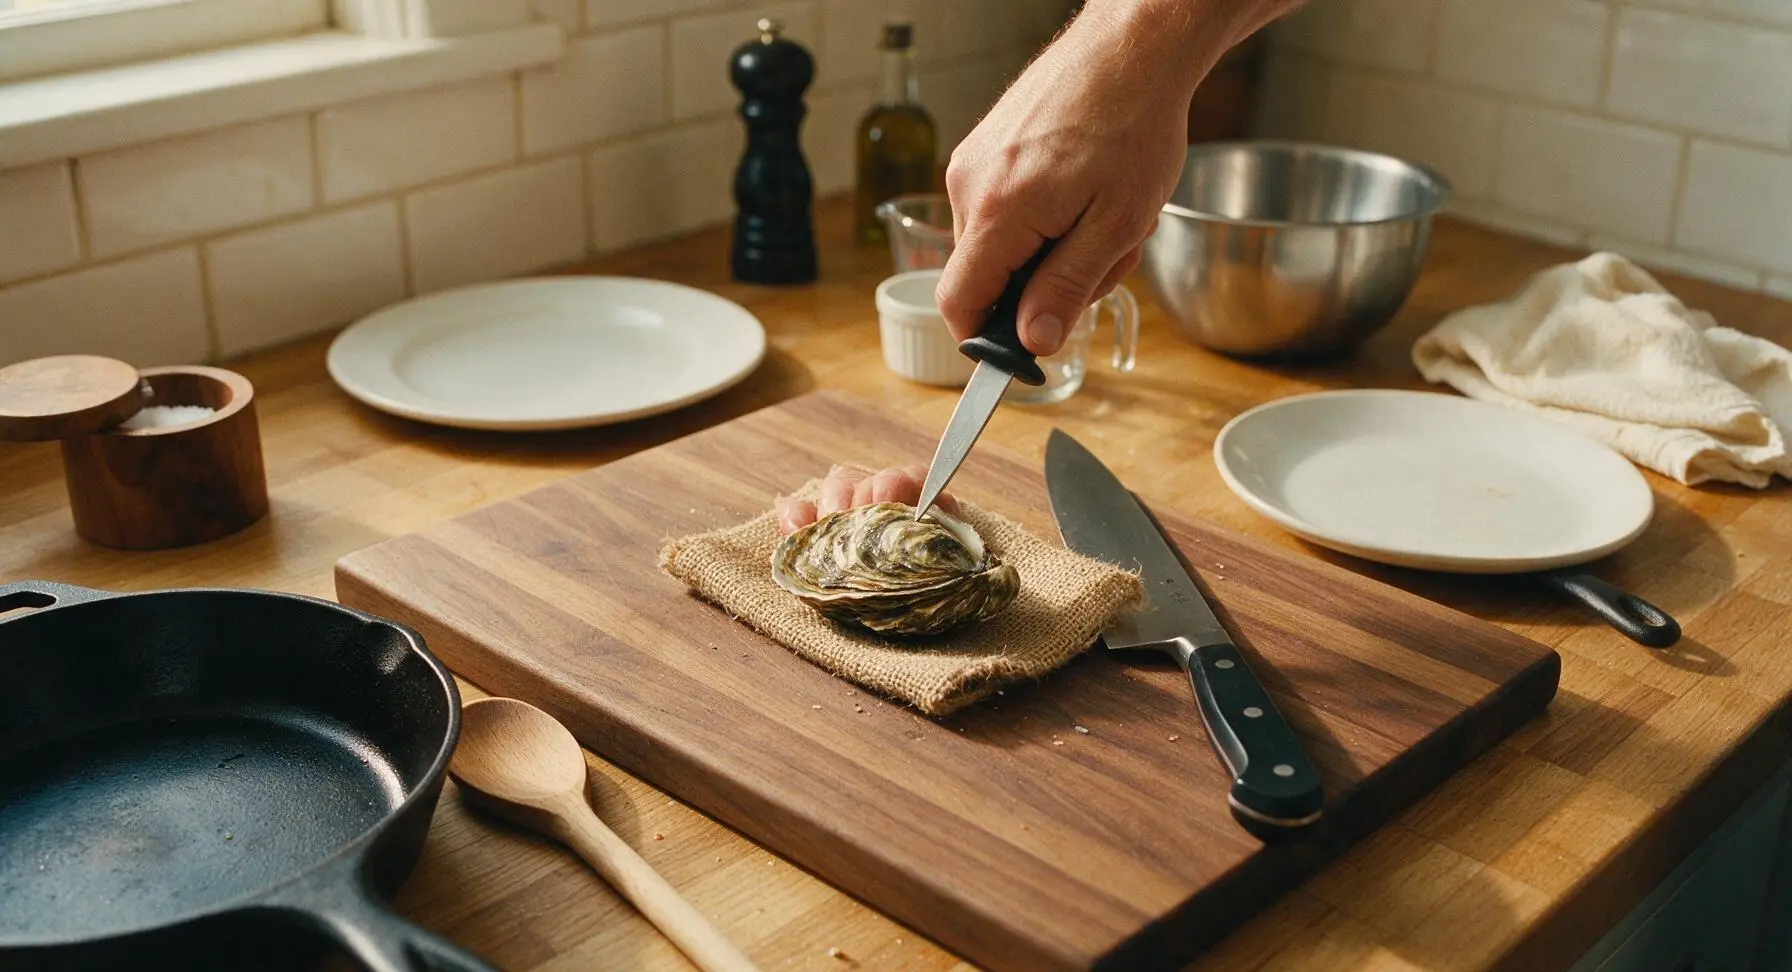
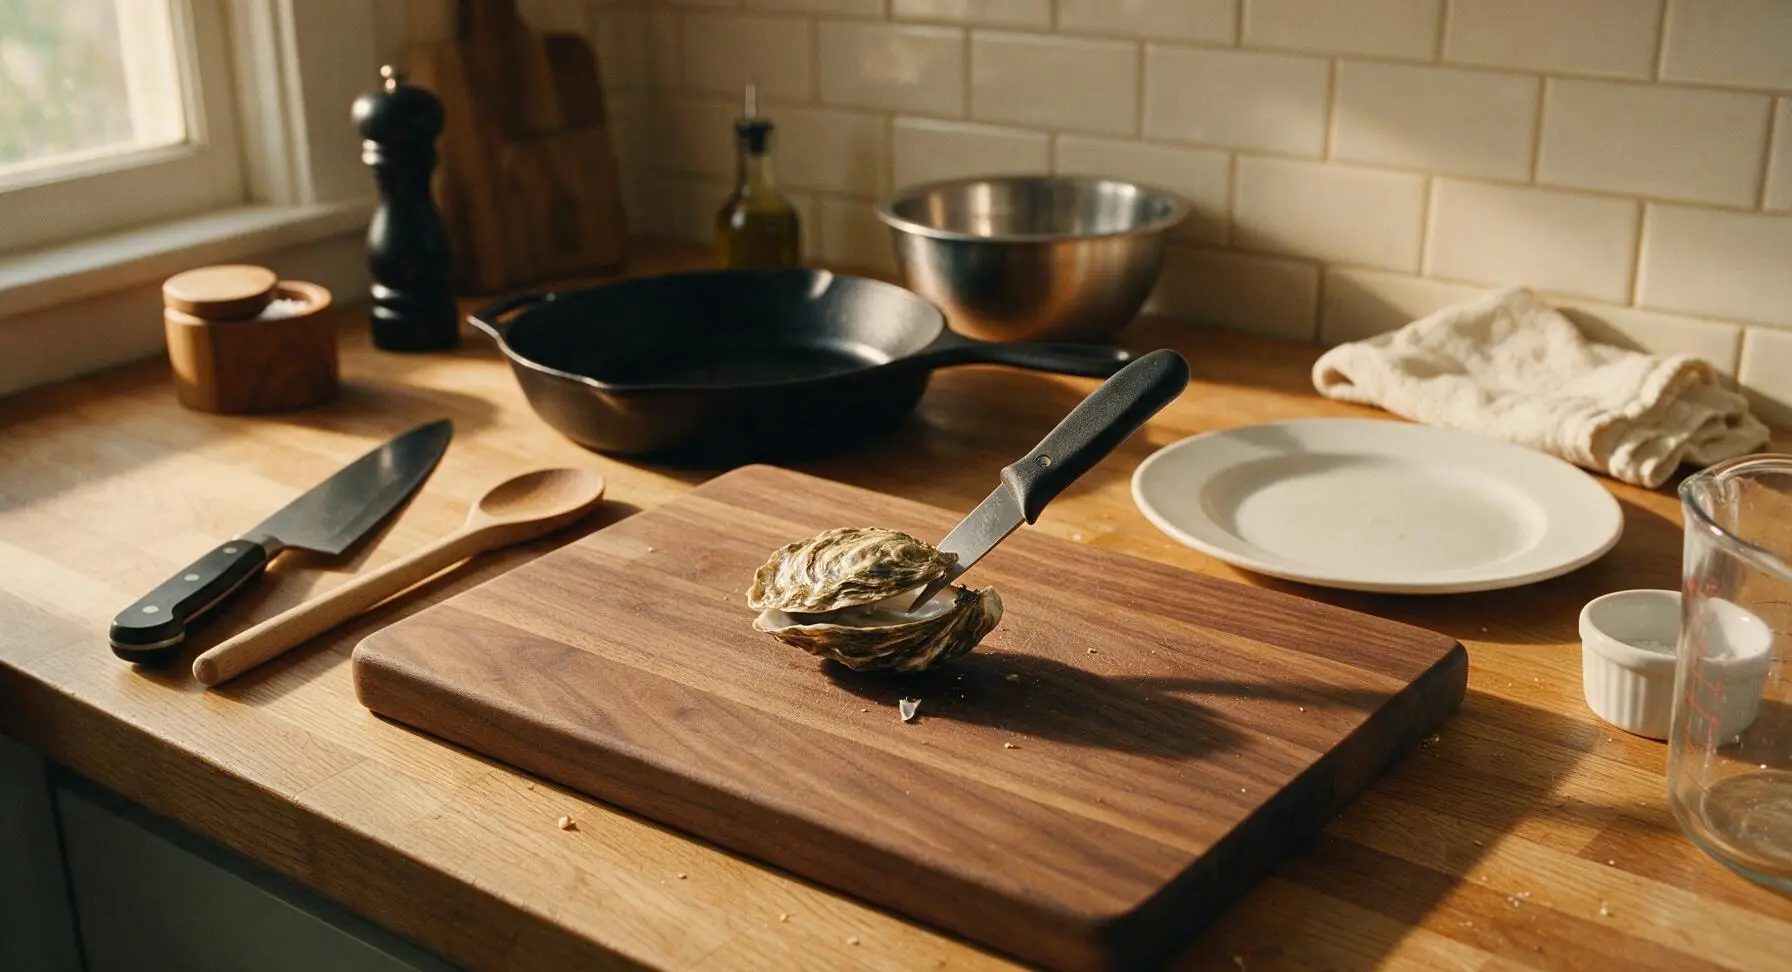
Release Oyster Meat
Once the hinge is popped, slide the flat edge of the shucking knife along the inside of the top flat shell to cut the upper adductor muscle holding the shell closed. Lift the top shell off and discard it into a small discard pile at the edge of the mat. Next, run the knife blade gently under the oyster meat in the bottom cupped shell to cut the lower adductor muscle, so the oyster sits loose in the shell but retains all of its clear, briny natural liquor. Pick out any tiny broken shell fragments with the knife tip and discard them.
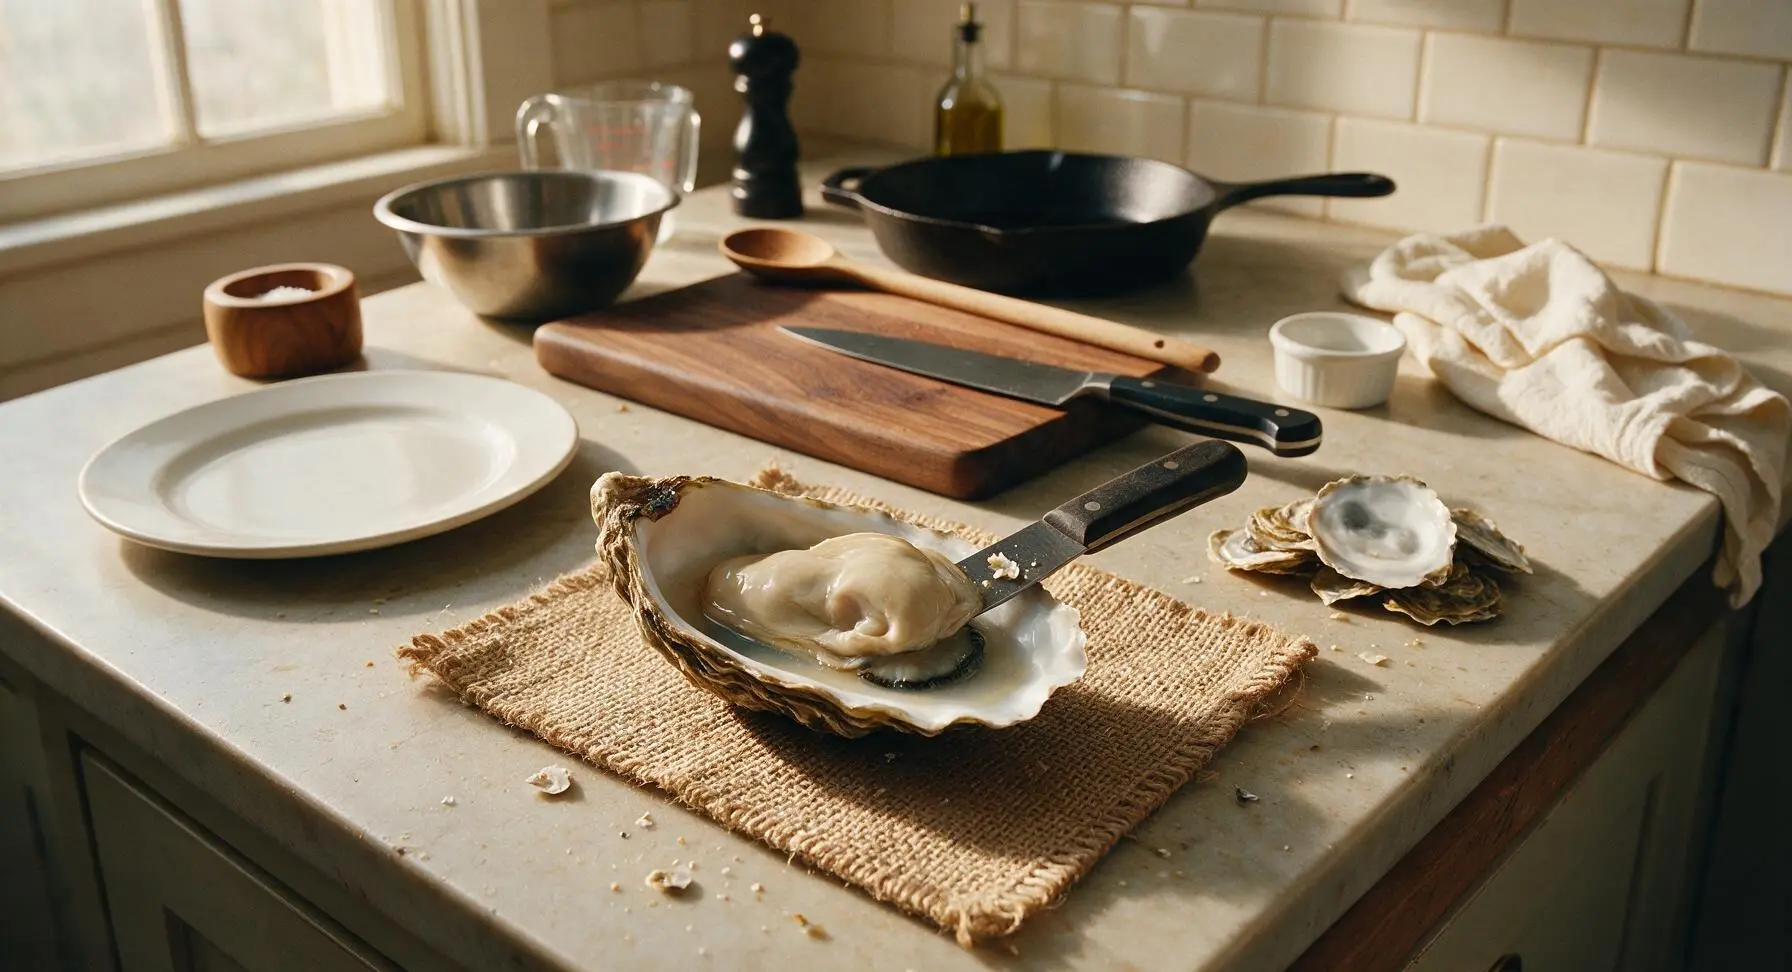
Arrange Oysters on Ice
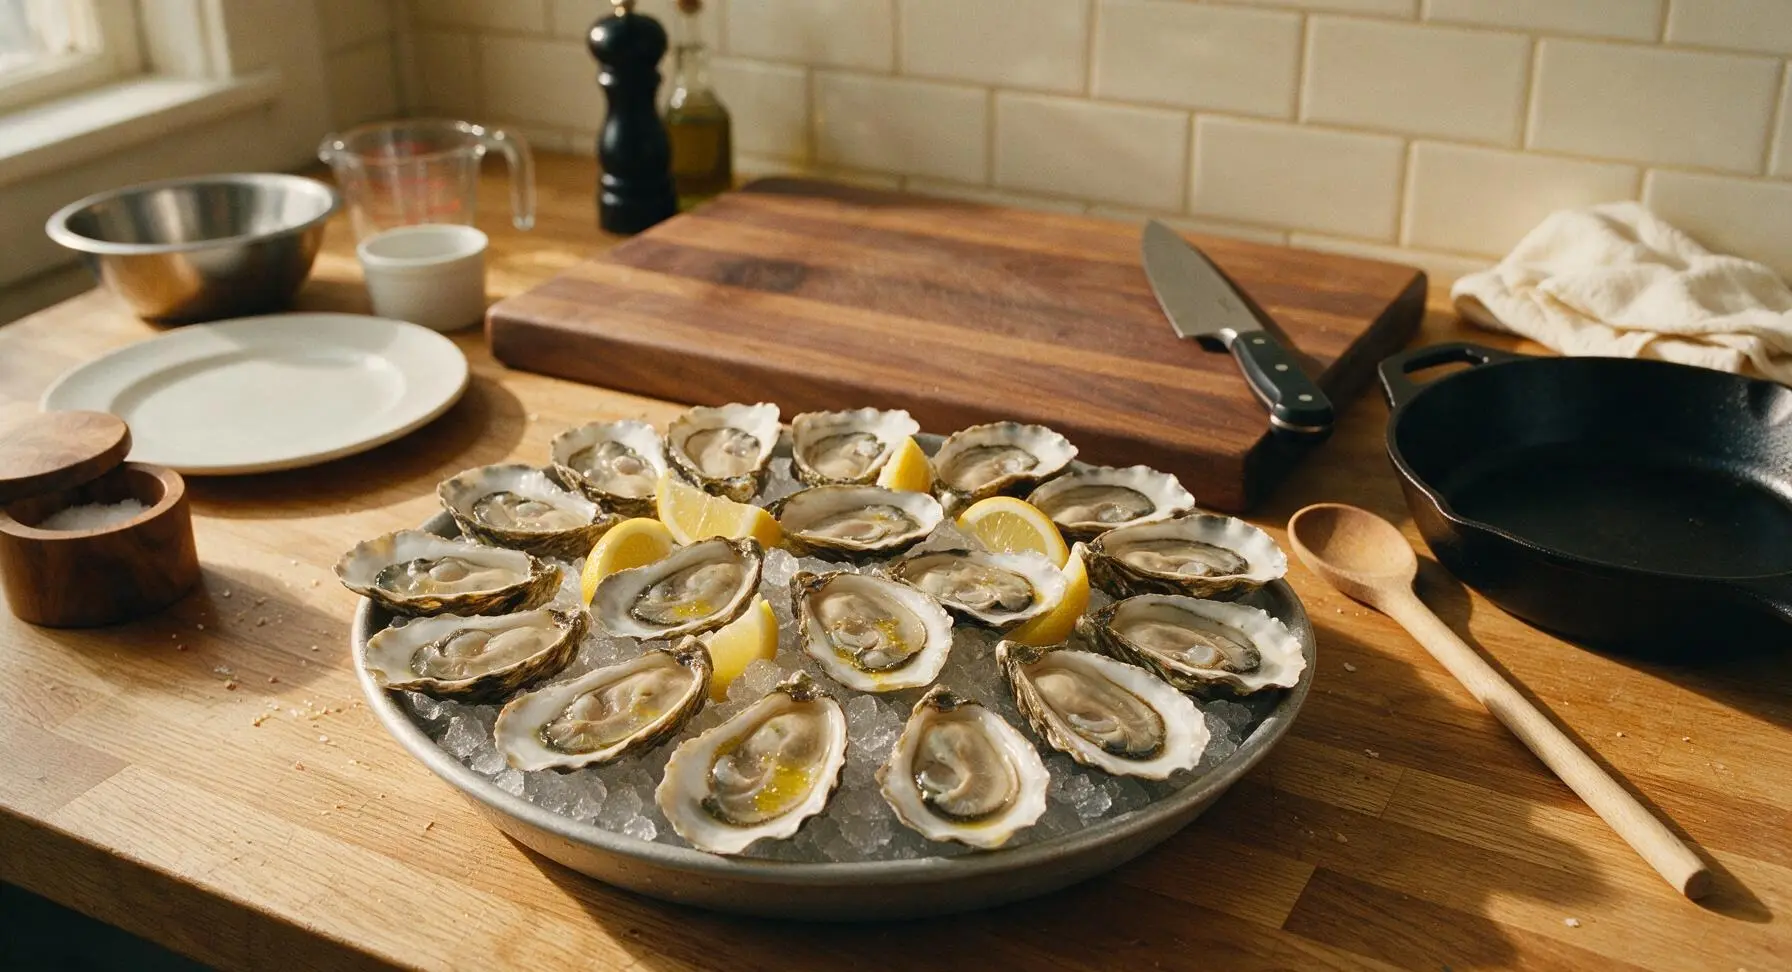
As each oyster is shucked and cleaned of shell fragments, lift the cupped bottom shell holding the oyster and its liquor, and nestle it firmly into the crushed ice bed on the chilled slate platter. Arrange oysters in a tight circular pattern, tilting each shell slightly so the briny liquor does not spill out. Leave 5cm gaps between every third oyster to hold lemon wedges later. Return the platter to the fridge between batches if the ice starts to melt.
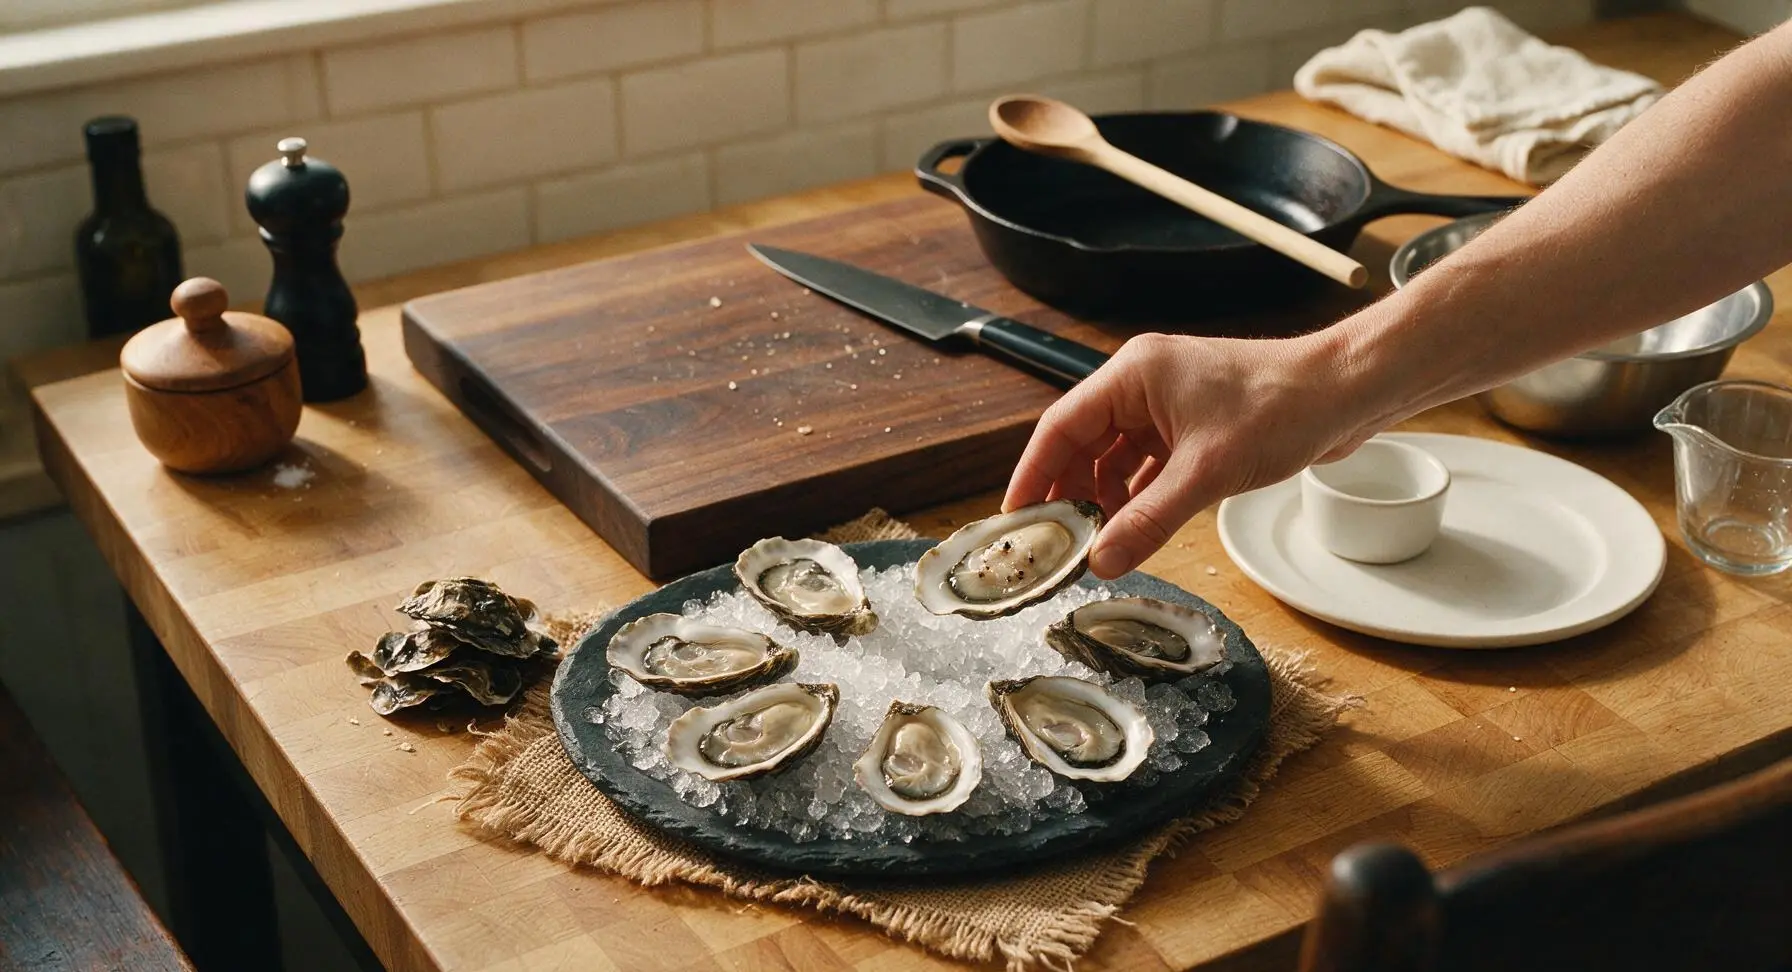
Cut Lemon Wedges
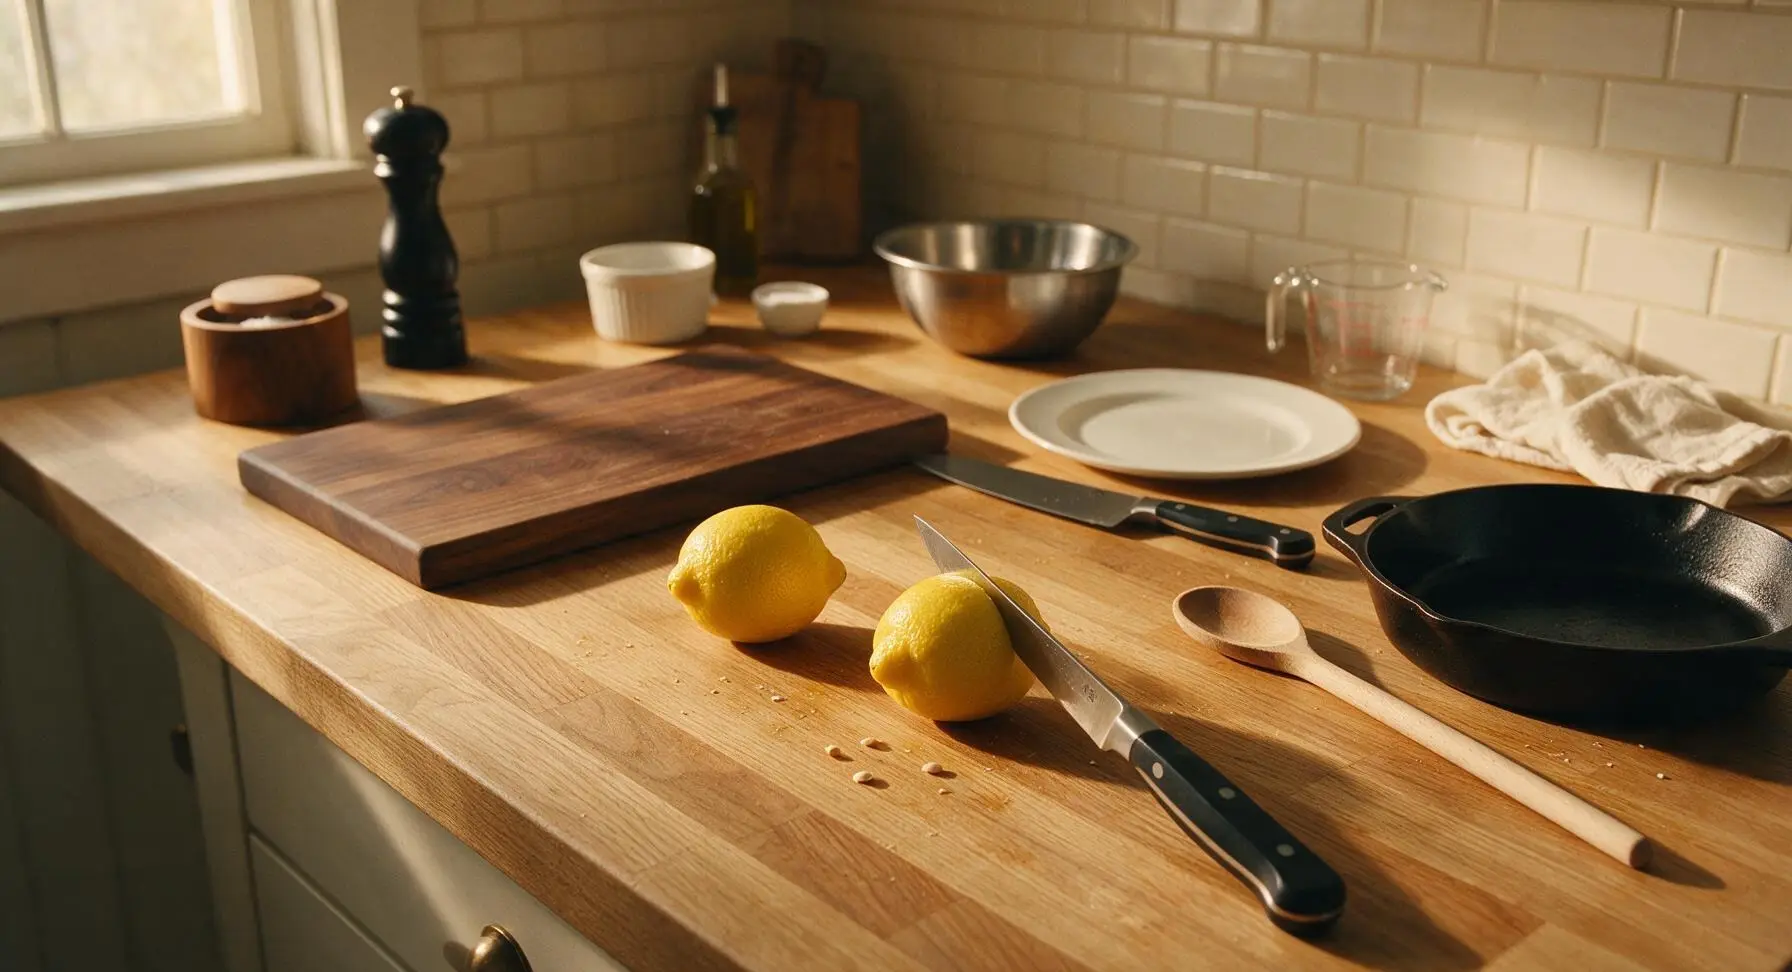
Once all oysters are arranged on the platter, rinse the 2 whole lemons under cool water and pat dry with the linen towel. Use the paring knife to cut each lemon into 6 equal wedges, picking out and discarding any visible seeds from the cut flesh with the knife tip. Hold each wedge 30cm above the platter and give it a light twist to release a fine mist of lemon oil over the oysters before tucking the wedges into the reserved gaps in the ice.
Serve Immediately
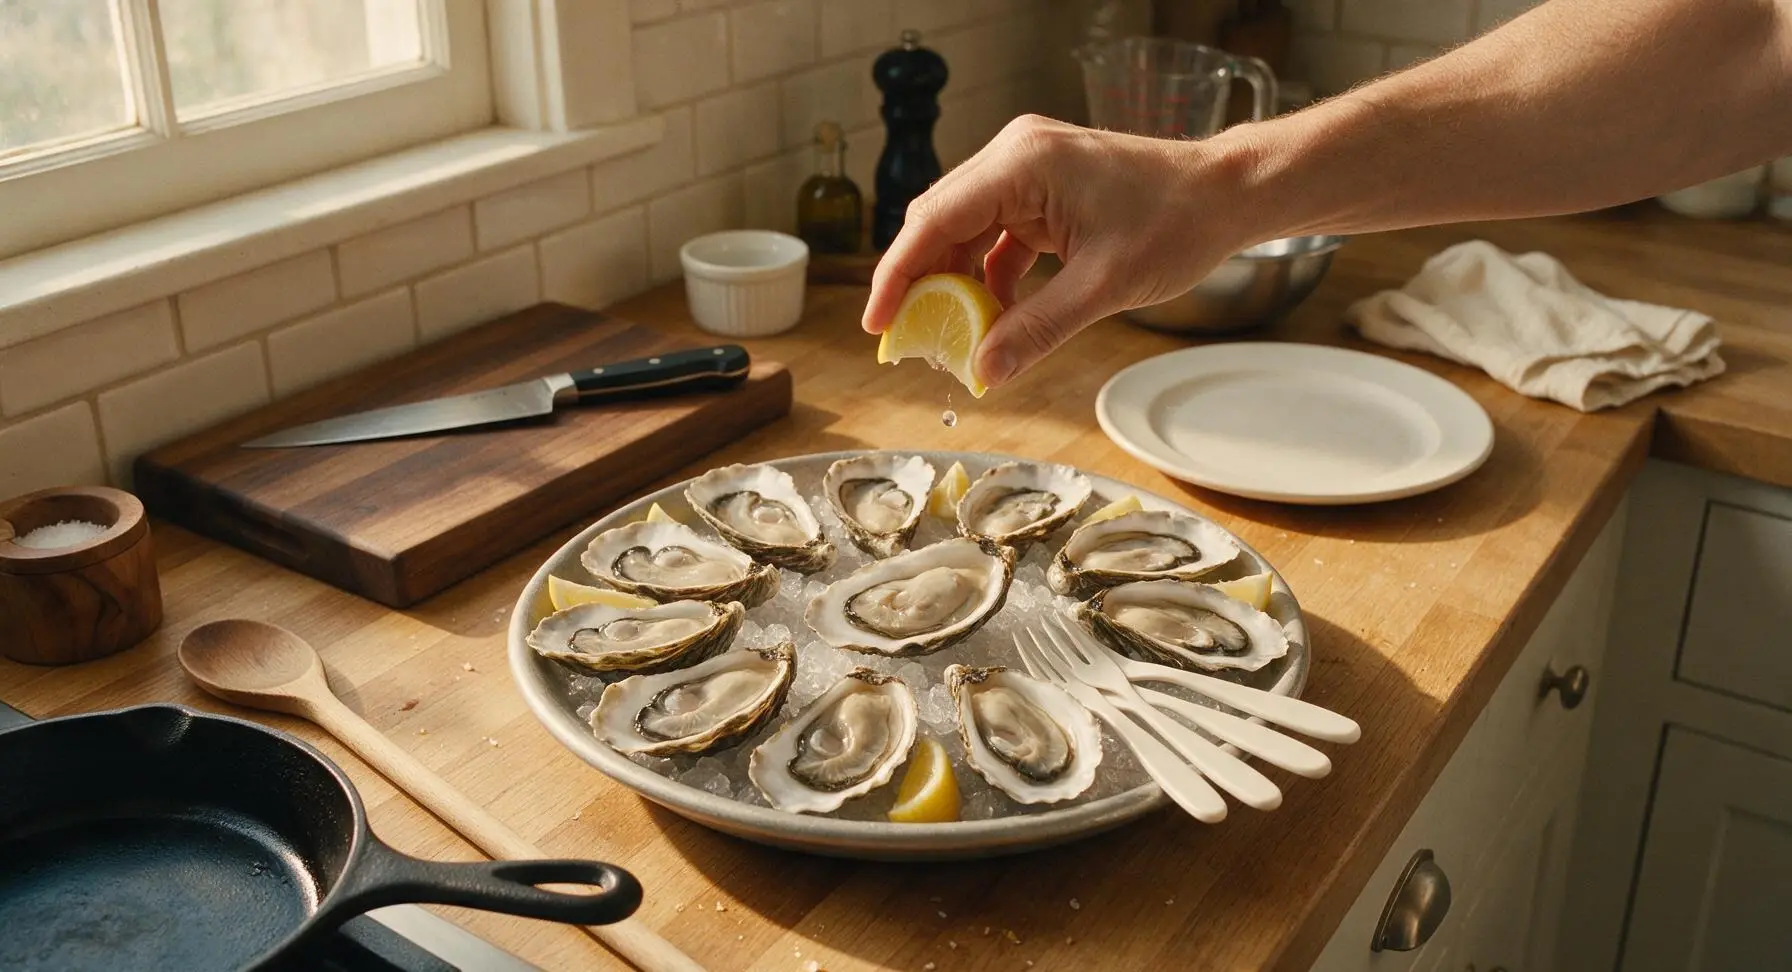
Right before serving, give each oyster a single light squeeze of lemon (roughly 1/4 teaspoon of juice per oyster) to brighten the briny flavor — do not douse the oysters in juice, as this will mask their delicate oceanic taste. Arrange the 4 matte white oyster forks on the right edge of the platter, and serve immediately while the oysters are ice-cold and the lemon is fresh.
Tips
2.Never pour out the clear oyster liquor (the salty, pale liquid inside the shell): this is the oyster's natural, flavorful juice, and it contains much of the briny, oceanic flavor that makes fresh oysters special. Keep as much of it in the shell as possible while shucking.
3.Keep everything ice-cold from start to finish: oysters taste best and stay safest when held at 40°F (4°C) or below. Chill the serving platter ahead of time, and return the platter to the fridge if you are shucking slowly or your kitchen is warmer than 70°F (21°C).






OMG I was so nervous to make raw oysters at home for my anniversary dinner but this was SO easy even with the medium difficulty rating! All I needed was super fresh oysters, ripe lemons, and a little basic shucking know-how! My husband said they tasted exactly like the ones we get at our favorite coastal spot down in Galveston. Total game changer, no more paying $3 a pop at restaurants for the exact same thing!
I brought these to my neighborhood block party potluck last weekend and they were gone in 10 minutes flat! I squeezed a little extra fresh lemon and added a tiny pinch of lemon zest on top for brightness, everyone was hounding me for the recipe. My kids even snuck a couple before we left the house, which shocked me because they usually turn their nose up at any kind of seafood!
Wait hold on, zero cook time? That is my kind of weeknight recipe! I picked up a dozen oysters on my way home from work today, grabbed a bag of lemons from the bodega, and had a fancy little appetizer ready before my oven even preheated for the pasta main. Knocked a star off only because I’m terrible at shucking and made a huge briny mess all over my counter, but the flavor was SO good, totally perfect. Will be making this every other Friday for at-home date night!
Grew up eating oysters straight off the boat with my grandpa out on the Gulf Coast, and this no-fuss lemon prep is exactly how we used to eat them. No fancy mignonette, no drowning them in hot sauce, just fresh briny oyster and bright, tart lemon. Tastes like childhood summer weekends out on the water, can’t beat a classic done right.