
parmesan grilled cheese

title 1
parmesan grilled cheese
⏱️ cook time 8 minutes
🍽️ servings 2
⚡ Difficulty easy

intro

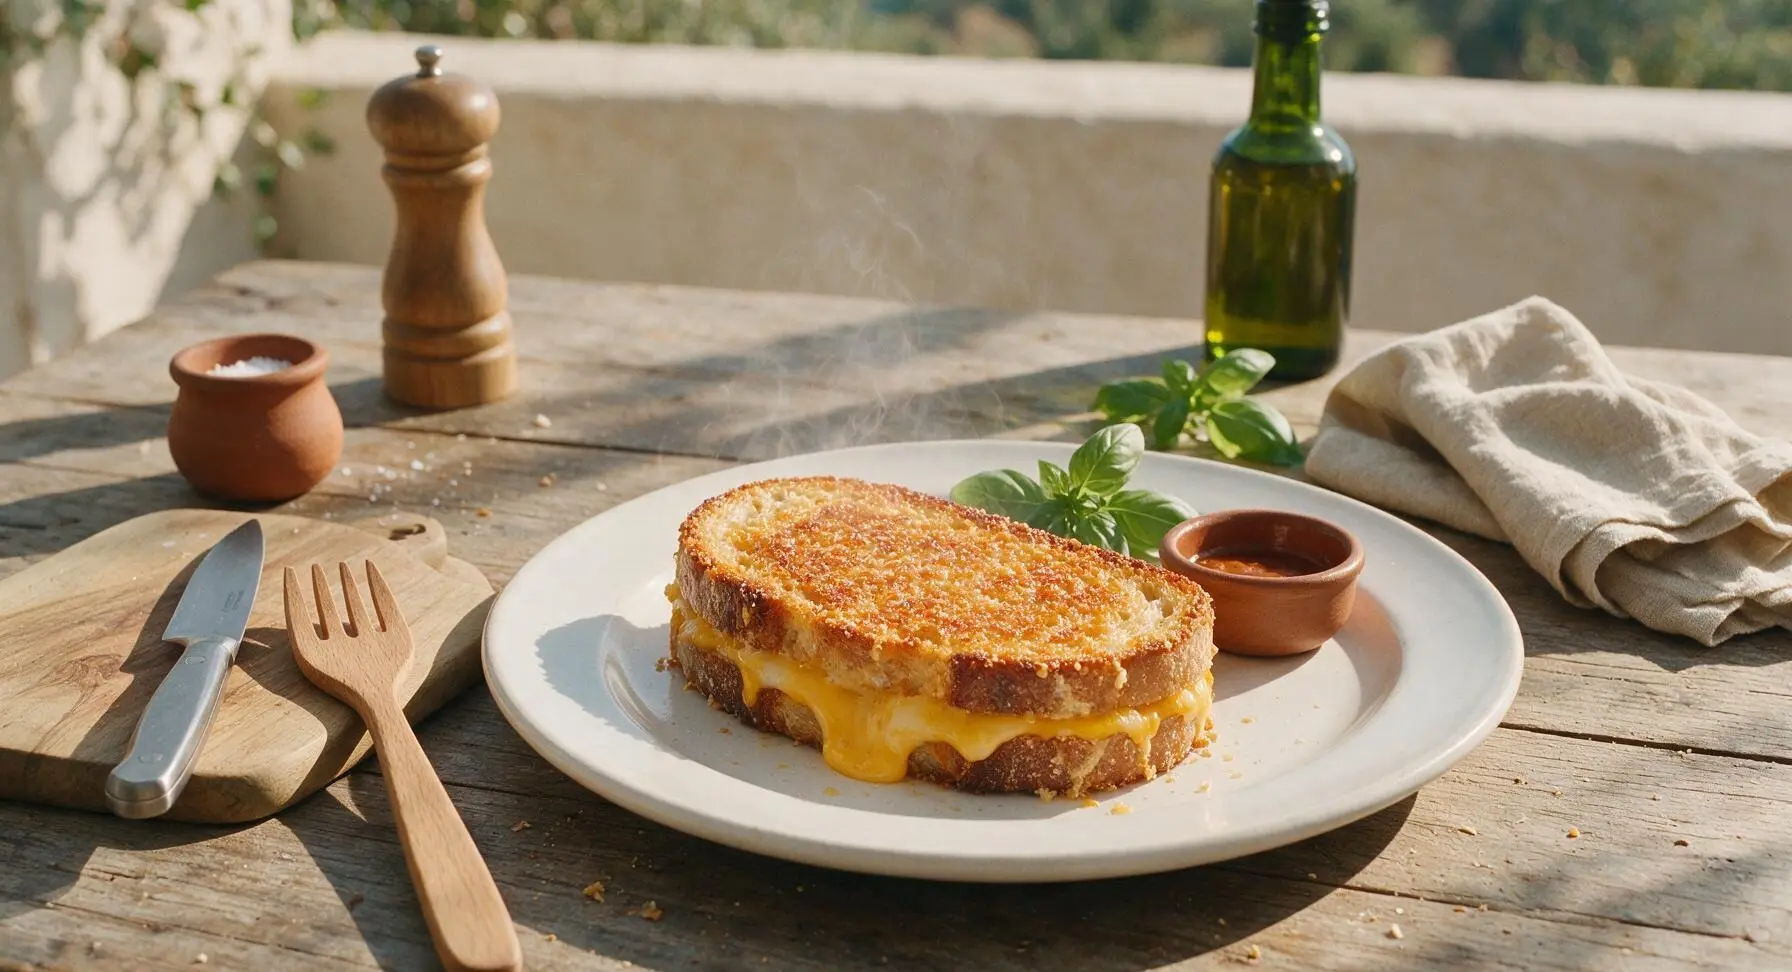
Crispy parmesan-crusted sourdough oozing with melted sharp cheddar, this elevated take on classic grilled cheese is nutty, golden, and perfectly cozy for cold days.

Ingredients
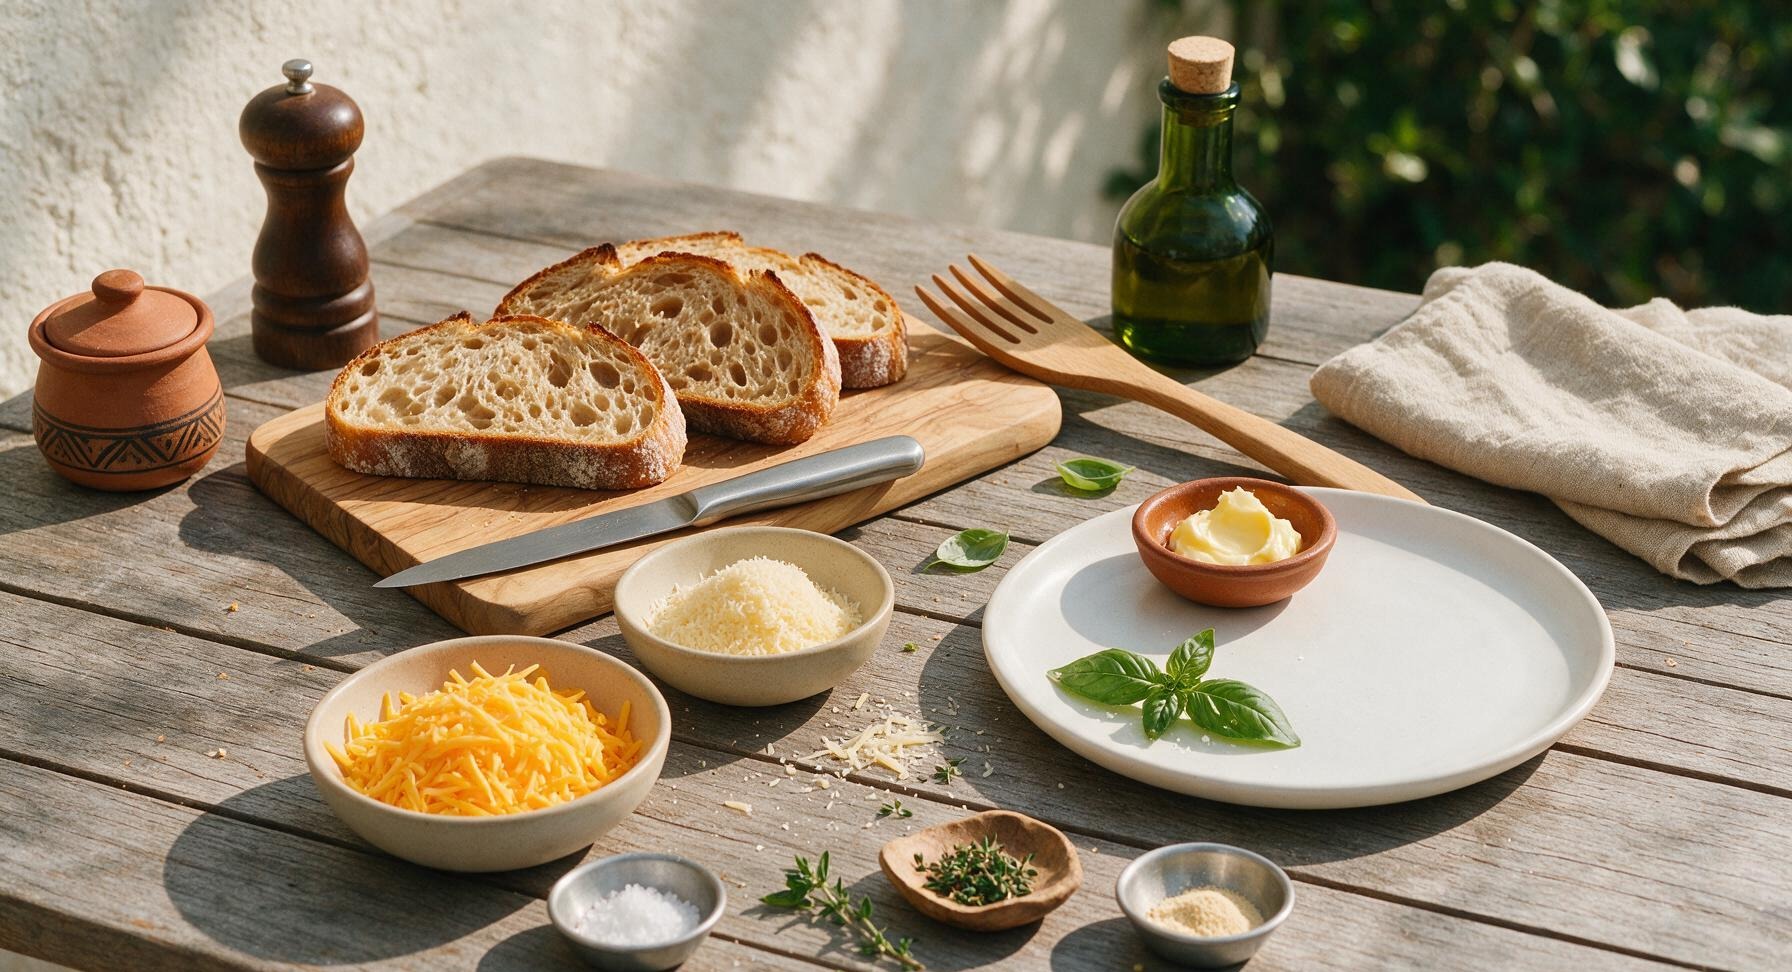
Sourdough bread 4 slices (160g total)
Unsalted butter, softened 2 tbsp (28g)
Aged parmesan cheese 1/3 cup (35g), finely grated
Sharp cheddar cheese 1 cup (113g), shredded
Flaky sea salt 1/4 tsp
Fresh thyme 1 tsp (2g), chopped
Garlic powder 1/8 tsp

Steps

1

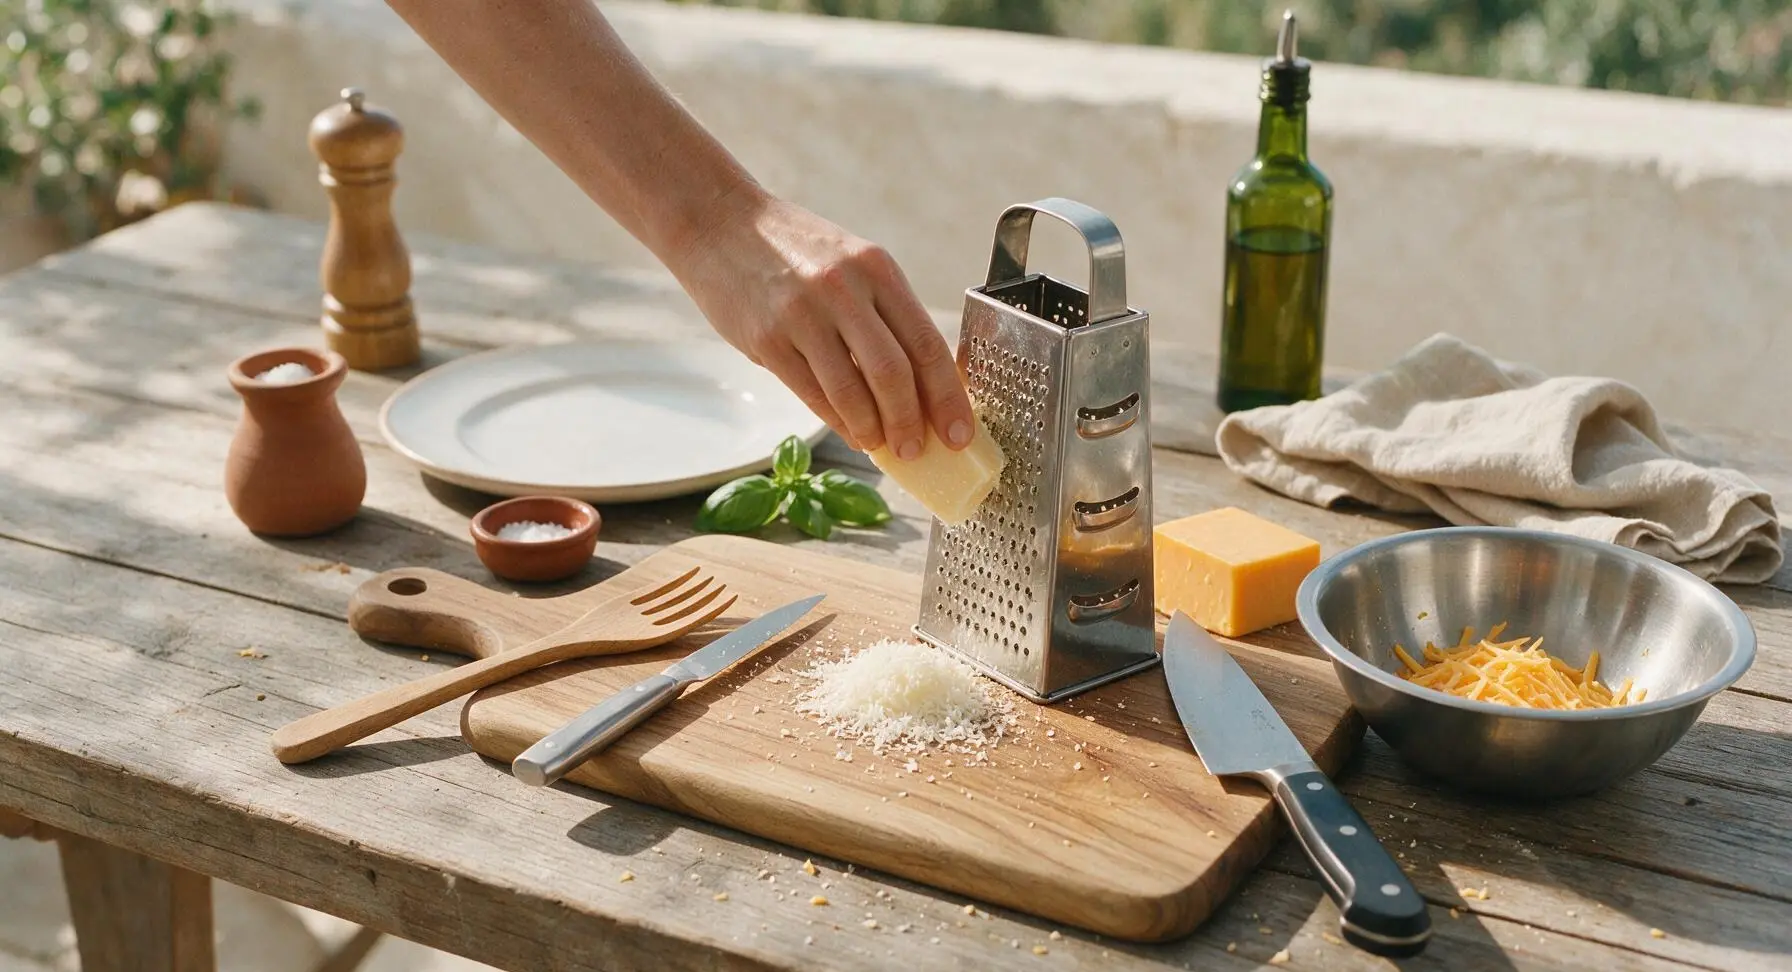
Grate the cheeses

Set the light maple cutting board at center counter, and place the stainless steel box grater on top. Finely grate all 35g of parmesan using the smallest holes of the grater, then shred all 113g of sharp cheddar using the larger grating holes. Transfer both grated cheeses to the small stainless steel mixing bowl, add the 1/8 tsp garlic powder and 1 tsp chopped fresh thyme, and toss until evenly combined. Set the bowl aside.
Step 1
step1:Grate the cheeses
2

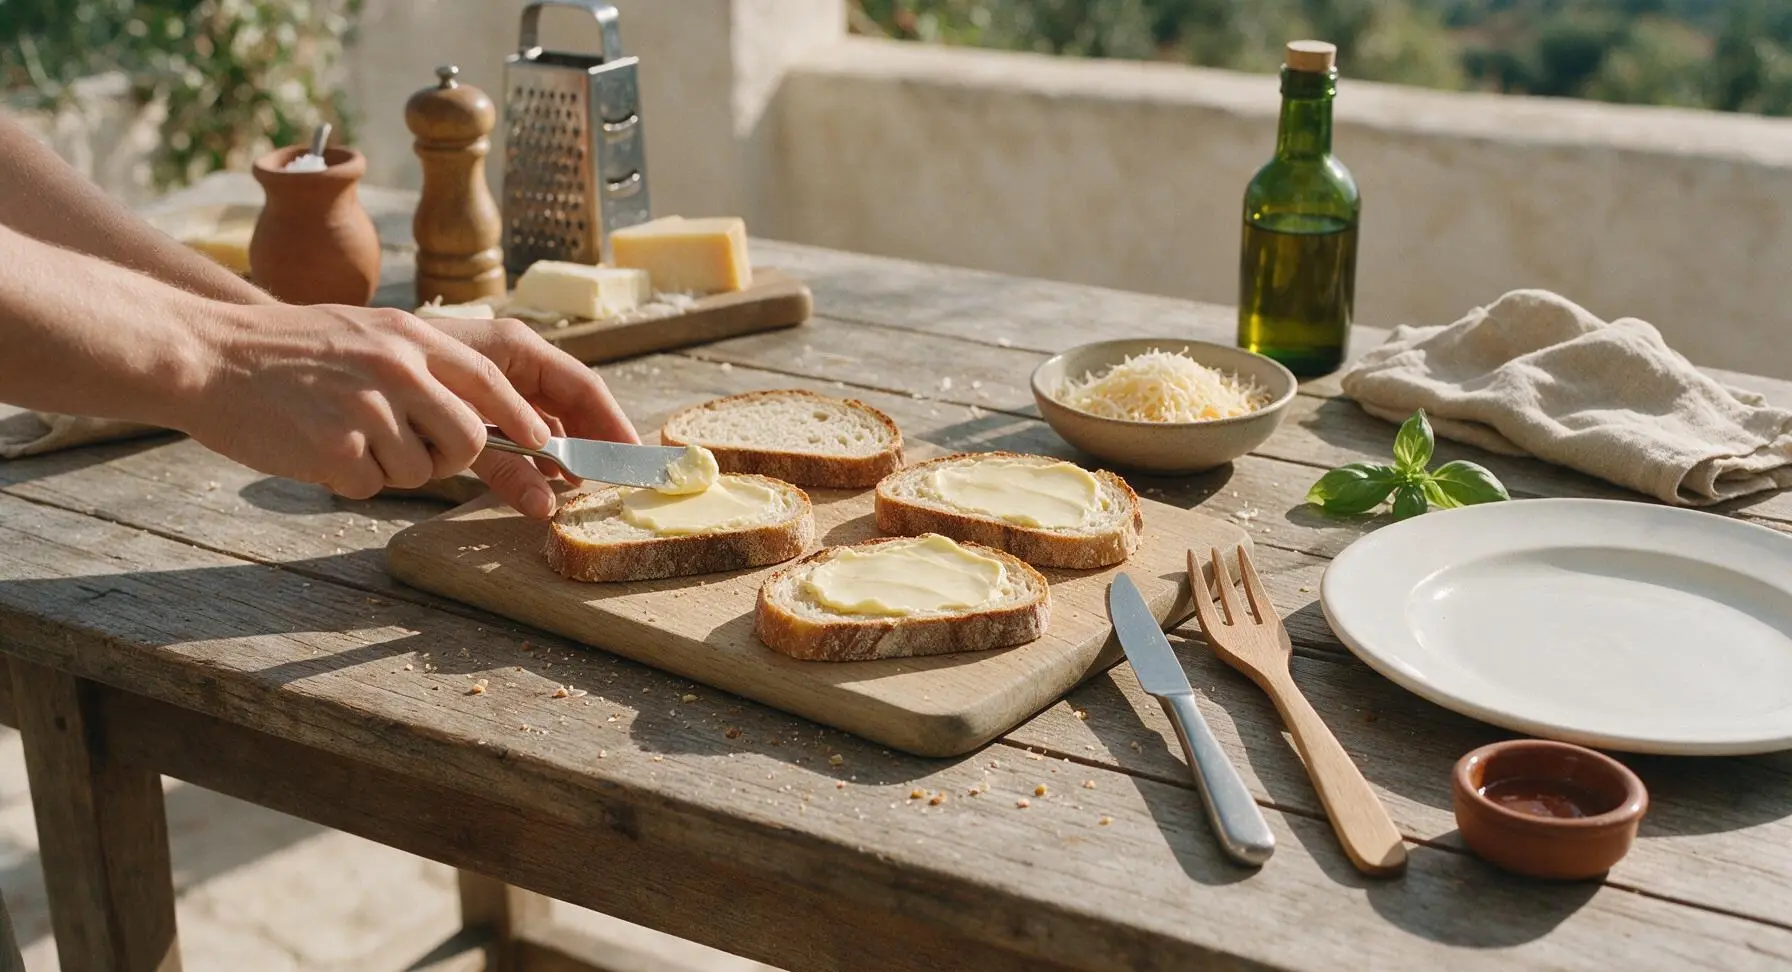
Butter the bread slices

Lay all 4 sourdough slices flat on the maple cutting board. Use the stainless steel butter spreader to spread 1/2 tbsp (7g) of softened unsalted butter evenly across one entire side of each bread slice, spreading all the way to the crust edges to ensure even, gap-free crisping. Keep all slices buttered-side up as you work, as these buttered sides will form the outer crust of the sandwich.
Step 2
step2:Butter the bread slices
3

Add parmesan crust

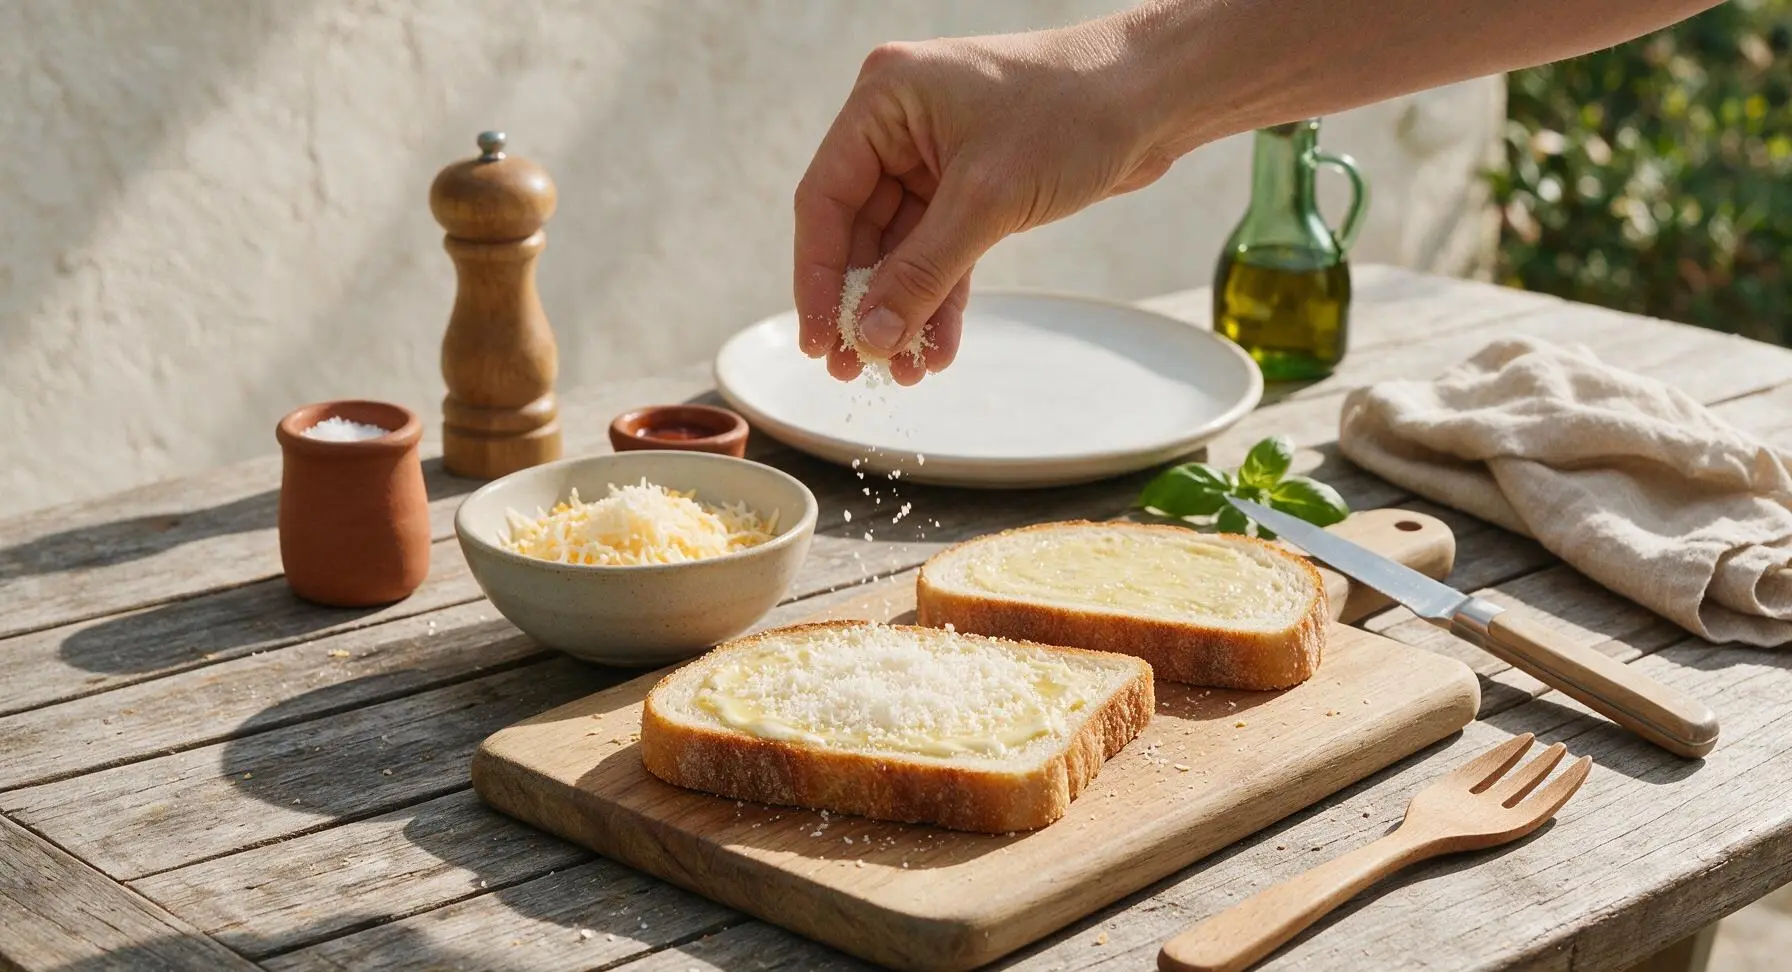
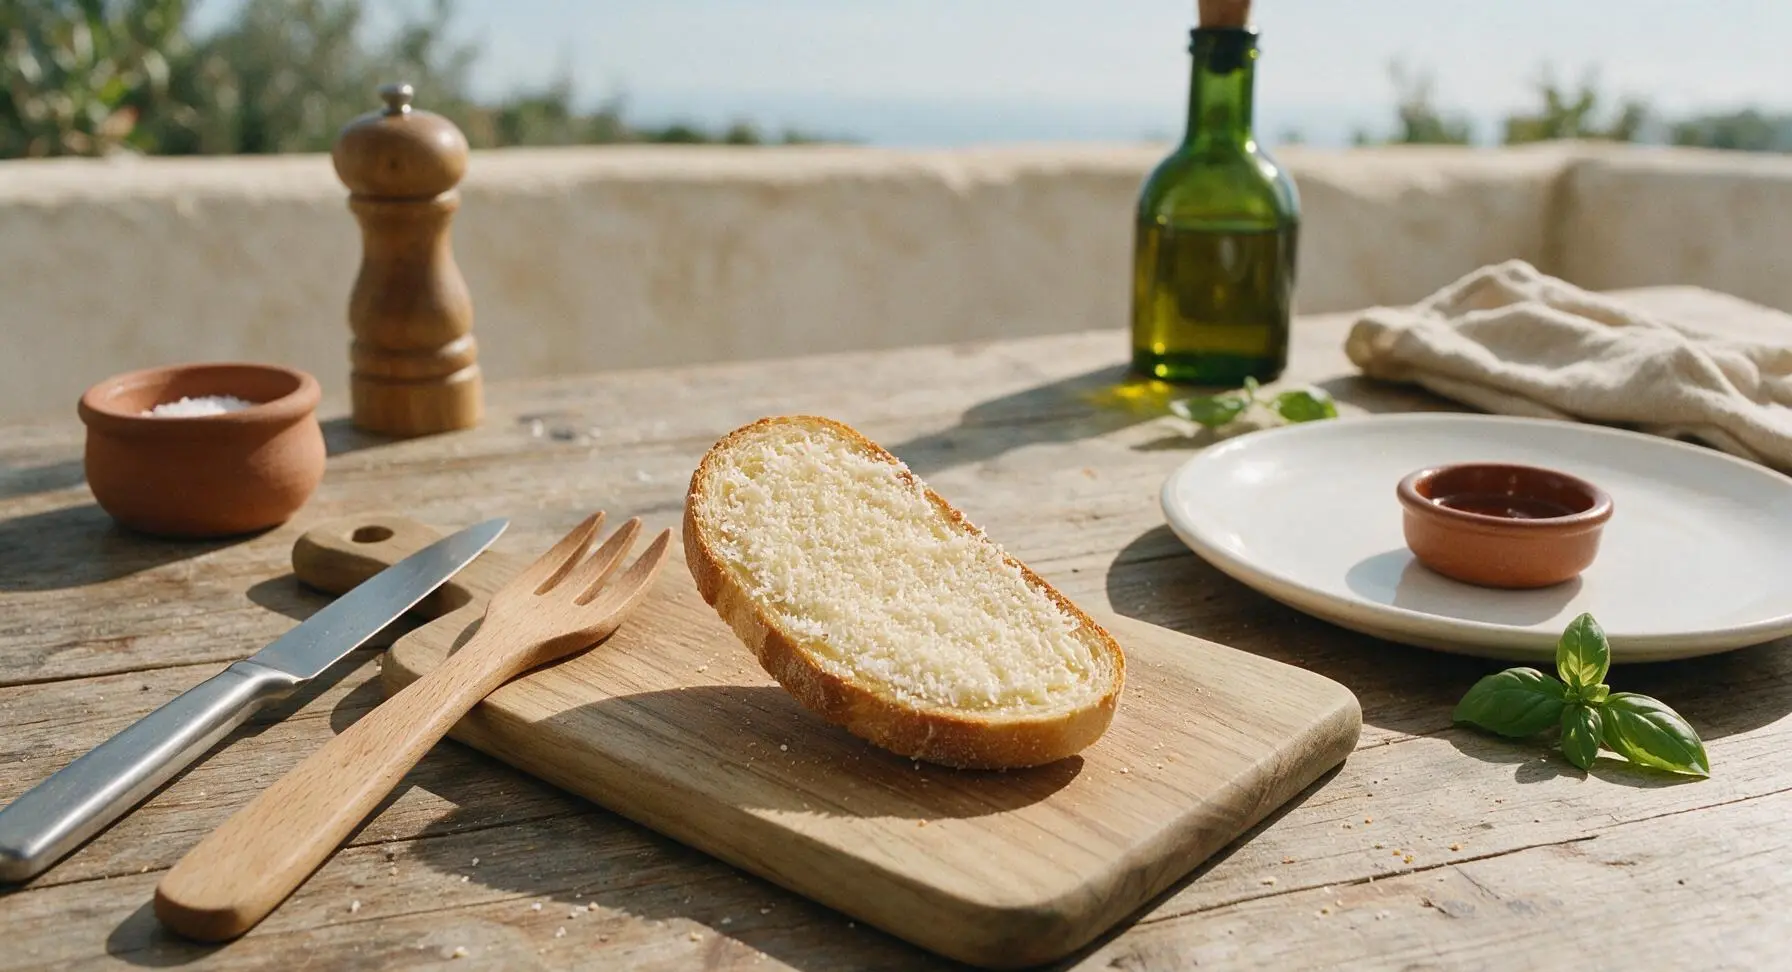
Sprinkle 1 tbsp of the finely grated parmesan (reserved from the mixed bowl) evenly over each buttered bread surface, pressing gently with your fingertips so the parmesan adheres firmly to the butter—this creates the signature crispy, nutty crust. Carefully flip all 4 slices over so the parmesan-coated, buttered side faces down on the cutting board.
Step 3
step3:Add parmesan crust
Step 3
step3:Add parmesan crust
4

Assemble the sandwiches

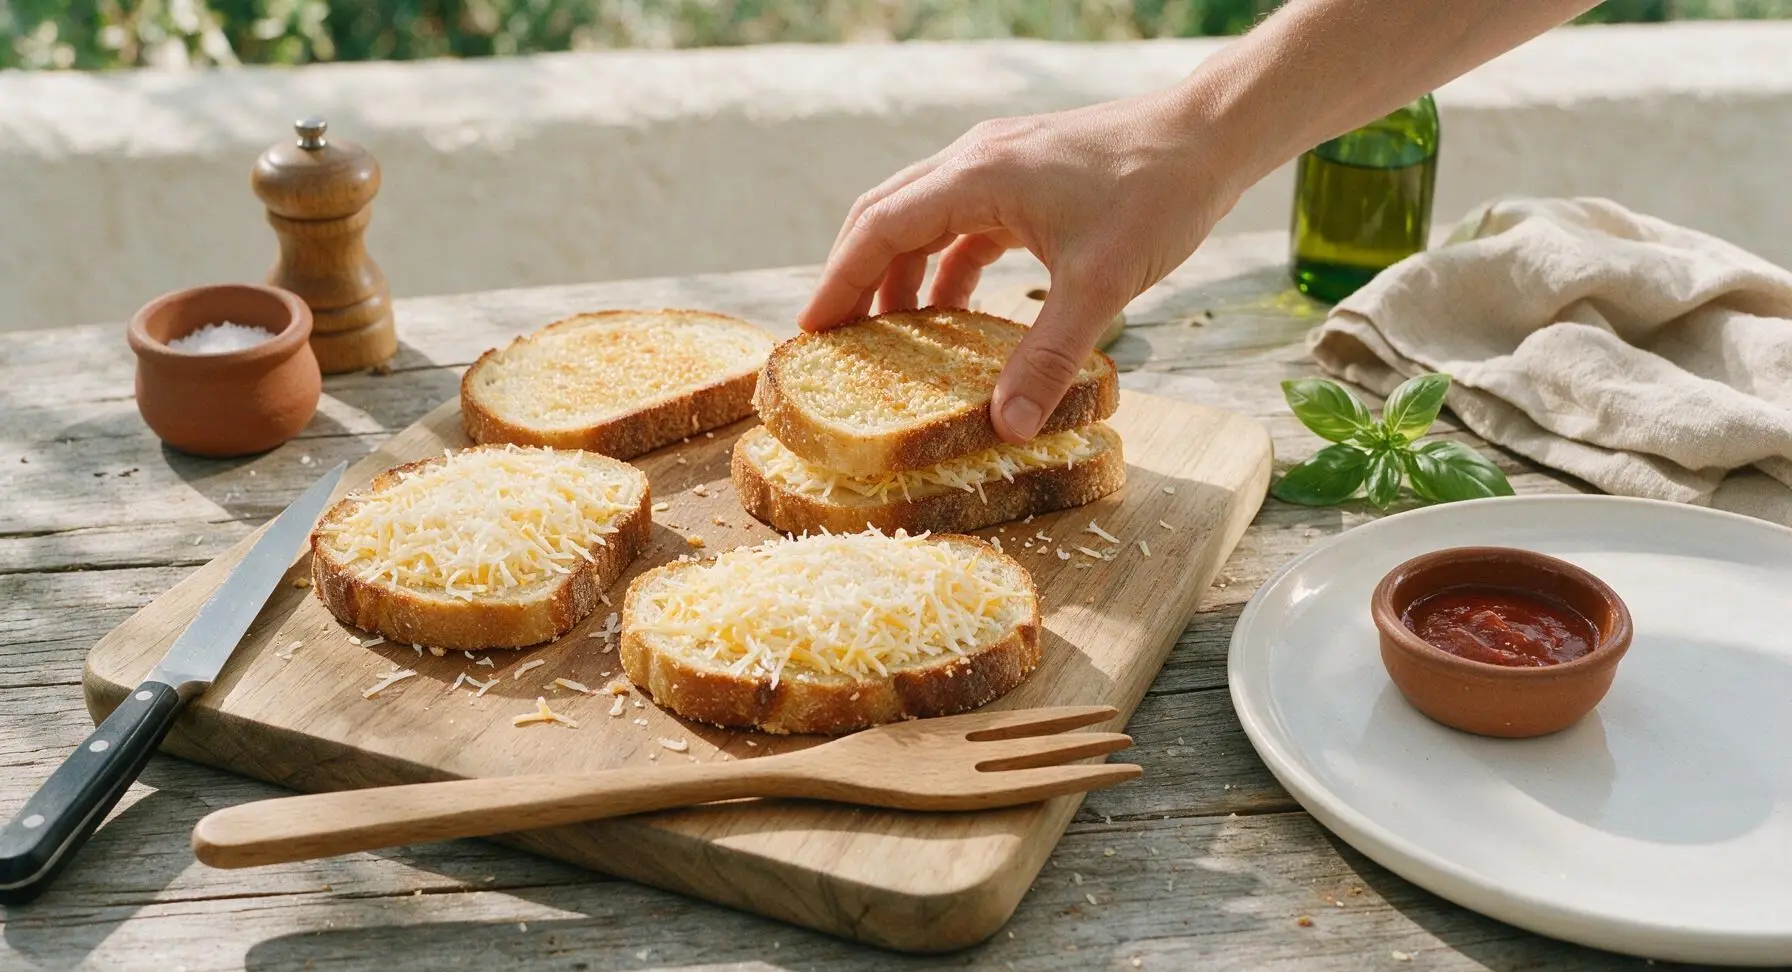
Divide the remaining shredded cheddar and parmesan mixture evenly between two of the flipped bread slices, mounding it slightly in the center and leaving a 1/4-inch border from the crust to prevent cheese from oozing out as it melts. Top each cheese-covered slice with the remaining two bread slices, so the parmesan-crusted sides face outward on both the top and bottom of each sandwich. Press down gently on each sandwich to help the layers adhere.
Step 4
step4:Assemble the sandwiches
5

Preheat the skillet

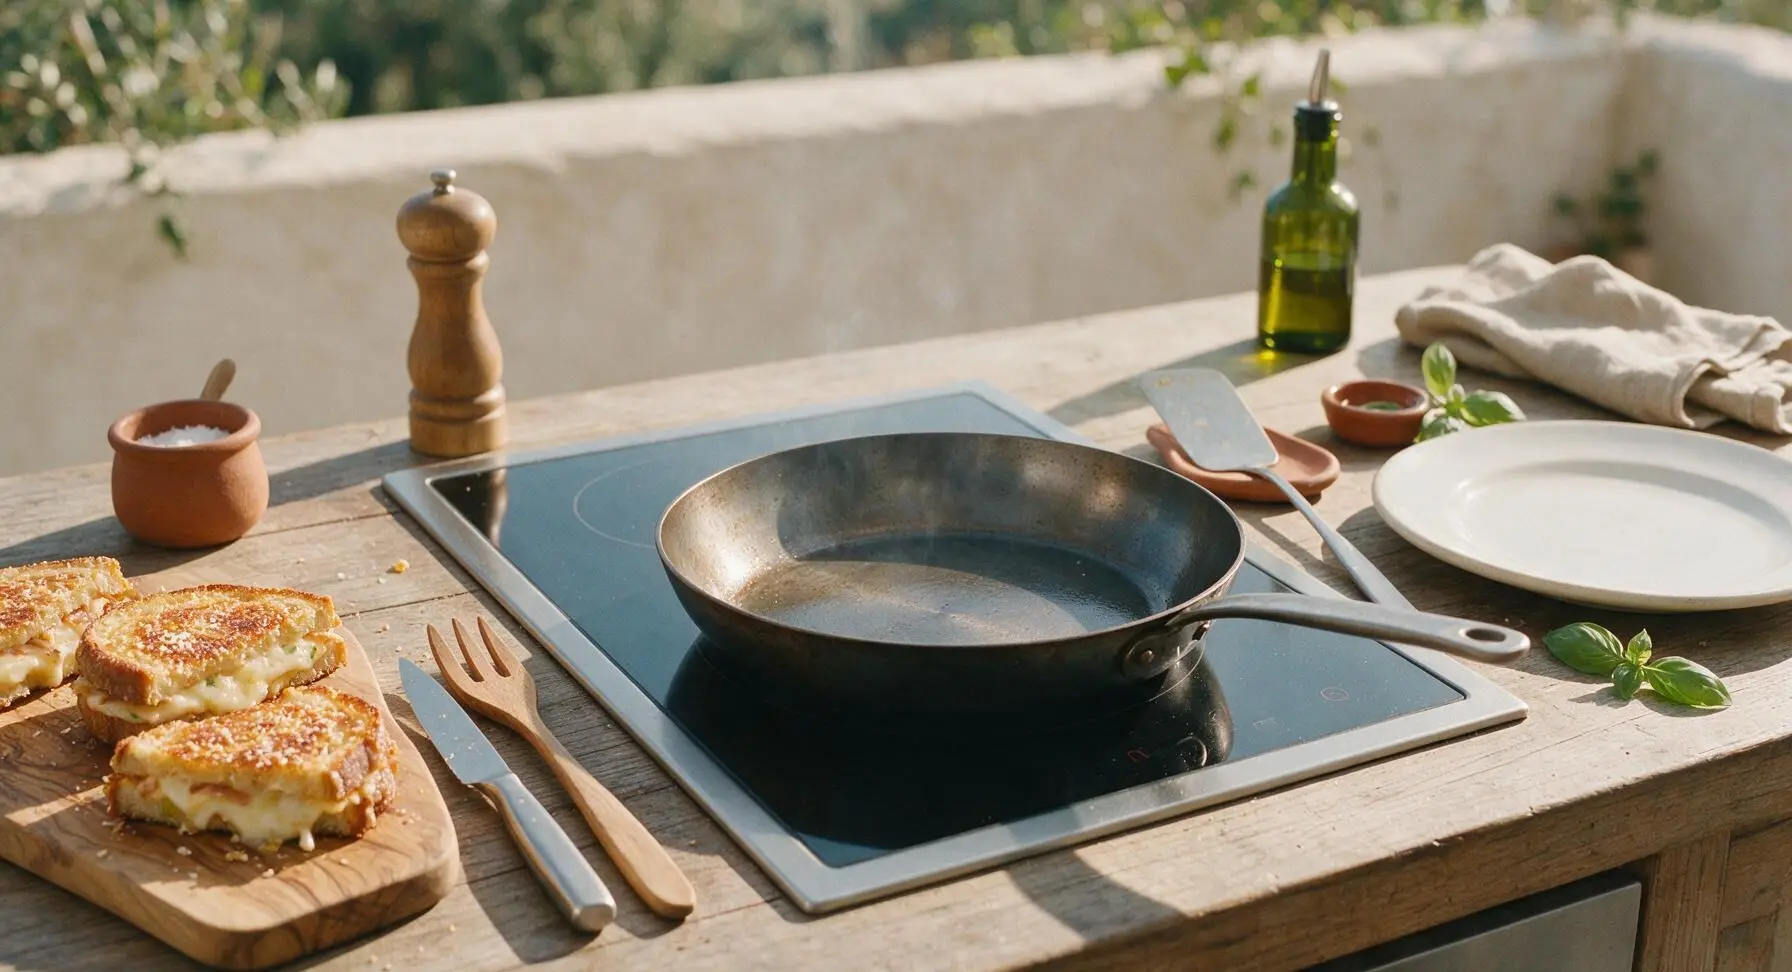
Place the 10-inch seasoned carbon steel skillet on the center of the flush induction cooktop over medium-low heat (325°F / 160°C). Let the pan preheat for 2 full minutes—do not use higher heat, as the parmesan crust will burn before the cheese inside fully melts. No extra butter is needed in the pan, as the butter on the bread crust is sufficient for crisping.
Step 5
step5:Preheat the skillet
6

Grill the first side

Carefully transfer both assembled sandwiches to the preheated skillet using the thin metal spatula. Cook for 3 full minutes without moving the sandwiches, until the bottom parmesan crust is deep golden brown and crispy, and the cheese at the edges just starts to bubble and melt. Do not press down on the sandwiches with the spatula while cooking, as this will squeeze out melted cheese and lead to a dry filling.
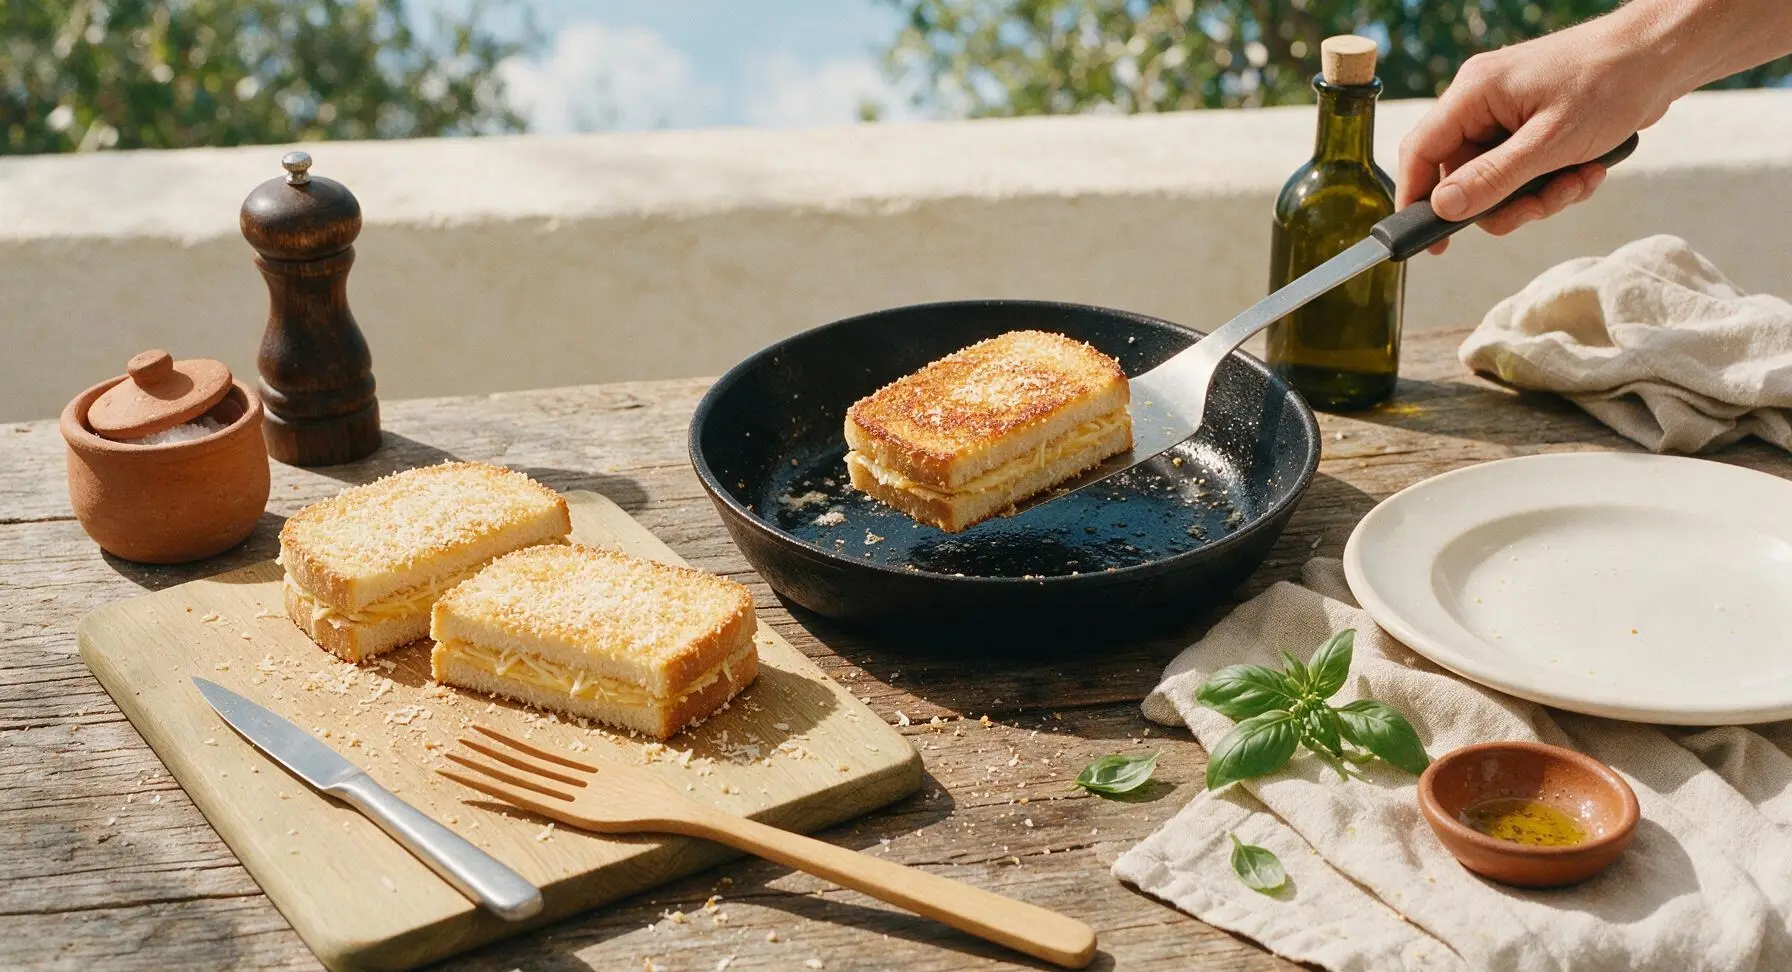
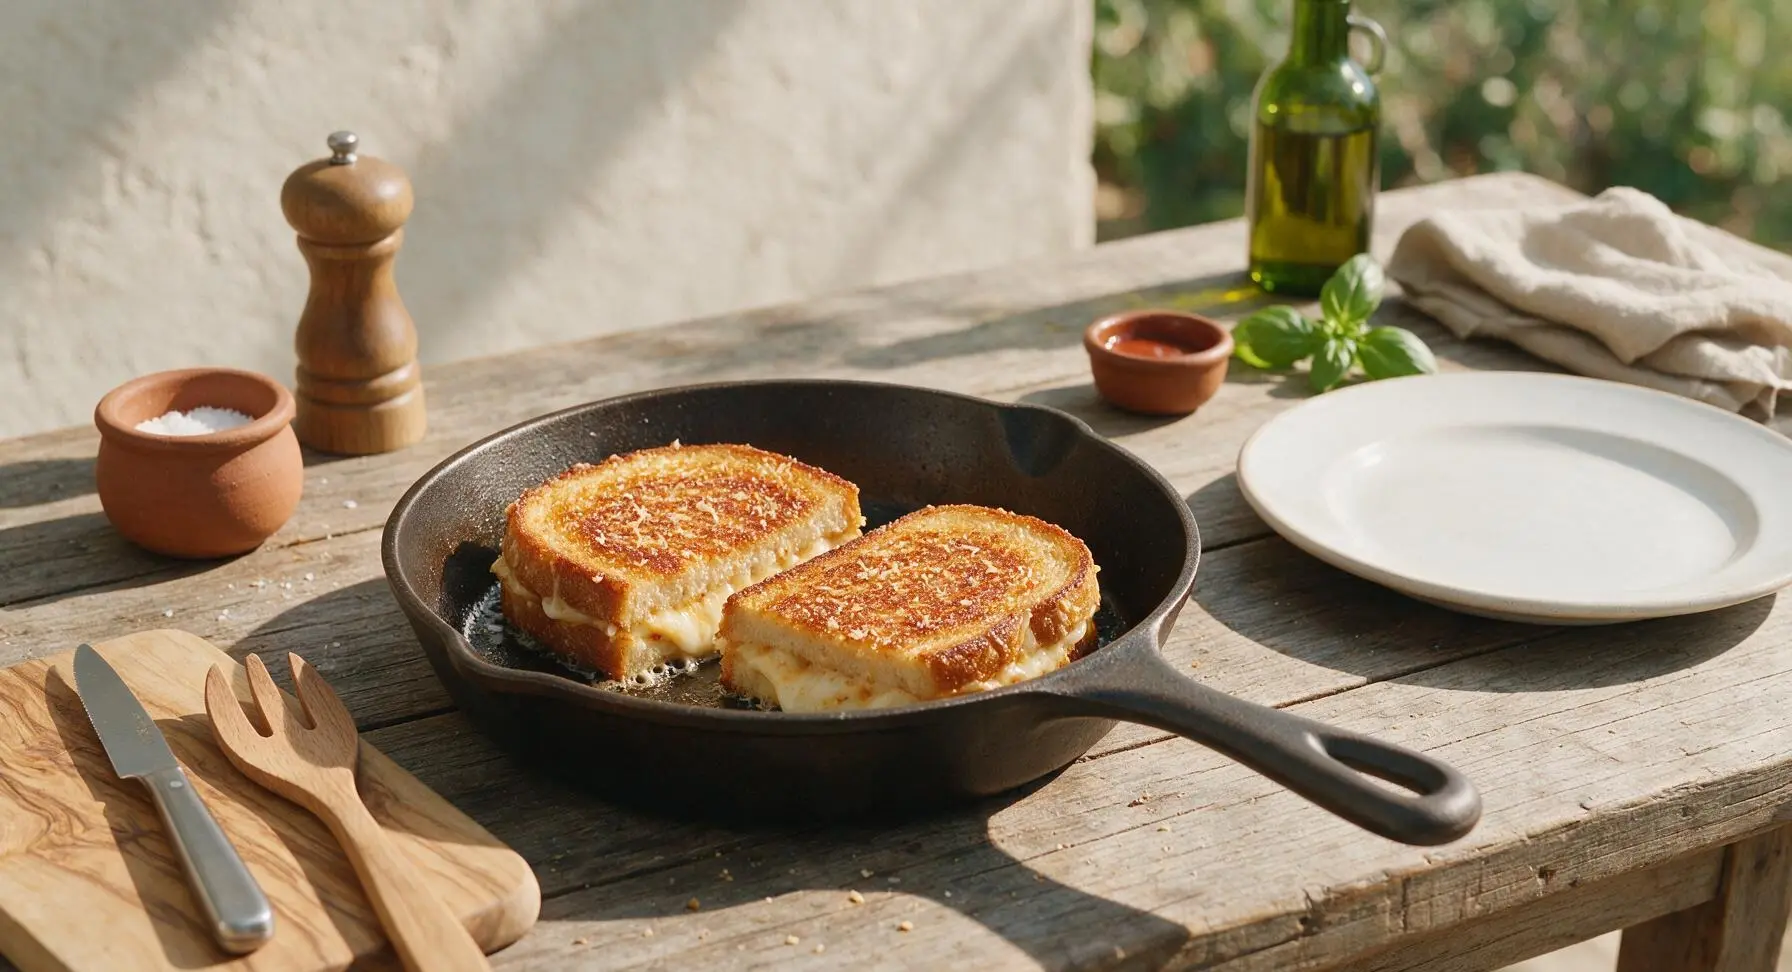
Step 6
step6:Grill the first side
Step 6
step6:Grill the first side
7

Flip and cook second side

Slide the thin metal spatula fully under each sandwich to support the entire crispy crust, then flip carefully in one smooth motion to avoid tearing the parmesan layer. Cook the second side for 2.5 to 3 minutes, adjusting heat slightly if the crust browns too quickly, until the second parmesan crust is equally golden and crispy, and all cheese inside is fully melted and stretchy. Turn off the induction cooktop.
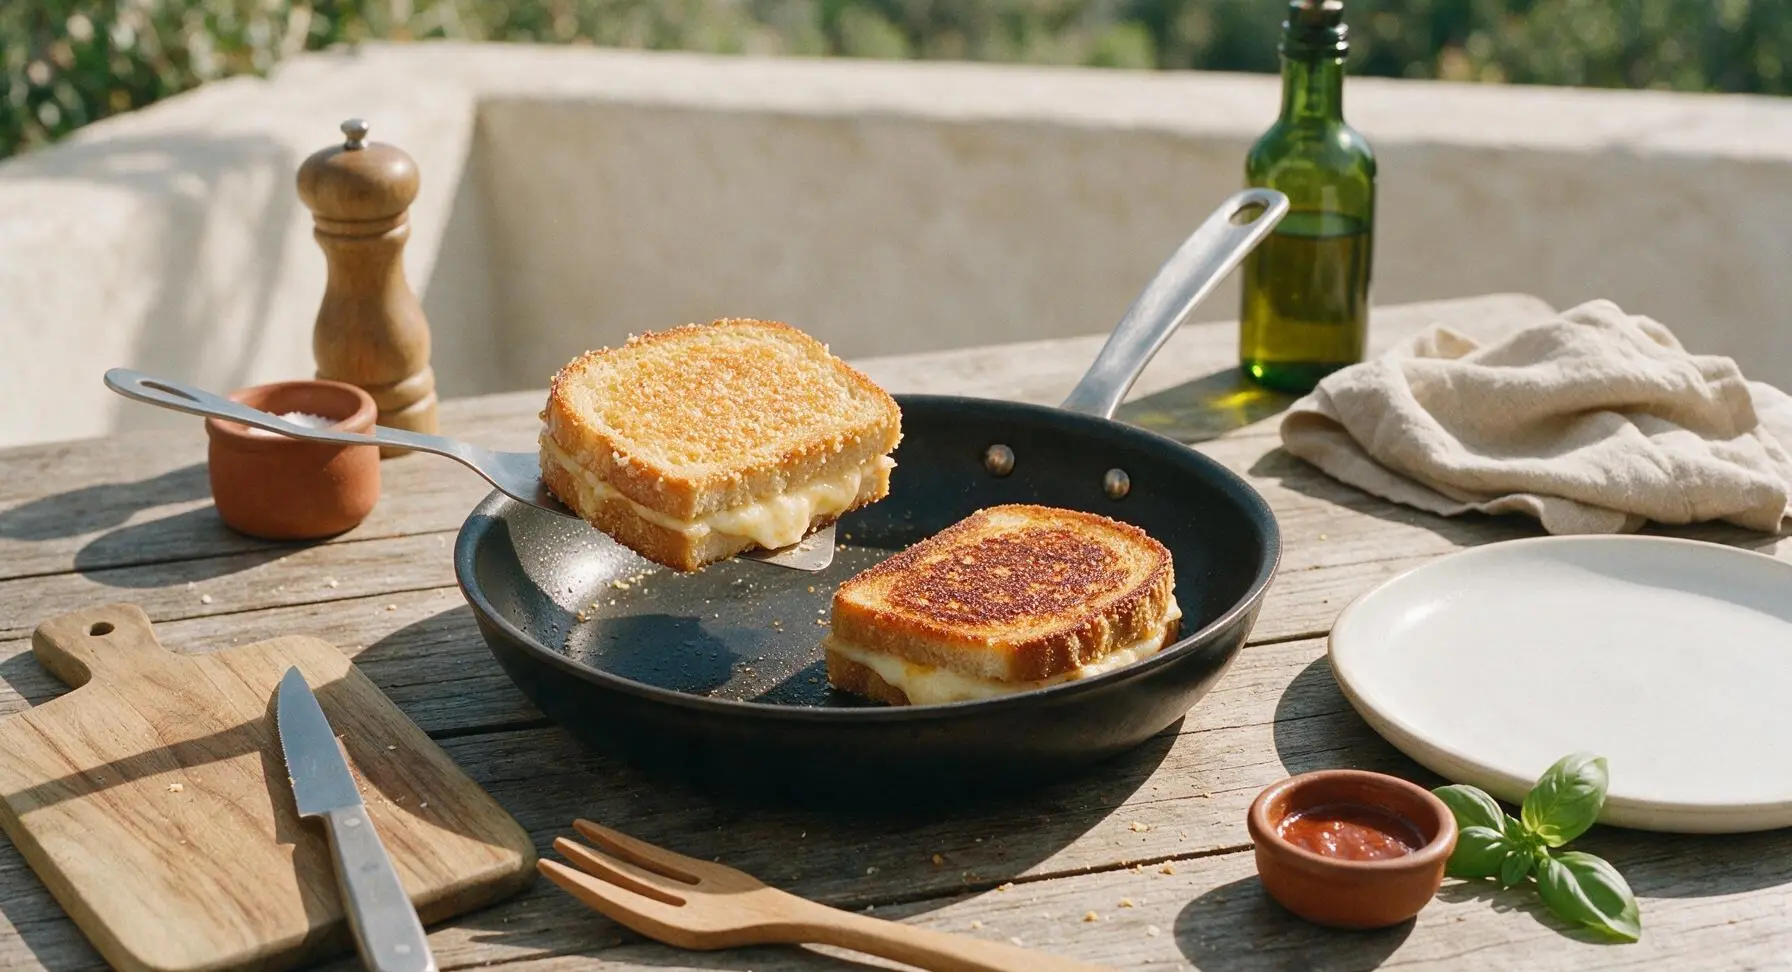
Step 7
step7:Flip and cook second side
8

Rest, slice, and plate

Transfer the cooked sandwiches from the skillet back to the maple cutting board, and let rest for 1 minute to allow the melted cheese to set slightly (this prevents all the cheese from oozing out when sliced). Cut each sandwich diagonally into two triangles using the chef knife, then arrange on the matte cream ceramic dinner plate. Garnish with a small sprig of fresh thyme and a light pinch of flaky sea salt.
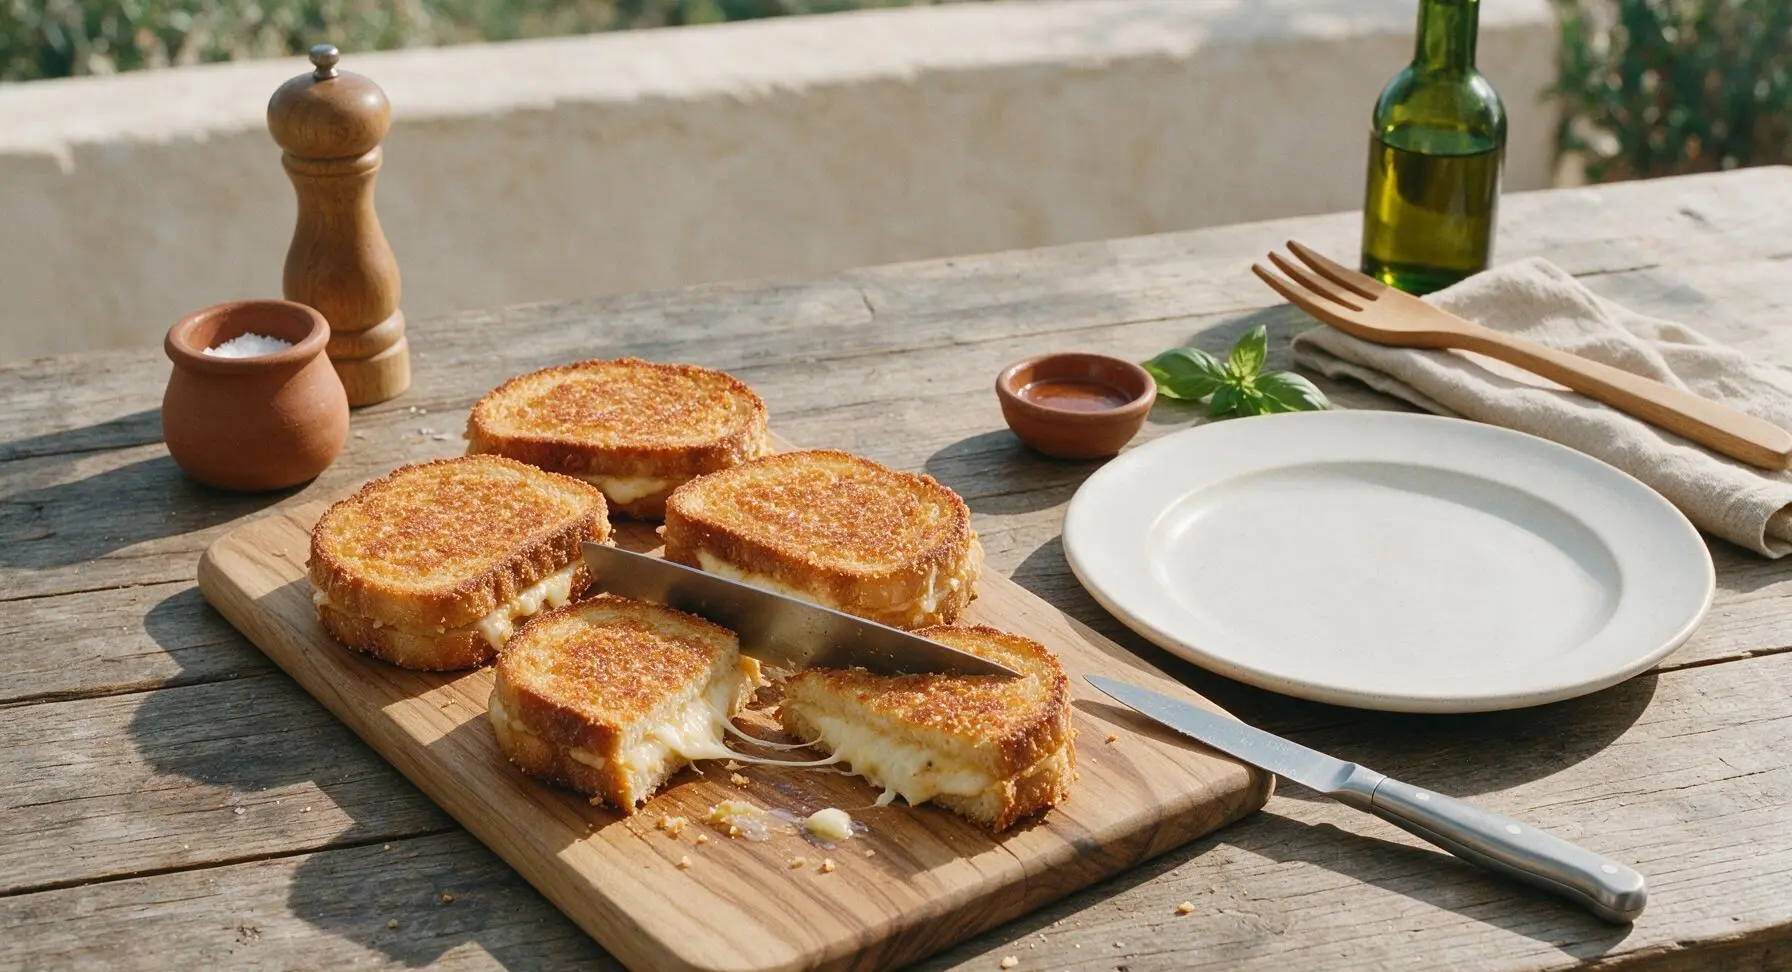
Step 8
step8:Rest, slice, and plate

Tips

1.Grate your own cheese instead of using pre-shredded store-bought cheese: Pre-shredded cheese is coated in potato starch and natamycin to prevent caking, which stops it from melting into a smooth, stretchy consistency; freshly grated cheese melts evenly for that perfect cheese pull.
2.Stick to medium-low heat for cooking: Parmesan browns very quickly and can turn bitter if burned, so high heat will char the outer crust before the inner cheddar has time to fully melt, leading to a sandwich that is burnt on the outside and cold in the center.
3.Don’t skip the 1-minute rest after cooking: Slicing the sandwich immediately will cause the runny, super-hot melted cheese to pour out onto your plate, while a short rest lets the cheese thicken slightly so it stays tucked between the bread slices for every bite.


✨ You May Also Like

Lunch
🍜 United States

Creamy, salty, tangy nostalgic Midwestern sandwich pairing rich peanut butter with crisp briny dill pickles for a fast, satisfying no-cook meal.

⏱️ 5 minutesLunch ★ 4.6
Lunch
🍜 United States

Crispy, melty pressed sandwich layered with savory roast pork, ham, Swiss cheese, pickles, and tangy mustard: a beloved Cuban-American comfort classic.

⏱️ 25 minuteLunch ★ 4.9
Lunch
🍜 United States

Hearty, briny New Orleans pressed sandwich stacked with cured Italian meats, provolone, and zesty olive salad, served cold for bold, portable flavor.

⏱️ 1 hour 20Lunch ★ 4.7
Lunch
🍜 United States

A tangy, creamy Southern American staple, this no-cook cheesy sandwich is packed with sharp cheddar and sweet pimentos for a satisfying, portable bite.

⏱️ 1 hour 15Lunch ★ 4.8
Lunch
🍜 United States

Crispy Cajun-spiced fried shrimp piled on crusty French bread with tangy remoulade and fresh toppings, the iconic Louisiana street food sandwich.

⏱️ 35 minuteLunch ★ 4.4
Lunch
🍜 United States

Stacked, savory deli-style corned beef sandwich with melted Swiss, tangy mustard, and crisp griddled rye— a fast, hearty, satisfying classic.

⏱️ 15 minuteLunch ★ 4.9

parmesan grilled cheese:Frequently Asked Questions

1.Why does my parmesan crust slide off when I flip the sandwich? ▾
This almost always comes down to two easy fixes: First, use softened (not melted) butter spread evenly to the very edges of the bread, then press finely grated parmesan firmly into the butter before placing it in the pan. Second, don’t flip too early! Wait 3 minutes for the parmesan to set into a crisp golden layer that bonds to the bread, instead of sticking to the pan. Finish with a pinch of flaky salt right after cooking for extra depth.
2.Can I use pre-shredded parmesan for the crust instead of freshly grated? ▾
I don’t recommend it for the best results. Pre-shredded parmesan is coated in anti-caking agents like potato starch that prevent it from melting smoothly into a tight, crisp crust. Freshly grated aged parmesan (use a microplane for fine, even shreds) sticks better to the buttered bread, melts evenly, and has that bright, nutty flavor that makes this sandwich feel special.
3.What pan temperature works best to get a crispy crust without burning the parmesan? ▾
Stick to medium-low heat, right around 325°F if you’re using an electric skillet. High heat will scorch the parmesan and bread exterior long before the sharp cheddar in the middle fully melts, while heat that’s too low will leave the bread soggy instead of crisp. Preheat your pan for 2 full minutes first, then cook each side for 3 to 4 minutes for even golden results.
4.My bread turns out soggy instead of crispy—what am I doing wrong? ▾
Sogginess usually traces back to two common missteps: using too much butter, or cooking on heat that’s too low. Stick to 1 tablespoon of softened butter total per sandwich, spread thin all the way to the crust edges, and make sure your pan is fully preheated before adding the sandwich. Rest cooked sandwiches on a wire rack for 1 minute instead of a plate to trap less steam and keep crusts crisp.
5.Do I have to use sourdough bread for this recipe? ▾
Sourdough is my top pick because its tangy, chewy crumb and sturdy crust hold up perfectly to the parmesan coating and oozing melted cheddar, but it’s not mandatory. You can swap it for other thick-cut, sturdy breads like country white, whole grain, or light rye. Just skip thin, soft pre-sliced sandwich bread—it will squish under the crust and won’t crisp evenly.
6.Can I swap the sharp cheddar for a different melting cheese inside? ▾
Absolutely! Sharp cheddar pairs beautifully with the nutty parmesan crust, but you can mix in or swap it for other well-melting options like fontina, smoked gouda, or low-moisture mozzarella. Just avoid dry, crumbly cheeses like feta or aged goat cheese on their own—they won’t get that signature gooey, stretchy pull that makes grilled cheese so satisfying.
7.Can I add extra fillings without ruining the crispy texture? ▾
You absolutely can, just keep add-ins thin and low-moisture to avoid sogginess. Pat-dried thin tomato slices, crispy cooked bacon, caramelized onions, or a thin swipe of Dijon mustard all work beautifully. Skip watery add-ins like dill pickles straight from the jar or thick, wet sauces—they’ll seep into the bread and turn your crisp parmesan crust soft and chewy. Stick to 1 to 2 small add-ins max.
8.How do I reheat leftovers to keep the parmesan crust crispy? ▾
Skip the microwave entirely—it will turn the crust rubbery and the cheese gummy. For best results, reheat leftover sandwiches in a dry skillet over medium-low heat for 2 minutes per side, or in a 375°F toaster oven set on a wire rack for 3 to 4 minutes, until the cheese is melty and the parmesan crust snaps back to crisp. Leftovers keep for 2 days stored in an airtight container in the fridge.

Comments (8)

2 days ago

OMG this crispy parmesan crust is a total game changer! My kids gobbled up two sandwiches each after school yesterday, I didn’t even have to beg them to eat. I added a little garlic powder to the parmesan sprinkle and *chef’s kiss*. SO good, will be making this every week for quick lunches!

yesterday

Wait the garlic powder addition sounds genius! I’m making these for my kid’s soccer team snack this weekend, does it hold up okay for 20 minutes in a cooler?

2 hours ago

So glad your family loved it! The garlic powder hack is chef’s kiss, too. If you’re packing these for the team, let them cool slightly before tucking into the cooler so the crust stays crisp — they hold up great for 20-30 minutes no problem!

3 days ago

I’ve made every fancy grilled cheese recipe on this site and this one takes the top spot. The parmesan gets so crispy and salty on the outside, it doesn’t even need extra butter honestly. Cook time was exactly 8 minutes like the recipe said, perfect quick weeknight dinner when I don’t feel like putting in effort.

2 days ago

Thanks so much for the kind words! We love that this recipe comes together so fast without skipping on that crispy, cheesy flavor we all crave. Pro tip: try it with a side of tomato soup for the ultimate cozy meal!

1 week ago

Made this for my family’s Sunday potluck last weekend and everyone was asking for the recipe! I used sourdough bread instead of white because it’s what I had on hand, and the crunch was unreal. Even my super picky sister-in-law went back for seconds. 10/10, no notes.

yesterday

Wait why did I never think to put parmesan on the outside of my grilled cheese before?? This is so easy even I can’t mess it up, and my roommates are convinced I’m a professional chef now. Only thing is I burned the first batch a little because my stovetop runs hot, oops.

2 hours ago

Same thing happened to me! Turn the heat down to medium-low instead of medium, it keeps the parmesan from burning before the cheese inside melts all the way. Total game changer for my tiny dorm stove.

30 minutes ago

That’s such a great tip from @DormFoodHacks! All stovetops run a little different, so adjusting heat to medium-low and keeping a close eye as it cooks will get you that perfect golden crisp every time. So glad you and your roommates are enjoying it!

5 days ago

Meal prepped these for the week and they reheat so well in the toaster oven! I was worried the parmesan crust would get soggy in the fridge, but 3 minutes in the toaster oven brings all the crisp right back. Perfect for quick work lunches when I don’t want to spend money on takeout.

2 days ago

Oh I’ve been wondering if these hold up for meal prep! Do you assemble them fully first and store in the fridge, or cook them fresh each morning?

2 weeks ago

Made these as sliders for my neighborhood block party and they were gone in 10 minutes! I cut the bread into small squares, added a little ham inside each, and coated the outside with the parmesan like the recipe said. People were hovering by the platter waiting for more, lmao. Will absolutely be making these for every get together from now on.

30 minutes ago

This recipe is so simple but tastes like something you’d pay $15 for at a fancy gastropub. I used a mix of mozzarella and sharp cheddar inside alongside the parmesan crust, and the cheese pull was insane. My only regret is not making a double batch.

just now

That cheese blend sounds incredible! Adding mozzarella is such a good call for that epic cheese pull, we might have to test that variation for the site. Thanks for sharing the hack!

2 hours ago

Tried this last night for dinner and my husband said it’s the best thing I’ve cooked all month, lmao. I served it with a side of spicy tomato soup for dipping and it was the perfect cozy rainy day meal. Super easy, barely any cleanup, 10/10.

30 minutes ago

The spicy tomato soup dip sounds amazing! I always do regular tomato soup, I need to add a little hot sauce next time to kick it up a notch.

5 minutes ago

So happy you two loved it! Spicy tomato soup is the perfect pairing — a little dash of red pepper flakes in the soup goes so well with the salty, crispy parmesan crust. Thanks for giving the recipe a try!



