
pbj sandwich
intro
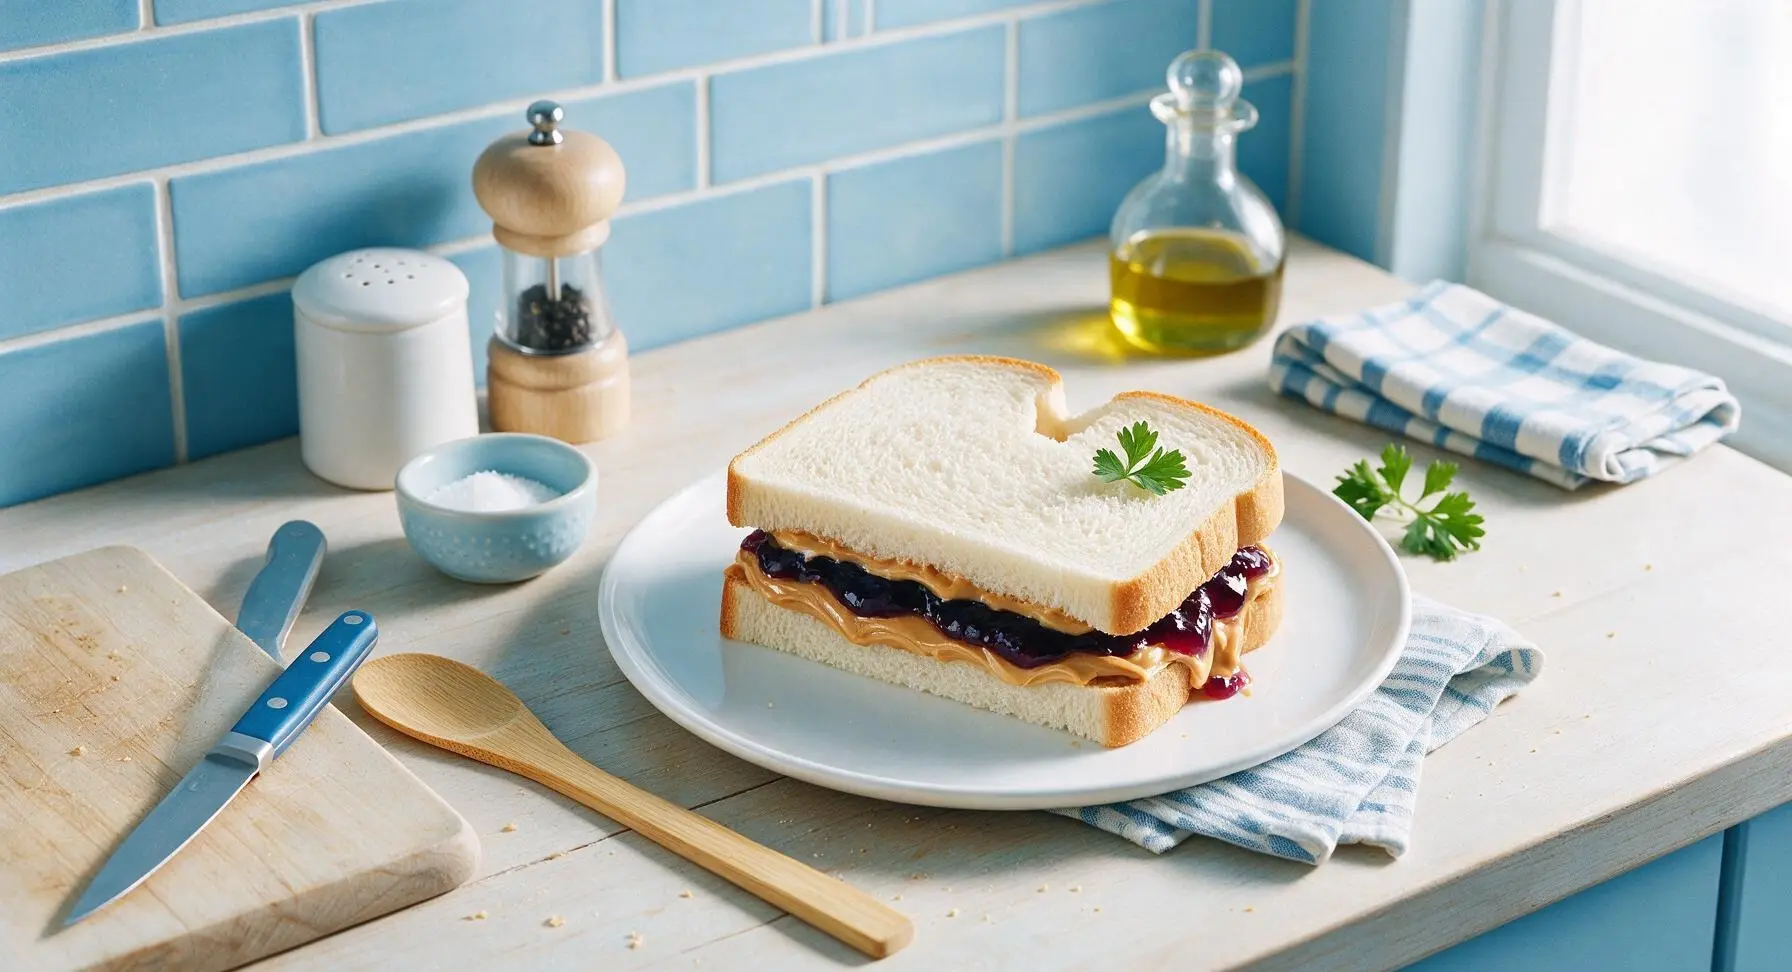
The iconic no-cook American classic: soft white bread layered with creamy peanut butter and sweet grape jelly, perfectly portable, endlessly comforting, and ready in minutes for summer picnics.
Ingredients
Steps
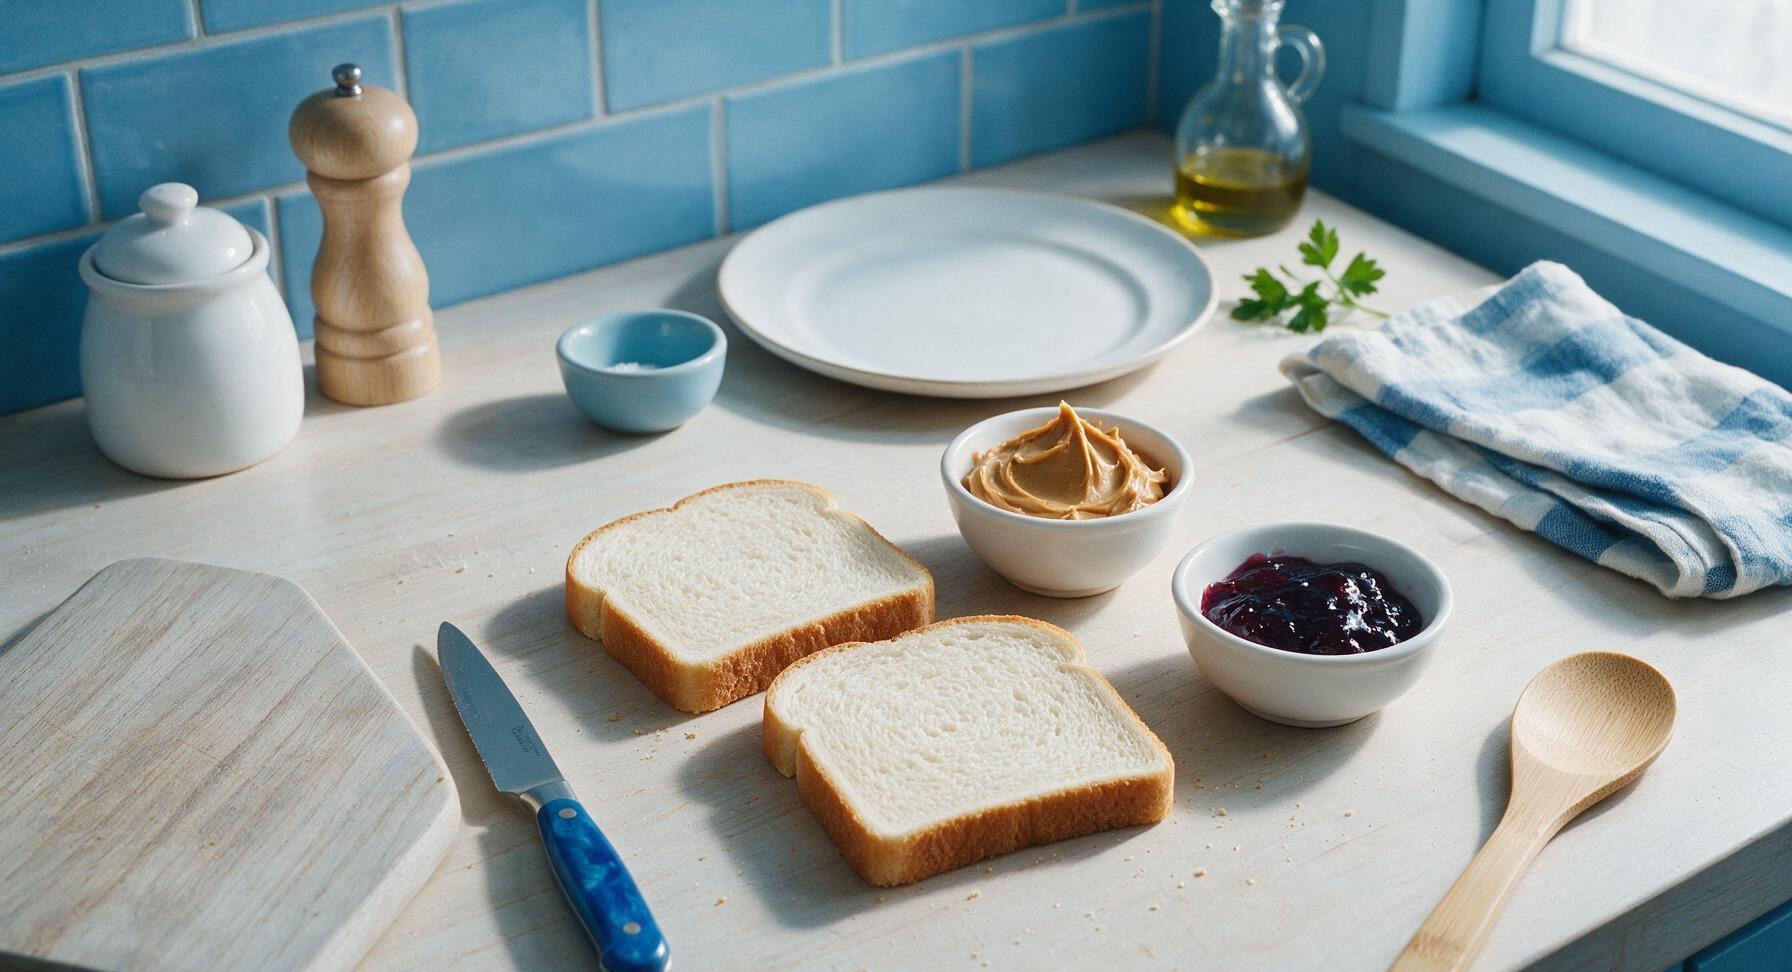
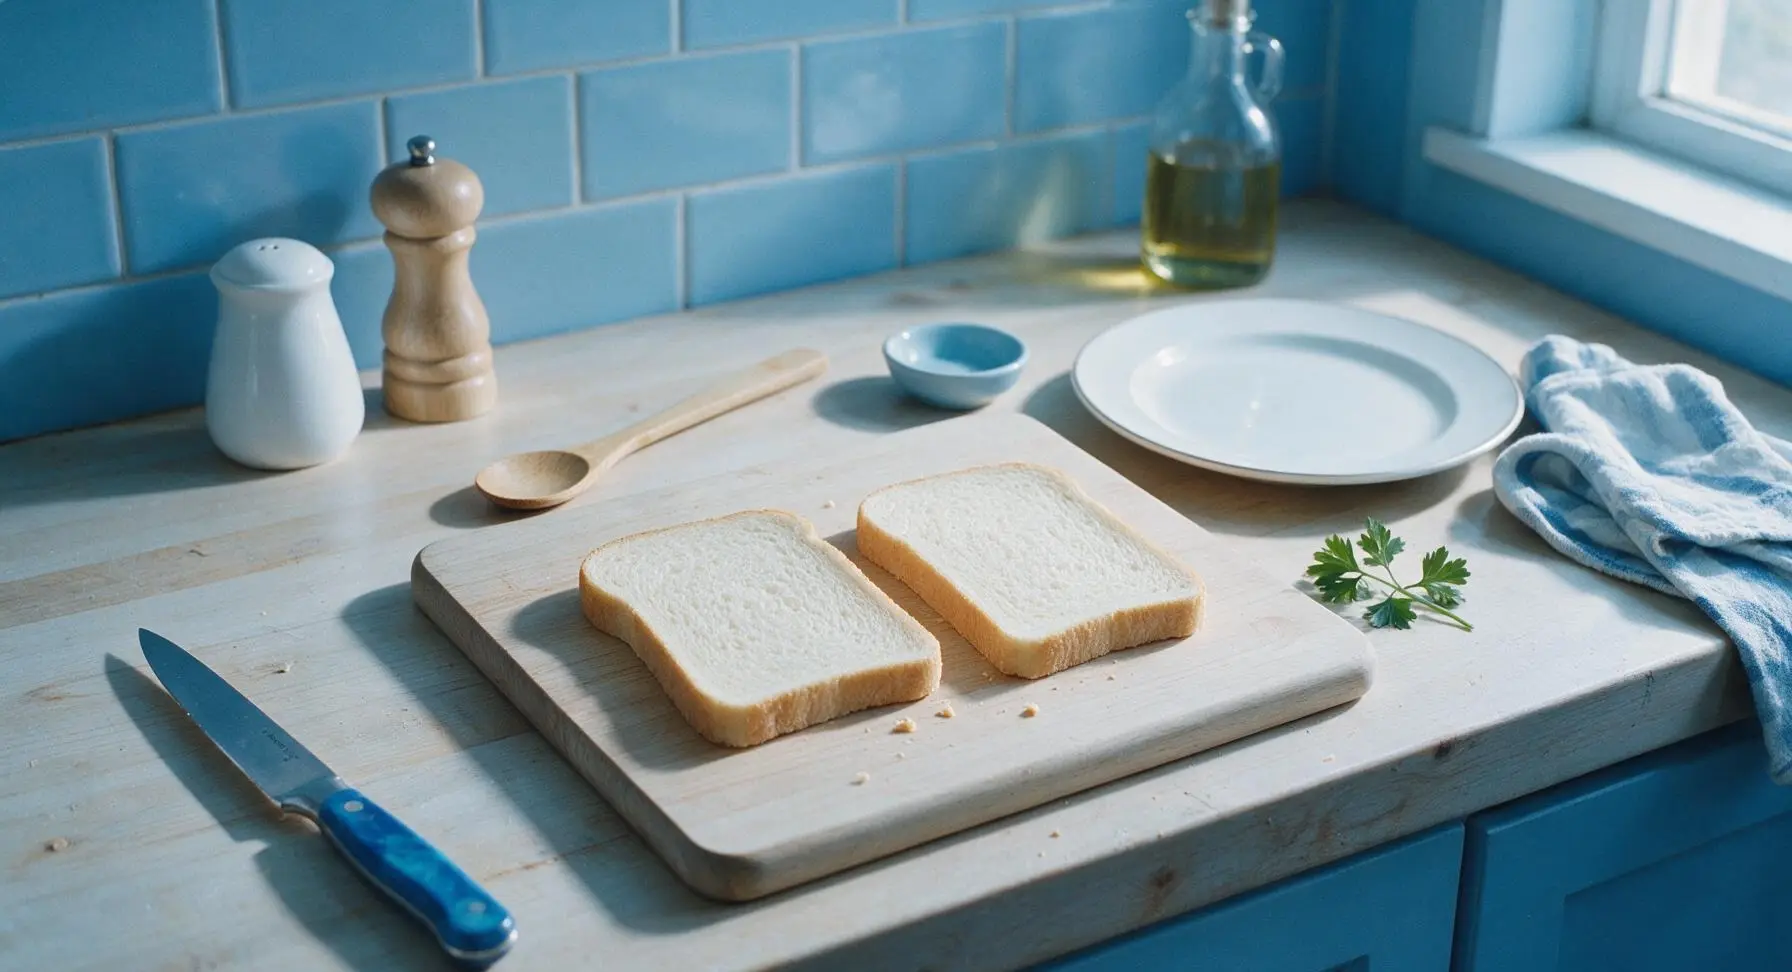
Arrange bread slices
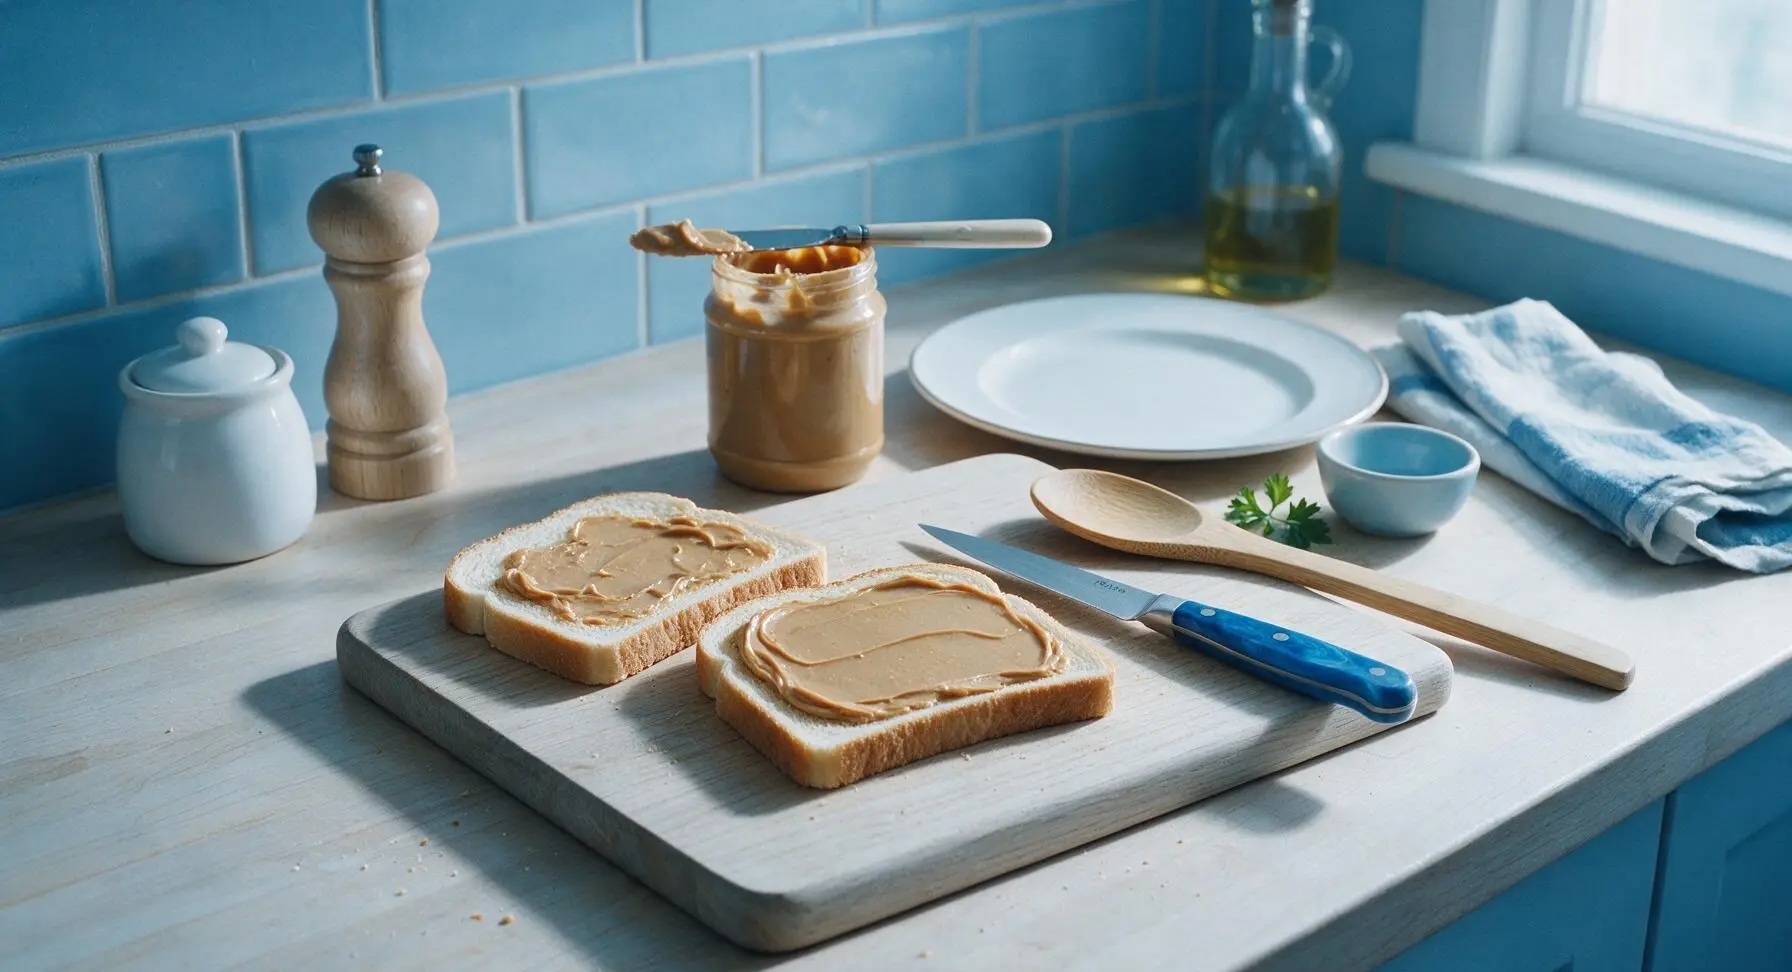
Lay the two slices of soft white sandwich bread flat on the centered maple cutting board, positioned side by side with 2cm of space between them, smooth top surfaces facing up. Gently pat the top of each slice with a clean finger to smooth any crumpled edges, taking care not to compress the soft, airy bread crumb. If bread is slightly chilled from the fridge, let it rest for 2 minutes to come to room temperature for easier spreading.
Spread first peanut butter layer
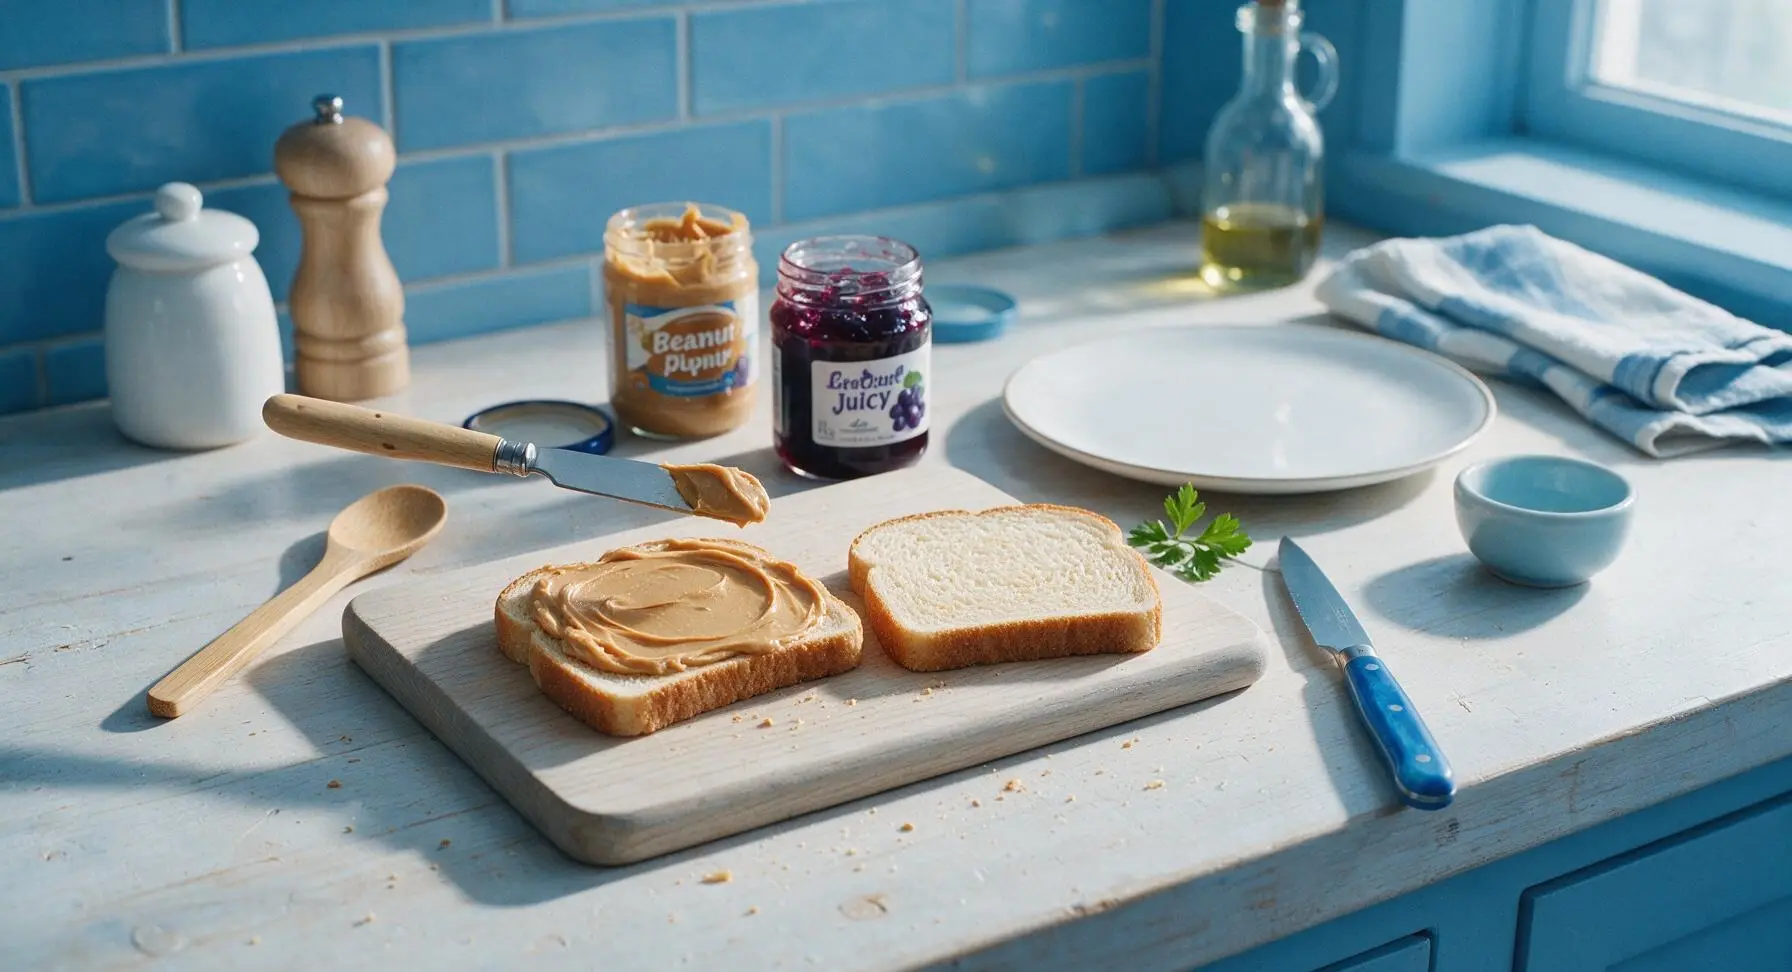
Scoop 1 tablespoon of creamy peanut butter from the open jar using the birch-handle butter spreader. Dollop the peanut butter in the center of the left bread slice, then spread it in slow, smooth strokes outward to create an even 3mm thick layer that reaches every edge of the bread. Apply only light pressure to avoid tearing the soft bread crumb; this full peanut butter layer creates a moisture barrier to prevent sogginess later.
Coat second bread slice
Use the butter spreader to scoop the remaining 1 tablespoon of peanut butter, and repeat the spreading process on the right bread slice. Ensure the peanut butter covers the entire surface of the bread right to the edges, with no bare bread spots visible. Wipe any excess peanut butter from the spreader on the rim of the peanut butter jar before moving to the jelly to avoid cross-contaminating the jelly jar with peanut butter crumbs.
Add even jelly layer
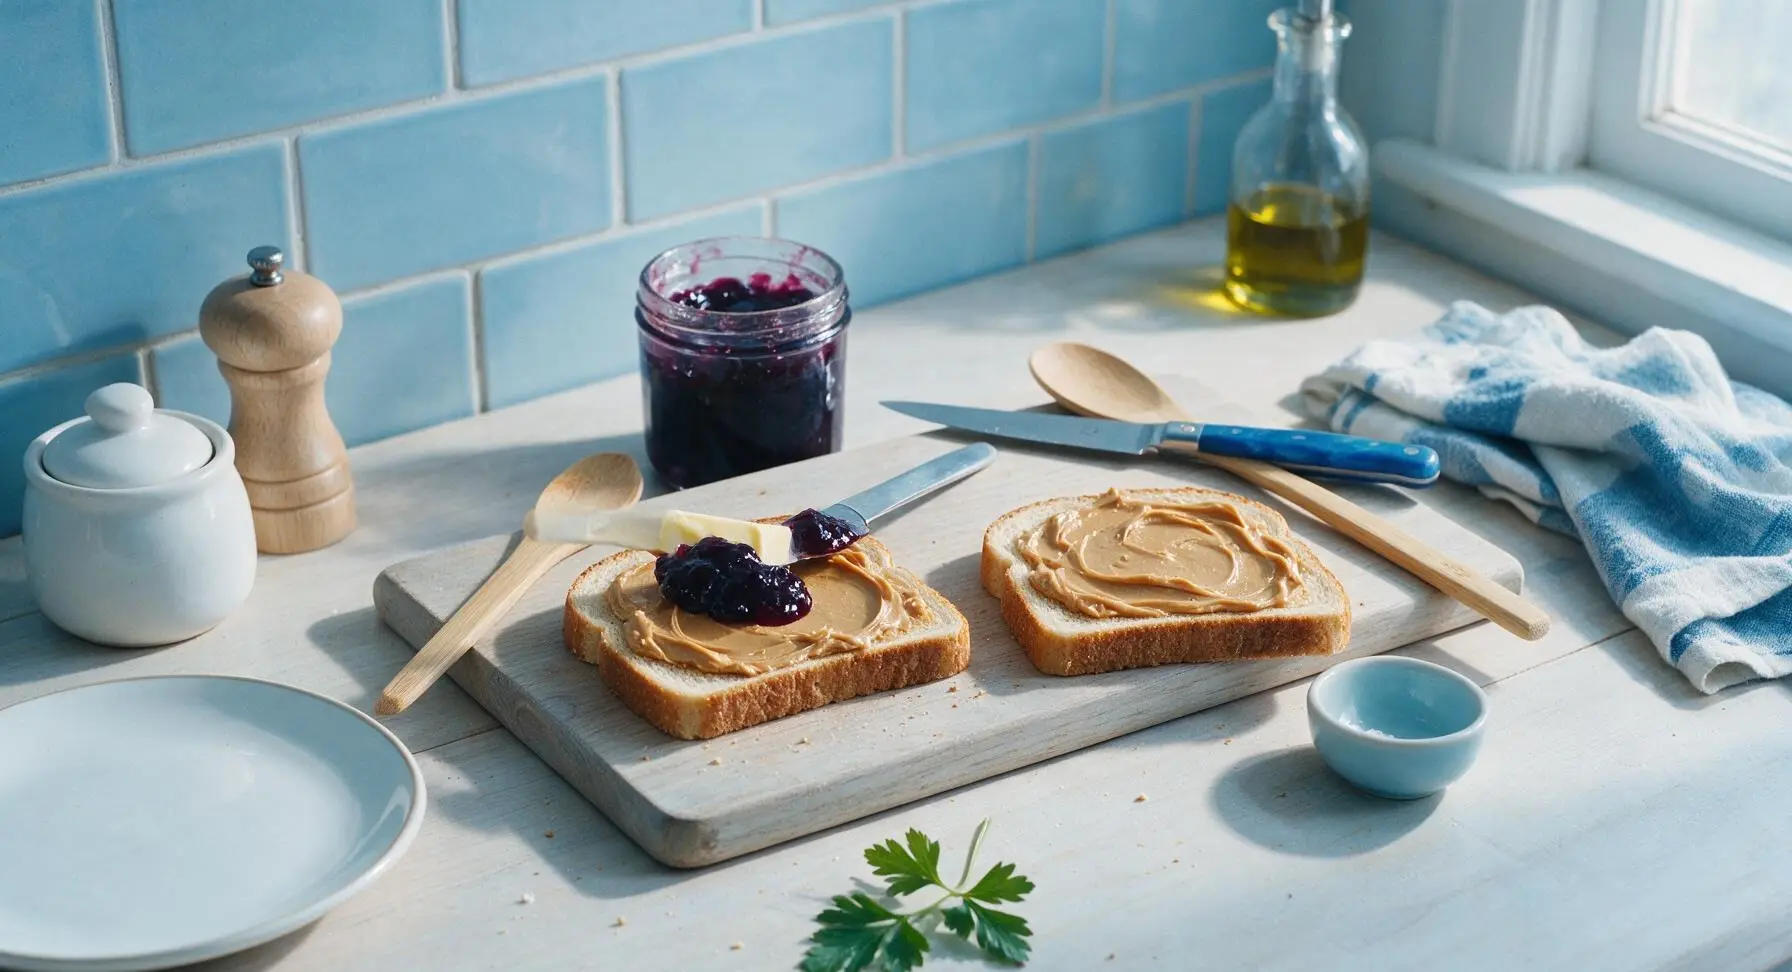
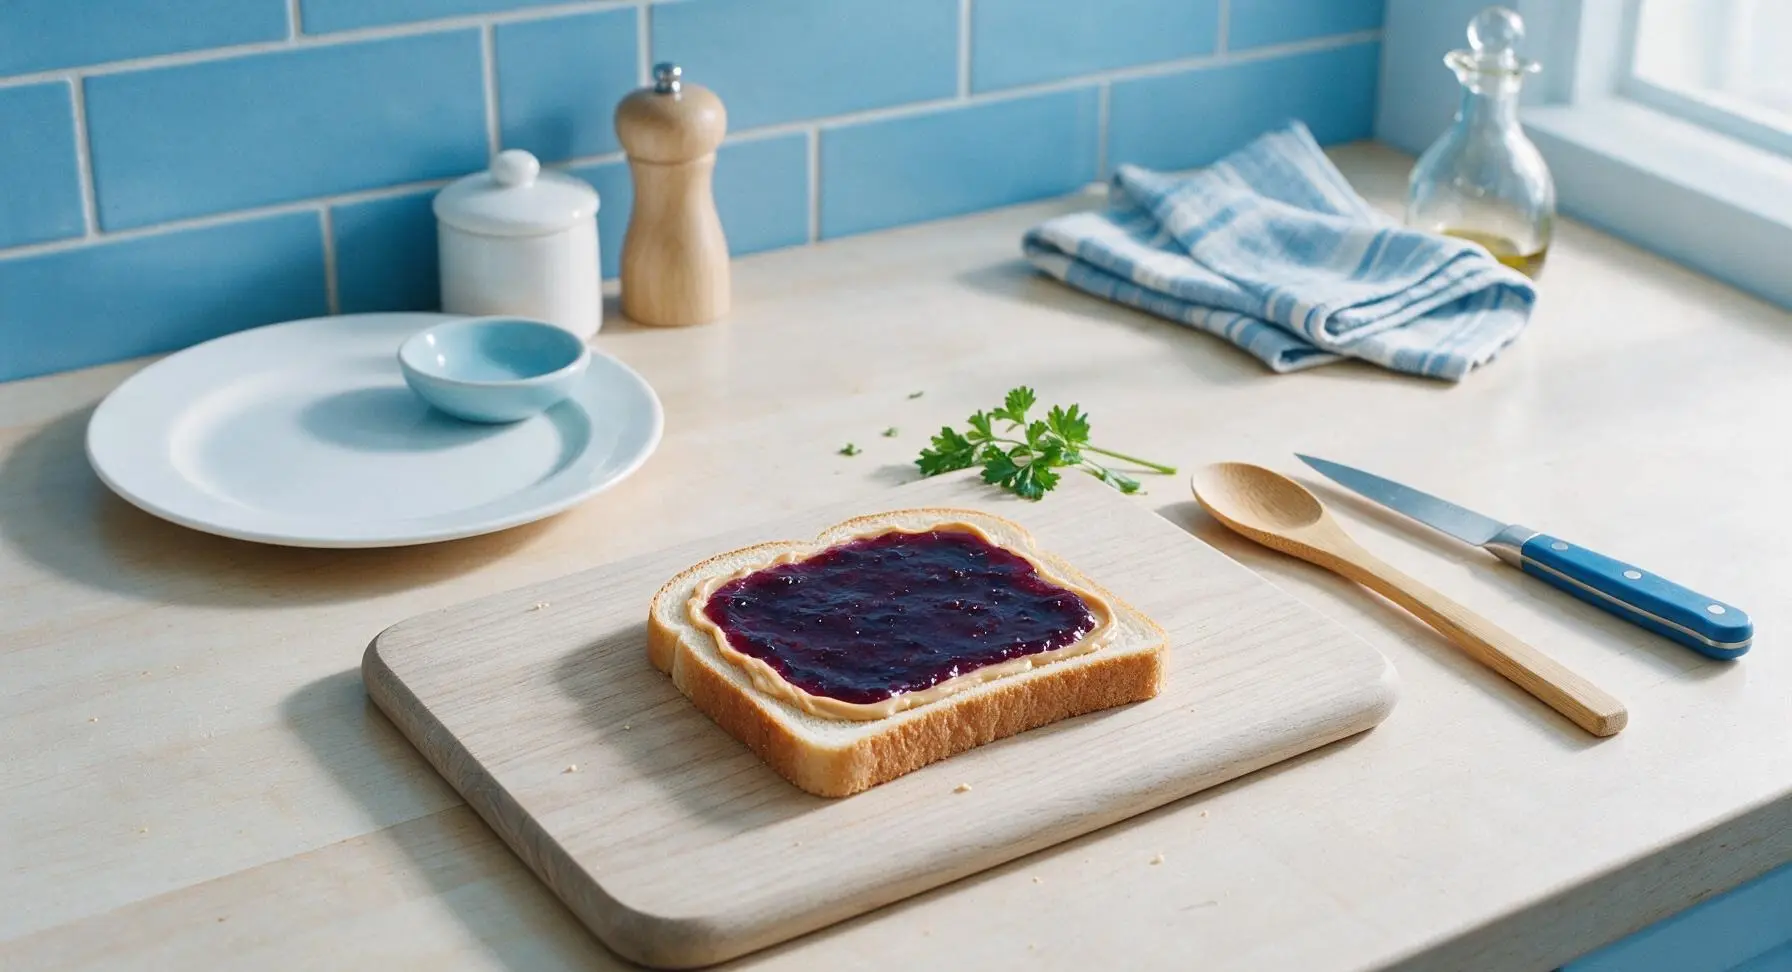
Scoop 1 tablespoon of concord grape jelly onto the center of the left peanut butter-coated bread slice. Use the clean tip of the butter spreader to spread the jelly gently across the peanut butter, keeping the layer even and leaving a 5mm bare border of peanut butter at the bread edges. This border will seal the sandwich and prevent jelly from squeezing out when pressed. Avoid pressing hard enough to mix the jelly into the peanut butter below, which would create a muddled filling.
Seal sandwich halves
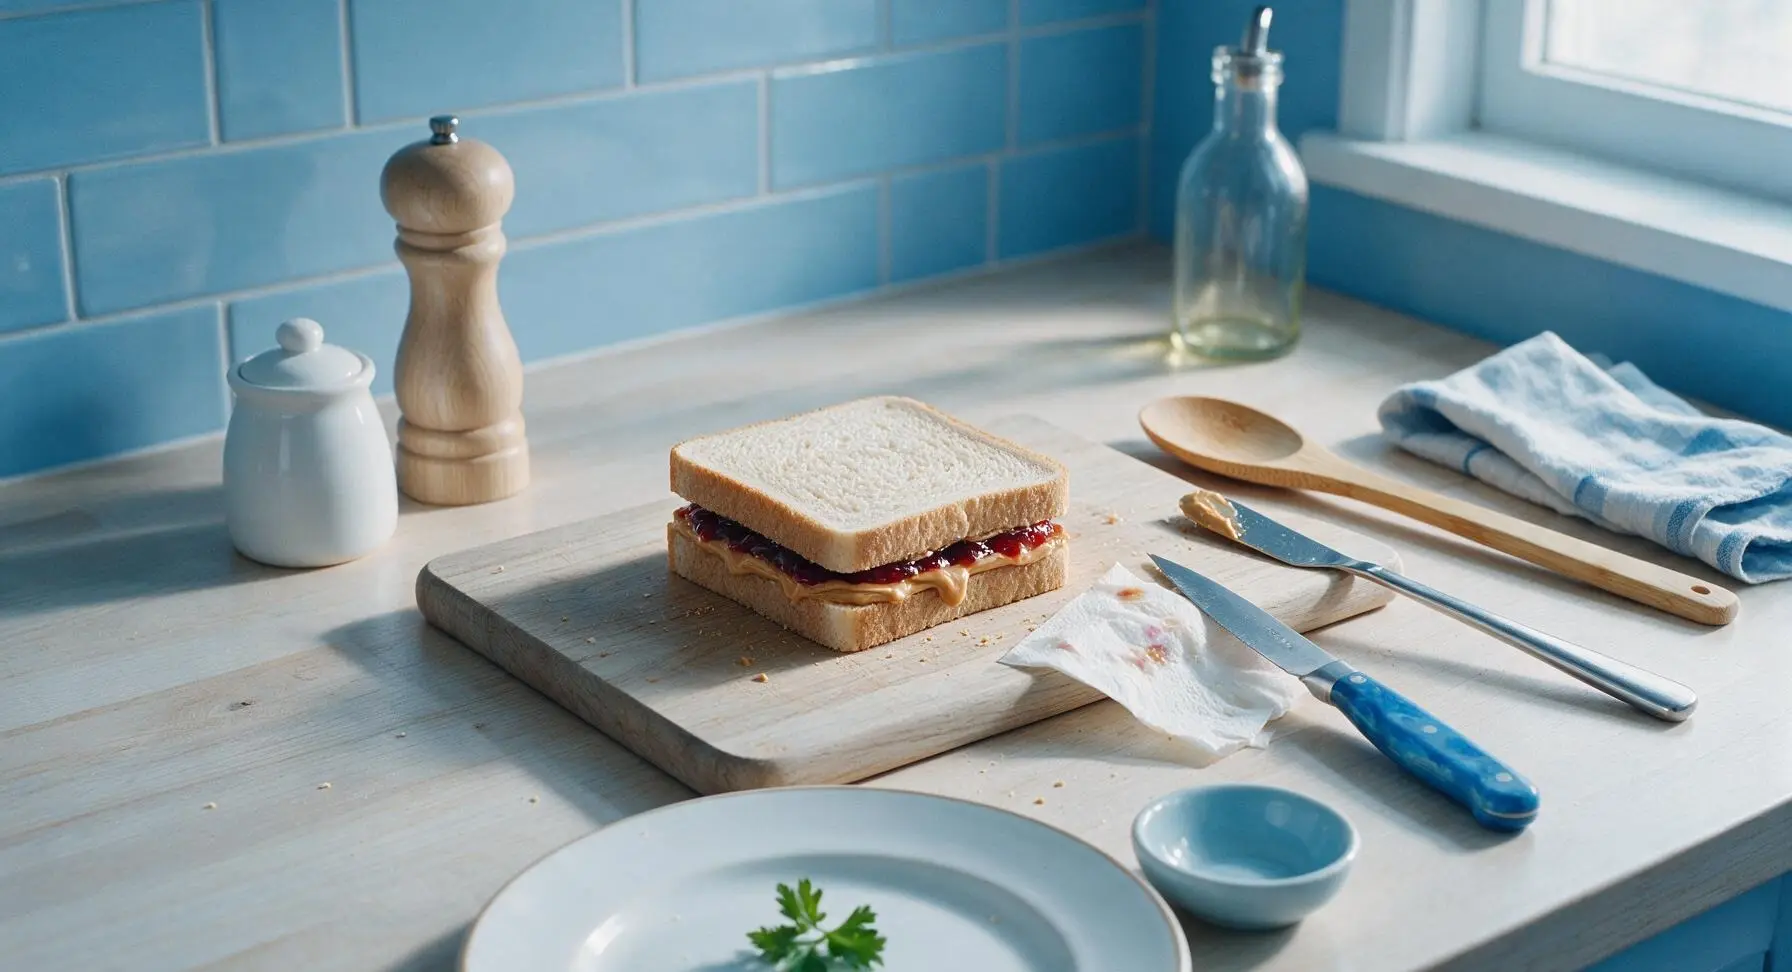
Grasp the right peanut butter-coated bread slice with clean fingers, lift it, and flip it so the peanut butter side faces down. Align the slice perfectly over the jelly-topped left slice, matching edges on all sides. Press down gently and evenly across the top of the sandwich with the flat of your palm, applying light pressure to seal the peanut butter borders together without squeezing jelly out the sides. Use the tucked paper napkin to wipe any small smudges of filling from the board as you go.
Cut and plate sandwich
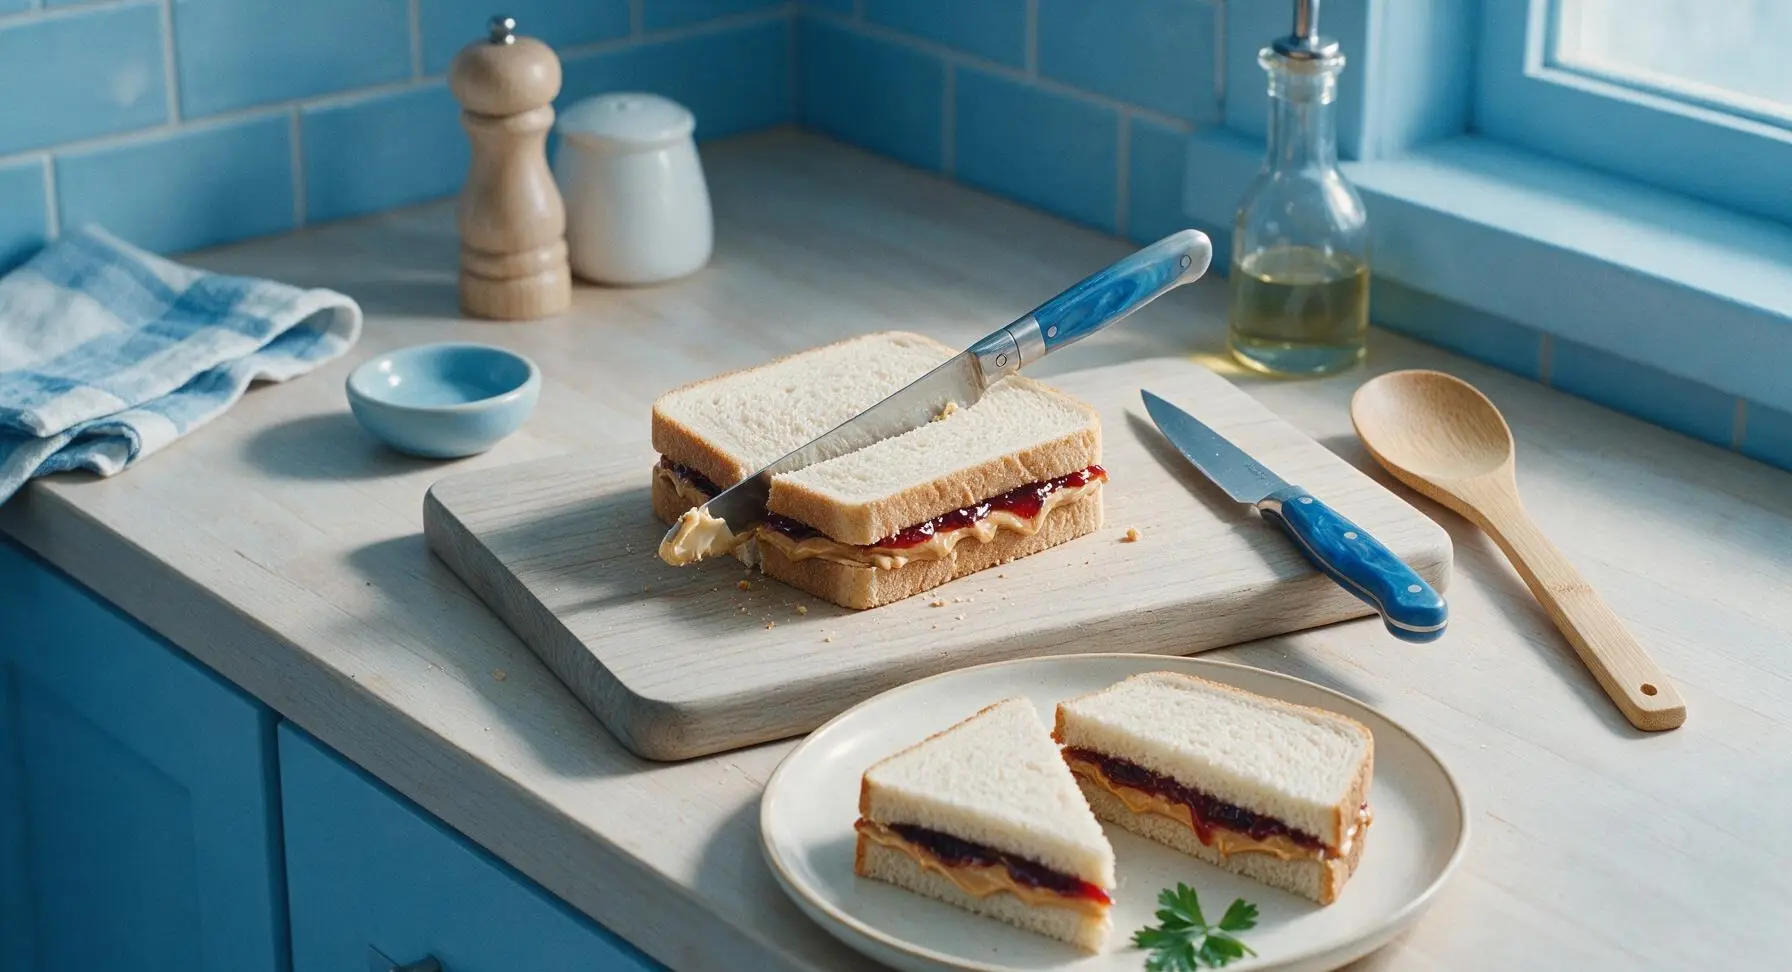
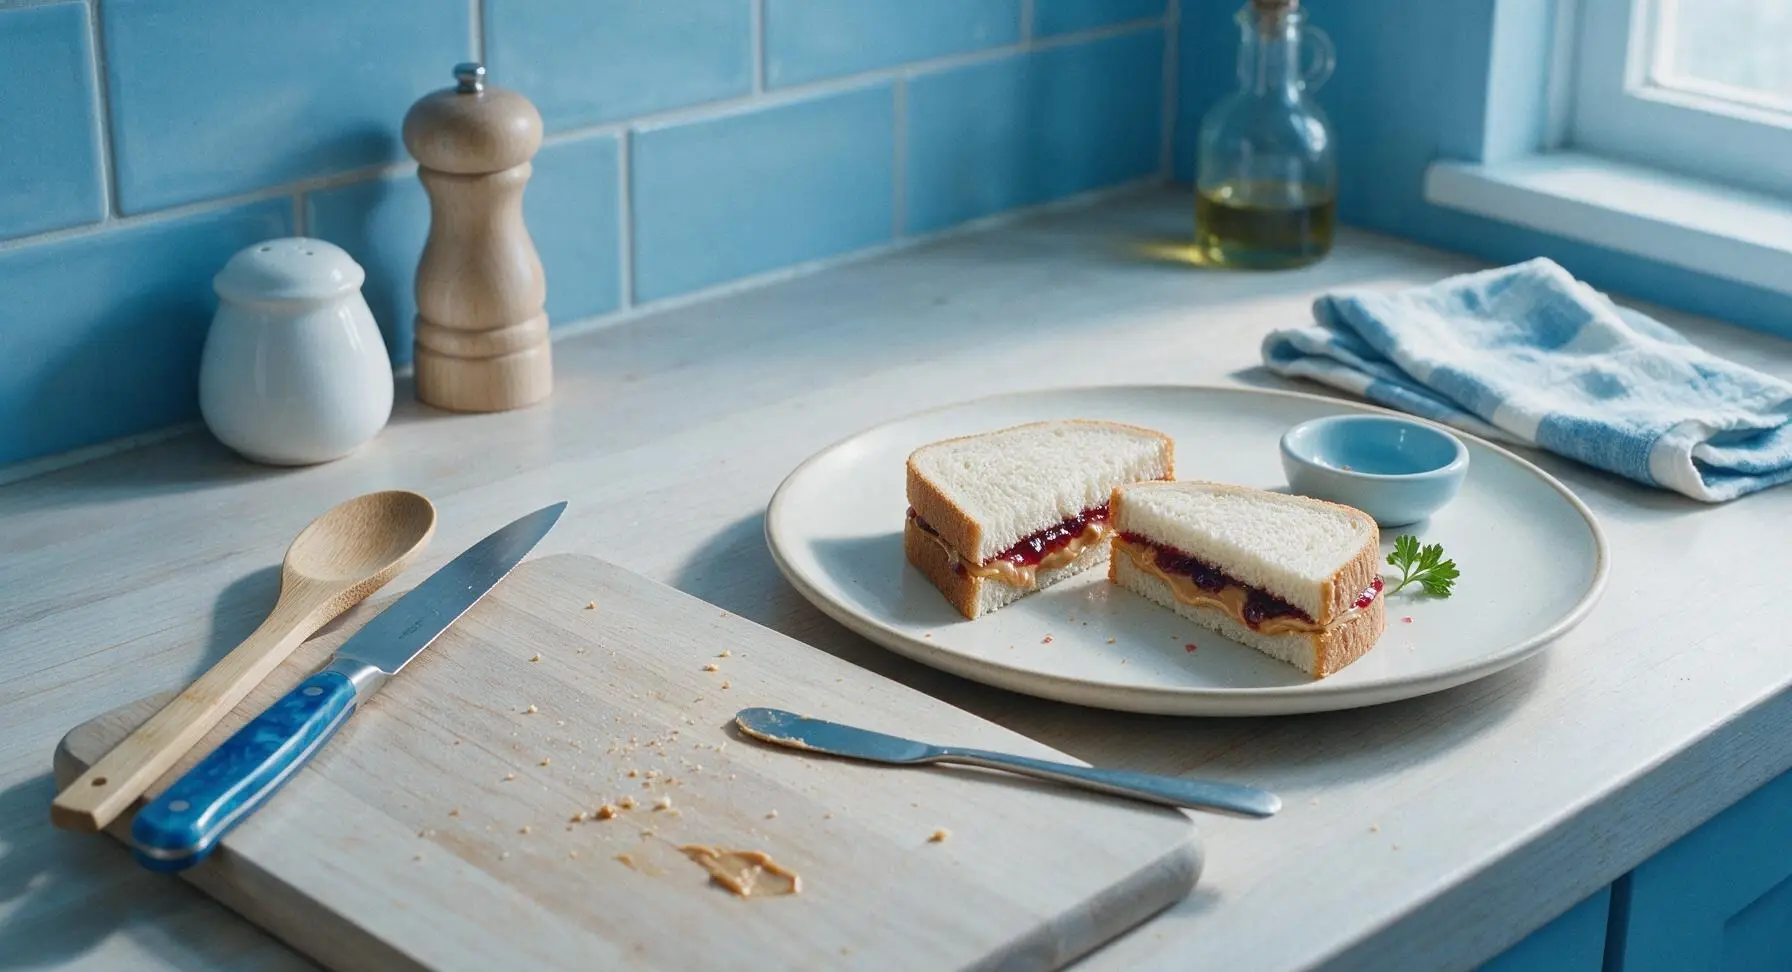
Hold the assembled sandwich steady with one light finger press on the top center. Position the butter spreader at the top left corner of the sandwich, then make one smooth, steady diagonal cut across to the opposite bottom right corner, creating two equal triangular halves. Do not saw back and forth, as this will tear the soft bread and push filling out the edges. Lift both triangles carefully and transfer them to the fixed matte cream ceramic lunch plate, arranging them slightly offset for serving.
Tips
2.Leave a 5mm peanut butter-only border around the jelly layer. When you press the sandwich together, this border seals the edges so jelly doesn’t squeeze out onto your hands or clothes while eating or transporting the sandwich.
3.Use room temperature bread and peanut butter for easiest spreading. Cold peanut butter is stiff and will tear soft bread, while cold bread is more prone to cracking when you spread thick fillings over its surface.






OMG I thought I knew how to make a PB&J but following these exact steps? Game changer! No more jelly oozing out the sides when I pack these for my kids’ school lunches. They both ate every bite today and asked for seconds tomorrow. SO good!
Wait, cook time 0 minutes? No cap, I’ve been microwaving my PB&Js for 30 seconds for years, did I do this wrong my whole life?
I make these for every day hike I do, they’re lightweight, no prep mess, and give the perfect quick energy hit on the trail. This ratio of peanut butter to jelly is *chef’s kiss*, not too sweet, not too sticky.
As someone who survives off meal prep between midterms, this is a lifesaver. Took me 2 minutes to make three of these for my study days this week, no fancy ingredients needed. 10/10
I brought these to our neighborhood block party last weekend and even the picky toddlers were gobbling them up! I cut them into little triangle finger sandwiches and they were gone in 10 minutes flat.
I swapped the white bread for my favorite gluten free sourdough and this still hit exactly like the PB&Js I ate as a kid! No weird texture issues, perfect comfort food.
Kept a couple of these in my work bag for my 12 hour shifts last week. Perfect quick bite between patients when I don’t have time to run to the cafeteria. Hits the spot every single time.
Wait does anyone else use crunchy peanut butter for these? I know the recipe says creamy but crunchy adds that little extra texture that makes it way better in my opinion.
I was today years old when I learned you’re supposed to spread peanut butter all the way to the edges of the bread instead of just plopping a glob in the middle. Total game changer for even flavor in every bite!
I’ve been making these for my grandkids for 40 years and I still picked up a little tip from this recipe! Spreading a little jelly on the peanut butter instead of dumping a big spoonful means no drips on their little shirts. Thank you!
After skating for 3 hours at the park yesterday, my friend made me one of these and it was the best thing I’d ever tasted. Forgot how good a simple PB&J is when you’re starving. Tossed the ingredients in my cart on the way home so I can make them whenever.
Pro tip for anyone with a peanut allergy in the house: sunflower seed butter works exactly the same in place of peanut butter! I make these for my son who has a peanut allergy and he doesn’t feel left out at lunch time.
I signed up to bring snacks for our team meeting tomorrow and almost overcomplicated it with fancy charcuterie, but I’m just gonna make a big platter of cut up PB&Js with some potato chips on the side. No stress, everyone loves them.
Hot take: grape jelly is fine but strawberry jelly is the superior PB&J pairing. Fight me in the comments.
I keep the ingredients for these on hand at all times when I have friend groups crashing at my place after game nights. No cooking, no cleanup, perfect drunk snack after a night of watching football. 10/10 no notes.
Wait I hate when the jelly soaks through the bread and makes it all soggy by lunch time. Does this method really prevent that? I’ve tried paper towels in the sandwich bag and everything, nothing works.
My partner and I are driving cross country next month and these are gonna be our go-to road snack. No need to stop for fast food when you can have a tasty sandwich that doesn’t make a huge mess in the car.
I add a tiny sprinkle of cinnamon on the peanut butter before I spread the jelly, it adds such a nice warm little kick that makes the classic feel a little fancy without any extra work. Highly recommend trying it!
My 8 year old just learned to make these all by himself using this recipe! He was so proud to bring me a sandwich he made without any help, no mess, no jelly drips all over the counter. Best recipe ever.