
peanut butter and jelly sandwiches
intro
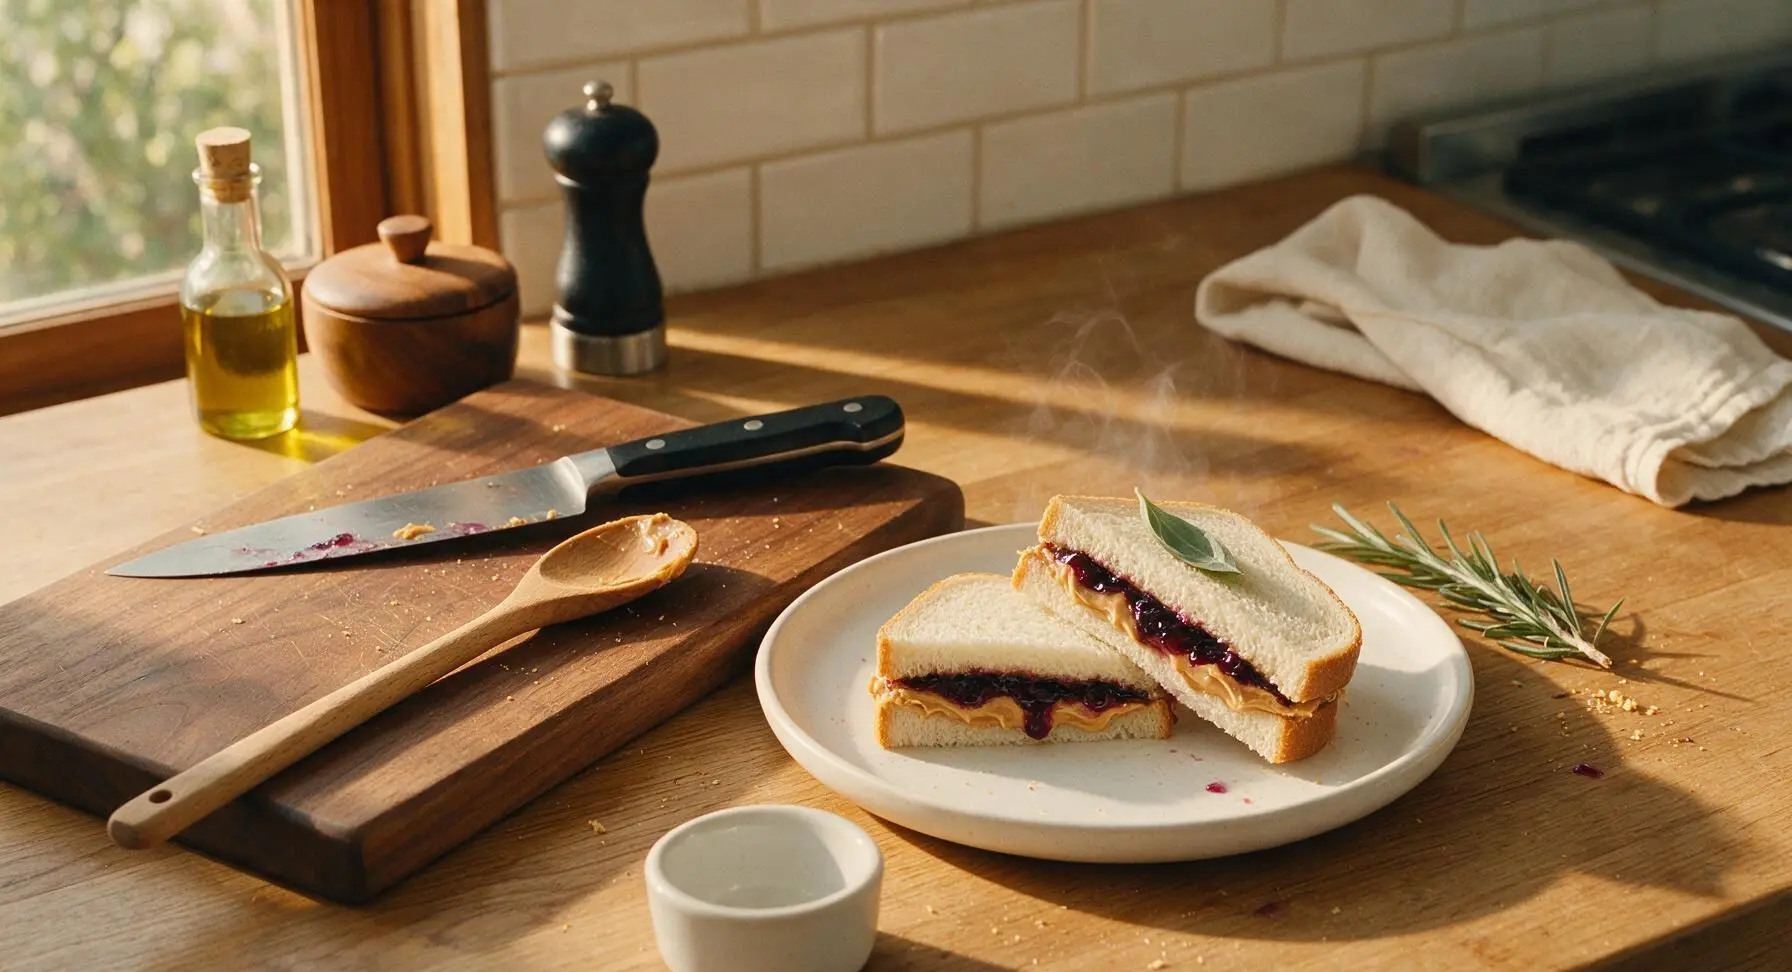
The nostalgic, iconic American lunch staple: creamy peanut butter and sweet, glossy grape jelly layered between soft white bread. No cooking required, perfectly portable, and endlessly comforting.
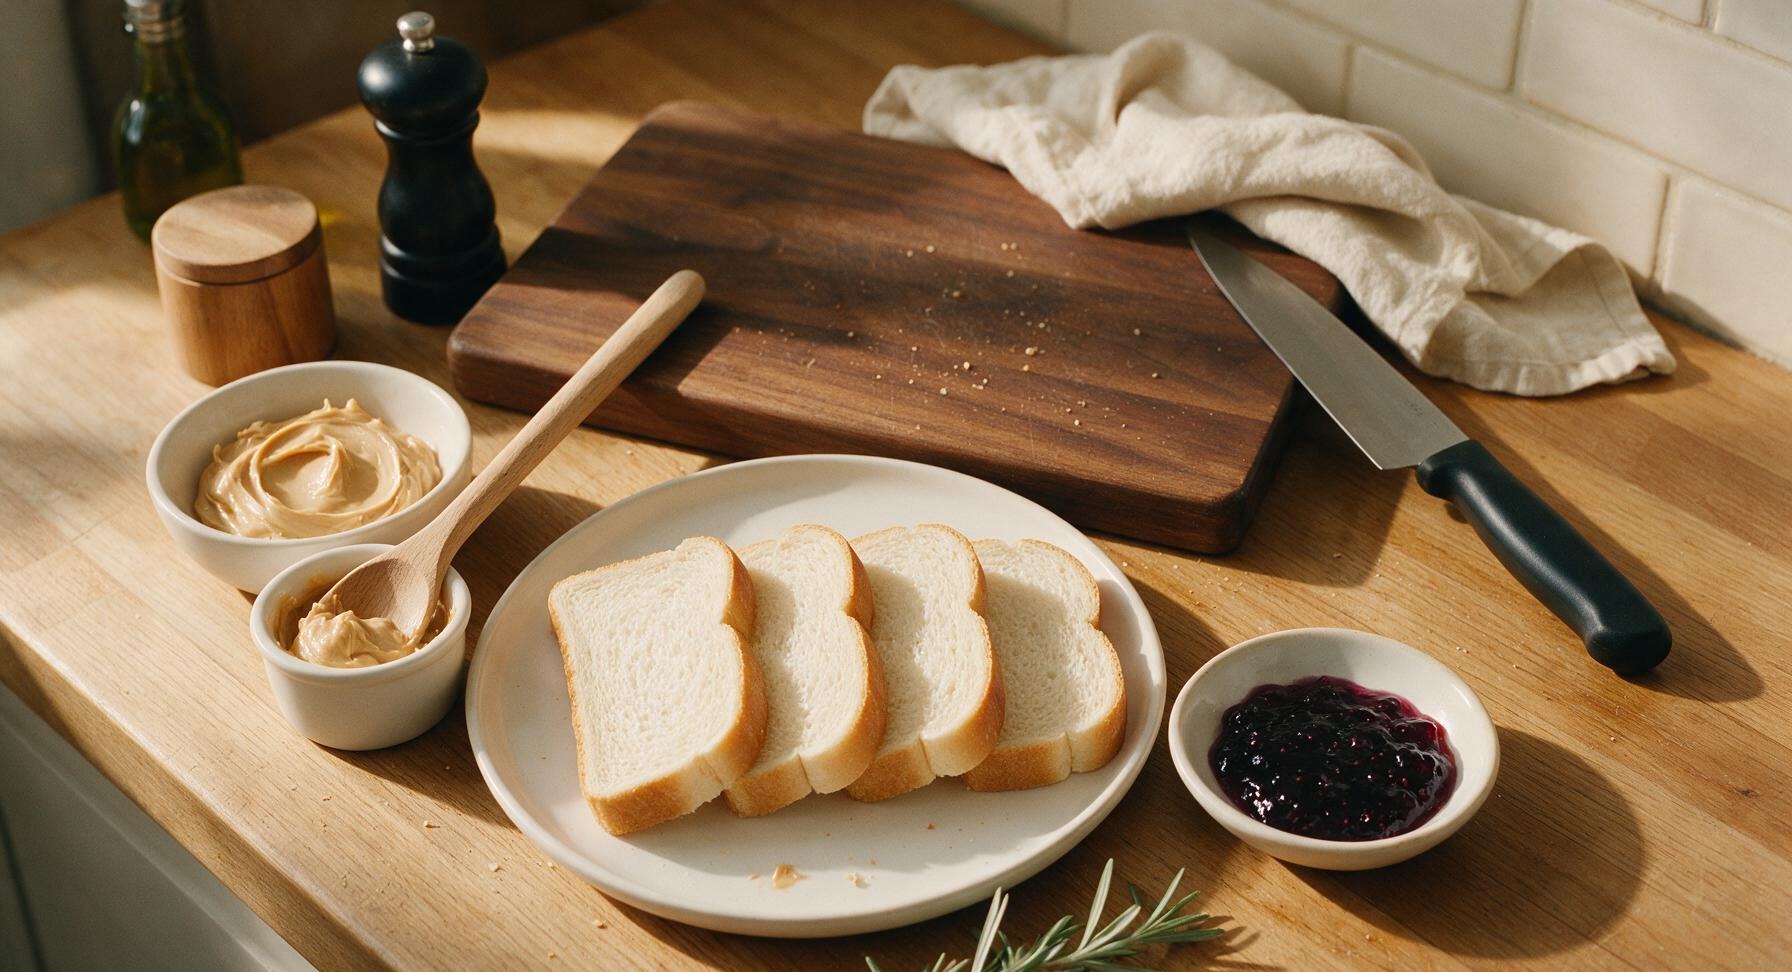
Ingredients
Steps
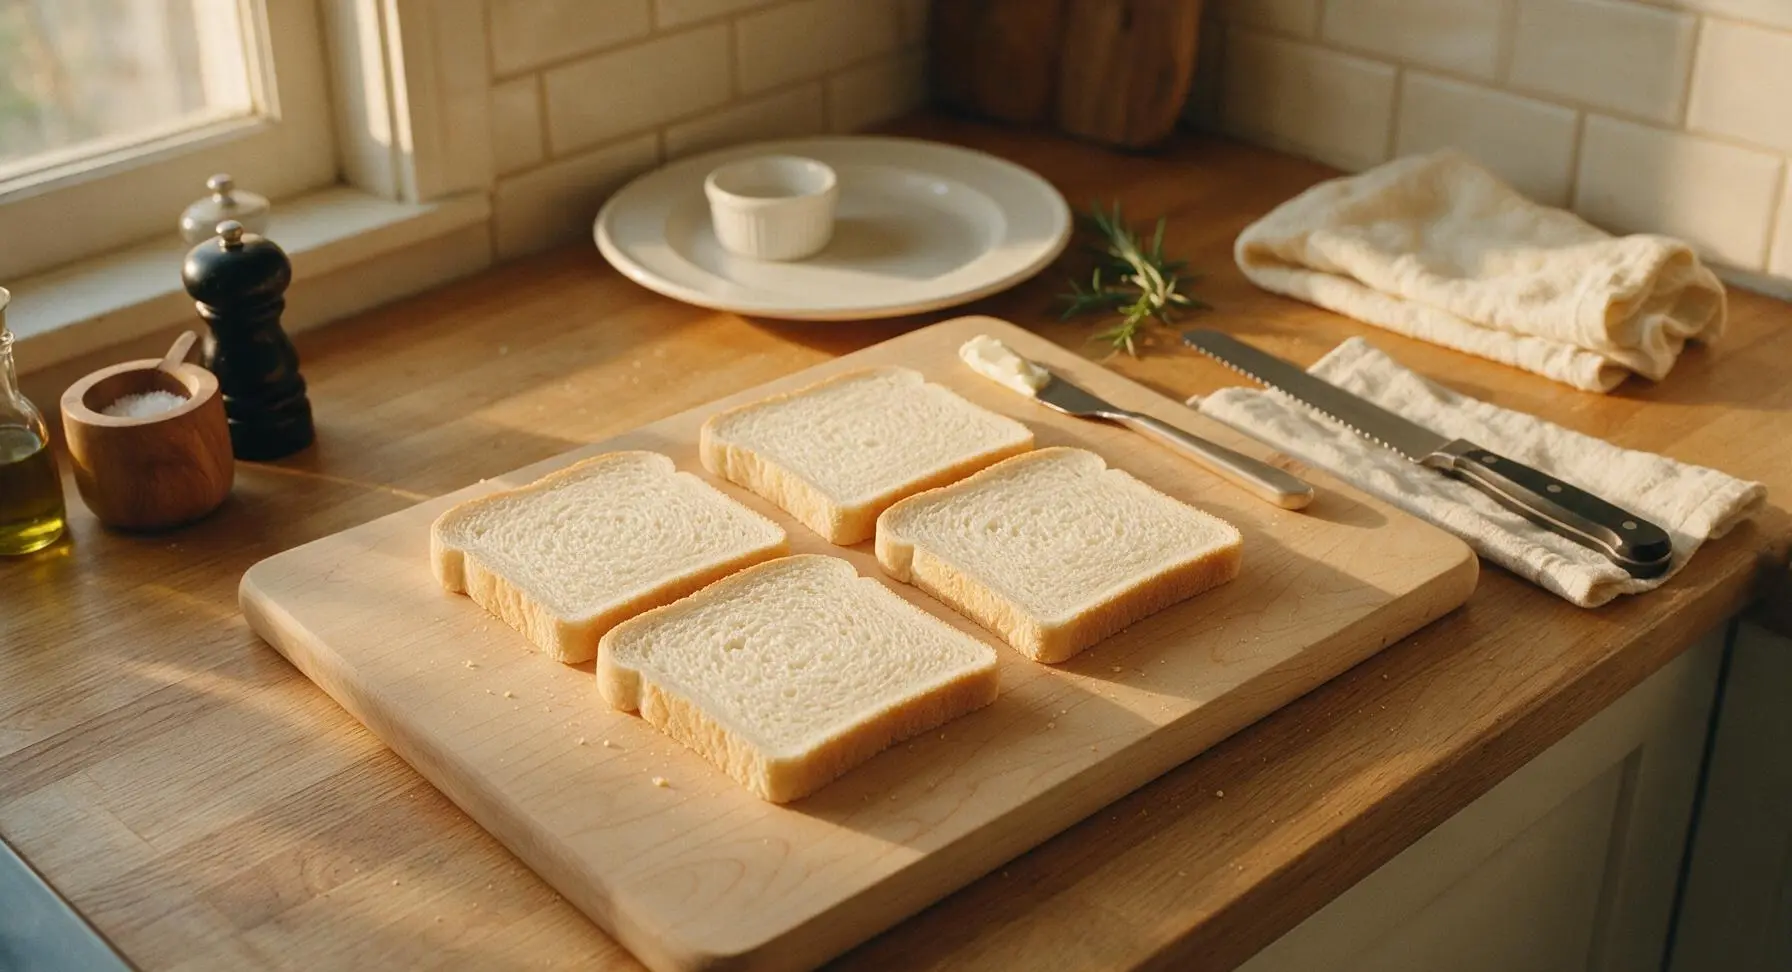
Arrange Bread Slices
Lay all 4 slices of soft white sandwich bread in a single flat layer on the light maple cutting board, paired up to match size and shape. Inspect each slice to ensure no large tears or crumbly edges; set aside any misshapen slices for another use if needed. The bread should lie completely flat without curled edges to ensure even spreading later.
Portion Peanut Butter
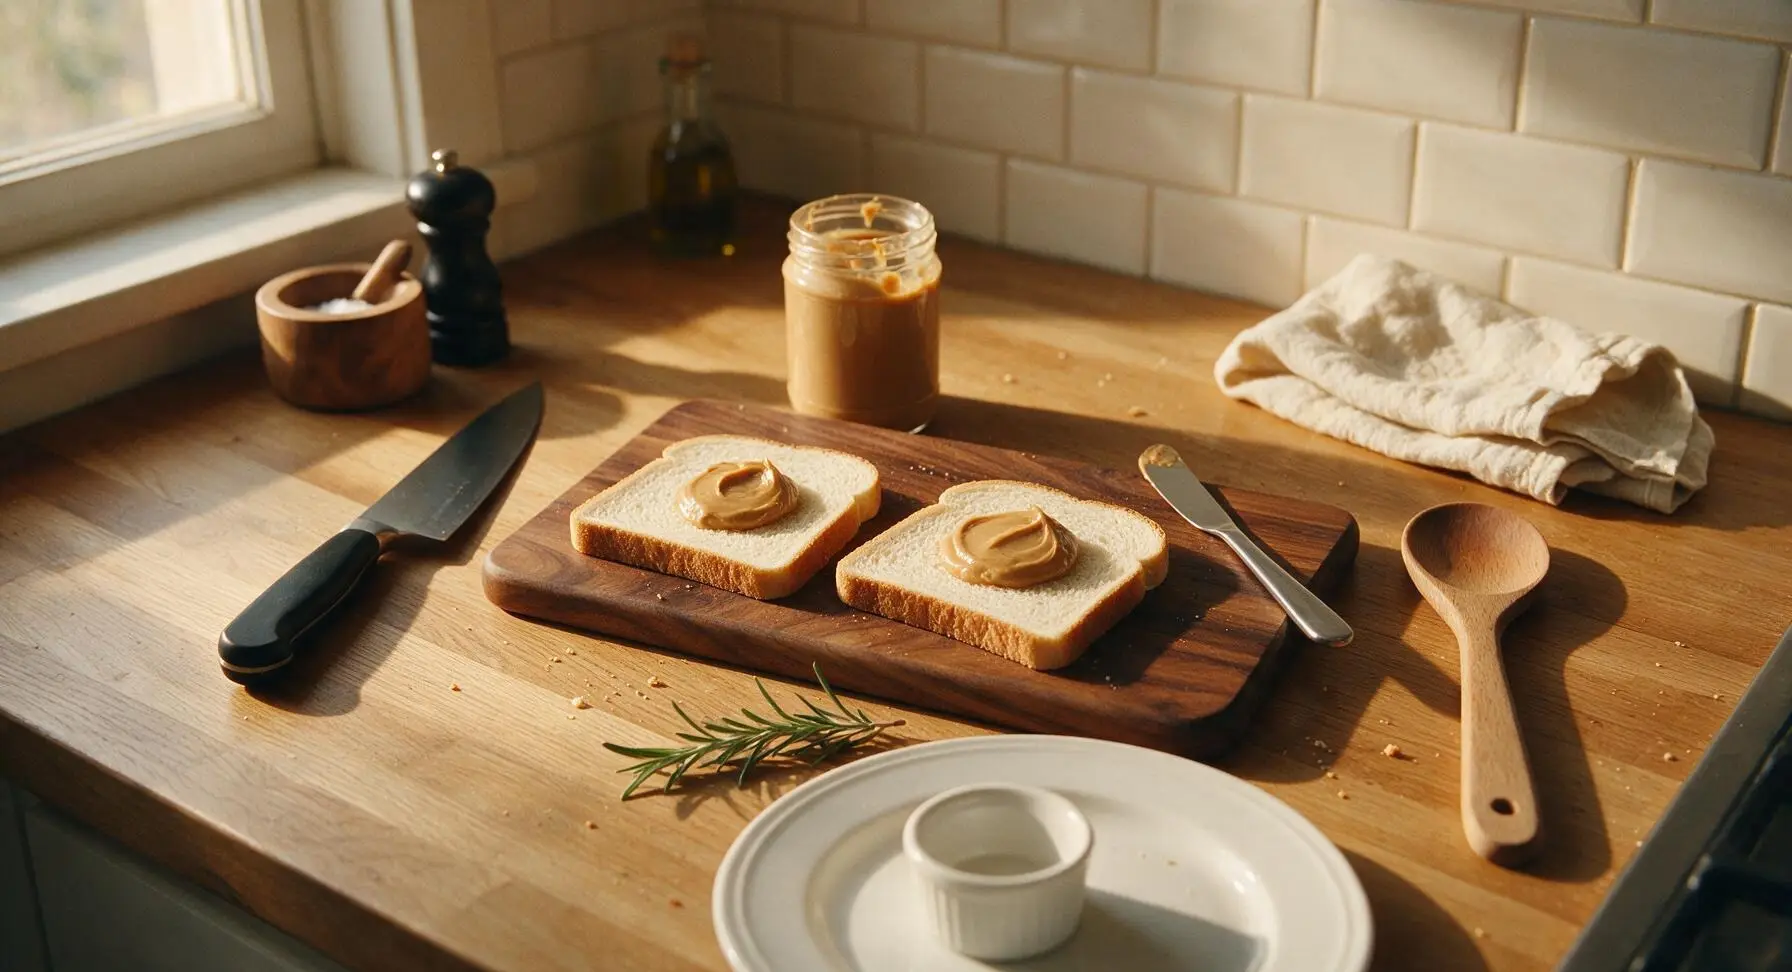
Scoop 2 tablespoons total of creamy peanut butter from the jar, depositing a 1-tablespoon dollop directly in the center of two of the bread slices (these will form the peanut butter layers). Do not spread the peanut butter yet; placing the dollop dead-center reduces the risk of peanut butter squeezing out the edges during assembly.
Spread Peanut Butter Evenly
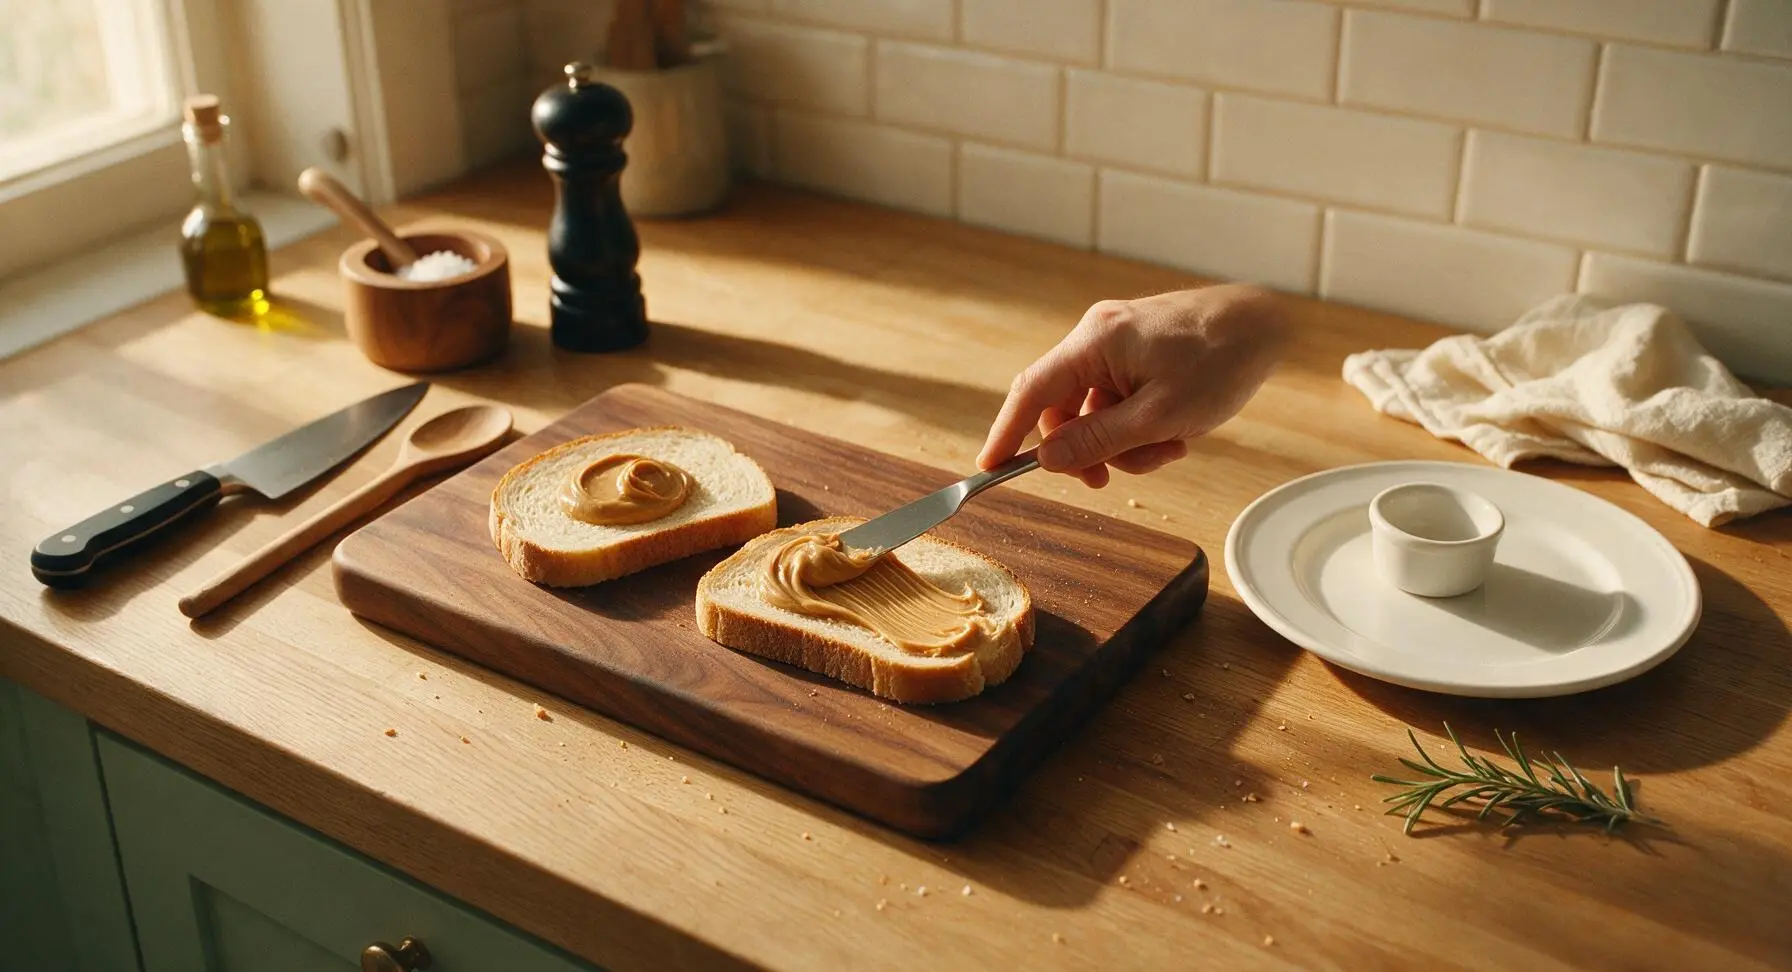
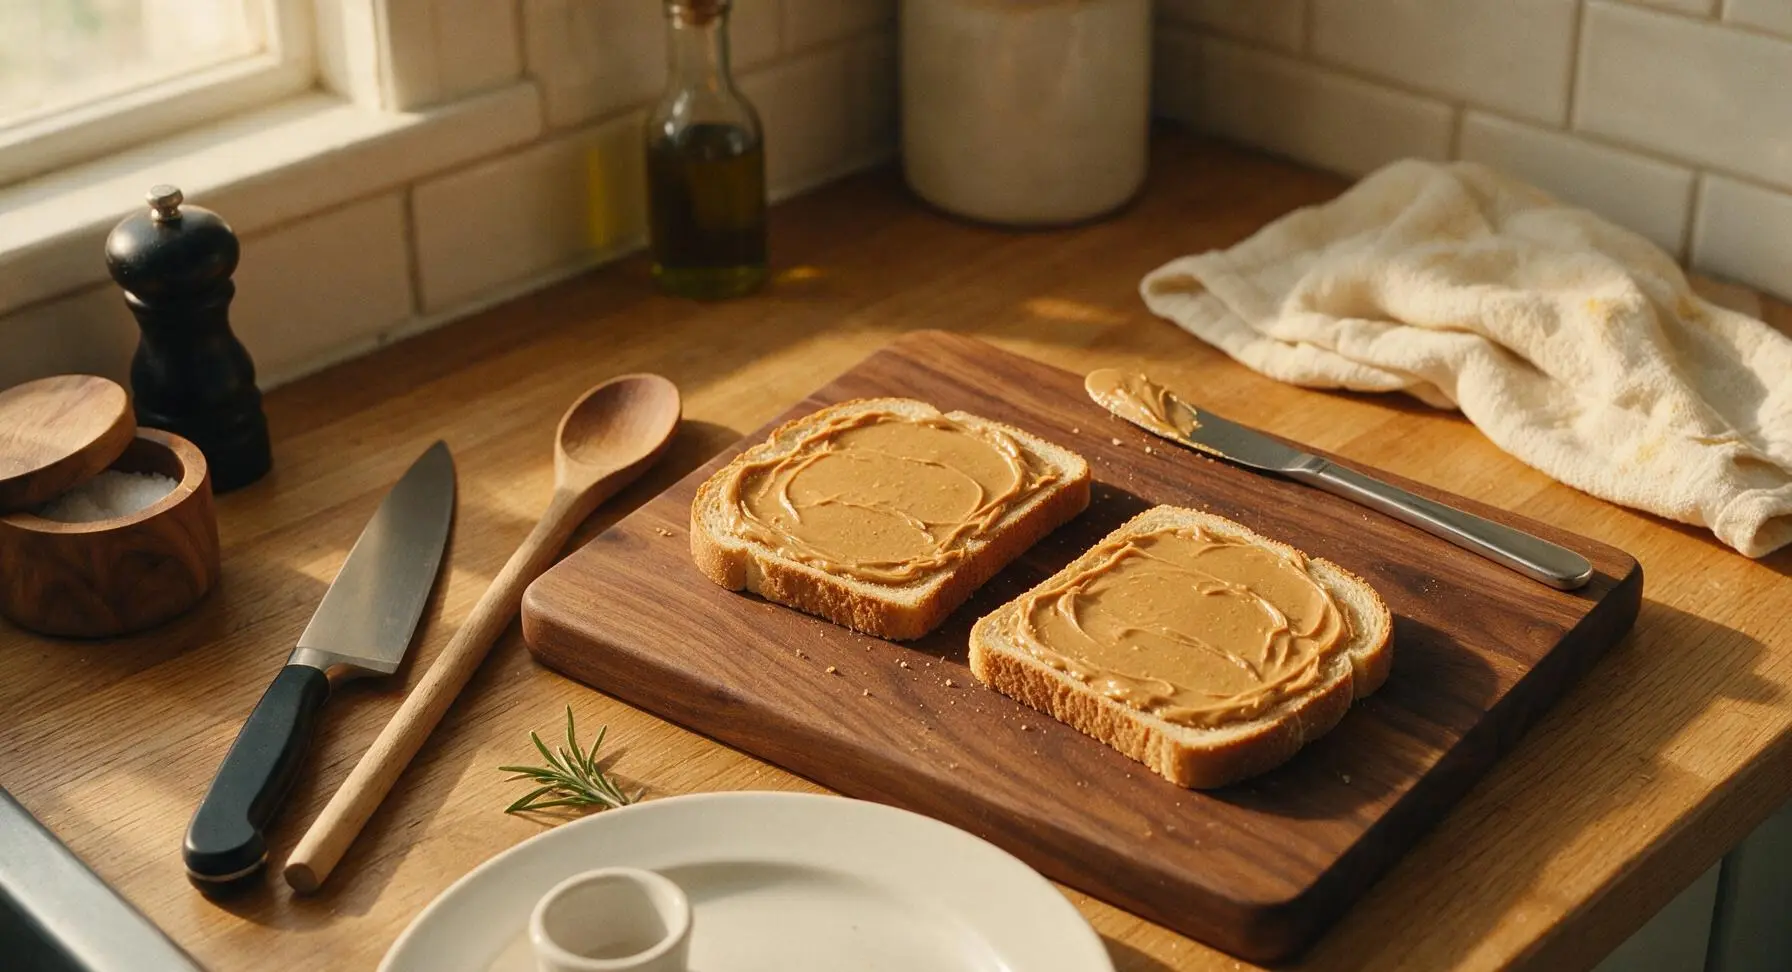
Pick up the stainless steel butter spreader from the edge of the cutting board. Push each peanut butter dollop outward from the center of the slice, spreading it in a thin, even layer all the way to the very edges of the bread crust. Covering the full bread surface creates a moisture barrier that prevents jelly from soaking through the bread and making it soggy, even if packed hours ahead for a picnic.
Spread Jelly Layer
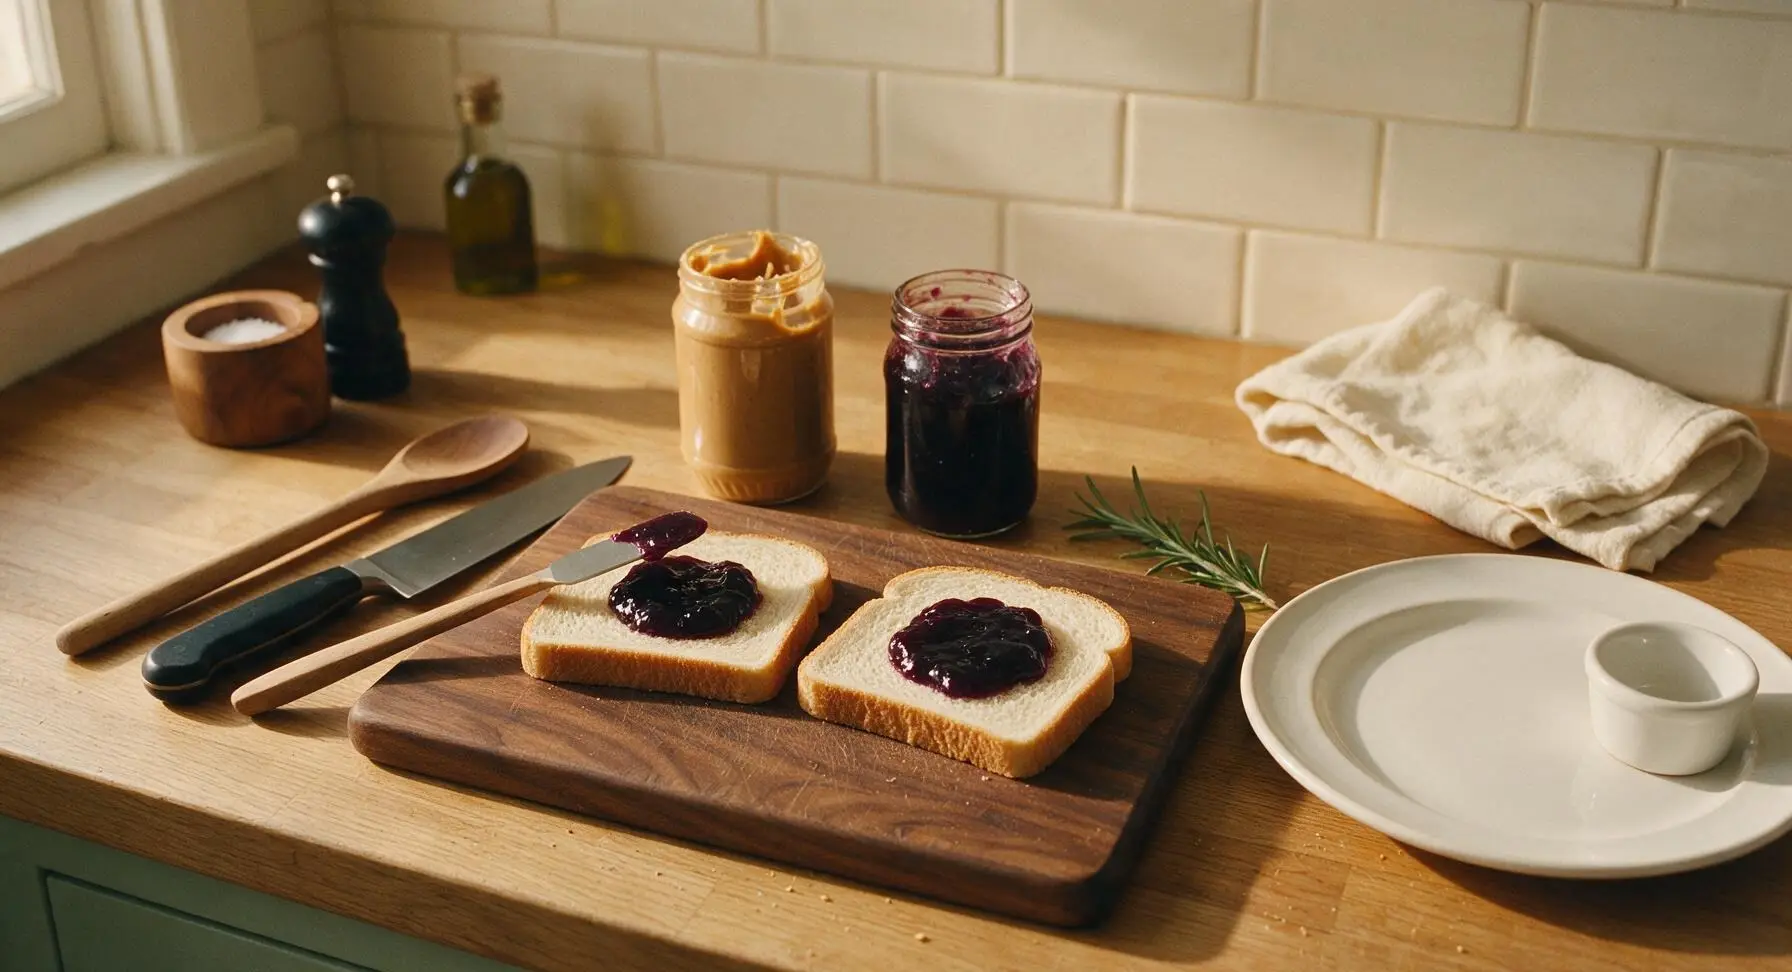
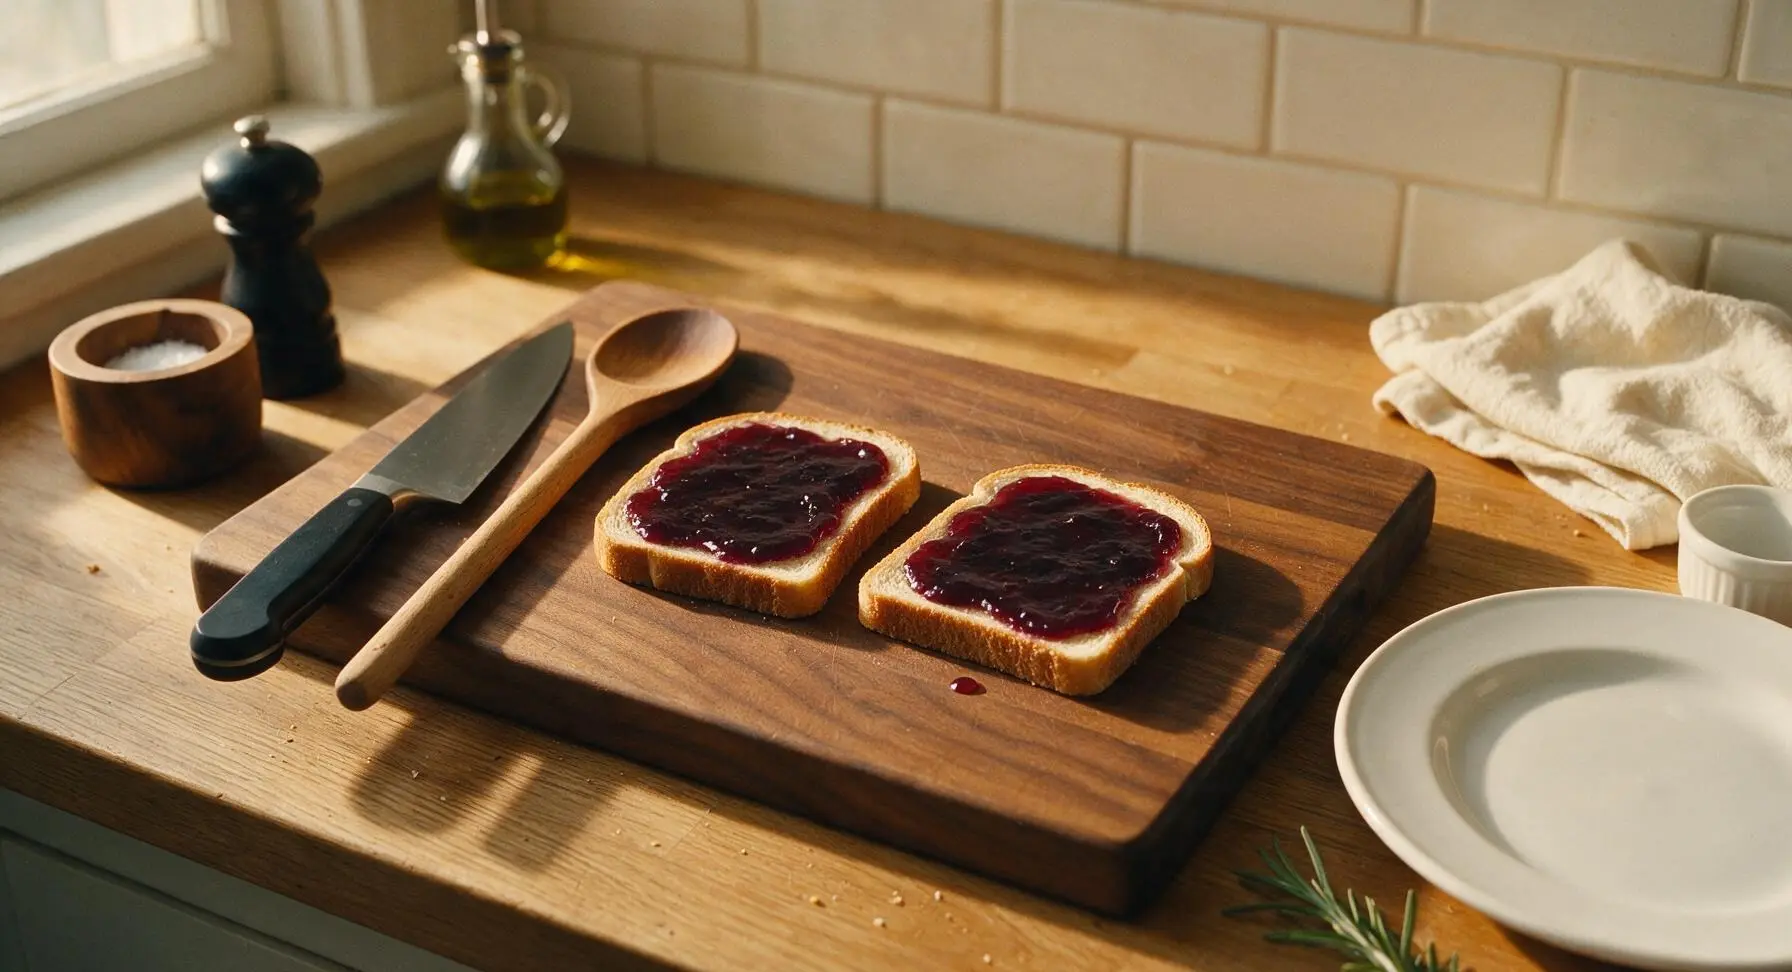
Scoop 1 tablespoon of Concord grape jelly onto the center of the remaining two plain bread slices, for 2 tablespoons total. Wipe the butter spreader quickly on the jelly jar rim to avoid cross-contaminating the jelly jar with peanut butter, then spread the jelly in an even, glossy layer across each slice, stopping 1/4 inch from the crust edge to prevent oozing when the sandwich is pressed or bitten into.
Assemble Sandwich Layers
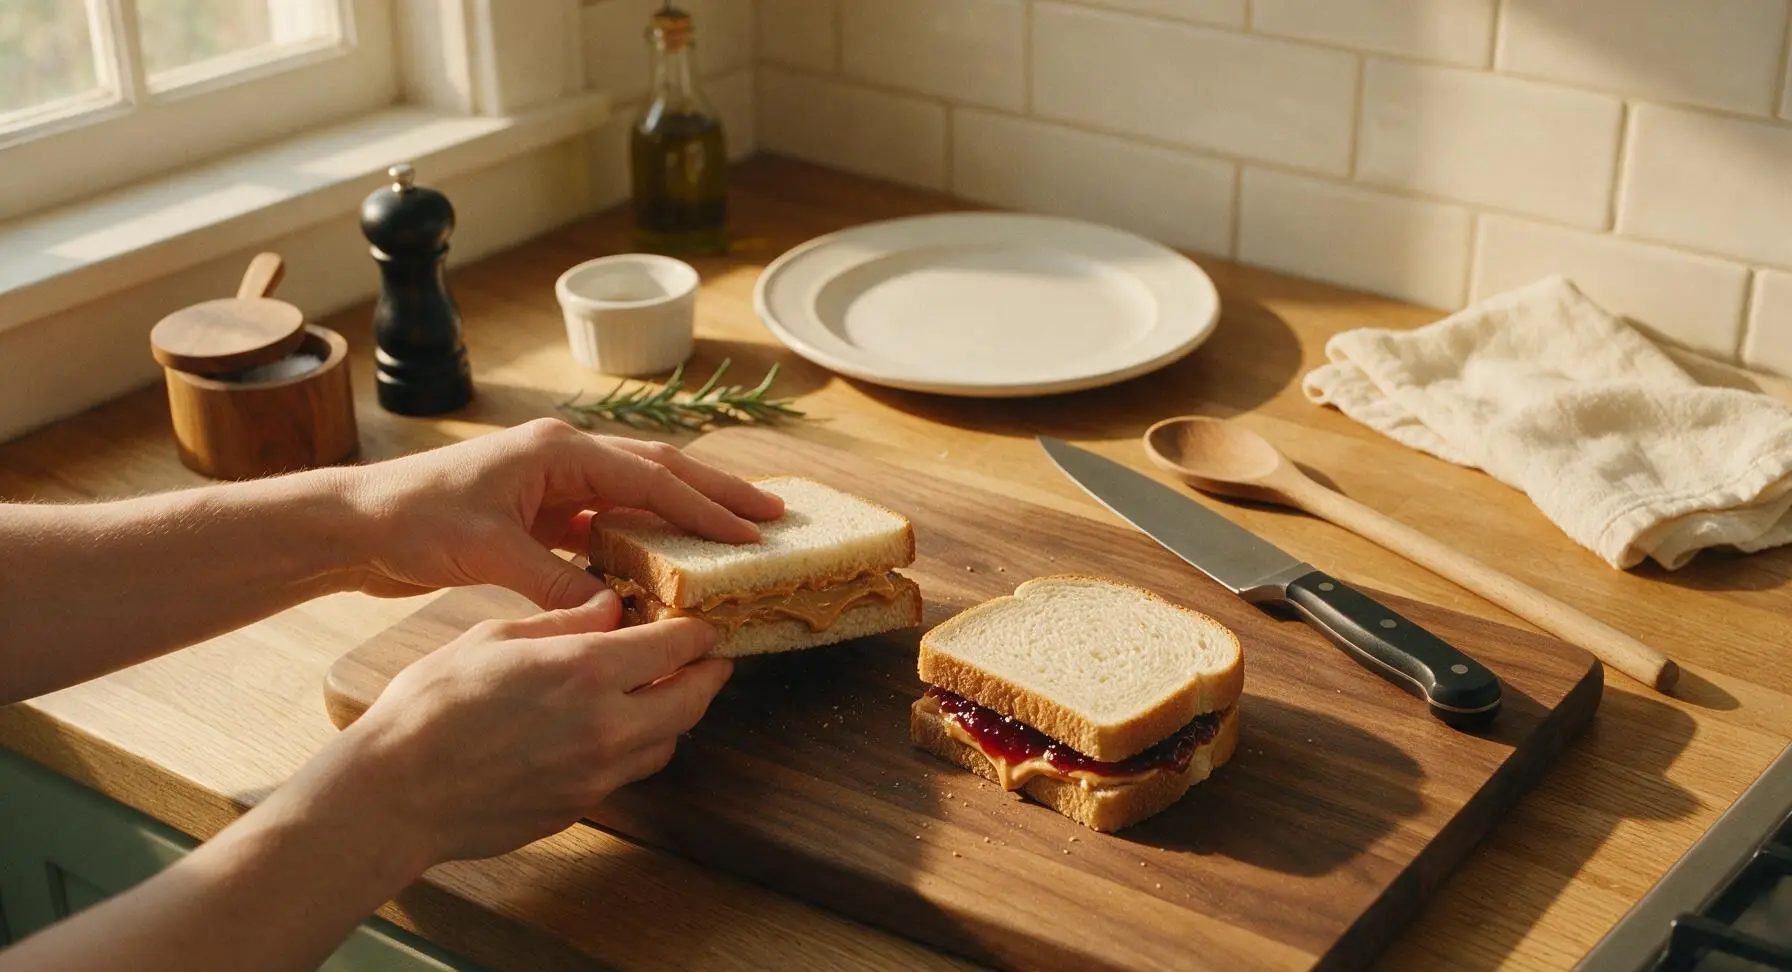
Carefully lift one peanut butter-coated slice and one jelly-coated slice, flipping one slice so the coated sides face each other. Press the slices together gently, aligning the crust edges perfectly so no filling hangs over the side. Repeat with the remaining two slices to form a second full sandwich.
Cut Sandwiches Neatly
Set the assembled sandwiches flat in the center of the maple cutting board. Pick up the serrated bread knife from its linen rest, and cut each sandwich diagonally from corner to corner in one smooth, gentle sawing motion. Do not press straight down through the bread, as this will compress the soft bread and squeeze filling out the sides. Wipe the knife blade between cuts if needed for clean, smooth edges.
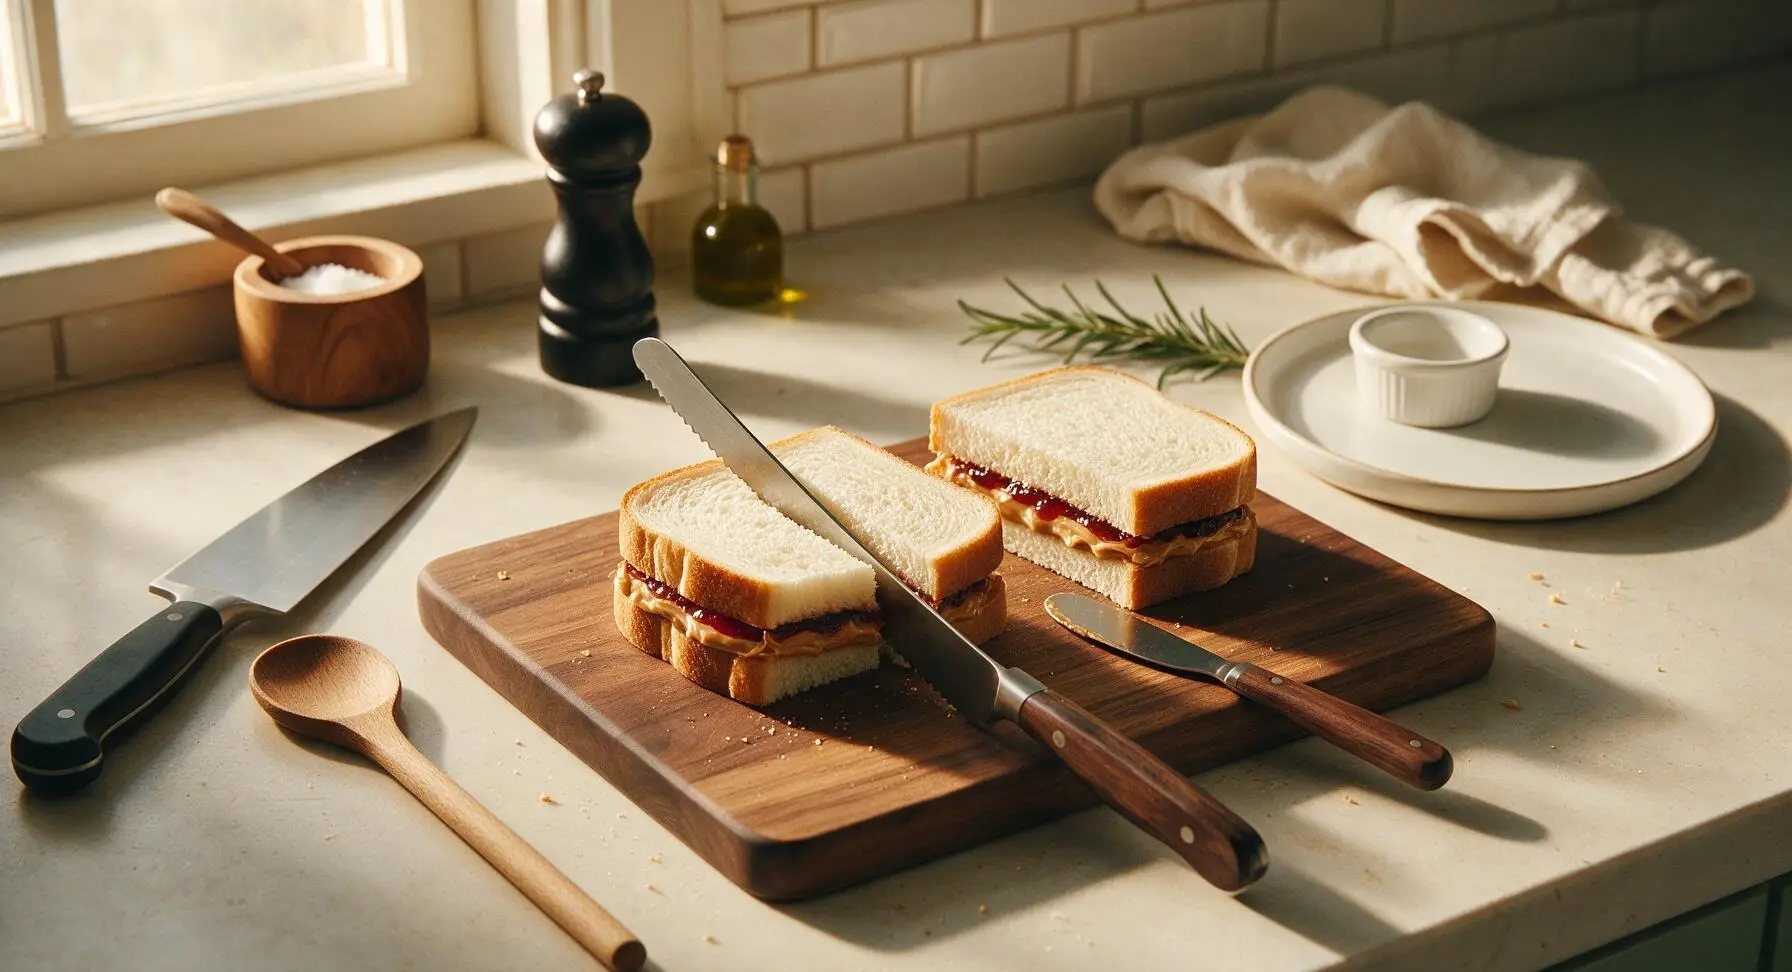
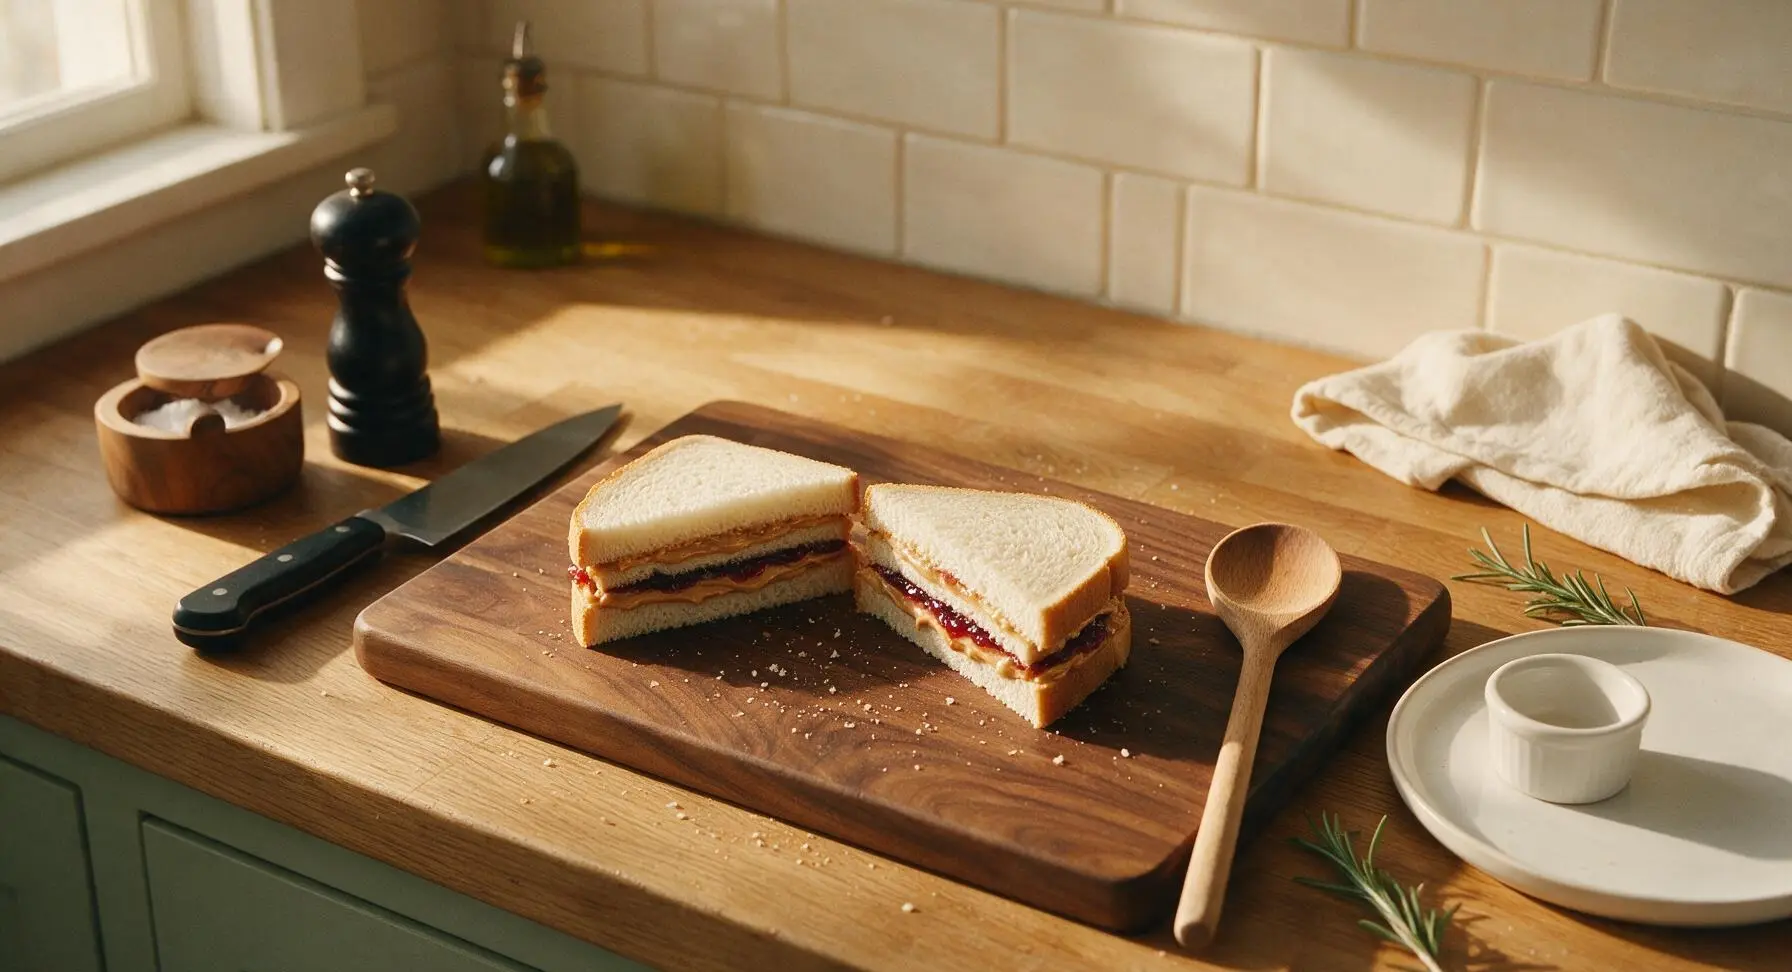
Plate and Serve
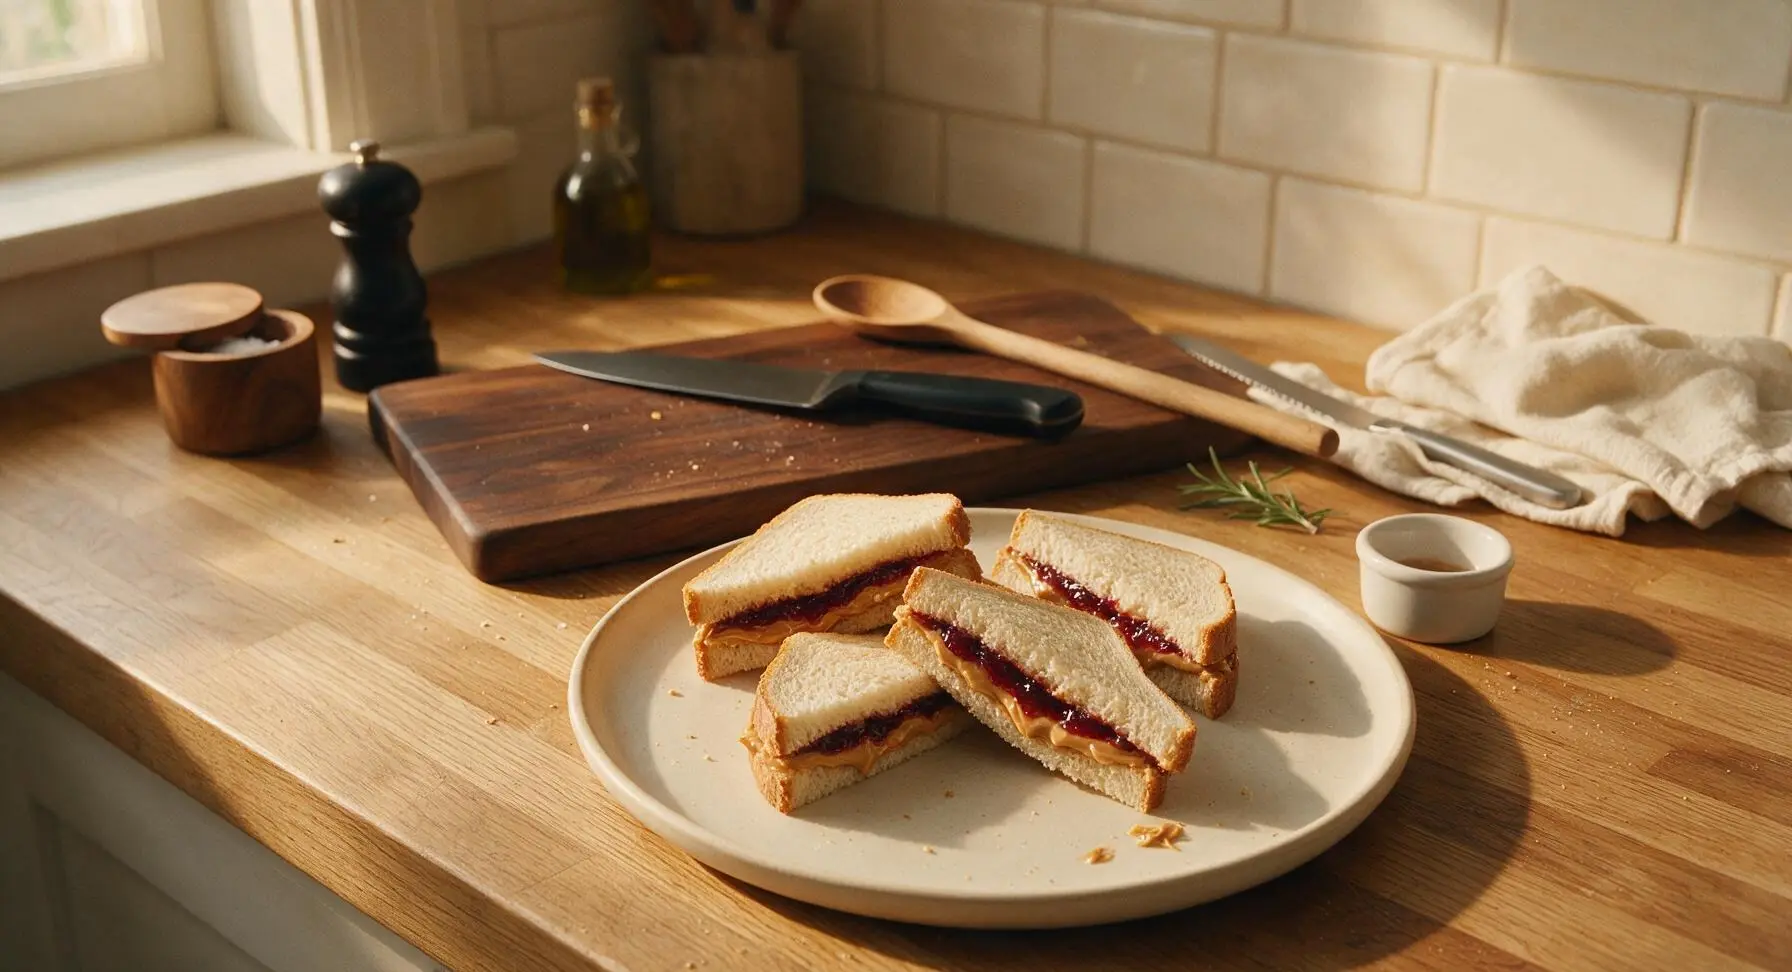
Transfer the cut triangular sandwich halves to the matte cream ceramic lunch plate, arranging them slightly overlapping with cut edges facing outward to show the layered filling. Leave small crumbs and tiny smudges of filling on the plate rim for a natural, approachable look rather than wiping the plate completely clean.
Tips
2.Use a serrated bread knife with a gentle sawing motion to cut sandwiches instead of pressing down with a flat spreader or sharp straight-bladed knife: straight downward pressure compresses soft white bread and pushes filling out the crust edges, leading to messy bites and lost filling.
3.Leave a 1/4-inch border of bare bread around the jelly layer, even as you spread peanut butter all the way to the edges: jelly is softer and more fluid than thick peanut butter, so this border gives it space to spread slightly when you bite down without oozing out onto your hands or clothes.






OMG I can’t believe I’ve been making PB&J wrong my whole life? I always spread peanut butter on only one slice before and ended up with soggy jelly bread by lunchtime. The tip to spread a thin PB layer on both slices to create a moisture barrier? Total game changer for school lunches! My kids loved it — they devoured these today and didn’t complain about soggy bread once.
Zero cook time? Hello, perfect dorm meal. I don’t have a kitchen in my res hall and I was so sick of eating microwave ramen every night. This is so straightforward, even I can’t mess it up. I used crunchy peanut butter and grape jelly and it hit so different after a late library study session this week.
Brought these cut into little triangle bites to our neighborhood block party potluck last weekend and they were the first thing gone! People kept asking if I added some fancy secret ingredient, nope, just followed this classic recipe to a T. Sometimes the simplest dishes are the biggest crowd pleasers, for real.
Wait is it a crime that I swap the peanut butter for almond butter sometimes? Don’t get me wrong, the classic PB&J is unbeatable, I just wish the recipe noted easy allergy-friendly swaps! I make sunflower seed butter versions for office potlucks for my coworker with a severe peanut allergy, using the same spread method, and it tastes just as good!
I make these for every day hike I go on — no prep, no mess, gives me the perfect combo of carbs and protein to keep me going on the trails. I usually add a little sprinkle of chia seeds on the jelly for extra fiber, chef’s kiss.
I’ve been making these for my grandbabies for 40 years and I still picked up a little tip from this recipe! Cutting the crusts off for the little ones and slicing them into fun shapes with cookie cutters makes them feel extra special. They always beg for seconds when I do that.
Just started meal prepping for my work week and these are so easy to make ahead! I wrapped each sandwich individually in parchment paper and stuck them in the fridge, they held up great for 3 days straight. No sad, soggy sandwiches at my desk anymore!