
pickled pepper
intro
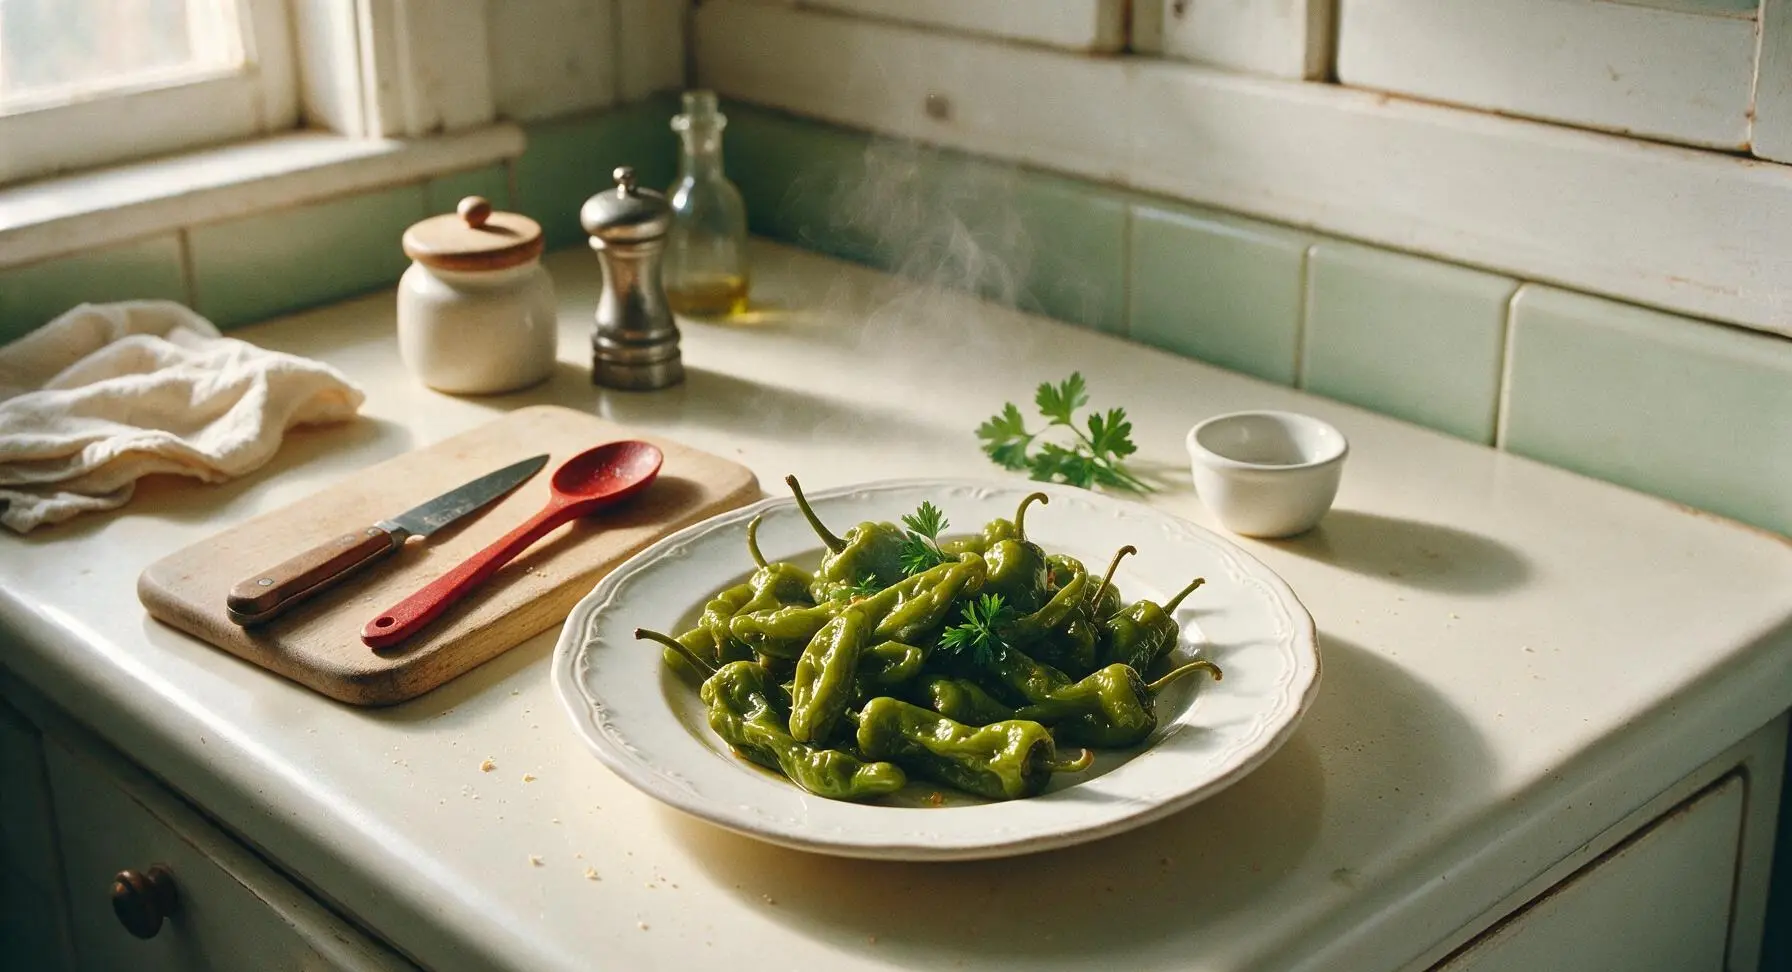
Crisp, tangy, lightly spicy quick pickled peppers add bright zing to BBQ plates, tacos, noodles, and snack boards. Ready to eat in 24 hours, they beat store-bought versions with fresh, balanced flavor.
Ingredients
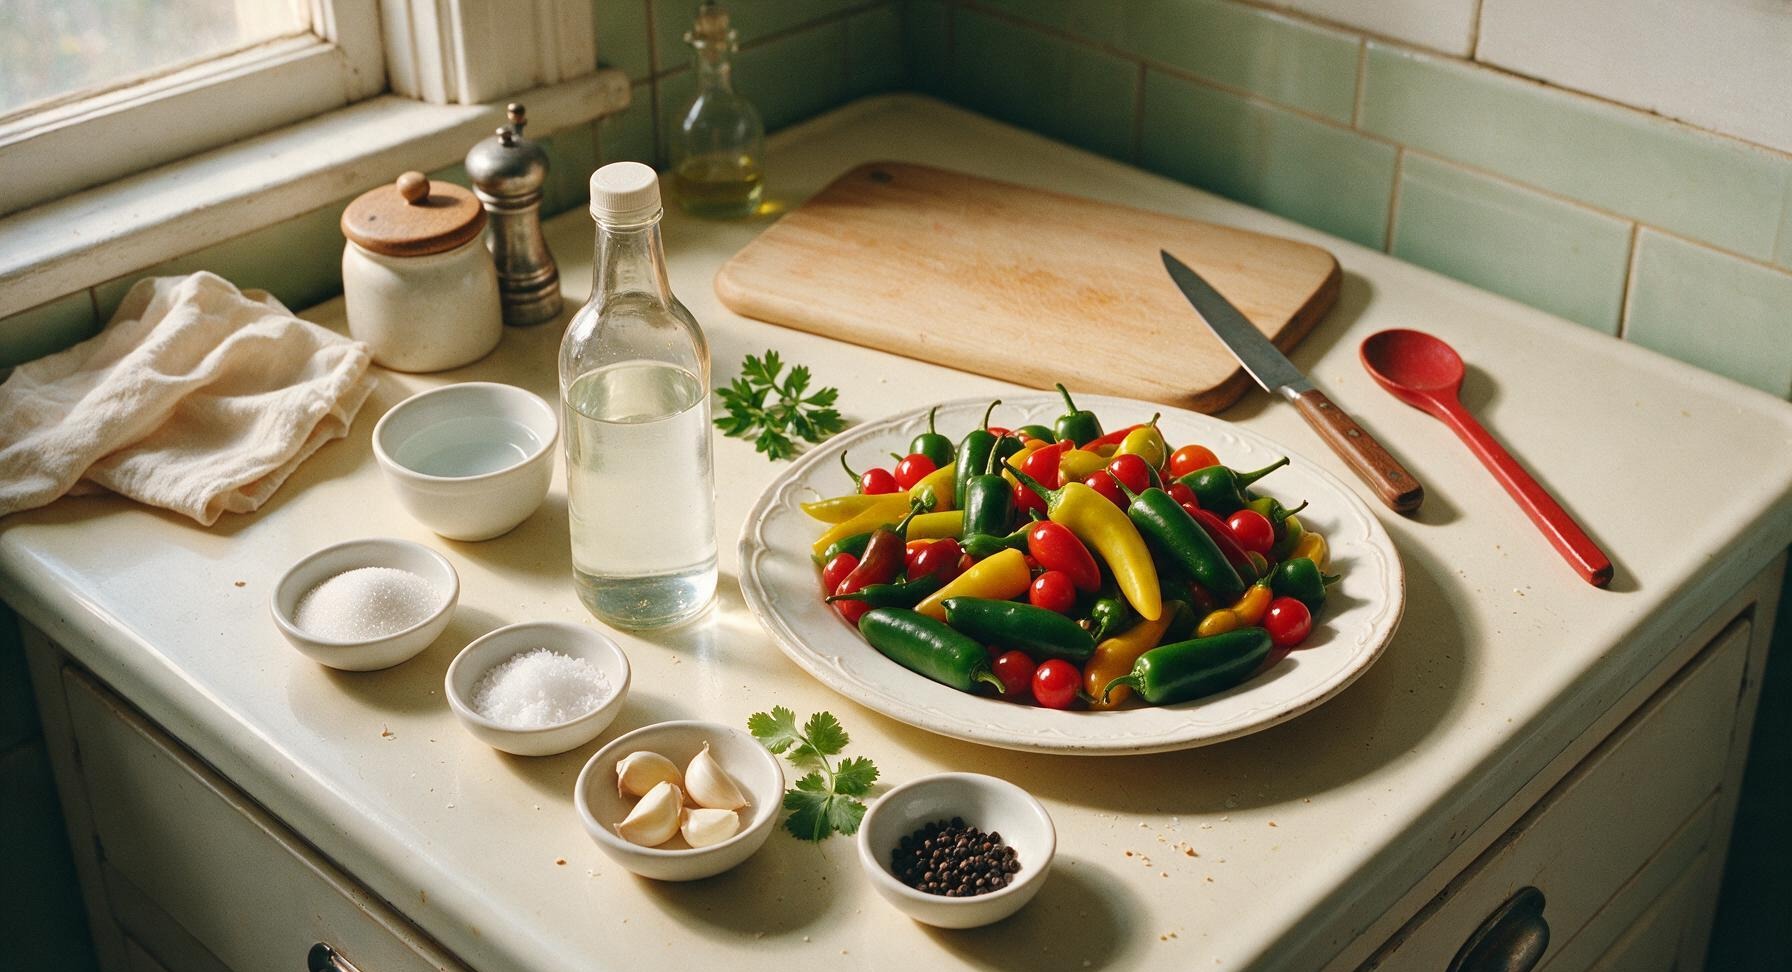
Steps
Prep Fresh Peppers
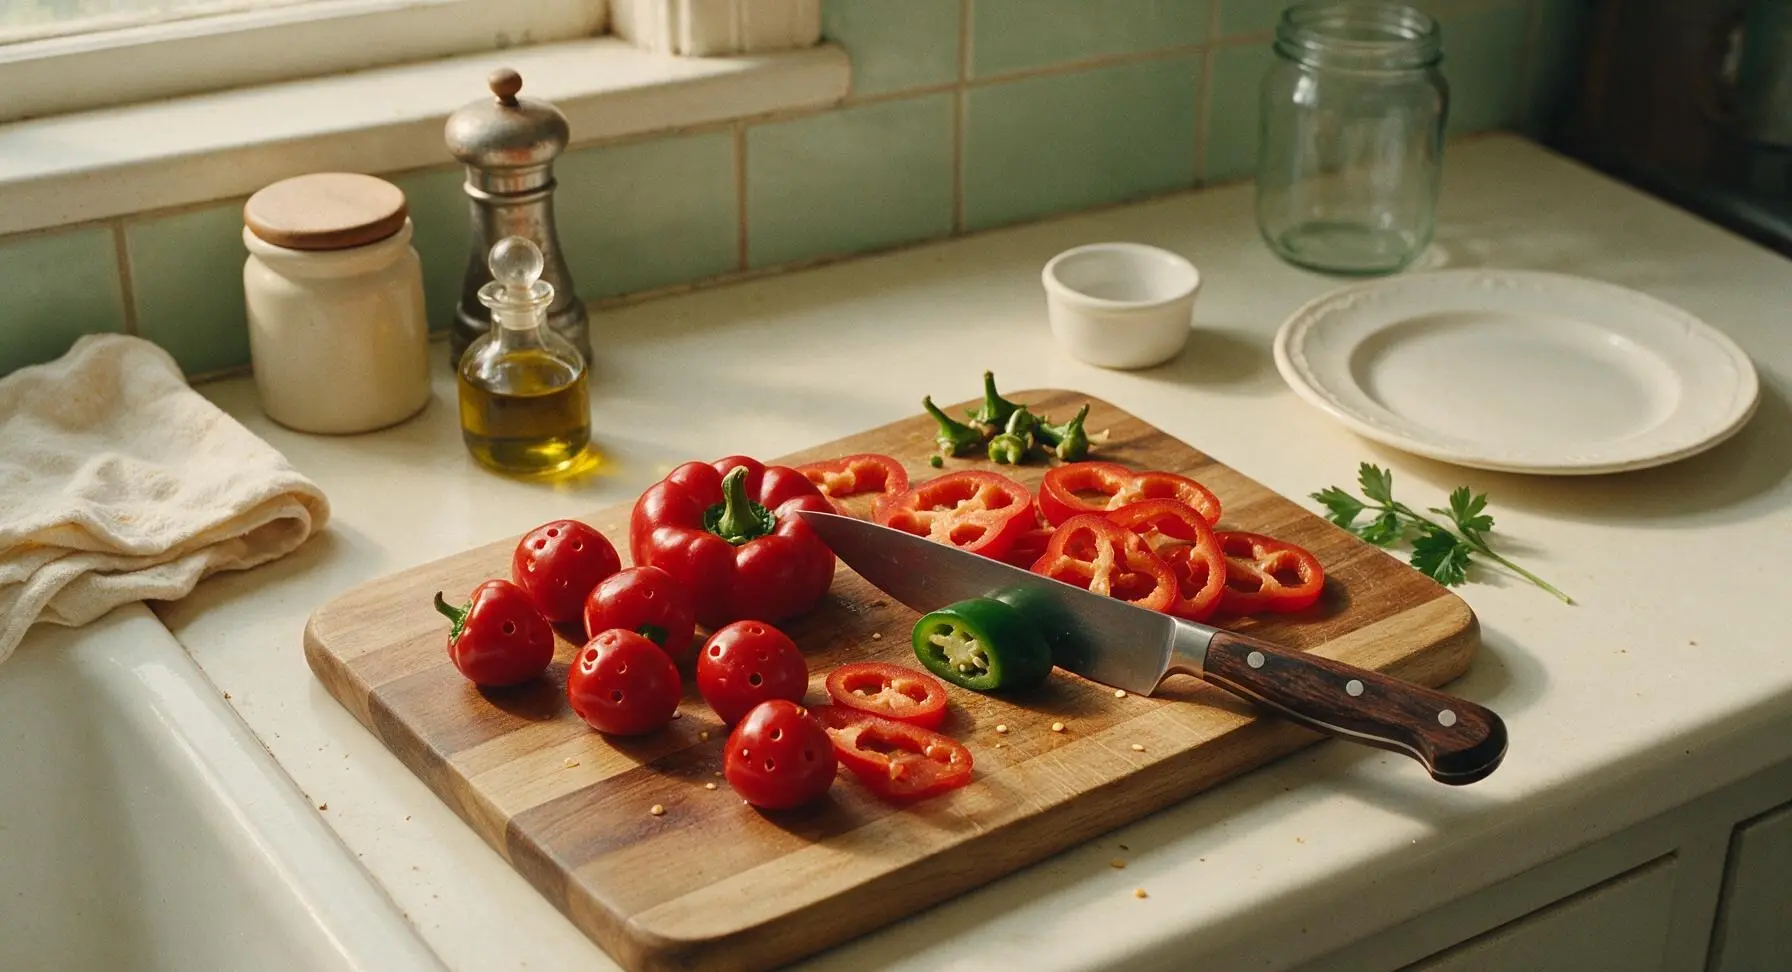
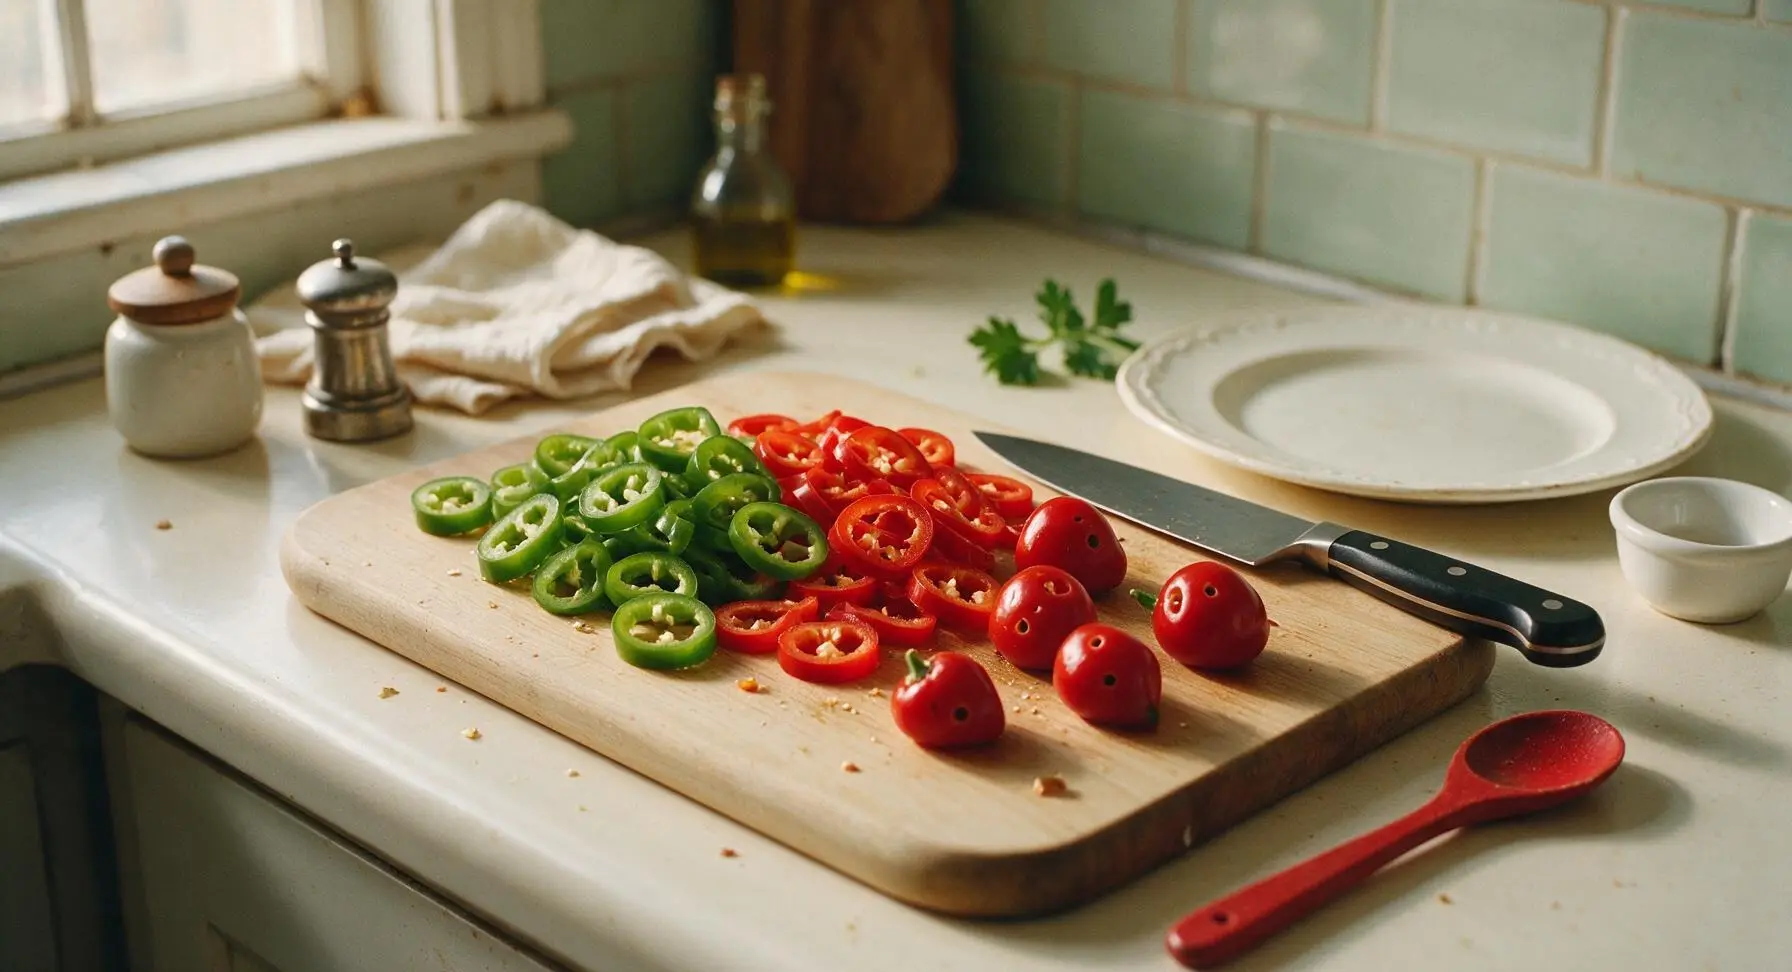
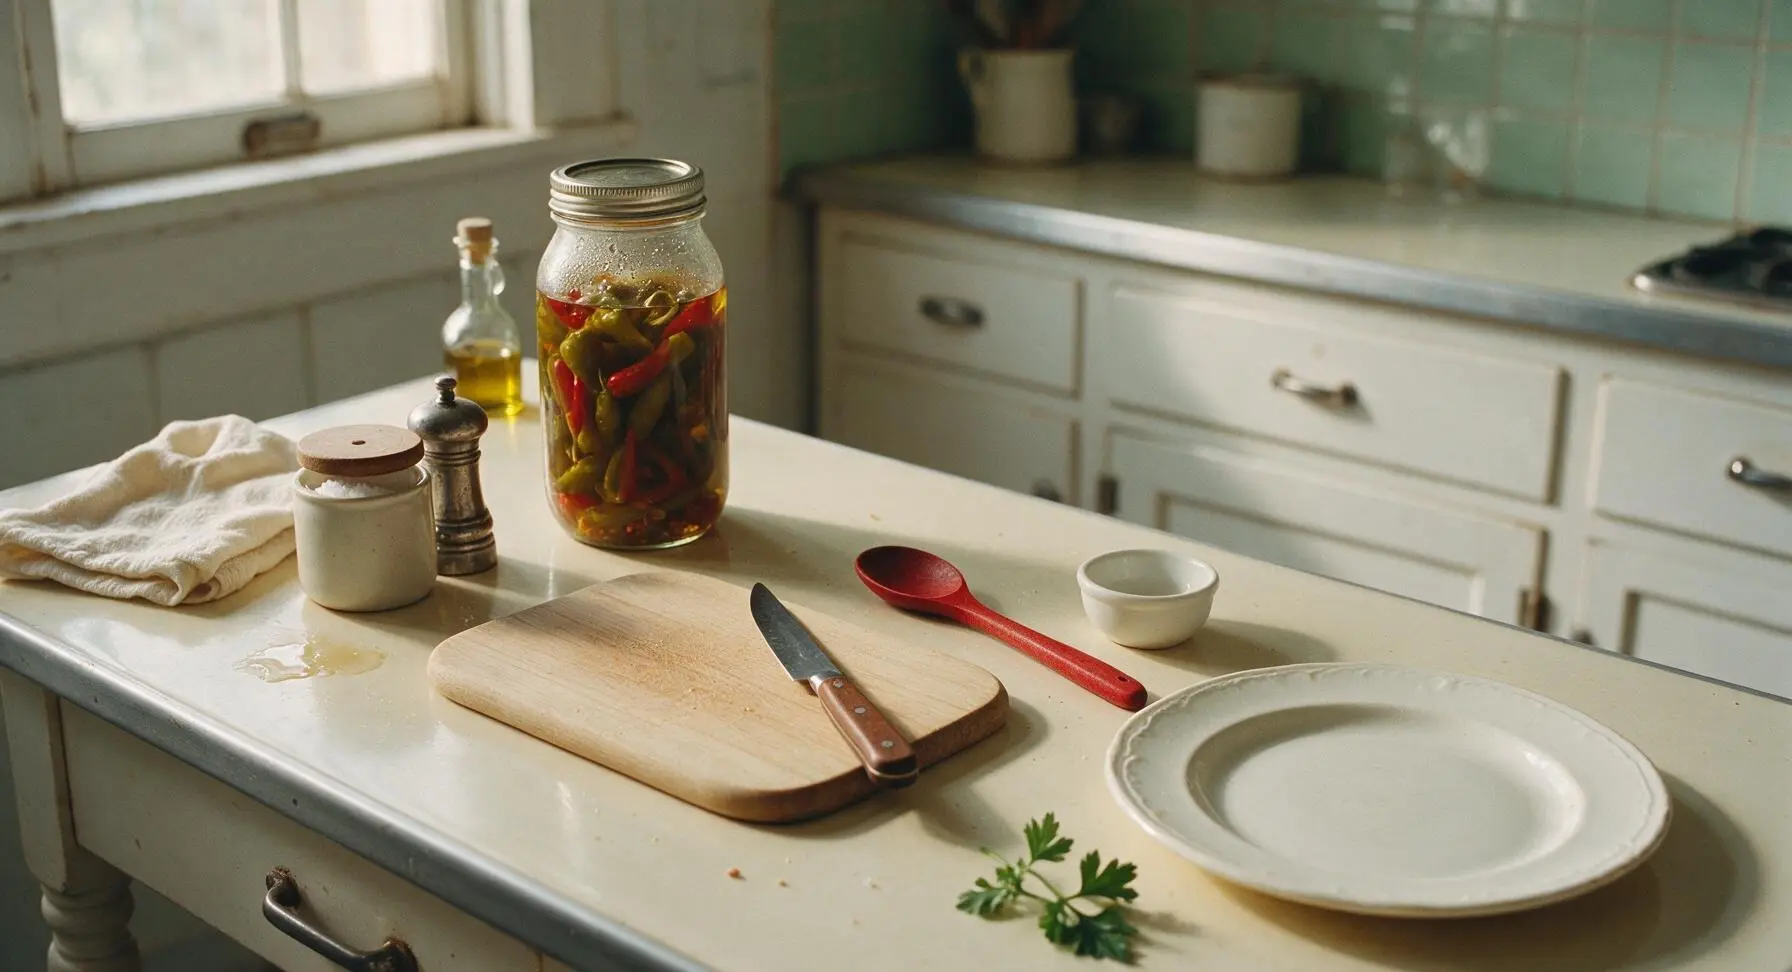
Rinse all 450g of mixed peppers under cool running water, and pat completely dry with the edge of the fixed linen towel. Slice larger peppers into 1/4-inch thick rings using the 8-inch chef knife on the acacia wood cutting board, discarding the tough green stem tops. Leave small cherry peppers whole, and poke 2 small holes in each with the knife tip to allow brine to penetrate fully. Trim away and discard any soft, bruised pepper sections to prevent premature spoilage. Finished prepped peppers should feel firm and crisp, with no mushy or discolored edges.
Sterilize Storage Jar
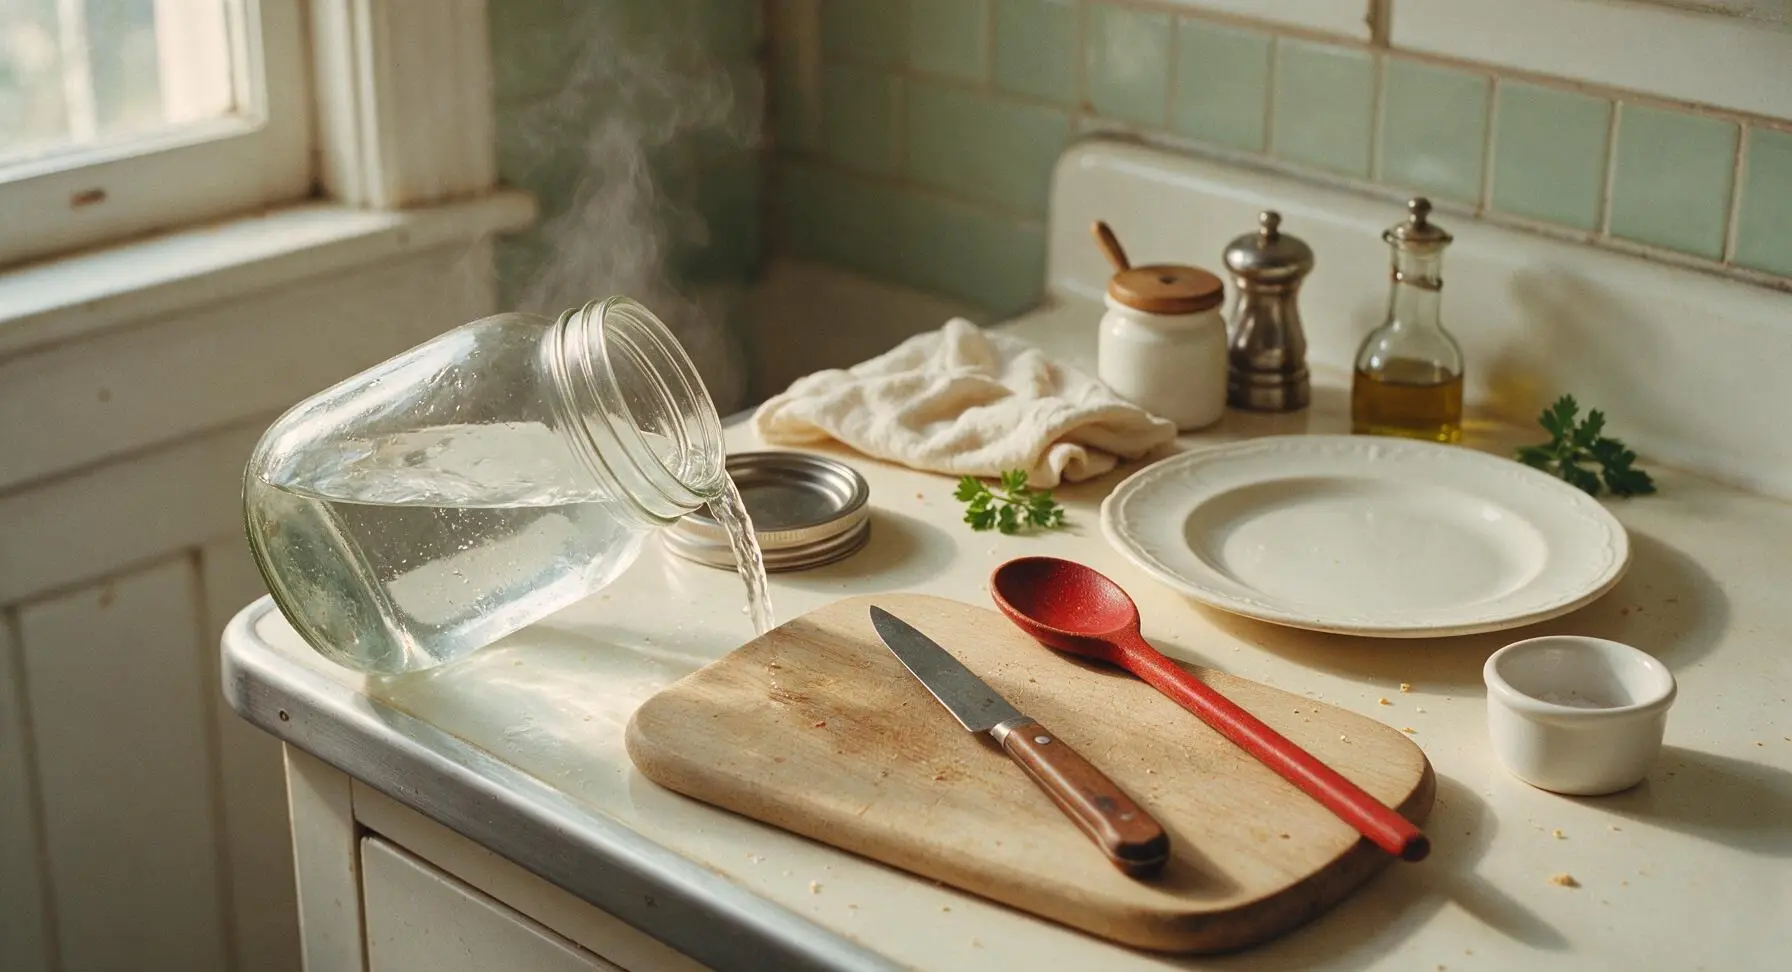
Wash the 1-liter wide-mouth mason jar and its stainless steel lid in hot, soapy water, then rinse thoroughly to remove all soap residue. Pour boiling water into the jar to fill it 3/4 full, let sit for 2 minutes to kill surface bacteria, then pour out the water completely. The jar should be warm to the touch and fully dry on the outside before adding ingredients, to ensure pickles stay fresh for up to 1 month when refrigerated.
Pack Jar with Aromatics
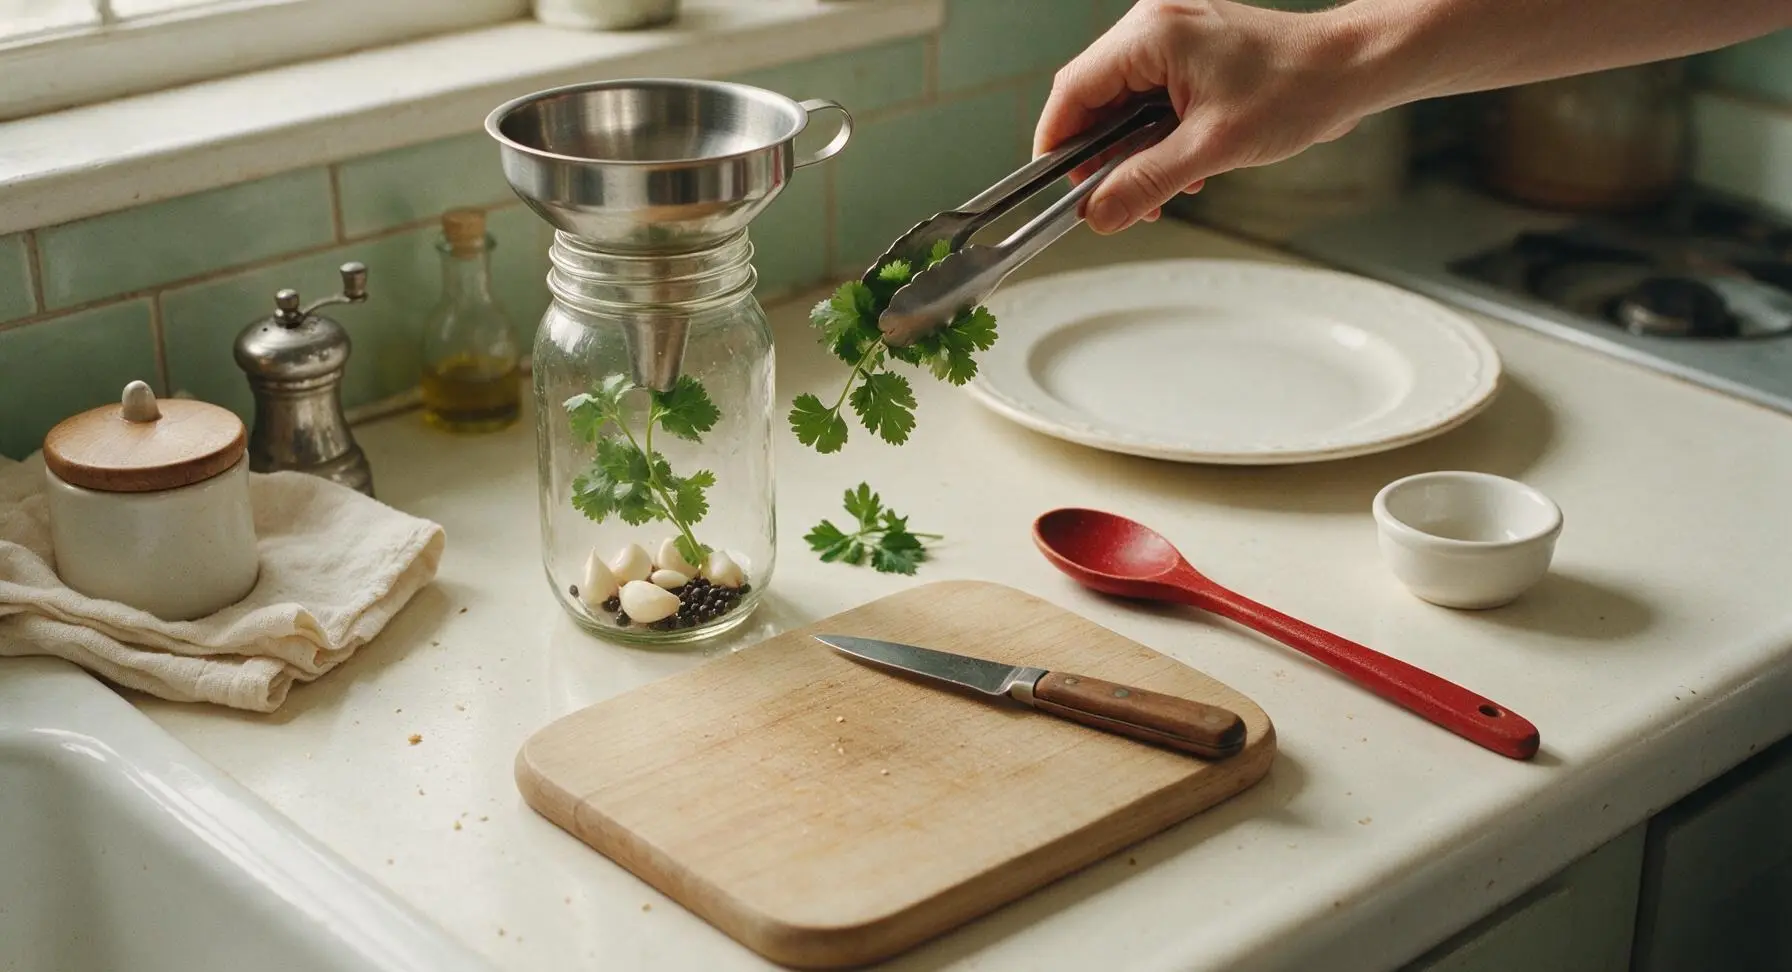
Place the stainless steel canning funnel in the opening of the now-sterilized mason jar. Use the kitchen tongs to drop the 4 lightly crushed garlic cloves, 1 tsp whole black peppercorns, and 2 fresh cilantro sprigs into the bottom of the jar. Lightly press the aromatics down to the jar base so they do not float to the top once brine is added.
Pack Peppers Tightly
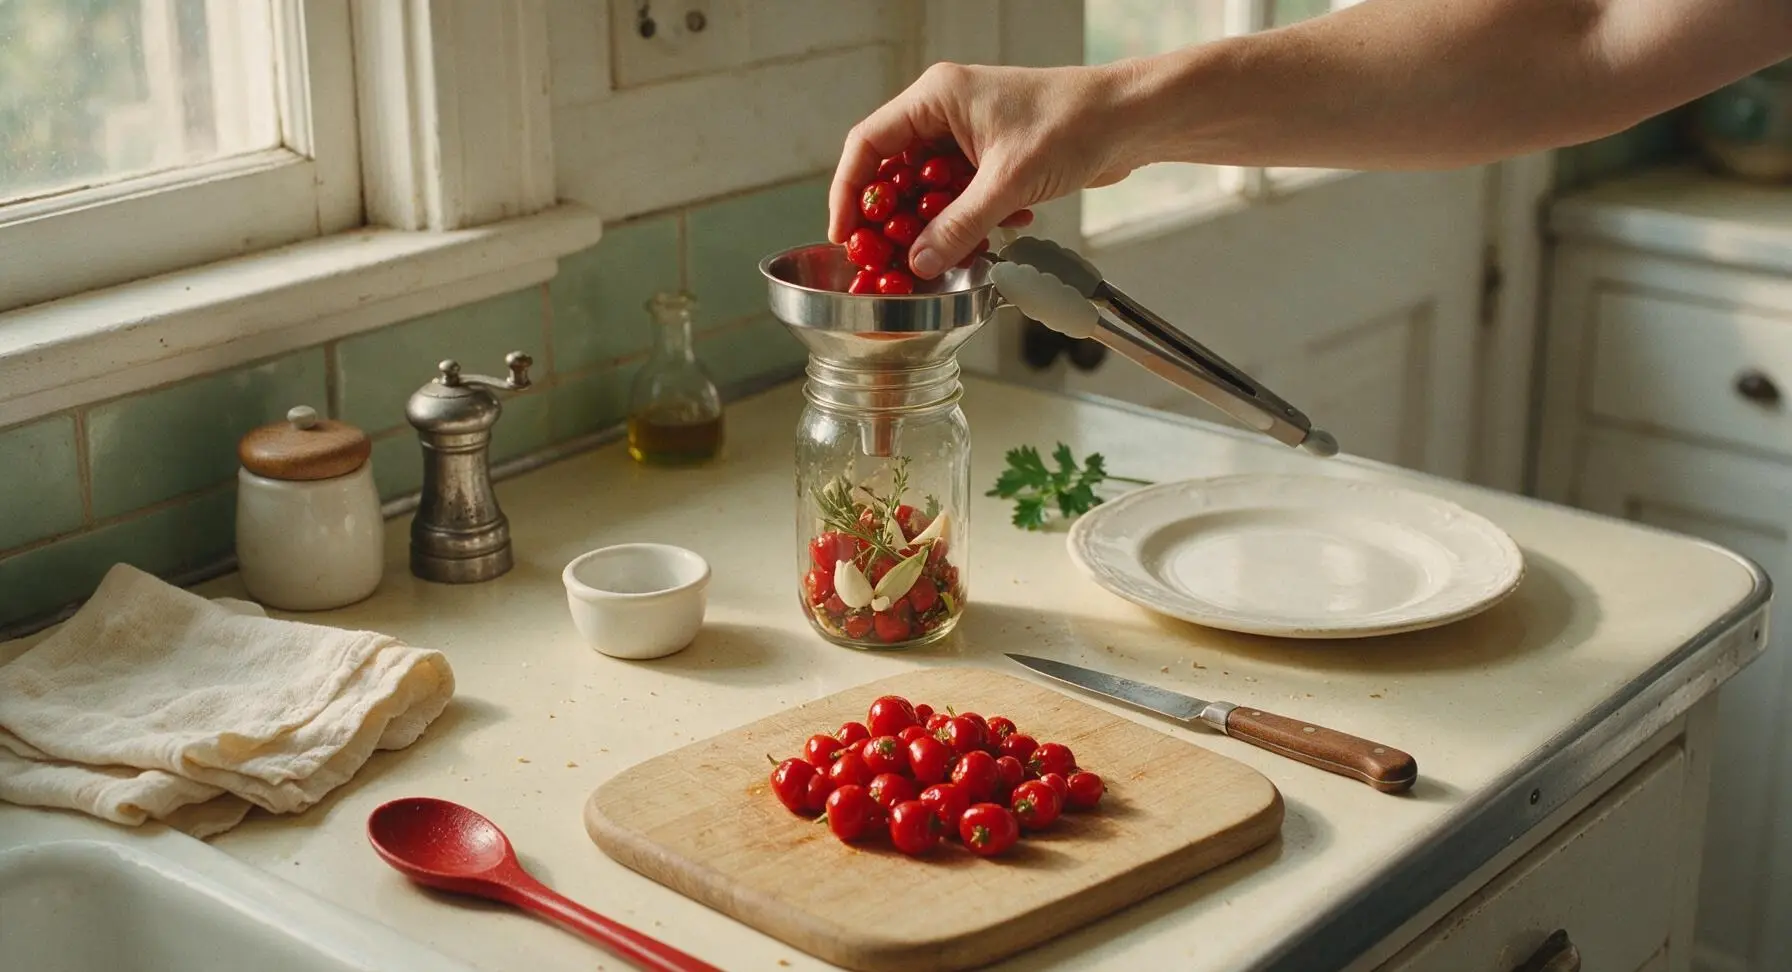
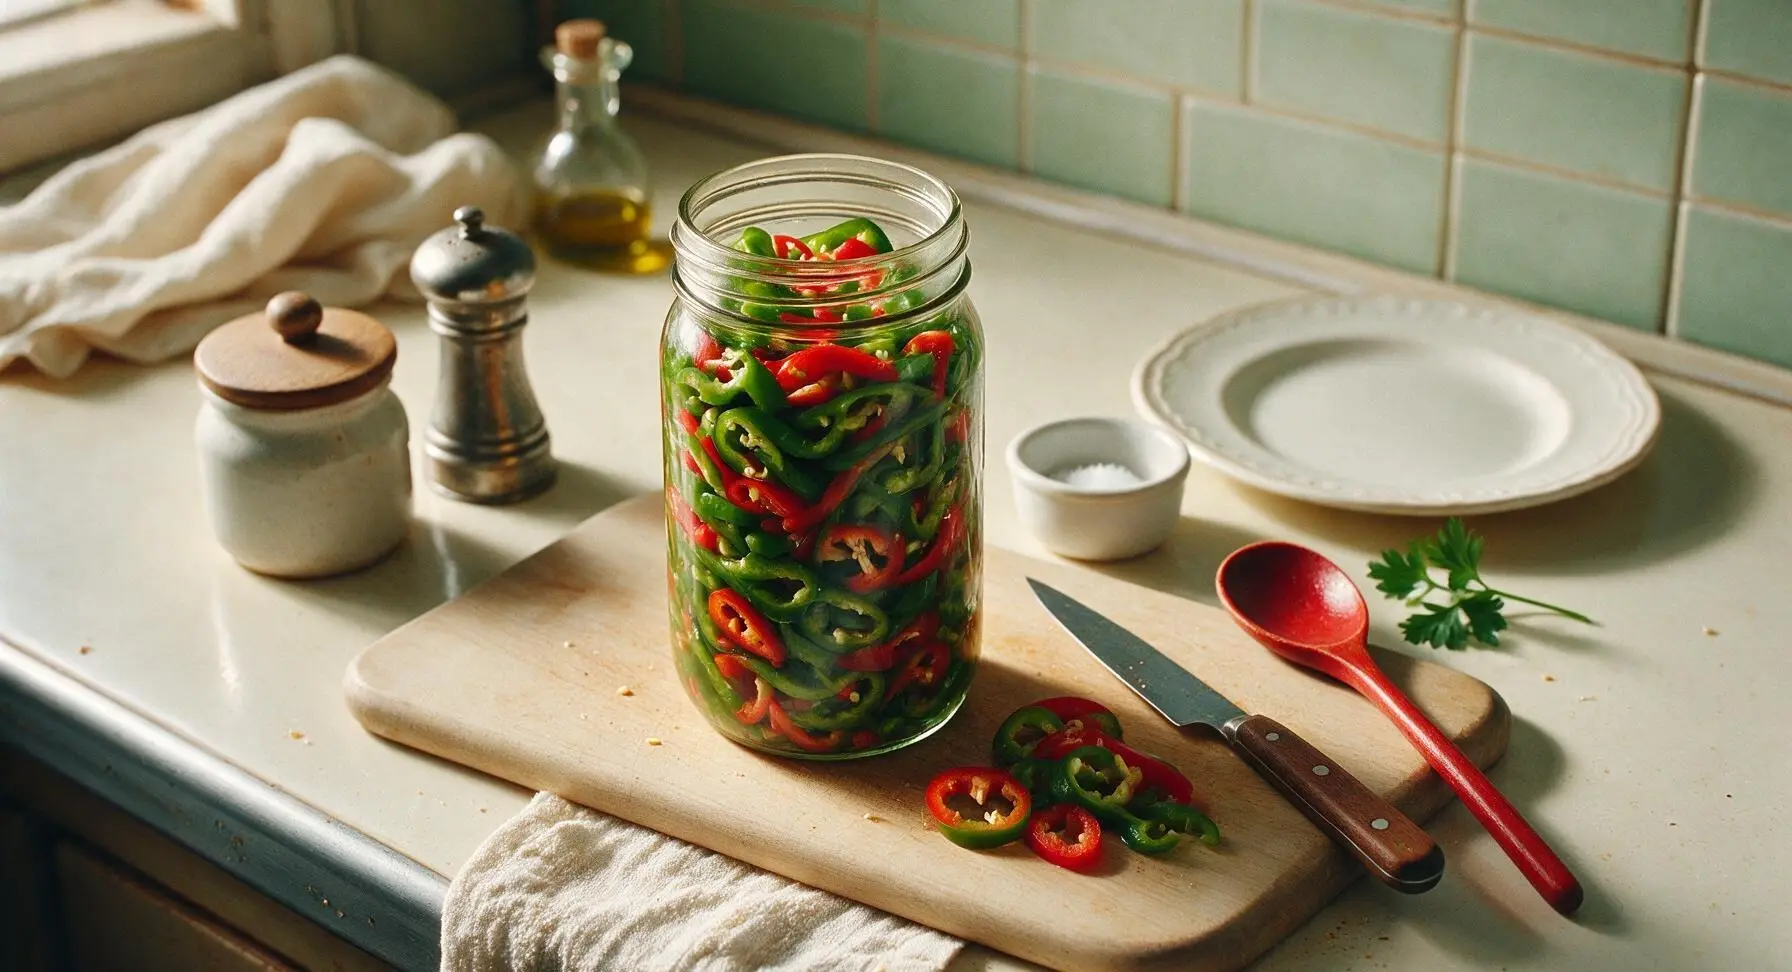
Add the prepped sliced and whole peppers to the jar through the canning funnel, pressing gently with the silicone tip of the kitchen tongs as you go to pack them tightly. Leave exactly 1/2 inch of headspace at the top of the jar; do not overpack to the point that peppers are crushed or bruised, as this will lead to soft texture. The packed peppers should sit firmly in the jar without shifting when the jar is lightly tapped on the counter.
Mix Pickling Brine
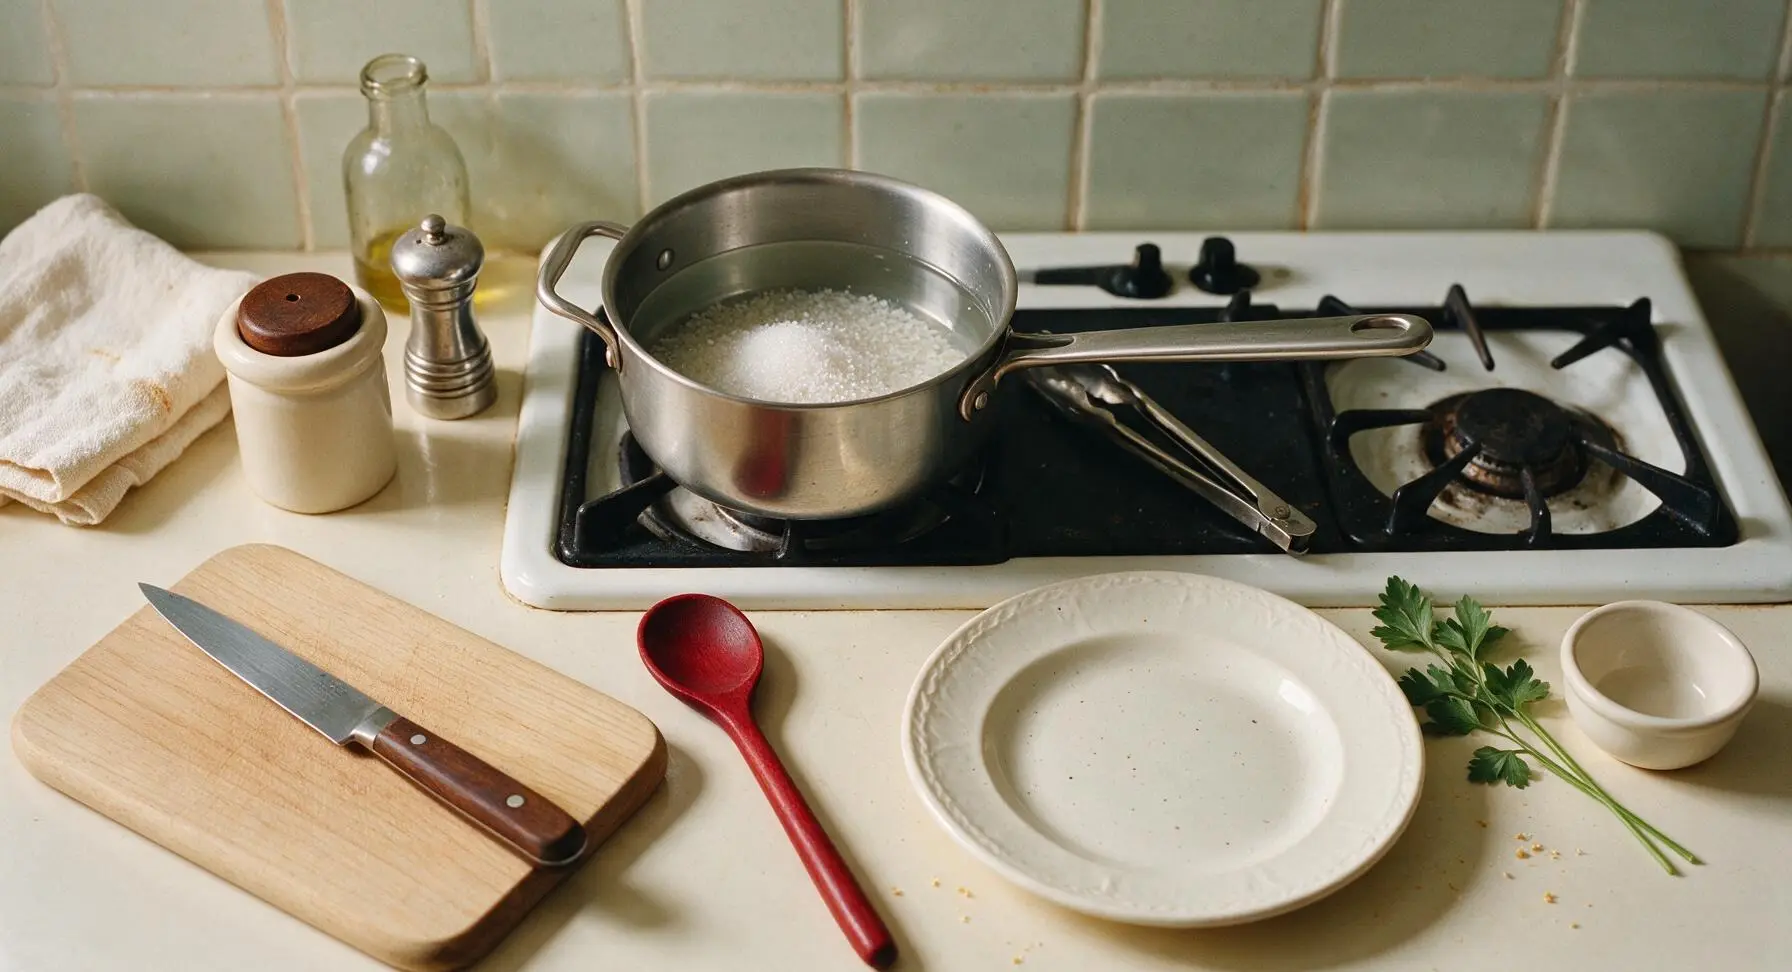
Move the 2-quart stainless steel saucepan from its fixed back-right counter position to the stovetop burner. Pour the measured filtered water from the glass measuring cup into the pan, add 350ml white distilled vinegar, 2 tbsp granulated sugar from the sugar canister, and 1 tbsp coarse kosher salt from the salt cellar to the pan. Stir briefly with the handle end of the kitchen tongs to initially combine the ingredients before heating.
Bring Brine to Boil
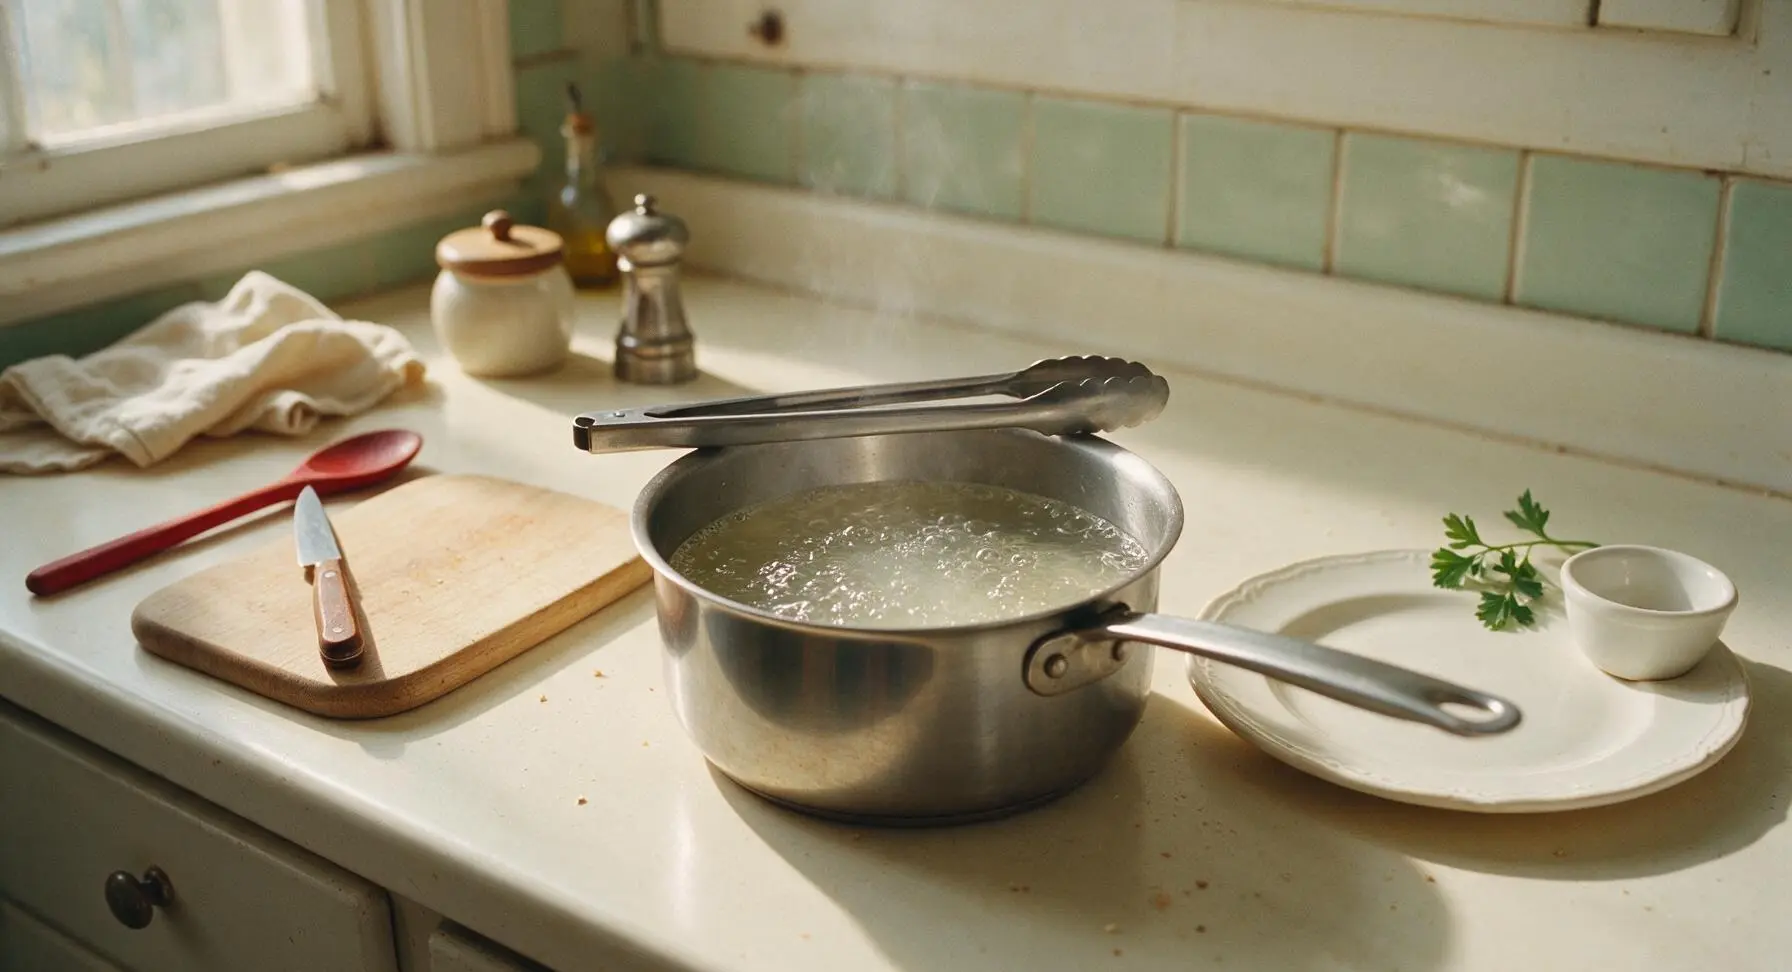
Heat the brine mixture over medium-high heat, stirring occasionally, until it reaches a full rolling boil (approximately 5 minutes). Stir once more to confirm all sugar and salt are fully dissolved, with no grainy residue left on the pan bottom. Turn off the heat immediately once the boil is reached; do not over-boil the brine, as this will over-concentrate the vinegar and create harsh, sharp flavor.
Pour Hot Brine Over Peppers
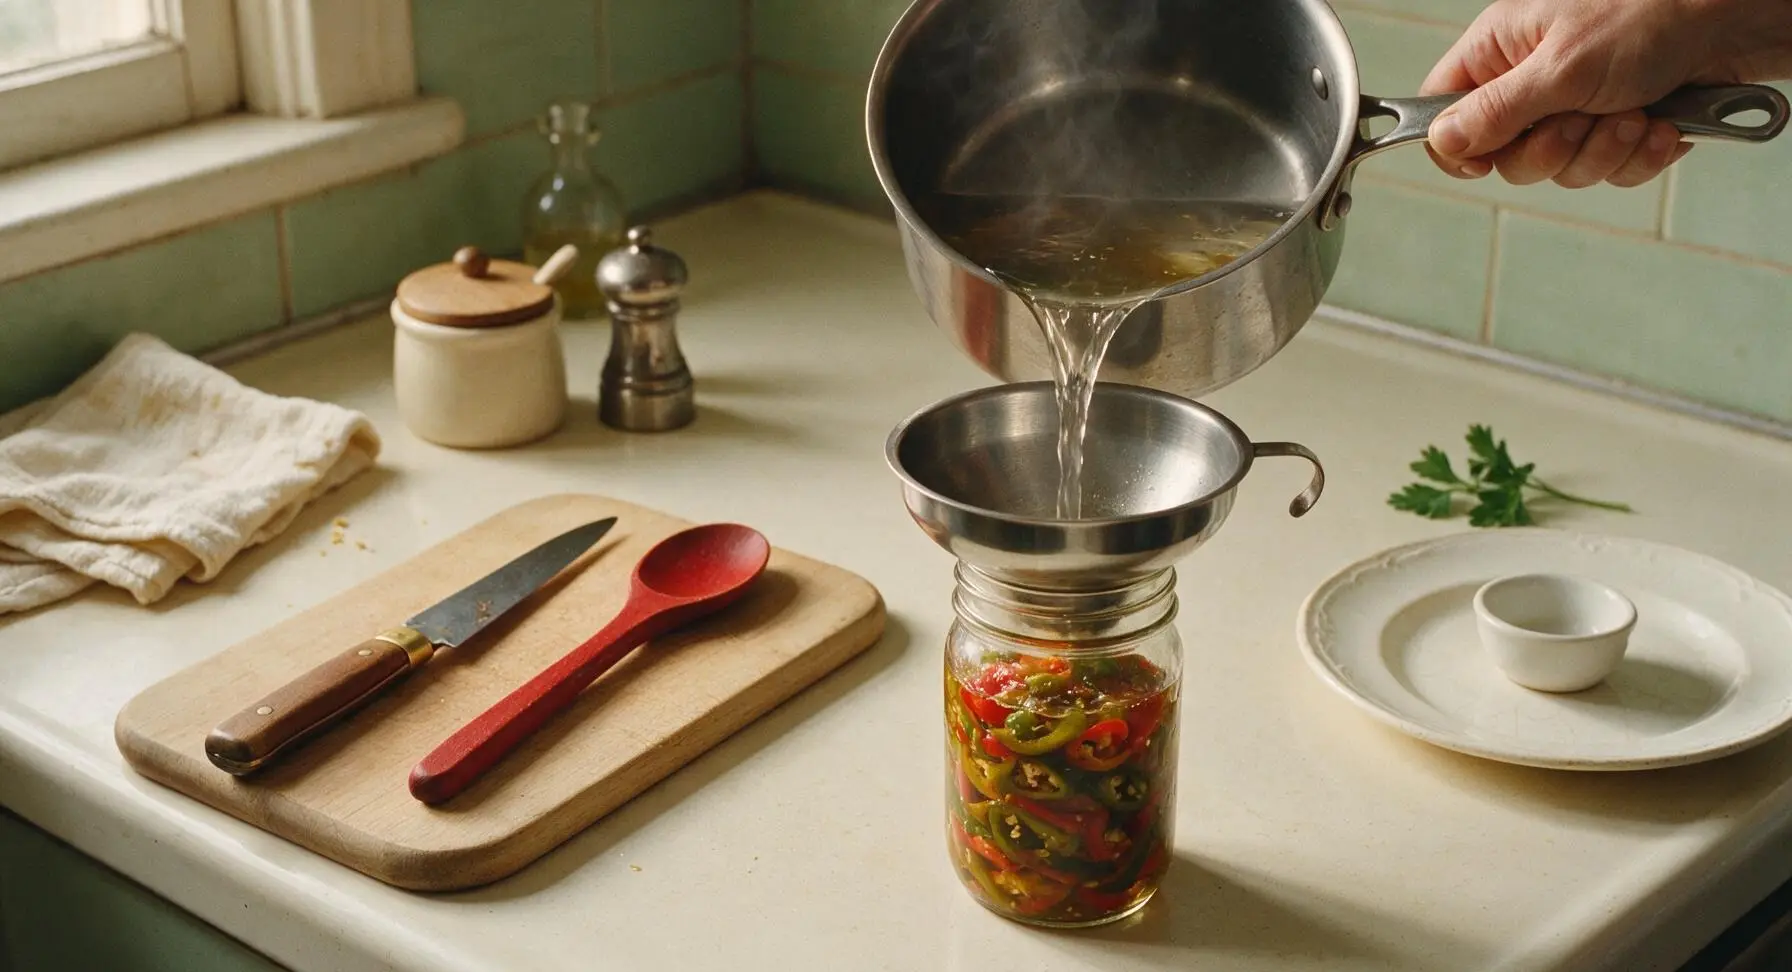
Carefully lift the hot brine pan from the stovetop, and slowly pour the hot liquid through the canning funnel over the packed peppers in the mason jar. Ensure all peppers are fully submerged under the brine, maintaining the 1/2 inch of headspace at the top of the jar. If any pepper slices float above the brine line, press them back down below the surface with the clean tip of the kitchen tongs to prevent spoilage from exposed produce.
Seal and Cure Pickles
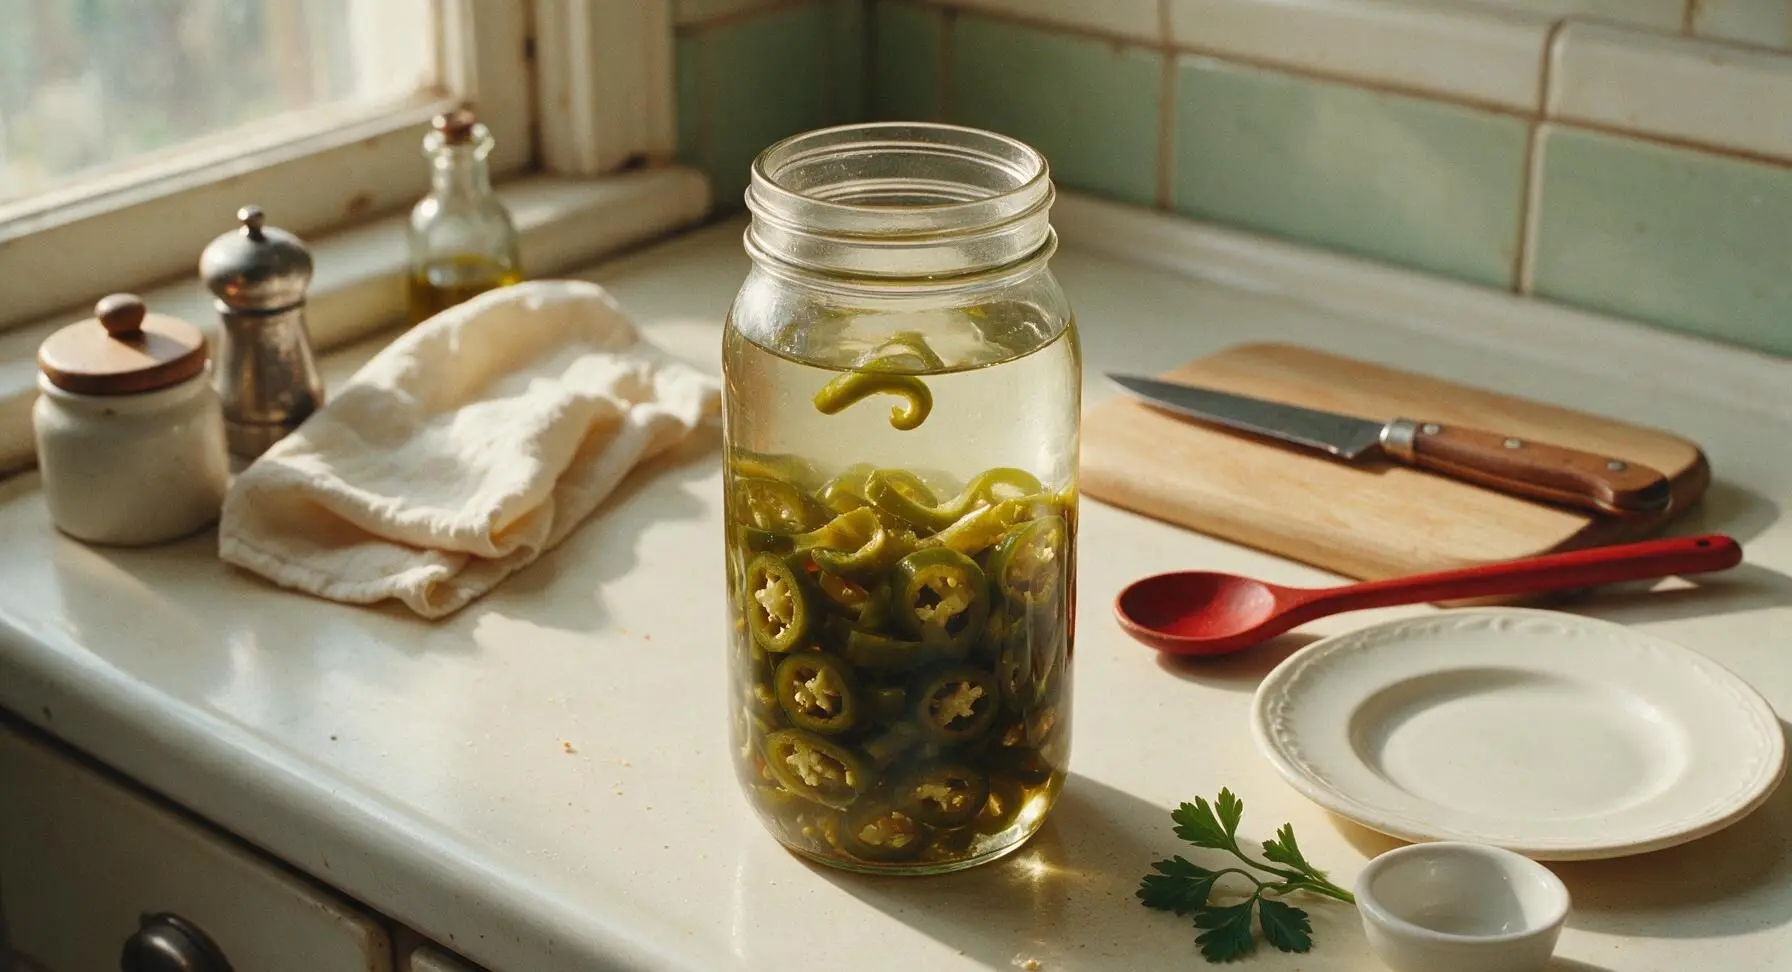
Wipe any spilled brine from the jar rim with a clean corner of the fixed linen towel, then screw the stainless steel lid on finger-tight (do not over-tighten, as small amounts of air need to escape as the jar cools). Let the jar sit at room temperature for 1 hour to cool completely, then transfer to the refrigerator to cure for a minimum of 24 hours before eating. For best flavor, allow 3 days of curing; pickles will stay crisp and flavorful for up to 1 month refrigerated.
Tips
2.Do not over-boil the brine: boiling for longer than 1 minute after reaching a rolling boil evaporates excess vinegar, throwing off the acid-salt-sugar balance and resulting in flat, overly salty pickles instead of bright, tangy ones.
3.Resist tasting before 24 hours of curing: the brine needs time to penetrate the pepper flesh and mellow, so peppers will taste harshly vinegary and unbalanced if eaten too early, with none of the subtle garlic and cilantro notes that develop as they cure.






OMG these pickled peppers are a GAME CHANGER for my weekly taco nights! I sliced up a mix of banana peppers and jalapeños from my backyard garden, followed the recipe exactly, and they stayed perfectly crisp even after a full week in the fridge. My husband kept sneaking them straight out of the jar as a midday snack lmao. SO good, I already made a second batch to bring to our neighborhood potluck this weekend.
Wow, 5 minute cook time? I was skeptical that pickled peppers could be this easy, but I whipped these up last night while my pasta was boiling and they turned out amazing! My kids even ate them on their pizza tonight, no complaints. Total win for weeknight meal prep.
Brought a jar of these to my buddy’s cookout last weekend and people were asking me for the recipe left and right. The tang is perfect, not too vinegary, and the crisp factor is 10/10. I added a couple garlic cloves to my jar for extra savoriness, highly recommend that tweak.
Really tasty overall! I let mine sit for 2 days before trying them and the tang was spot on, but my first batch came out a little softer than I expected. I think I blanched the peppers a touch too long by accident. Will definitely make again though, just watch the blanch time!
These are perfect for my weekly meal prep! I portioned them out into little containers to add to salads, grain bowls, and sandwiches all week long. The recipe is so straightforward even a total beginner can nail it, no fancy canning equipment needed which is a huge plus for me since I live in a tiny apartment.
Made these for our college football tailgate last Saturday and they were the perfect topping for brats and burgers. I used a mix of red bell peppers, serranos, and habaneros for a colorful, spicy kick. People were piling them on so high I thought we were gonna run out before kickoff! Will be a permanent tailgate recipe from now on.
I swapped the white vinegar for apple cider vinegar because that’s what I had on hand, and added a teaspoon of honey to balance the tang. It turned out incredible! The peppers had that perfect sweet-tangy vibe that went so good with my smoked pulled pork sandwiches last night.
Okay I’m literally the worst at cooking, like I burn toast half the time, but I decided to try this recipe because it looked so easy and I had a bunch of peppers from my CSA box. Y’ALL. These came out perfect. I couldn’t believe it. Even my roommate who hates all vegetables was eating them straight out of the jar.
Good base recipe, but I found the brine a little too tangy for my taste. Next time I’ll cut the vinegar with a little extra water and add a pinch more salt. The crispness was perfect though, and the cook time really is only 5 minutes which is awesome for a quick project.
I’ve been making my grandma’s pickled pepper recipe for 20 years and decided to give this one a try to switch things up. Wow, this is way faster and the peppers come out so much crispier than my old method! I’ll be keeping this recipe in the Sunday dinner rotation for sure, it paired beautifully with my meatloaf and mashed potatoes last night.
These are vegan, gluten free, and actually taste amazing? I brought them to my monthly potluck with my plant based friend group and everyone went crazy for them. I added a little dill and black peppercorns to my brine for extra depth, so good!