1.How long will these pickled vegetables stay crunchy in the refrigerator?
▾
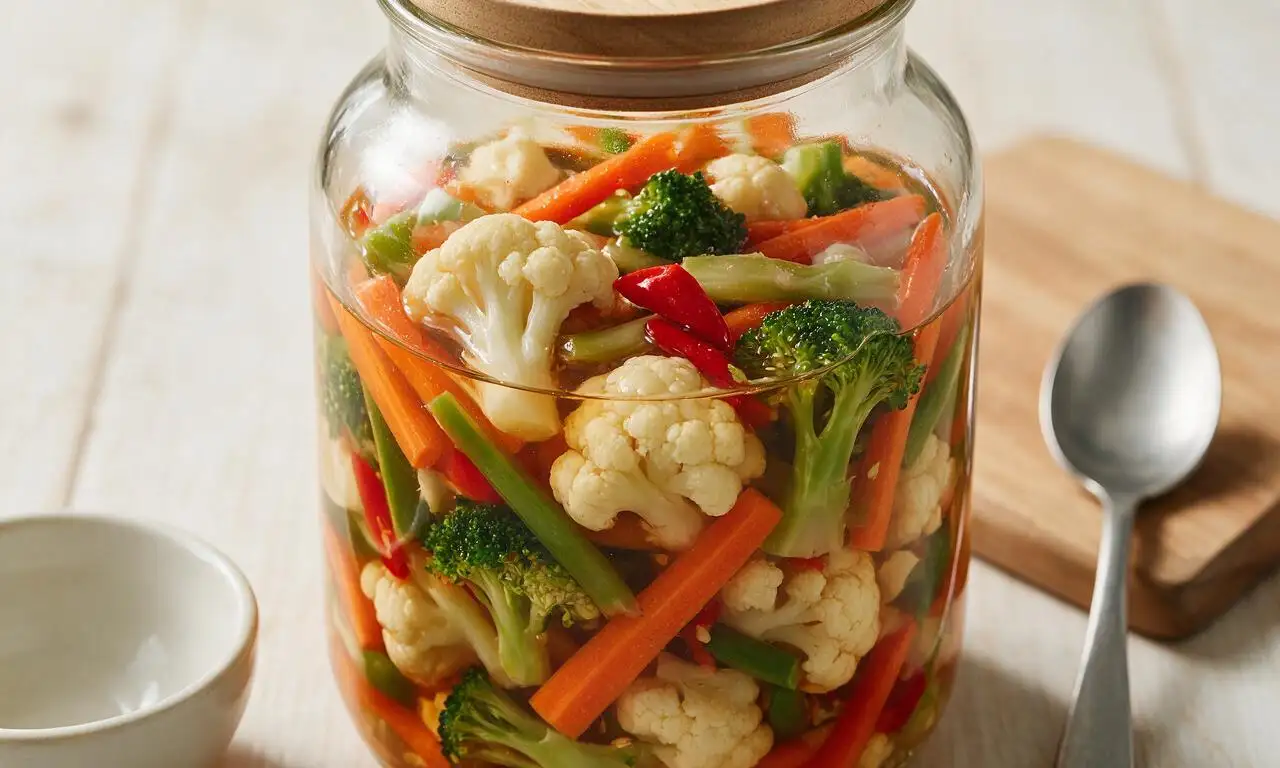
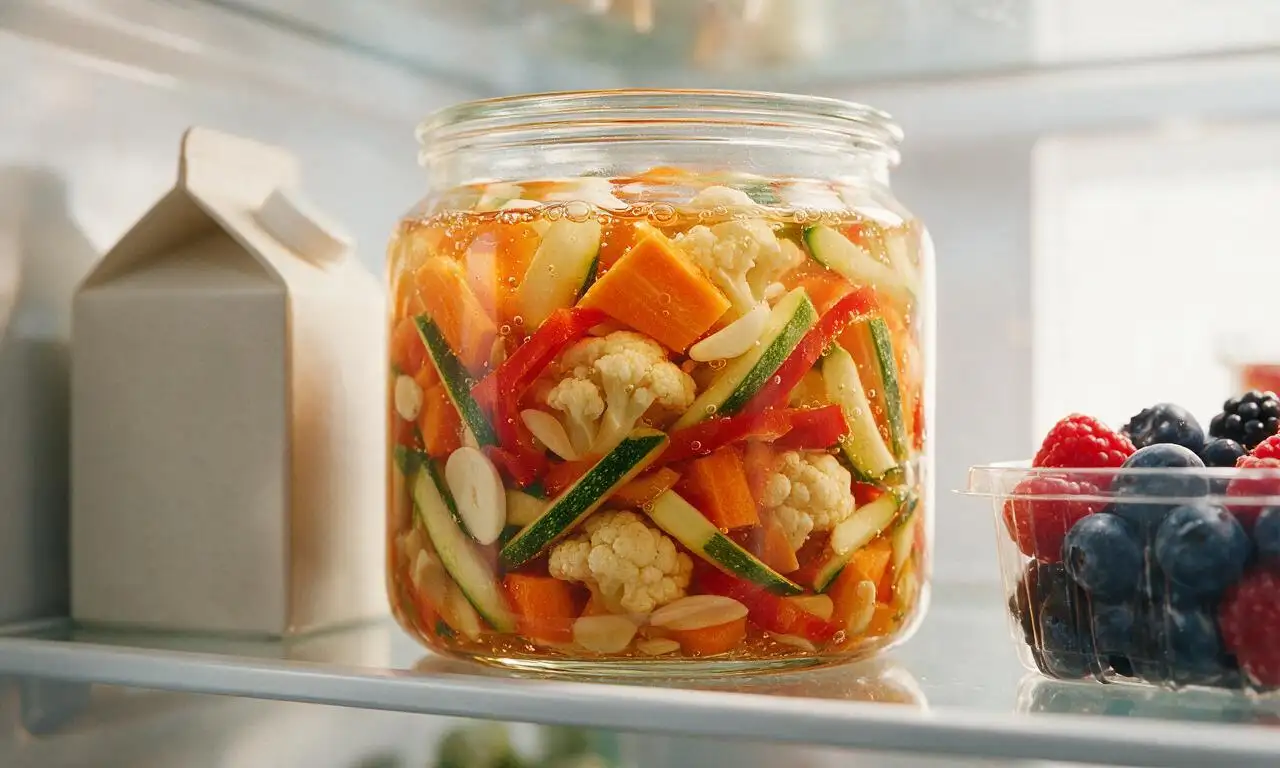
When stored in a tightly sealed glass jar, fully submerged in brine at a consistent 37–40°F (standard fridge temperature), they’ll stay satisfyingly crunchy for 2 to 3 weeks. After that, they’ll slowly soften and lose their bright snap, though they’re still safe to eat for up to a month. Skip freezing entirely, as that will turn the veggies unpleasantly mushy.
2.Do I have to use unseasoned rice vinegar, or can I swap it for a different vinegar?
▾
Unseasoned rice vinegar delivers a mild, balanced tang that doesn’t overpower the fresh vegetable flavor, but you can swap it if needed. Use a 50/50 mix of white distilled vinegar and filtered water for a classic sharp tang, or raw apple cider vinegar for a fruitier note. Avoid pre-seasoned rice vinegar with added salt or sugar unless you adjust brine seasonings to compensate.
3.Why does the recipe specify English cucumbers instead of regular slicing cucumbers?
▾
English cucumbers have thinner, non-bitter skin, smaller soft seeds, and lower water content than standard waxed grocery store slicing cucumbers, so they hold crunch better and don’t water down the brine. If you only have regular cucumbers, peel them, scoop out the seedy core, and pat slices dry before jarring to avoid mushy results.
4.Can I add extra spice to amp up the subtle spicy kick in the base recipe?
▾
Absolutely! Customize the heat level totally to your taste. Add 1–2 sliced Thai bird’s eye chilies, a teaspoon of red pepper flakes, a few seeded or unseeded jalapeño slices, or even a splash of your favorite hot sauce to the brine before pouring. Spice mutes slightly as pickles rest, so err slightly bolder if you love intense heat.
5.Do I really have to wait the full 24 hours to eat these pickles?
▾
You can sneak a taste as early as 4 hours after making them, but the flavor and crunch won’t be fully developed at that point. At 4 hours, veggies will only have surface-level tang, with plain, uninfused centers. Waiting the full 24 hours lets brine penetrate evenly for balanced, bright pickled flavor; wait 48 hours if you prefer extra-tangy results.
6.Why does the recipe call for filtered water instead of regular tap water for the brine?
▾
Unfiltered tap water often contains chlorine, chloramine, or high mineral levels that can dull brine tang, make veggies taste off, or speed up softening over time. Filtered water creates a clean, neutral base that lets vinegar, vegetable, and seasoning flavors shine. If you only have tap water, boil it for 1 minute and cool fully first to evaporate most chlorine.
7.Can I add other vegetables to the mix, or should I stick only to cucumber, carrot, and daikon?
▾
You can absolutely swap or add other firm, low-moisture veggies to the mix! Great options include sliced bell pepper, trimmed green beans, cauliflower florets, thin-sliced red onion, or peeled garlic cloves. Skip very soft, high-moisture produce like ripe tomatoes or leafy greens, as these turn mushy fast and make brine cloudy and unpalatable.
8.Do I need to boil the brine for this quick pickle recipe?
▾
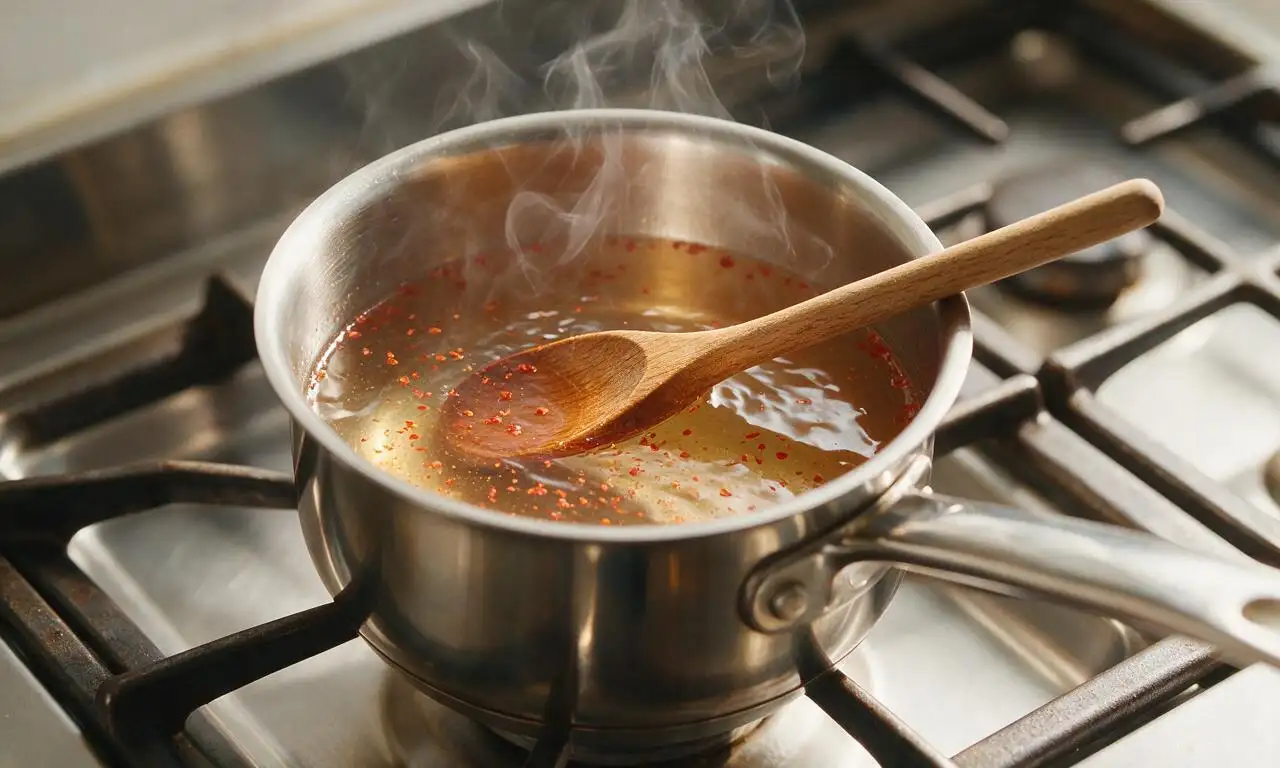
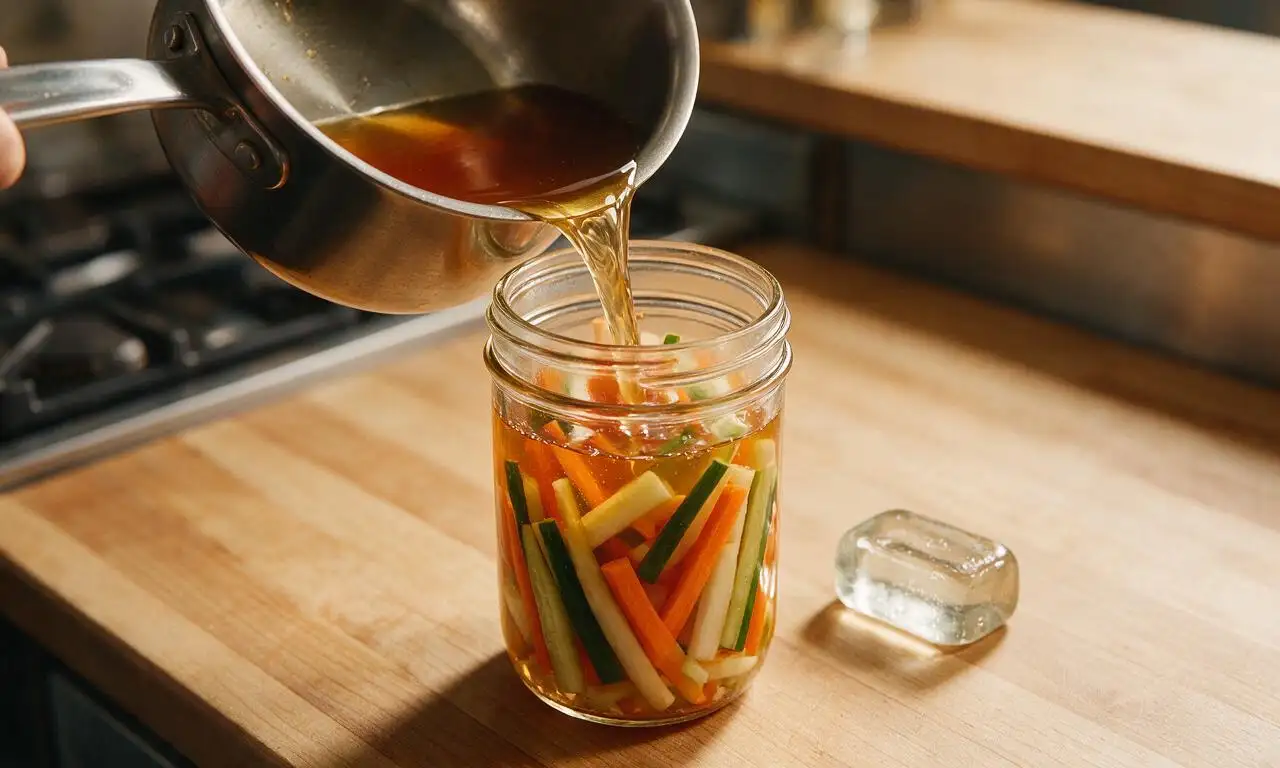
You don’t need a full rolling boil, but gently warming the brine (vinegar, water, salt, any added sugar or seasonings) until salt and sugar fully dissolve helps flavors meld faster and cuts down on infusion time. Let warmed brine cool for 5 minutes before pouring, though—boiling hot brine will cook veggies and turn them soft instead of snappy and crunchy.
9.How thick should I cut the vegetables for the best, longest-lasting crunch?
▾
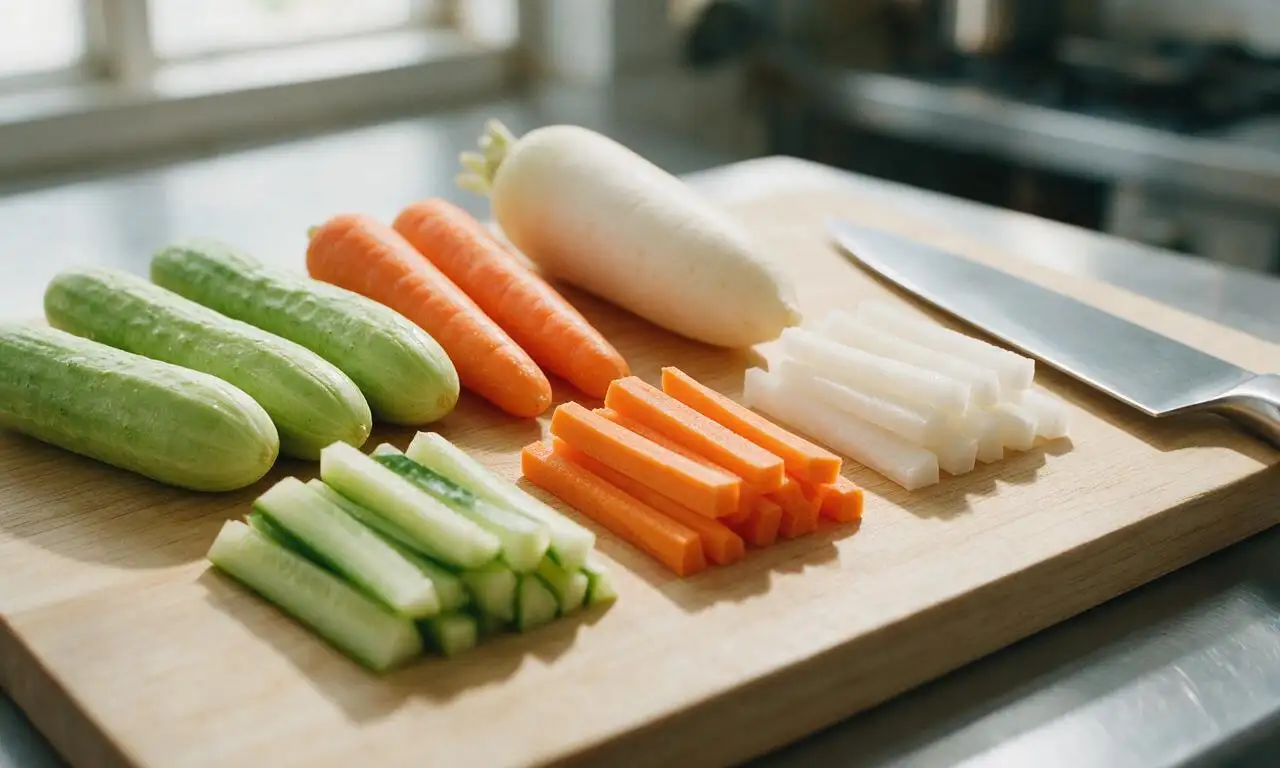
Aim for uniform ¼-inch thick slices, matchsticks, or spears for the most consistent crunch and even brine penetration. If you cut pieces thicker than ½-inch, brine will take much longer to reach the center, leading to uneven flavor. If you cut them paper-thin, they’ll pickle fast but lose their snappy crunch within a week, even in cold storage.
10.Do I need to sterilize jars for these refrigerator pickles since there’s no canning step?
▾
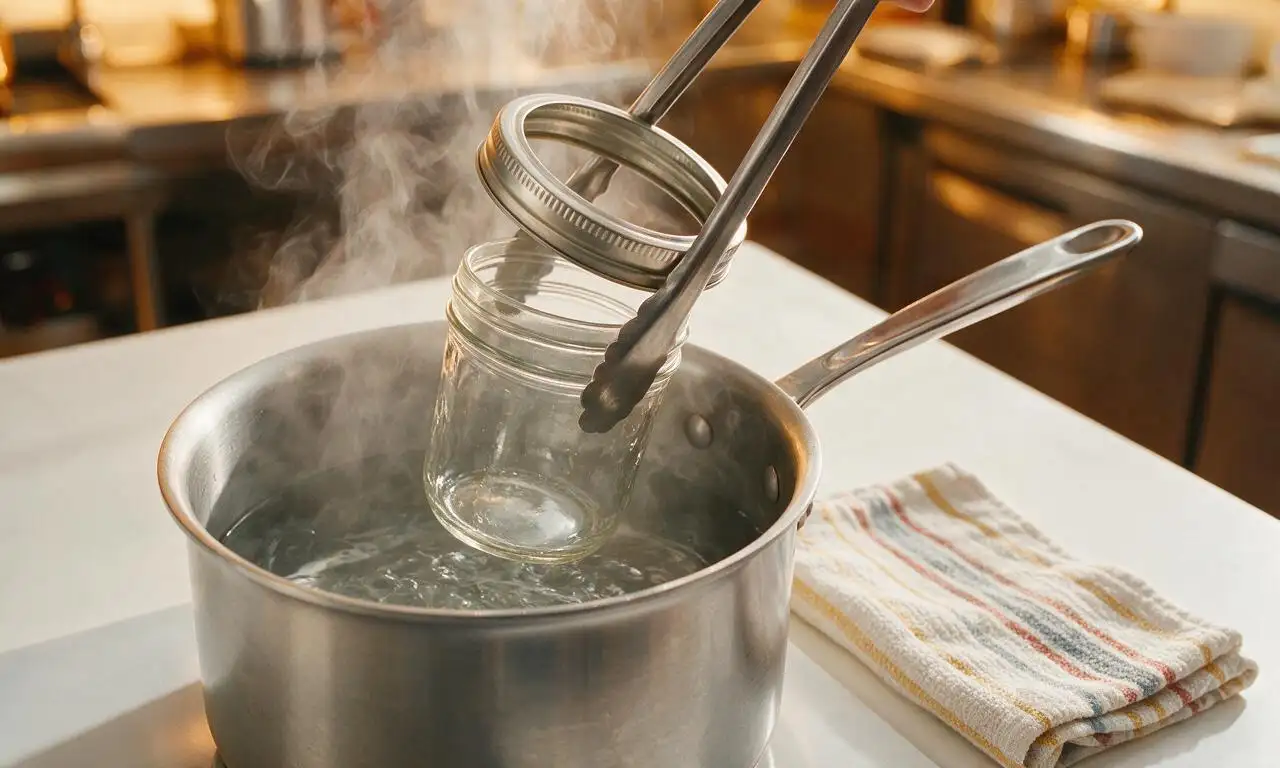
Since these are not processed for shelf-stable pantry storage, you don’t need to do a formal canning sterilization process. That said, always use very clean glass jars with tight-sealing lids: wash them in hot soapy water and rinse well, or run them through a dishwasher cycle right before use, to prevent bacteria that causes premature spoilage.
11.What causes mushy pickles, and how can I make sure mine stay crunchy?
▾
Mushy quick pickles almost always trace back to one of three common mistakes: using overripe, soft starting produce, cutting pieces too thin, or pouring boiling hot brine over veggies that cooks their cell walls. For extra crunch insurance, add one fresh grape leaf, small horseradish leaf, or ¼ teaspoon of pickling crisp per jar to keep veggies snappy for weeks.
12.Can I reuse the leftover pickling brine to make another batch of veggies?
▾
You can reuse the brine one more time for a second batch, but know that the second round will be milder, less tangy, and slightly less crisp than the first. Top the used brine off with a splash of extra rice vinegar and pinch of salt to boost flavor before pouring over fresh, dry veggie pieces, and note the second batch will only stay crunchy for about 1 week.
13.What are the best ways to serve these quick crunchy pickled vegetables?
▾
These tangy, snappy pickles are incredibly versatile! Pile them on banh mi, burgers, or tacos, toss a scoop into grain bowls or green salads, serve them alongside grilled chicken, pork, or tofu as a bright palate-cleansing side, or eat them straight from the jar as a low-calorie snack. They also cut through rich cheeses and cured meats on charcuterie boards perfectly.

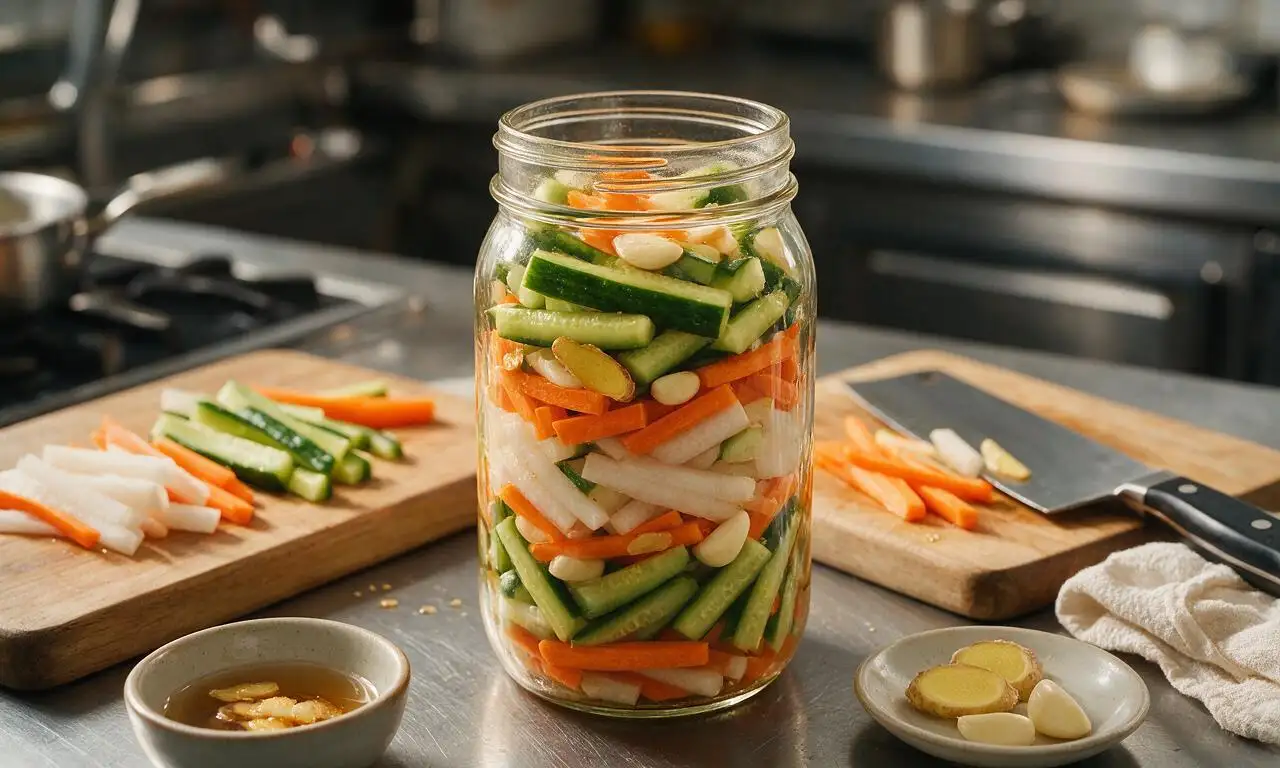






OMG these are SO good! I threw in a mix of carrots, cucumbers and radishes I had sitting in the fridge from my CSA box, and they came out perfectly crunchy even after 3 days. Brought a jar to our neighborhood potluck last night and people were begging for the recipe! Total game changer for quick snacks.
20 minutes of prep is no joke! I knocked this out after work on Monday while my kids were finishing up homework, and by Tuesday dinner we had crunchy pickles to go with our burgers. My kids loved it – my 7 year old who hates all veggies even ate three whole pickle spears, no complaints. Will be making a batch every other week for meal prep for sure.
Added a sliced habanero to my batch because I love a little heat, and wow, that was the right call. The brine is the perfect balance of tangy and salty, not too sweet like some store bought pickles I’ve tried. Crunch held up perfectly for a full week in the fridge, no sogginess at all.
First time ever pickling anything and I was so nervous I’d mess it up, but this recipe was so straightforward! Wait, quick question – can I reuse the brine for a second batch of veggies once I finish the first jar? Don’t want to waste it if it still works!
Made these for our office potluck last week and they were gone in 10 minutes flat! I used a mix of cauliflower florets, bell pepper strips, and cucumber slices, and the crunch was chef’s kiss. Only thing I’ll change next time is adding a little more garlic because I’m a garlic fiend.
These are perfect for packing on day hikes! I portion them out into small snack containers to toss in my pack, and they’re such a refreshing, crunchy pick-me-up when I’m halfway up a trail. Way better than greasy chips for a mid-hike snack, and they don’t get squished easily.
This saved me so much money! I used to spend $6 a jar on fancy refrigerated pickles at the grocery store, and now I can make a huge batch for like $2 worth of veggies and pantry staples. The flavor is even better than the store bought ones too, no weird preservatives.
Sunday meal prep staple for me now! I make a big batch every Sunday with whatever veggies I have prepped for the week – broccoli, carrots, cucumber, even green beans sometimes. They last the full work week in the fridge and stay crunchy, which I was worried about with green beans. Great way to get more veggies in without boring steamed sides every night.
Served these alongside my fried chicken and coleslaw for Sunday dinner last weekend, and my whole family raved. The tang cuts through the richness of the fried chicken perfectly, just like the pickles my grandma used to make, except these are ready in 24 hours instead of sitting on a shelf for weeks. So easy!
Perfect for my tiny dorm fridge! I don’t have a ton of cooking equipment, just a cutting board and a pot to heat the brine, and this came together no problem. Way better than the sad cafeteria sides, and my roommate keeps sneaking spears out of my jar when I’m in class. Guess I need to make a double batch next time.
So happy this recipe is gluten free and has no weird hidden additives! I have really bad food sensitivities and it’s so hard to find pre-made pickles that don’t have weird artificial colors or preservatives that set off my stomach. These taste amazing and I don’t feel sick after eating them, total win.
Made these for our 4th of July BBQ and they were the perfect side for burgers, hot dogs, and brats. I was worried they wouldn’t be crunchy enough after sitting in the cooler for a few hours during the party, but they held up perfectly. Even my picky teen said they were better than the fast food pickles he begs for all the time.
Wait a second, these are insane on a sourdough turkey sandwich! I’ve been putting them on every lunch I make this week – the tang pairs so well with creamy avocado and smoked turkey. I never thought quick pickles would be such a game changing sandwich topping but I’m never going back.
Used the first batch of cucumbers from my backyard garden for this recipe and I’m so proud of how they turned out! I was worried homegrown cucumbers would get soggy, but they stayed extra crunchy, probably because they were so fresh. Can’t wait to make more as my zucchini and carrots start producing too.
Chopped these up to put on my fish tacos last night and *chef’s kiss*. The bright tang cut through the creamy fish taco sauce so well, and the crunch was the perfect texture contrast against the soft tortilla and flaky fish. I’ll be keeping a jar of these in my fridge permanently from now on, especially for taco nights.