
Plain Grits
intro
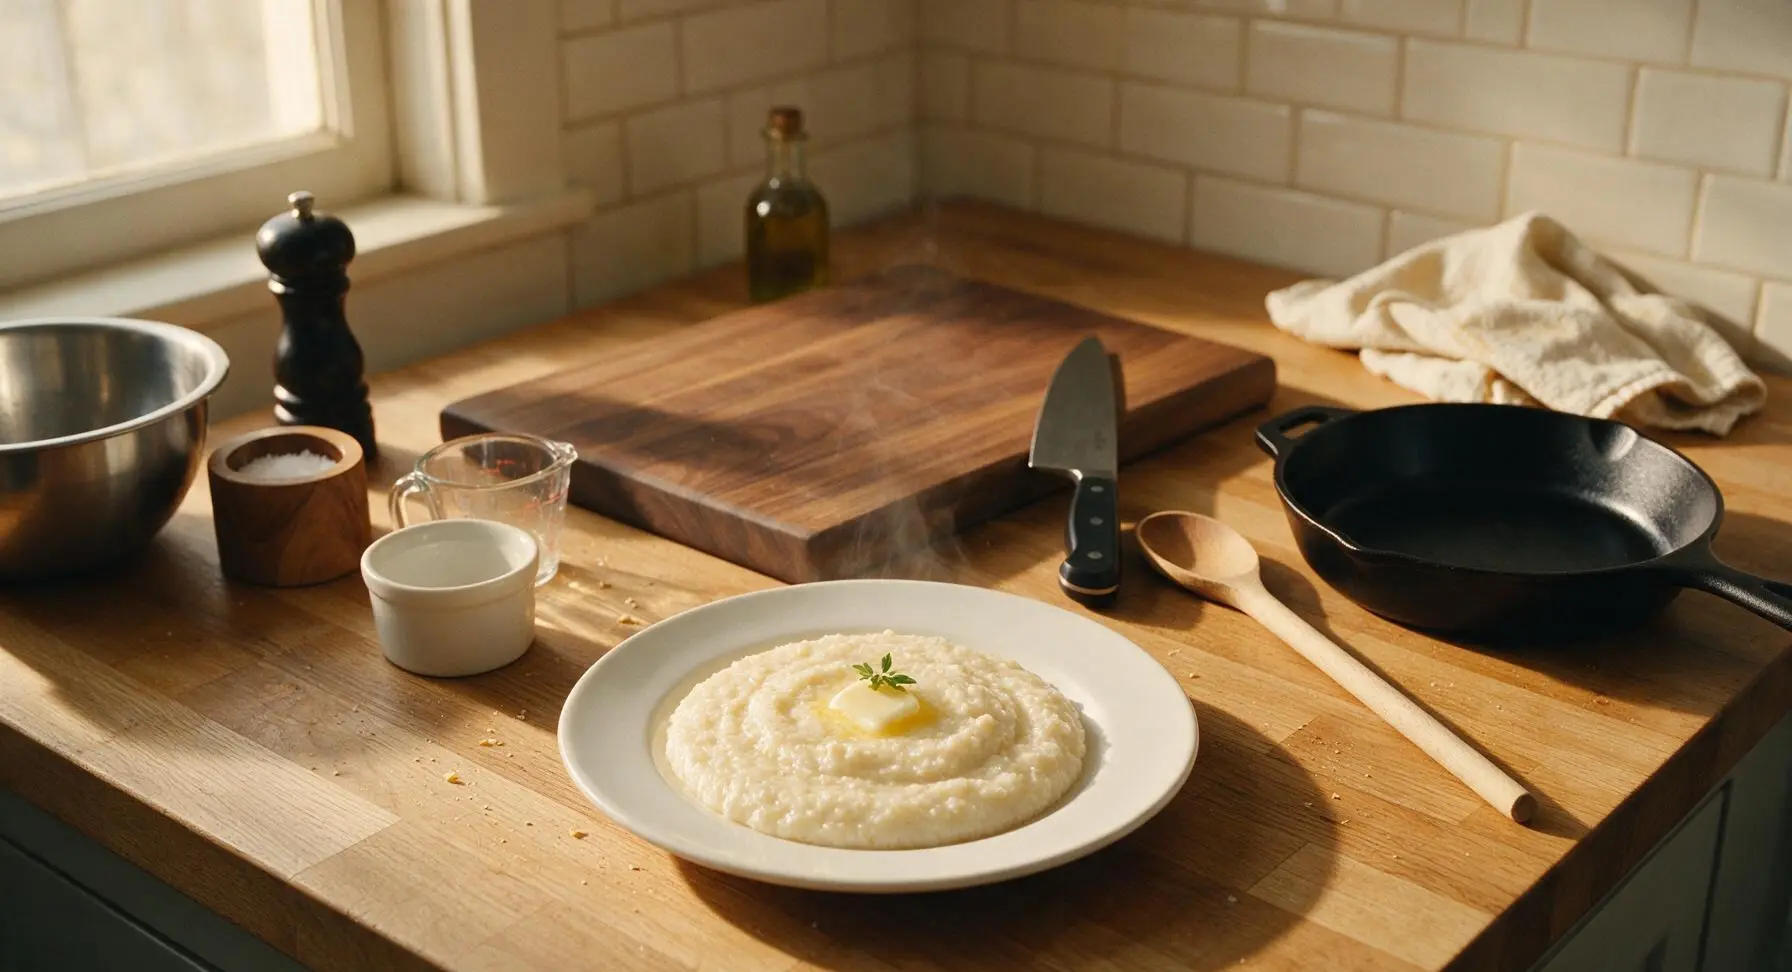
Creamy, lump-free plain grits are a beloved Southern staple—smooth, buttery, and versatile enough to pair with breakfast eggs, fried chicken, or braised greens for simple, comforting meals.
Ingredients
Steps
Measure and Prep Ingredients
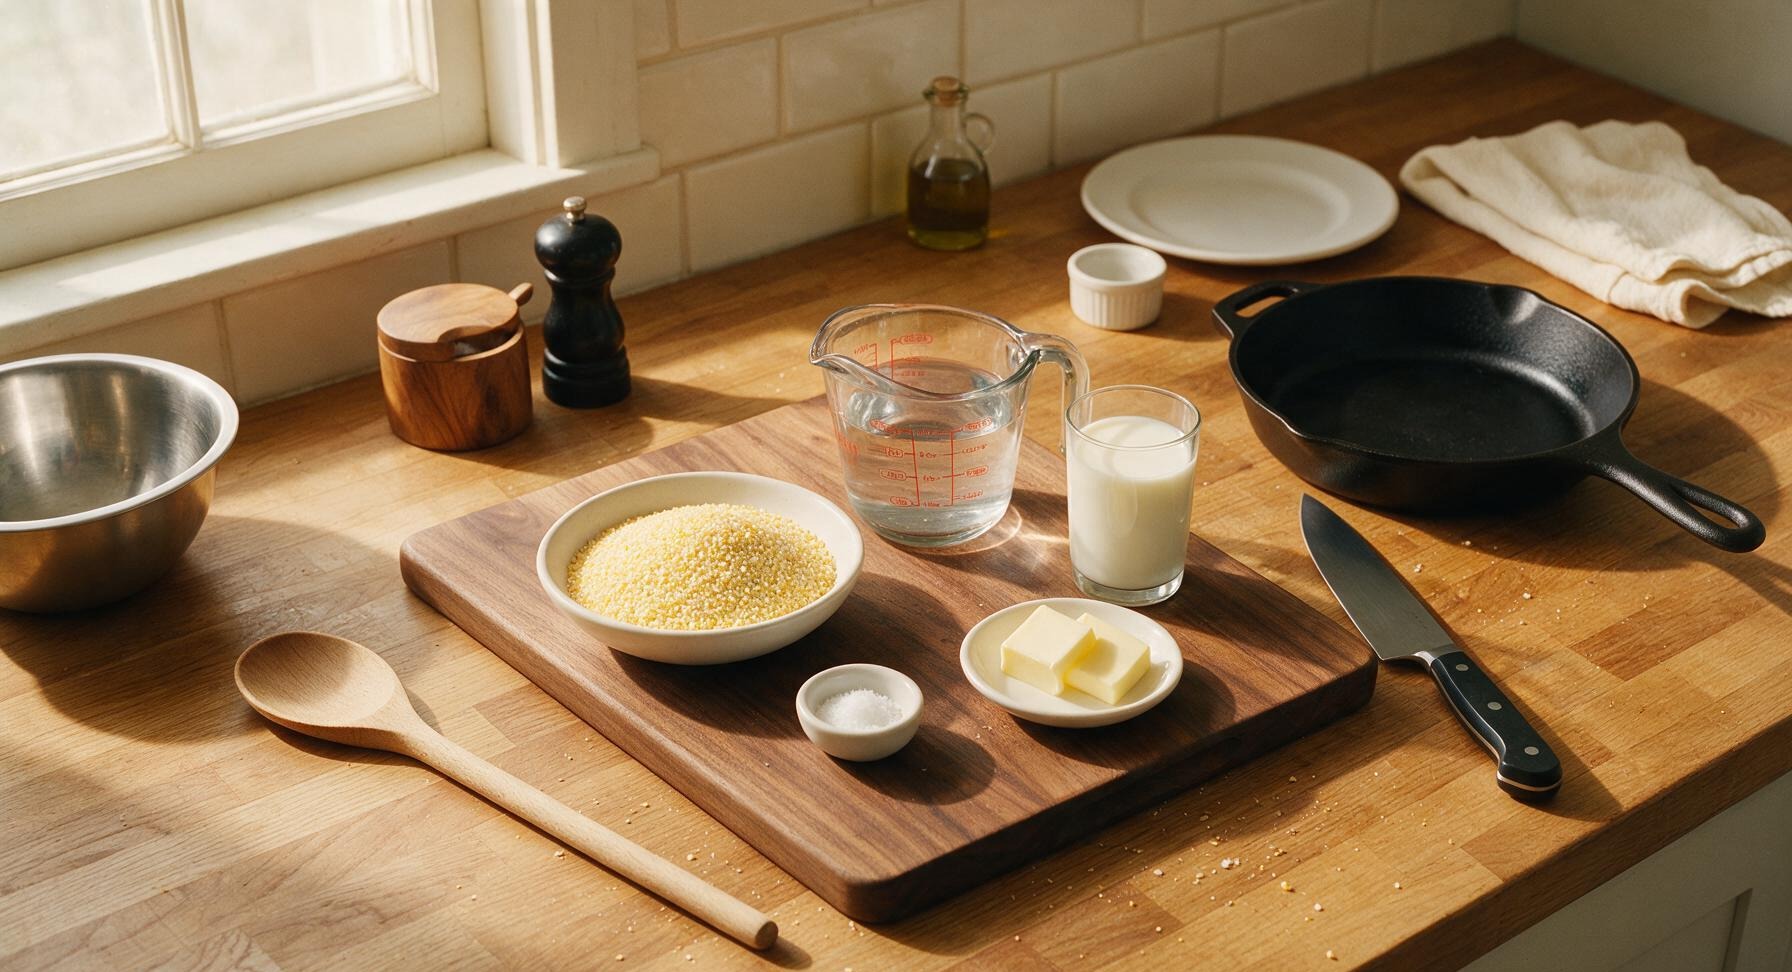
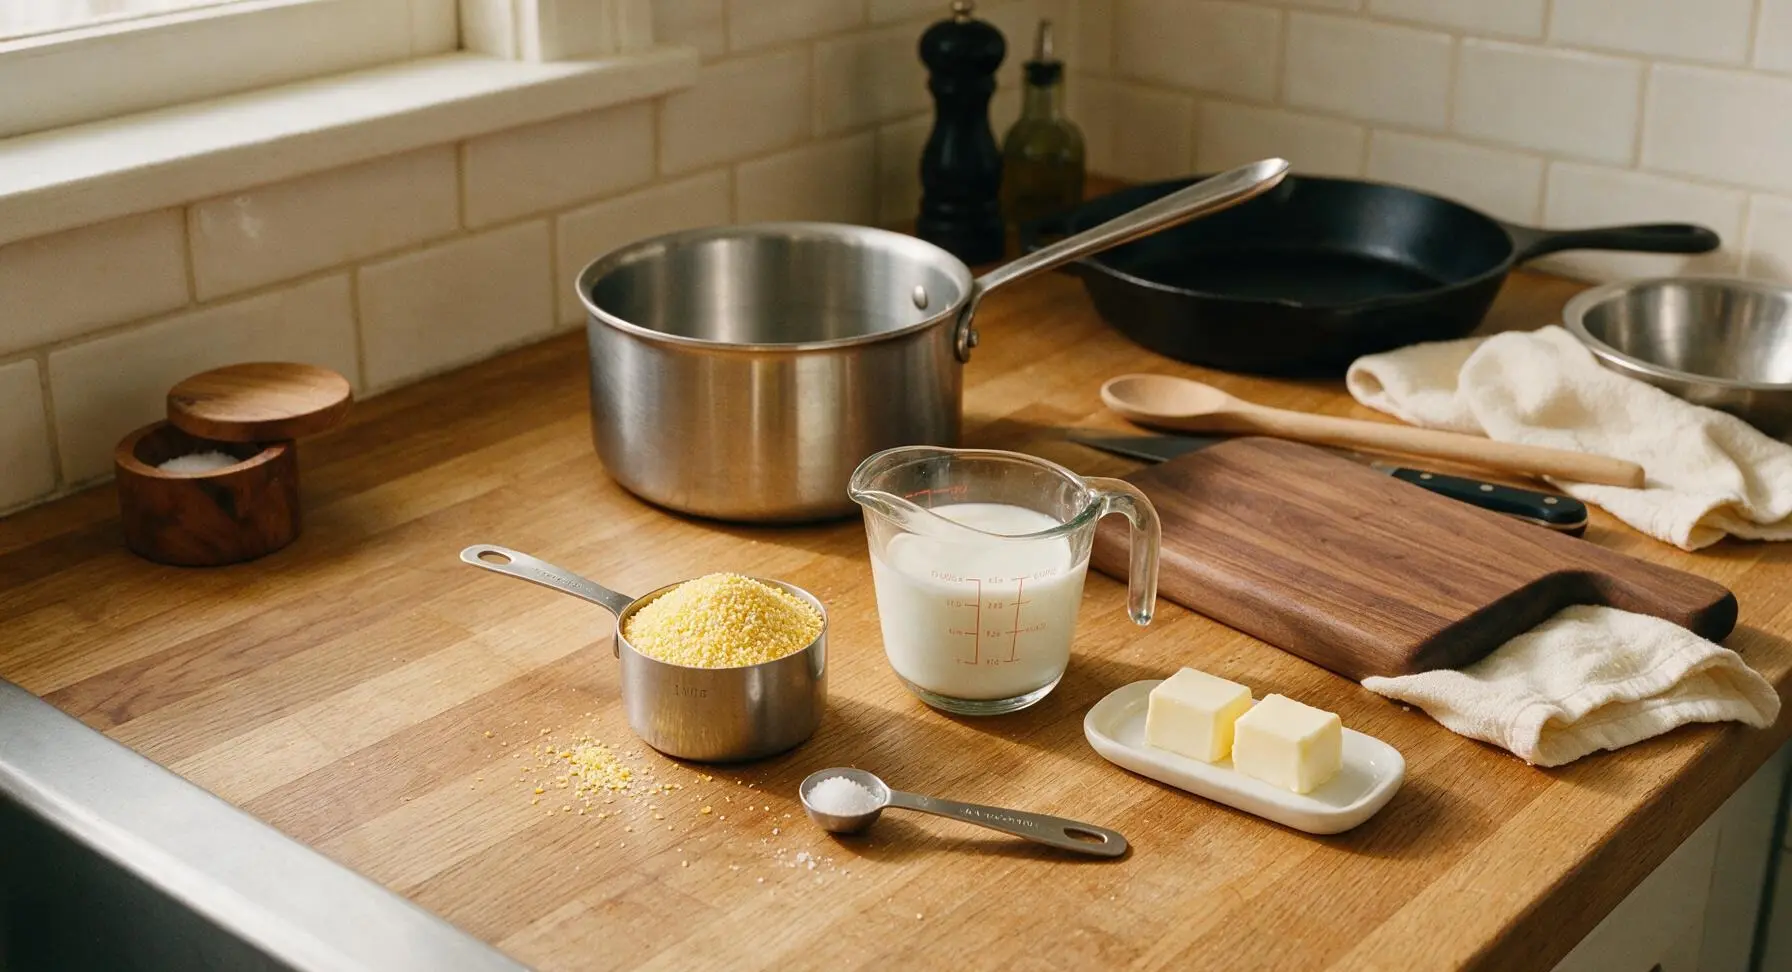
Use the 1-cup brushed stainless steel dry measuring cup to portion 1 cup coarse stone-ground yellow grits, picking out any stray hulls or small debris as you measure. Use the 1L clear glass measuring cup to measure 3 cups cold water and 1 cup cold whole milk, stirring gently to combine. Measure 1 teaspoon kosher salt into the 1-tsp stainless steel measuring spoon, and portion 2 tablespoons unsalted butter (cut into two equal pats) into the small matte white butter dish. Wipe any scattered grit crumbs from the counter edge with the corner of the folded linen towel as you work.
Heat Liquid to Boil
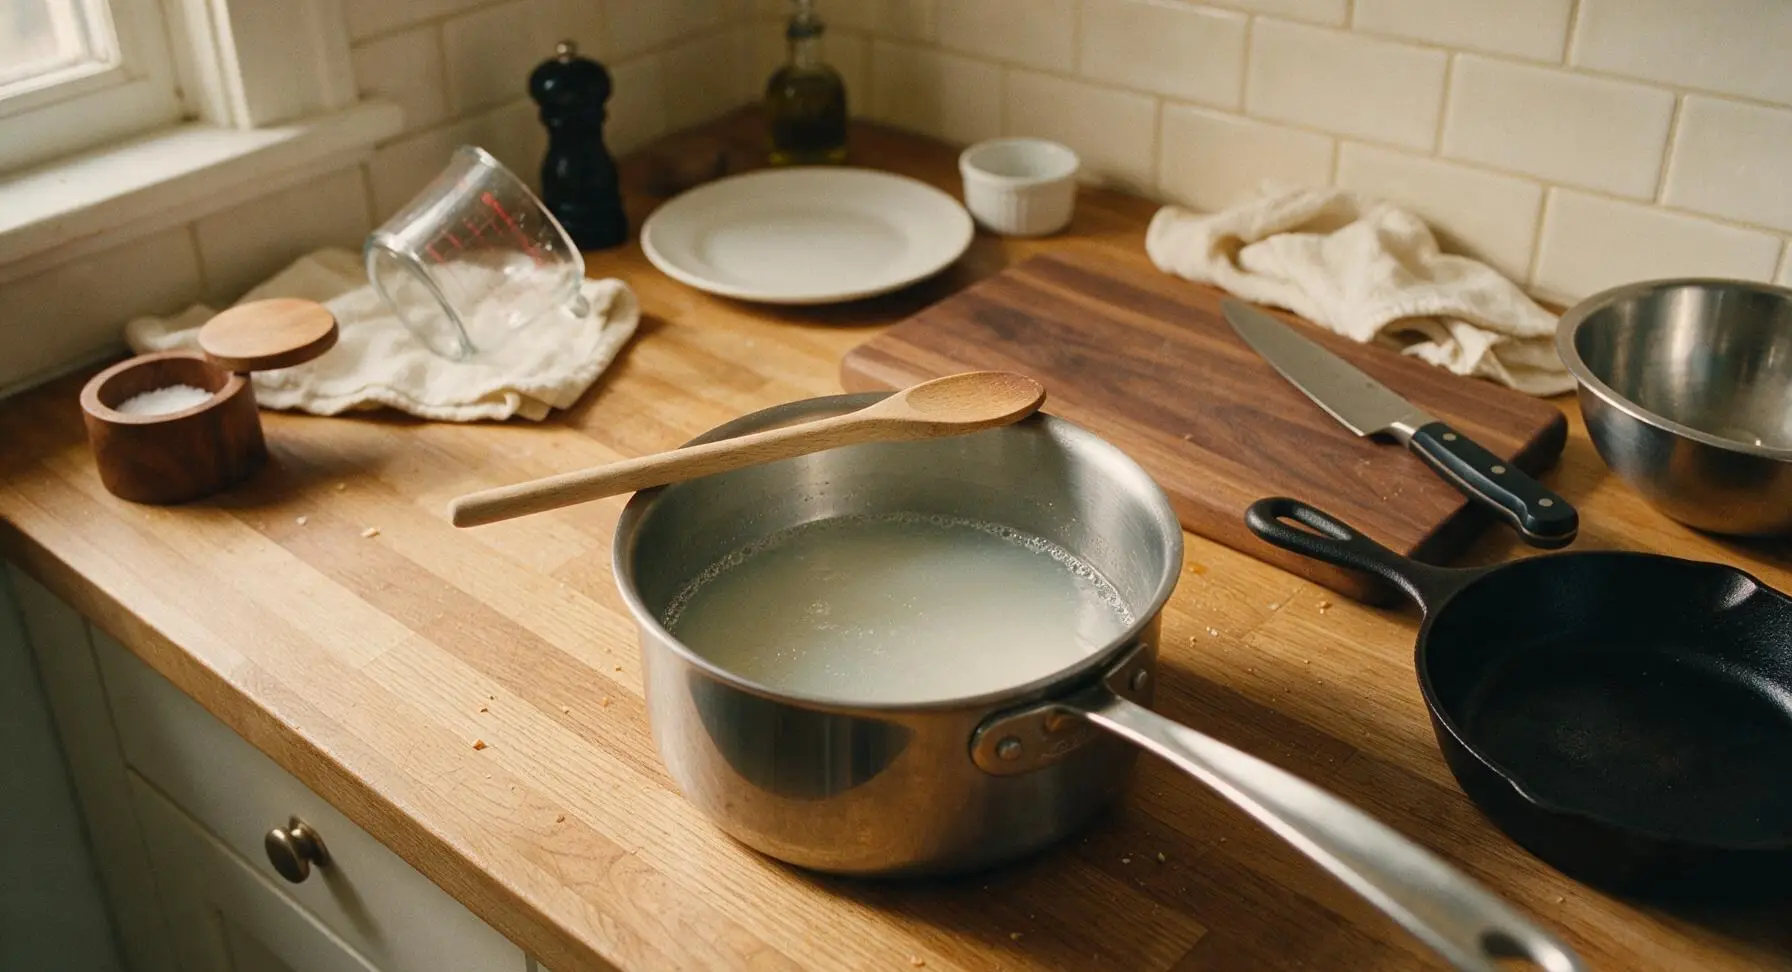
Move the 3-quart heavy-bottomed stainless steel saucepan to the center of the counter work zone over medium-high heat. Pour the combined water and milk from the clear glass measuring cup into the saucepan, add the measured kosher salt, and stir once with the beech wood spoon to fully dissolve the salt. Bring the liquid to a gentle rolling boil (small bubbles breaking consistently across the entire surface), which takes approximately 4-5 minutes. Watch closely to avoid the milk foaming up and boiling over the pot edges.
Whisk in Grits Slowly
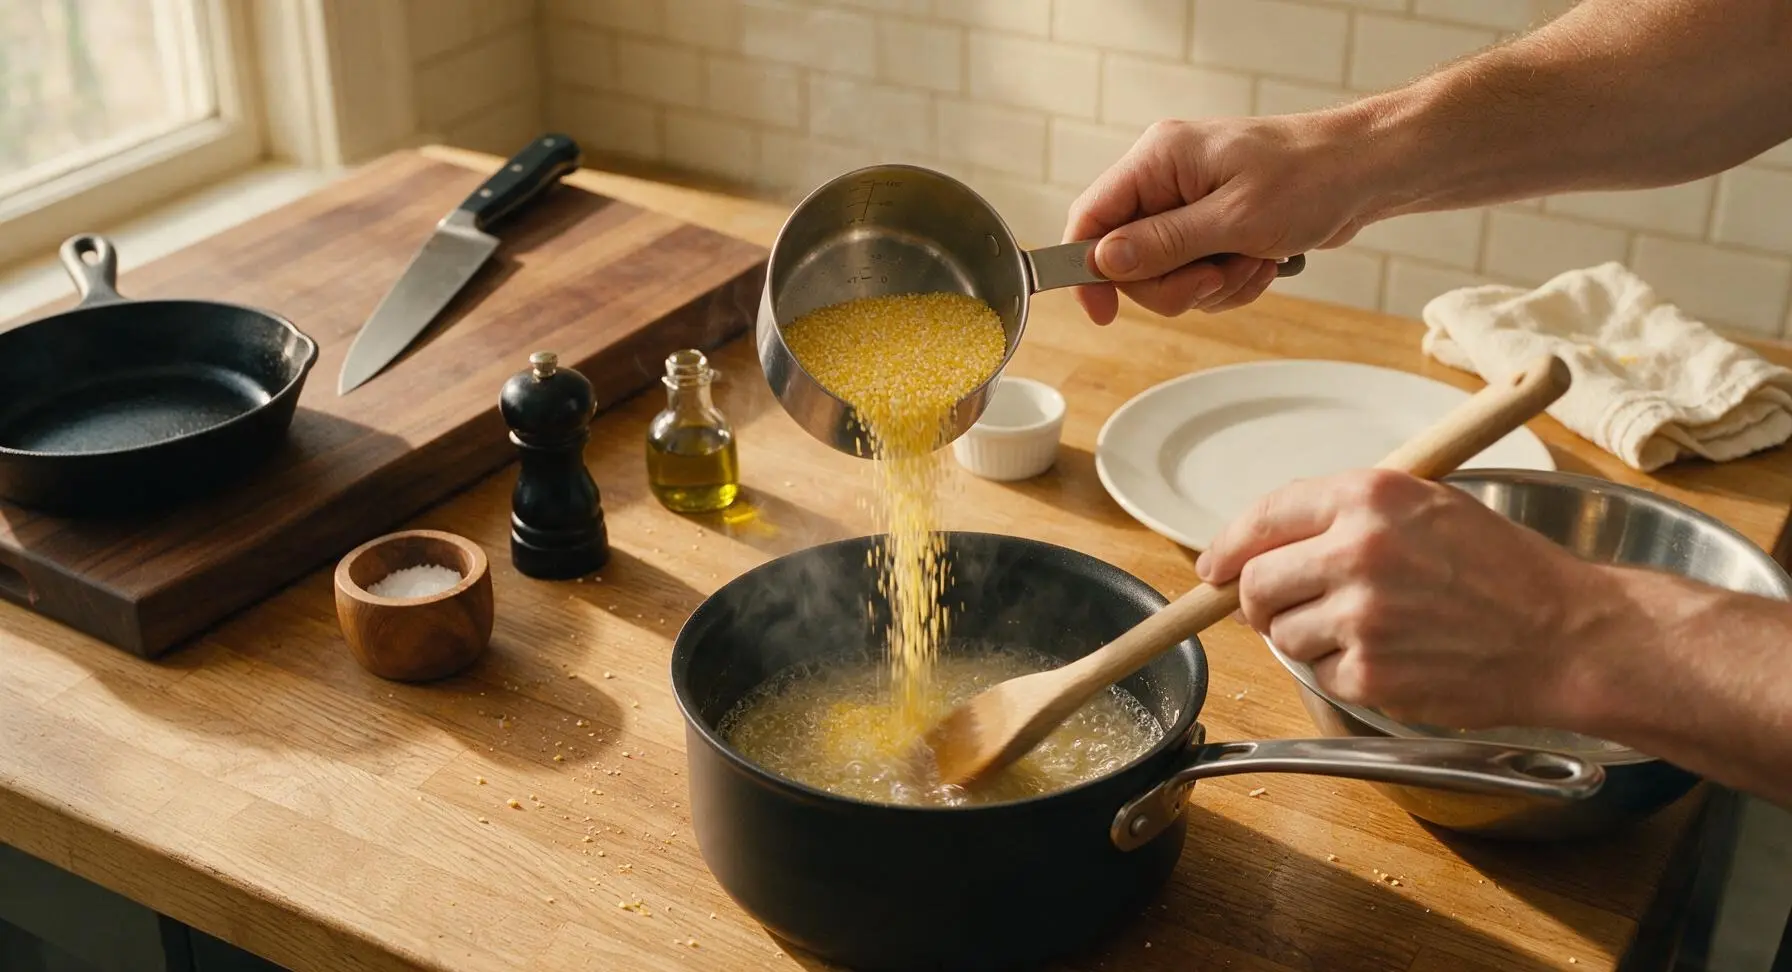
Once the liquid reaches a steady gentle boil, reduce heat to medium-low to maintain a low, consistent simmer. Slowly pour the measured grits into the simmering liquid in a thin, steady stream, stirring constantly with the beech wood spoon as you pour to prevent dry lumps from forming. Never dump all grits into the pot at once, as this creates hard, dry clumps that cannot be broken down even with extended stirring.
Simmer Grits Low and Slow
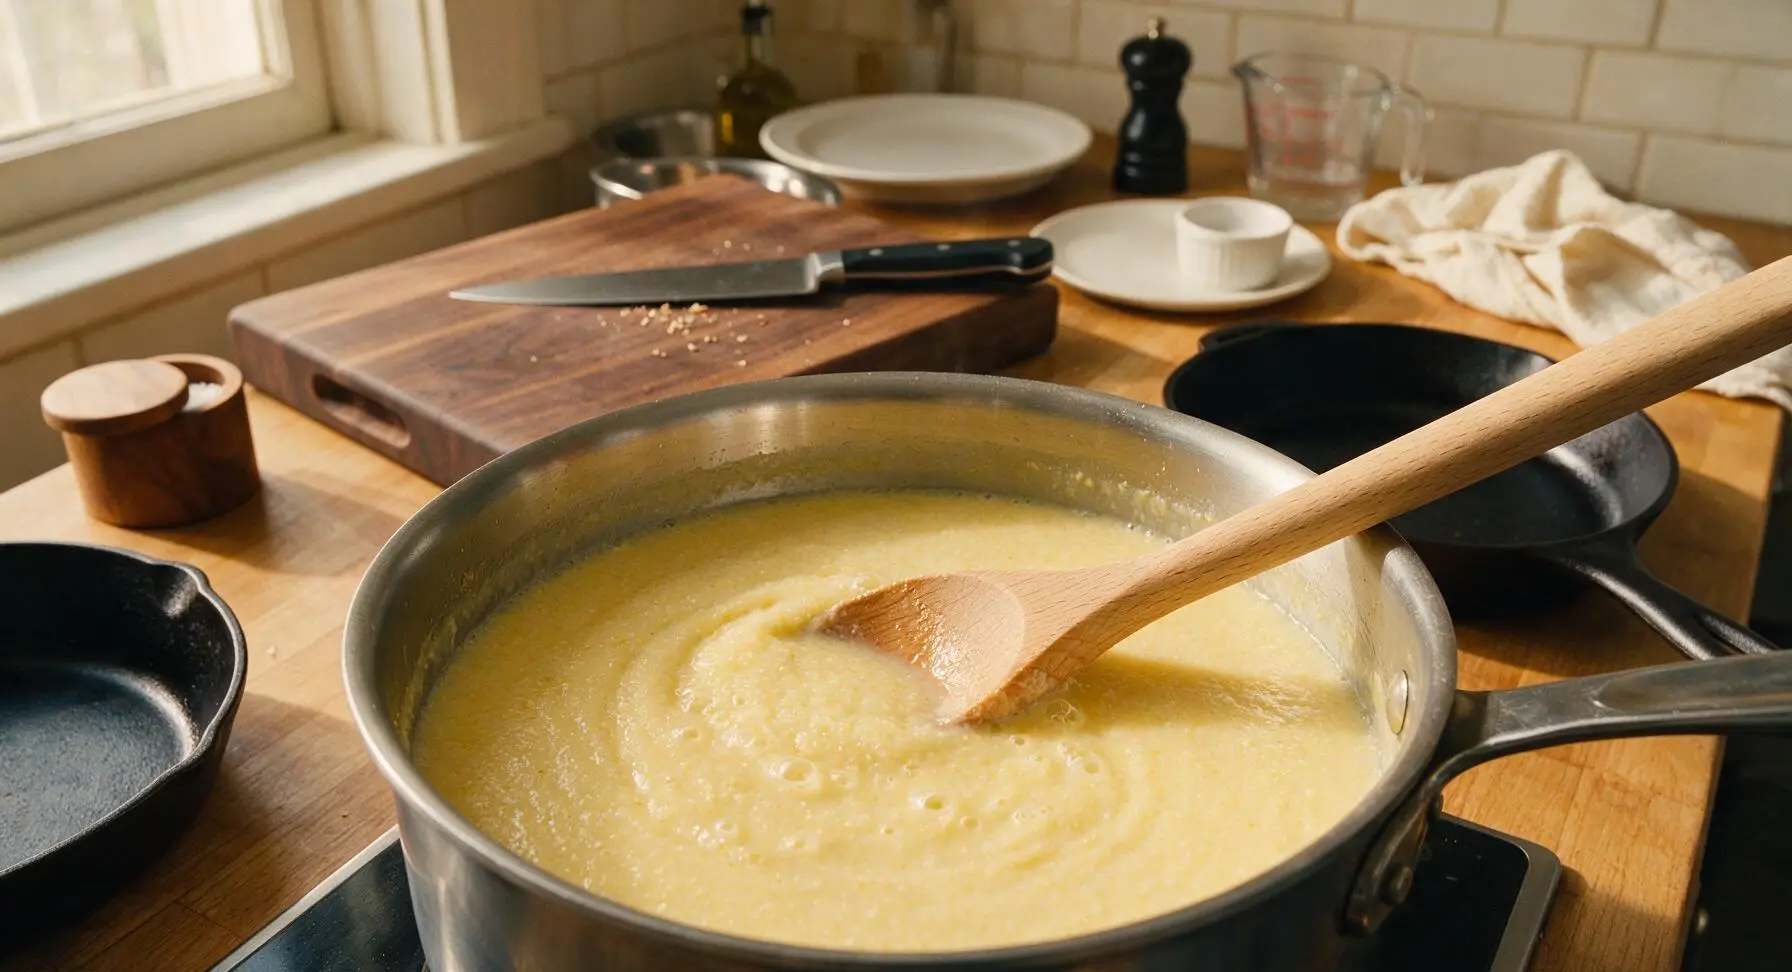
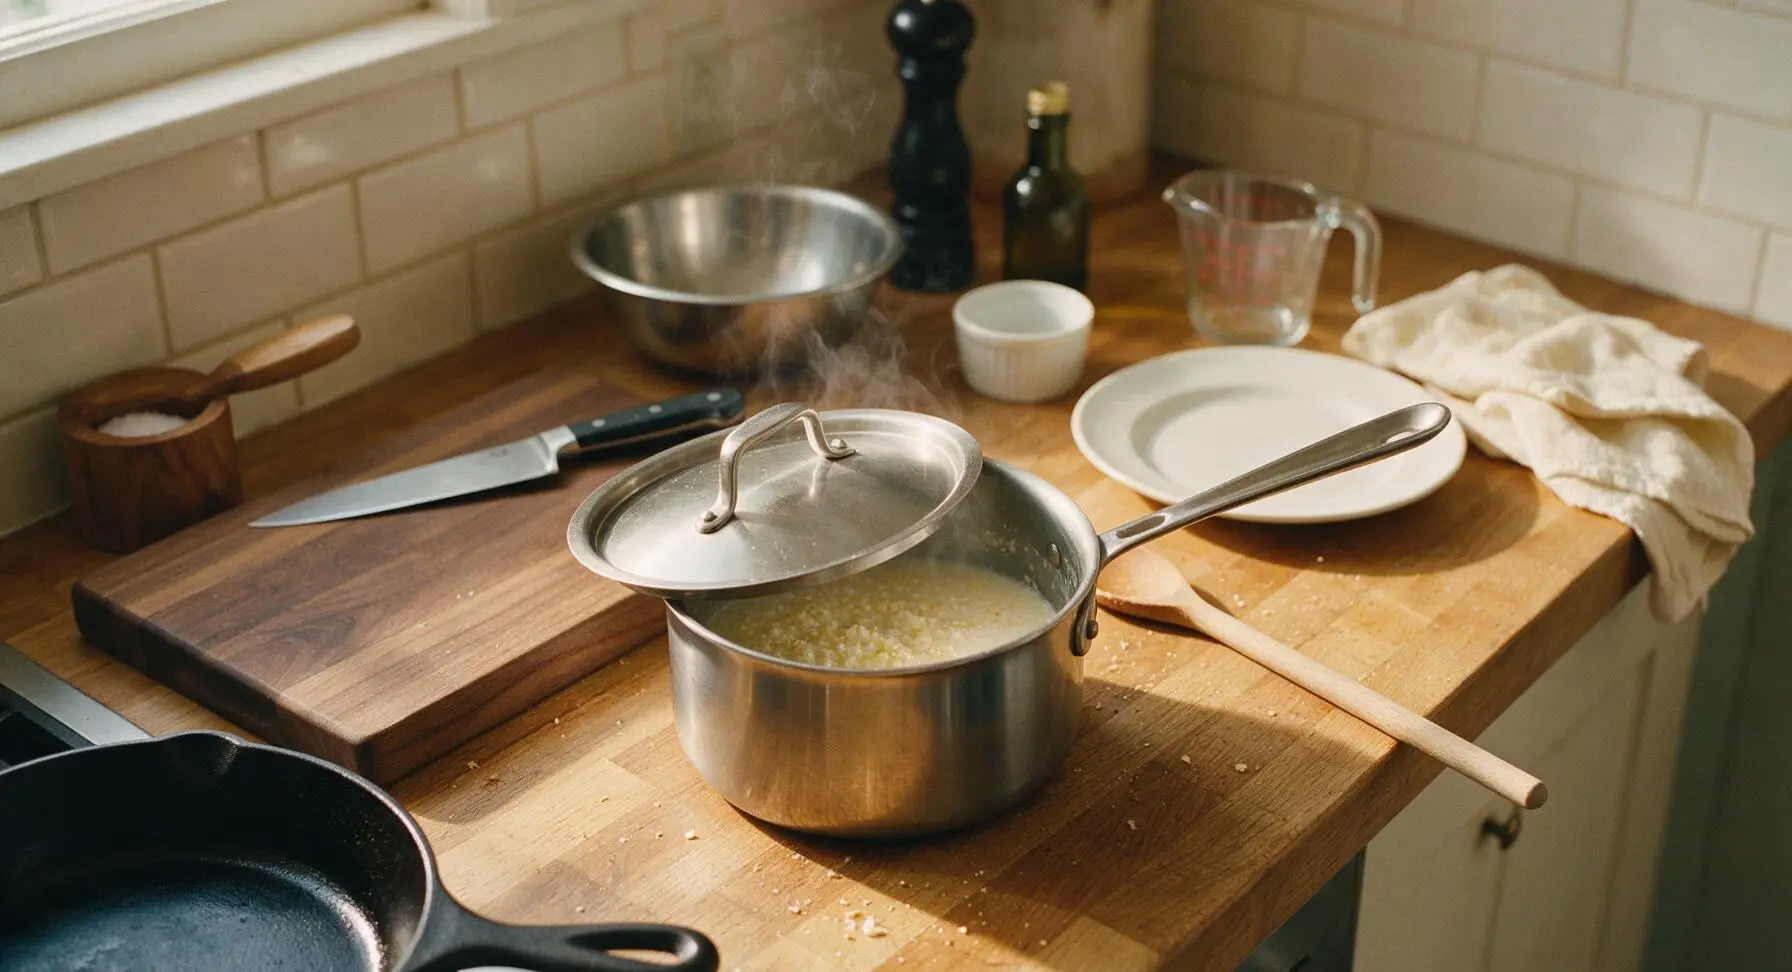
Once all grits are incorporated and the mixture is smooth, reduce heat to the lowest setting to maintain a very gentle simmer (only an occasional small bubble breaking the surface). Place the stainless steel lid on the saucepan, leaving a 1/2-inch gap at the edge to allow steam to escape and prevent boil-overs. Cook for 15 minutes, stirring thoroughly with the beech wood spoon every 3 minutes, making sure to scrape the bottom and corners of the pan to prevent grits from sticking or scorching.
Stir and Check Consistency
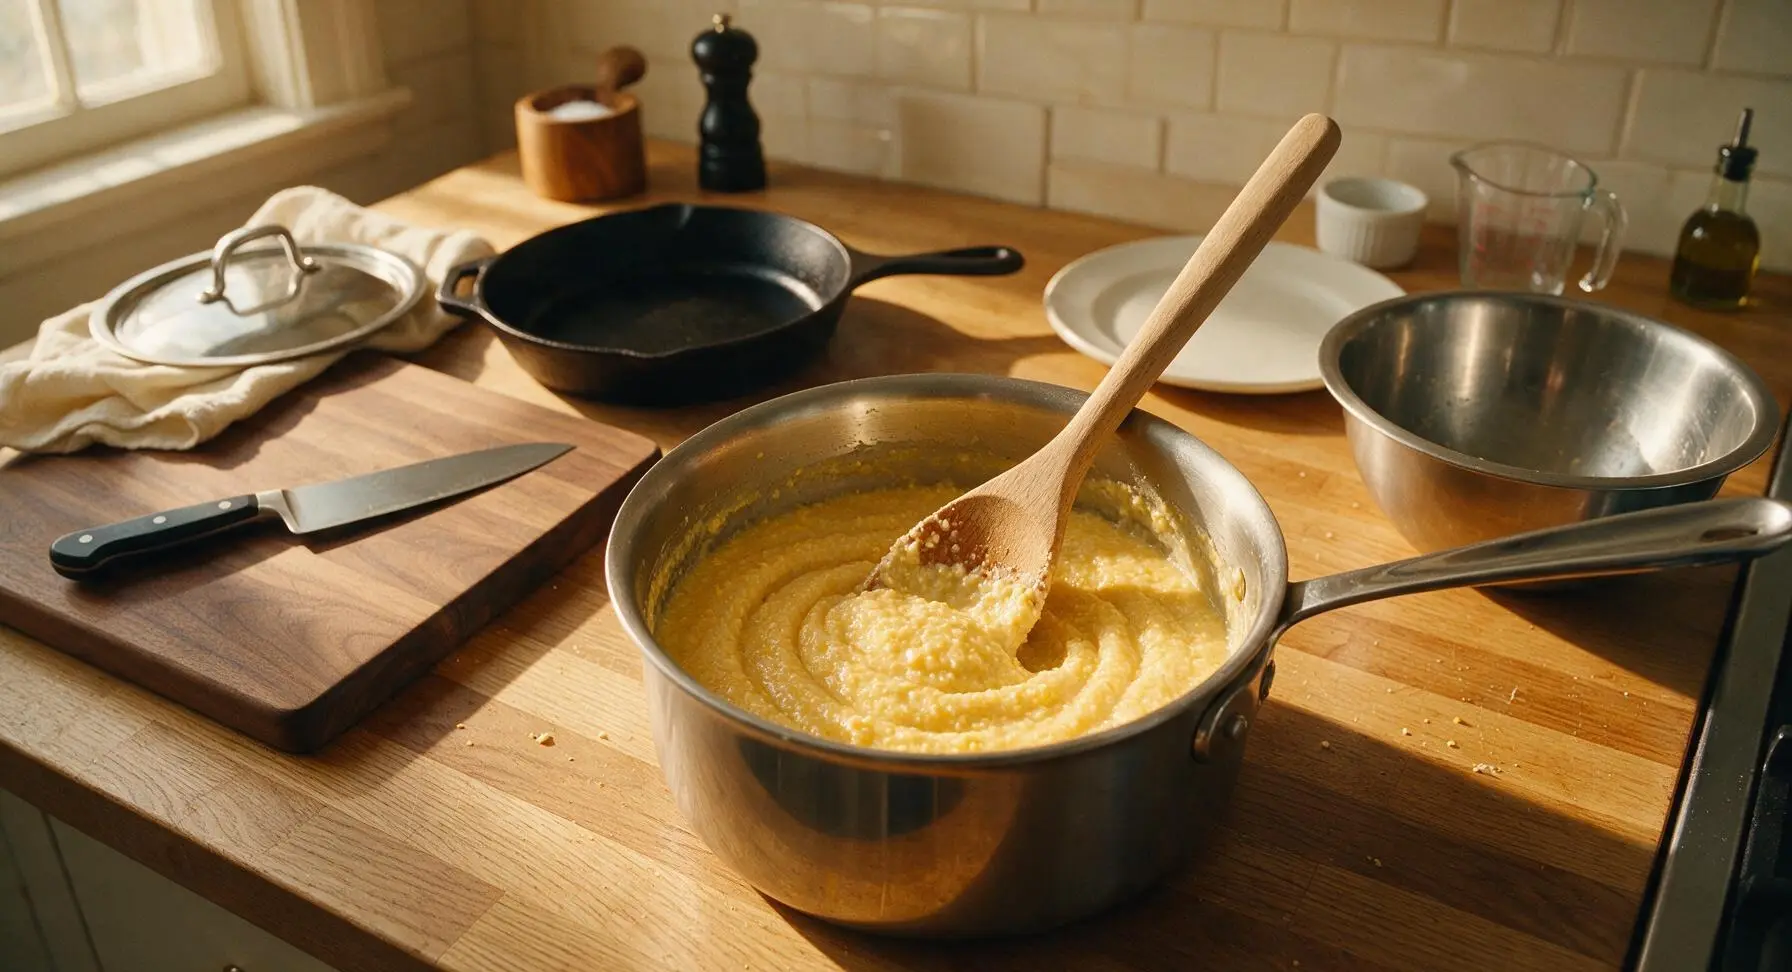
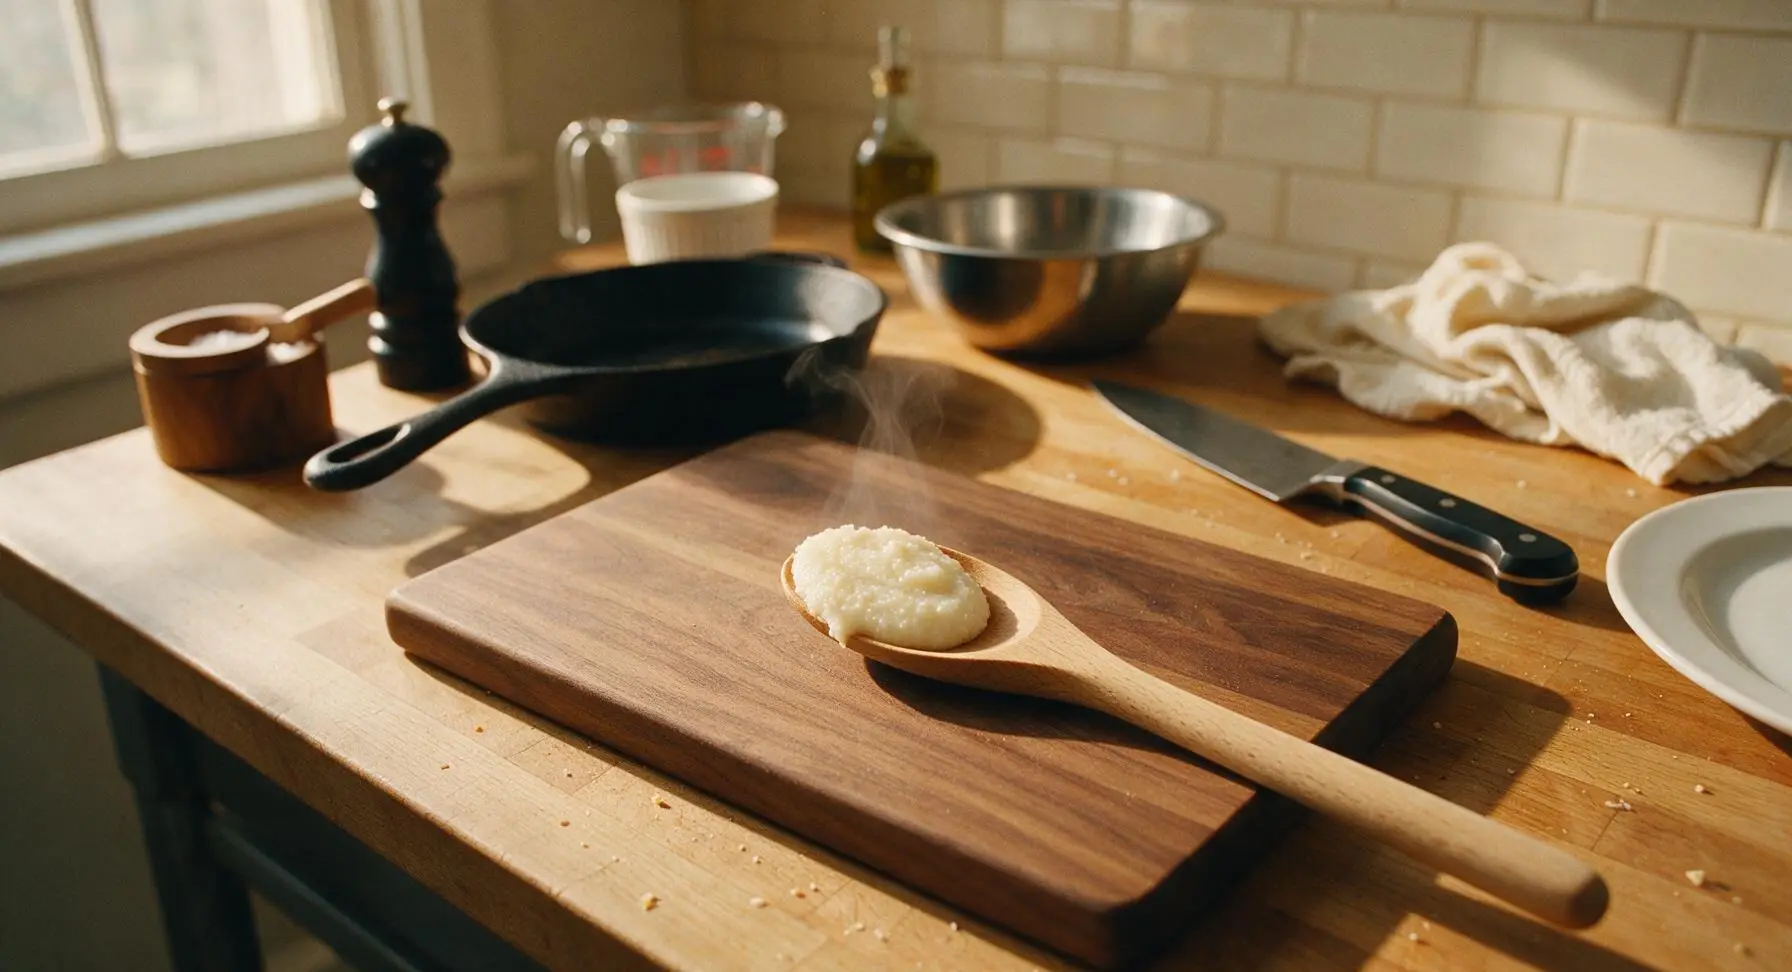
After 15 minutes of simmering, lift the lid from the saucepan and set it aside. Stir the grits thoroughly, scraping all the way to the bottom corners of the pot to release any stuck bits of cooked grit. The finished grits should be thick, creamy, and completely smooth, with no hard, gritty bits remaining when you taste a small spoonful. If grits are too thick, stir in 2-3 tablespoons of warm water to thin; if too thin and runny, simmer uncovered for 2-3 additional minutes.
Finish with Butter
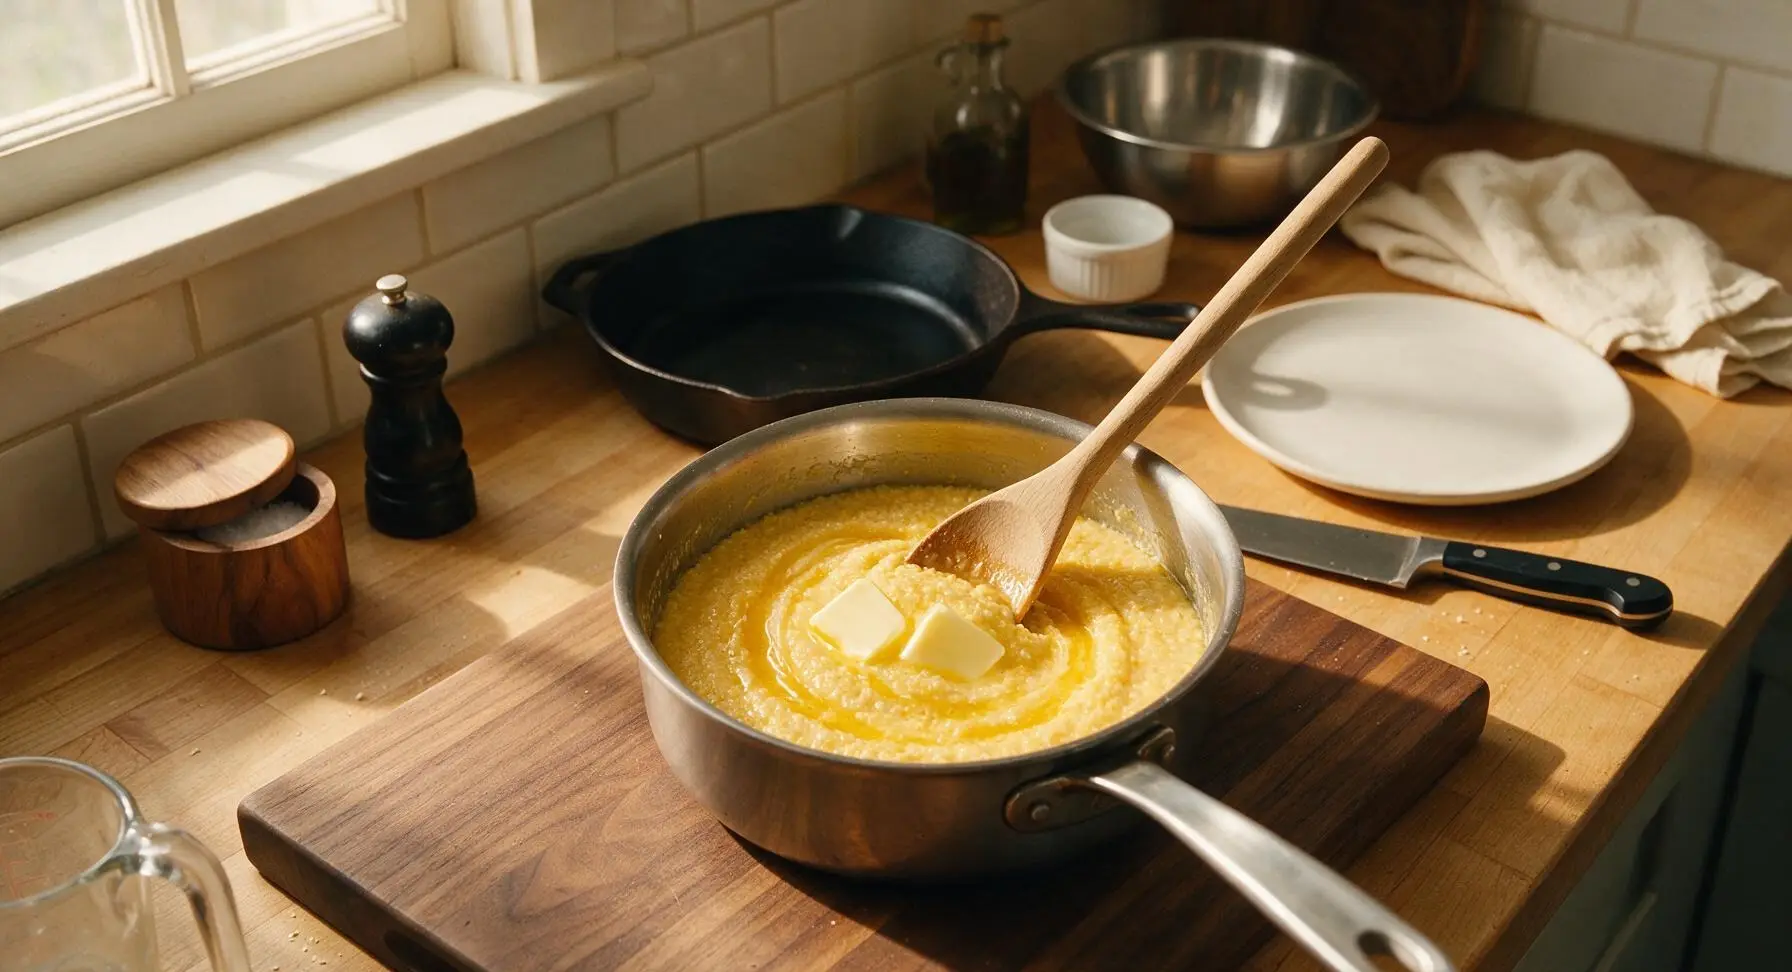
Once grits reach your desired smooth, thick consistency, turn off the heat. Add the two measured pats of unsalted butter to the hot grits, stirring gently with the beech wood spoon until the butter is fully melted and incorporated, creating a rich, glossy sheen across the grit surface. Taste and add a tiny pinch more kosher salt if desired, stirring to combine.
Rest Grits Before Serving
Remove the saucepan from direct heat, replace the stainless steel lid fully to trap heat, and let the grits rest for 2 full minutes. This short resting period allows starch granules to fully absorb moisture and set to a perfect, spreadable consistency that is neither runny nor stiff. Do not stir the grits during this resting time.
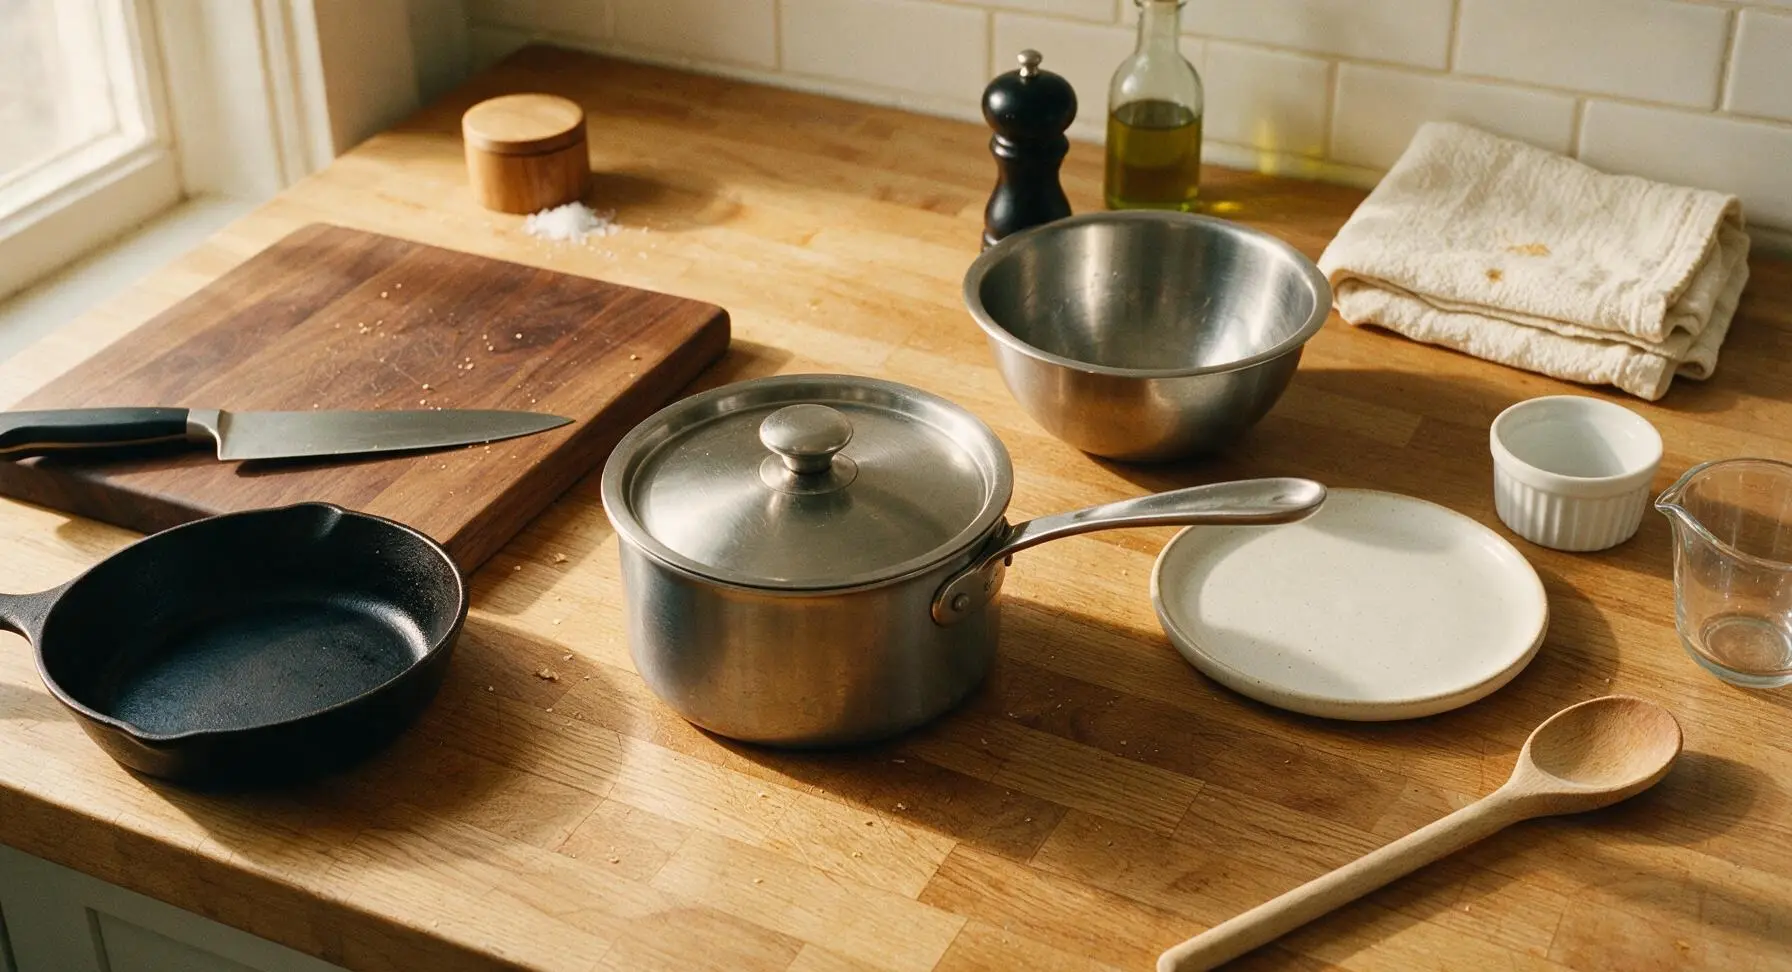
Plate the Finished Grits
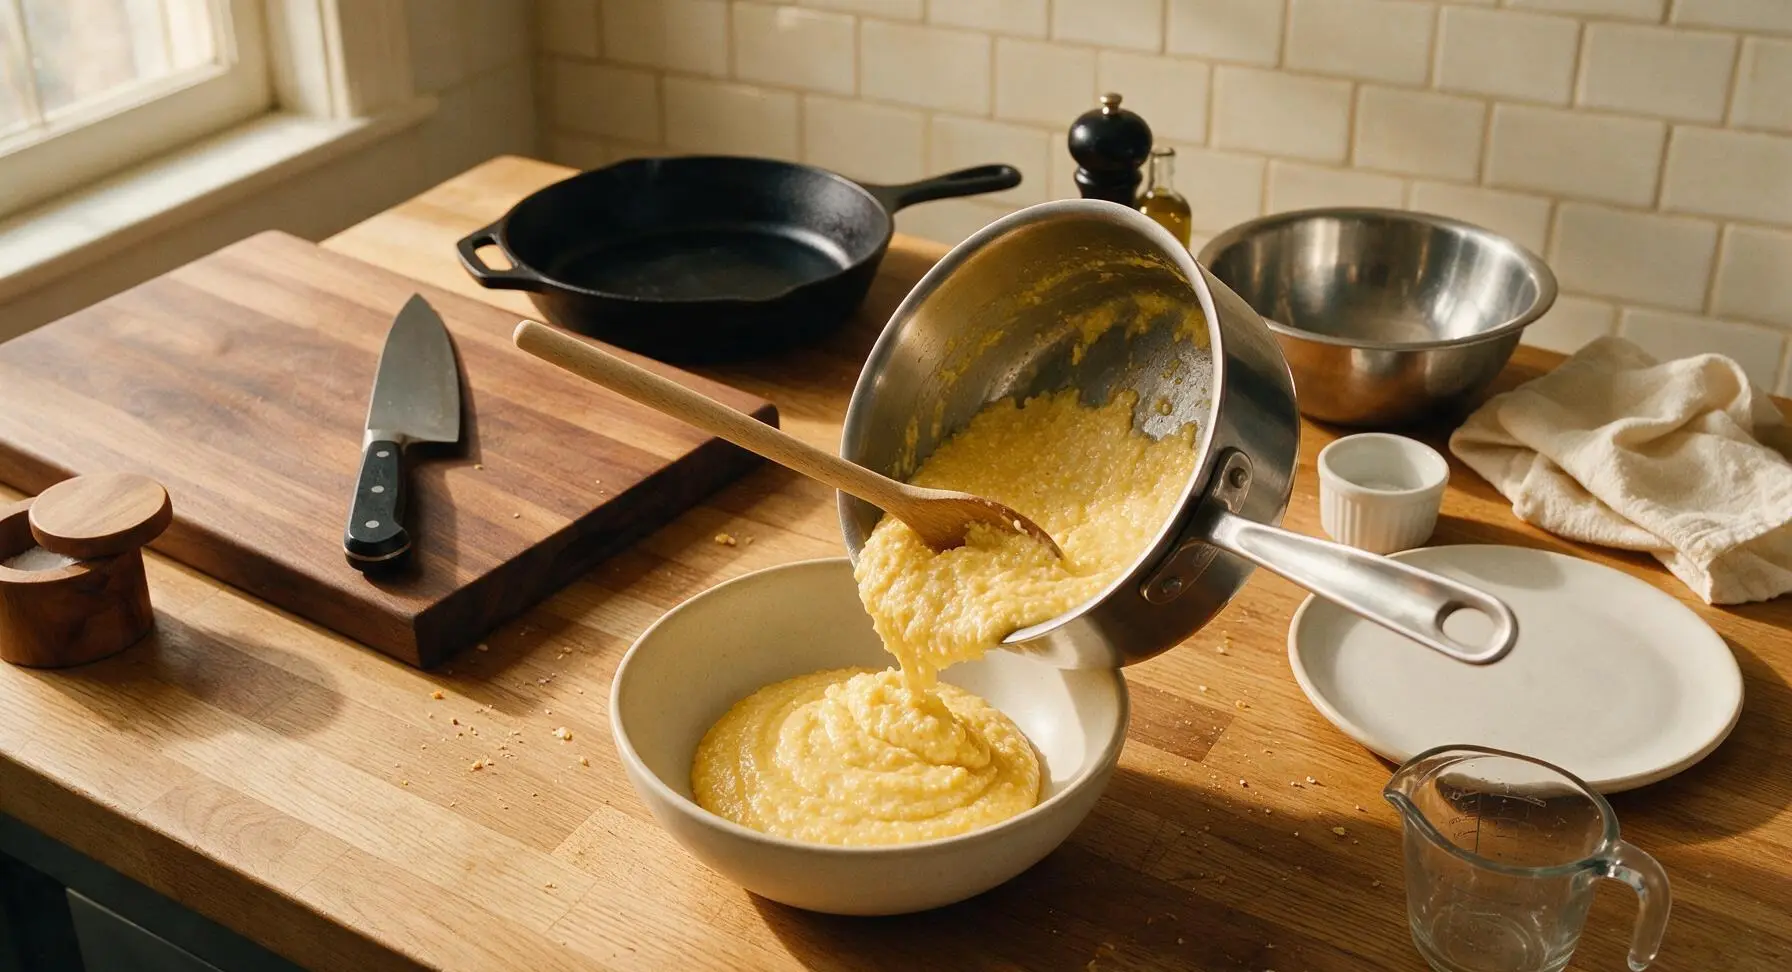
After the 2-minute rest, remove the lid and give the grits one final gentle stir to loosen them. Pour the finished grits into the waiting matte cream ceramic serving bowl, smoothing the top lightly with the back of the beech wood spoon. Serve immediately while hot, as grits will thicken and stiffen significantly as they cool.
Tips
2.Always use a heavy-bottomed saucepan for cooking grits: the thick, evenly conductive base prevents starchy grits from scorching on the pan bottom, which creates a bitter, burnt flavor that cannot be fixed once it mixes into the batch.
3.Don’t skip the 2-minute rest after cooking: this short hold allows starch granules to fully absorb moisture and set, creating a velvety, creamy texture instead of a runny, watery porridge. If grits thicken too much as they cool at the table, stir in a splash of warm milk or water to loosen them to your preferred consistency.






OMG these plain grits are SO good! I’ve been messing up grits for years, they always come out lumpy or too watery, but following this 20 minute method gave me perfectly creamy, smooth grits every single time. My kids gobbled them up with a little butter and cheese for breakfast yesterday, total game changer for our busy school mornings.
Took these to our neighborhood potluck last weekend, made a big batch and set out toppings like shredded cheese, crumbled bacon, green onions, and hot sauce. Everyone was raving! Can’t believe how easy these are for how good they turn out, no fancy ingredients needed.
I make a big batch of these plain grits at the start of every week for meal prep! They reheat so well in the microwave with a splash of milk, I top them with shrimp for dinner one night, berries and honey for breakfast another, even chili on top for a quick lunch. So versatile and way cheaper than buying those instant packet grits.
As a broke college student with basically no cooking skills, this recipe was a lifesaver! Only took 20 minutes, didn’t require any fancy equipment, and I didn’t burn them (which is a miracle for me). Added a little shredded cheddar and garlic powder and it tasted like the grits from the fancy brunch place downtown for a fraction of the cost.
I always thought grits were only for breakfast until I made these to go with my smoked shrimp and andouille sausage last weekend for family dinner. Everyone was going back for seconds! The plain base is perfect because you can season them however you want to match whatever main you’re serving, no weird added flavors to clash. Only reason it’s not 5 stars is I wish the recipe noted a baseline salt amount for total newbies, otherwise it’s flawless!
Grew up eating my grandma’s grits in Queens and I’ve been chasing that flavor for years since she passed. This recipe is the closest I’ve ever gotten! Slow stirring for that 20 minutes makes all the difference, no instant grits can compare. Added a little pat of butter and a sprinkle of black pepper just like she used to, and I almost cried when I took the first bite.
SO good! I stirred in a big dollop of hot honey and a sprinkle of red pepper flakes for a sweet spicy kick, and it was chef’s kiss. The plain base is so versatile, I feel like I could make a different version every day of the week and never get bored.
Made these for my daughter’s birthday brunch last weekend, and even my super picky sister-in-law asked for the recipe! I was nervous because I usually mess up simple side dishes, but the step by step instructions were impossible to mess up. 10/10, will be making these every weekend from now on.
I love that these are just simple, no weird additives or preservatives like the instant grits packets I used to buy. I make them with unsweetened almond milk and top them with peanut butter and banana for a high carb post-workout breakfast that keeps me full for hours. So easy to fit into my meal plan.
Y’all know I take my grits seriously, and this recipe does not disappoint. No fancy frills, just good old fashioned creamy grits the way my mama used to make ‘em. Cooked ‘em low and slow like the recipe said, no lumps, no gritty texture, just perfect. Served ‘em with fried catfish and collards for Sunday dinner and the whole family was happy.
This was my first time ever making grits and they turned out perfect! I was so worried they’d be lumpy or taste like cardboard, but they were so creamy and delicious. I added a little salt and pepper and ate them alongside scrambled eggs and bacon, best breakfast I’ve made in months.
So happy to find a plain grits recipe that’s naturally gluten free! I have celiac and so many store-bought grits have cross-contamination warnings, but making them from scratch with regular stone ground grits lets me control exactly what goes in them. Served them with roasted veggies and grilled chicken for a quick weeknight dinner, so good.
Made these over the camp stove on our last camping trip and they were a hit! Boiled the water, stirred in the grits, let ‘em simmer, and we had a warm, filling breakfast before our hike. Way easier than packing a bunch of fancy breakfast foods, and everyone in the group loved them. Only 4 stars because they stuck a little to the bottom of my camp pot since I couldn’t stir as often as I do at home, but that’s on me not the recipe!
Made these for a girls’ brunch last weekend and paired them with a shrimp and grits bar, mimosas, and fruit salad. Everyone was obsessed! The plain base lets people customize their bowls exactly how they like them, which is perfect for groups with different taste preferences. 10/10 will be my go-to grits recipe from now on.
Used leftover grits from dinner to make grit cakes for breakfast the next day! Pressed the cold grits into patties, fried them in a little butter until crispy on the outside, and served them with syrup. Game changer, don’t sleep on leftover grits!
This recipe is so affordable! A big bag of grits costs like $2 and makes so many servings, way cheaper than buying breakfast out every day. I make a batch every Sunday and eat them all week for breakfast, saves me so much time and money. Perfect for anyone on a tight budget.
I’ve been making grits for 40 years, and this method is exactly how I was taught to make them in culinary school. Slow simmer, regular stirring, no shortcuts, gives you the perfect creamy texture every time. Great straightforward recipe for new cooks, no unnecessary steps or weird ingredients. Knocked off one star because I prefer a little heavier cream ratio personally, but that’s just my preference, the recipe as written is solid.
My toddler is going through a super picky eating phase and these are the only thing he will eat without a fight right now! I stir in a little cheese and he gobbles up a whole bowl every time. So easy to make even when he’s hanging on my leg while I cook, only 20 minutes start to finish. Total lifesaver.
Made these at 2am after a long night out with friends and they hit DIFFERENT. A little butter, a little cheese, a dash of hot sauce, and it was the perfect late night snack. Way better than driving through the fast food line, and just as fast. 10/10 would make again for future late night cravings.