
plant based sandwiches

title 1
plant based sandwiches
⏱️ cook time 20 minutes
🍽️ servings 4
⚡ Difficulty easy

intro

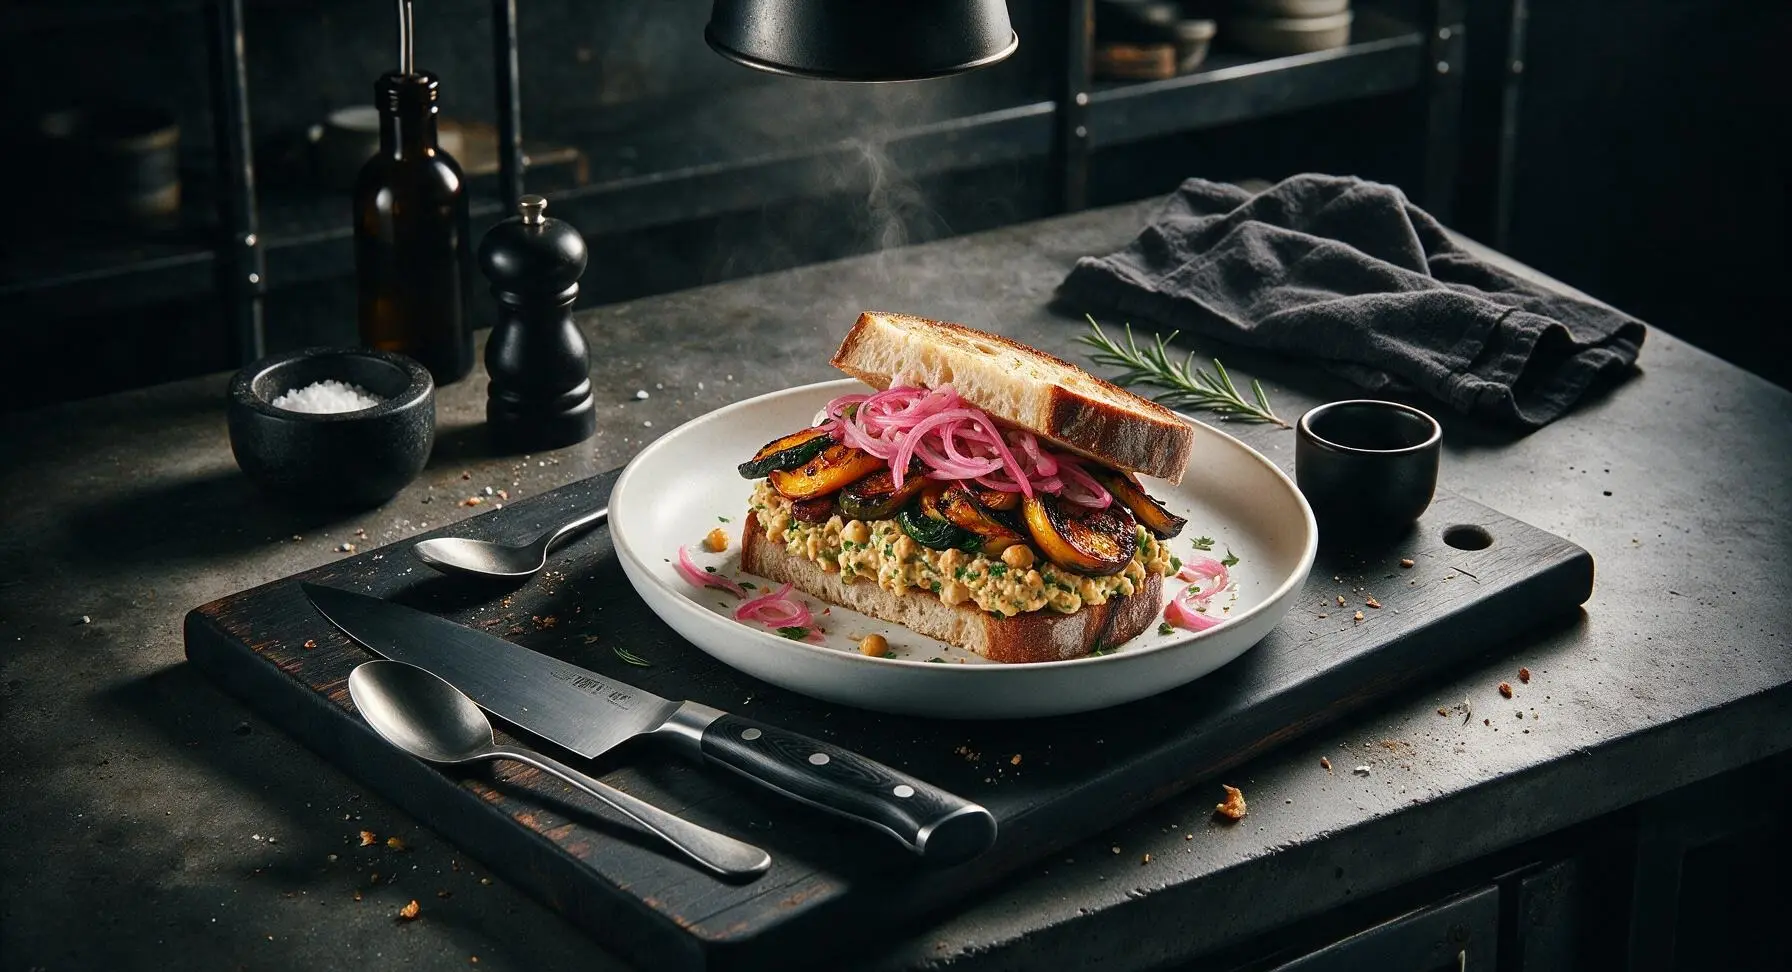
Hearty, portable plant-based sandwiches stacked with caramelized roasted summer veggies, creamy herbed chickpea smash, and bright zesty quick-pickled onions — ideal for sunny summer picnics.

Ingredients
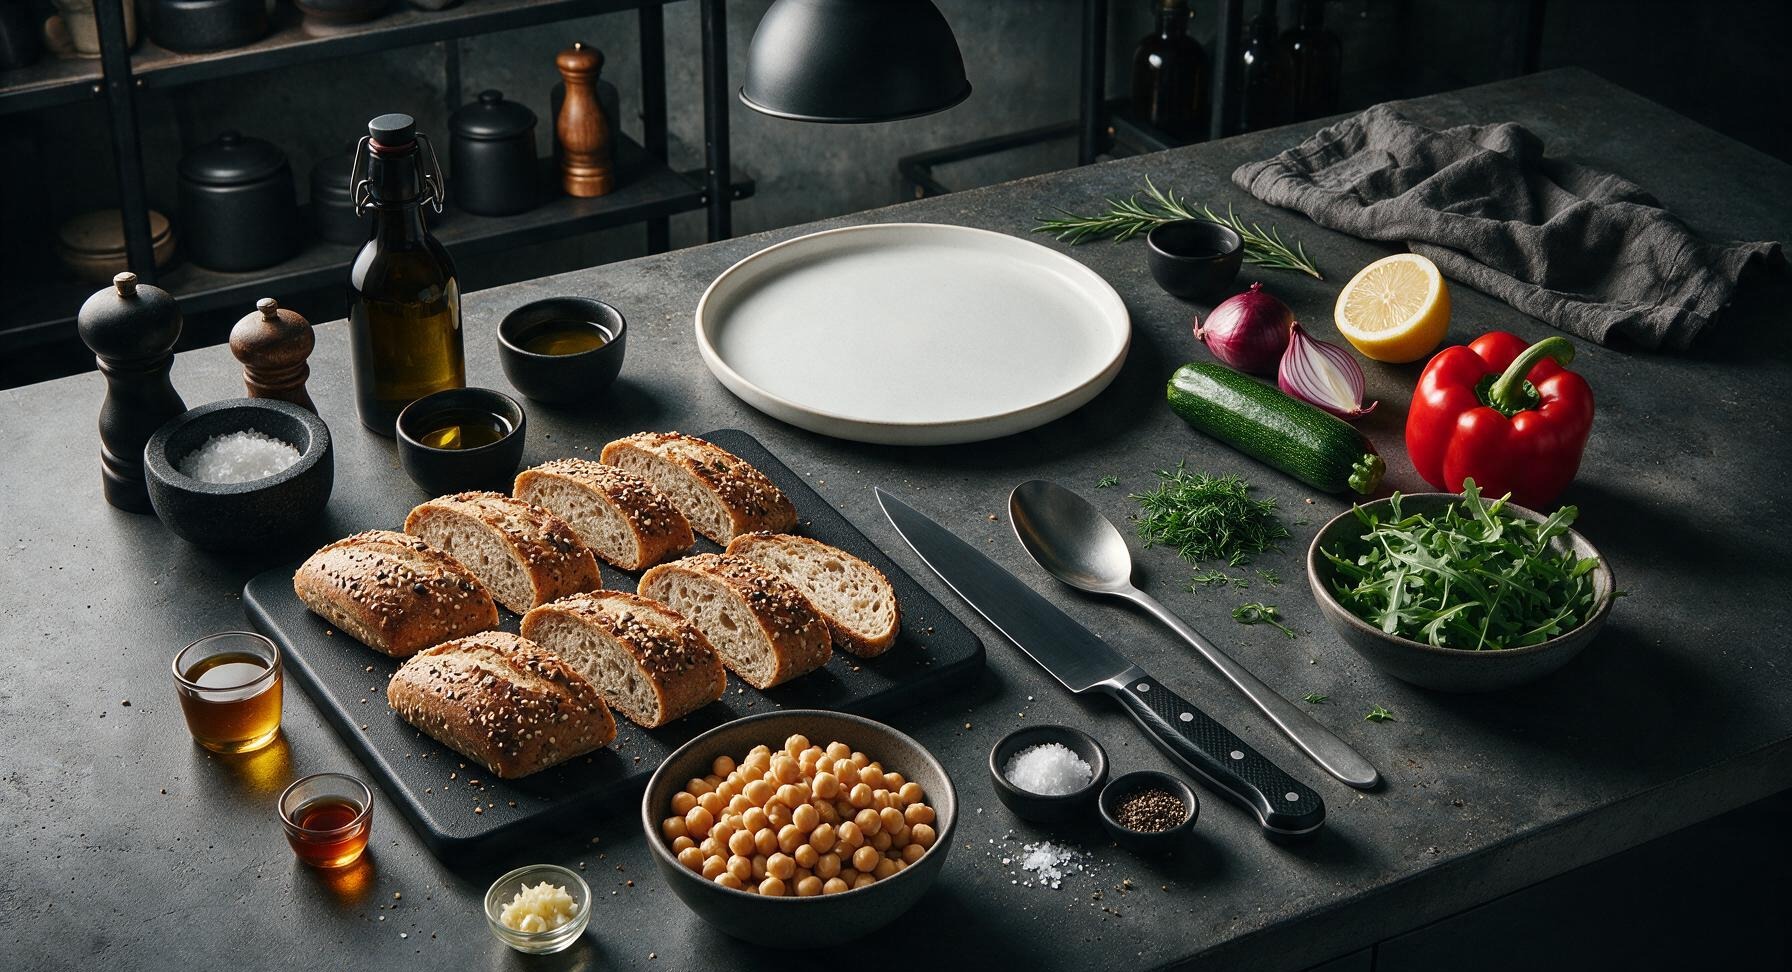
Crusty whole-grain bread 8 slices (400g total)
Canned chickpeas (rinsed, drained) 1 can (425g, drained weight)
Medium zucchini 1 (200g)
Large red bell pepper 1 (180g, seeded)
Small red onion 1 (120g, divided)
Fresh arugula 1 cup (30g, loosely packed)
Fresh dill 2 tablespoons (5g, chopped)
Whole lemon 1 (3 tablespoons juice)
Extra-virgin olive oil 3 tablespoons (45ml)
Apple cider vinegar 2 tablespoons (30ml)
Maple syrup 1 teaspoon (5ml)
Garlic clove 1 (3g, minced)
Kosher salt 1 teaspoon (5g, divided)
Freshly ground black pepper 1/2 teaspoon (1g, divided)

Steps

1

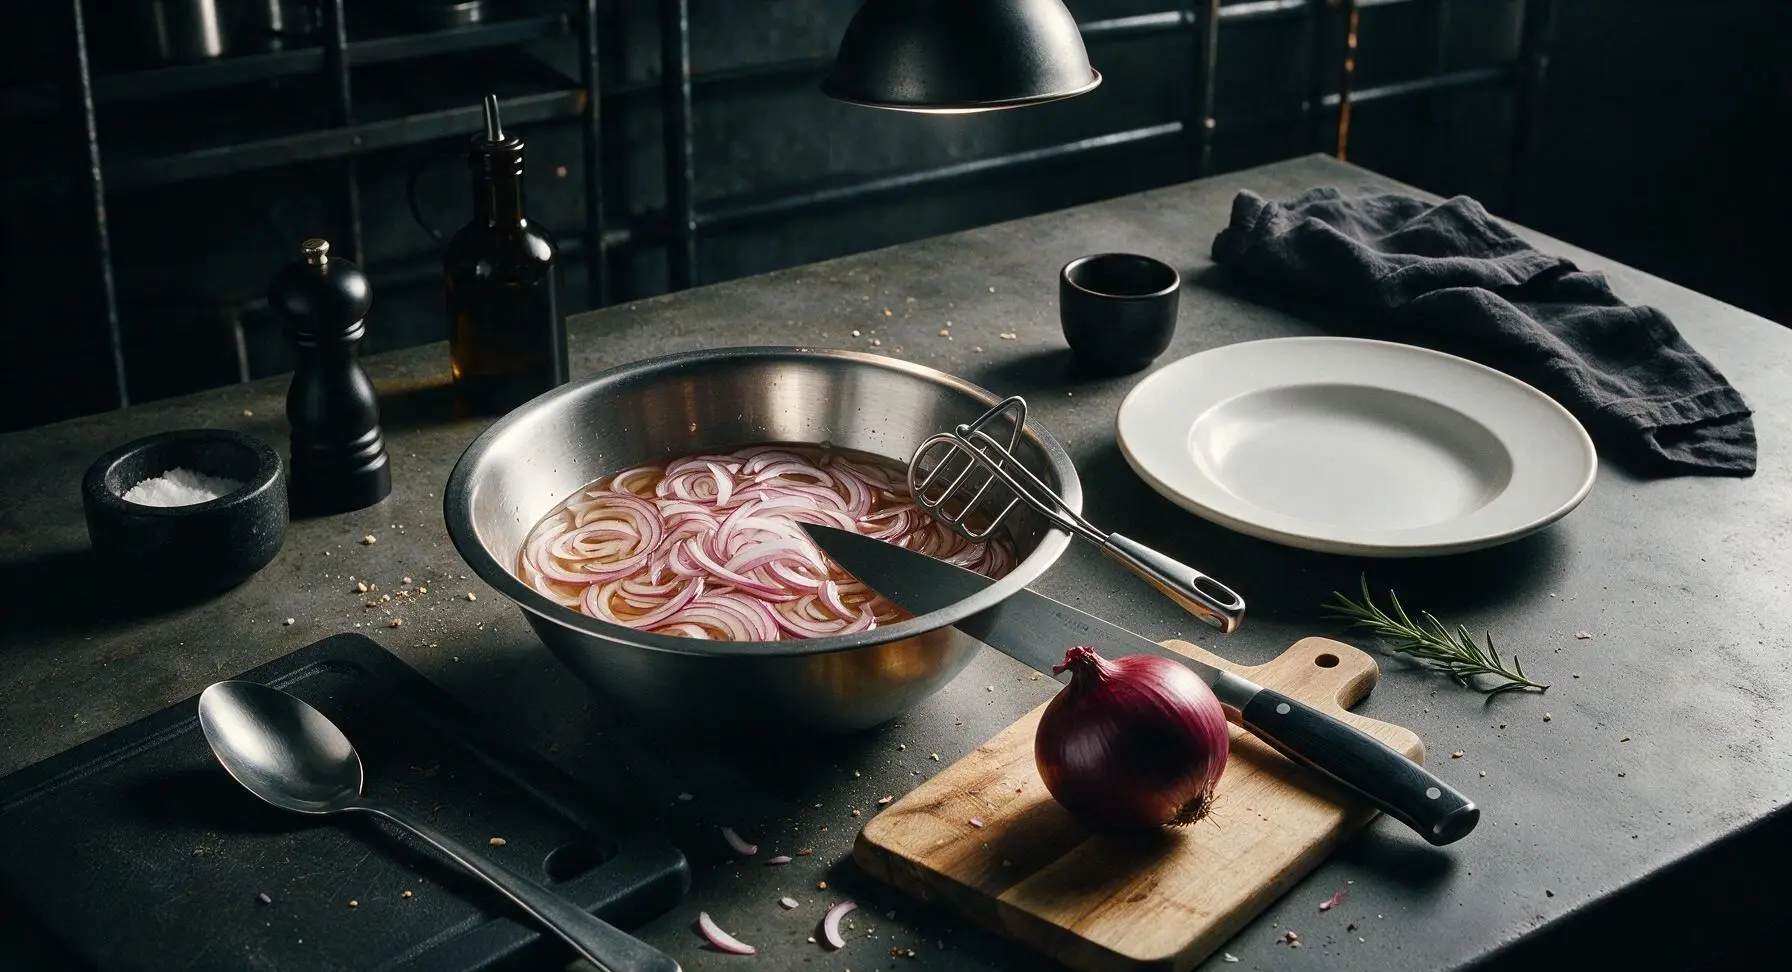
Quick-Pickle Red Onions

Thinly slice half the red onion into 2mm thick half-moons. In the brushed stainless steel mixing bowl, combine 2 tablespoons apple cider vinegar, 1 teaspoon maple syrup, 1/4 teaspoon kosher salt, and 2 tablespoons warm tap water. Add the sliced onion, press fully to submerge in the liquid, and set aside to pickle for 15 minutes (passive time while prepping other components). The onions are ready when they turn bright magenta and soften slightly, with a tangy, crisp bite.
Step 1
step1:Quick-Pickle Red Onions
2

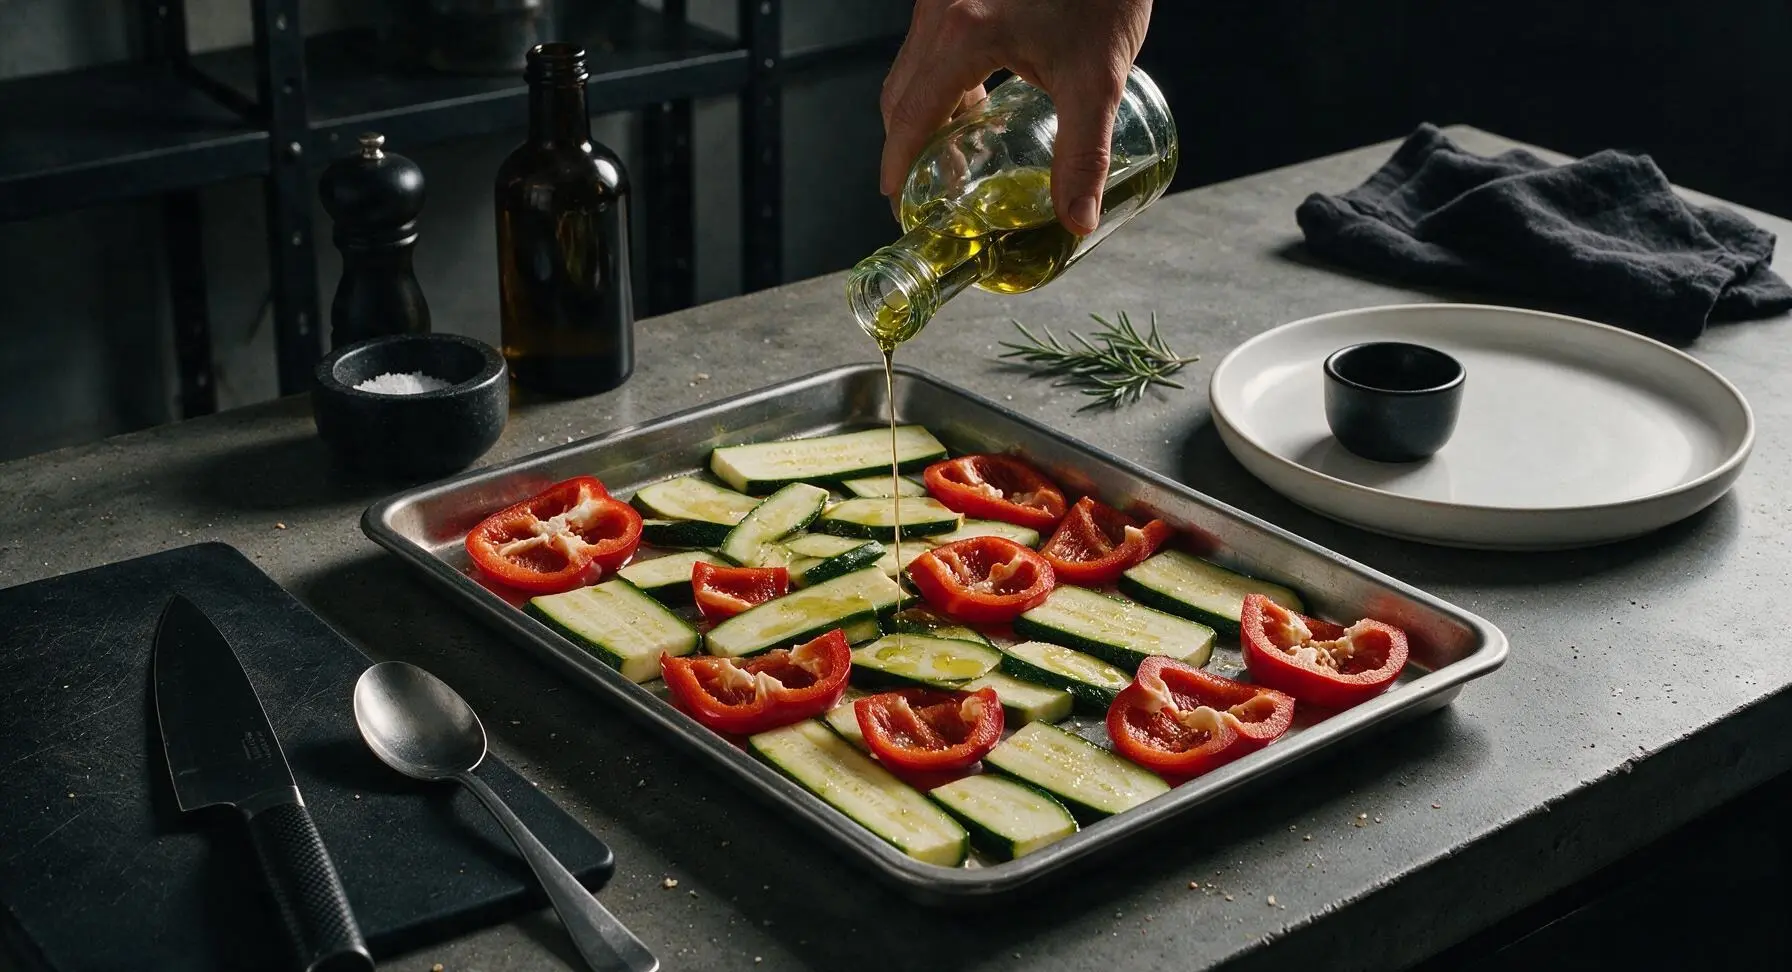
Prep Veggies for Roasting

Preheat oven to 200C (400F). Slice the zucchini lengthwise into 1cm thick planks, quarter the red bell pepper and remove all seeds and spongy white pith. Retrieve the rimmed stainless steel baking sheet from its propped position against the backsplash, then toss the cut veggies on the sheet with 1 tablespoon olive oil, 1/4 teaspoon kosher salt, and 1/4 teaspoon black pepper. Spread veggies in a single flat layer; they should be lightly coated in oil, not drowning.
Step 2
step2:Prep Veggies for Roasting
3

Roast Veggie Slices

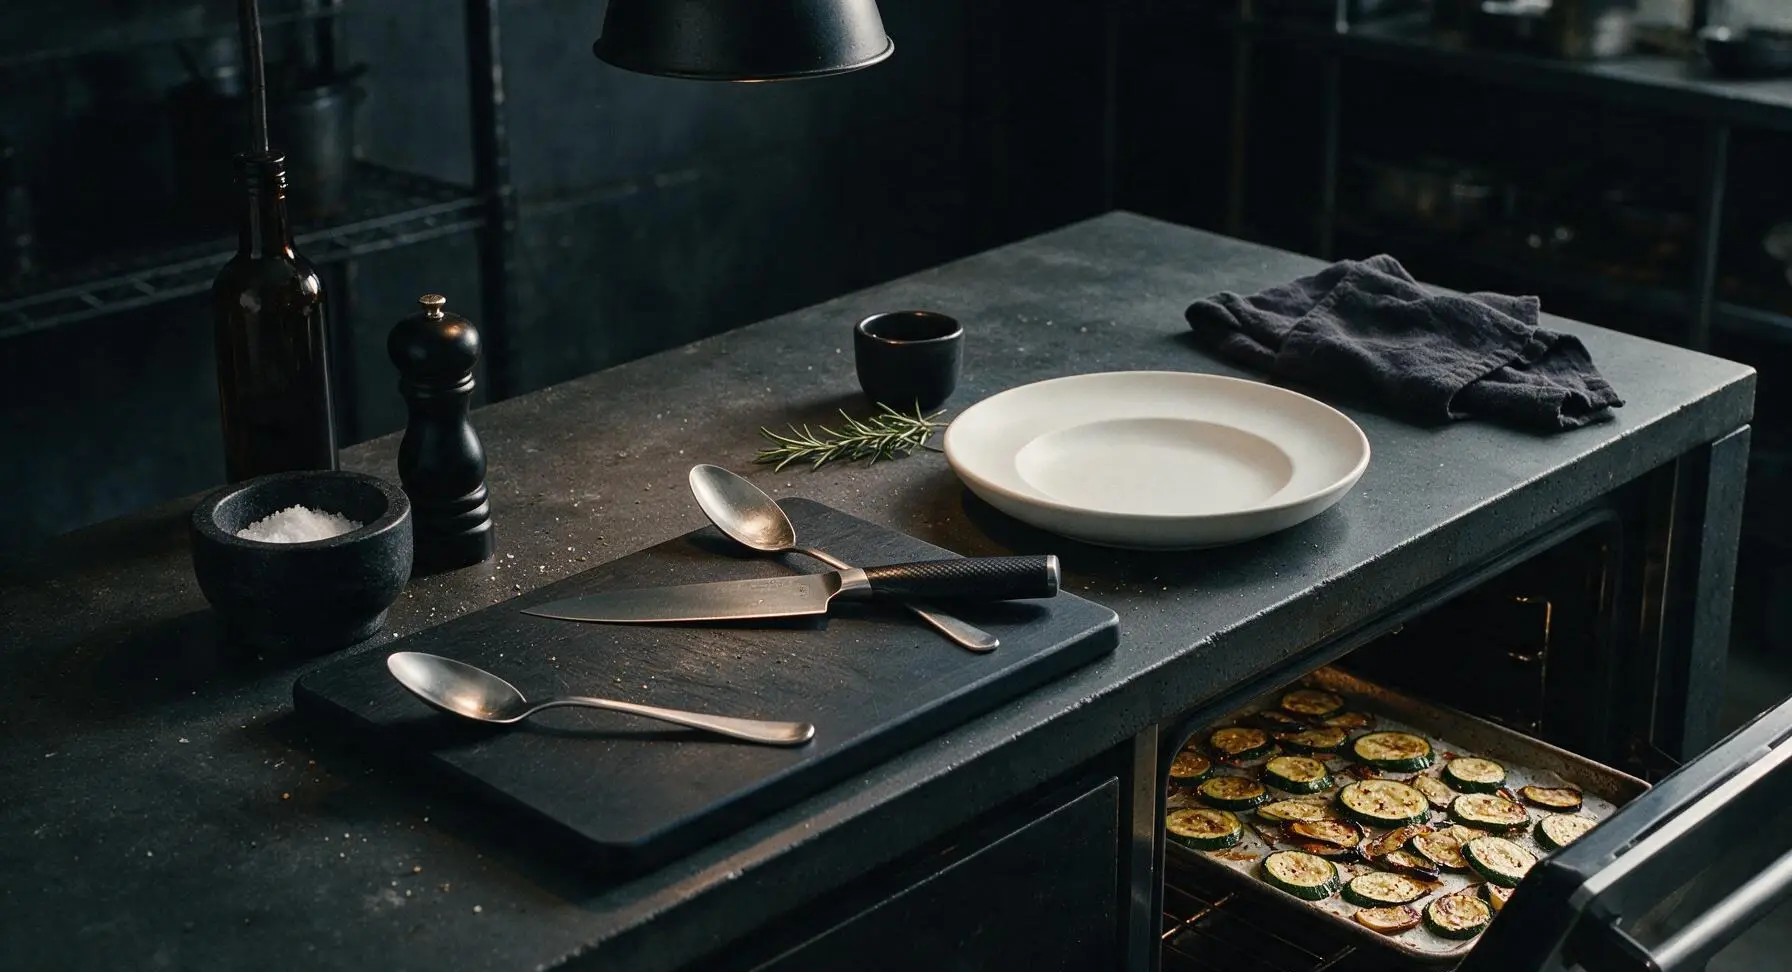
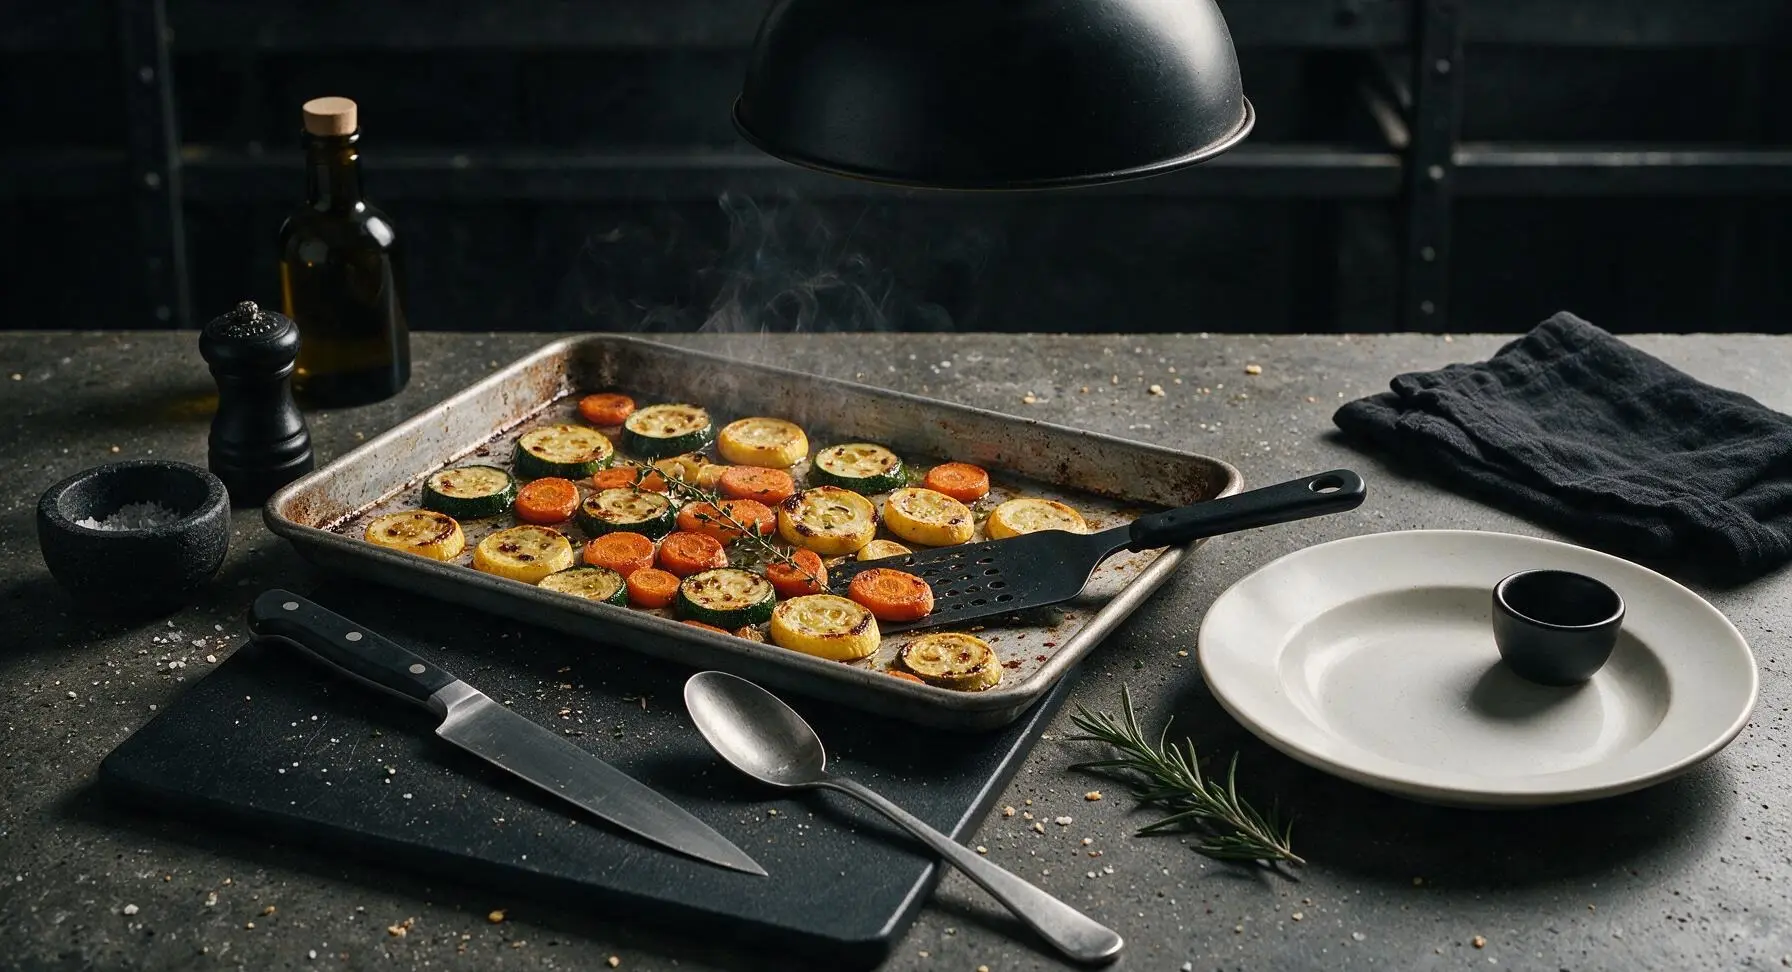
Place the baking sheet in the preheated oven and roast for 18-20 minutes, flipping the veggies with the offset spatula at the 10 minute halfway mark. The veggies are done when they develop light golden char marks on the edges, are tender when pierced with a fork, but hold their shape and are not mushy. Remove from the oven and set on the counter to cool for 5 minutes before assembly to avoid soggy bread.
Step 3
step3:Roast Veggie Slices
Step 3
step3:Roast Veggie Slices
4

Mix Chickpea Smash

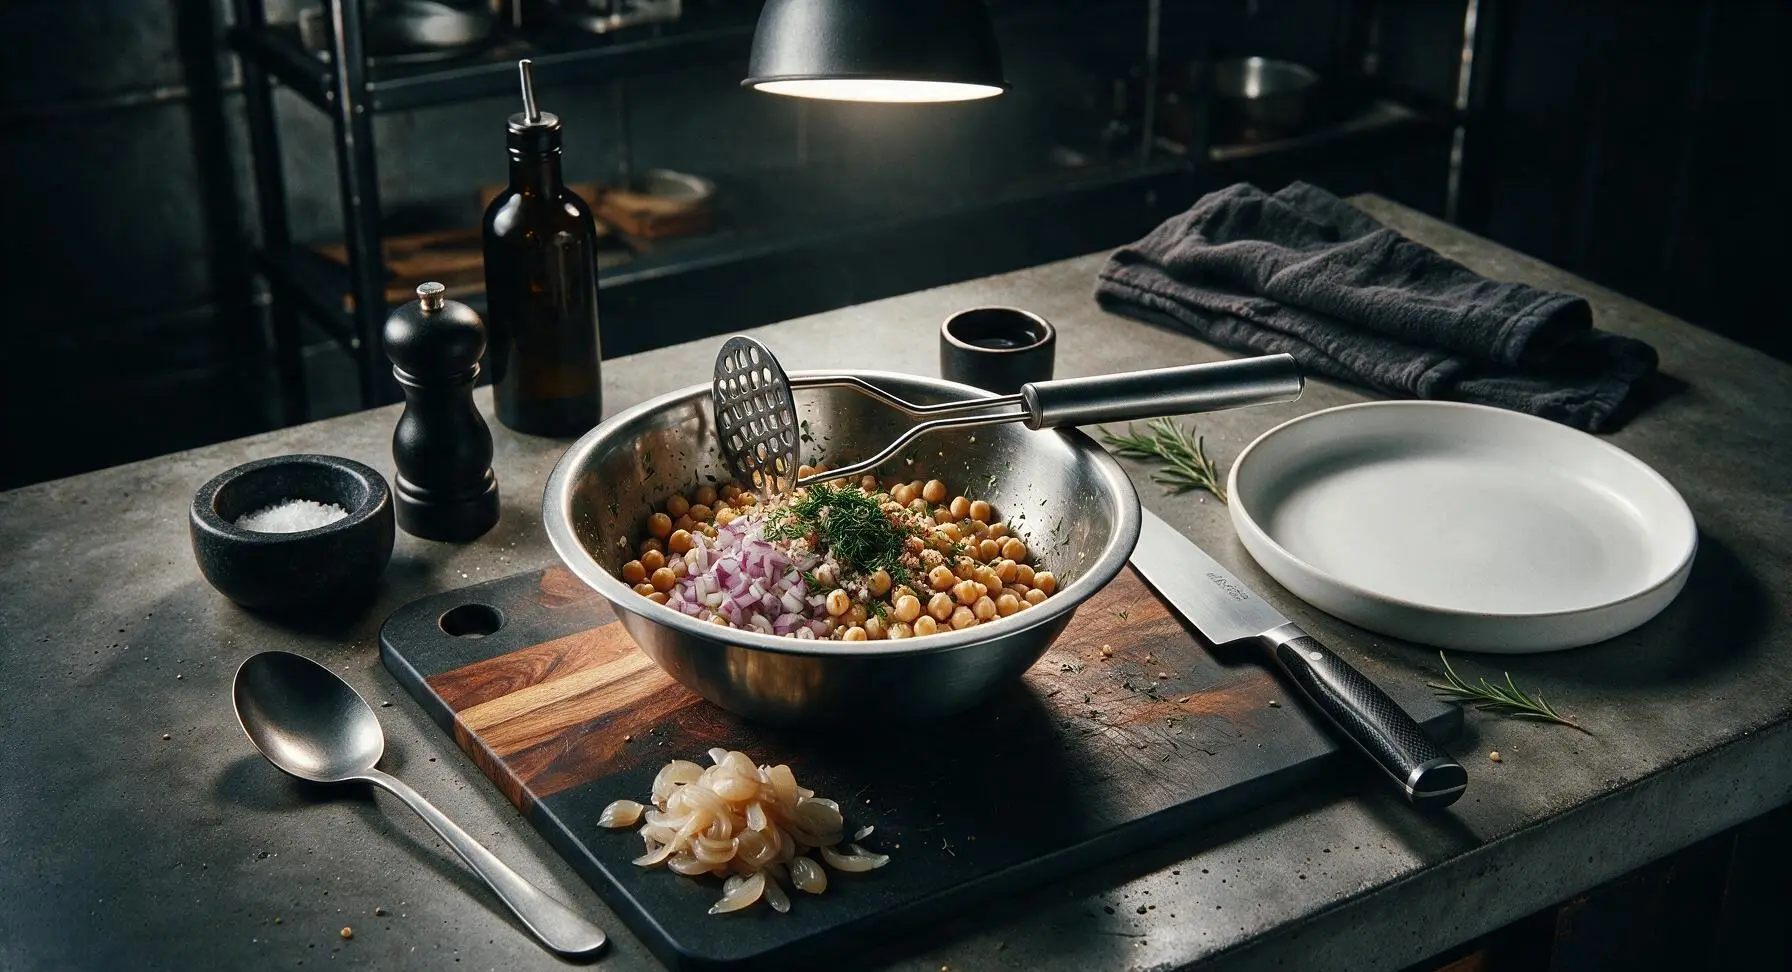
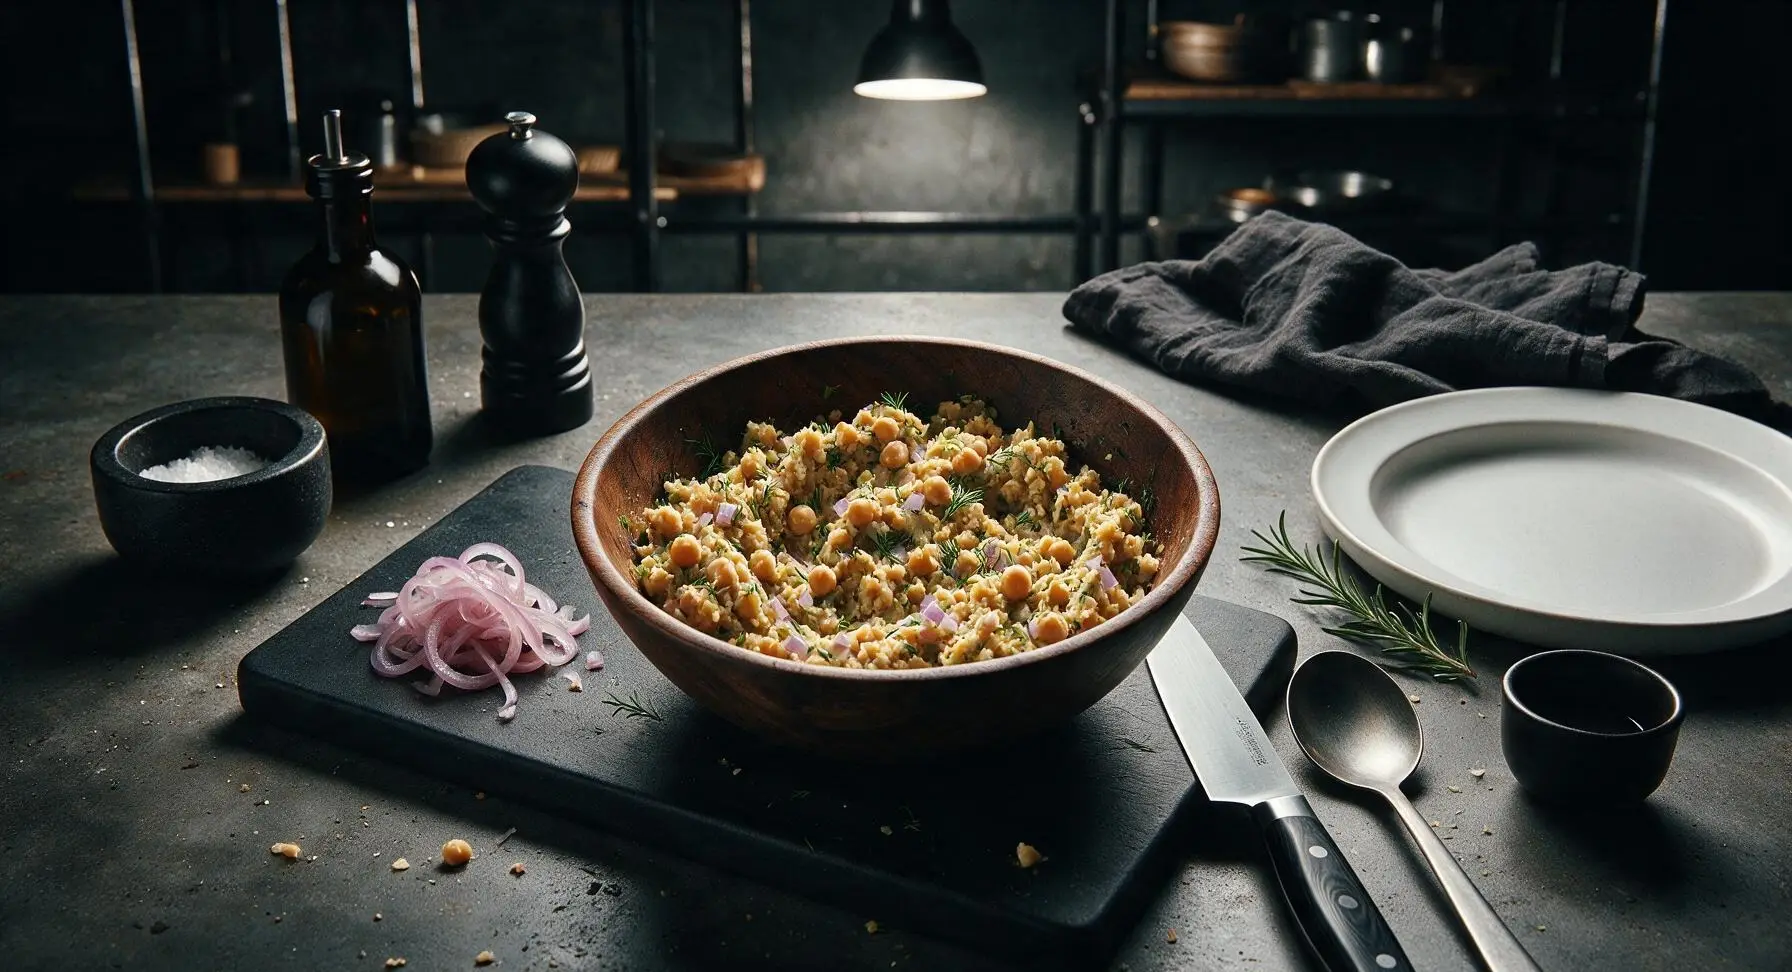
Drain the pickled onions from the mixing bowl, piling them in a small heap on the corner of the cutting board. Add rinsed drained chickpeas, finely diced remaining half red onion, minced garlic, chopped dill, 2 tablespoons fresh lemon juice, remaining 2 tablespoons olive oil, 1/2 teaspoon kosher salt, and remaining 1/4 teaspoon black pepper to the empty bowl. Use the stainless steel potato masher to smash the mixture until 70% of chickpeas are broken down, leaving some whole chickpeas for texture. The final smash should be thick, spreadable, and hold its shape when lifted with a spoon.
Step 4
step4:Mix Chickpea Smash
Step 4
step4:Mix Chickpea Smash
5

Toast Bread Slices

Use residual oven heat from roasting veggies (no temperature adjustment needed) to toast the 8 bread slices: place slices directly on the middle oven rack for 2-3 minutes until the cut surfaces are lightly golden and crisp to the touch. Watch closely to avoid burning — the bread should have a slight crunch on the surface but remain soft and chewy in the center. Remove from oven and arrange on the cutting board.
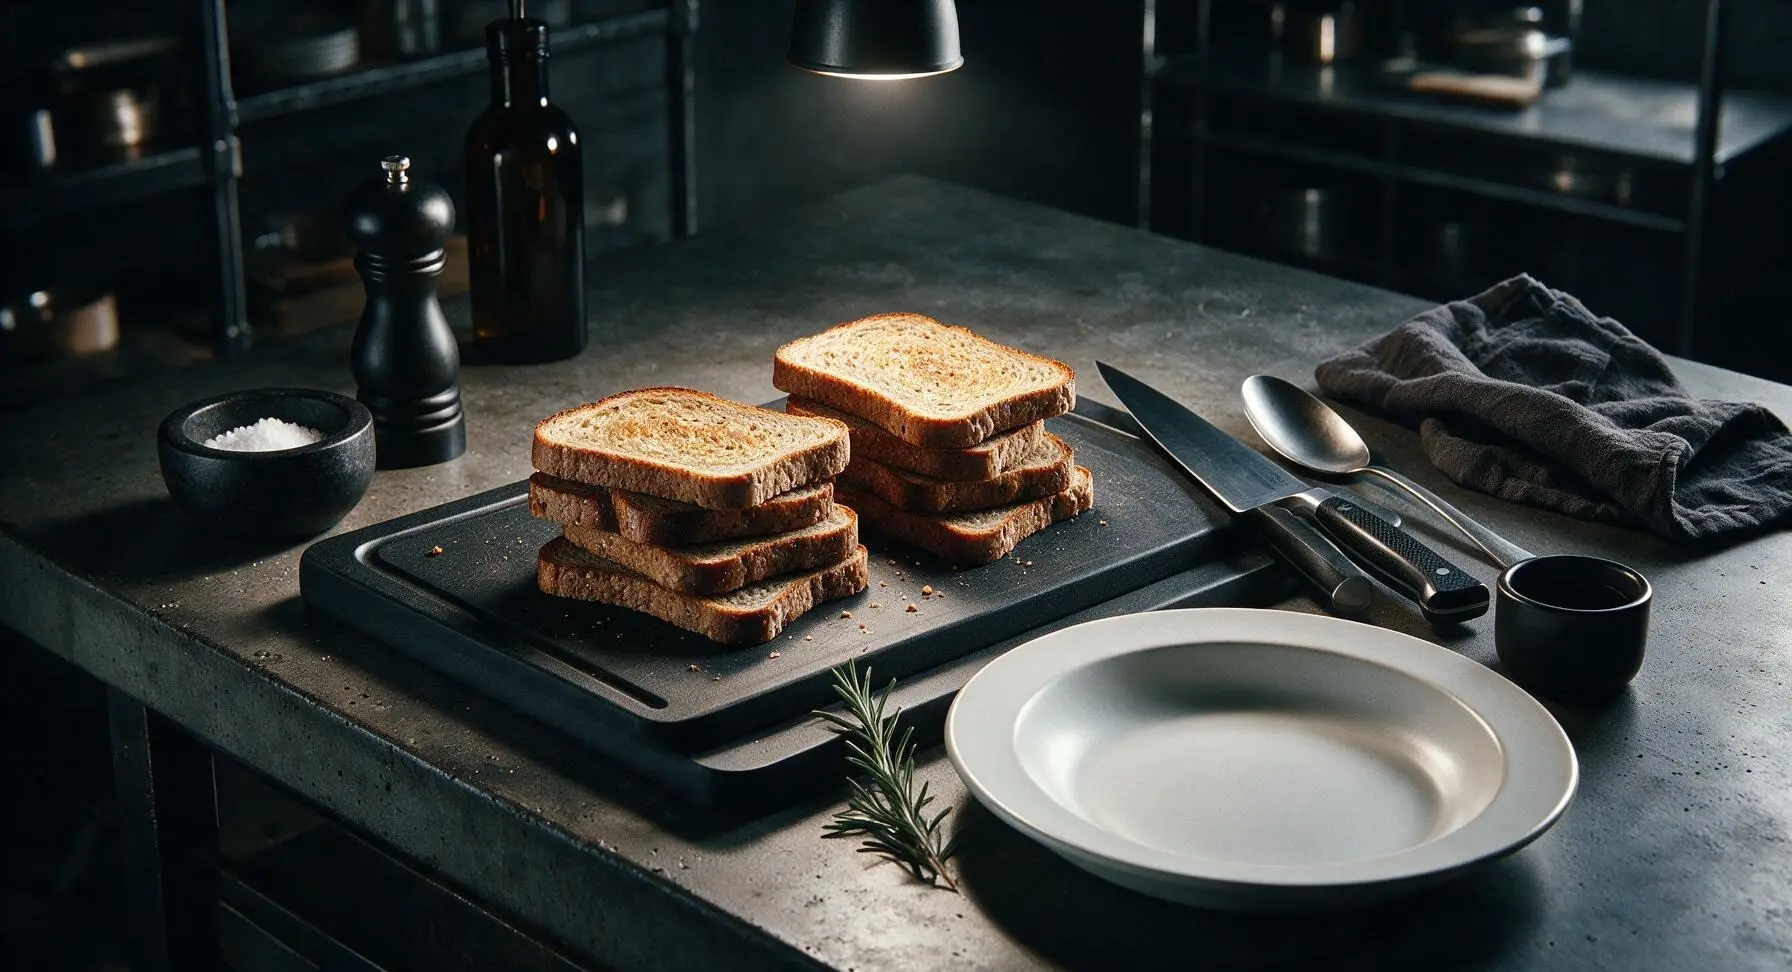
Step 5
step5:Toast Bread Slices
6

Layer Sandwich Fillings

Spread a generous 1/4 cup of chickpea smash evenly across one side of 4 toast slices, using the offset spatula for smooth coverage. Top each smash-covered slice with 1-2 roasted zucchini planks, 1 piece of roasted red pepper, a small pinch of drained pickled red onions, and a 1/4 cup loose handful of arugula. Spread a thin 1-tablespoon layer of chickpea smash on the cut side of the remaining 4 toast slices to help hold fillings in place.
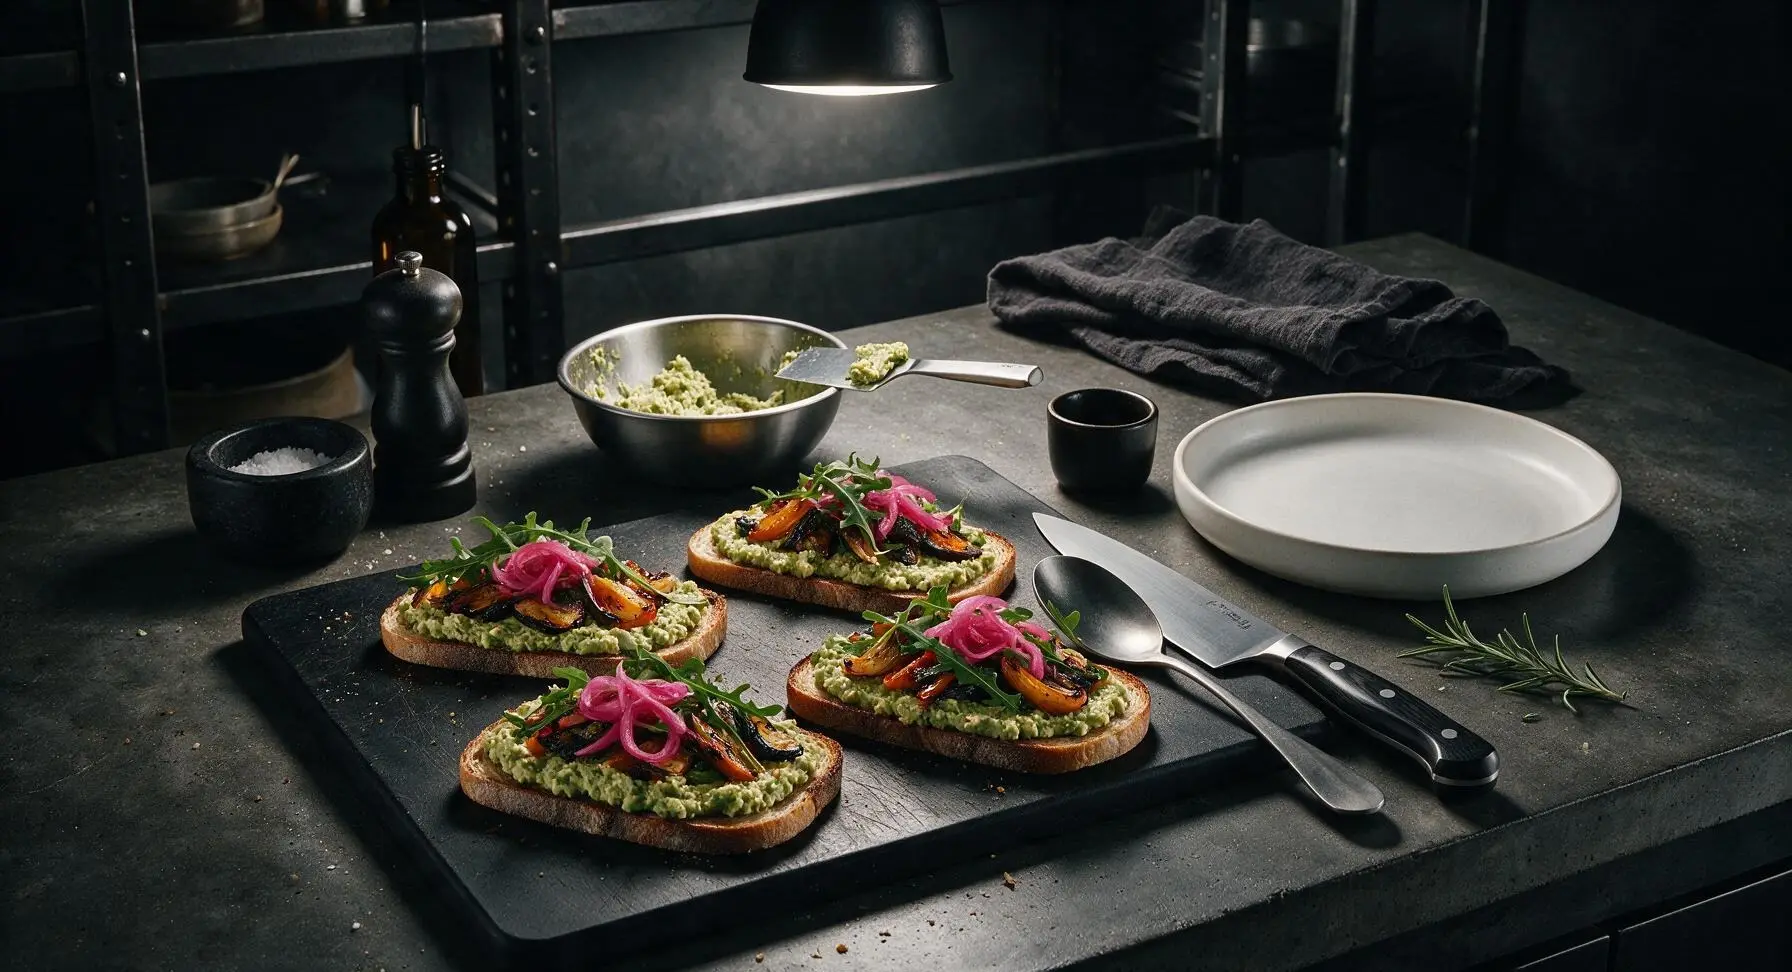
Step 6
step6:Layer Sandwich Fillings
7

Press and Cut Sandwiches

Top each filled base with a smash-coated top toast slice, press down gently but firmly to compress layers slightly so the sandwich holds together when picked up. Use the chef knife to cut each sandwich diagonally into two triangular halves, wiping the knife blade on the sky-blue kitchen towel between cuts to avoid smushing fillings out the sides. Transfer cut sandwiches to the matte cream stoneware serving platter to serve.
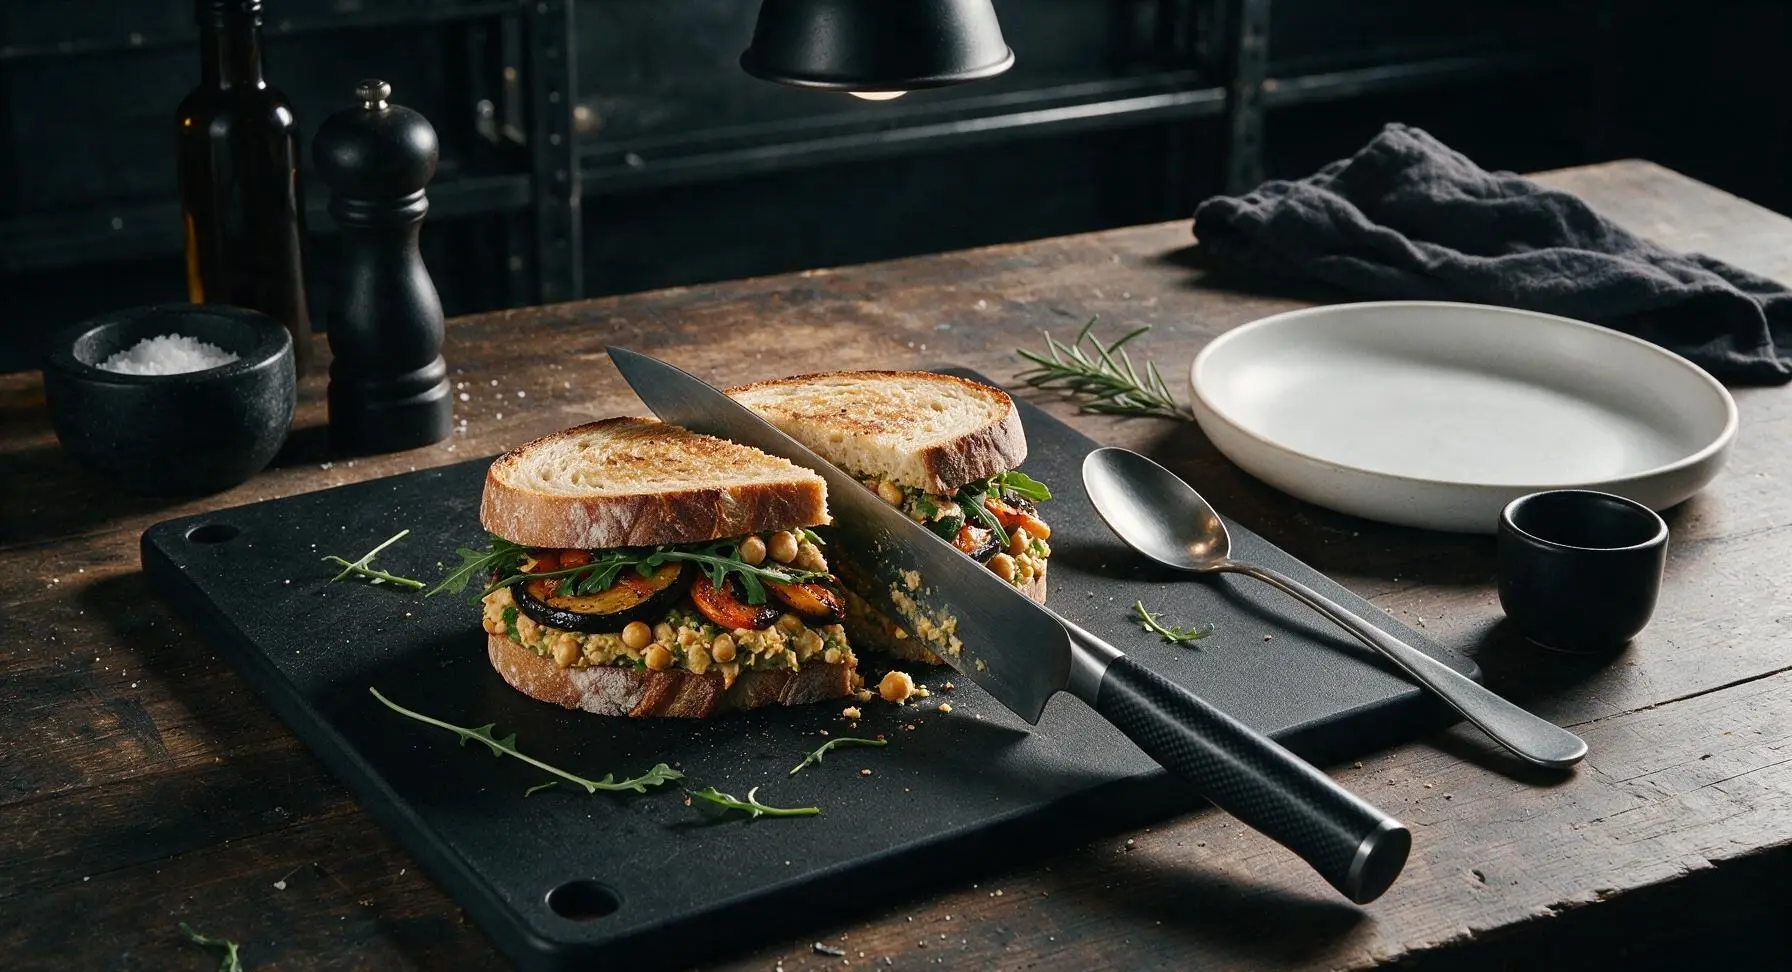
Step 7
step7:Press and Cut Sandwiches

Tips

1.Don’t over-mash the chickpeas: leaving roughly 30% of chickpeas whole creates a satisfying, chunky texture that mimics the heartiness of traditional chicken or tuna salad, instead of a smooth hummus-like spread that slips easily out of sandwich layers.
2.Let roasted veggies cool for 5 full minutes before stacking: warm veggies will wilt the arugula and create condensation that makes bread soggy, which is especially critical if packing these sandwiches for a picnic where they will sit for 1-2 hours before eating.
3.Spread a thin layer of chickpea smash on both slices of bread: the coarse, sticky smash acts as a barrier to prevent veggie juices from soaking into the bread, and helps hold loose fillings like arugula and pickled onions in place as you eat.


✨ You May Also Like

Lunch
🍜 United States

Creamy, salty, tangy nostalgic Midwestern sandwich pairing rich peanut butter with crisp briny dill pickles for a fast, satisfying no-cook meal.

⏱️ 5 minutesLunch ★ 4.6
Lunch
🍜 United States

Crispy, melty pressed sandwich layered with savory roast pork, ham, Swiss cheese, pickles, and tangy mustard: a beloved Cuban-American comfort classic.

⏱️ 25 minuteLunch ★ 4.9
Lunch
🍜 United States

Hearty, briny New Orleans pressed sandwich stacked with cured Italian meats, provolone, and zesty olive salad, served cold for bold, portable flavor.

⏱️ 1 hour 20Lunch ★ 4.7
Lunch
🍜 United States

A tangy, creamy Southern American staple, this no-cook cheesy sandwich is packed with sharp cheddar and sweet pimentos for a satisfying, portable bite.

⏱️ 1 hour 15Lunch ★ 4.8
Lunch
🍜 United States

Crispy Cajun-spiced fried shrimp piled on crusty French bread with tangy remoulade and fresh toppings, the iconic Louisiana street food sandwich.

⏱️ 35 minuteLunch ★ 4.4
Lunch
🍜 United States

Stacked, savory deli-style corned beef sandwich with melted Swiss, tangy mustard, and crisp griddled rye— a fast, hearty, satisfying classic.

⏱️ 15 minuteLunch ★ 4.9

plant based sandwiches:Frequently Asked Questions

1.Can I prep components of these sandwiches ahead of time for summer picnics without the bread getting soggy? ▾
Absolutely! Roast the veggies, mix up the herbed chickpea smash, and prep quick-pickled onions up to 3 days ahead, stored in sealed airtight containers in the fridge. For zero sogginess, either assemble right before heading out, or spread a thin layer of vegan cream cheese on bread slices to create a moisture barrier if assembling 2-3 hours early.
2.I don’t have zucchini or red bell pepper on hand—what other roasted veggies work well in these sandwiches? ▾
Great question! Swap in other firm, roast-friendly summer veggies like ¼-inch sliced eggplant, yellow summer squash, portobello mushroom slices, or halved cherry tomatoes roasted until slightly caramelized. Cut all veggies to a uniform thickness so they roast evenly and don’t slide out of the sandwich when you take a bite.
3.How do I get perfectly caramelized roasted veggies instead of soggy, steamed ones? ▾
The trick is high heat and no overcrowding! Toss veggie slices with a light coating of olive oil, salt, and pepper, then spread them in a single layer on a rimmed baking sheet (use two sheets if needed) at 425°F for 20-25 minutes, flipping halfway. Let them sit undisturbed between flips to build that rich, sweet caramelized exterior.
4.How do I make the chickpea smash creamy without using dairy? ▾
After rinsing and draining your canned chickpeas, mash them with a fork or potato masher, then stir in 2-3 tablespoons of tahini or plain unsweetened vegan mayo, a squeeze of lemon, and fresh herbs like dill, parsley, or basil. Leave a few slightly chunky chickpea bits for texture—no need to blend it completely smooth for a satisfying bite.
5.Can I adapt these sandwiches to be gluten-free? ▾
Definitely! Simply swap the crusty whole-grain bread for your favorite certified gluten-free crusty loaf, like gluten-free sourdough or whole-grain gluten-free sandwich bread. Double-check that your canned chickpeas and any add-ins (like vegan mayo or pickling brine supplies) are labeled gluten-free to avoid cross-contamination for severe sensitivities.
6.How long do the quick-pickled onions take to make, and how long do they stay good? ▾
These bright, zesty quick-pickled onions only take 10 minutes of hands-on prep! Thinly slice your small red onion, pour a hot brine of equal parts apple cider vinegar and water, a pinch of salt, and a teaspoon of sugar over top, then let them rest for 30 minutes at room temp before using. Stored sealed in the fridge, they keep for up to 2 weeks.
7.Will these sandwiches hold up during a day-long picnic or hike in warm summer weather? ▾
They hold up great for 4-5 hours in warm weather if packed in an insulated cooler with a small ice pack, as none of the core components are highly perishable. Skip drippy add-ins like runny sauce or thin fresh tomato slices that can make bread soggy faster, and keep the cooler out of direct sun for best results.
8.What extra add-ins work well to boost flavor or make these sandwiches more filling? ▾
You have tons of flexible, tasty options! Add a handful of peppery arugula for a fresh bite, a few slices of ripe avocado for extra creaminess, a sprinkle of crumbled vegan feta for tang, or a thin spread of spicy hummus for an extra protein kick. Just don’t overstuff them so they stay easy to hold and eat on the go.

Comments (9)

2 hours ago

OMG this is such a game changer for my weekly meal prep! I threw this together last Sunday for work lunches all week, and the roasted veggie + chickpea smash got better every day? I added a little extra vegan garlic aioli and it was chef’s kiss. Cook time was actually only 18 minutes for me, so quick and easy just like the recipe said!

30 minutes ago

So stoked you’re loving this for weekly meal prep, Katie! That vegan garlic aioli addition sounds absolutely chef’s kiss — so glad the quick 20 minute cook time worked out smoothly for you too!

yesterday

Made these for my family dinner last night and even my super picky 8-year-old asked for seconds! I was worried the chickpea smash would be too bland so I tossed in a pinch of smoked paprika before roasting, and wow, that little kick was perfect. We used whole grain sourdough bread and piled on pickles like the recipe suggested — SO good.

2 hours ago

Oh that smoked paprika hack is genius! I made these last week and thought the smash was missing a little smoky depth — definitely stealing that trick for my next batch.

30 minutes ago

There’s no better seal of approval than a picky 8-year-old asking for seconds, Liz! Smoked paprika is such a perfect add for that extra warmth — pairing it with tangy pickles on sourdough sounds incredible.

3 days ago

Really solid sandwich overall! The only tweak I’d make next time is cranking the oven up 25 degrees to get the veggies a little crispier — mine came out a touch softer than I wanted at the suggested temp. The chickpea smash texture was perfect though, and this was so quick to throw together after a long work day.

2 days ago

Brought these as mini sliders (cut regular sandwiches into bite-sized picks!) to my neighborhood block party potluck this weekend and they were the first plate wiped clean! So many people asked for the recipe, even the die-hard meat-and-potatoes guys were raving. Total crowd pleaser.

yesterday

Wait the mini slider idea is such a game changer! I’m hosting game night next weekend and was stressing about what to make for my mixed vegan/omnivore friend group — this is 100% going on the menu, thank you!

5 days ago

As someone who hates overcomplicated weeknight recipes with 1000 ingredients, this was a total win. 20 minutes start to finish, minimal dishes to wash, and it actually fills me up so I don’t rummage for snacks an hour after dinner. I skipped the bread once and ate the veggie-chickpea smash over a bed of arugula for a lower-carb lunch, that slapped too.

1 week ago

Wait I’m brand new to plant-based eating and I was fully convinced all vegan food would be boring and leave me starving 30 minutes later? This sandwich changed my whole perspective! The chickpea smash is so creamy and the roasted veggies have so much flavor, I didn’t even miss meat or cheese. Quick question: could I make the smash ahead and freeze it for quick meals later?

5 days ago

Welcome to the plant-based crew, Mia! We’re so thrilled this recipe won you over! The chickpea smash freezes beautifully for up to 3 months — just thaw it in the fridge overnight and give it a quick stir to refresh the texture before using.

3 days ago

Seconding the freeze tip! I make a double batch of the smash once a month and pull portions out for last-minute lunches, it holds up so well. Pro move: squeeze a little fresh lemon juice over it when you thaw it to brighten the flavors right up!

30 minutes ago

Bro this is the best dorm-friendly recipe ever. I don’t even have a full size oven, I roasted the veggies and chickpeas in my tiny countertop toaster oven and it turned out perfect. Way cheaper than dropping $12 on takeout sandwiches every day, and way tastier too. Already texted the recipe to all three of my roommates.

5 minutes ago

This makes our day to hear, Jesse! Love that you made it work with a toaster oven — such a great hack for small kitchen spaces, and we’re obsessed that you’re spreading the word to your roommates!

2 weeks ago

Awesome recipe base! I swapped the regular sandwich bread for gluten-free sourdough and it held up perfectly against the smash and roasted veggies, no soggy bread mess at all. My only tiny note is I wish there was a little more guidance on seasoning — I ended up adding extra black pepper and a dash of cumin, which was amazing, but would love to see suggested seasoning variations in the recipe notes.

1 week ago

Omg I added cumin too! It pairs so well with the roasted zucchini and bell peppers, right? I also threw in a little ancho chili powder for a mild heat kick, total chef’s kiss.

5 days ago

Thanks so much for the honest feedback, Gigi! The gluten-free sourdough swap is such a smart call — we love that it didn’t get soggy. We’re actually updating the recipe notes this week to add a whole section of seasoning variation ideas, including that cumin and black pepper combo you loved!

just now

Added this to my regular Sunday meal prep rotation last month and I have zero regrets. It holds up so well in the fridge for 4 days, the flavors meld together even better as it sits, and it’s hearty enough that my gym-obsessed partner doesn’t complain about it being “rabbit food”. 10/10, no notes, will keep making this on repeat forever.



