
Plate Lunch Mac and Cheese

title 1
Plate Lunch Mac and Cheese
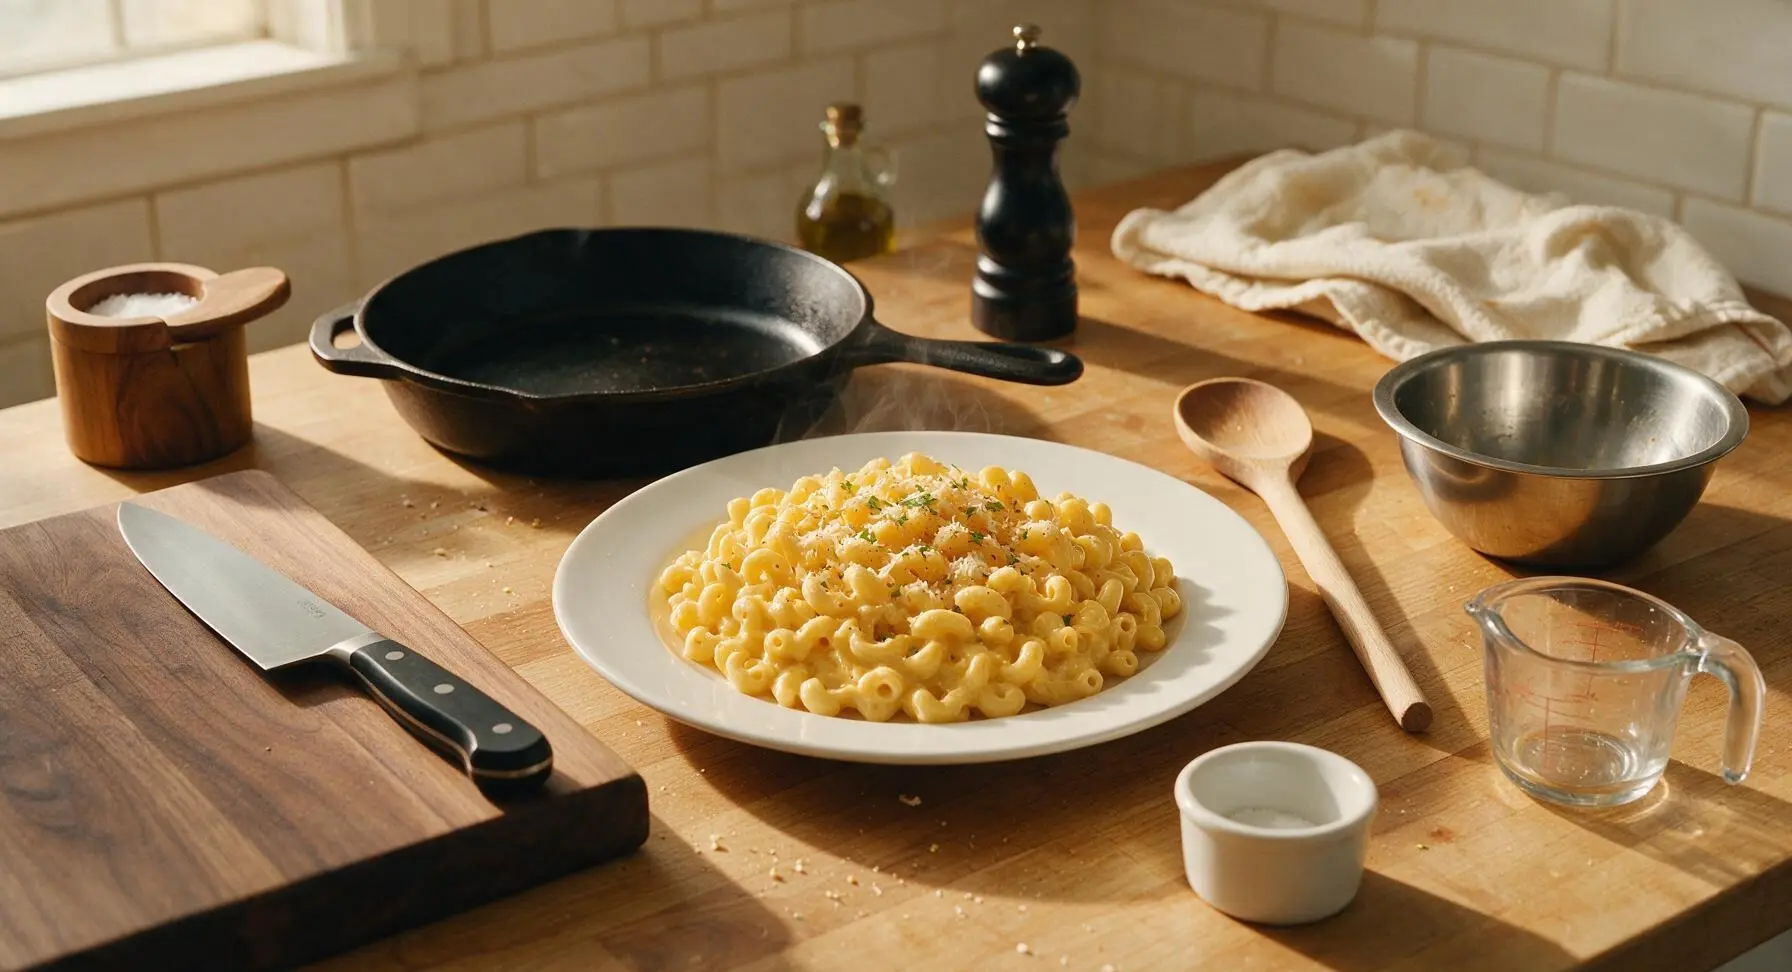
⏱️ cook time 20 minutes
🍽️ servings 6
⚡ Difficulty easy

intro

Silky, tangy stovetop mac and cheese, the iconic side from Hawaiian local-style plate lunches, made to pair with grilled meats and travel perfectly to summer potlucks.

Ingredients
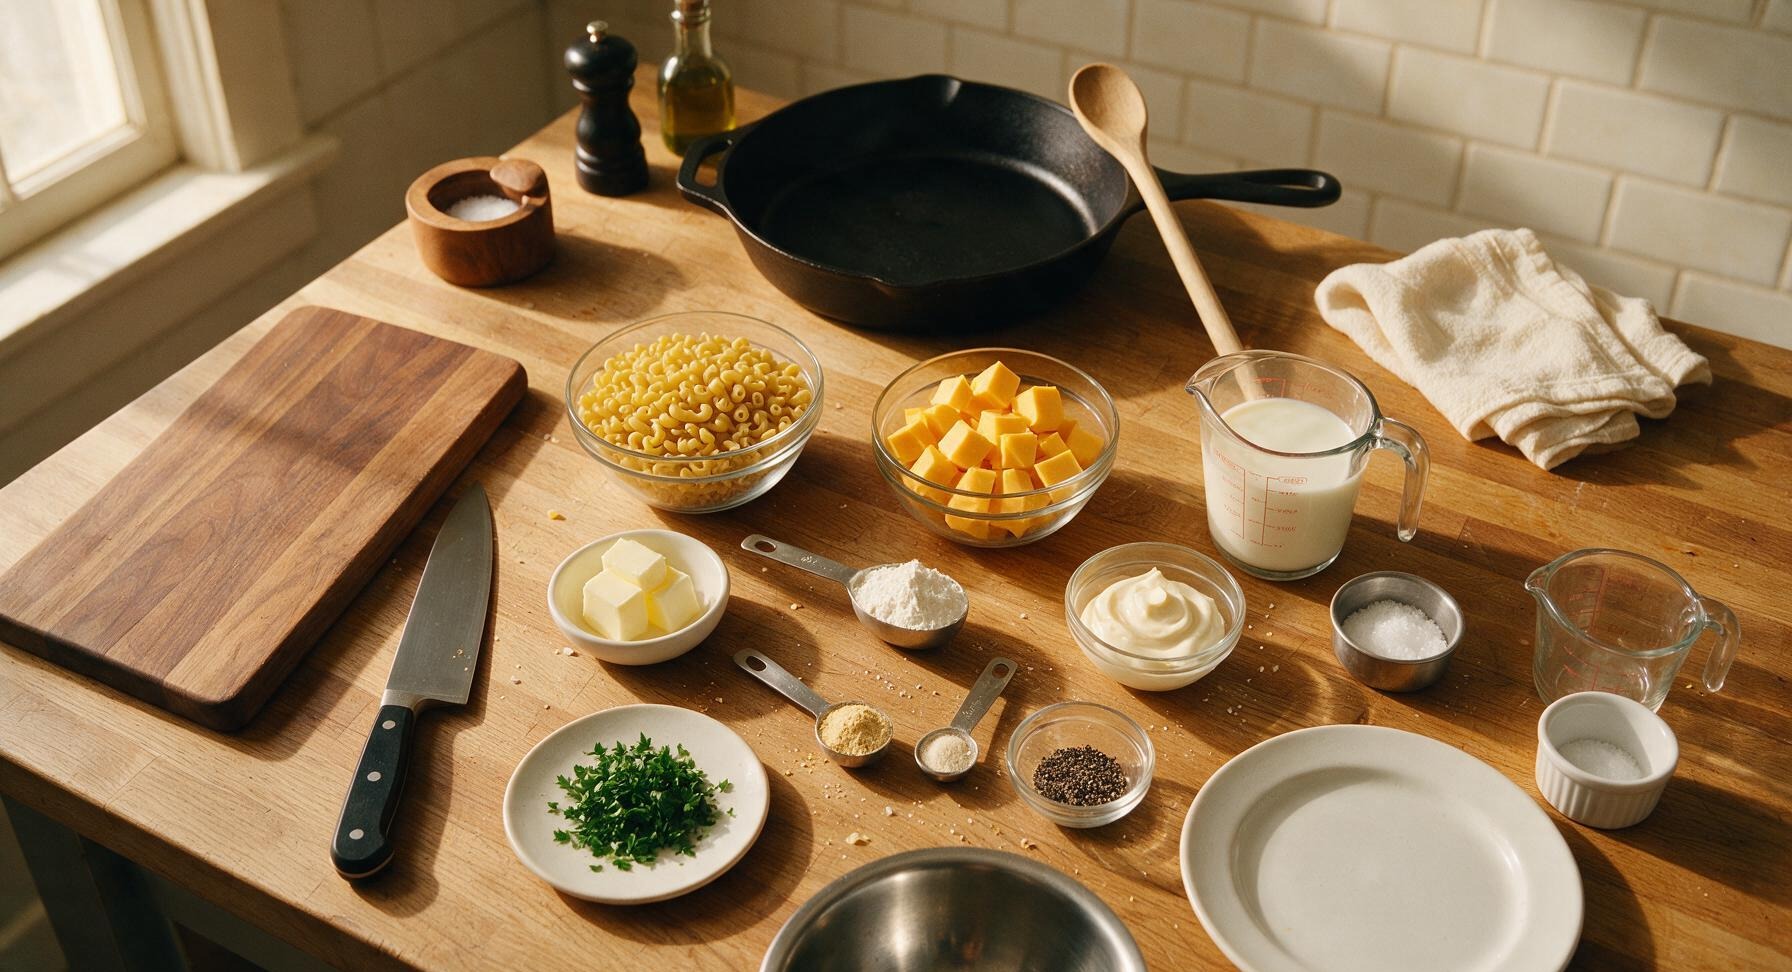
Dry elbow macaroni 225g (8oz)
Sharp yellow cheddar cheese 225g (8oz, block)
Whole milk 2 cups (480ml), warmed
Unsalted butter 3 tbsp (42g)
All-purpose flour 2 tbsp (16g)
Full-fat mayonnaise 2 tbsp (28g)
Dry mustard powder 1 tsp
Onion powder 1/2 tsp
Kosher salt 1 tbsp (for pasta water) + 1 tsp (for sauce)
Freshly ground black pepper 1/4 tsp
Fresh flat-leaf parsley 1 tbsp, finely chopped

Steps

1

Boil Pasta Water

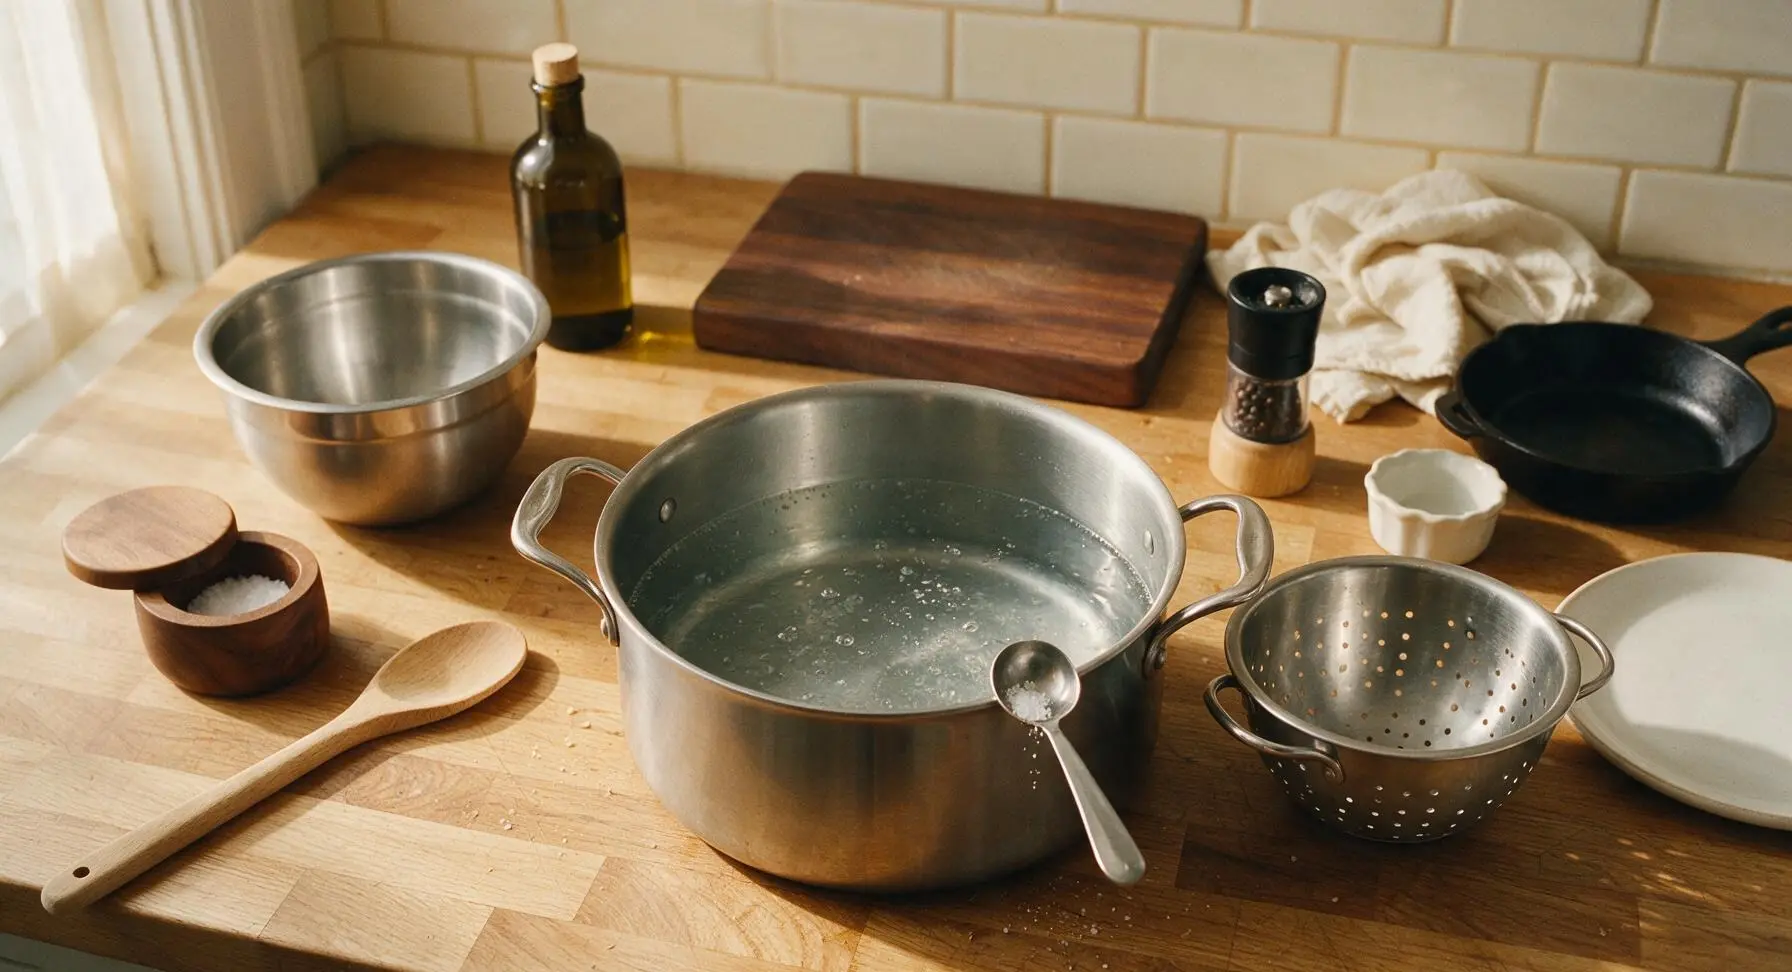
Fill the 6-quart stainless steel stock pot with 4 quarts of cold water, add 1 tablespoon of kosher salt (salty like seawater), and place over high heat. Bring to a rolling, bubbling boil, approximately 8-10 minutes. Do not add oil to the water, as this will prevent cheese sauce from clinging to cooked noodles later.
Step 1
step1:Boil Pasta Water
2

Cook Elbow Macaroni

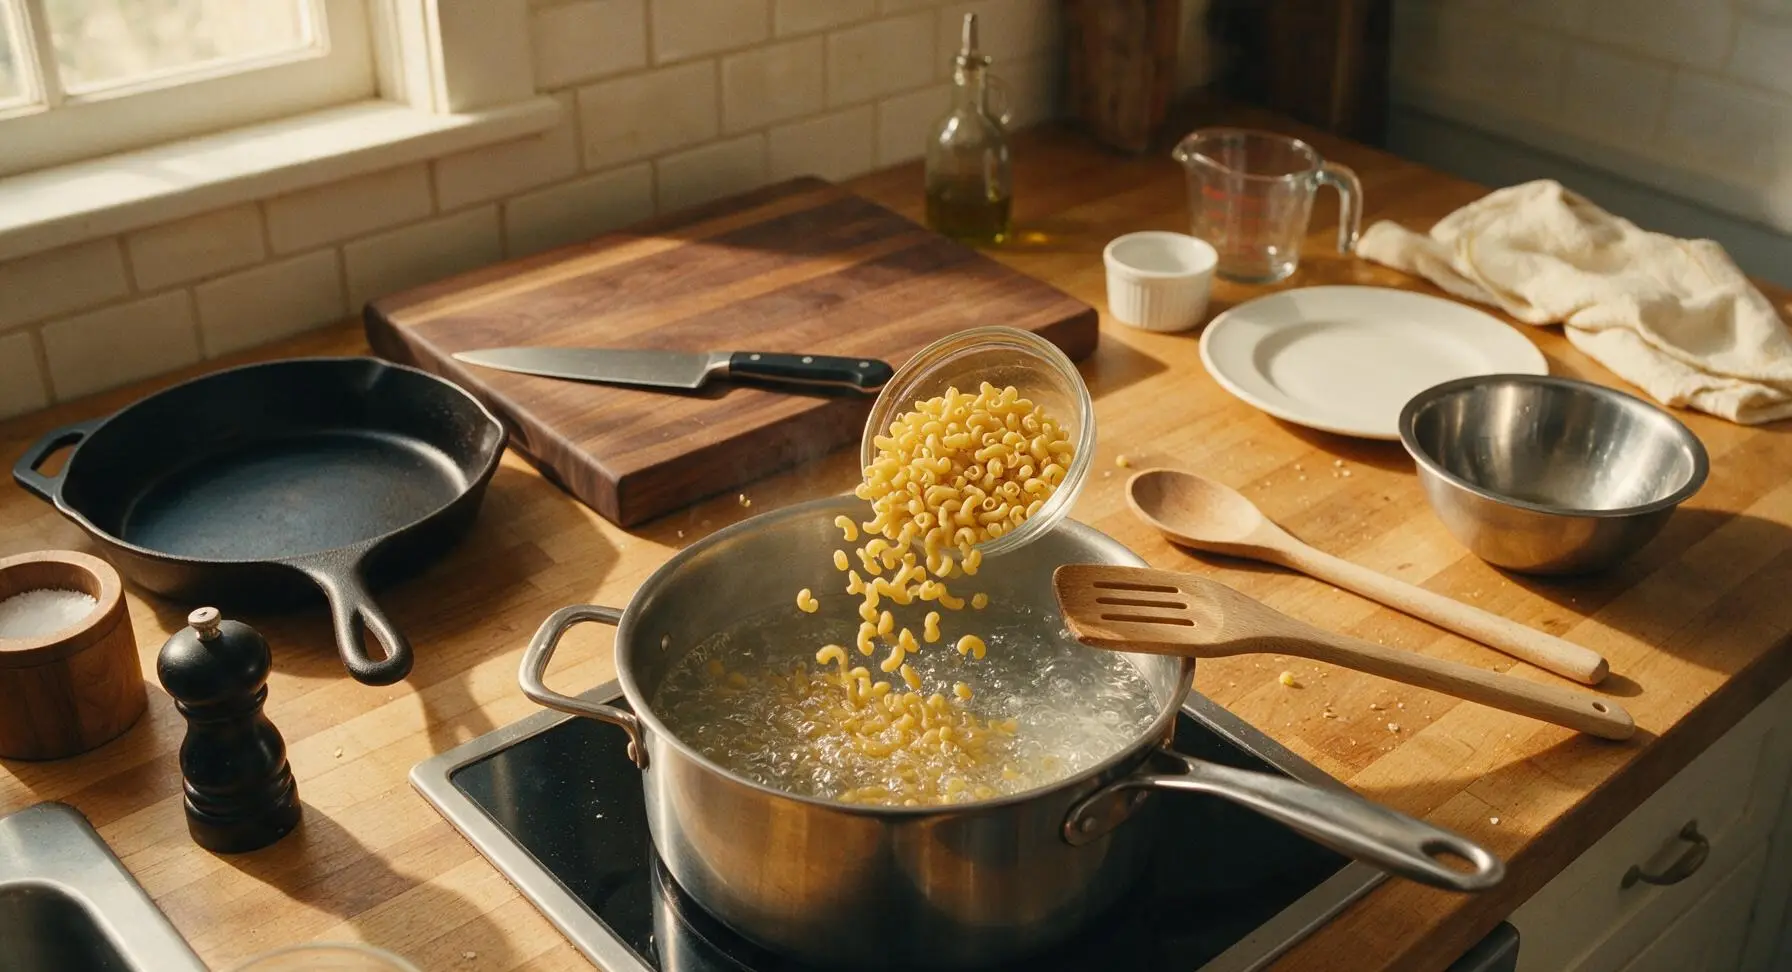
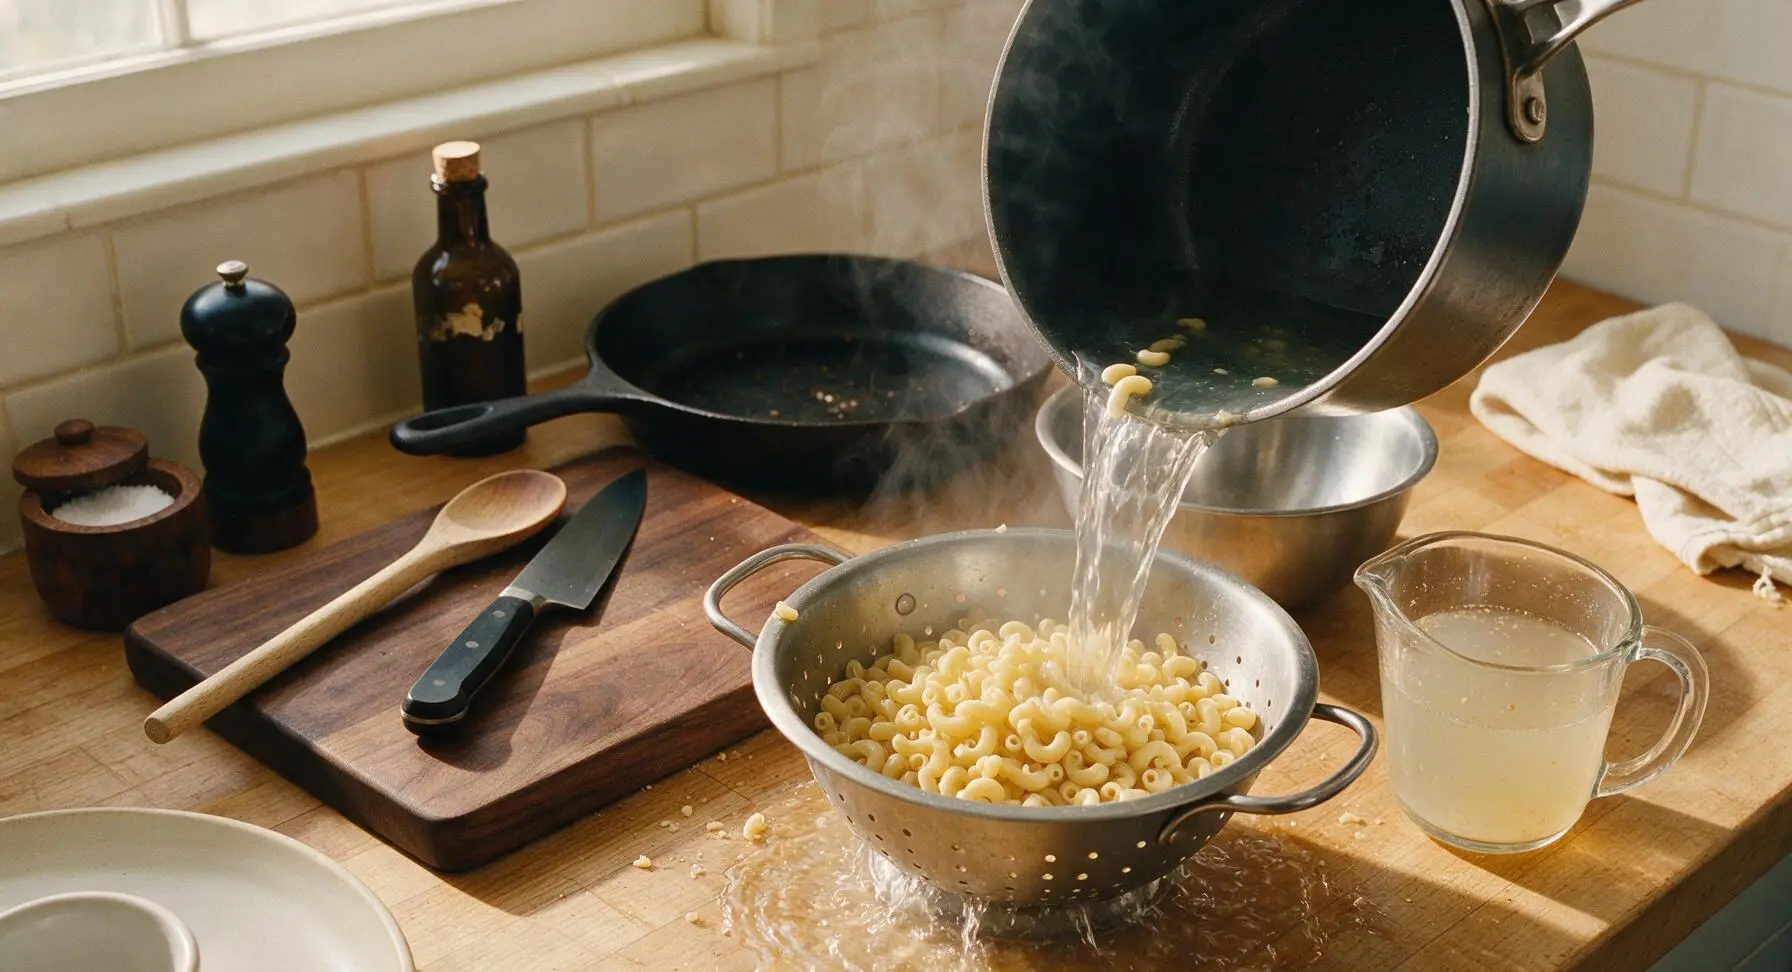
Once water reaches a full rolling boil, add all 225g dry elbow macaroni, stirring immediately with the beech wood slotted pasta spoon to prevent noodles from sticking to the pot bottom. Cook for 8 minutes, until noodles are al dente: tender with a very slight firm bite at the center, not soft or mushy. Before draining, carefully reserve 1/4 cup of starchy pasta water in the clear glass measuring cup, then pour noodles and remaining water into the colander to drain fully; do not rinse the noodles, as rinsing removes starch that helps sauce cling.
Step 2
step2:Cook Elbow Macaroni
Step 2
step2:Cook Elbow Macaroni
3

Grate Sharp Cheddar

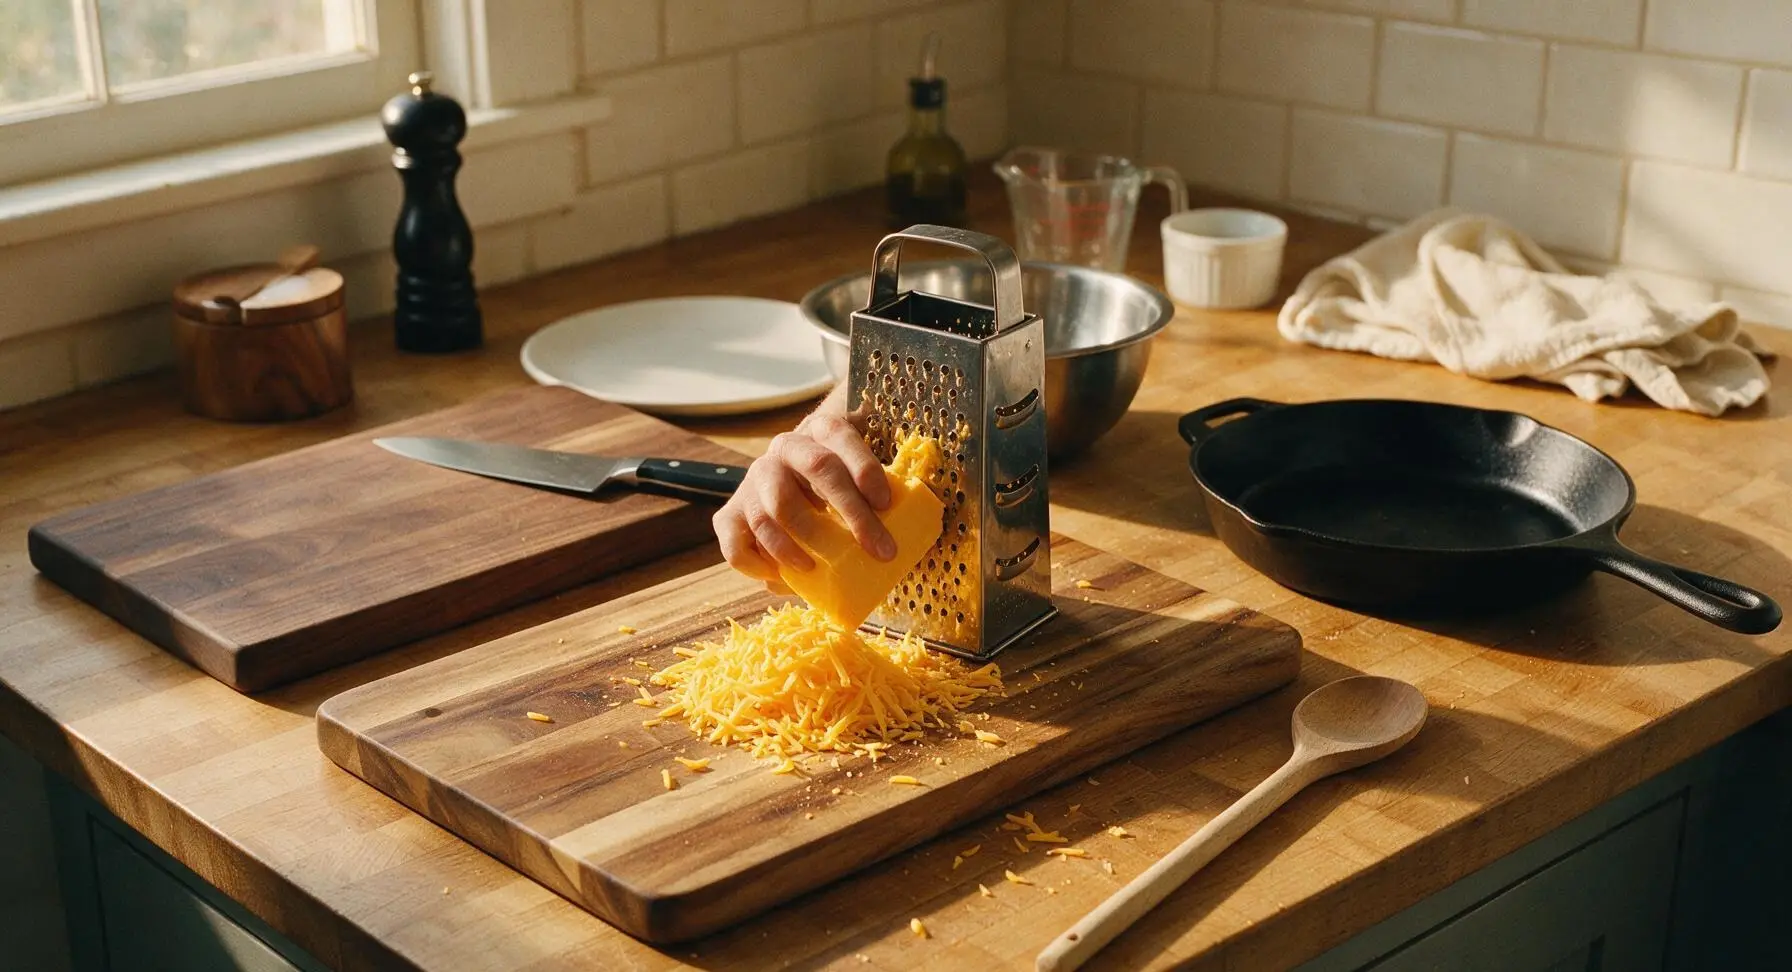
While pasta cooks, place the 4-sided stainless steel box grater on the acacia wood cutting board. Use the large grating holes to shred the entire block of sharp yellow cheddar. Do not use pre-shredded bagged cheese, as it is coated in anti-caking agents that create a grainy sauce. Set aside 1/4 cup of shredded cheese for garnish.
Step 3
step3:Grate Sharp Cheddar
4

Make Roux Base

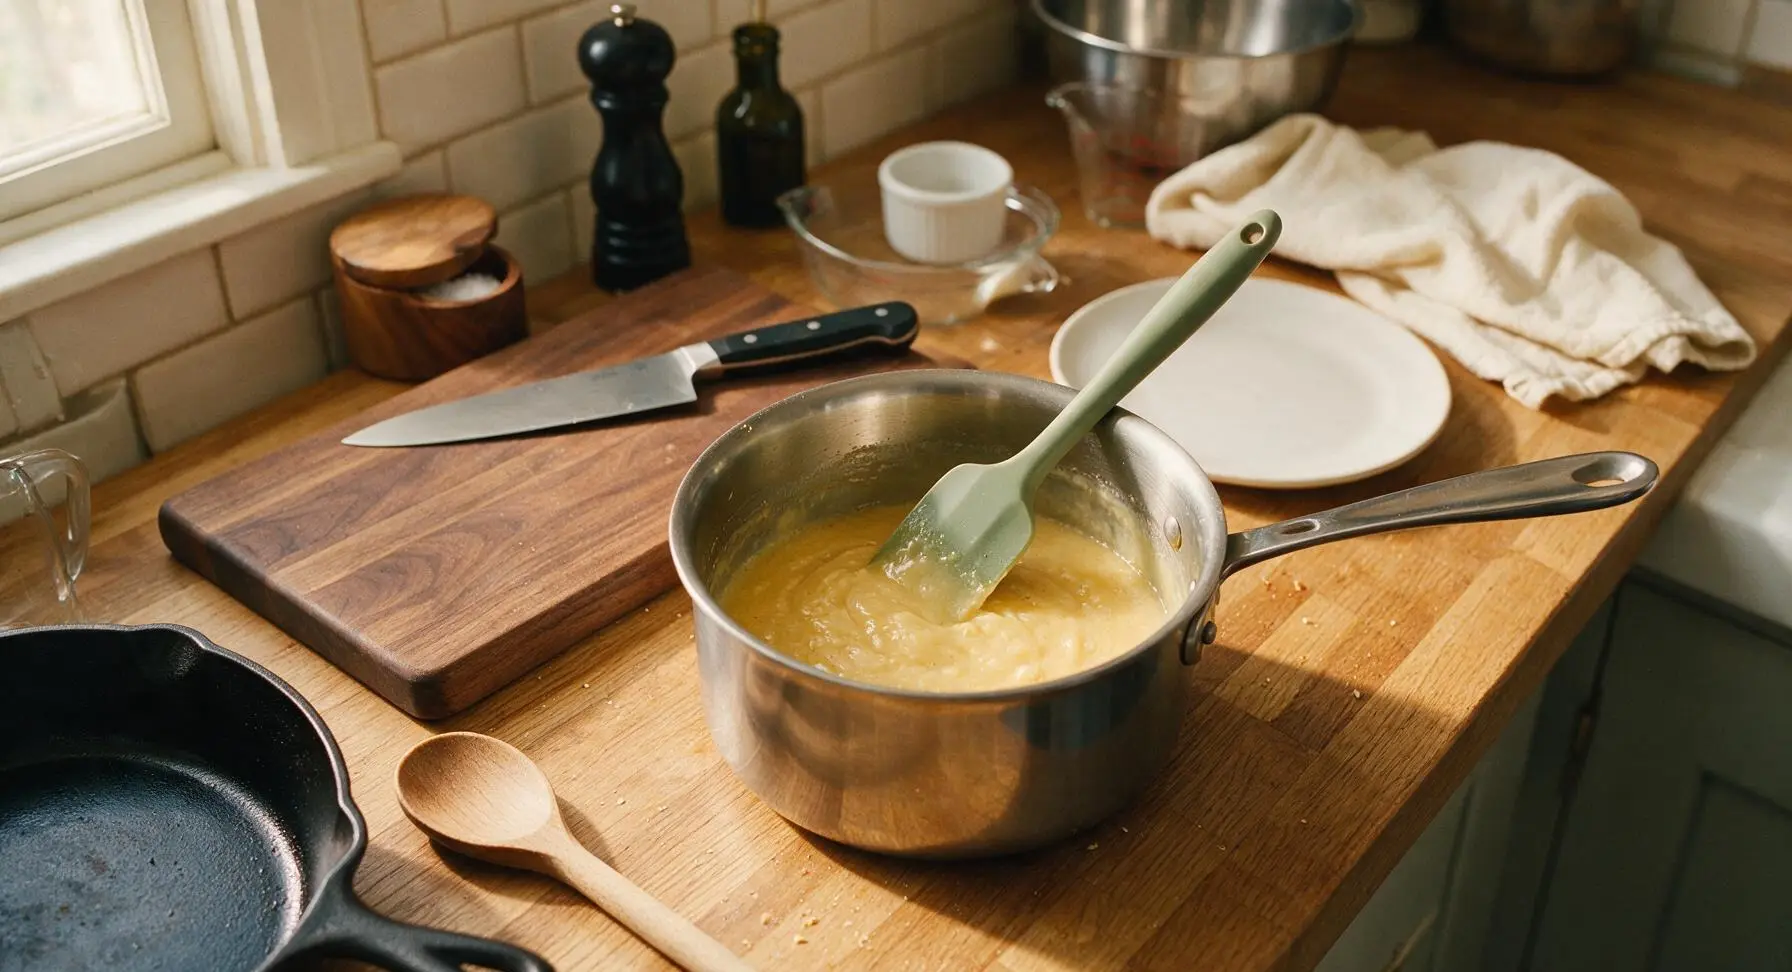
Place the 2-quart stainless steel saucepan over medium-low heat. Add 3 tablespoons unsalted butter, and once fully melted and foaming slightly, whisk in 2 tablespoons all-purpose flour. Cook the roux for 2 full minutes, stirring constantly with the sage green silicone spatula, until it smells nutty and turns a pale golden color, with no raw flour aftertaste remaining.
Step 4
step4:Make Roux Base
5

Thicken White Sauce

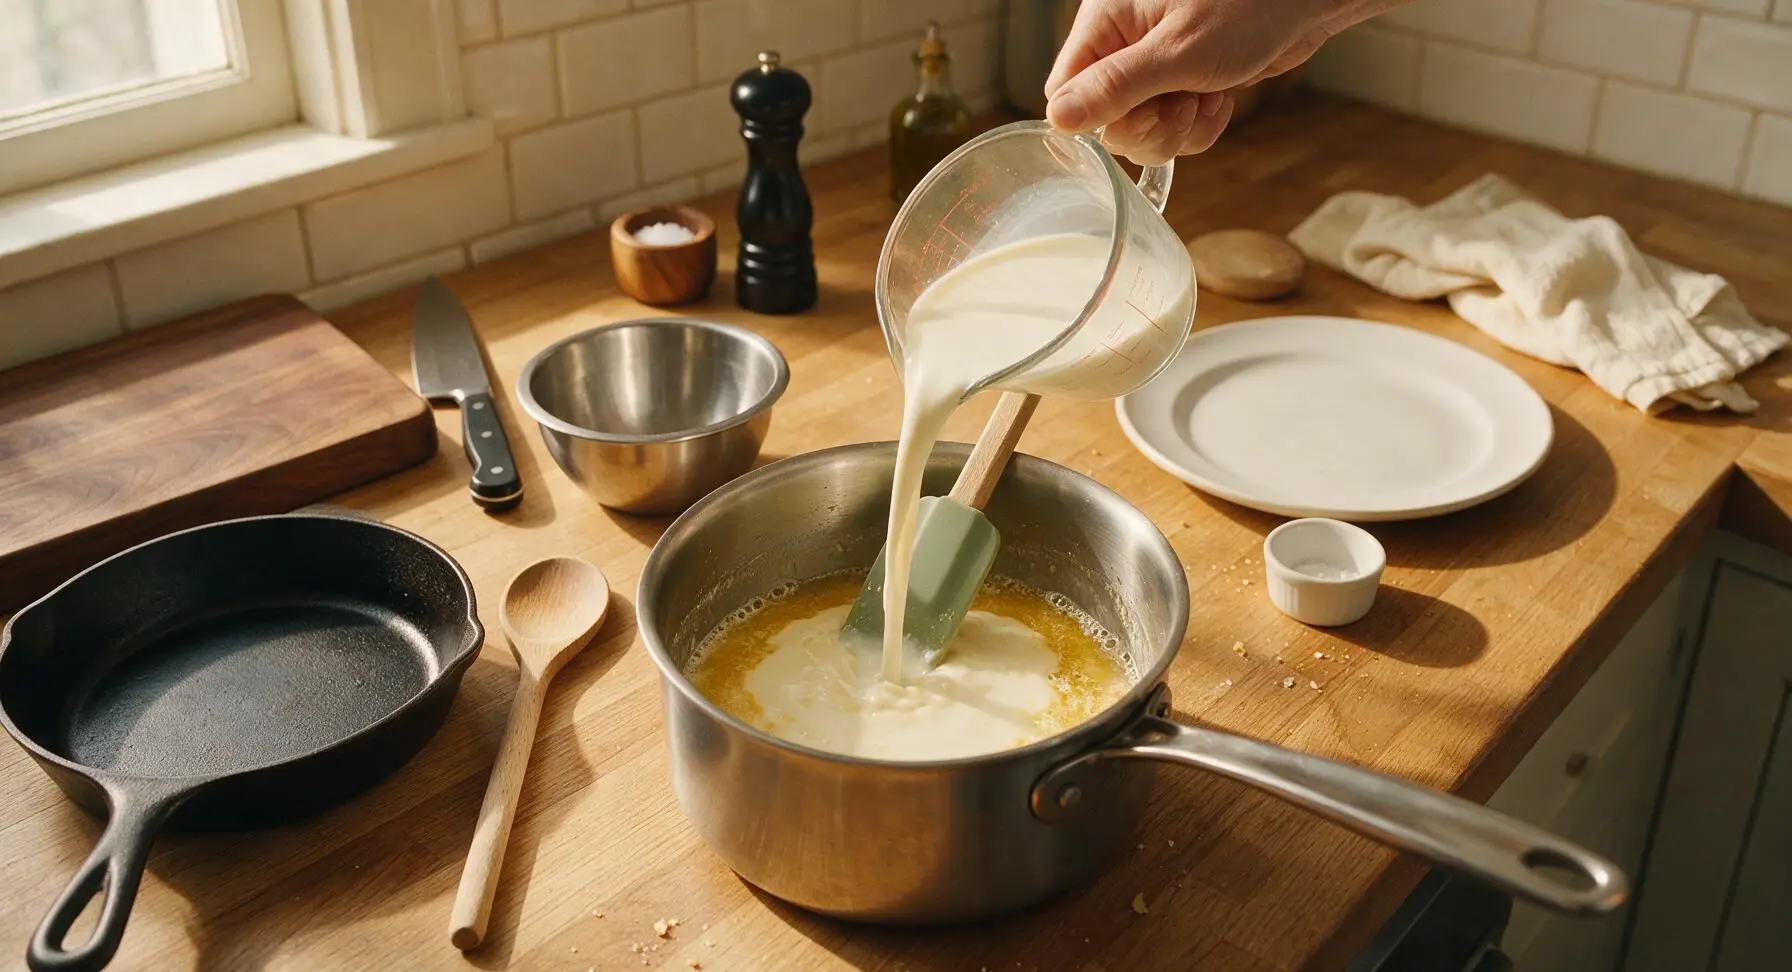
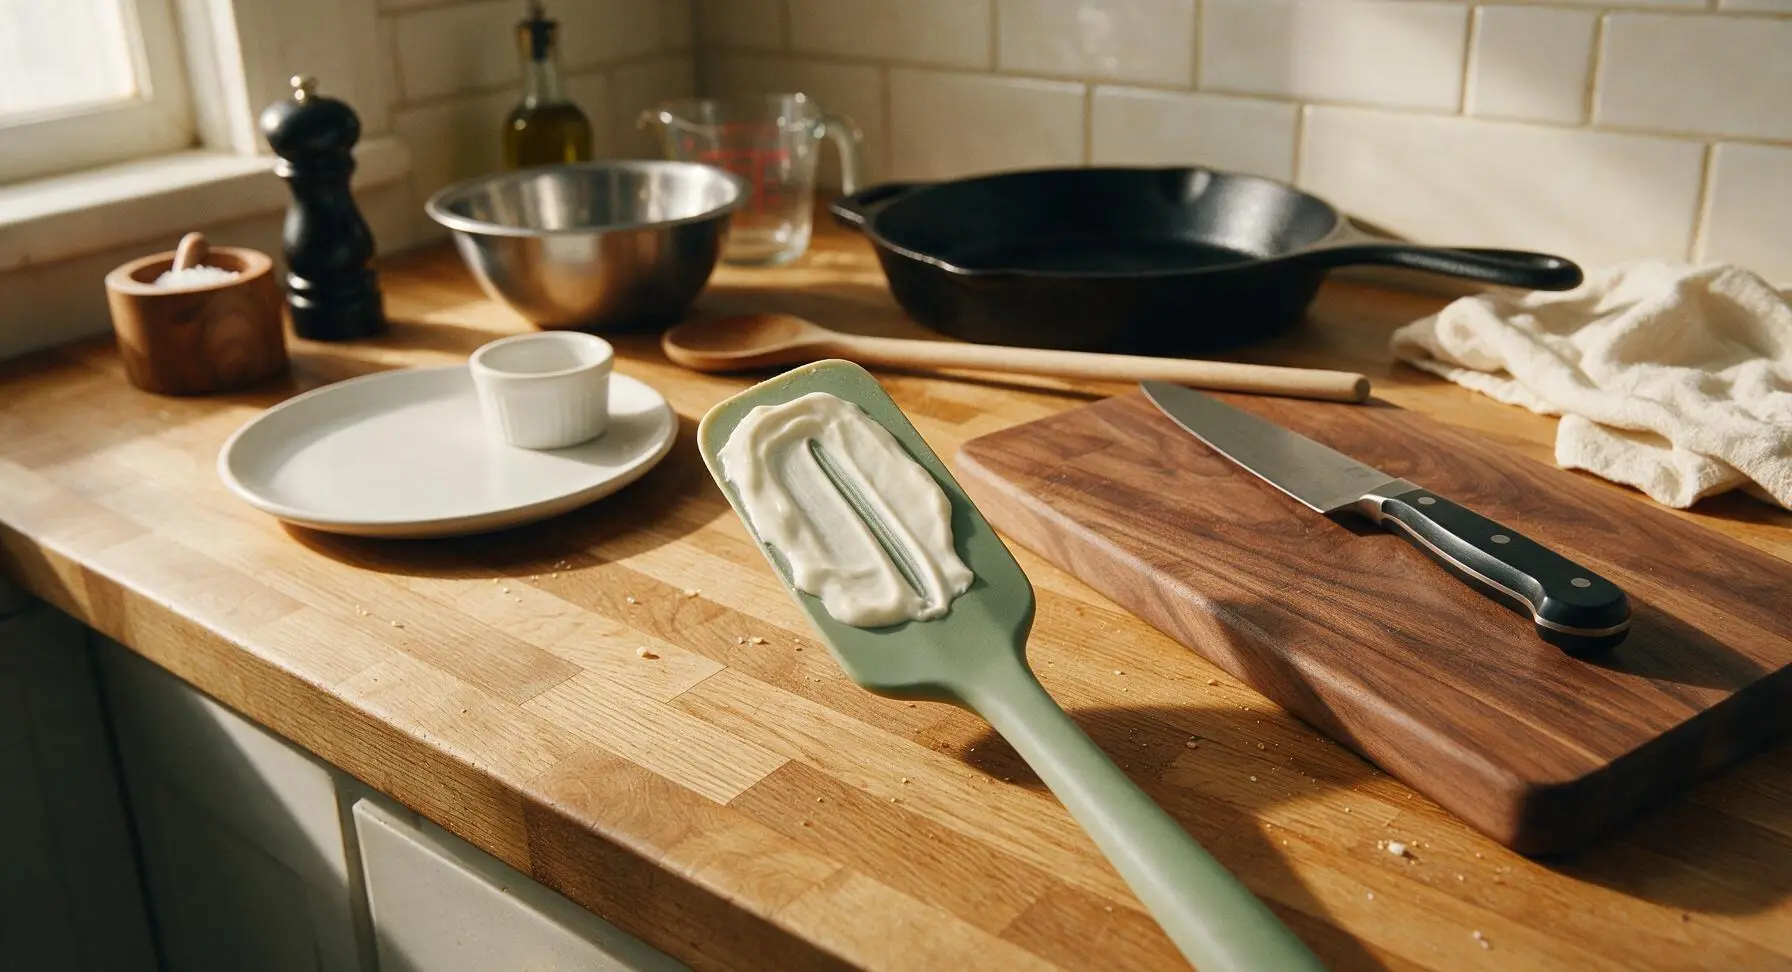
Slowly pour the warmed whole milk into the roux, 1/4 cup at a time, stirring constantly with the silicone spatula to prevent lumps from forming. Once all milk is incorporated, stir in 1 teaspoon dry mustard powder and 1/2 teaspoon onion powder. Simmer for 3-4 minutes over medium-low heat, until the sauce thickens enough to coat the back of the spatula: when you run your finger across the coated spatula, the line should hold cleanly without running. Immediately remove the pan from heat to avoid over-thickening.
Step 5
step5:Thicken White Sauce
Step 5
step5:Thicken White Sauce
6

Combine Cheese and Pasta

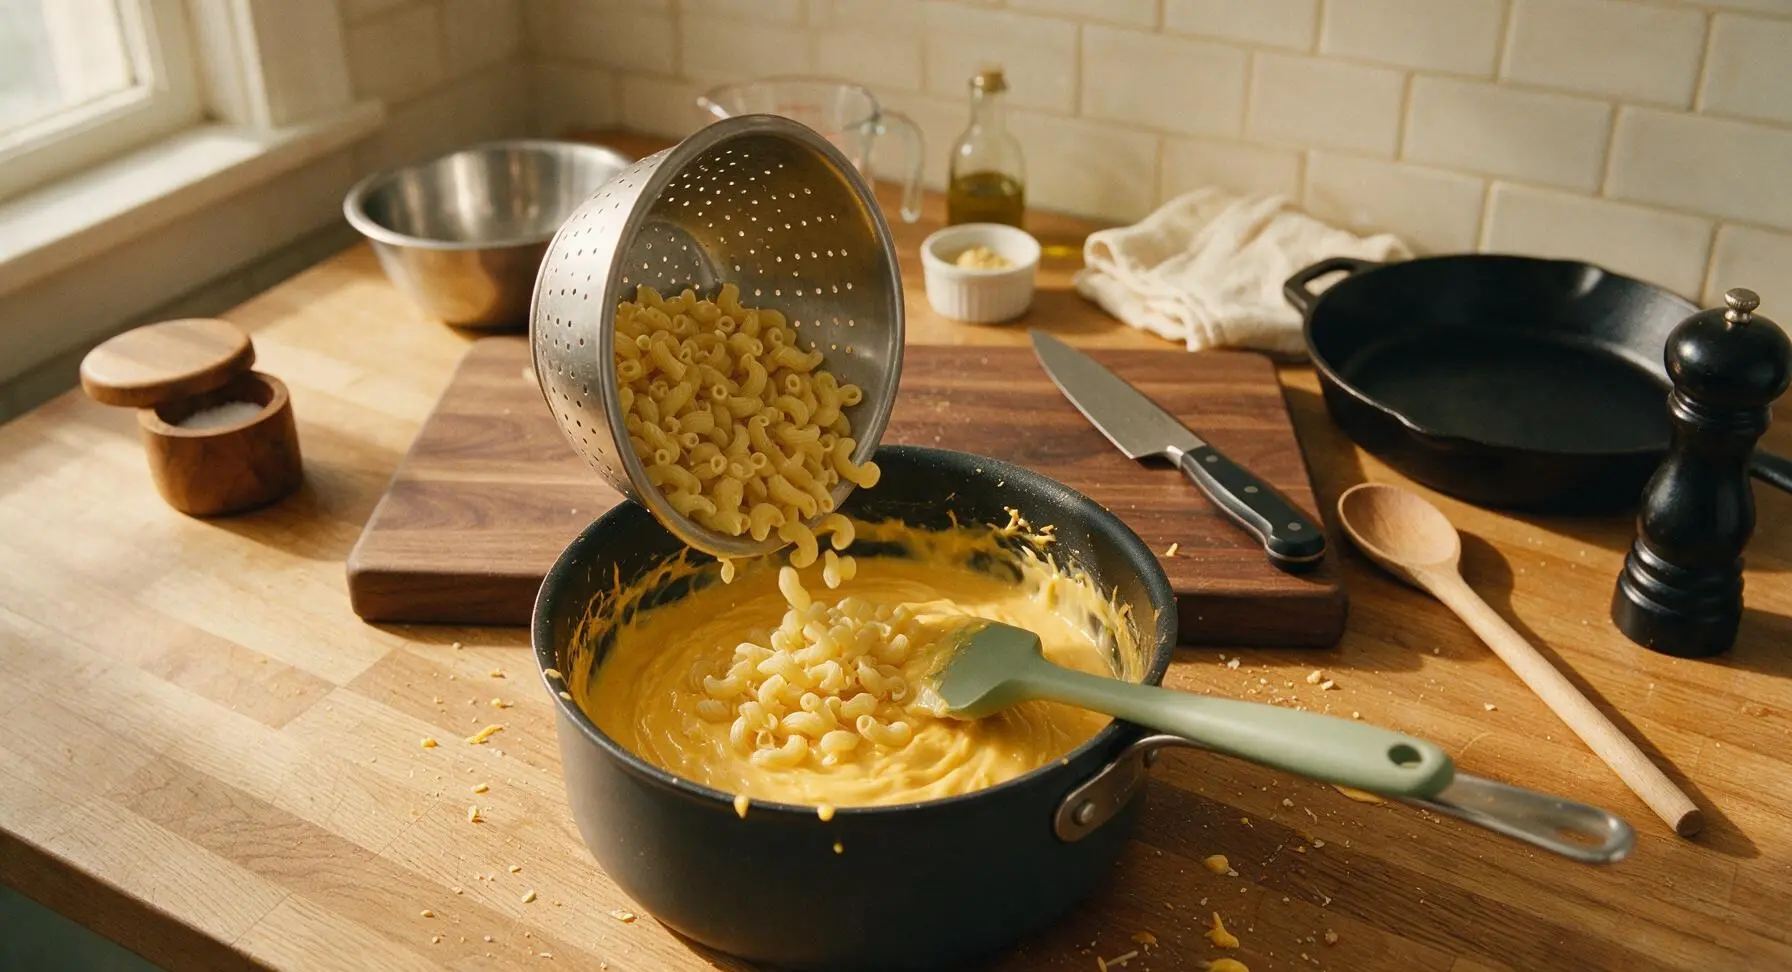
Add all but the reserved 1/4 cup shredded cheddar to the warm white sauce off heat, stirring until the cheese is fully melted and smooth. Stir in 2 tablespoons full-fat mayonnaise, 1 teaspoon kosher salt, and 1/4 teaspoon black pepper, mixing until fully incorporated. Add the drained elbow macaroni to the cheese sauce, stirring gently with the silicone spatula to coat every noodle evenly. If the sauce feels too thick, add 1-2 tablespoons of reserved starchy pasta water to thin to a smooth, clinging consistency; remember the sauce will thicken slightly as it cools.
Step 6
step6:Combine Cheese and Pasta
7

Plate and Garnish

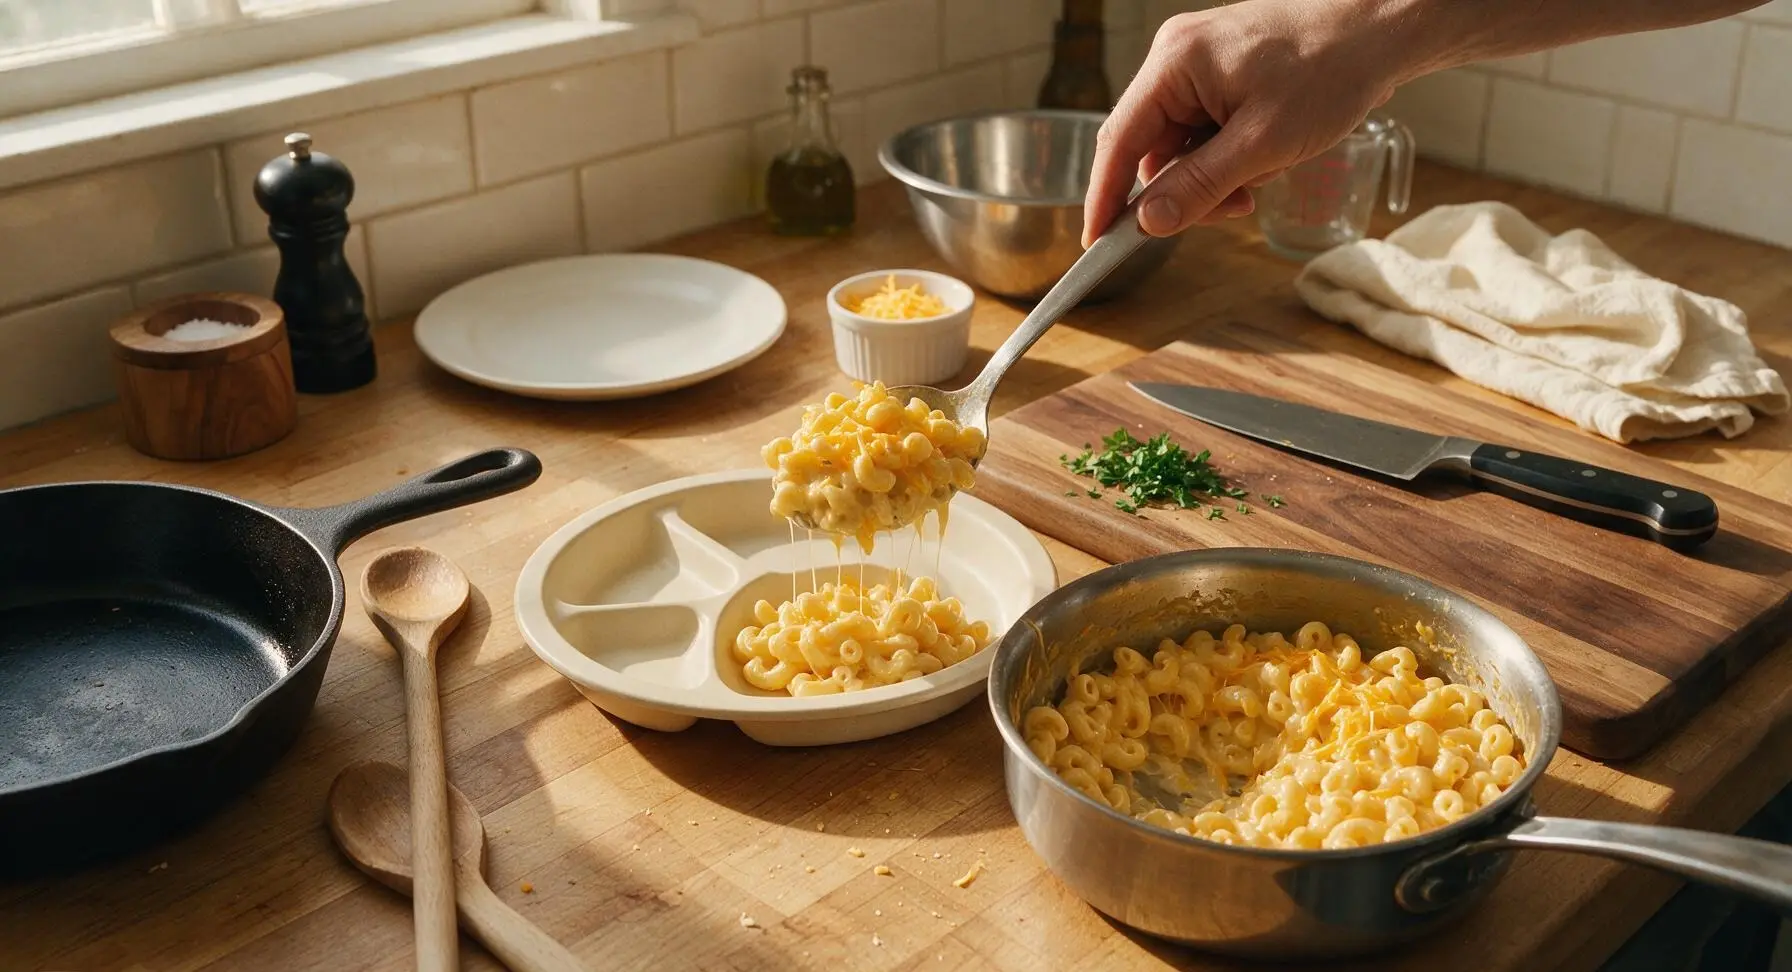
Use the solid stainless steel serving spoon to scoop a generous 1.5 cup portion of finished mac and cheese into one compartment of the matte off-white divided lunch plate. Sprinkle the top with the reserved 1/4 cup shredded cheddar and finely chopped flat-leaf parsley for garnish. Let rest 2 minutes before serving, so the sauce sets slightly and clings tightly to noodles.
Step 7
step7:Plate and Garnish

Tips

1.Skip pre-shredded bagged cheddar for the silkiest sauce: pre-shredded cheese is coated in potato starch and anti-caking agents that prevent clumping in the bag, but melt into a grainy, dull sauce instead of the smooth, glossy texture that defines local-style plate lunch mac.
2.Always warm your milk before adding it to the roux: cold milk shocks the hot flour-butter mixture, causing it to seize into tiny lumps that cannot be whisked out, leading to a textured, uneven sauce. 30 seconds in the microwave or 2 minutes on a separate stovetop burner is all it takes to bring milk to the perfect temperature.
3.Never rinse your cooked pasta: rinsing washes away the starchy outer layer of the noodles that helps cheese sauce cling tightly, resulting in slippery noodles that the sauce slides off of. The reserved starchy pasta water also works perfectly to thin sauce without making it watery, thanks to that same starch.


✨ You May Also Like

Side Dishes
🍜 India

Velvety, aromatic all-purpose curry sauce perfect for tossing with roasted veggies, grilled protein, or rice for fast, cozy, flavorful meals.

⏱️ 25 minuteSide Dishes ★ 4.8
Side Dishes
🍜 Spain

Tender, starchy boiled yuca tossed in bright, garlicky citrus mojo sauce—an iconic, zesty side that pairs beautifully with roasted pork, grilled meats, and rice and beans.

⏱️ 40 minuteSide Dishes ★ 5
Side Dishes
🍜 United States

Tender, paper-thin potato flatbread, a beloved Norwegian-American Minnesota Christmas staple, griddled until softly spotted and served warm with butter.

⏱️ 1 hour 30Side Dishes ★ 4.6
Side Dishes
🍜 United States

Rich, deeply savory cured salt pork, a long-lasting kitchen staple perfect for frying crispy as a side or adding umami to stews, beans, and chowders.

⏱️ 7 days (2Side Dishes ★ 4.9
Side Dishes
🍜 United States

Crispy, tangy classic Southern fried green tomatoes with a crunchy cornmeal crust, served hot for a nostalgic, comforting summery bite.

⏱️ 25 minuteSide Dishes ★ 4.9
Side Dishes
🍜 United States

Moist, golden-crusted savory muffins with sweet corn, zesty jalapeño, and melted cheddar, perfect for pairing with smoky summer grilled fare.

⏱️ 30 minuteSide Dishes ★ 4.9

Plate Lunch Mac and Cheese:Frequently Asked Questions

1.What makes this mac and cheese different from regular stovetop versions? ▾
This is the iconic tangy, silky Hawaiian plate lunch style, built to sit neatly alongside grilled, sauced proteins without making the rest of your plate soggy. It’s less cloyingly rich than heavy baked mac and cheese, with a bright cheddar tang that cuts through sweet-savory teriyaki or kalbi flavors, and it holds its texture perfectly for potlucks.
2.Can I use pre-shredded cheddar instead of shredding cheese from a block? ▾
Pre-shredded cheddar works in a total pinch, but it’s coated in anti-caking starch that keeps it from melting into a perfectly smooth, silky sauce. For the best texture, shred your own sharp yellow cheddar straight from the block—it melts evenly, with no weird grainy or powdery residue in your final sauce.
3.Why do you call for sharp yellow cheddar specifically? ▾
Sharp yellow cheddar delivers the signature bright golden color and tangy, bold flavor that defines plate lunch mac and cheese. Mild cheddar tastes flat and bland against rich grilled meats, while white or extra-sharp cheddars don’t give that classic nostalgic look or balanced, approachable tang that pairs so well with local-style plates.
4.How do I keep the cheese sauce from turning grainy? ▾
The key is to avoid overheating your cheese. Cook your butter-flour roux until it’s light golden, take the pan off direct heat for 30 seconds, then add shredded cheese in small handfuls, stirring constantly. Never boil the sauce once cheese is added, as high heat causes dairy proteins to curdle and create that gritty texture.
5.How firm should the final mac and cheese be for a proper plate lunch? ▾
It should be thick enough to hold a soft shape on your plate, with no runny sauce pooling around your other sides or proteins. Cook your elbow macaroni one minute shy of al dente so it doesn’t turn mushy when tossed in hot sauce, and adjust your roux thickness so sauce coats noodles without dripping off.
6.Can I make this mac and cheese ahead for a summer potluck? ▾
Absolutely—this recipe is specifically made to travel well! Prep it up to 24 hours in advance, store it in an airtight container in the fridge, then reheat gently on the stovetop with a 1-2 tablespoon splash of whole milk to loosen the sauce back to silkiness. It stays stable for 2-3 hours in an insulated serving dish.
7.What if I don’t have whole milk to make the sauce? ▾
Whole milk gives the perfect light, creamy texture that isn’t overly heavy, but you can swap it for 2% milk mixed with 2 tablespoons of heavy cream per cup of milk to match the fat content. Skip skim milk entirely—it makes a thin, watery sauce that won’t coat noodles properly and lacks the right smooth mouthfeel.
8.Why isn’t there a crispy breadcrumb topping on this version? ▾
Traditional Hawaiian plate lunch mac and cheese is a no-bake, stovetop-only side! Baked versions with breadcrumb crusts have a firm, crispy top that doesn’t pair as well with saucy, glazed grilled proteins. The soft, fully coated, silky noodle texture is designed to be a creamy, mellow counterpoint to bold plate lunch flavors.
9.How do I get that signature subtle tang in plate lunch mac? ▾
That bright, balanced tang starts with properly aged sharp yellow cheddar, not mild, bland cheese. For an extra authentic kick, stir 1/4 teaspoon of dry mustard powder into your roux before adding milk—it amplifies the cheddar’s natural tang without tasting like mustard, and cuts through the richness of the butter and flour base.
10.Can I mix in add-ins like bacon or veggies? ▾
This recipe is intentionally simple to complement bold, flavorful plate lunch proteins, but you can add small, well-drained mix-ins if you’d like. Stick to finely diced, patted-dry additions like crispy bacon bits or steamed sweet peas, so you don’t thin the sauce or throw off the balance that makes this side work so well.
11.How long does this mac and cheese keep in the fridge? ▾
Stored in a tightly sealed airtight container, it will stay fresh for 3 to 4 days in the refrigerator. Skip freezing it, though—the butter-flour roux and dairy sauce will separate and turn grainy when thawed, ruining that signature silky, smooth texture that makes this stovetop version so enjoyable.
12.What roux ratio gives the perfect sauce consistency for this recipe? ▾
For ideal plate lunch texture, use equal parts unsalted butter and all-purpose flour—2 tablespoons of each per 1 cup of whole milk—to make a light golden roux cooked for 2 minutes to remove raw flour taste. This creates a sauce thick enough to cling to noodles without being gummy, so it doesn’t run all over your plate.
13.Should I rinse my cooked elbow macaroni before tossing it in sauce? ▾
Skip rinsing your cooked macaroni entirely! The light starchy coating on drained noodles helps the cheese sauce cling evenly to every piece, instead of sliding off. Just drain the pasta well, and toss it straight into the warm cheese sauce—rinsing washes away that useful starch and leads to slippery, uncoated noodles.
14.What proteins pair best with this mac for a full plate lunch? ▾
It’s purpose-built to match classic Hawaiian plate lunch mains! Serve it alongside grilled teriyaki chicken, kalbi short ribs, shoyu pork, or crispy chicken katsu. Its mild, tangy creaminess cuts through salty, sweet, umami-heavy grilled and glazed meats perfectly for a balanced, satisfying local-style meal.

Comments (7)

2 hours ago

OMG this is exactly the creamy mac and cheese I remember getting at my local plate lunch spot back home! Cooked up in 20 minutes flat for a quick weeknight dinner and my kids devoured every bite. So easy I didn’t even have to pull out a fancy roux? Game changer fr.

1 hour ago

So stoked to hear this hit that nostalgic plate lunch note for you! Love that it worked for a quick weeknight win with the kids—pro tip, toss in a handful of crispy fried onions on top next time for extra crunch if you’re feeling fancy!

3 days ago

Brought this to our neighborhood block party potluck this weekend and people were begging for the recipe! It’s got that perfect slightly tangy, creamy texture that doesn’t get all dried out even when it sits out for a couple hours. 10/10 will be making this for every cookout this summer.

5 days ago

Wait, has anyone tried making this ahead for meal prep? I’m wondering if it holds up well in the fridge for 3-4 days, or if the sauce gets all grainy when you reheat it? Trying to find easy work lunch options that don’t taste sad.

4 days ago

Made a batch on Sunday for my kid’s school lunches and my own work meals all week! Reheats perfectly in the microwave with a tiny splash of milk stirred in, no grainy sauce at all. Already on my regular rotation!

3 days ago

Great question! This holds up super well for meal prep if you store it in an airtight container—just add that little splash of milk when reheating like LunchboxDad mentioned, and it’ll be just as creamy as day one. It freezes great too for longer storage!

1 week ago

Okay I was skeptical because so many easy mac recipes taste like processed cheese goop, but this? SO good. I added a little extra sharp cheddar because I’m a cheese fiend and it turned out perfect. Reminds me of the mac they serve at the Hawaiian plate lunch spot by my old college campus.

5 days ago

I did the extra sharp cheddar add too! Game changing, I also tossed in a tiny bit of smoked paprika for depth and it was chef’s kiss. This recipe is so forgiving for tweaks!

yesterday

Y’all, I made this last night when I realized I had zero dinner plans and a pantry full of random pasta and cheese. Took literally 20 minutes like the recipe said, no fancy steps, and even my pickiest eater who hates all cheese except string cheese asked for seconds. I’m never making my old baked mac recipe again, this is way less hassle.

30 minutes ago

Does anyone know if this works with gluten free elbow pasta? I have Celiac and have been chasing that perfect plate lunch mac flavor forever, but so many GF pastas turn mushy when you make cheese sauce with them.

5 minutes ago

Great question! I’ve tested this with brown rice GF elbow pasta and it works beautifully—just make sure to cook the pasta al dente (a minute less than the package says) before mixing it with the sauce, and it won’t get mushy at all. Hope you love it!

2 weeks ago

Just made this for our office potluck today and I’m already getting texts from coworkers asking for the link! I topped mine with a little panko for a tiny crunch and it was chef’s kiss. So easy to throw together before work even when I hit snooze three times.

1 week ago

Wait I was at that potluck!!! This was the best dish there, I went back for two servings. Had no idea it only took 20 minutes to make, I thought you spent hours on it lmao

5 days ago

Love the panko topping hack! That’s such an easy way to add a little textural contrast without adding a ton of extra work. So glad it was a hit at the office potluck!



