
Quick-Cooking Grits
intro
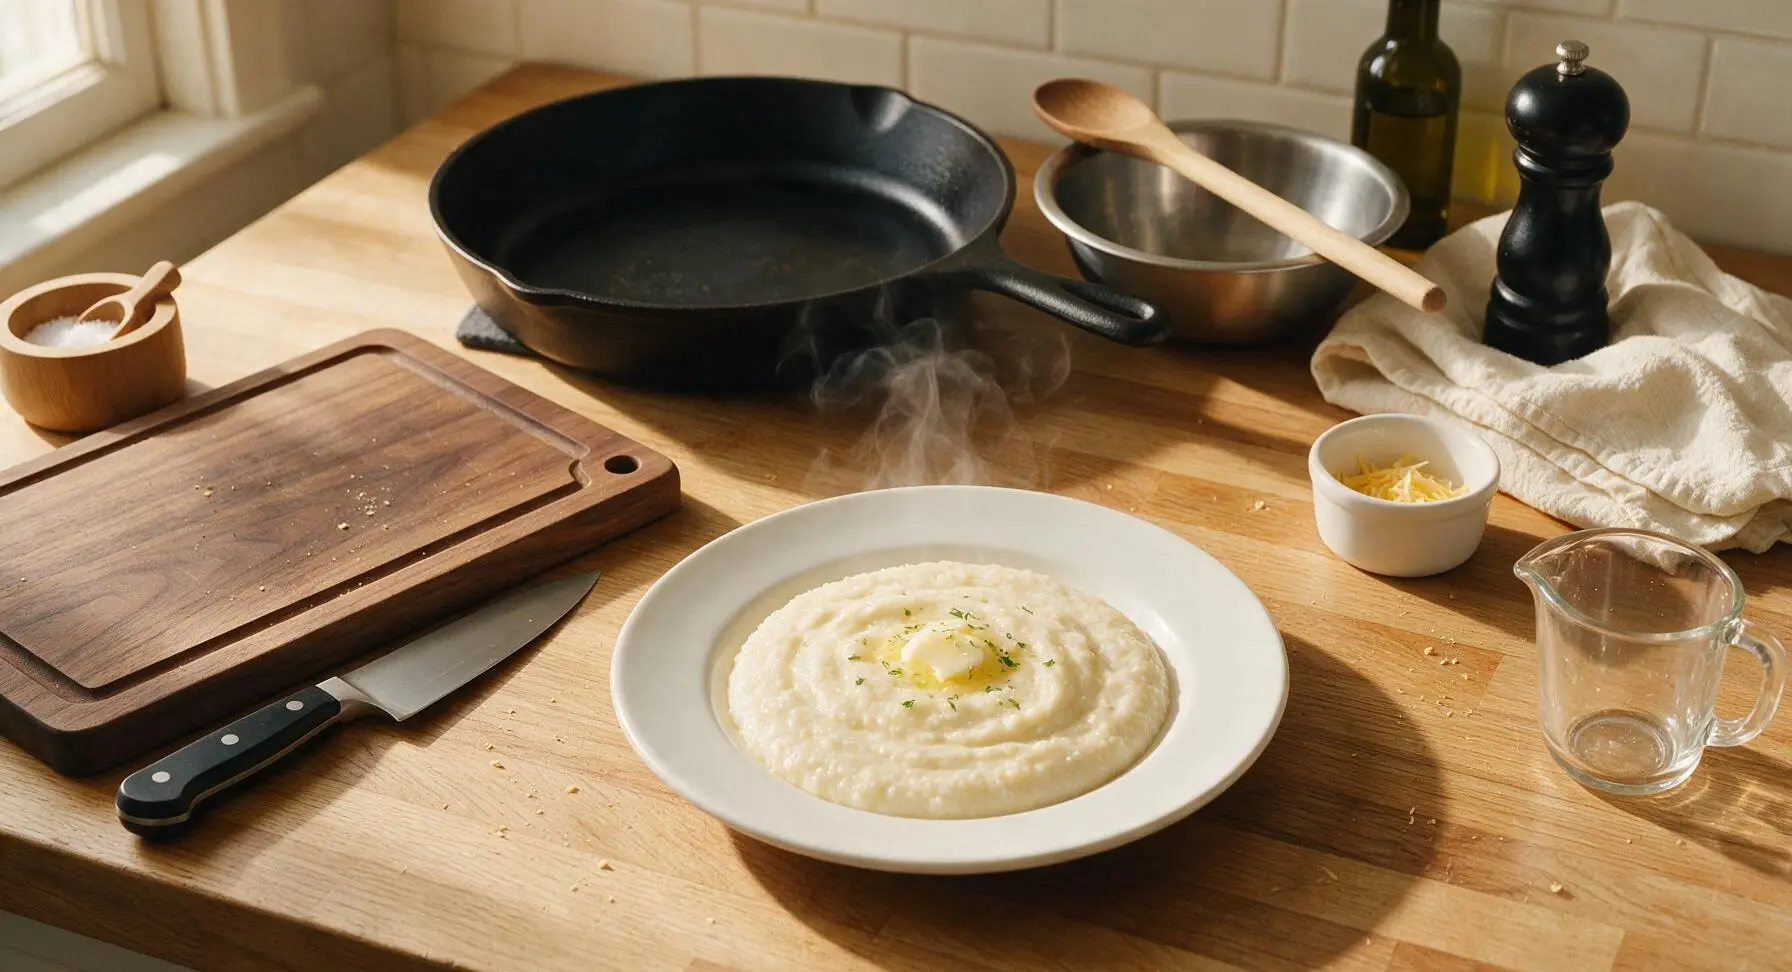
Creamy, buttery quick-cooking grits ready in 10 minutes, with a smooth, rich texture—perfect as a comforting side or breakfast base, no long simmer required.
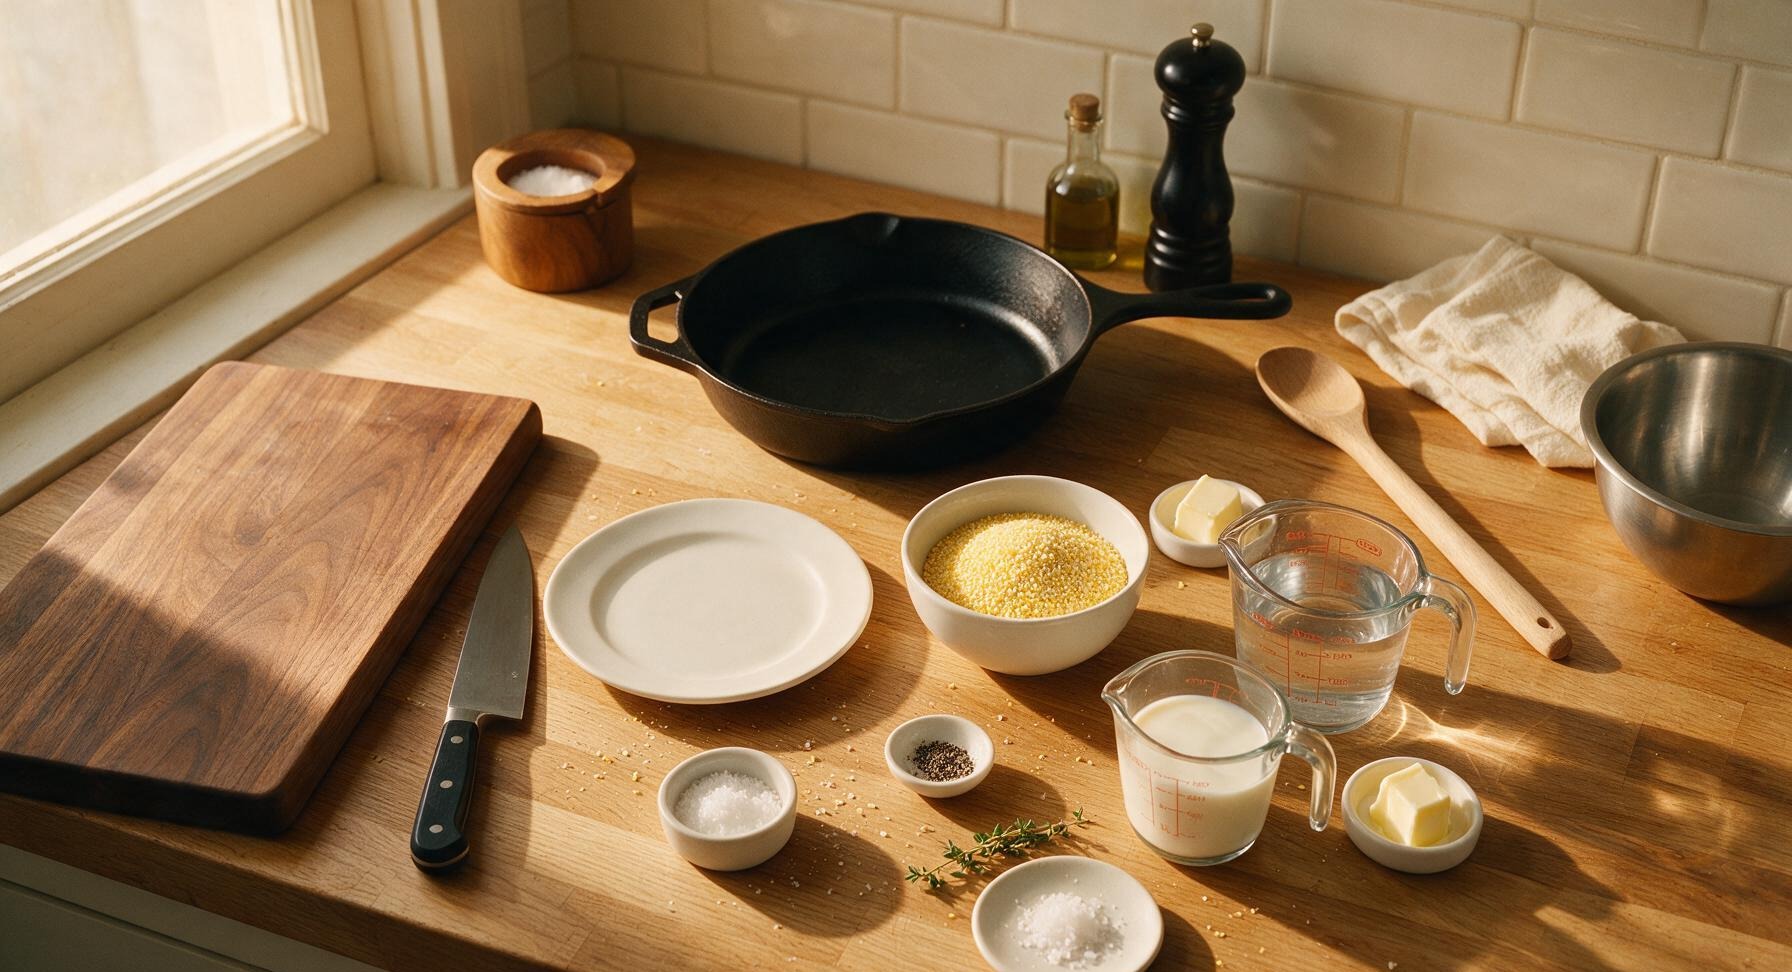
Ingredients
Steps
Bring Liquid to Boil
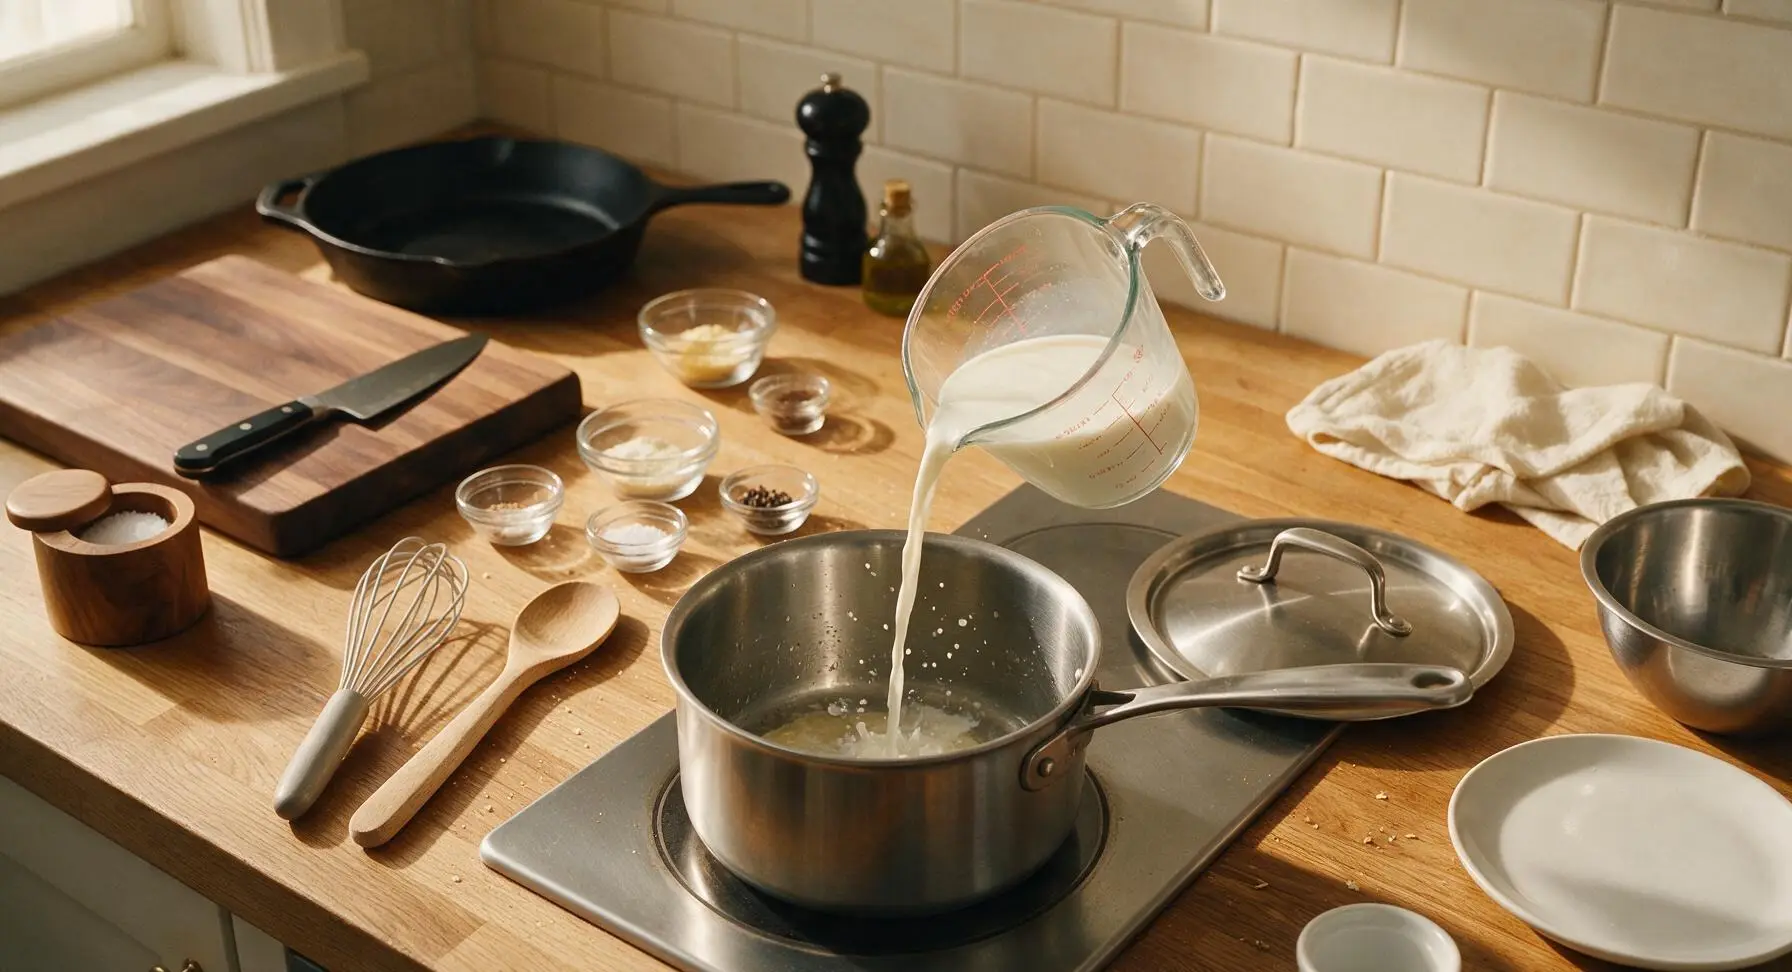
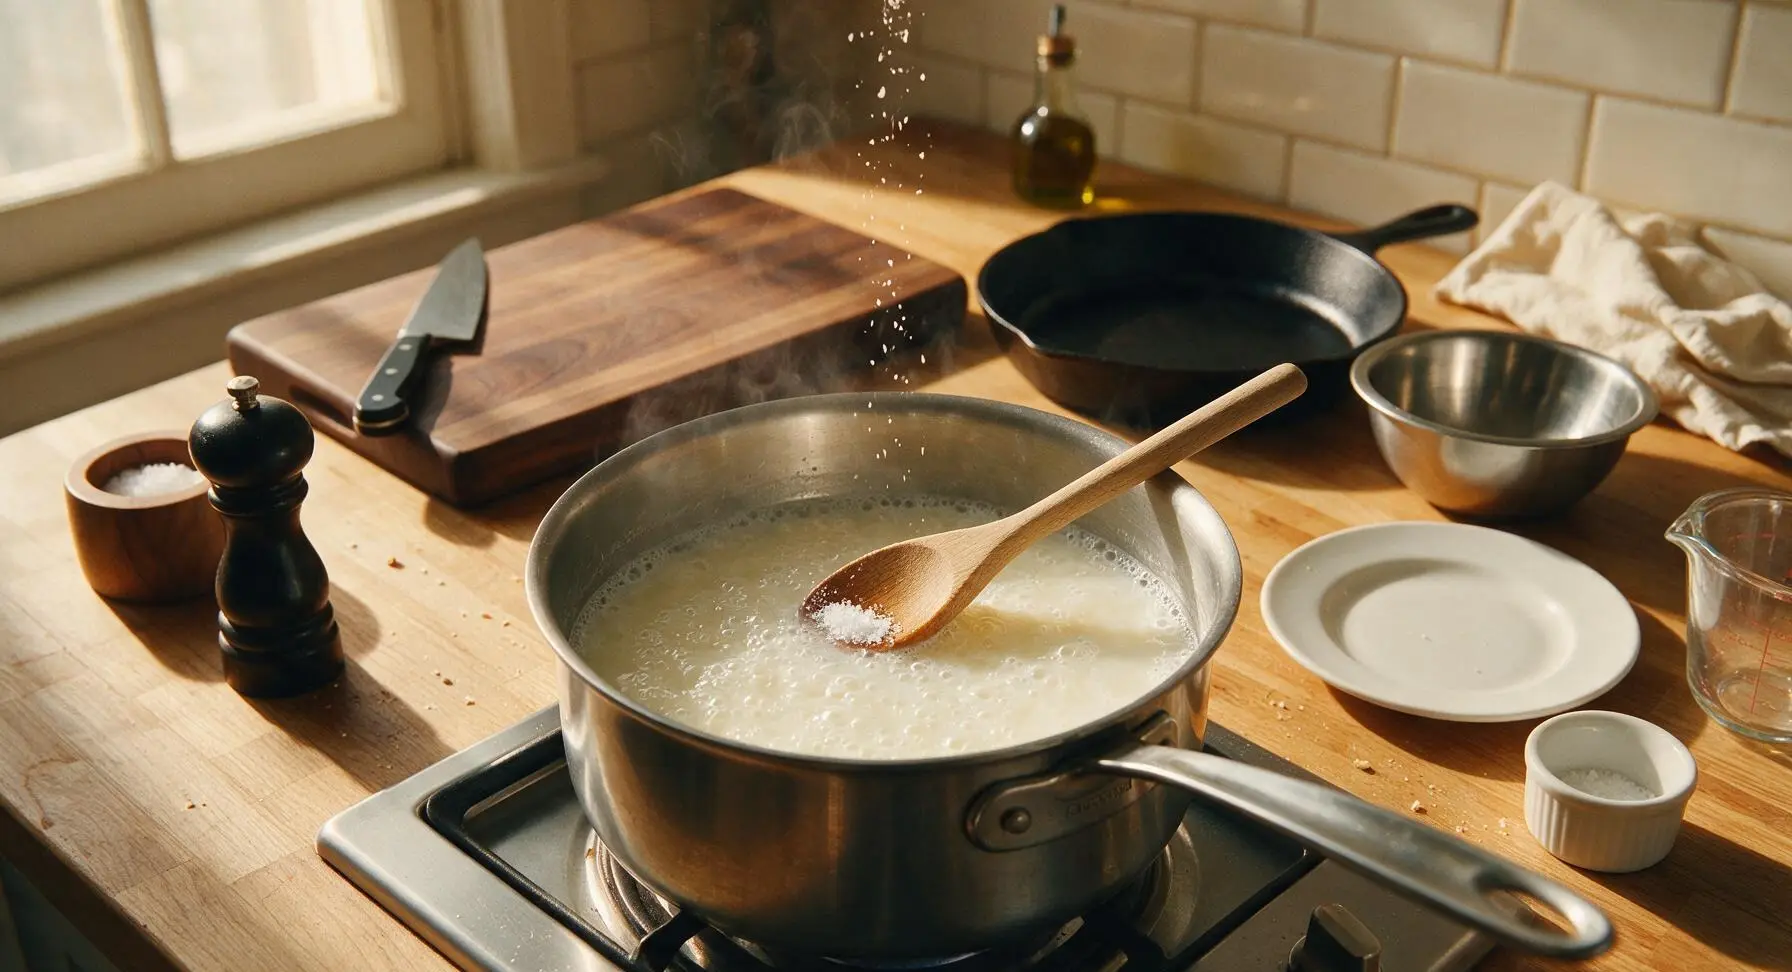
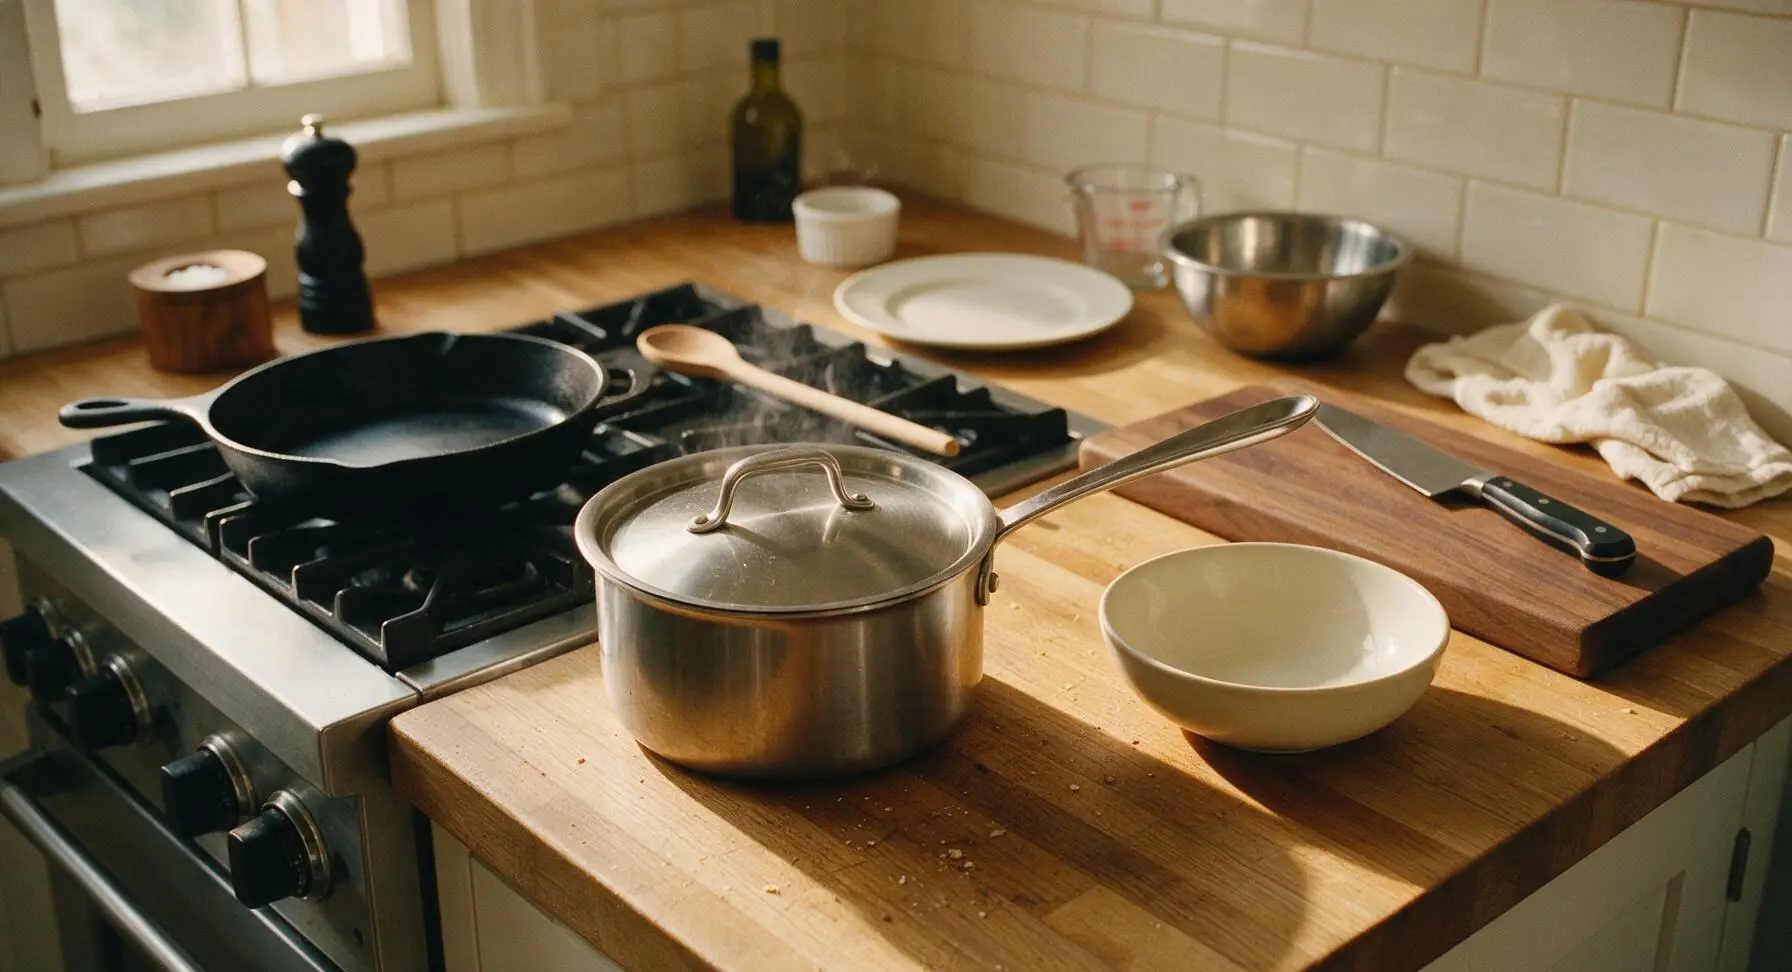
Combine 2 cups cold water and 1 cup whole milk in the 2-quart heavy-bottomed stainless steel saucepan. Set the pan on the integrated stovetop burner over medium-high heat, and bring to a steady gentle rolling boil (3–4 minutes). Stir in 1 teaspoon fine sea salt with the beech wood spoon until fully dissolved. Watch closely to avoid boilovers, as milk mixtures can bubble over the pan rim in seconds once hot. The liquid is ready when consistent small bubbles break across the entire surface, with a faint wisp of steam rising.
Whisk in Grits Slowly
Once the salted liquid returns to a soft simmer after adding salt, reduce heat to medium-low. Slowly pour 1 cup quick-cooking yellow grits into the pan in a thin, steady stream, whisking constantly with the silicone whisk as you pour to prevent lumps from forming. Never dump all grits in at once, as this creates dry, starchy clumps that cannot be whisked smooth later.
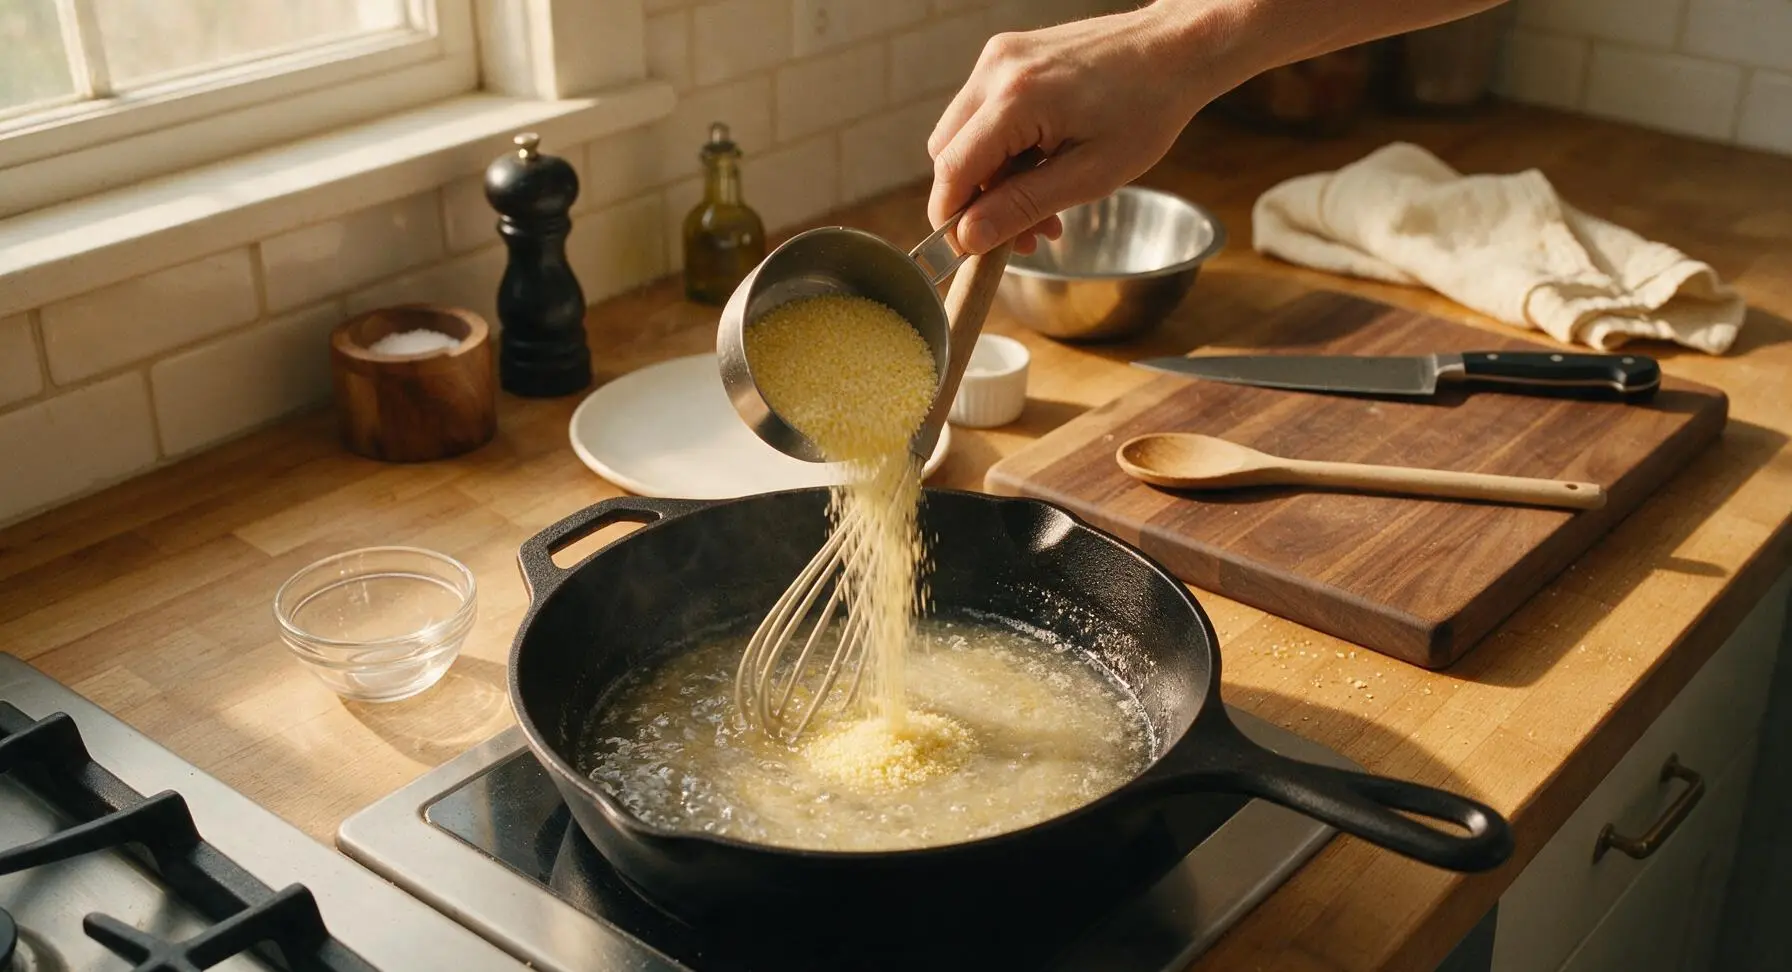
Simmer to Creamy Consistency
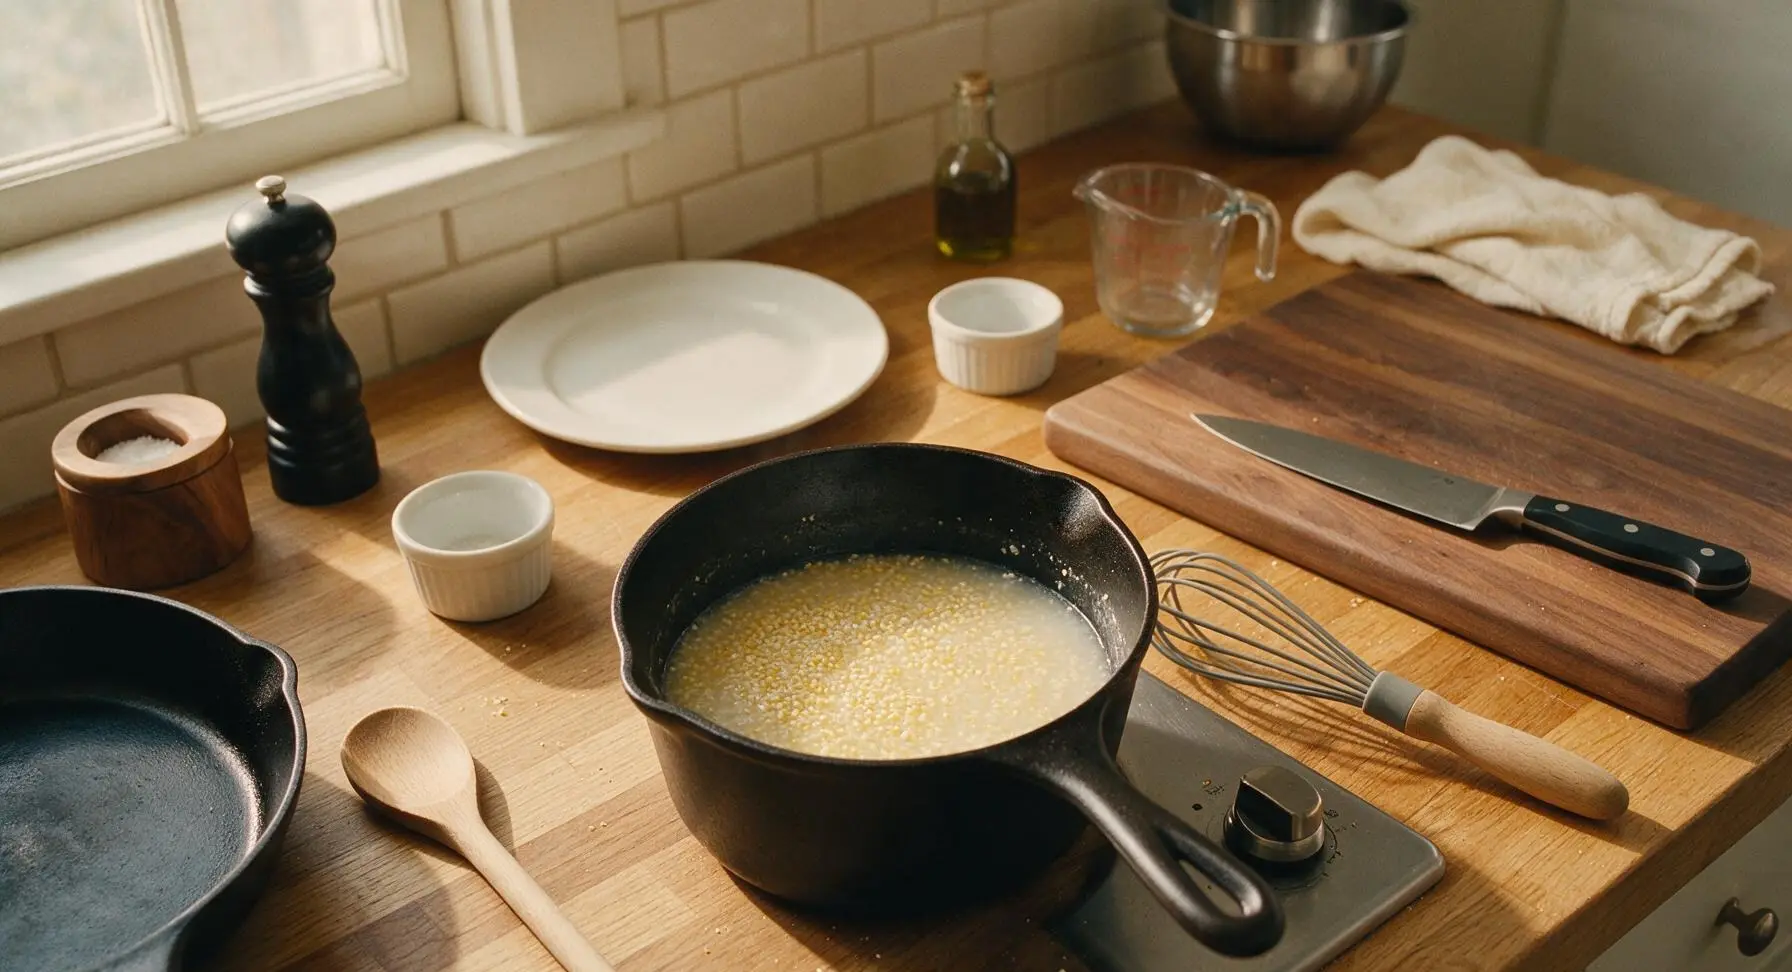
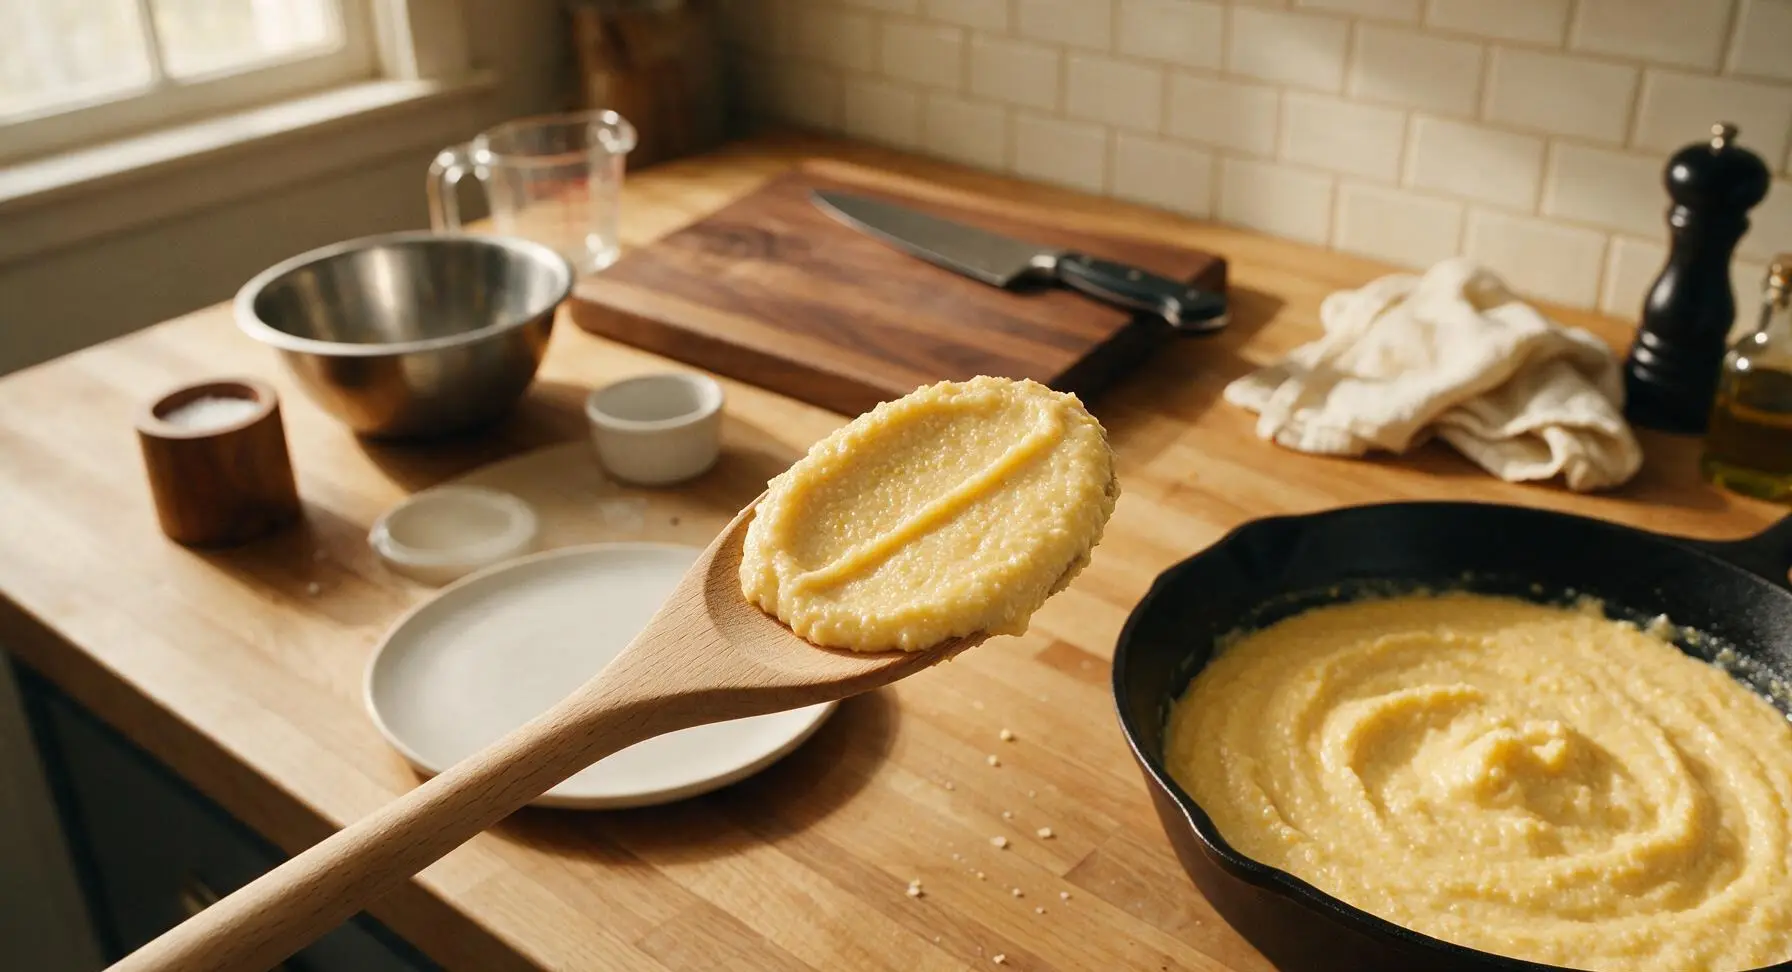
Continue cooking the grits at a low simmer, stirring every 30 seconds with the beech wood spoon to prevent sticking to the pan bottom, for 4 to 5 minutes total. The grits will thicken noticeably as they cook, transitioning from a watery, separated mixture to a smooth, cohesive porridge that coats the back of a spoon with a thick, even layer when done. If grits thicken too quickly before the grains are tender, stir in 1–2 tablespoons of extra warm water to thin to your preferred consistency.
Stir in Butter and Pepper
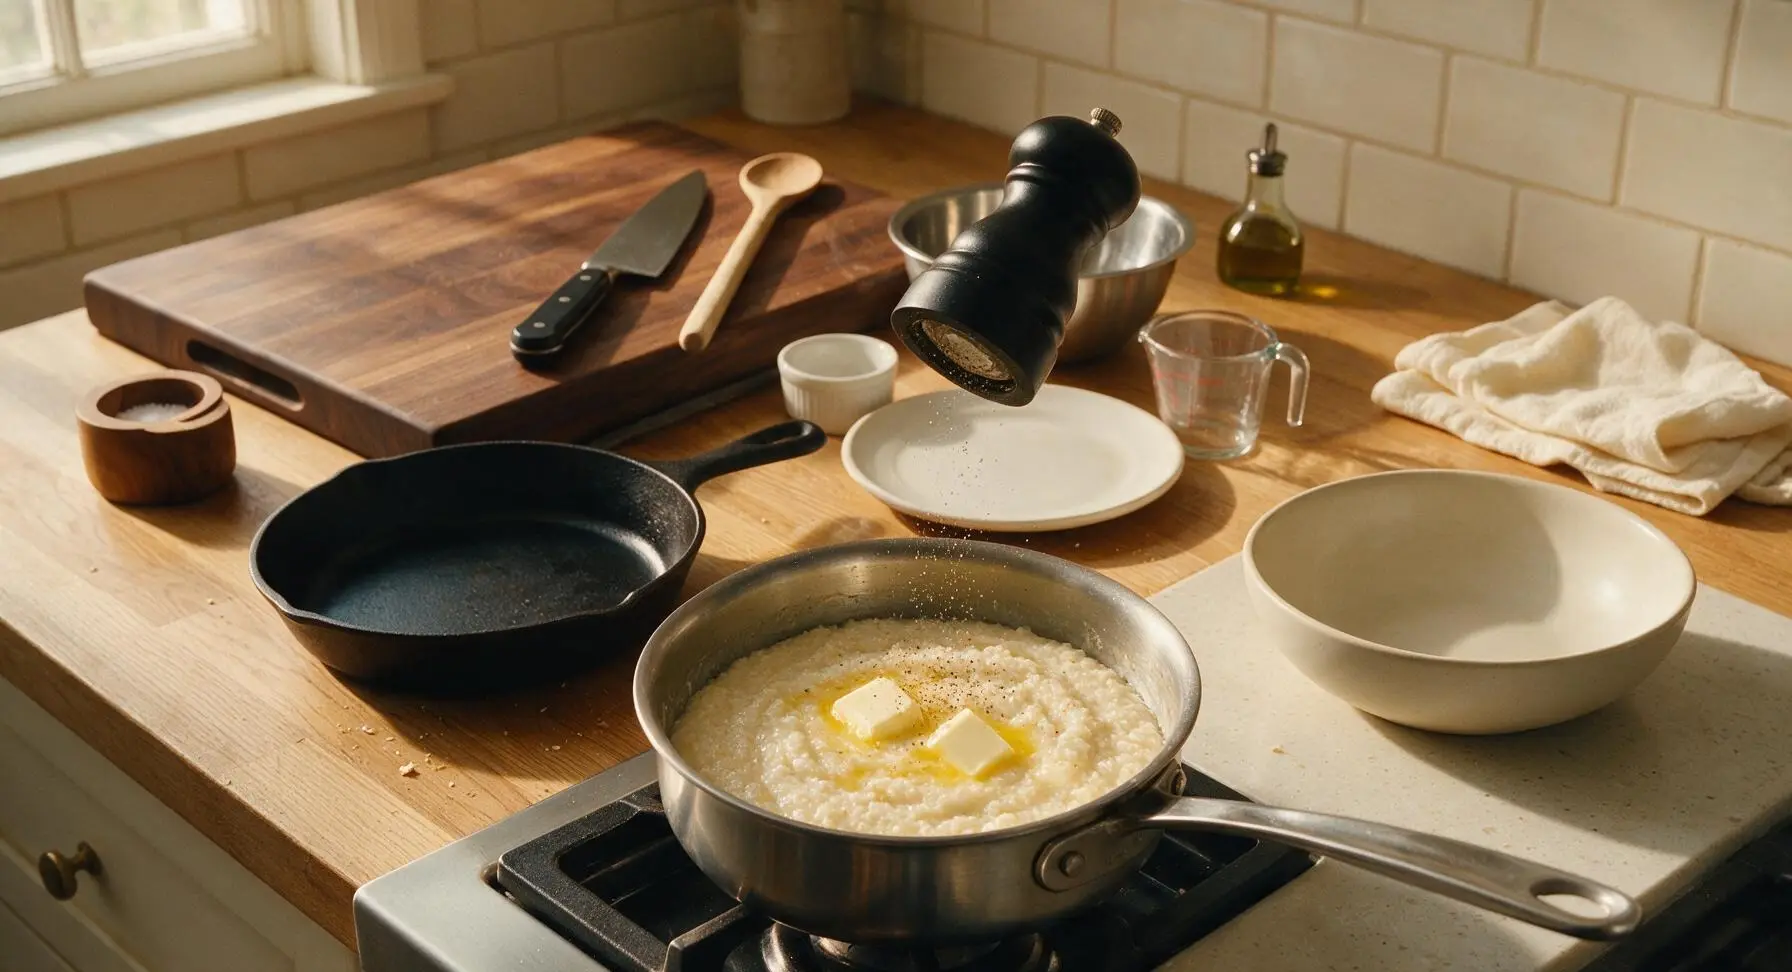
Once the grits are fully tender (no crunchy, gritty texture when tasting a small spoonful), remove the pan from heat. Add 2 tablespoons of unsalted butter and 1/4 teaspoon freshly ground black pepper, stirring gently with the beech wood spoon until the butter is fully melted and incorporated, creating a rich, glossy sheen across the grits. Taste and add a small extra pinch of salt if needed.
Let Grits Rest Covered
Place the matching stainless steel lid on the saucepan, and let the grits rest for 1 full minute off heat. This short resting period allows the starch molecules to fully absorb remaining liquid and set to a smooth, scoopable consistency, rather than being runny when served. Do not stir the grits during this rest time.
Transfer to Serving Bowl
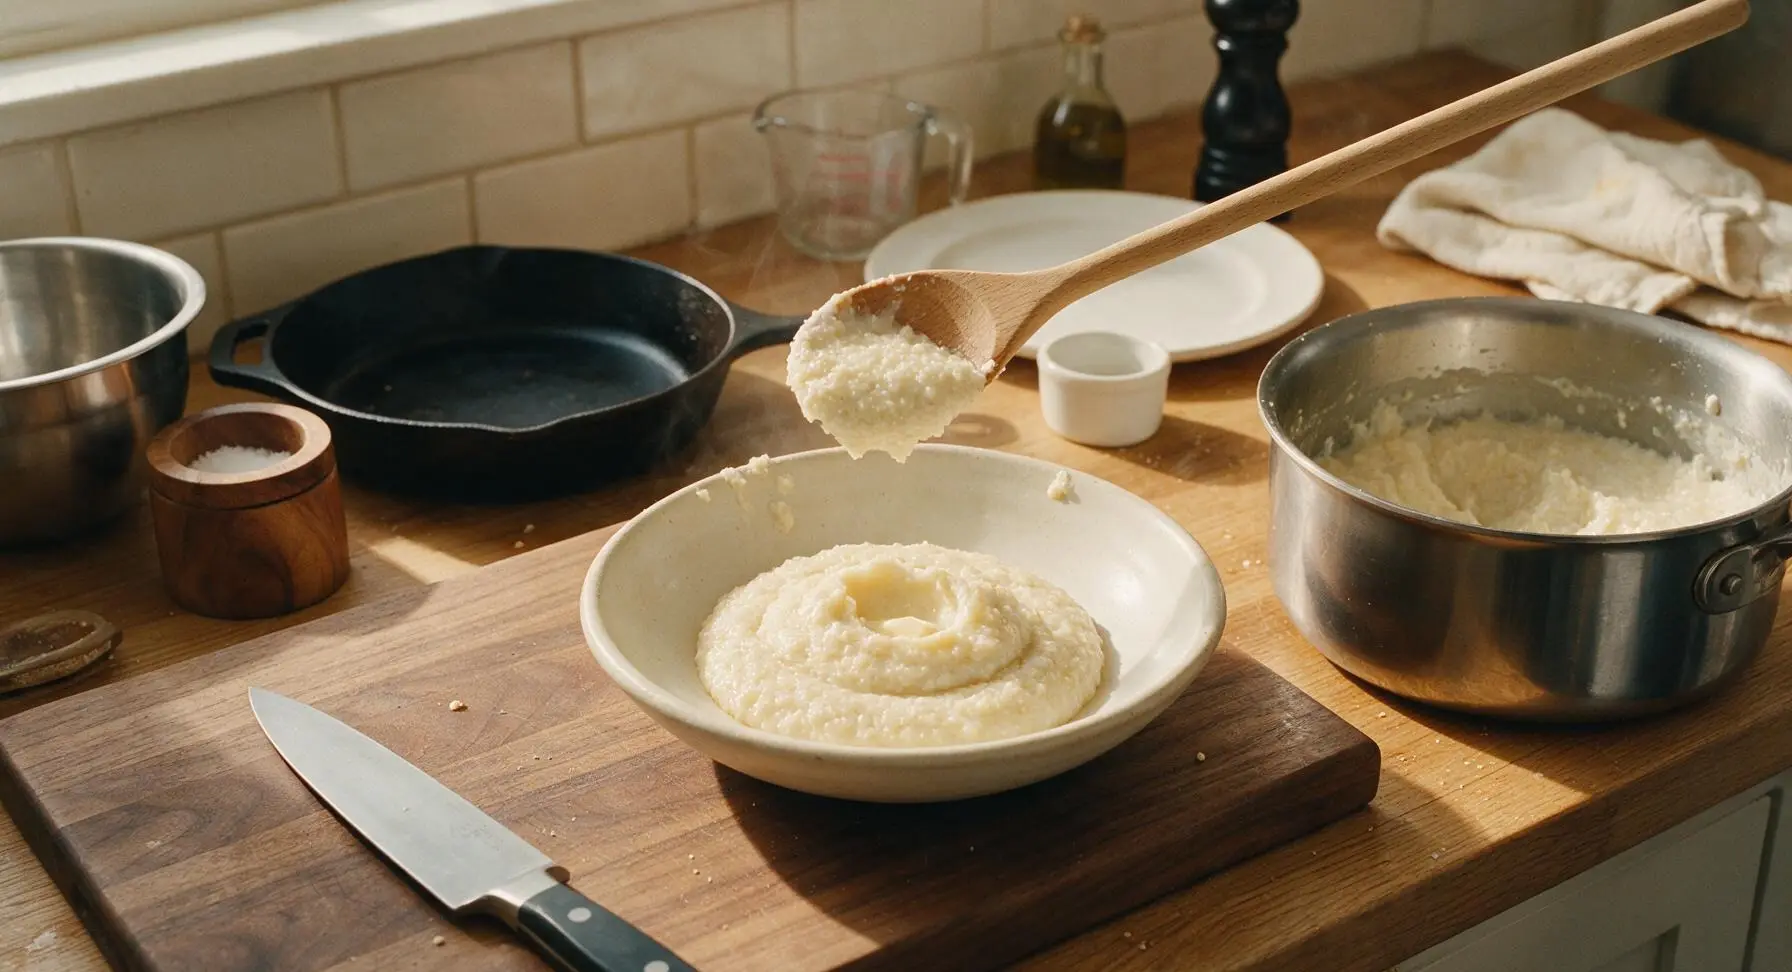
Remove the lid from the saucepan, and give the grits one final gentle stir with the beech wood spoon to loosen them. Scoop all of the grits into the cream white hand-thrown ceramic shallow serving bowl, mounding them softly in the center. Use the back of the spoon to create a small, shallow indent in the top center of the grits to hold the final garnish butter.
Garnish and Serve Hot
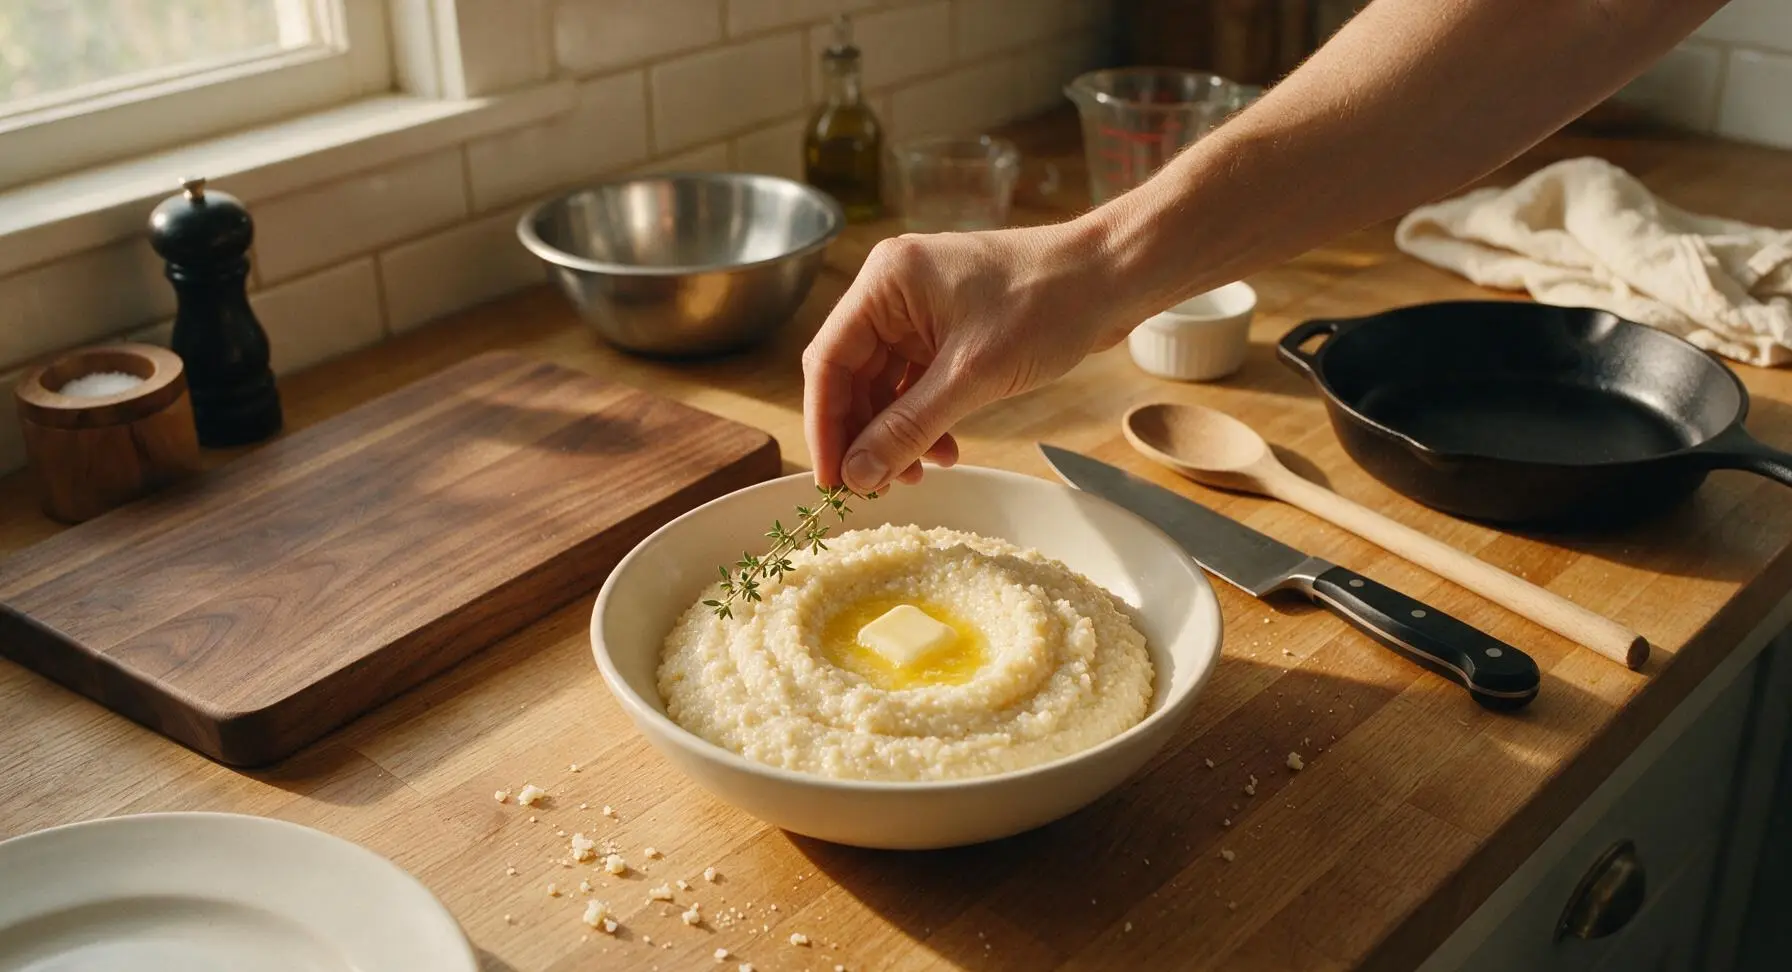
Place the remaining ½ tablespoon pat of butter in the shallow indent on top of the mounded grits, letting it melt into a small glistening golden pool. Sprinkle a light pinch of flaky sea salt over the surface, and tuck one small fresh thyme sprig (plucked from the countertop potted thyme plant) at the 10 o’clock position on the bowl for a bright, herbaceous accent. Serve immediately while hot, as grits will thicken and stiffen as they cool.
Tips
2.Keep the grits at a low simmer, not a rolling boil, after adding them to the pan. High heat causes the starches to stick and burn on the pan bottom, creating a bitter, crusty layer that ruins the smooth, creamy texture.
3.Let the grits rest covered for 1 full minute off heat before serving. This short pause allows the starch molecules to fully absorb liquid and set, creating a perfectly scoopable, creamy consistency instead of runny, watery grits.






OMG these grits are a total game changer for busy weekday breakfasts! 8 minutes flat? I didn't believe it until I made them this morning — no lumps, perfectly creamy, and my kids devoured them with a little shredded cheddar on top. Already added this to our weekly meal prep rotation!
As someone who grew up on slow-simmered grits that take 45 minutes of constant stirring, I was super skeptical of quick-cooking ones. Let me tell you — these taste almost identical! Perfect for when I forget to plan side dishes for our Sunday fried chicken dinners. SO good, even my grandma asked for the method, and she never approves of shortcut recipes!
Total lifesaver for my tiny dorm setup! I only have a single hot plate and zero cooking skills, and these came out perfect first try. Topped 'em with hot sauce and a microwaved fried egg, and it was way more filling (and cheaper) than the $12 breakfast bowl from the campus café. Already bought a second box of grits to keep in my dorm!
Brought these to our neighborhood block party potluck last weekend, doubled the recipe and added roasted garlic and parmesan. People were coming up to me all night asking for the recipe! So easy to scale for a crowd, and they didn't get gummy even sitting in the slow cooker on warm for an hour while people served themselves.
So happy I found this simple grits recipe! So many quick side dishes have hidden gluten additives, but this base works perfectly with certified gluten-free grits. I swapped the water for unsweetened almond milk for extra creaminess and paired it with sautéed shrimp for a fast weeknight dinner.
First time ever making grits and these were so easy! I accidentally boiled the water too hard at first and got a little starchy splatter all over my stovetop, but once I turned the heat down like the recipe said they turned out silky smooth. Topped them with maple syrup for a sweet breakfast twist, I'm obsessed.
These are a meal prep game changer! I make a big batch on Sunday, portion them out into containers, and reheat them throughout the week with different toppings — one day salsa and scrambled eggs, next day butter and honey, next day leftover pulled pork. They reheat way better than I thought they would, no weird grainy texture at all.
Added a heaping spoonful of cajun seasoning to these grits while they cooked, topped with blackened shrimp and a squeeze of lemon, and my roommate thought I ordered takeout from that fancy Southern spot downtown. The 8 minute cook time is not a joke — I spent longer rummaging through my spice cabinet looking for the cajun blend than I did actually making the dish. Absolute staple recipe from now on.