
quick sandwiches

title 1
quick sandwiches
⏱️ cook time 3 minutes
🍽️ servings 4
⚡ Difficulty easy

intro

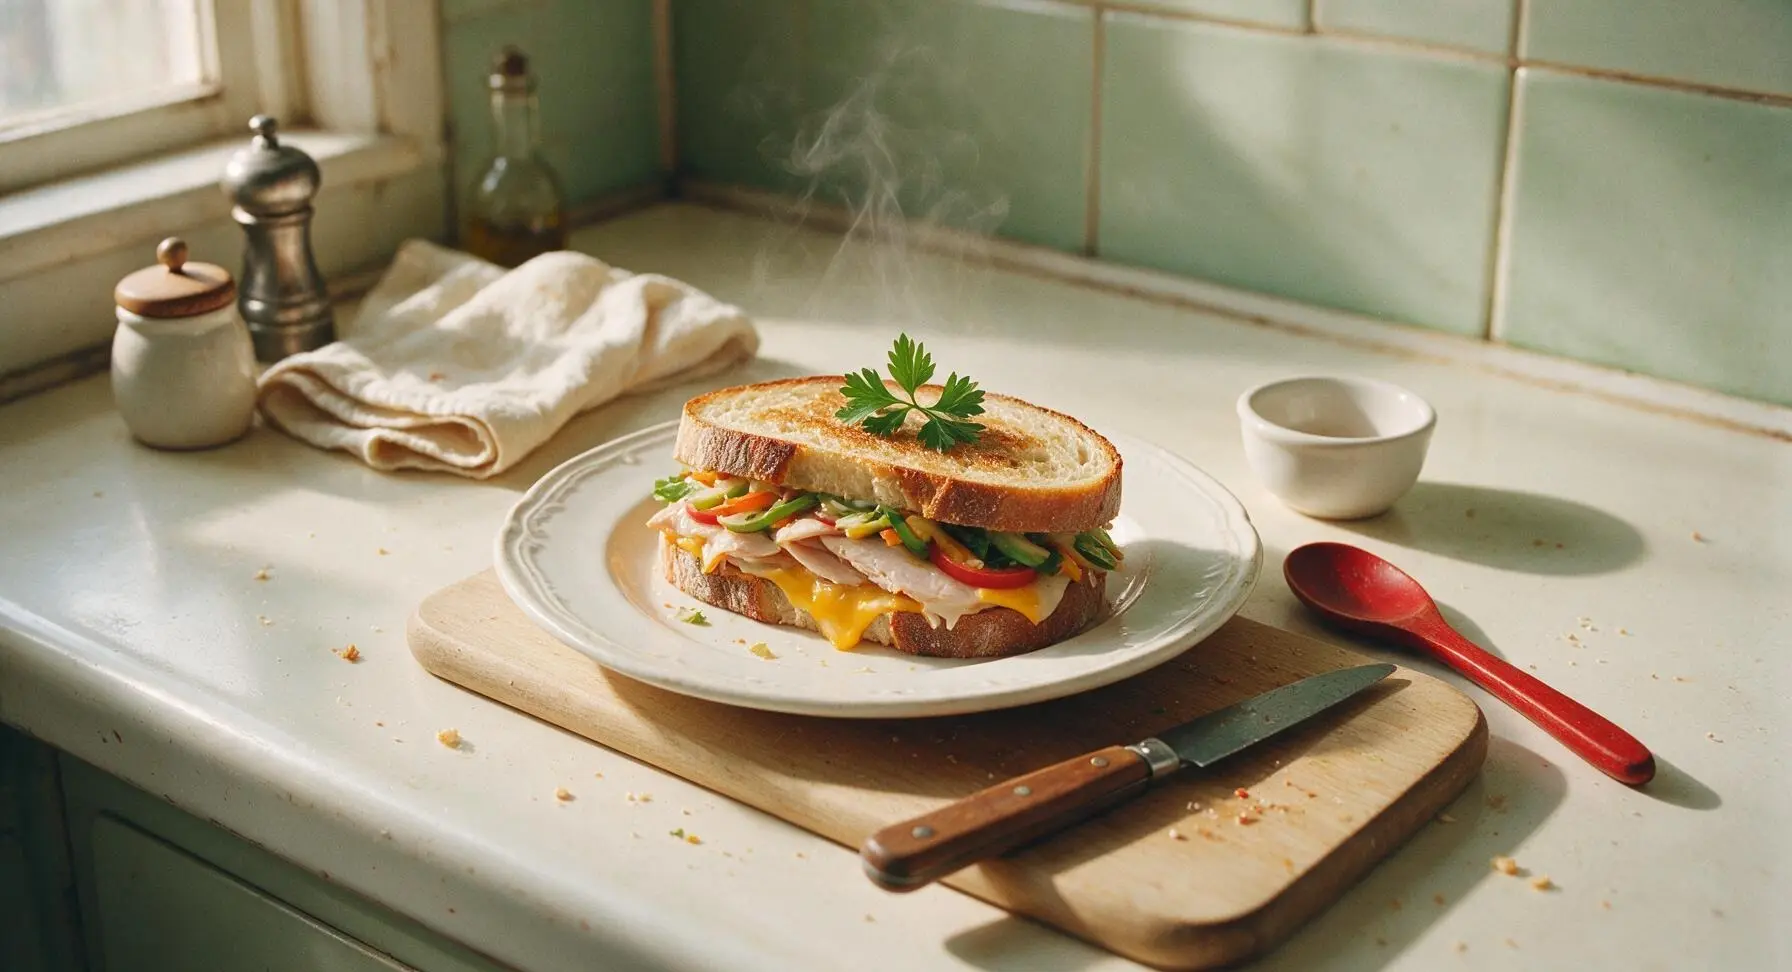
Crisp, lightly toasted sourdough loaded with savory turkey, melted sharp cheddar, and fresh crunchy veggies, these 10-minute sandwiches require minimal cleanup for a fast, satisfying meal.

Ingredients
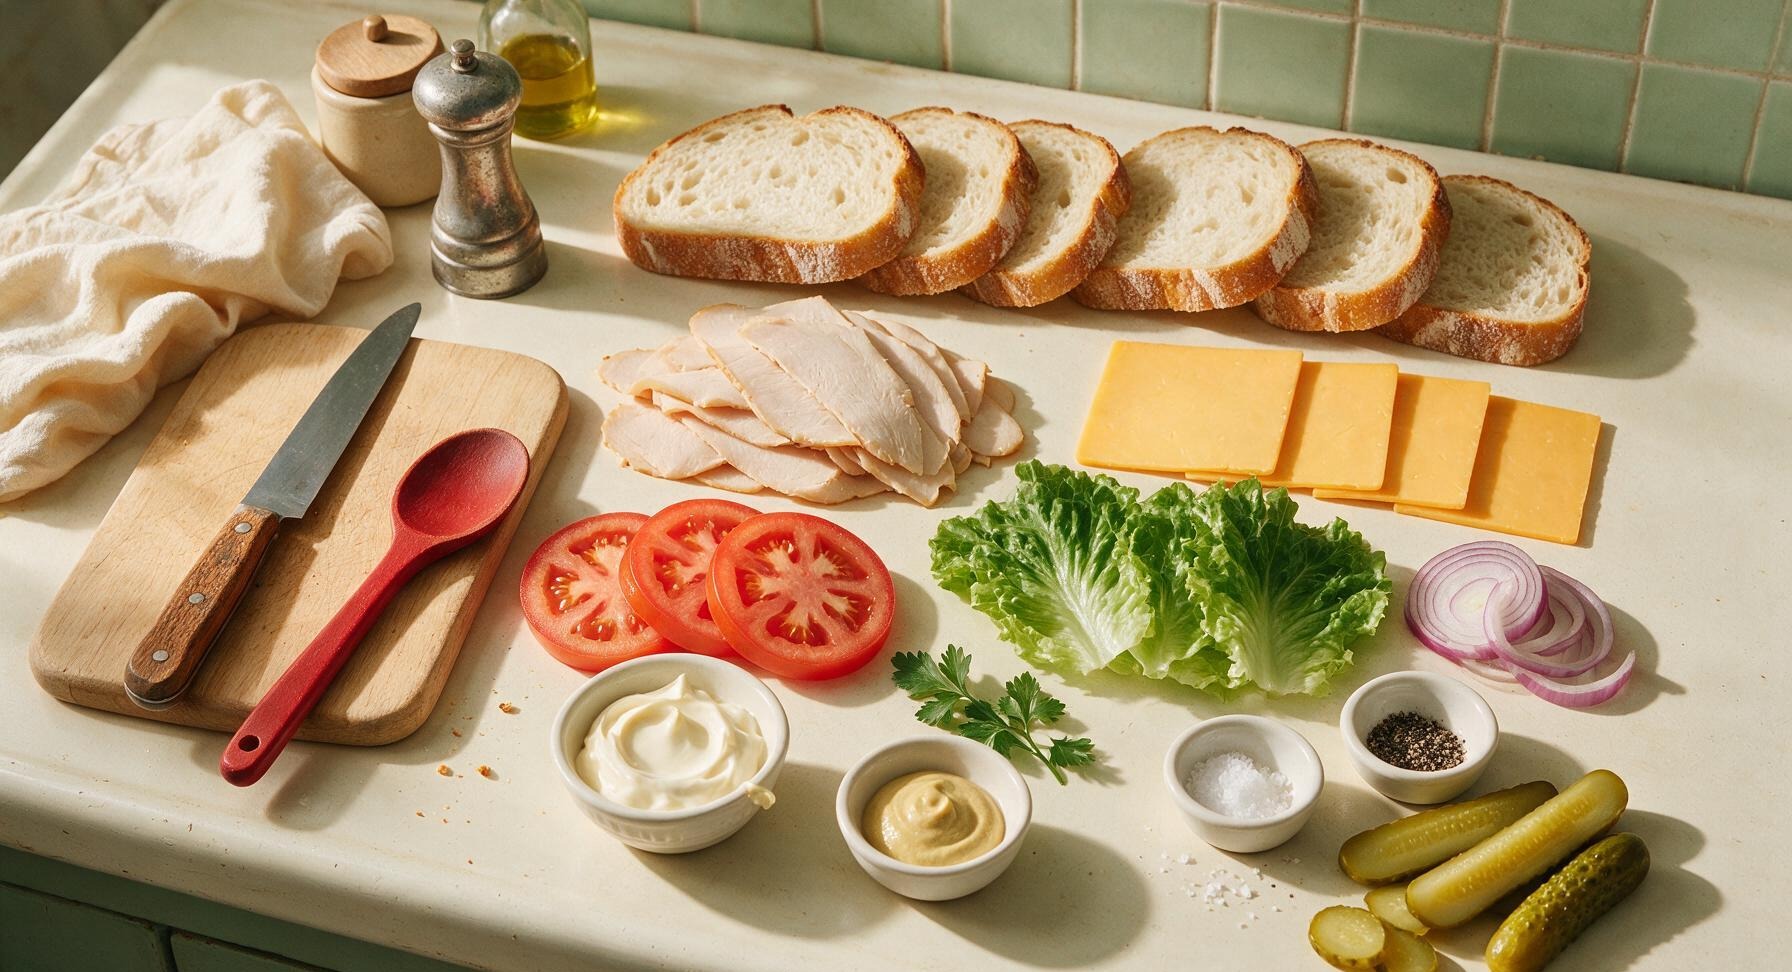
Sourdough sandwich bread 8 slices (240g total)
Thinly sliced roasted turkey breast 225g
Sliced sharp cheddar cheese 113g (4 thin slices)
Ripe beefsteak tomato 1 medium (150g)
Green leaf lettuce 4 large leaves (60g)
Red onion 1/2 small (50g)
Full-fat mayonnaise 60g (1/4 cup)
Dijon mustard 1 tsp (5g)
Coarse sea salt 1/8 tsp
Freshly ground black pepper 1/4 tsp
Dill pickle spears 4 (120g total)

Steps

1

Toast Bread Slices

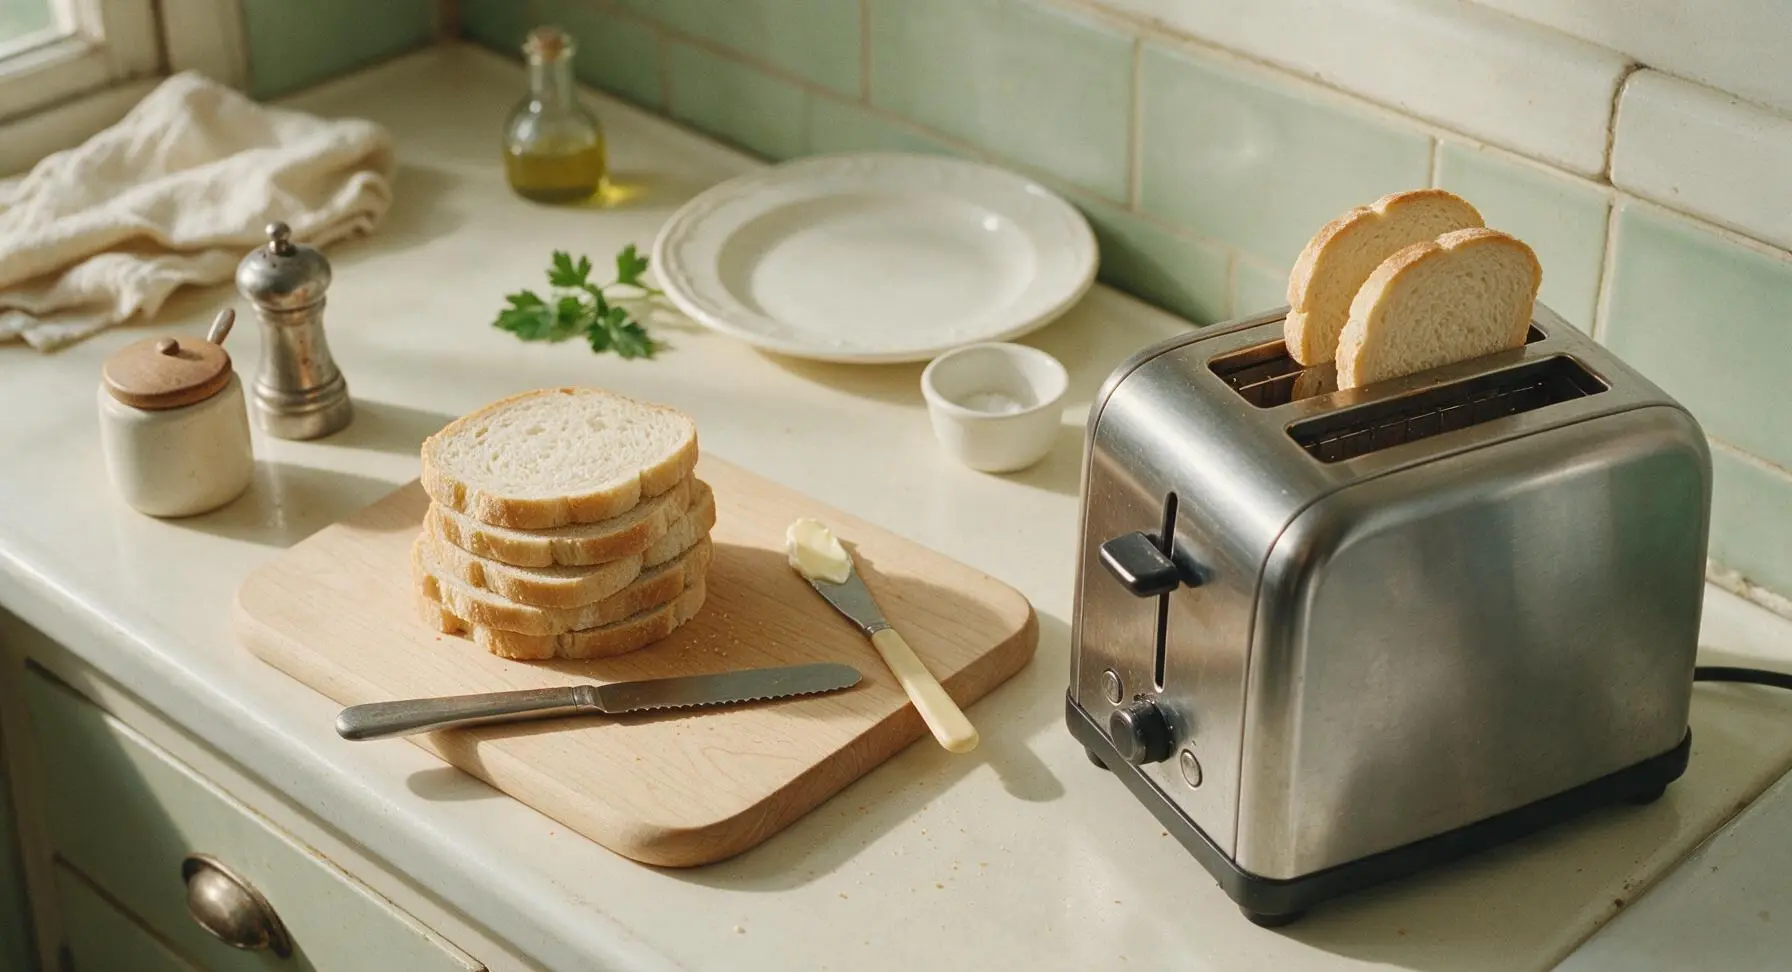
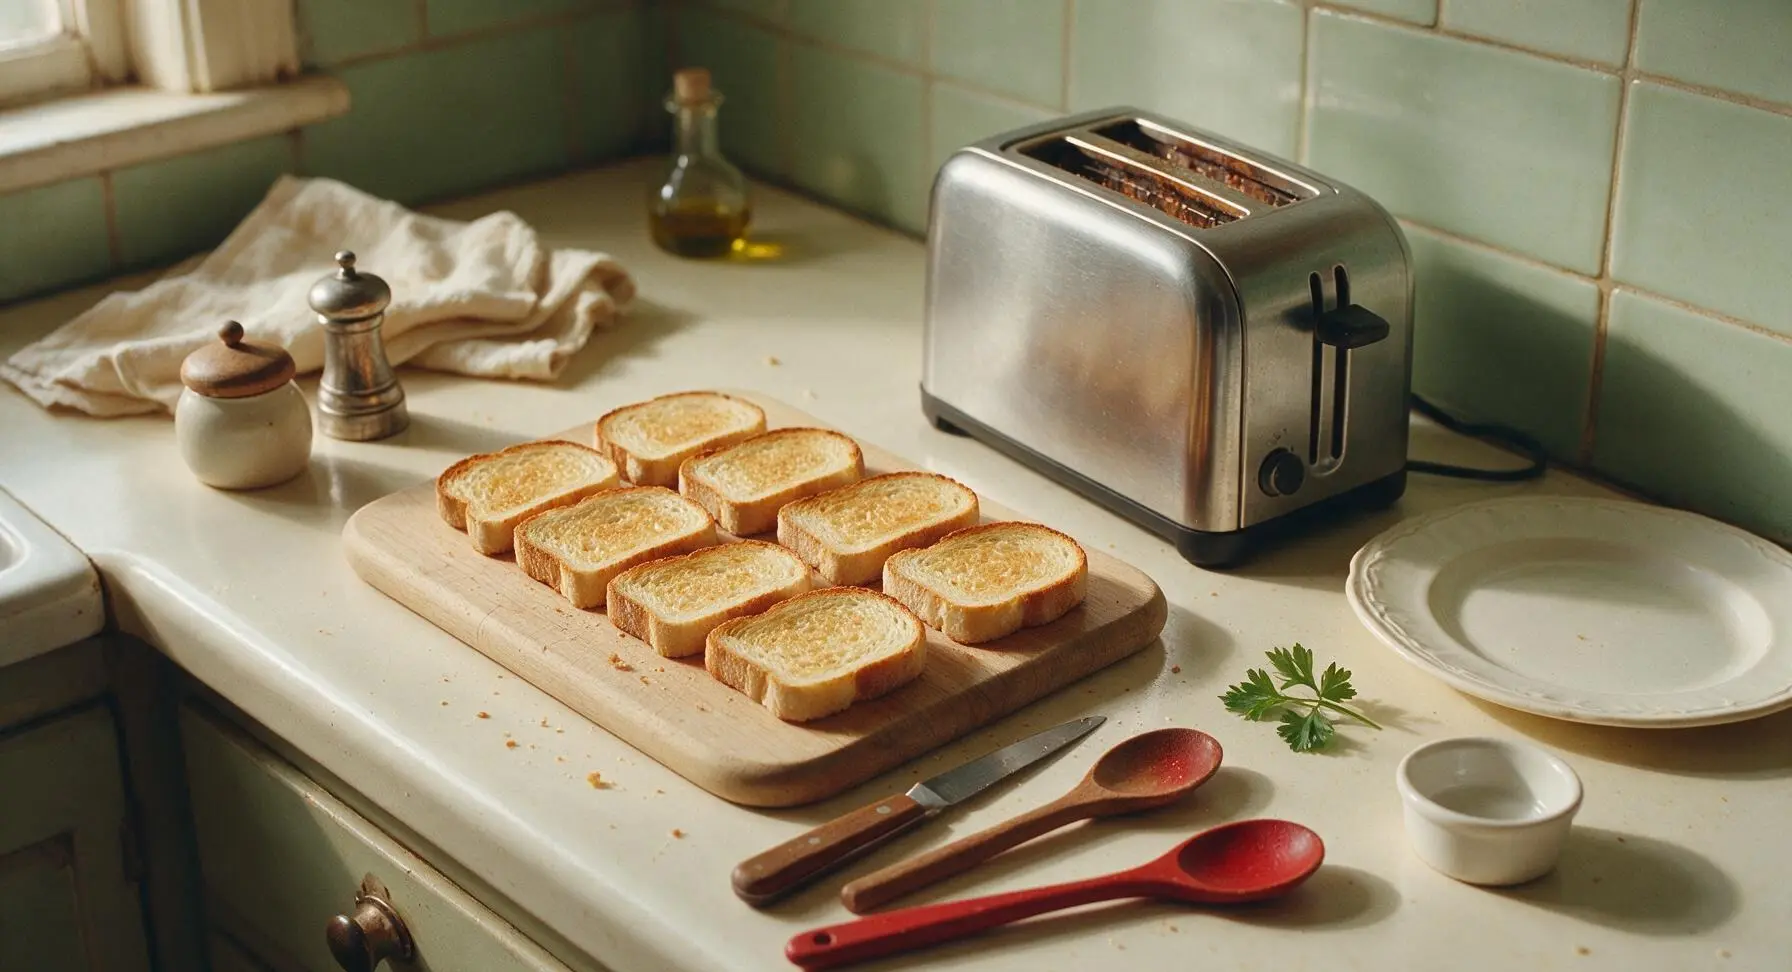
Place 8 slices of sourdough bread into the brushed stainless steel toaster, set to medium light toast setting (level 3 out of 7). Toast for 2-3 minutes until pale golden brown with a slight crisp on the surface, not dark or hard. Remove toast slices and set them on the birch cutting board to cool for 1 minute, so spreads do not melt and soak into the bread.
Step 1
step1:Toast Bread Slices
Step 1
step1:Toast Bread Slices
2

Mix Creamy Spread

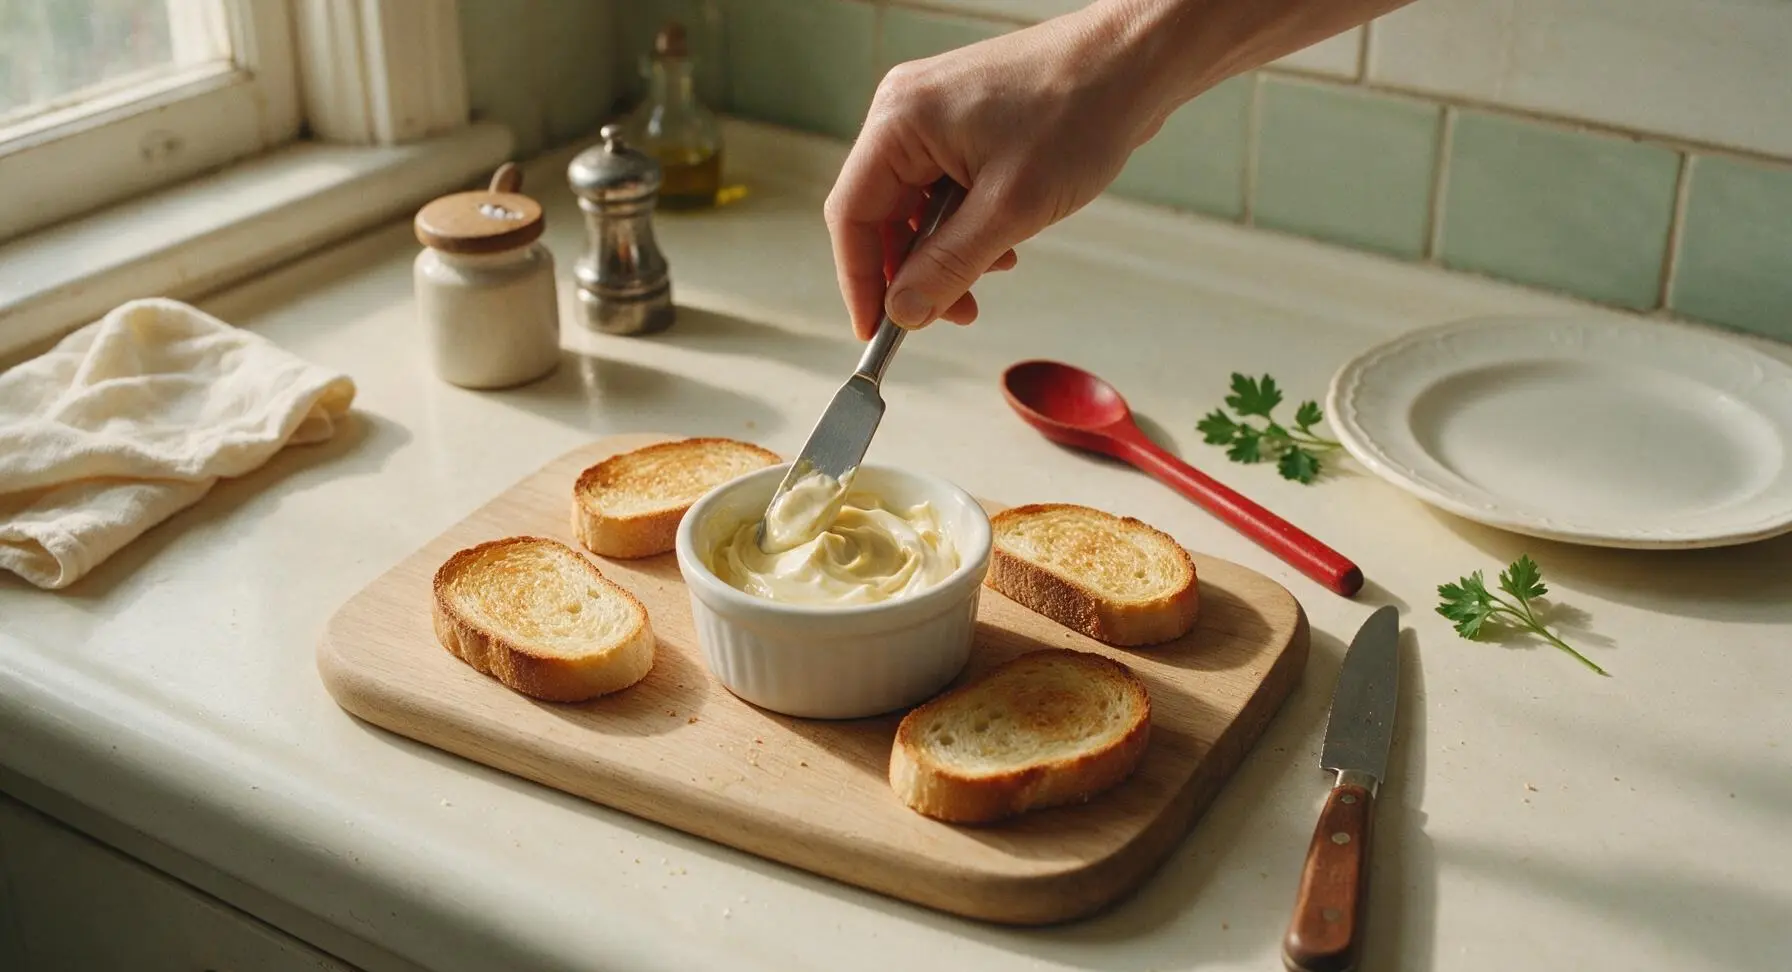
Scoop 60g full-fat mayonnaise and 1 tsp Dijon mustard into the 8cm white ceramic ramekin. Use the stainless steel butter spreader to stir the two ingredients together until completely smooth, with no streaks of mustard remaining. Stir in 1/8 tsp sea salt and 1/4 tsp black pepper, mixing evenly.
Step 2
step2:Mix Creamy Spread
3

Prep Fresh Vegetables

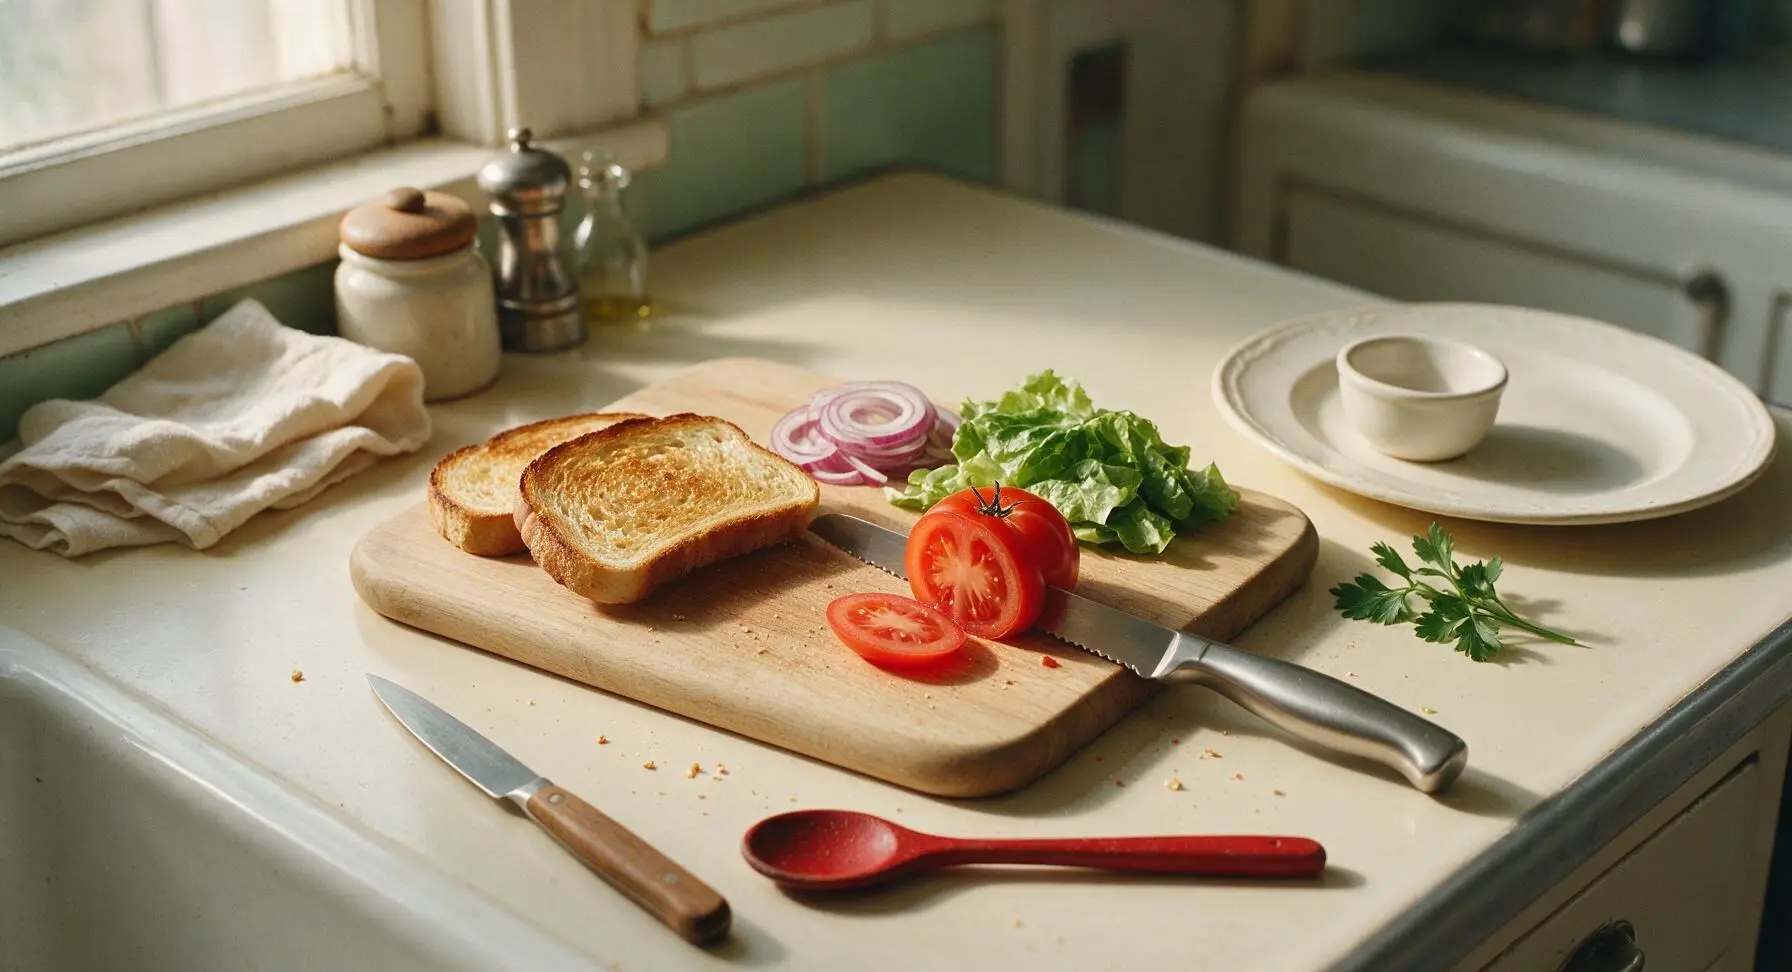
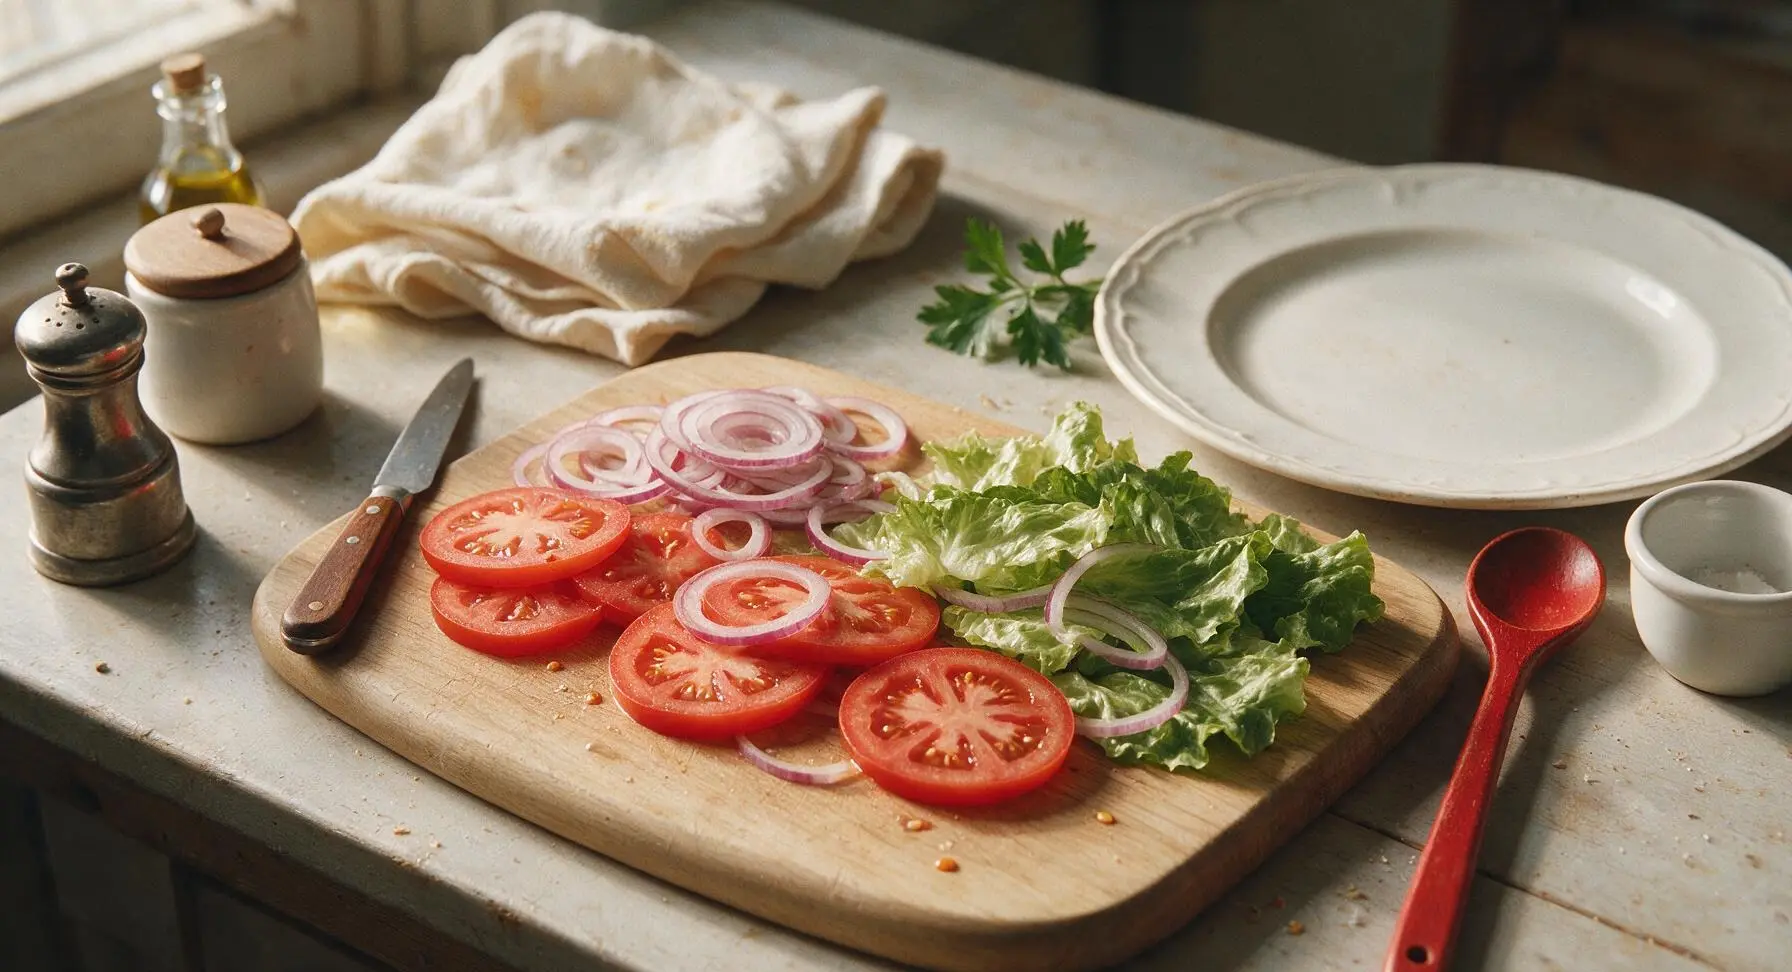
Use the serrated bread knife to slice the medium beefsteak tomato into 1/4-inch thick rounds, discarding the tough stem end. Thinly slice the 1/2 red onion into 1/8-inch thick rings, separating the layers gently. Pat the 4 green leaf lettuce leaves dry with the edge of the blue cotton kitchen towel to remove excess wash water, which would make the sandwich soggy.
Step 3
step3:Prep Fresh Vegetables
Step 3
step3:Prep Fresh Vegetables
4

Spread Bread Layers

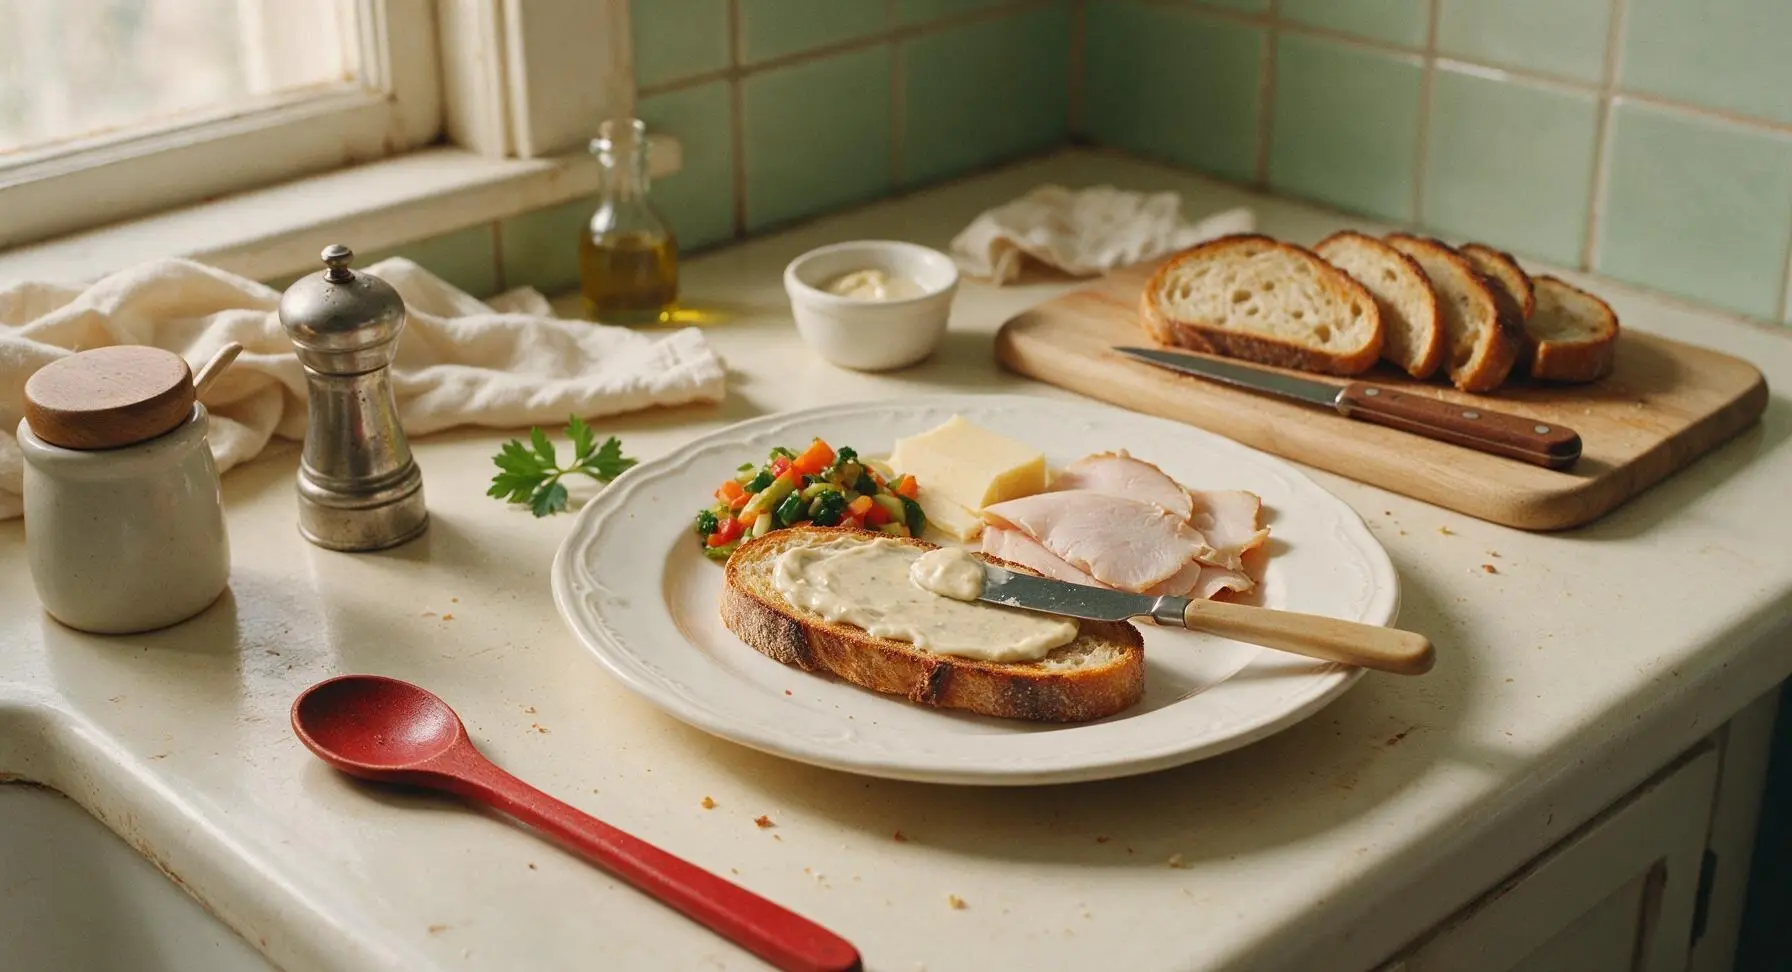
Take the cooled toasted sourdough slices from the cutting board. Use the butter spreader to apply a thin, even layer of the creamy mayo-Dijon mixture to one side of every toast slice, covering the entire surface edge to edge. This creates a moisture barrier that prevents tomato and lettuce juices from making the bread soggy.
Step 4
step4:Spread Bread Layers
5

Layer Sandwich Fillings

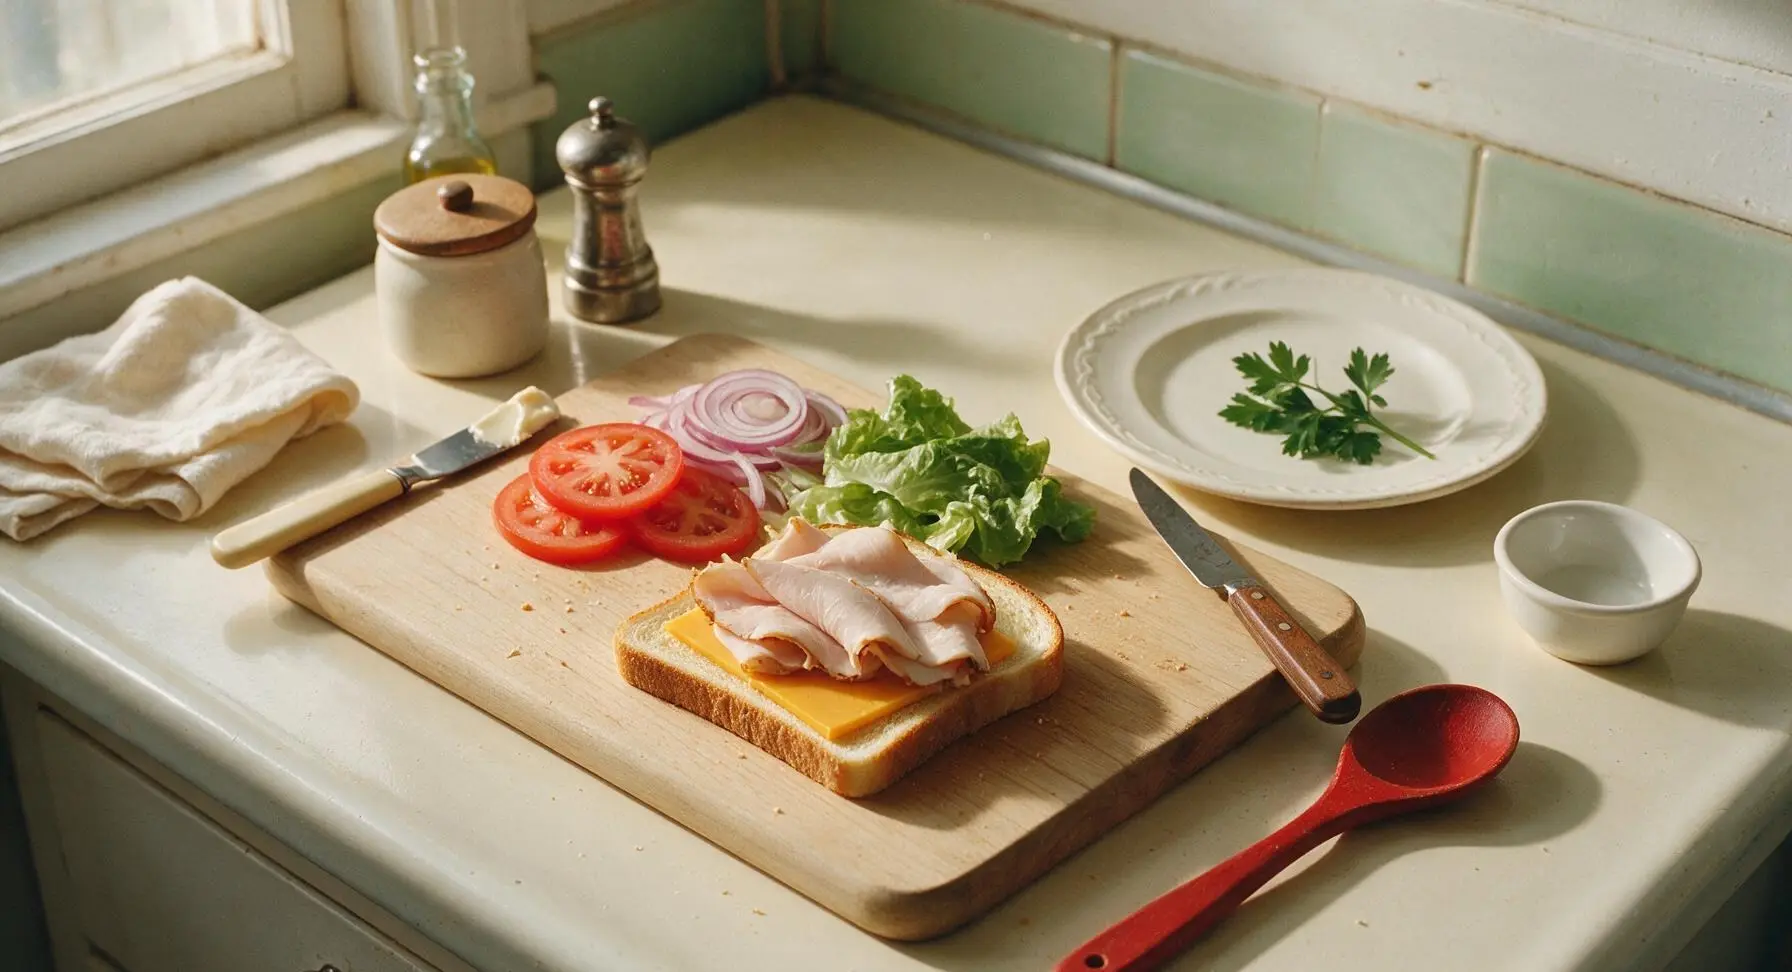
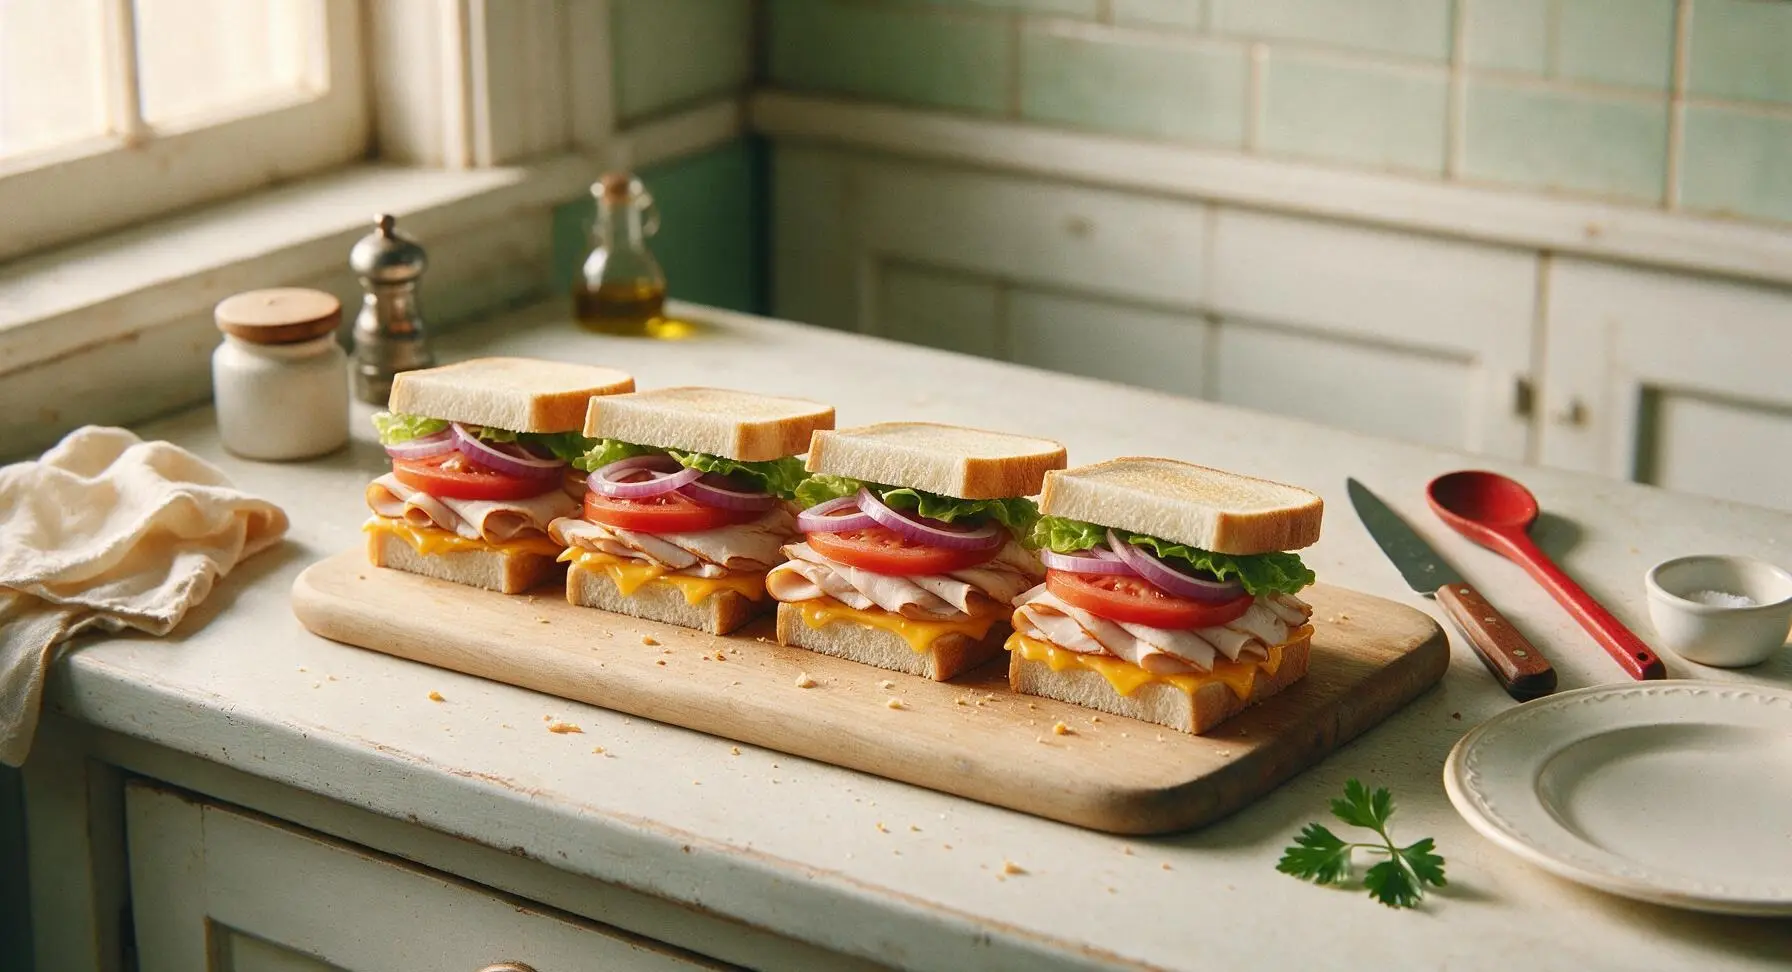
On 4 of the spread-covered toast slices, layer fillings in this order to prevent sogginess: 1 slice of sharp cheddar, 55g thinly sliced roasted turkey (folded to fit the bread), 2 tomato slices (lightly patted dry to remove excess juice), 3-4 thin red onion rings, and 1 lettuce leaf. Top each stack with a second slice of toast, spread-side facing down toward the fillings. Press gently on the top of each sandwich to help layers adhere without squishing fillings out.
Step 5
step5:Layer Sandwich Fillings
Step 5
step5:Layer Sandwich Fillings
6

Cut Sandwiches Diagonally

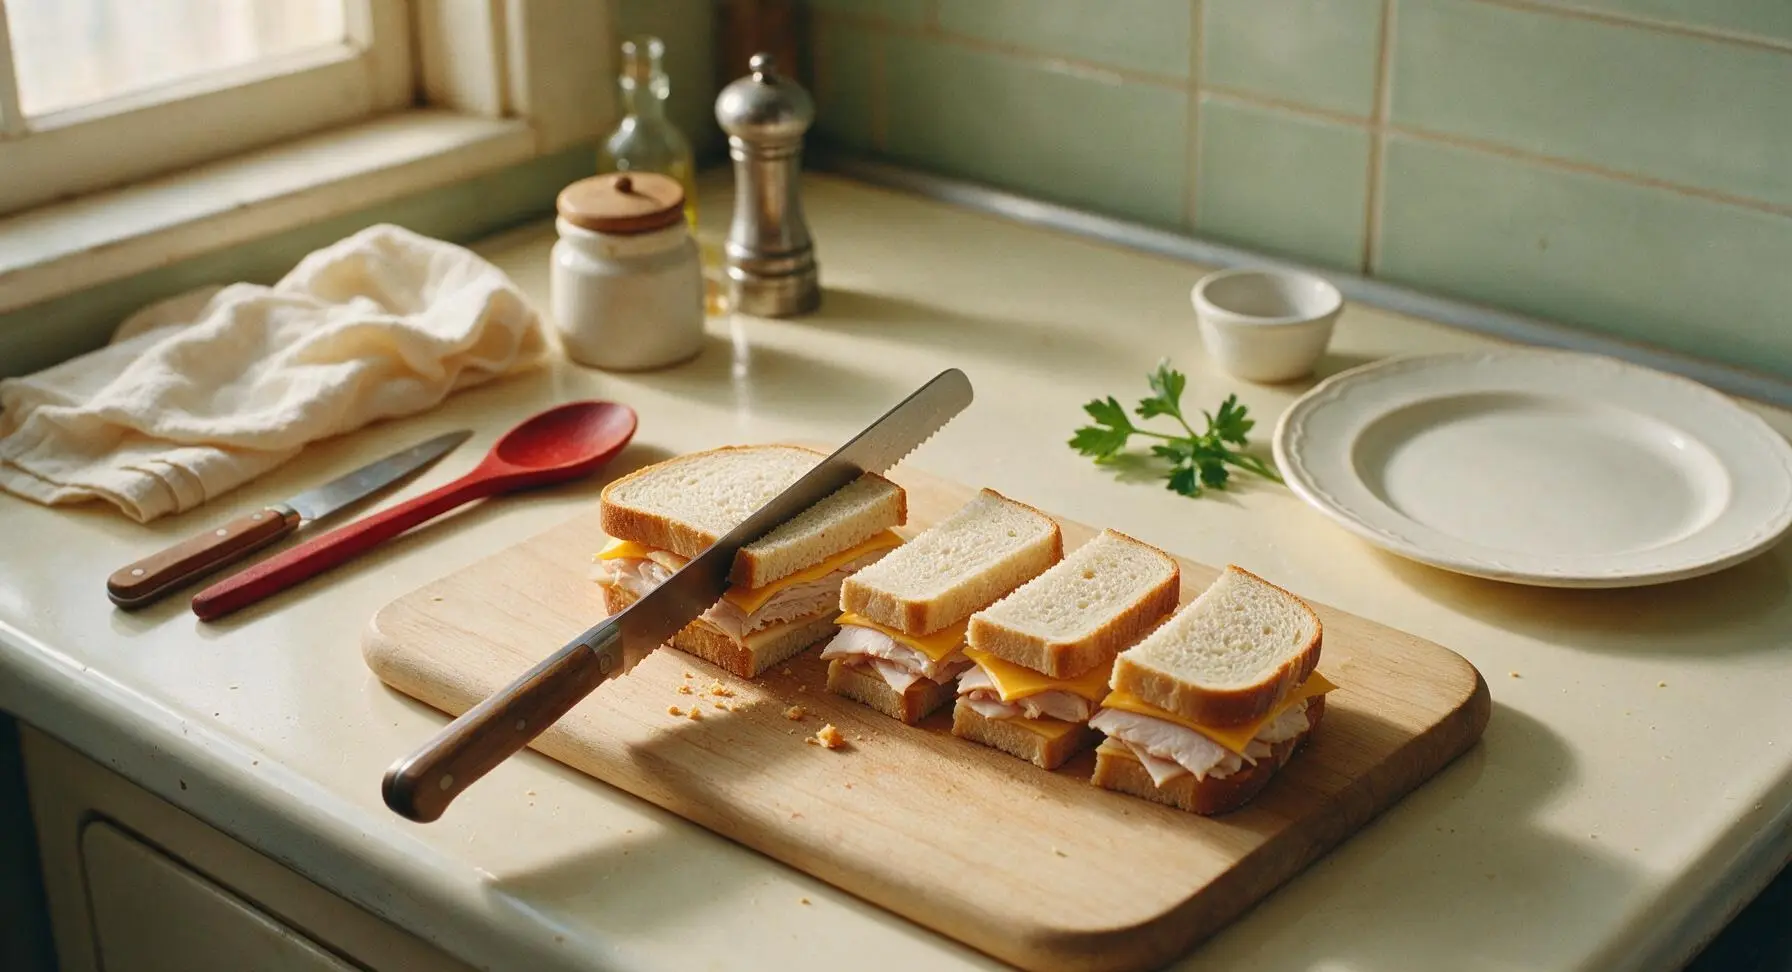
Use the serrated bread knife to cut each assembled sandwich diagonally from corner to corner, creating two triangular halves. Apply gentle, sawing pressure rather than pressing straight down to avoid pushing fillings out of the bread edges. Wipe crumbs from the knife edge between cuts if needed for clean slices.
Step 6
step6:Cut Sandwiches Diagonally
7

Plate and Serve

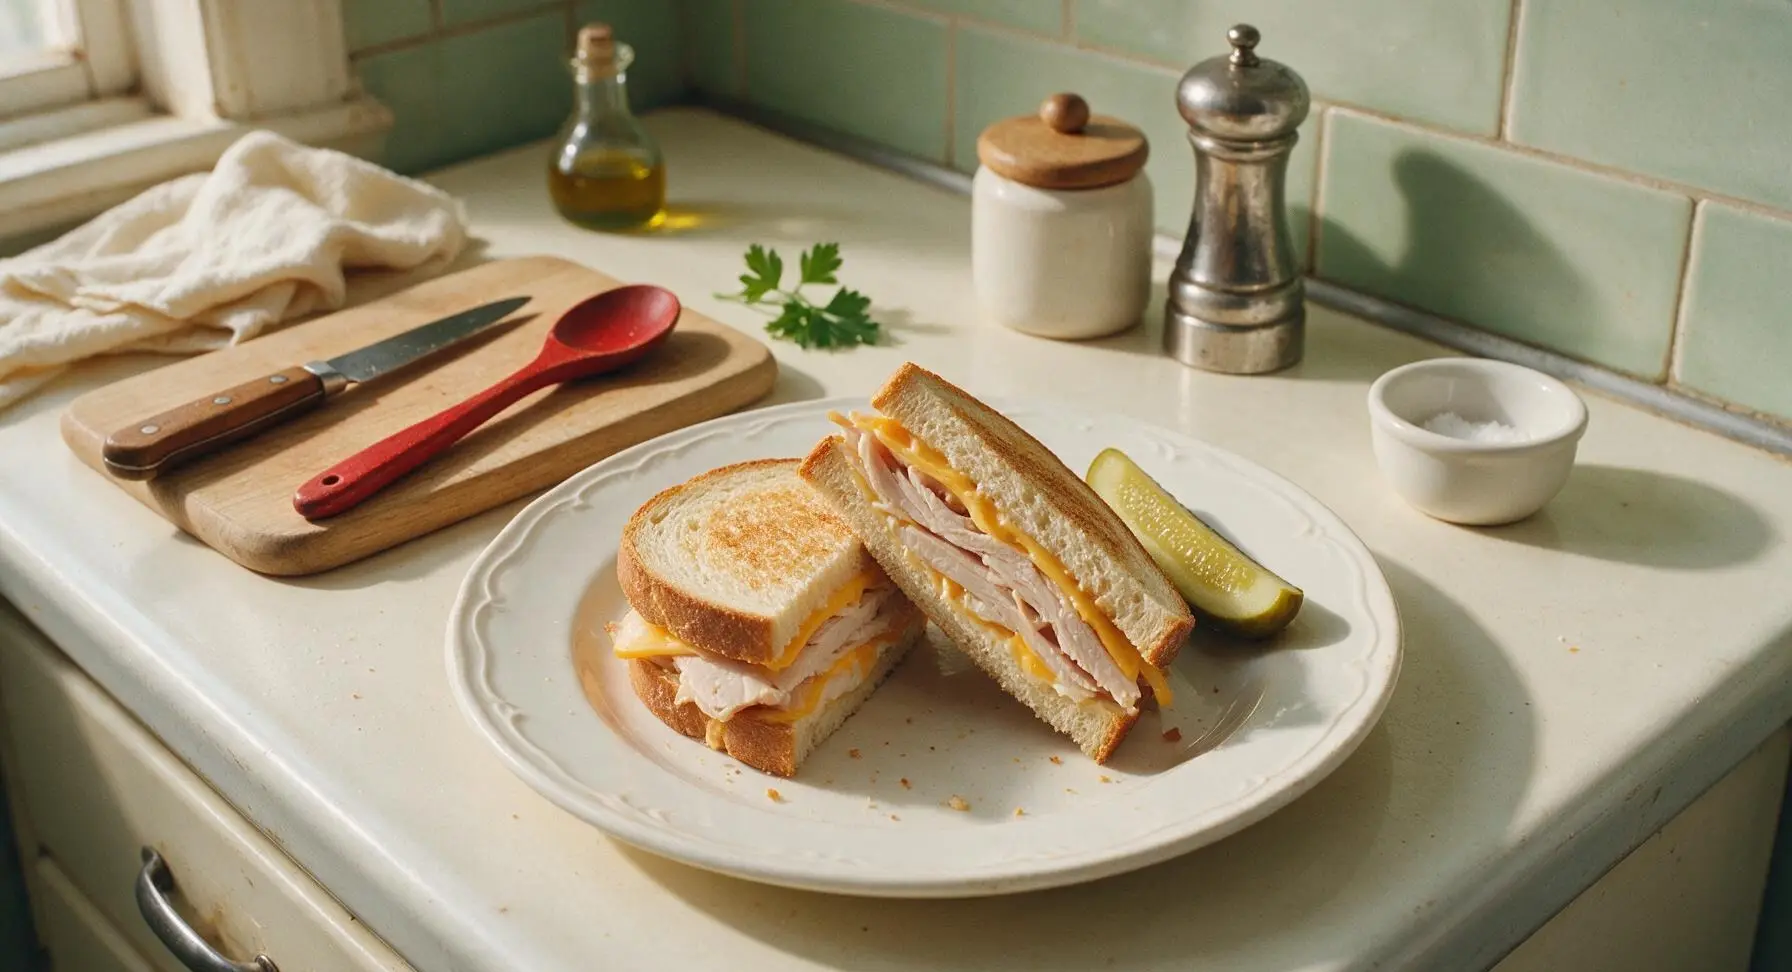
Transfer two cut sandwich halves (one full sandwich per serving) to the matte cream ceramic lunch plate, leaning the halves against each other slightly to show the layered filling. Add one dill pickle spear to the plate alongside the sandwich. Serve immediately for best texture, while bread is still slightly crisp and cheddar is soft from residual toast heat.
Step 7
step7:Plate and Serve

Tips

1.Pat tomato slices and washed lettuce completely dry with a towel before layering: excess surface water from produce will soak through toasted bread in as little as 5 minutes, leading to a soggy, unappetizing texture.
2.Spread the mayo-Dijon mixture all the way to the edges of every toast slice: the fat in the spread creates a waterproof barrier that locks out veggie juices, keeping bread crisp for up to 2 hours if packing the sandwich for a picnic or work lunch.
3.Use a gentle sawing motion with the serrated knife when cutting assembled sandwiches: pressing straight down will squish fillings out the sides of the bread, while sawing creates clean, neat cuts without deforming the sandwich layers.


✨ You May Also Like

Lunch
🍜 United States

Creamy, salty, tangy nostalgic Midwestern sandwich pairing rich peanut butter with crisp briny dill pickles for a fast, satisfying no-cook meal.

⏱️ 5 minutesLunch ★ 4.6
Lunch
🍜 United States

Crispy, melty pressed sandwich layered with savory roast pork, ham, Swiss cheese, pickles, and tangy mustard: a beloved Cuban-American comfort classic.

⏱️ 25 minuteLunch ★ 4.9
Lunch
🍜 United States

Hearty, briny New Orleans pressed sandwich stacked with cured Italian meats, provolone, and zesty olive salad, served cold for bold, portable flavor.

⏱️ 1 hour 20Lunch ★ 4.7
Lunch
🍜 United States

A tangy, creamy Southern American staple, this no-cook cheesy sandwich is packed with sharp cheddar and sweet pimentos for a satisfying, portable bite.

⏱️ 1 hour 15Lunch ★ 4.8
Lunch
🍜 United States

Crispy Cajun-spiced fried shrimp piled on crusty French bread with tangy remoulade and fresh toppings, the iconic Louisiana street food sandwich.

⏱️ 35 minuteLunch ★ 4.4
Lunch
🍜 United States

Stacked, savory deli-style corned beef sandwich with melted Swiss, tangy mustard, and crisp griddled rye— a fast, hearty, satisfying classic.

⏱️ 15 minuteLunch ★ 4.9

quick sandwiches:Frequently Asked Questions

1.Do I need a panini press or special equipment to get that crisp, lightly toasted bread? ▾
No fancy gear required! You can toast sourdough slices in a regular pop-up toaster on medium for 1 to 2 minutes, or crisp them in a dry skillet over medium heat for 30 seconds per side if you don’t own a toaster. A panini press works great if you have one, but it’s totally optional for this quick, low-fuss recipe.
2.Can I use regular deli-sliced turkey instead of roasted turkey breast? ▾
Absolutely! Deli-sliced roasted turkey is actually a perfect, convenient swap for this recipe. Opt for thinly sliced, low-sodium cuts if you can, since they layer easily without weighing the sandwich down. Skip thick, honey-glazed or heavily spiced turkey if you want the sharp cheddar and fresh veggie flavors to take center stage.
3.How do I keep the tomato from making my sandwich soggy? ▾
Great question! First, slice your beefsteak tomato to ¼-inch thickness, then pat both sides gently with a paper towel to soak up excess juice and seedy pulp before layering. Always tuck tomato slices between the turkey and cheese, not directly against the toasted bread, to create a natural moisture barrier.
4.How can I melt the cheddar without making a mess on my stovetop? ▾
You bet there’s a no-mess method! Place cheddar slices on your warm, just-toasted sourdough right after it comes out of the toaster—the residual heat will melt it perfectly in about 30 seconds. If you want extra gooey cheese, pop the cheese-topped bread on a microwave-safe plate for 10 seconds, no stovetop cleanup needed.
5.What if I don’t have sharp cheddar cheese on hand? ▾
Sharp cheddar adds that signature tangy bite that cuts through savory turkey, but you can easily swap it for other melty cheeses. Mild cheddar, white cheddar, smoked gouda, or even provolone work beautifully—just pick a cheese that melts smoothly, so you get that perfect creamy texture in every bite.
6.Can I make these sandwiches ahead of time for weekly meal prep? ▾
These sandwiches taste best eaten fresh right after assembly to keep the bread crisp and veggies crunchy, but you can prep components ahead. Slice tomato, wash and fully dry lettuce, and portion turkey slices 2 to 3 days in advance, storing them in separate airtight containers in the fridge. Assemble right before eating to avoid sogginess.
7.Is green leaf lettuce the only type of lettuce that works here? ▾
Not at all! Green leaf has a soft, mild crunch that pairs perfectly with the other fillings, but you can swap it for other crisp, fresh greens. Butter lettuce, romaine heart leaves, or even a handful of peppery arugula work great—just make sure your greens are completely dry before adding them to keep the bread crisp.
8.How do I make sure this recipe actually only takes 10 minutes total? ▾
Prep smart to cut down on wasted time! Pull all your ingredients out on the counter first before you start toasting the bread. Toast the sourdough while you slice the tomato and pat it dry, then layer ingredients immediately once the bread is done. No extra cooking steps means you’ll be eating in 10 minutes flat, no delays.
9.Can I add extra spreads or condiments to this sandwich? ▾
Of course! This base recipe is super customizable. A thin layer of whole-grain mustard, mayo, spicy aioli, or even a swipe of leftover cranberry sauce pairs beautifully with turkey and cheddar. Just spread condiments on the inner side of the toasted bread, not against the veggies, to prevent sogginess as you eat.
10.My cheddar isn’t melting all the way—what am I doing wrong? ▾
This usually happens if your bread cools down too fast before you add the cheese. Make sure you place cheese slices directly on hot, just-toasted bread immediately after it comes out of the toaster or skillet. If it still isn’t melting, pop the cheese-topped slice under a low broiler for 20 seconds, watching closely to avoid burning.
11.Can I adjust this recipe to make it gluten-free? ▾
Definitely! Simply swap the regular sourdough for your favorite gluten-free sourdough-style sandwich bread, toasting it slightly longer than regular bread to get that same crisp, sturdy texture. Double check that your deli turkey is labeled gluten-free (some cuts have hidden wheat fillers) to keep the entire sandwich gluten-free.
12.What’s the best order to layer ingredients for balanced, non-sliding bites? ▾
Start with a slice of warm, cheese-toasted bread, add your turkey, then the patted-dry tomato slices, then a layer of dry lettuce, then top with the second bread slice (also cheese-side in, if you love extra cheese). This order creates moisture barriers so no single ingredient slides out when you take a bite.
13.Can I add extra veggies without making the sandwich fall apart? ▾
Absolutely! Thinly sliced cucumber, pickled red onions, or even a few slices of ripe avocado are fantastic additions. Just keep extra veggie slices thin, pat any wet ingredients dry first, and tuck them between the turkey and lettuce to keep the stack stable and prevent fillings from sliding out as you eat.
14.Is this sandwich a good option for kids’ school lunches? ▾
It’s perfect for school lunches, with one small tweak! Let the toasted bread cool completely for 2 to 3 minutes before assembling, and pack tomato slices separately if your kid hates soggy bread. You can cut the sandwich into fun finger-sized sticks, and it holds up well in an insulated lunch bag for 3 to 4 hours.
15.How do I cut down on cleanup even more for this recipe? ▾
Skip extra dishes entirely! Use a single paper towel to pat tomato slices dry, and assemble your sandwiches right on that paper towel instead of pulling out a cutting board. If you toast bread in a toaster, there’s no skillet or baking sheet to wash, so you’ll only have a butter knife to clean if you use condiments.

Comments (13)

2 days ago

OMG these are a total game changer for busy school mornings! I threw these together before the bus showed up and my kids devoured them before I even finished packing my own lunch. I added a little smear of Dijon because we love that tang, and the melted cheddar was chef’s kiss. SO good.

yesterday

Wait the Dijon add is genius! My oldest hates plain turkey so I bet that extra zing will win him over, gonna try that tomorrow morning.

yesterday

Love that Dijon swap! A little whole grain Dijon pairs perfectly with savory turkey and melted cheddar, so glad these worked for your busy morning rush!

1 week ago

I make a batch of these every Sunday for quick workday lunches and they hold up so well! I toast the bread just a tiny bit first so it doesn’t get soggy, and wrap them individually in parchment paper. 3 minutes cook time is no joke—even when I’m running out the door I can pop one in the pan and be out the door fast.

5 days ago

Great call toasting the bread first for meal prep! That’s such a smart hack to keep texture perfect even after a few days in the fridge, thanks for sharing the tip!

5 days ago

Brought these to my neighborhood block party last weekend and they were gone in 10 minutes flat! I cut them into quarter-sized sliders, added a little pickled jalapeño to half for the folks who like heat, and everyone was asking for the recipe. Who knew something so easy would be such a hit?

3 days ago

The pickled jalapeño add sounds insane! I’ve been looking for ways to jazz up basic turkey sandwiches, that’s going on my grocery list for this week.

3 days ago

As a college student with barely a working stovetop and 0 cooking skills, this recipe saved me from eating another sad bag of chips for dinner. I used pre-sliced turkey and pre-shredded cheddar, didn’t even measure anything, and it came out perfect. 10/10, will make every single week.

2 weeks ago

I made these last week with regular sourdough and they were absolutely delicious, but has anyone tried this with gluten free sourdough? My sister is visiting next week and she’s GF, and I’ve had bad luck with GF bread getting too crispy or falling apart when I make grilled sandwiches, so I’m nervous to waste ingredients!

1 week ago

I made it with GF white bread last week! Just keep the heat on medium-low instead of cranking it up, and the cheese melts perfectly before the bread burns. Came out great!

1 week ago

Great question! Gluten free bread works beautifully here—just like GFfoodie42 said, medium-low heat is key to getting that perfect melt without toasting the bread too fast. Hope you love it!

30 minutes ago

These are solid, but I found that 3 minutes on the stovetop was a little long for my stove—my cheddar oozed all over the pan and the bread got a touch too dark. Next time I’ll do 2 minutes max, but the flavor was totally there.

5 minutes ago

Thanks for the honest feedback! Stovetop temps can vary a lot between models, so adjusting cook time to match your burner is a great call. So glad the flavor still hit for you!

2 weeks ago

I packed these for a day hike last weekend and they were the perfect trail food! No messy drips, hearty enough to keep us going for 4 miles, and they tasted just as good eaten cold at the summit as they did fresh off the pan. Will be adding these to my regular hiking rotation.

yesterday

My 7 year old has turned up his nose at every sandwich I’ve made for the last 3 months, so I went into this fully expecting him to push it away. Y’all. He asked for SECONDS. I almost cried. No weird ingredients, super fast, I’m never making another lunch again lmao.

2 hours ago

This is the exact energy I needed today! My 6 year old is going through a ‘no food except chicken nuggets’ phase so I’m testing these for lunch tomorrow, fingers crossed!

30 minutes ago

That’s the best win we could ask for! Nothing beats a meal that even the pickiest eaters get excited about, hope it becomes a regular in your house!

2 hours ago

I keep all the ingredients for these at my desk now for when I forget to pack lunch. We have a little panini press in the office kitchen, and it takes literally no time to make, way better than spending $15 on a sad deli sandwich down the street.

30 minutes ago

Wait keeping the ingredients at your desk is genius! I’m so tired of overpaying for takeout near my office, I’m stealing this hack immediately.

3 days ago

I swapped the regular cheddar for smoked cheddar and oh my GOD, it’s next level. The smoky flavor pairs so well with the turkey, I added a couple slices of crispy bacon too because why not, right? No regrets.

2 days ago

Smoked cheddar?! That’s the upgrade I didn’t know I needed. I have a block in my fridge right now, I’m making these for dinner tonight.

2 days ago

Smoked cheddar and crispy bacon sound like incredible additions! Love when people put their own delicious twist on the recipe, that combo sounds absolutely mouthwatering.

just now

Made these at 1am after getting home from a concert and they hit DIFFERENT. I was too tired to cook anything fancy, had all the ingredients on hand, and the melted cheese was exactly what my post-show self needed. 10/10 late night eat.

5 minutes ago

Super easy recipe for a total beginner like me! The only thing I messed up was I forgot to butter the outside of the bread first, so it didn’t get that crispy golden crust, but it still tasted really good. Next time I’ll remember for sure!

just now

Welcome to cooking, so glad you gave the recipe a try! The butter on the outside makes such a difference for that crispy texture, I know your next batch will turn out perfect!

1 week ago

I make these after my morning gym sessions when I need something quick and high protein to hold me over until lunch. I add a handful of spinach and a slice of tomato for extra veggies, and it’s perfectly balanced, no mid-morning crash. Obsessed.



