
Rachel Melt
intro
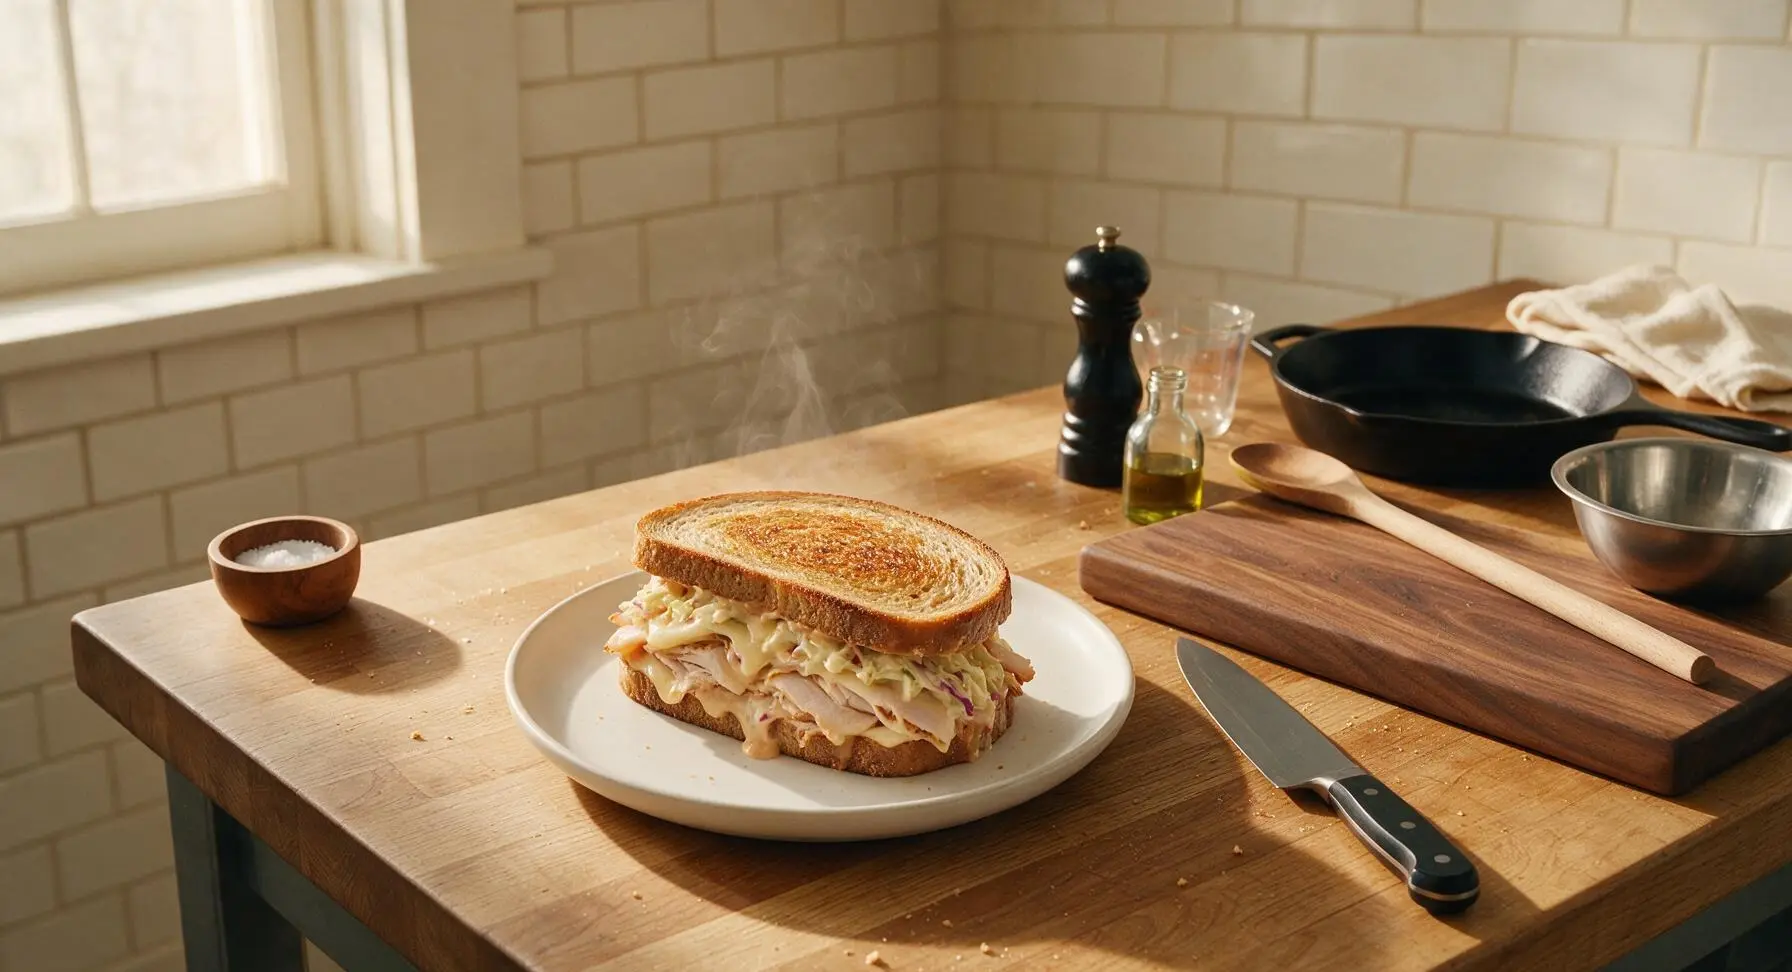
A toasty, tangy American deli classic, the Rachel Melt piles tender turkey, creamy coleslaw, melted Swiss, and zesty Russian dressing on buttery grilled rye for a crisp, gooey bite.
Ingredients
Steps
Drain Coleslaw Well
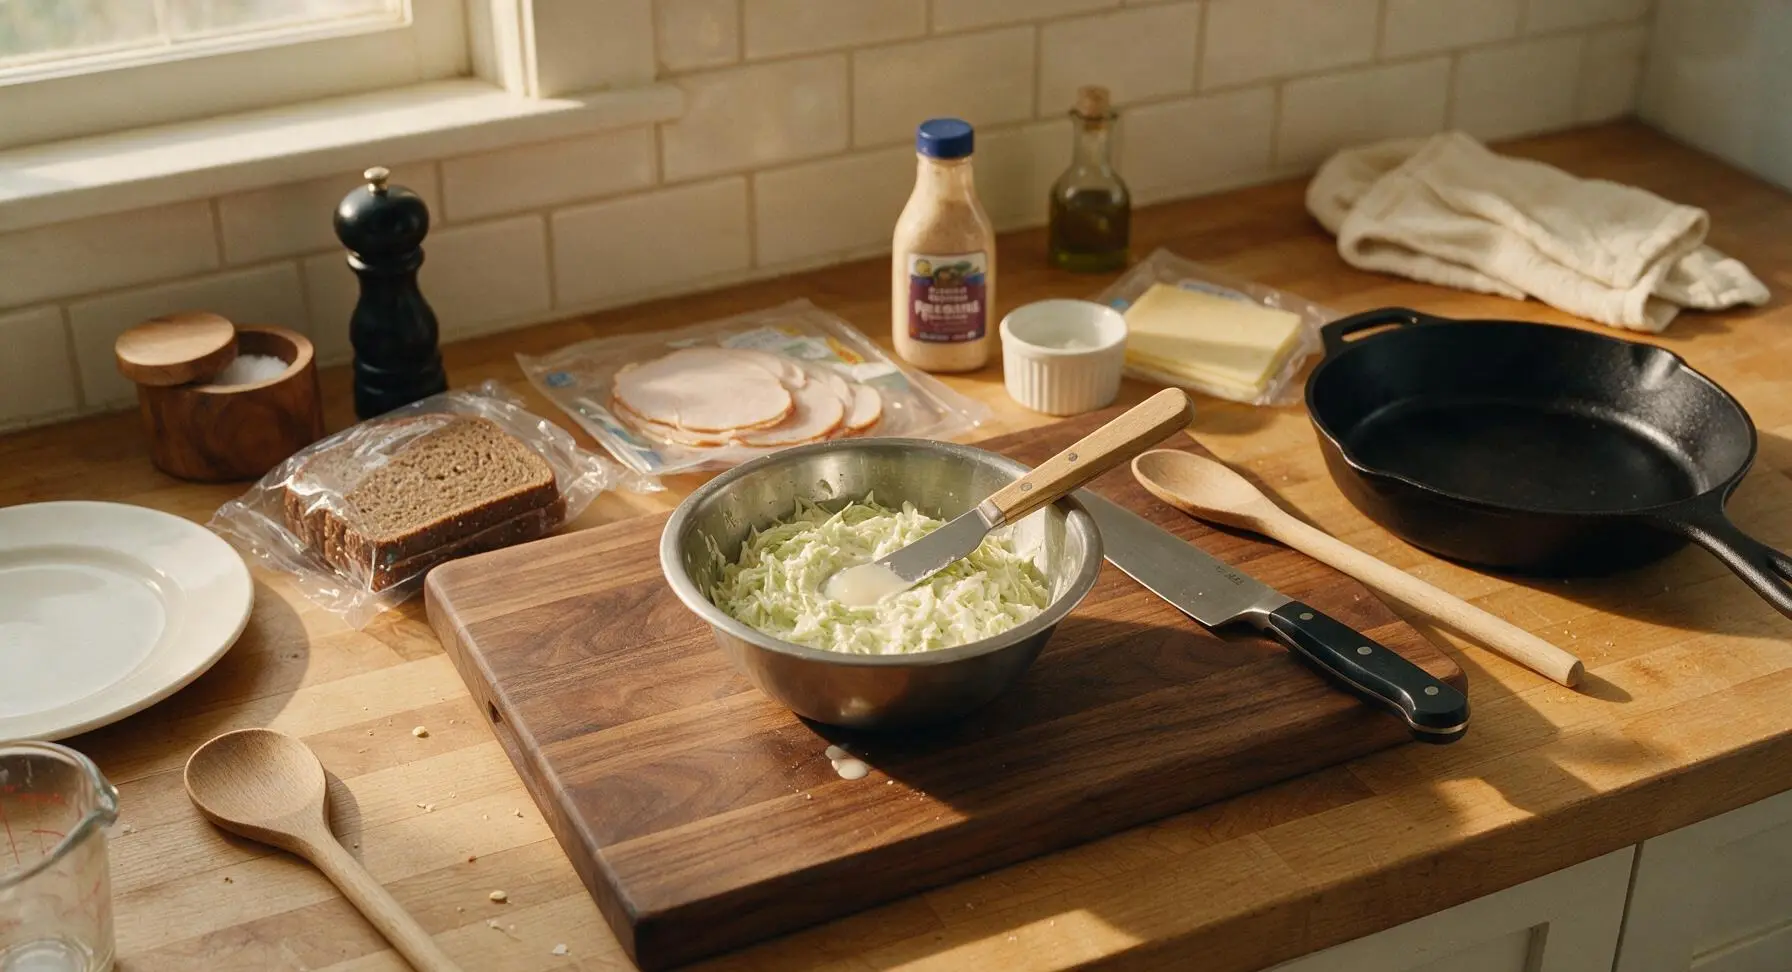
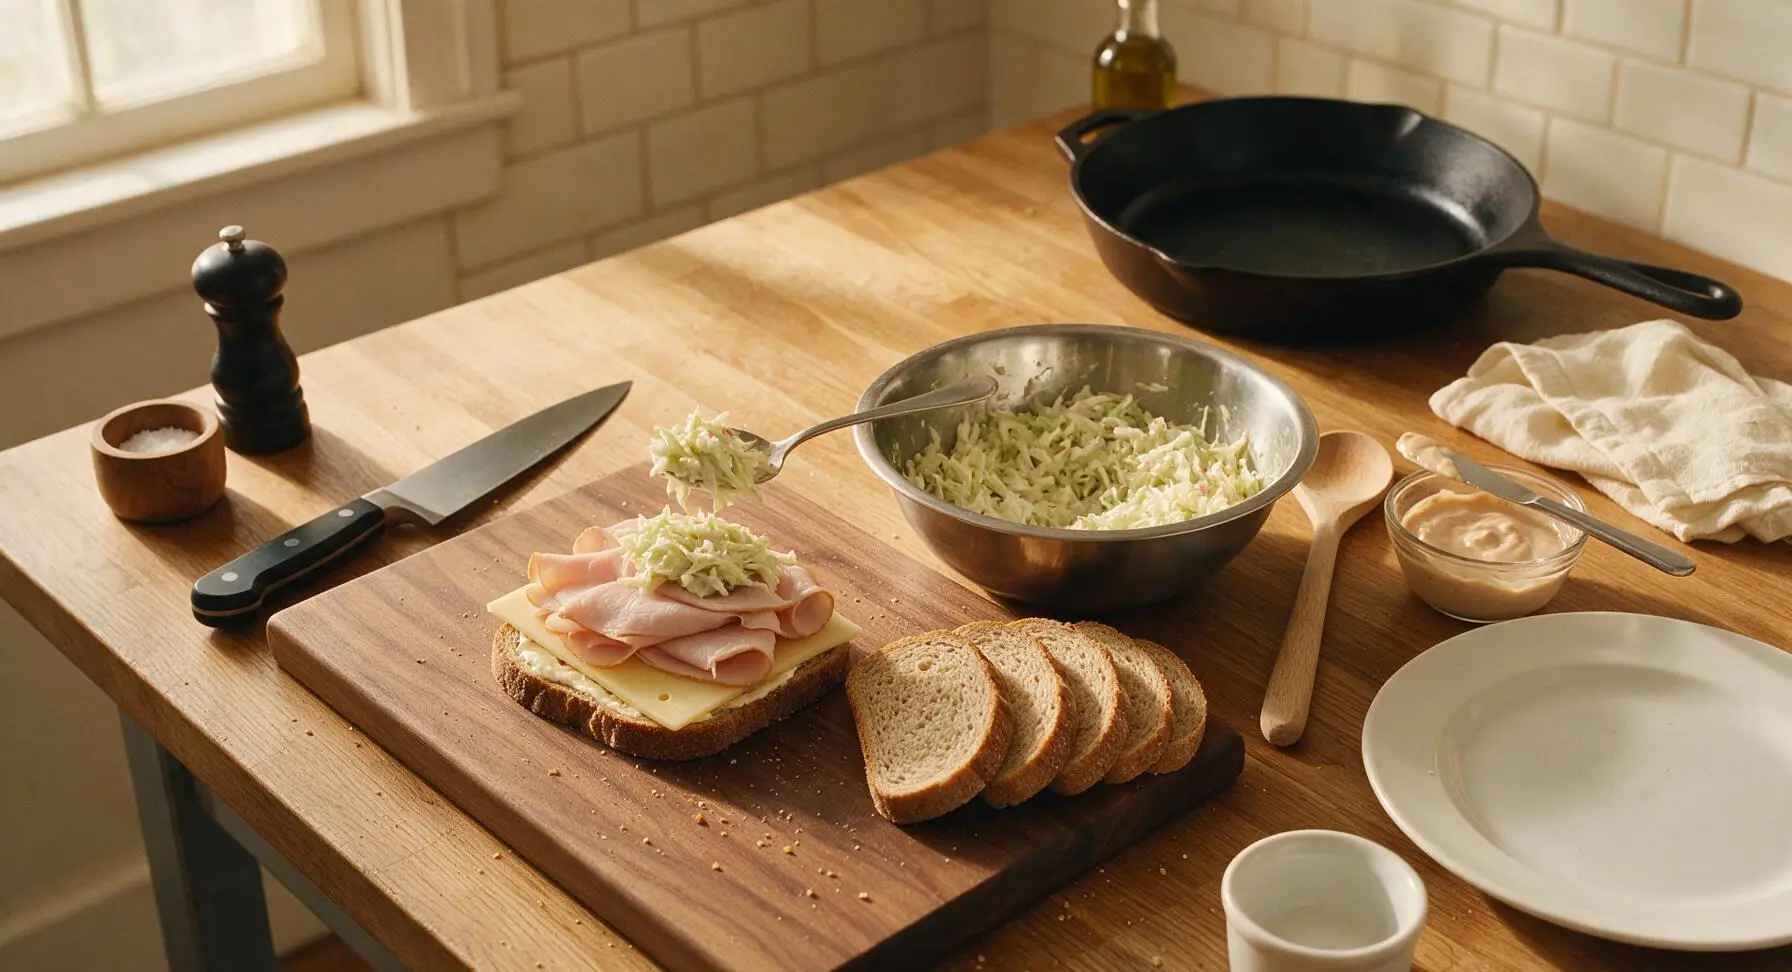
Scoop 240ml (1 cup) of creamy coleslaw into the small brushed stainless steel mixing bowl. Press firmly against the coleslaw with the back of the beech-handled butter knife to squeeze out excess creamy dressing and cabbage moisture, pouring off any collected liquid from the bowl. Well-drained coleslaw will hold its shape when lifted, with no free liquid pooling at the bottom of the bowl; this is critical to avoid soggy bread. Set drained coleslaw aside.
Butter Rye Bread Slices
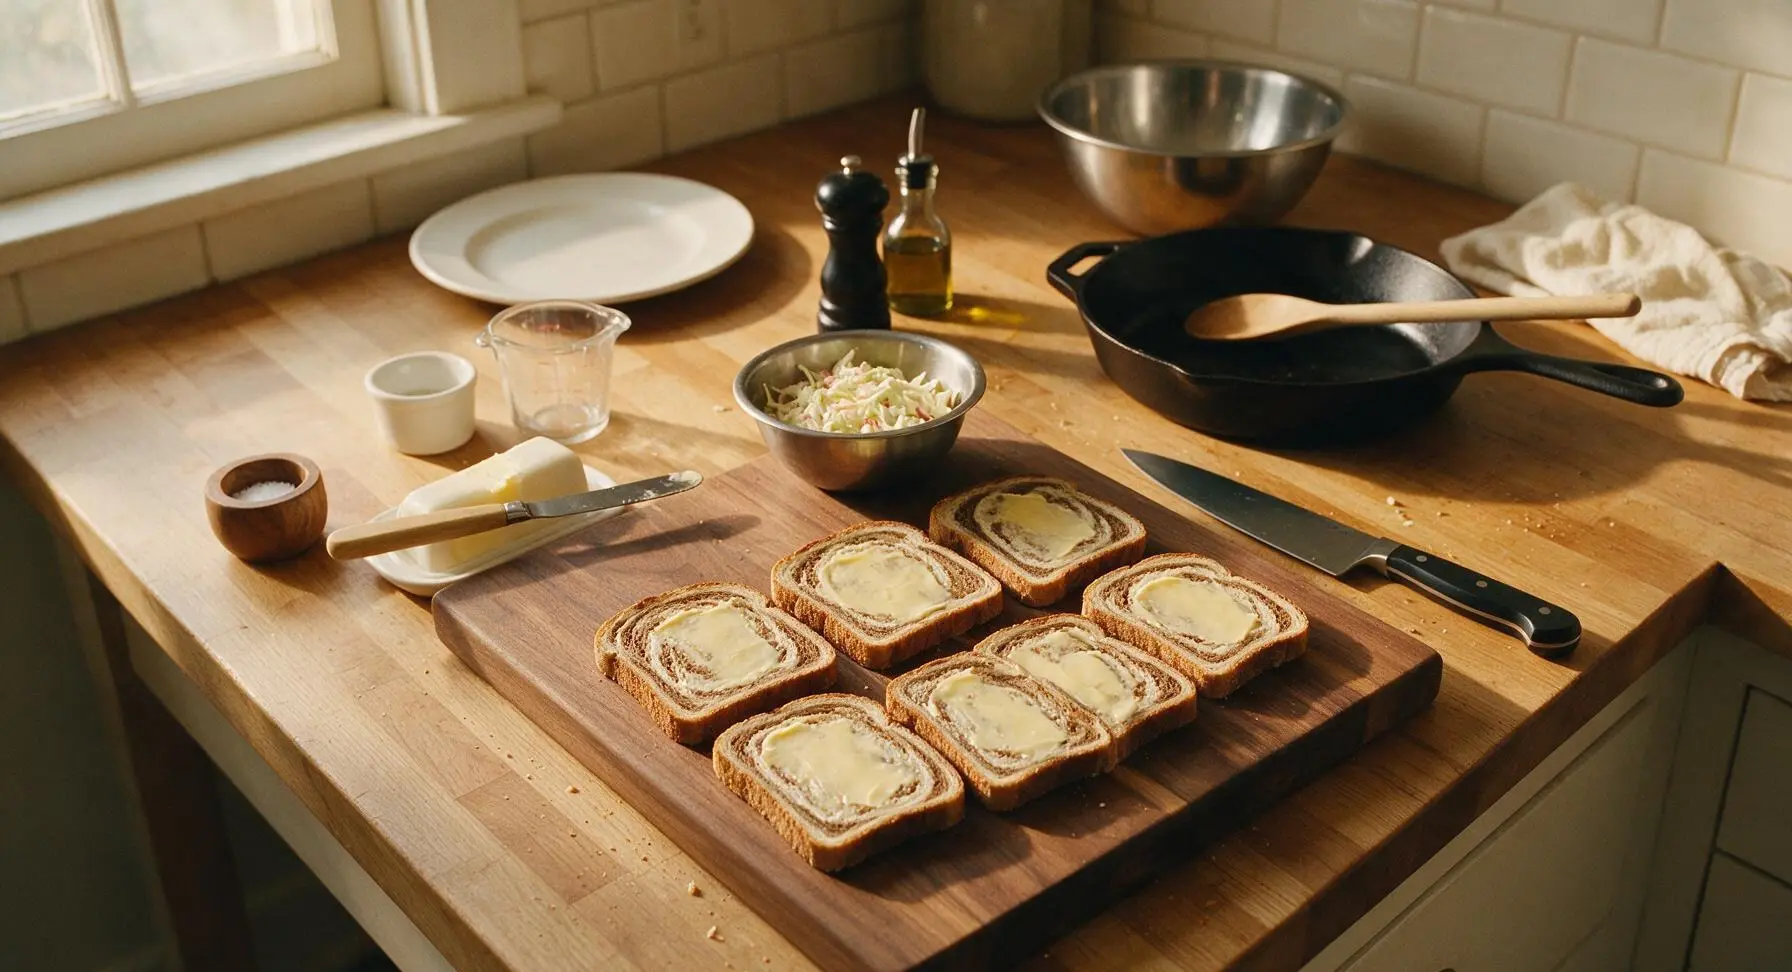
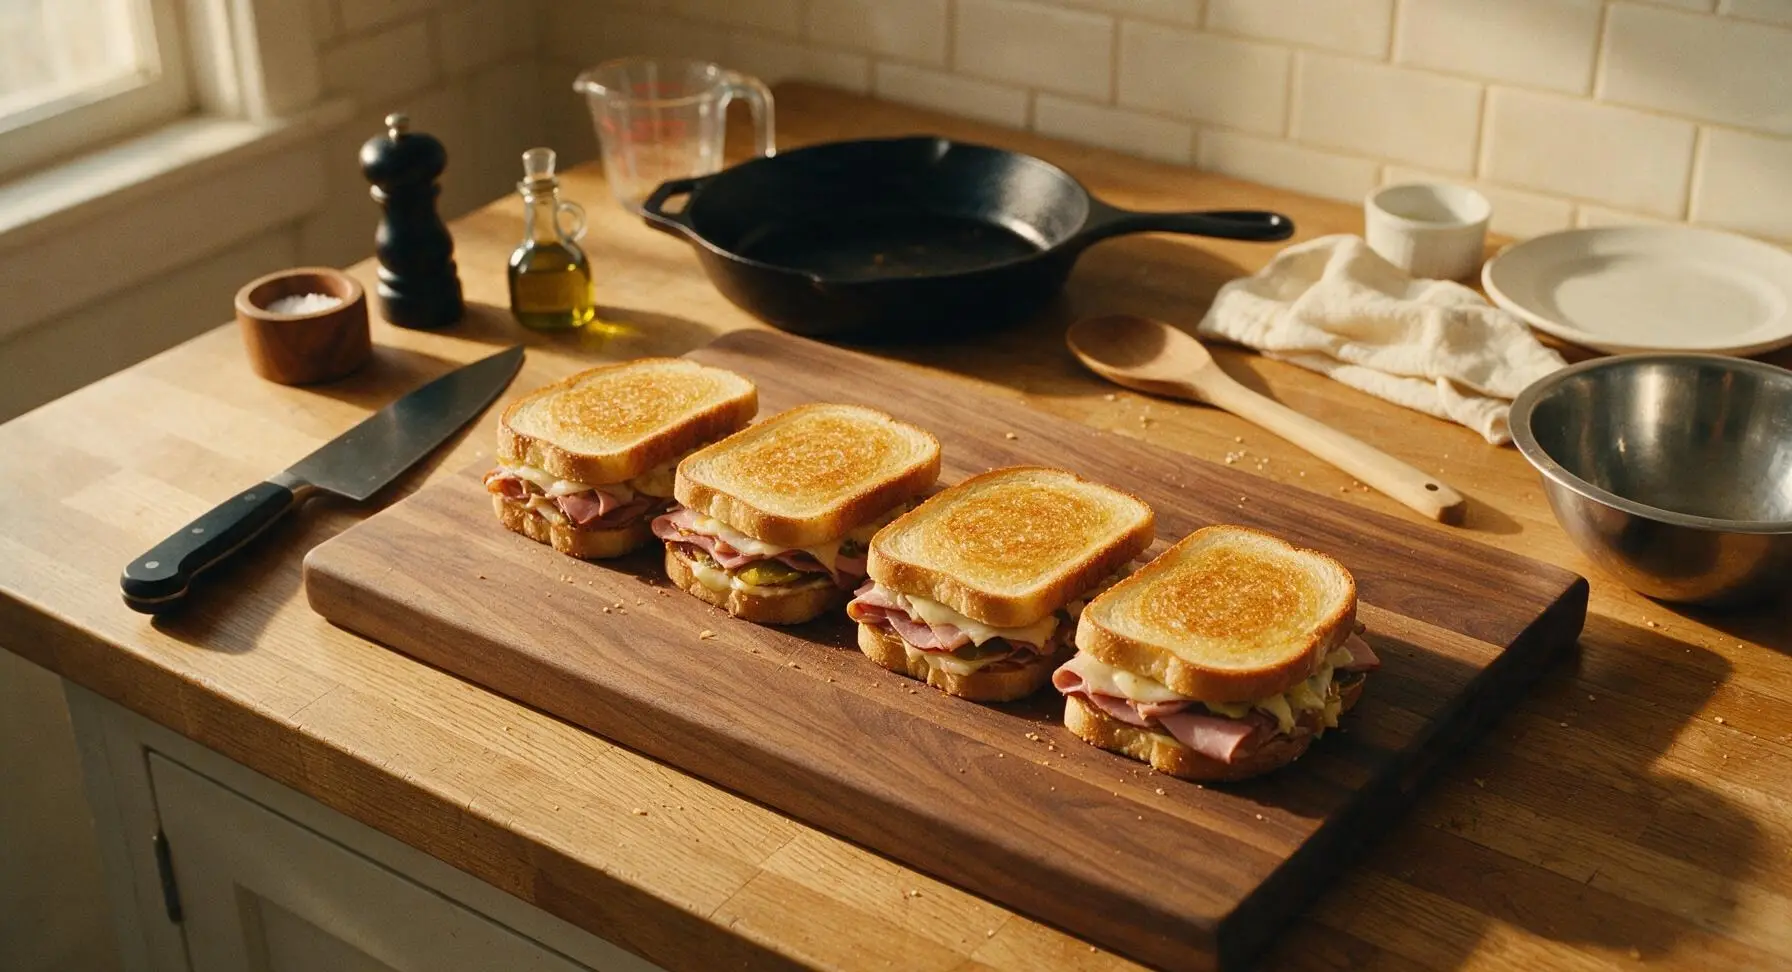
Lay all 8 slices of marbled rye bread flat on the honey maple cutting board. Use the beech-handled butter knife to spread 1 teaspoon of softened unsalted butter evenly across one entire side of each bread slice. The butter layer should be thin enough to faintly see the marbled rye grain through it, with no thick clumps that will burn during grilling.
Layer Sandwich Fillings
Flip 4 of the bread slices so the buttered side faces down on the cutting board. Spread 1 tablespoon of Russian dressing evenly across the unbuttered side of each flipped slice. Top each with 1 slice of Swiss cheese, 85g thinly sliced deli turkey (folded to fit the bread without hanging over edges), 60ml (1/4 cup) firmly packed drained coleslaw, and a second slice of Swiss cheese. Spread the remaining 1 tablespoon of Russian dressing across the unbuttered side of the remaining 4 bread slices, then place them dressing-side down on top of the fillings, buttered side facing outward, to form 4 complete sandwiches. Press down gently on each sandwich to help layers adhere.
Preheat Skillet to Medium-Low
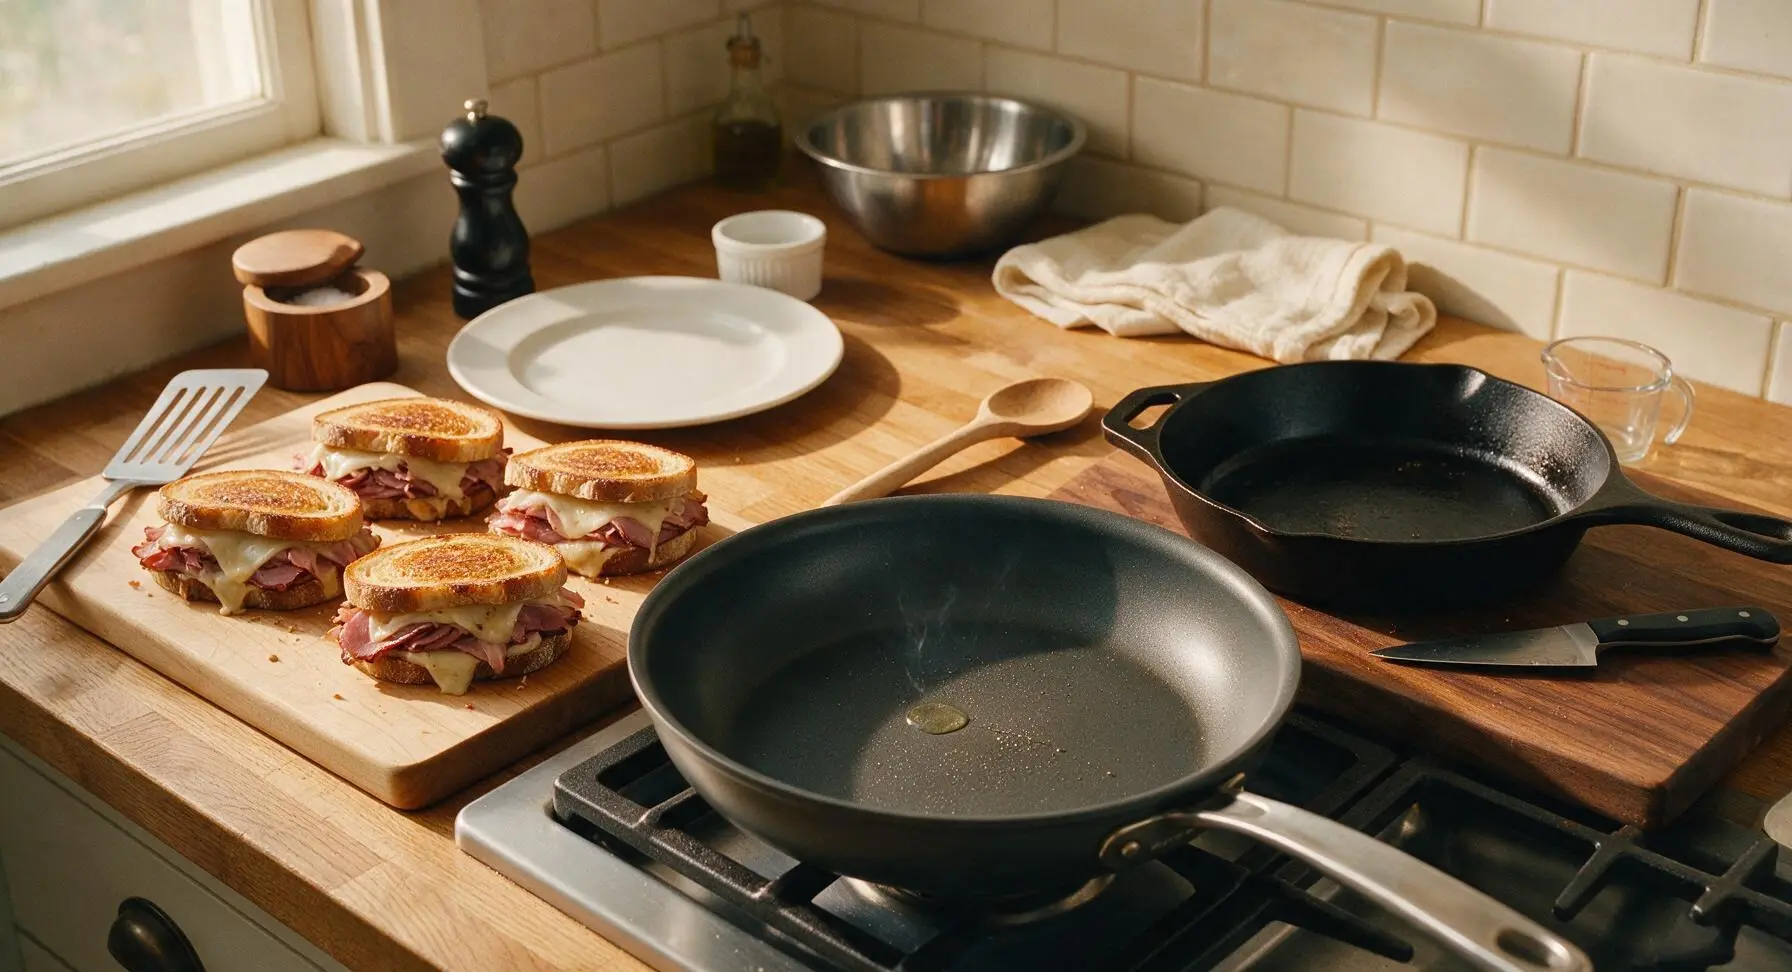
Place the 10-inch matte charcoal non-stick skillet on the stovetop over medium-low heat (160°C / 325°F). Let it preheat for 3 minutes; the pan is ready when a tiny drop of water sizzles and dances across the surface without evaporating instantly. Do not use higher heat, as this will burn the bread exterior before the cheese melts through the center.
Grill First Sandwich Side
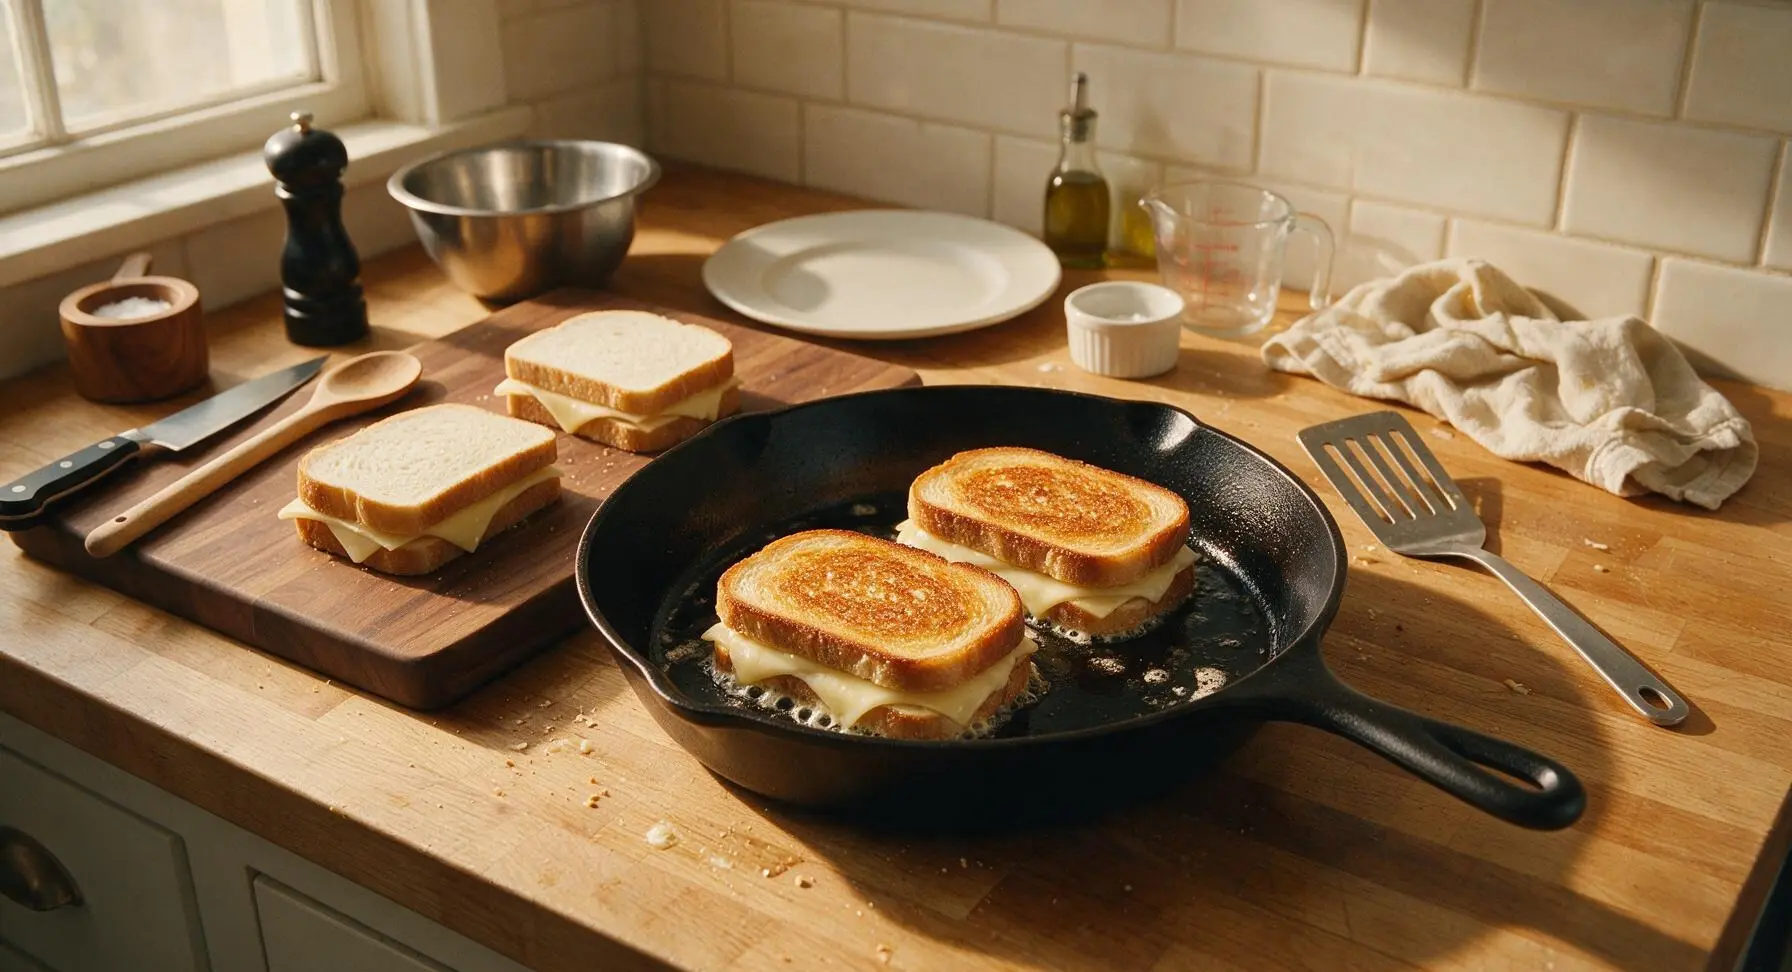
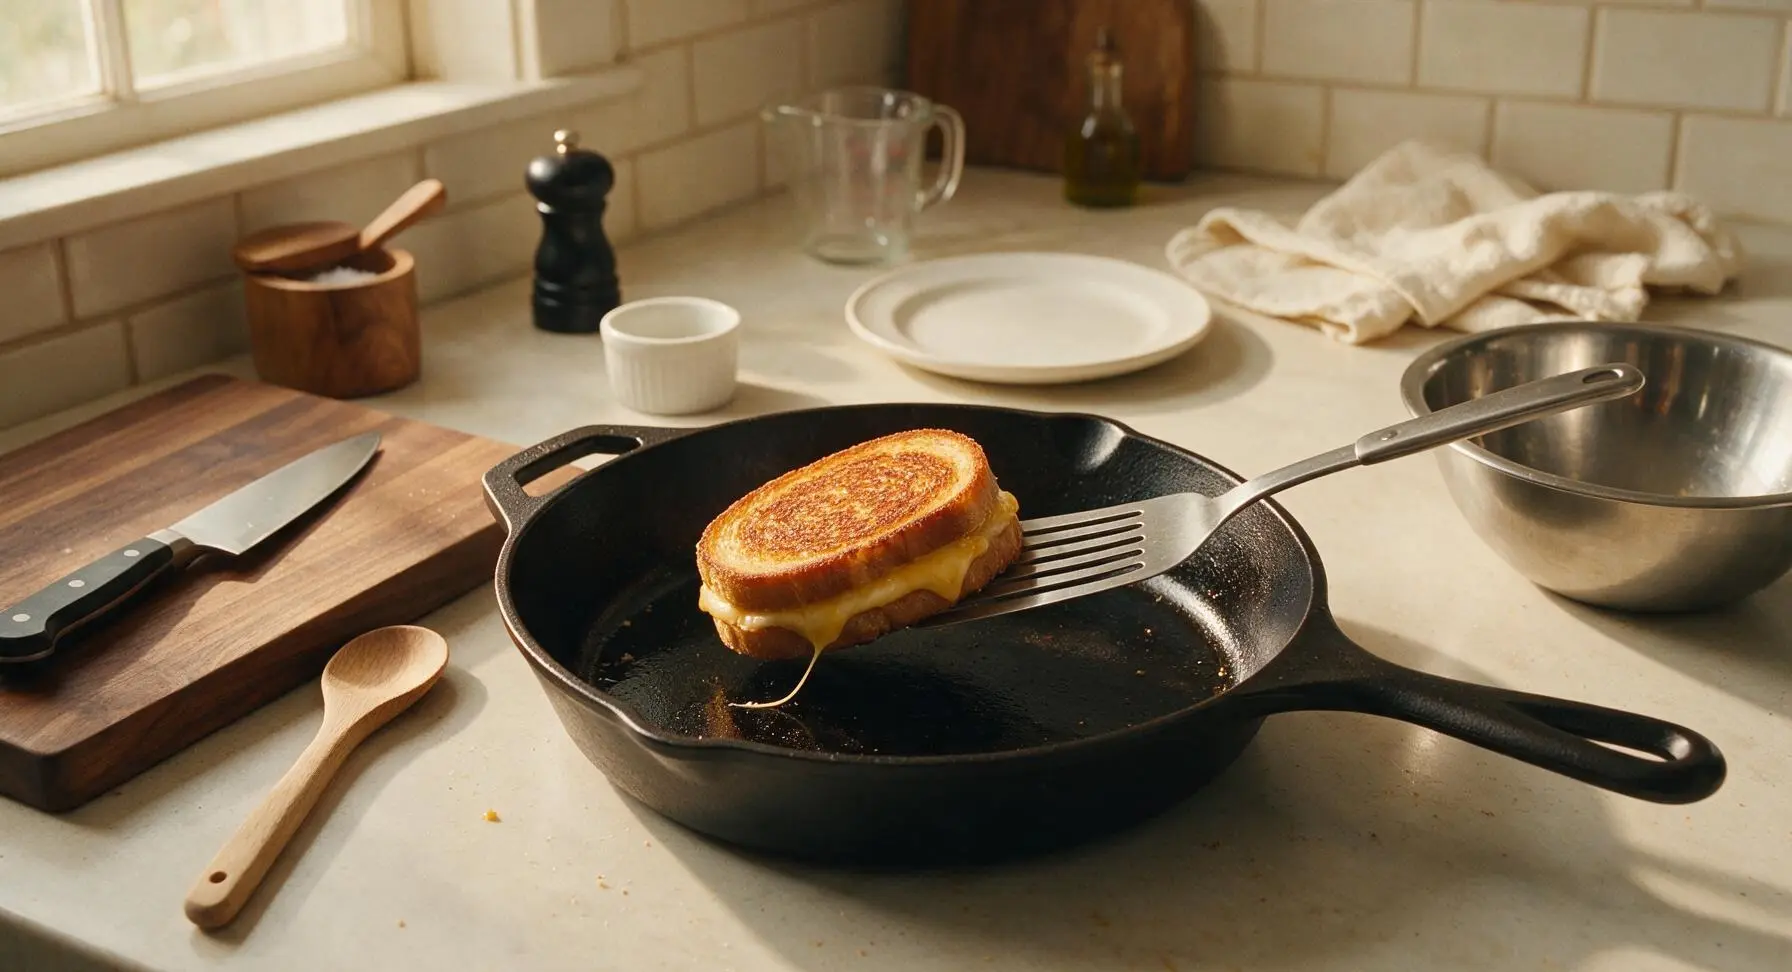
Carefully place 2 sandwiches in the preheated skillet, leaving 2cm of space between them. Cook for 4-5 minutes without moving, until the bottom bread slice is deep golden brown and crisp, and the bottom layer of Swiss cheese starts to melt and bubble slightly around the sandwich edges. Resist pressing down on the sandwiches with the spatula while cooking, as this squeezes out filling and creates soggy bread.
Flip and Cook Until Melted
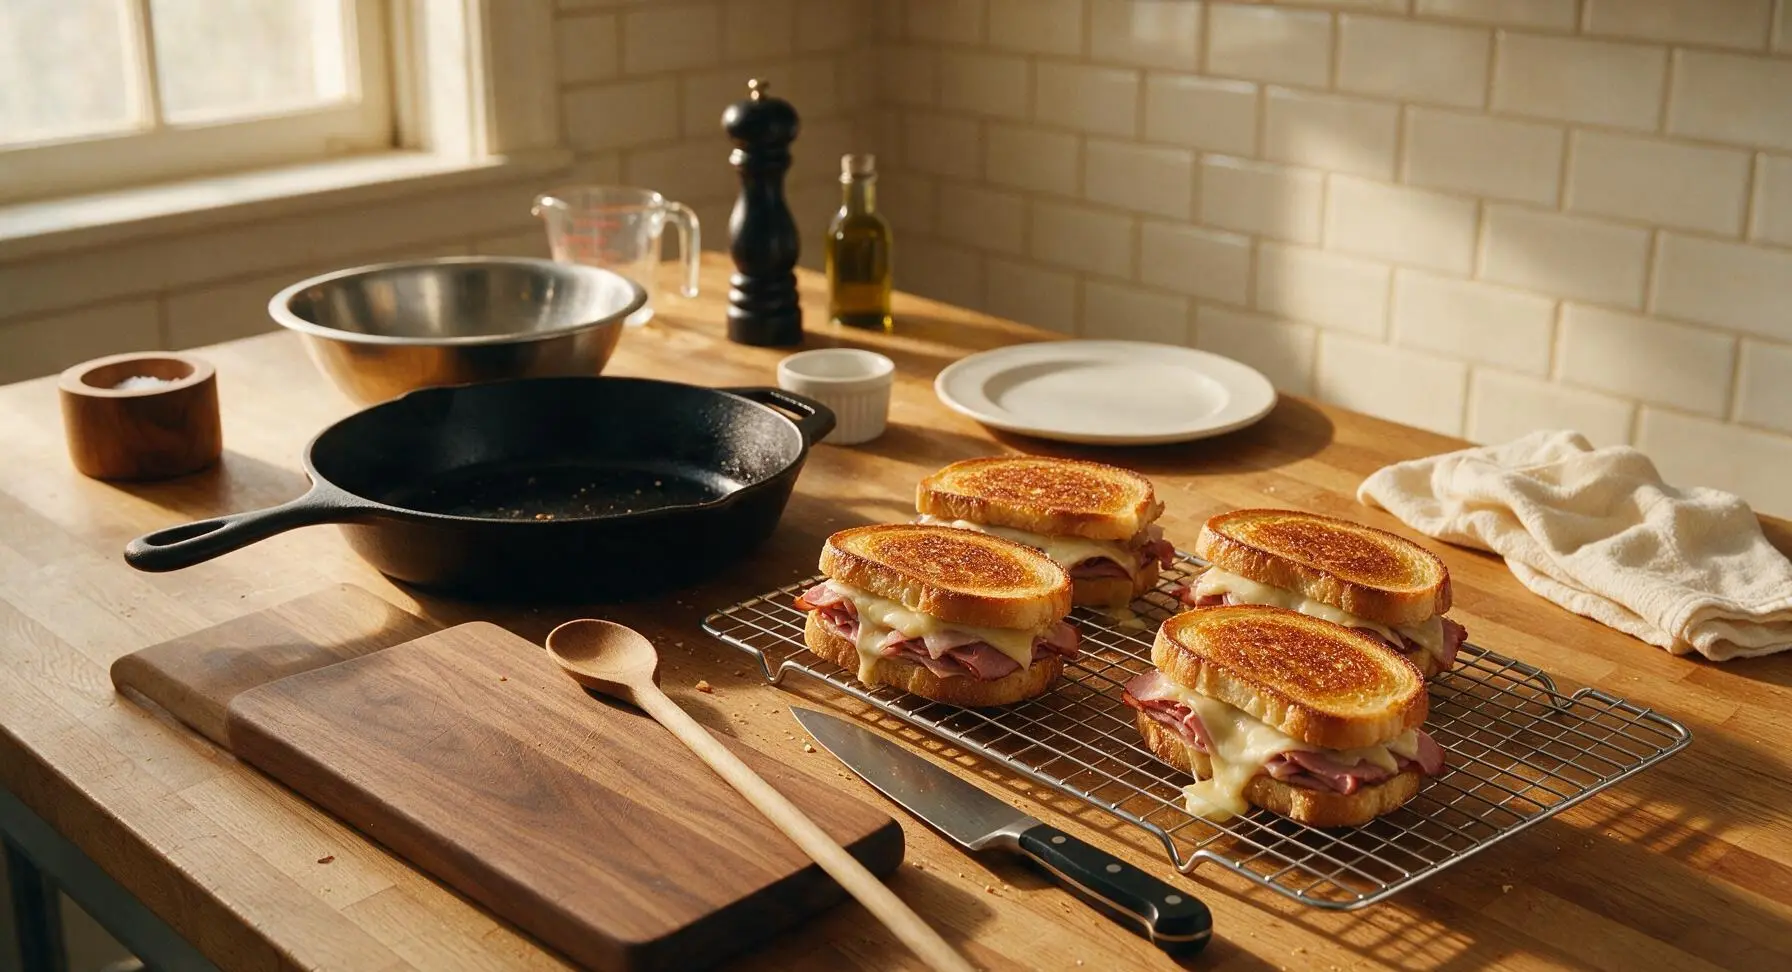
Slide the slotted stainless steel turner fully under each sandwich to support the entire bottom layer, then flip gently to avoid spilling filling. Cook the second side for another 3-4 minutes, until the bread is equally golden and crisp, and all Swiss cheese is fully melted and oozing slightly from the sandwich edges. Transfer cooked sandwiches to the chrome wire cooling rack to rest for 1 minute, then repeat the cooking process with the remaining 2 sandwiches.
Cut and Plate Melts
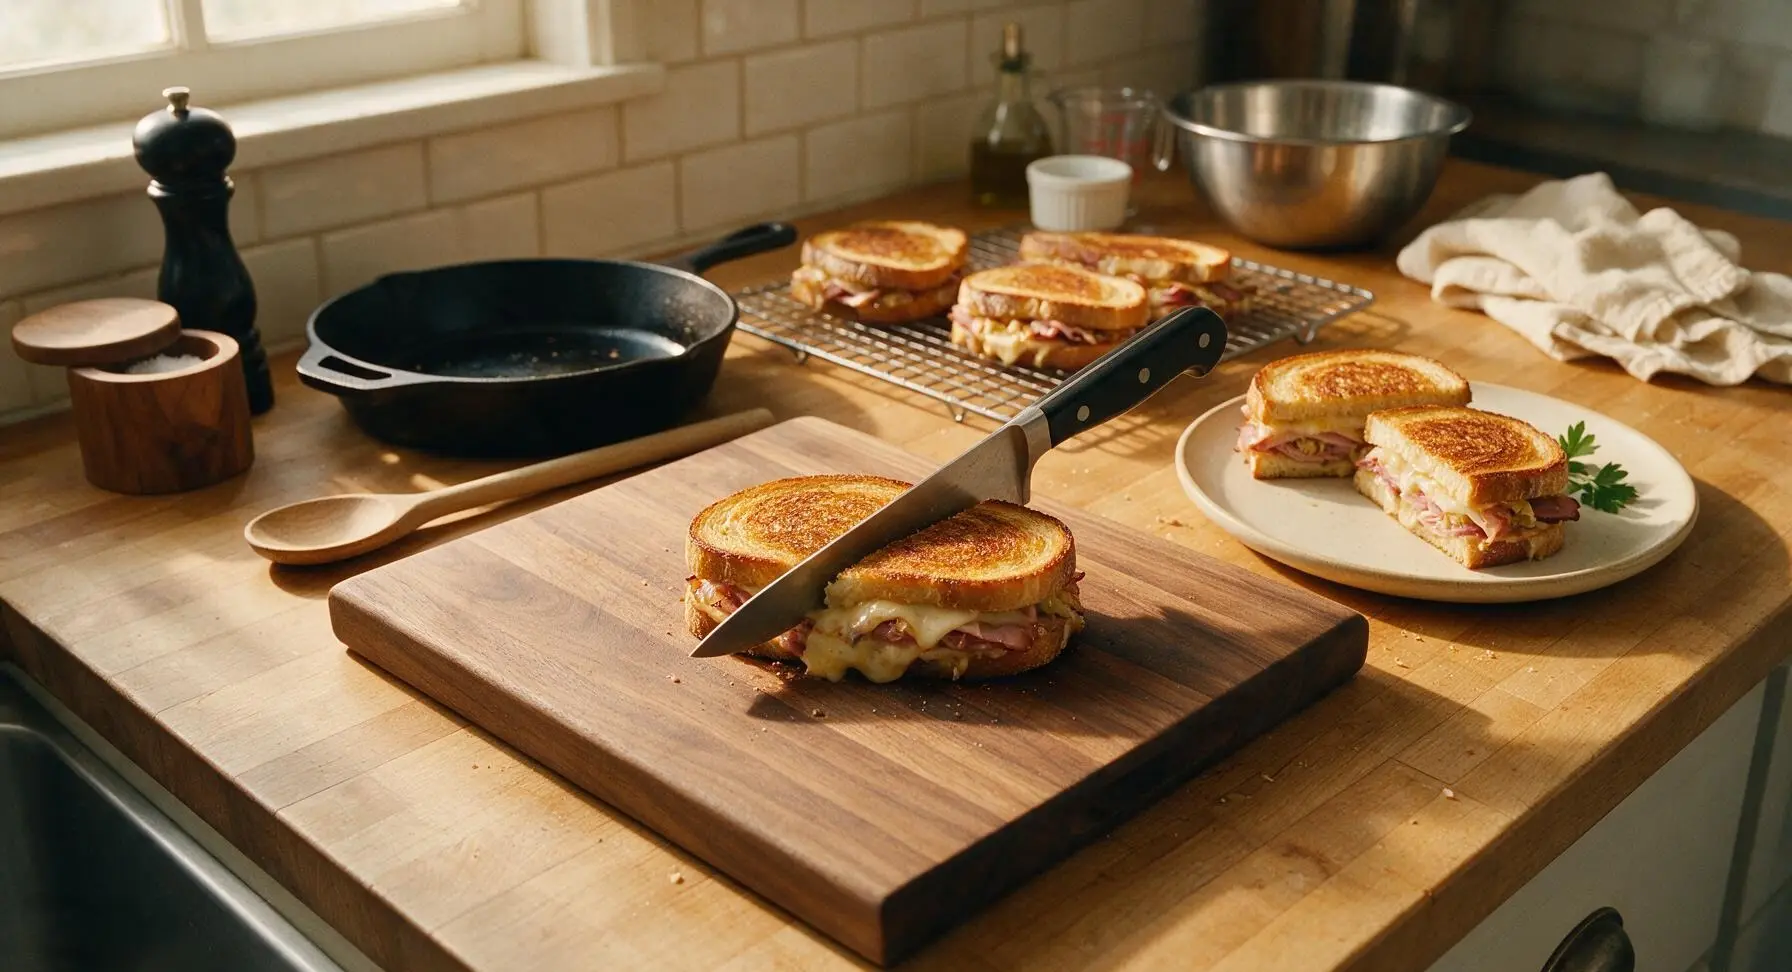
Transfer rested sandwiches one at a time back to the honey maple cutting board. Use the 8-inch chef knife to cut each sandwich diagonally across the middle into two equal triangles. Arrange two triangles per serving on the matte cream ceramic dinner plates, tucking a small sprig of flat-leaf parsley next to the sandwiches for a fresh garnish.
Tips
2.Avoid pressing sandwiches with the spatula while grilling: pressing squeezes out melted cheese, dressing, and coleslaw moisture, leading to lost flavor, a greasy pan, and flat, dense sandwiches. The weight of the bread and fillings is enough to create even contact with the pan.
3.Rest cooked sandwiches on a wire rack for 1 minute before cutting: placing hot sandwiches directly on a plate traps steam against the crust, making it go soft quickly. Resting on a rack allows air to circulate around the bread, keeping the crust crisp while the melted cheese sets just enough to avoid oozing out when sliced.






Made this for my work lunch meal prep this week and I’m already obsessed! I swapped the rye for sourdough because that’s what I had in the pantry, and the thousand island + sauerkraut combo hits so hard. Who knew a fancy deli melt was this easy to pull off at home?
Took these to our neighborhood potluck last weekend and they were the first thing gone! I cut them into quarter-sized sliders so people could grab them easy, and everyone was asking for the recipe. Only took me 20 minutes total to make a whole batch, no fuss, and my kids kept sneaking extra sliders before we even left the house.
I was skeptical a stovetop melt could compete with my local deli’s version, but wow, this was SO good. Got the bread perfectly crispy, the cheese all melty, didn’t skimp on the Russian dressing. 10 minutes flat from fridge to plate. Will be making this every Sunday for football watch parties from now on.
Wait this is literally perfect for my tiny dorm kitchen! I don’t have a fancy panini press, just a regular nonstick skillet, and it turned out amazing. Pro tip: press the sandwich down with a spatula while it cooks to get that classic deli crunch. Saved me $12 a sandwich from the campus spot!
Made this with gluten free rye bread for my husband who has celiac, and he said it’s the best sandwich he’s had since we had to cut gluten 3 years ago. We added a little extra Swiss because we’re cheese obsessed, no regrets.
Paired this with a crisp side salad and a glass of dry riesling last night for date night in, and my partner thought I ordered takeout from our favorite downtown deli. So easy, zero cleanup, absolutely delicious. Will be adding this to our regular weeknight rotation.
Quick question: is it better to use store bought thousand island or make it from scratch for this? I have both on hand and can’t decide which will taste more authentic to the classic deli version.
Wait, can you prep the components ahead of time for the week? I want to make these for quick lunches but don’t want the bread to get soggy if I build the sandwiches too early. Has anyone tried this?
I added a layer of dill pickle slices to mine and OMG it added the perfect extra tang. If you’re a pickle person like me, do not sleep on that addition. It elevated the whole sandwich so much.
Made this for my teen son after his soccer practice yesterday, and he ate two full melts in 5 minutes flat. Said it’s better than the sandwiches they sell at the concession stand. Super easy to throw together even when I’m exhausted after work, 10/10.
Has anyone tried making this with a plant based turkey substitute? I’m vegetarian but have been craving a good Rachel melt forever, and I want to make sure the texture holds up when I cook it.
I’m a total beginner in the kitchen and I was so nervous I’d mess this up, but it came out perfect on the first try! The instructions were so straightforward, 10 minutes exactly like it said, and my roommate said it tasted like it came from a fancy deli. So proud of myself!
Made a big batch of these for our tailgate last weekend, kept them warm in the insulated cooler, and they were a total hit. Even the guys who only eat burgers and brats were raving about them. Easy to transport, minimal mess, maximum flavor. Will be a regular at our tailgates this season.