
Red Ale
intro
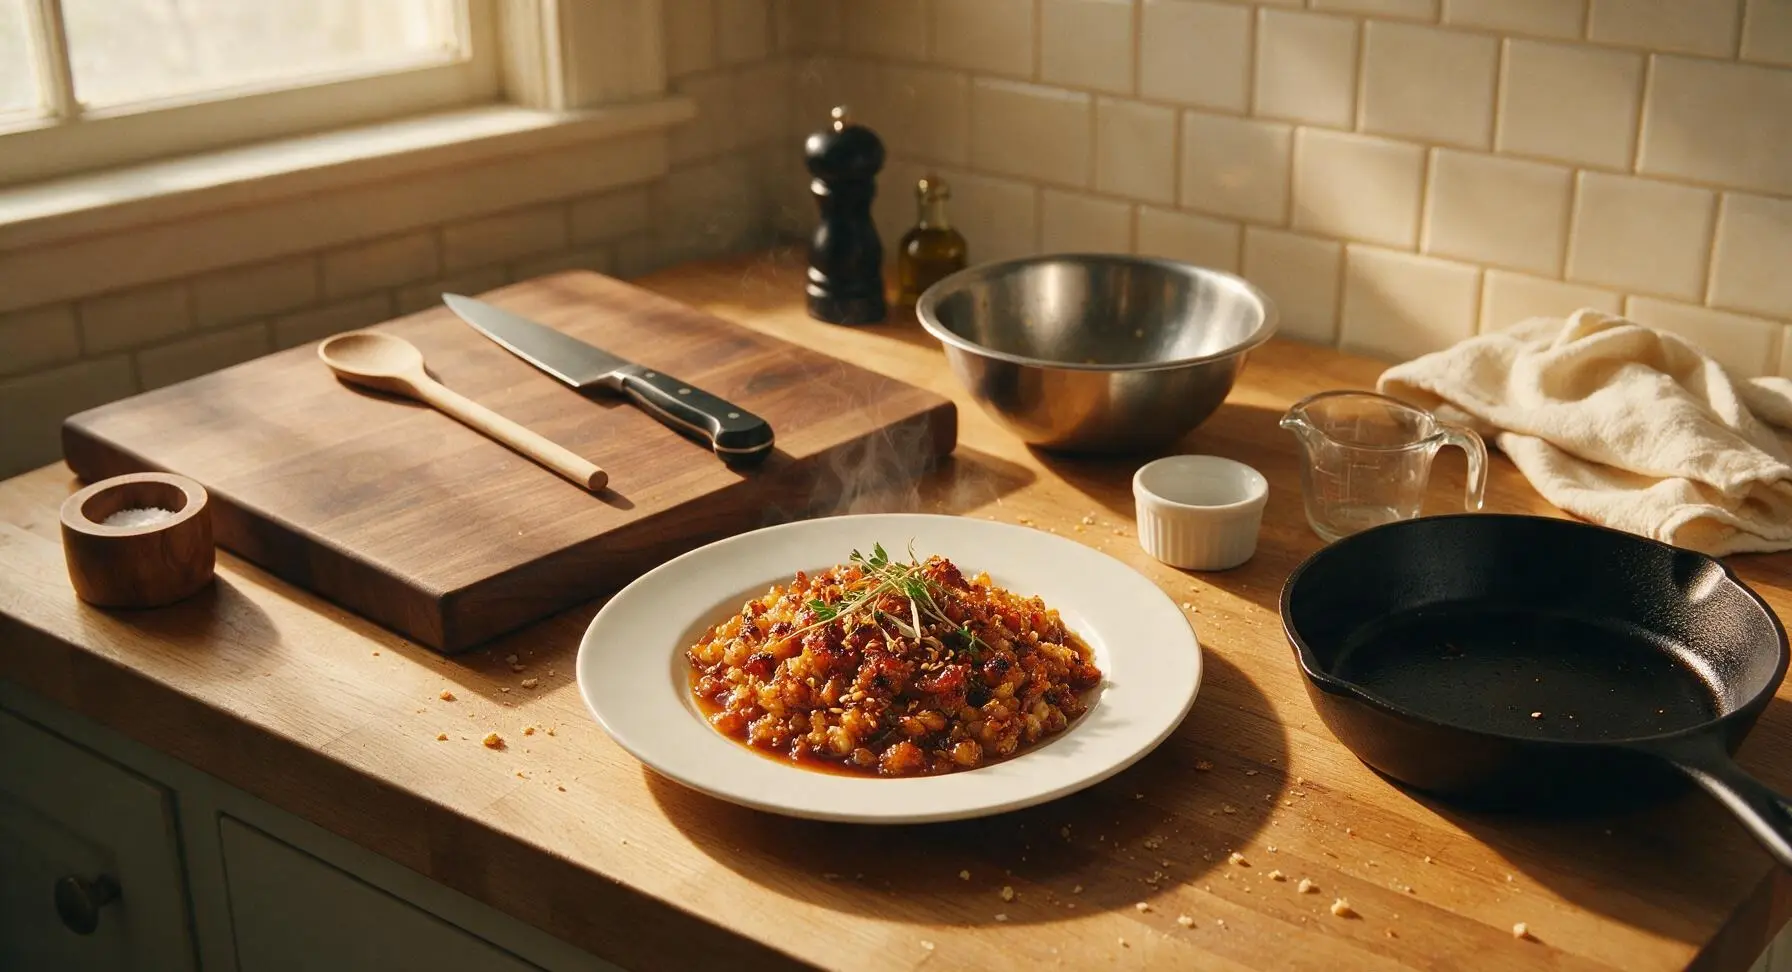
Smooth, caramel-forward American red ale with balanced subtle hop bitterness, a toasty malt backbone, and crisp finish, perfect for sipping alongside grilled food.
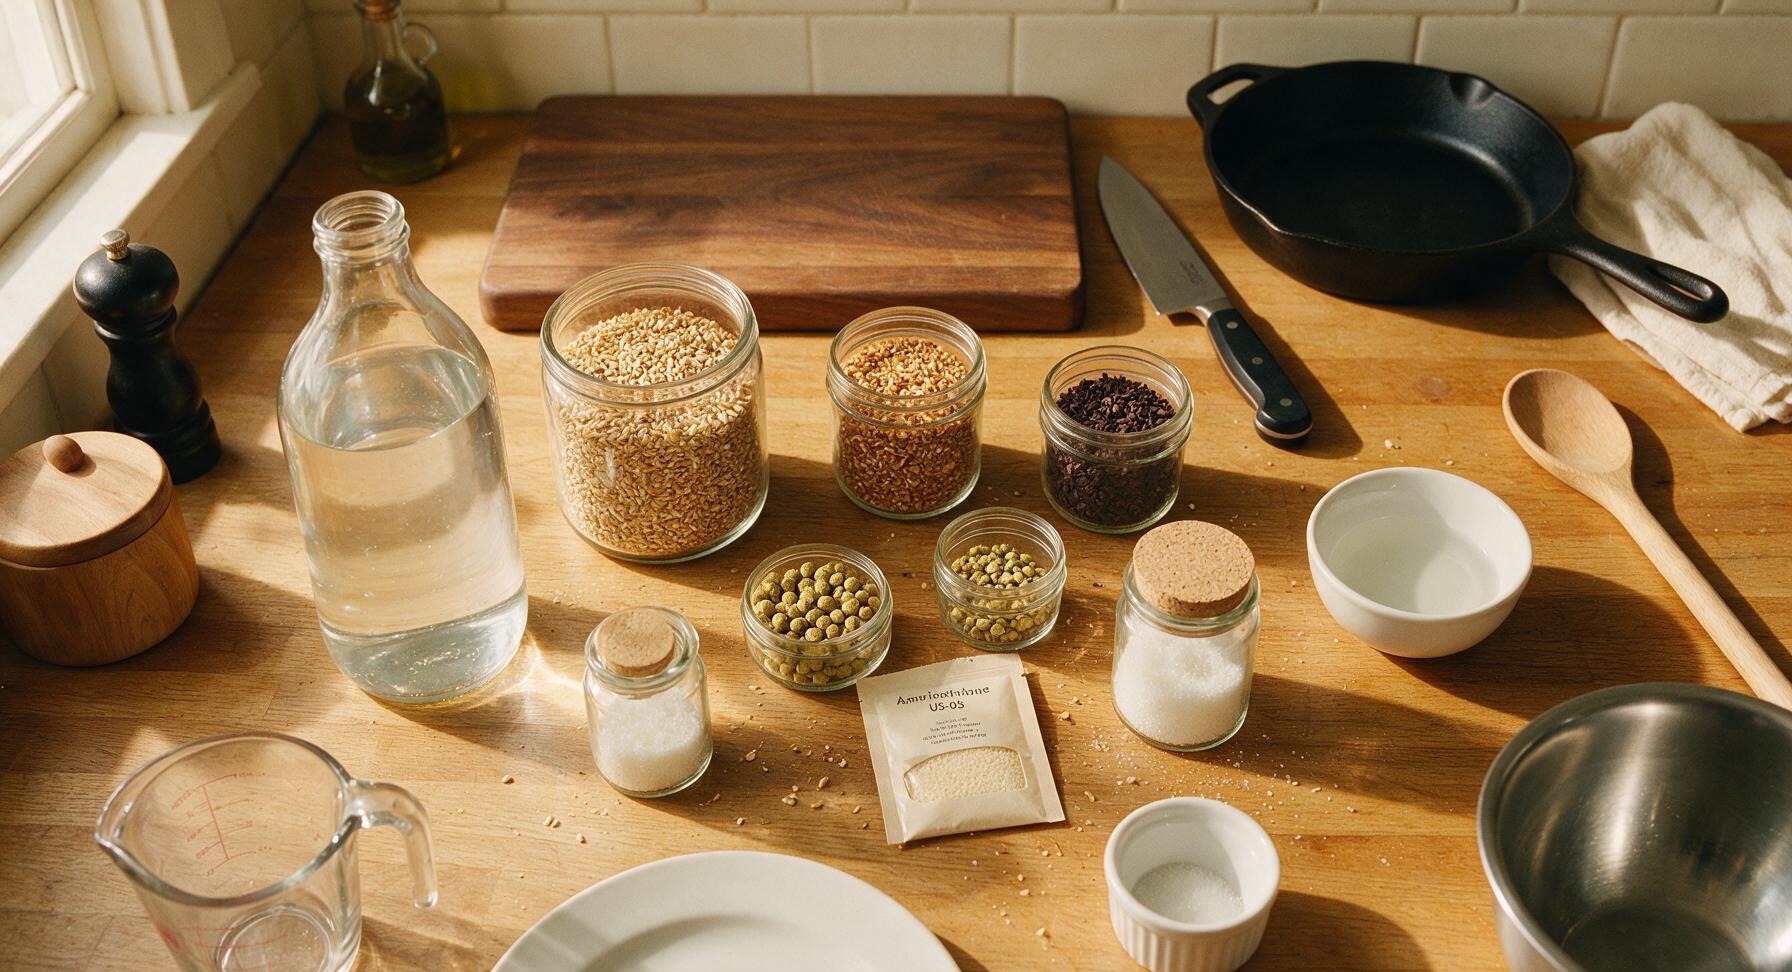
Ingredients
Steps
Sanitize All Equipment
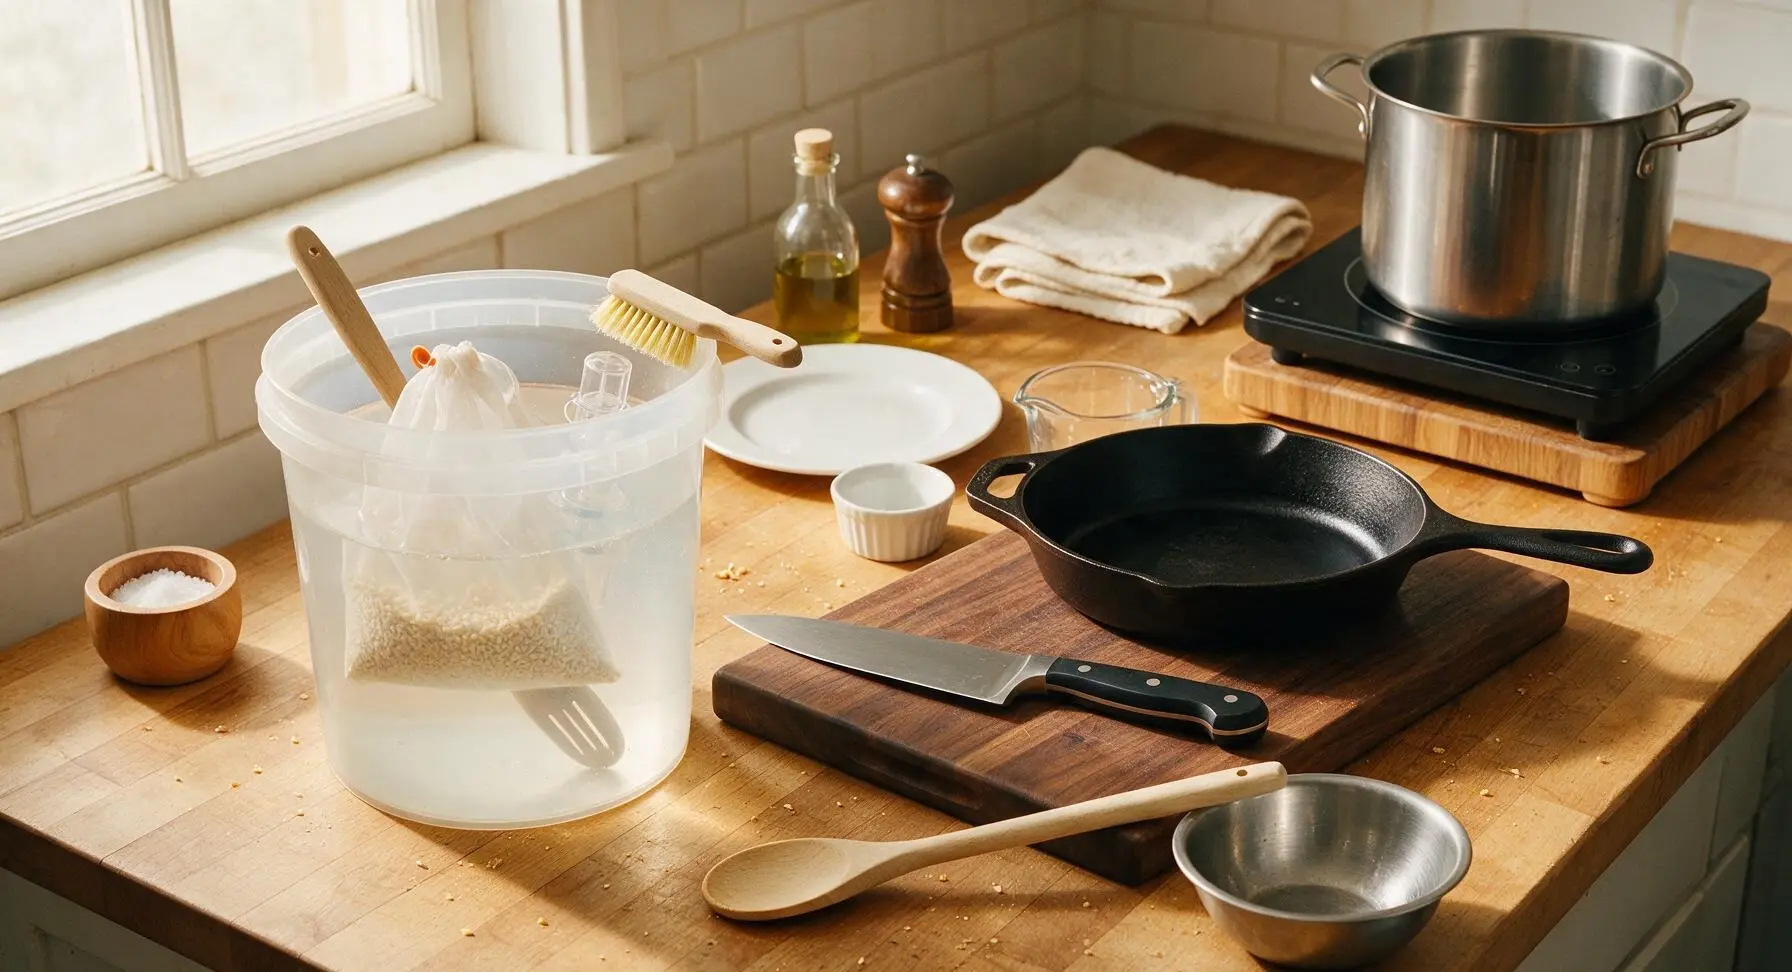
Fill the 6-quart clear sanitizer bucket with 1 gallon of cool filtered water, stir in 1 tablespoon of no-rinse brewing sanitizer. Submerge the nylon grain bag, long slotted stirring spoon, 3-piece airlock, vinyl siphon tubing, and all amber bottles in the solution for 2 full minutes. Wipe the interior of the glass carboy, induction cooktop surface, and bottle capper with sanitizer solution using the soft nylon bristle brush. Allow all items to air dry completely on the clean countertop before use; no residual sanitizer suds should remain on surfaces.
Heat Mash Water
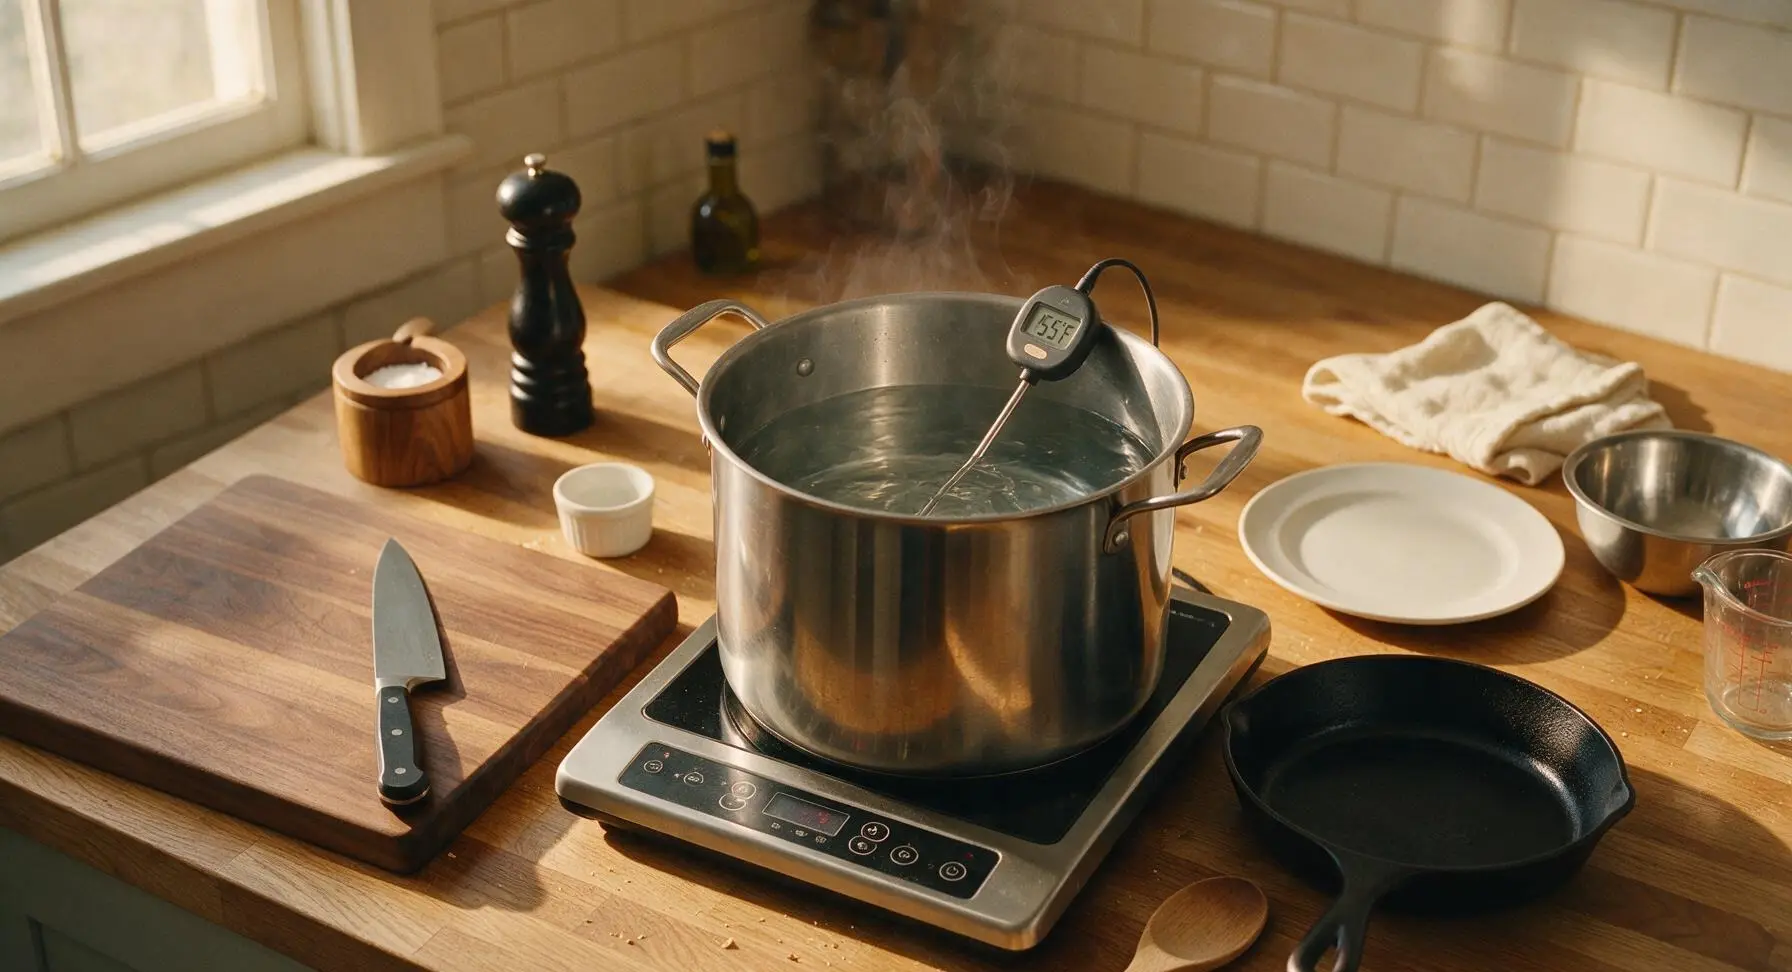
Pour 1 gallon of filtered water into the 2-gallon stainless steel brew pot, set the pot on the portable induction cooktop. Heat the water steadily, checking temperature frequently with the digital instant-read thermometer, until the water reaches exactly 155°F. Do not allow the water to exceed 160°F, as high temperatures will extract harsh, drying tannins from grain husks later in the process.
Steep Crushed Grains
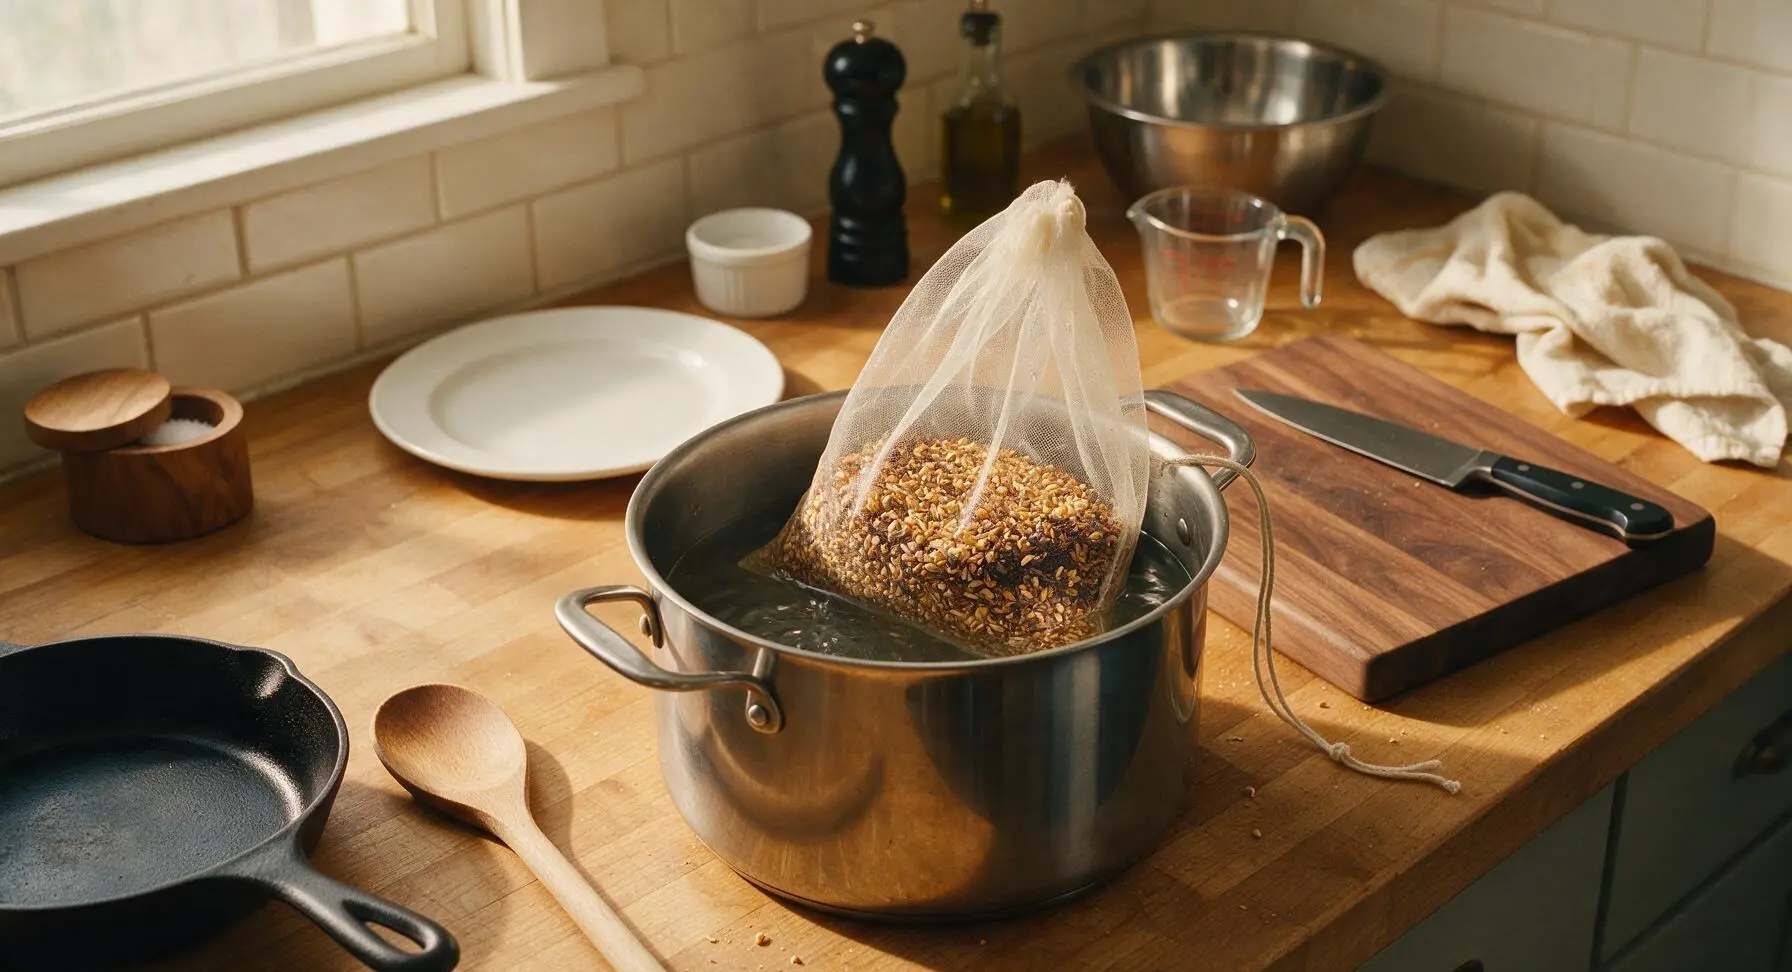
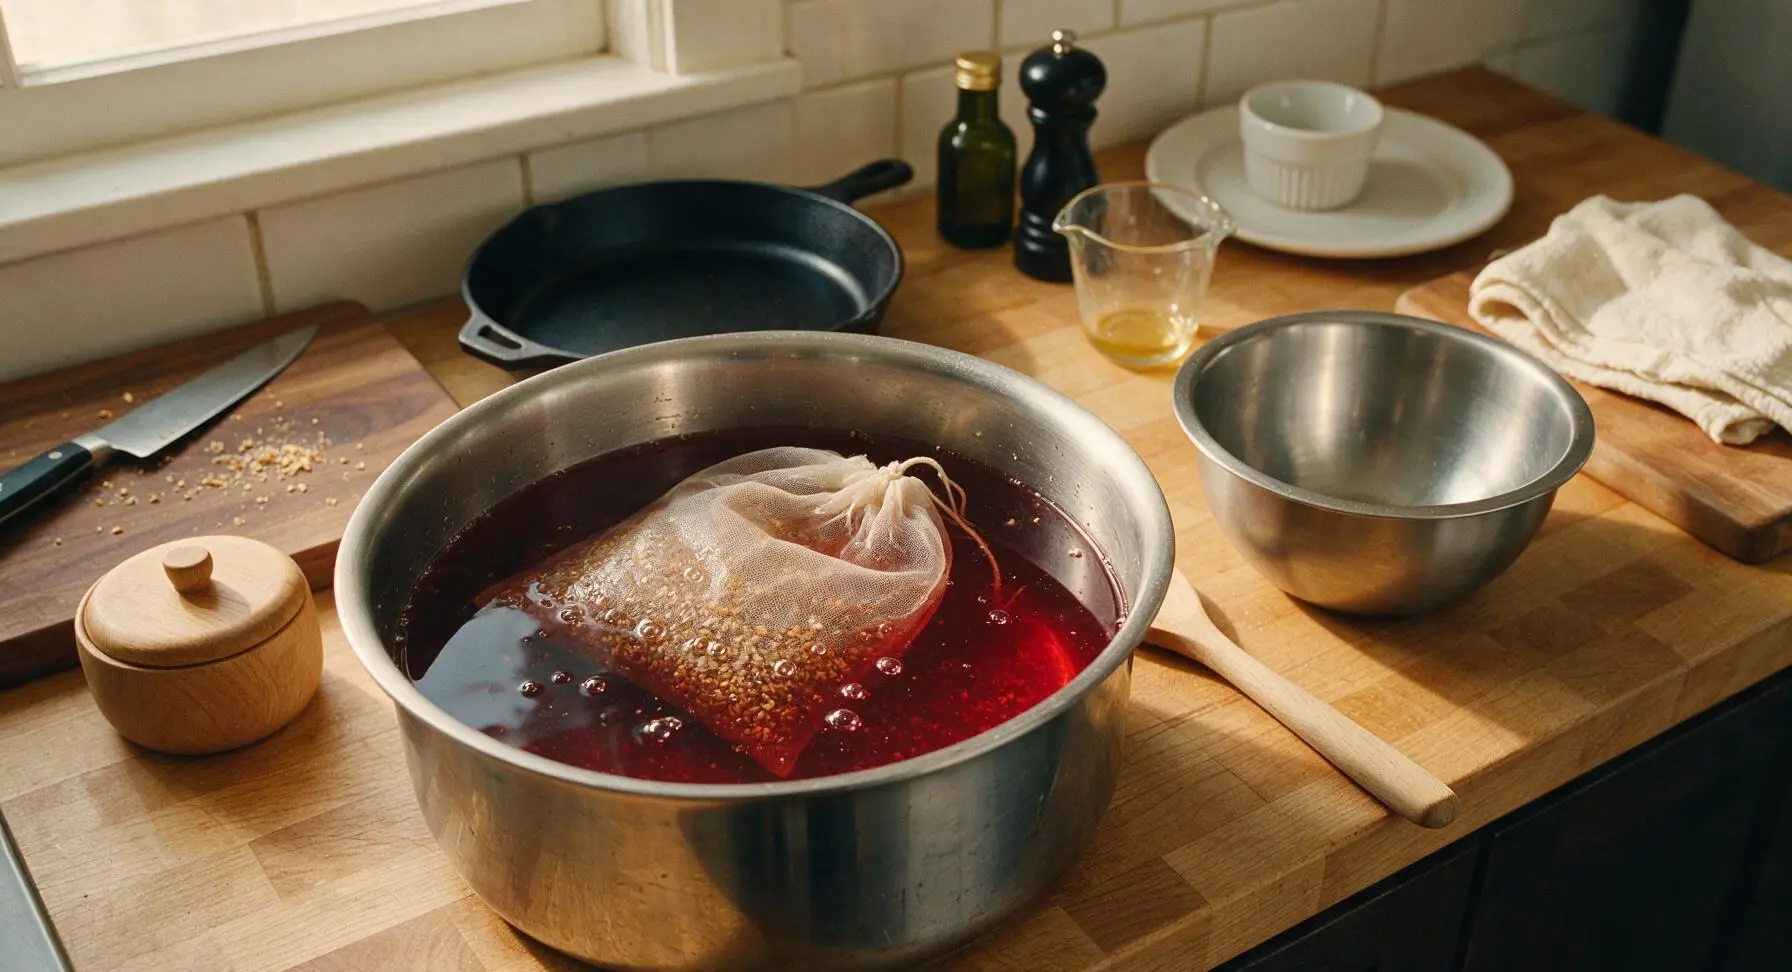
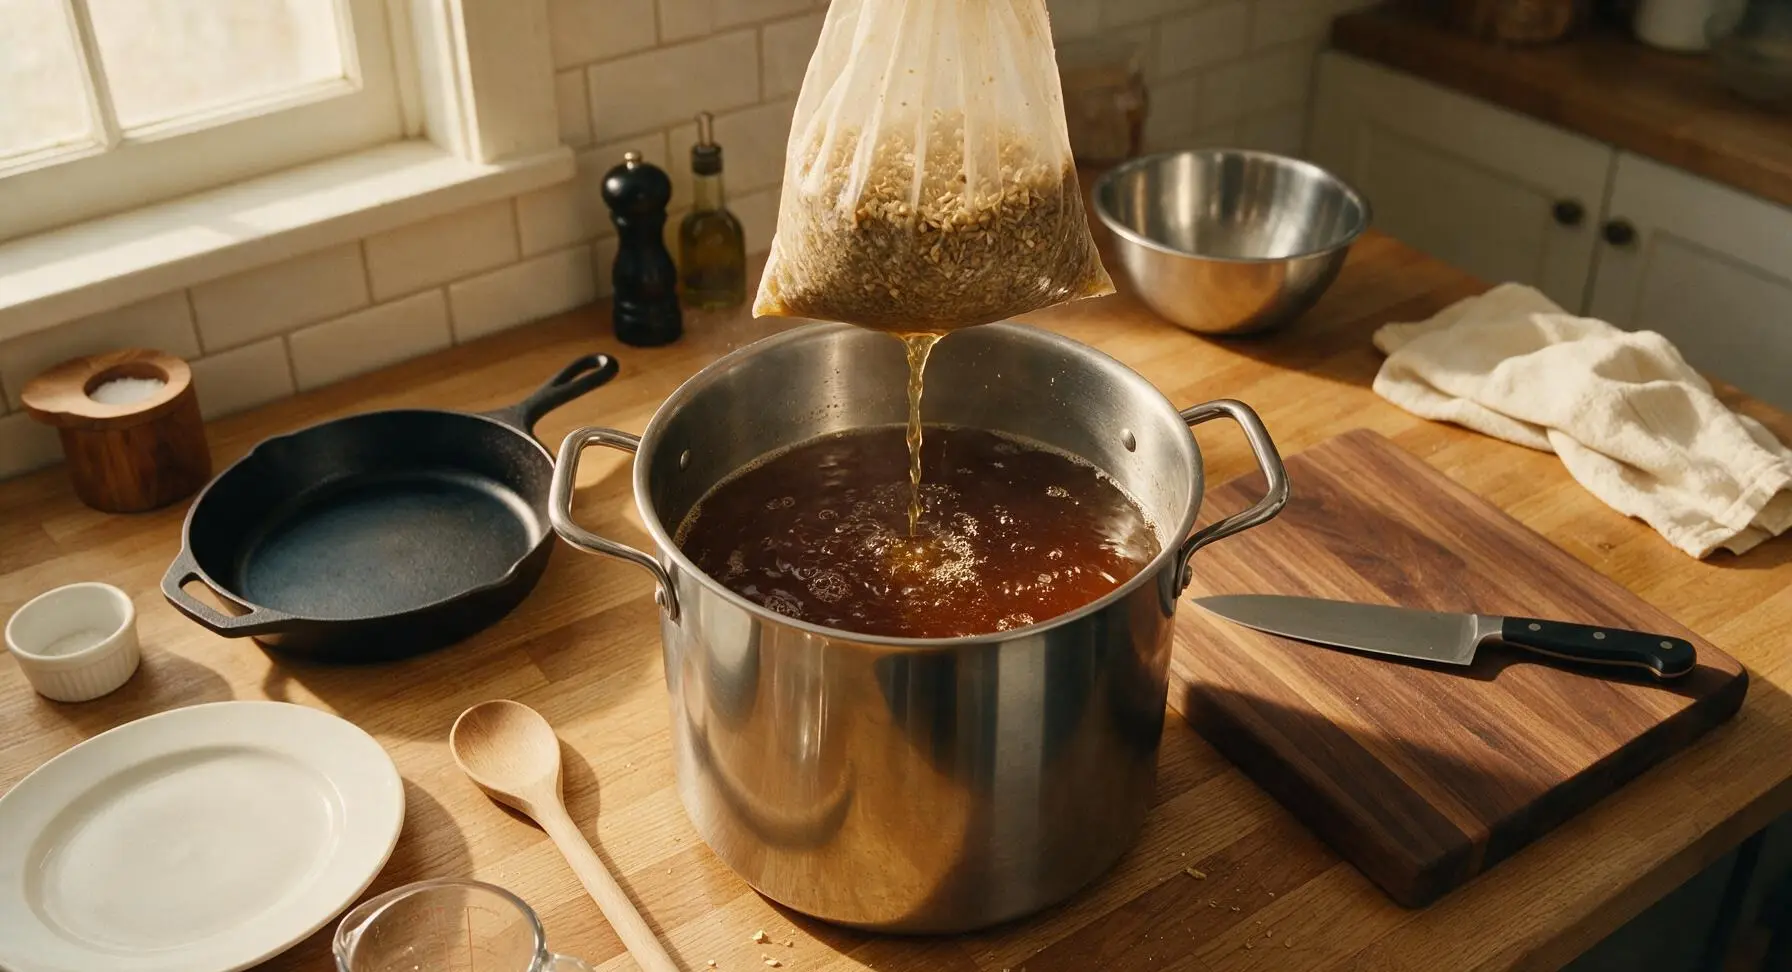
Combine the crushed pale 2-row, crystal 60L, and chocolate malts in the fine nylon mesh grain bag, pull the cotton drawstring tight to secure. Submerge the filled grain bag fully in the 155°F water, cover the pot with its stainless lid, and hold the temperature steady between 150-155°F for 30 minutes. Over this time, the water will darken to a deep ruby-amber as grain sugars and caramel flavors extract. Let the grain bag drain naturally over the pot when done; never squeeze the bag, as this presses bitter tannins into the wort.
Boil the Wort
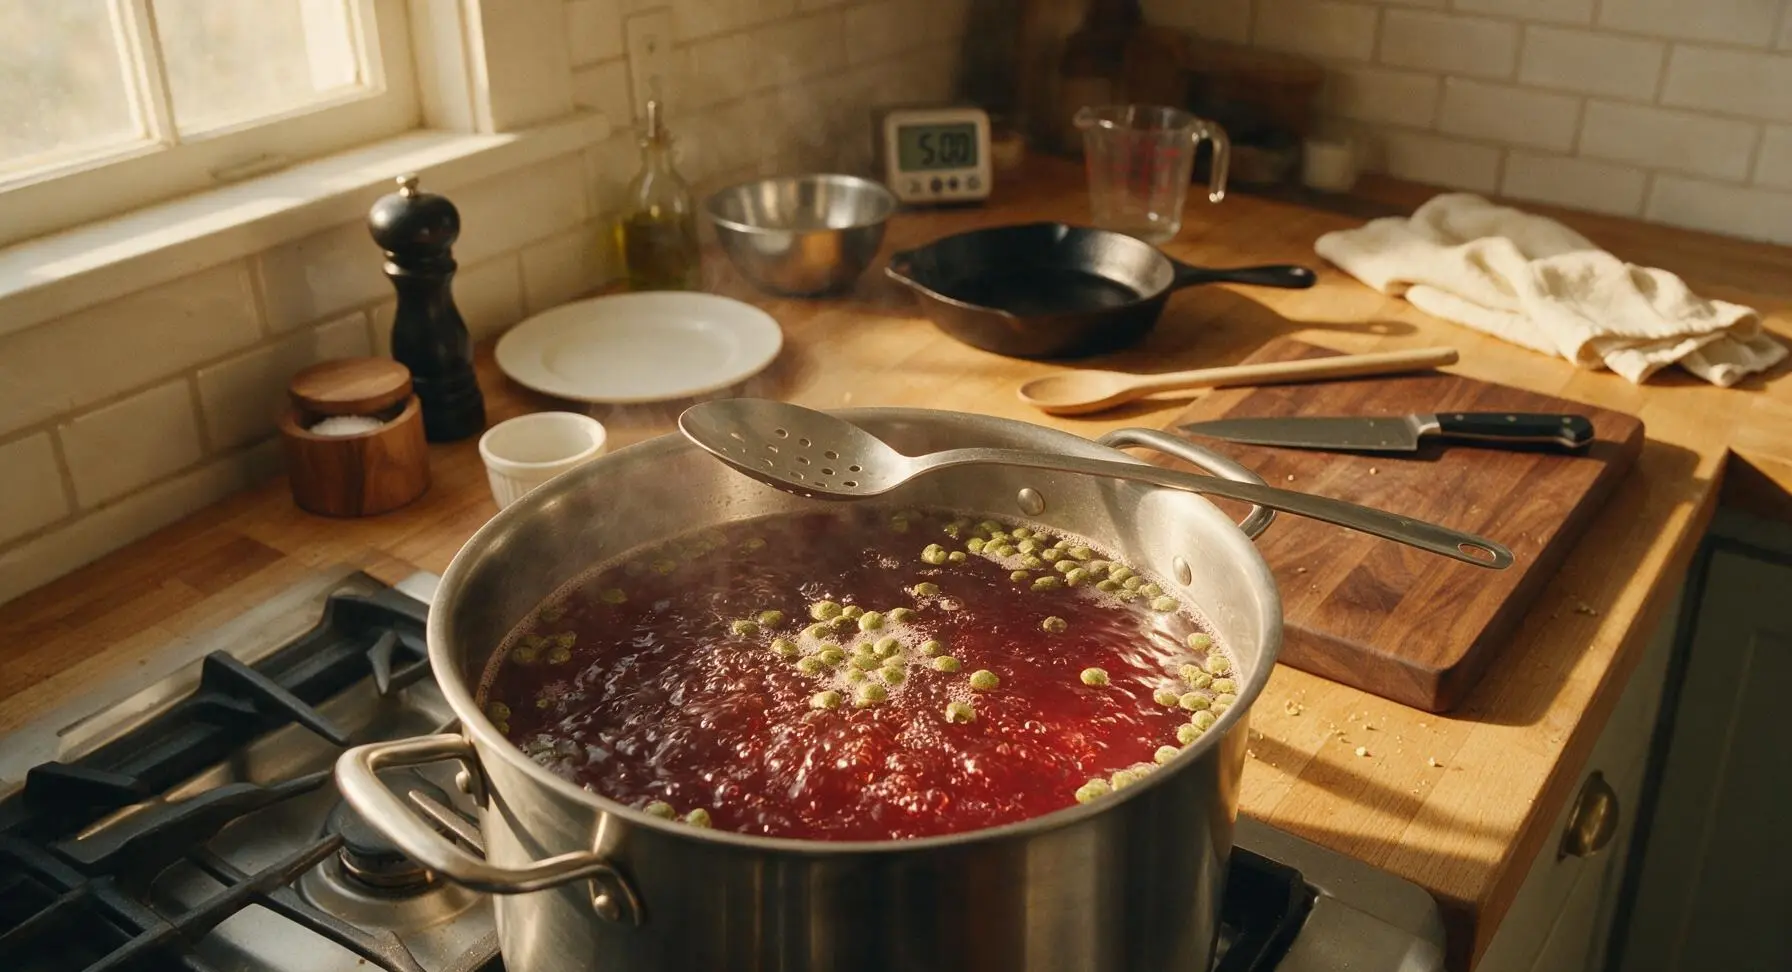
Lift the drained grain bag out of the pot and set it aside. Turn the induction cooktop to high to bring the extracted grain liquid (now called wort) to a gentle, rolling boil at 212°F. Once boiling is steady, add 0.5 oz of Cascade hop pellets, set a timer for 60 minutes, and maintain a gentle rolling boil, stirring occasionally with the long slotted stainless spoon to prevent boilovers. When 5 minutes remain on the timer, add 0.25 oz of East Kent Goldings hop pellets to add bright, floral aroma.
Cool and Transfer Wort
When the 60-minute boil finishes, turn off the induction cooktop, seal the pot tightly with its lid, and set the pot in a sink of ice water to cool the wort rapidly to 70°F (approximately 20 minutes). Rapid cooling prevents off-flavors and reduces risk of contamination. Once cooled, pour the wort carefully into the sanitized 1-gallon glass carboy, topping up with cold filtered water if needed to reach the 1-gallon volume mark.
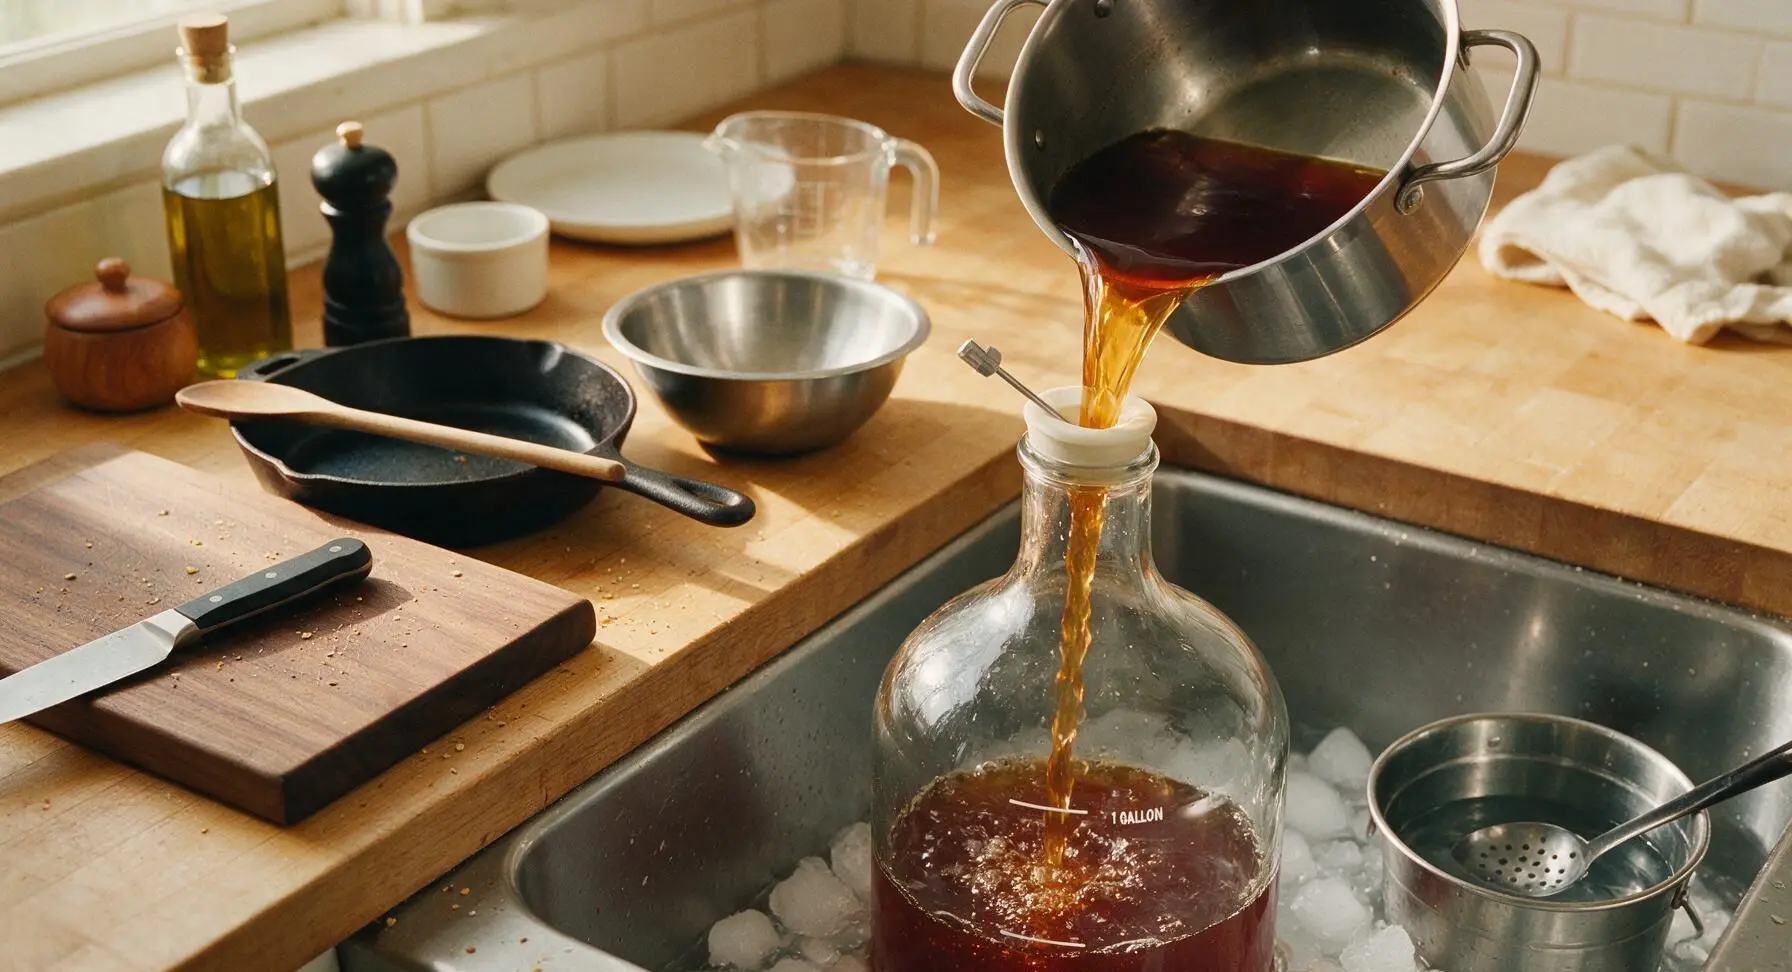
Pitch Yeast to Ferment
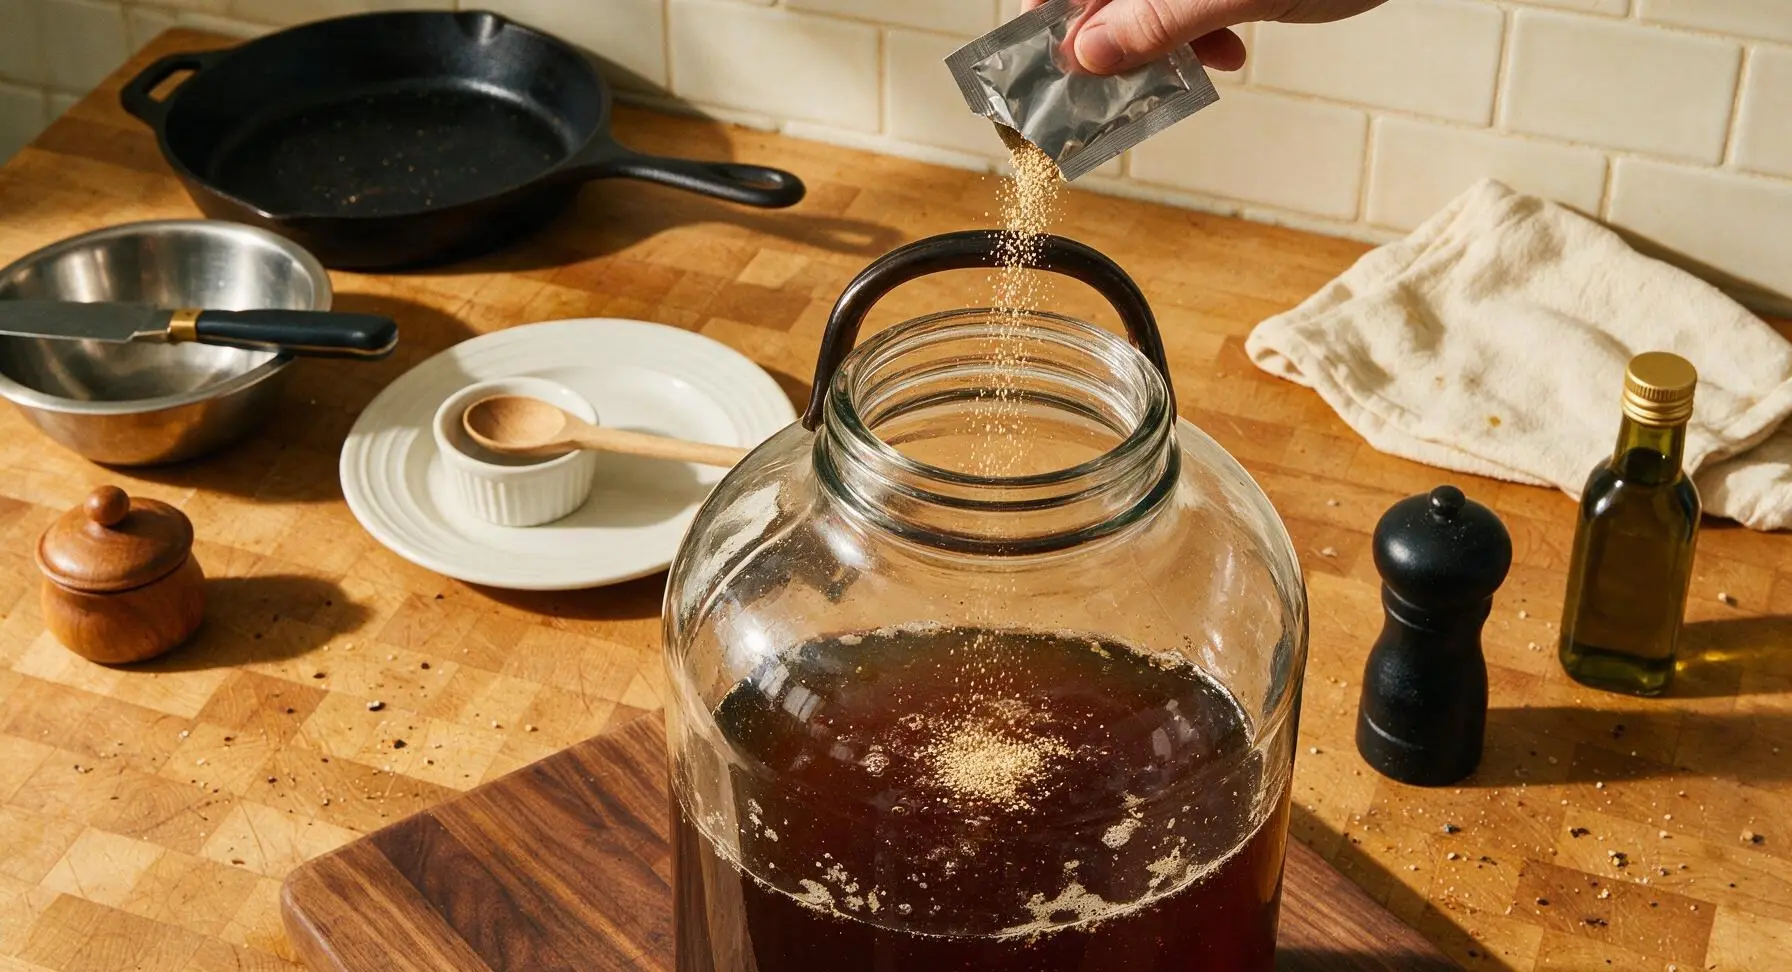
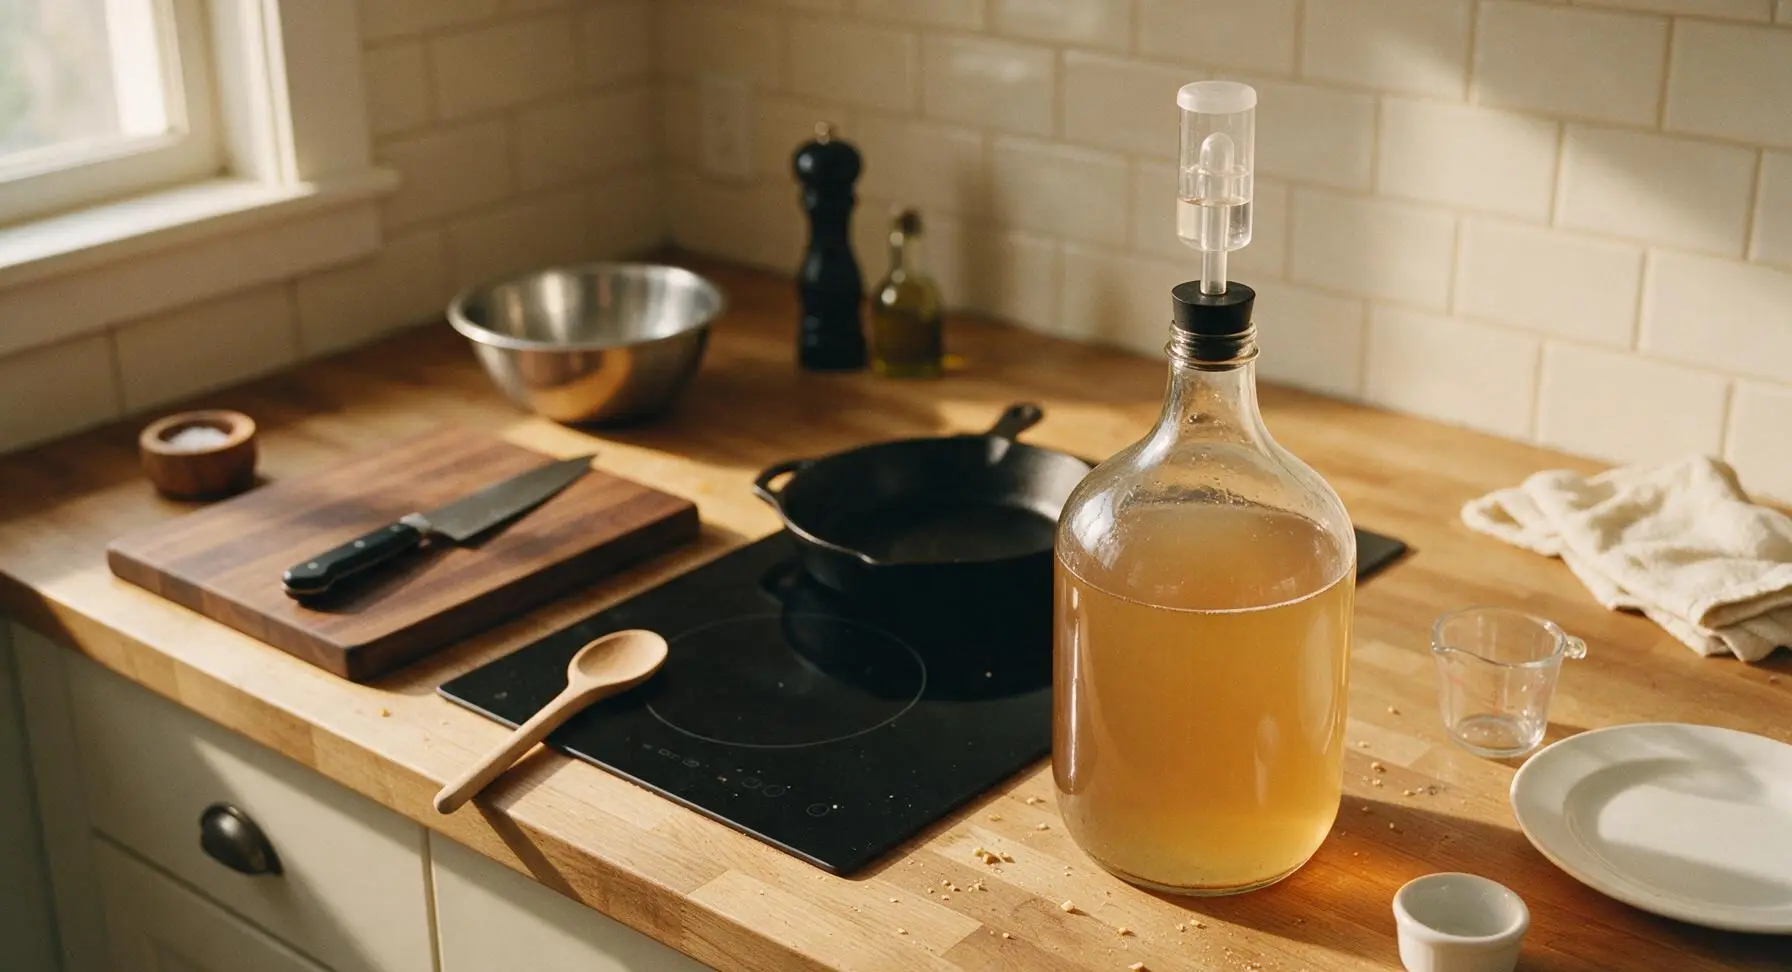
Sprinkle the full 5g packet of dry American ale yeast evenly across the surface of the cooled wort in the carboy. Fit the sanitized black rubber stopper and 3-piece airlock into the carboy neck, filling the airlock halfway with sanitizer solution. Move the carboy to a dark, temperature-stable spot (65-70°F) to ferment for 2 weeks. Bubbles will rise through the airlock within 24-48 hours, signaling active fermentation; bubbling will slow to a stop once fermentation is complete, and the beer will clear as yeast settles to the bottom.
Bottle for Carbonation
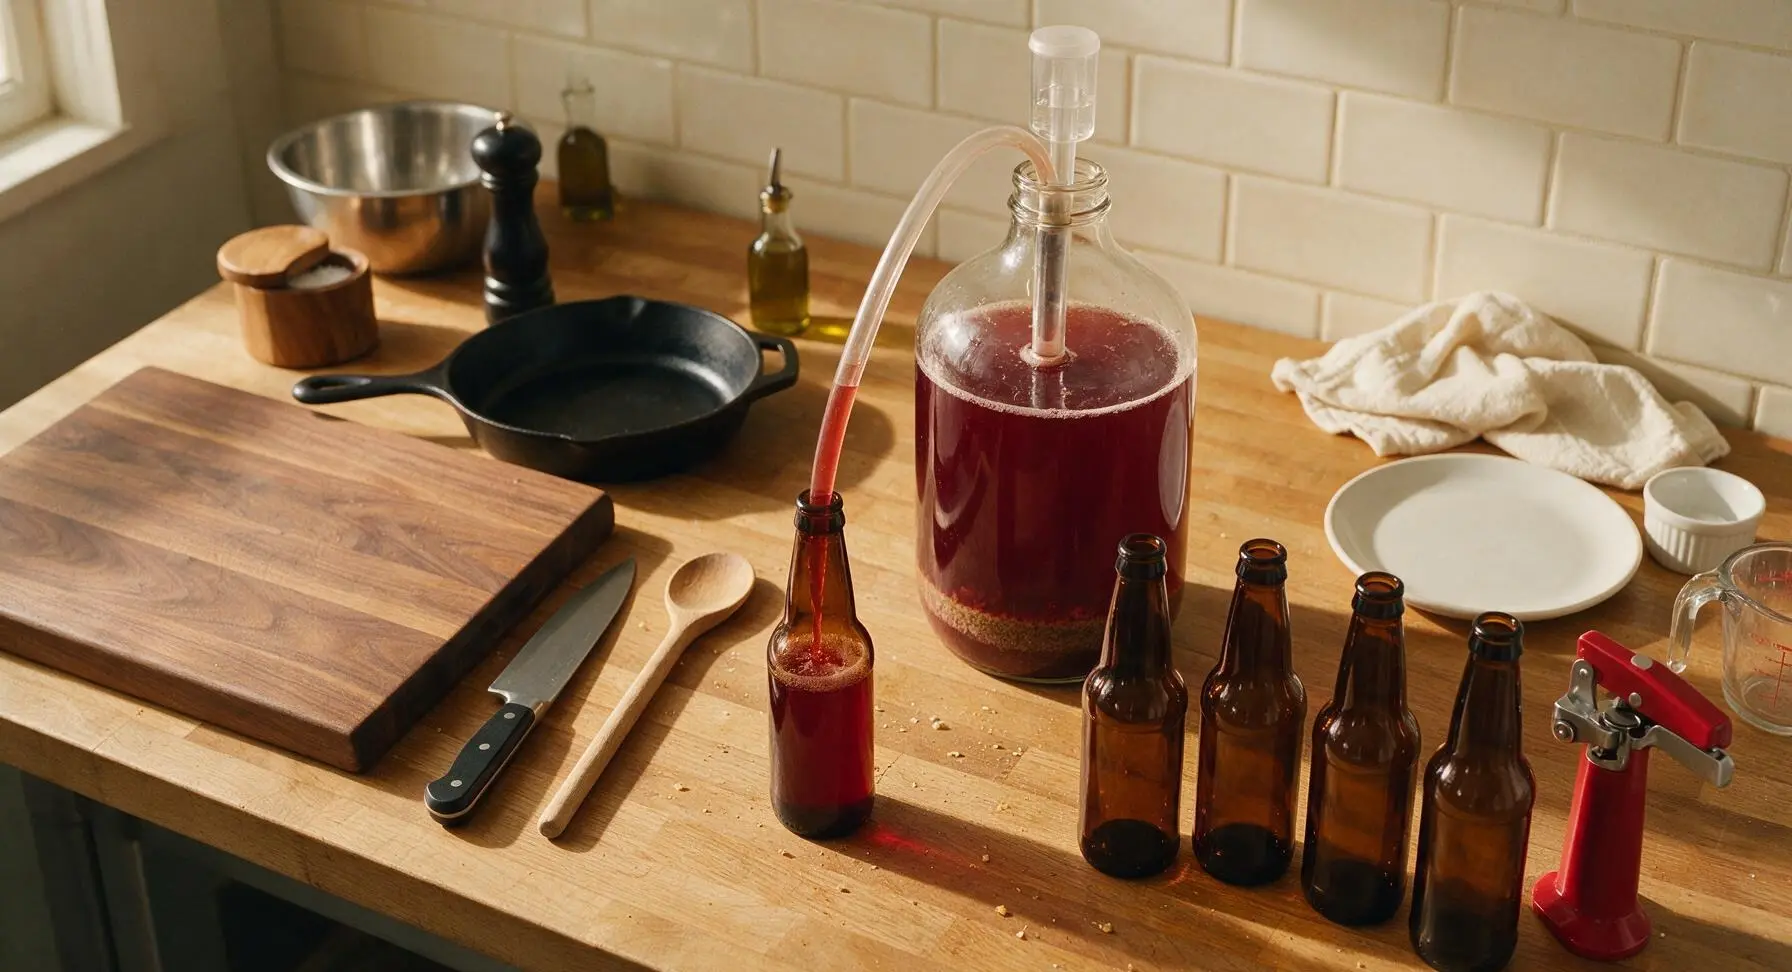
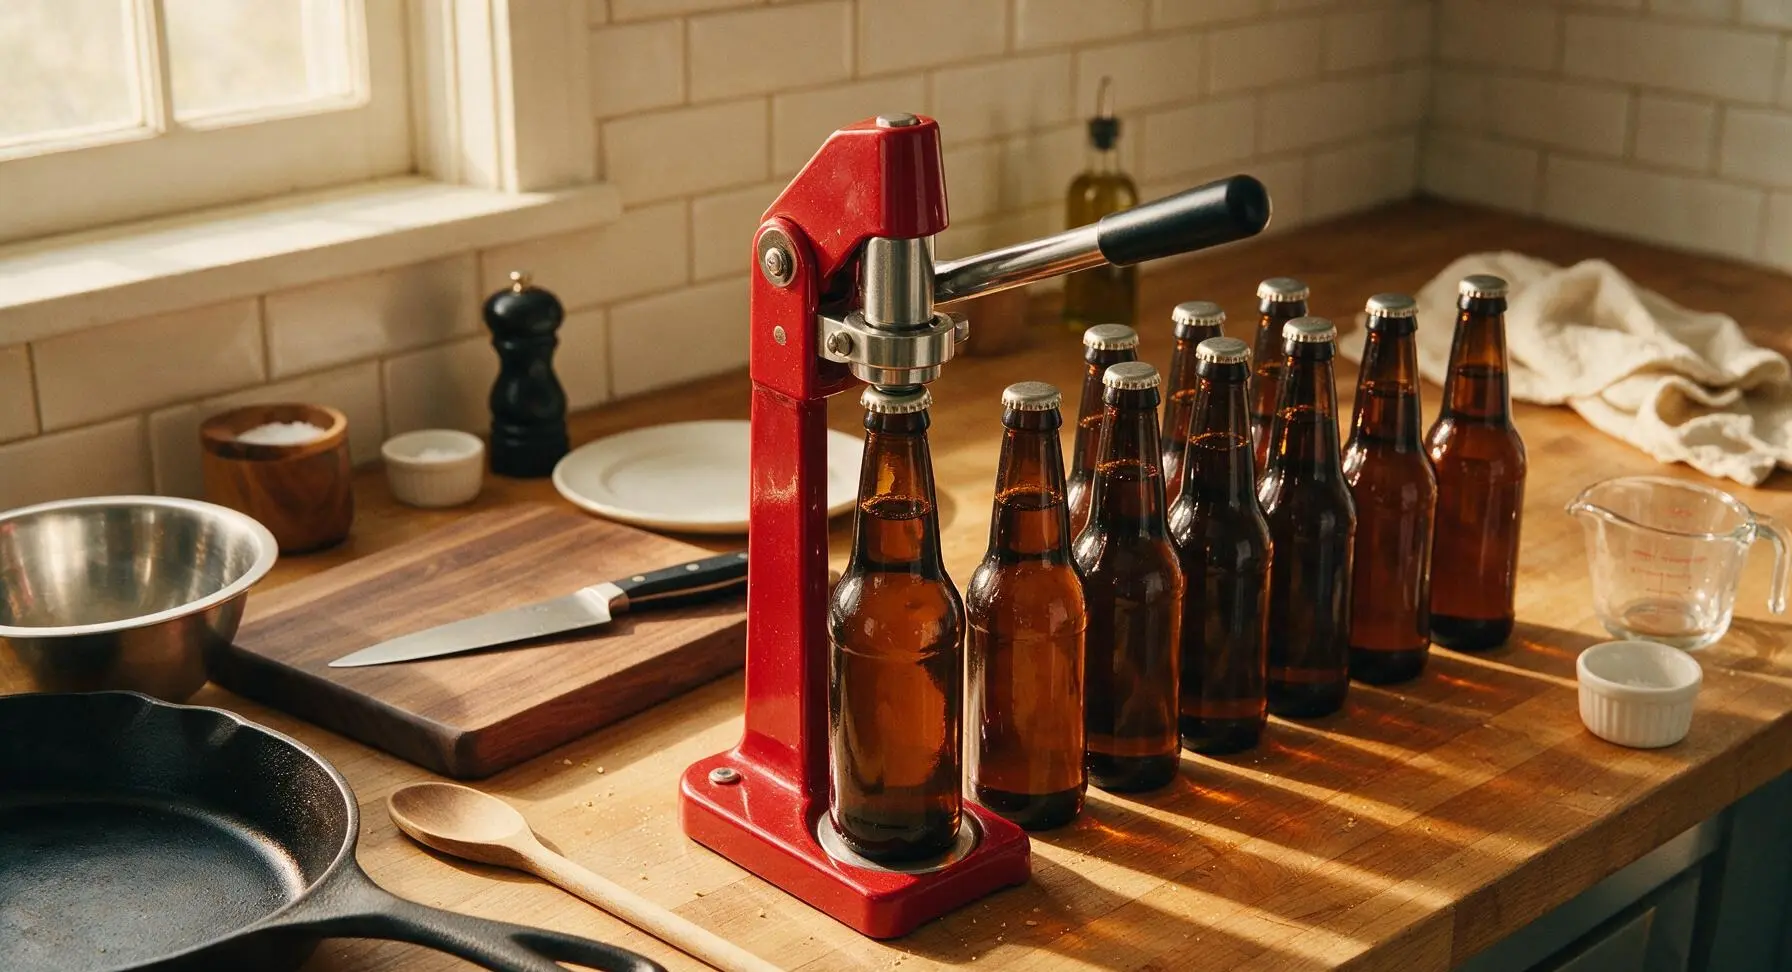
After 2 weeks of primary fermentation, dissolve 2 oz of corn sugar in 1/4 cup of boiling water, cool completely, and add to the bottom of a sanitized bottling vessel. Use the auto-siphon and clear vinyl tubing to siphon clear beer from the carboy, leaving the settled yeast layer at the bottom, and mix gently with the priming sugar. Fill each sanitized amber 12oz bottle to 1 inch below the rim, then use the red bench capper to seal each bottle with a metal crown cap. Store sealed bottles in the same dark 65-70°F spot for 2 weeks to allow natural carbonation to develop.
Chill and Pour to Serve
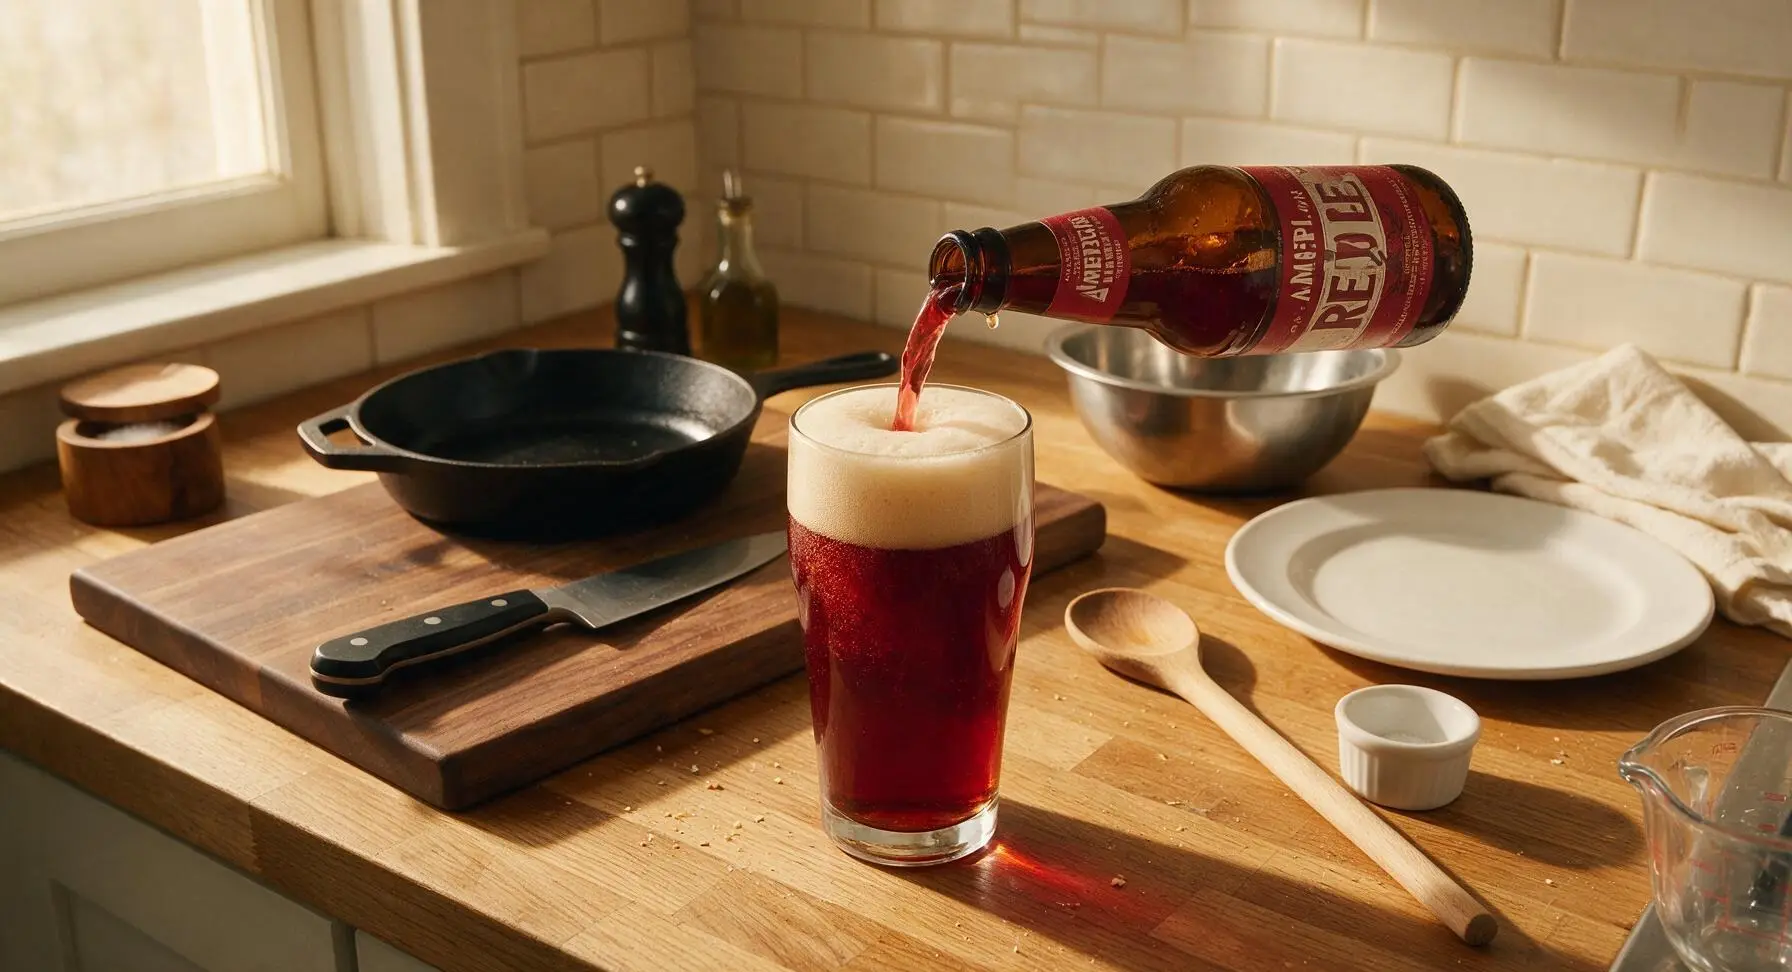
After 2 weeks of bottle conditioning, move sealed bottles to the refrigerator to chill for at least 24 hours before serving. Pour slowly into a clean pint glass, leaving the thin layer of settled yeast sediment at the bottom of the bottle to keep beer clear and smooth. The finished beer will have a balanced caramel malt flavor, subtle citrus and floral hop notes, and a crisp, dry finish.
Tips
2.Avoid squeezing the grain bag after steeping: Squeezing presses harsh, astringent tannins from grain husks into your wort, which creates an unpleasantly dry, puckering aftertaste that masks the smooth caramel and toasty malt flavors of the red ale.
3.Wait the full conditioning time before opening bottles: Natural carbonation builds slowly over 2 weeks at room temperature; opening bottles early will result in flat, headless beer that lacks the smooth, creamy mouthfeel classic to well-made red ale.






OMG, this red ale recipe is an absolute game changer! I’ve been messing around with homebrewing for 3 years and could never nail that perfect caramel malt balance without it coming off too sweet. Brought my first batch to our neighborhood potluck last weekend and every single person was asking for the recipe. Even my neighbor who swears he only drinks IPAs went back for three pours! 10/10 will be making this on regular rotation for backyard cookouts all summer.
This was my first ever attempt at homebrewing! I was super intimidated since the difficulty is listed as medium, but the step by step instructions were so easy to follow. My only note is that my batch came out a little hoppier than I expected, but my husband absolutely loved it so it’s a win. We’re bringing a growler to our family dinner this Sunday to share with my brothers-in-law.
SO good! My partner has been wanting to get into homebrewing for ages so we picked up a starter kit and made this together for our anniversary. It turned out so smooth, with that perfect toasty, slightly caramel finish. We’ve already got plans to make a double batch for our fall tailgate parties. Way easier than we thought it would be for how professional it tastes!
I’ve made 4 different red ale recipes over the last year and this one is hands down the best. The ratio of crystal malt to the two-row is perfect, and the 60 minute boil time was spot on for getting that deep, ruby red color I’ve been chasing. Brought a six pack to my homebrew club meetup last night and it took first place in the casual taste test!
Taste was great, but I ran into a little trouble with the clarity on my first batch. It came out a little cloudier than the red ales I get at my local brewery, even after I let it condition for two full weeks. Flavor was on point though, so I’ll definitely give it another shot.
Absolute banger of a recipe. Made this for our fantasy football draft party last month and the whole crew was raving. It’s got just enough bite to not feel too heavy, which makes it perfect for drinking through 3 hours of trash talk and draft picks. Already have my second batch carbonating as we speak, can’t wait to crack those open for the first game of the season.
Just got done with the boil for my first batch of this! My apartment smells like absolute heaven right now, all malty and warm. I was worried I’d mess up the temperature steps on my stovetop but the guide’s temp markers were super easy to follow. Can’t wait to taste it in a couple weeks once it’s carbonated!
Really solid red ale recipe! I added a tiny bit of roasted barley to get a deeper color and a little extra nuttiness, and it turned out amazing. The only reason I’m not giving it 5 stars is because I wish the recipe had a note about expected ABV, I calculated mine came out to around 5.8% which is perfect for me, but I know some folks prefer lower ABV session beers.
Just bottled my third batch of this yesterday! This has become my go-to house beer that I always have on tap in my kegerator. It’s approachable enough for friends who don’t drink craft beer regularly, but flavorful enough that my beer snob coworkers all ask for growler fills when they come over. Can’t recommend this enough if you’re looking for a reliable, crowd-pleasing brew.
Game changer! I’ve been buying overpriced craft red ale from the liquor store for years and can’t believe how much better this homemade version is. Saved me so much money long term, and it’s so fun to tweak the recipe a little each batch to make it my own. My kids even helped me stick the labels on the bottles for Father’s Day to give out to family!
Paired this red ale with my smoked brisket at our last BBQ and it was the perfect match. The caramel malt cuts through the fatty brisket so well, and the mild hop bite balances out the smoky rub. All my guests said it was the best beer and BBQ combo they’d ever had. 10/10, will be a permanent staple for all my smoke days from now on.
Really solid recipe, came out exactly as described. I’ll probably cut the bittering hops a tiny bit next time to make it a little more malt forward, but that’s just personal preference. The instructions were super clear for someone who’s only been brewing for 6 months, no weird confusing jargon that makes new brewers panic. Would definitely recommend to anyone getting into the hobby.
Wait, can I make this without a full homebrew setup? I only have a big stock pot and some fermentation buckets, I don’t have a fancy wort chiller or all-grain system yet. Would love to try this before I drop a ton of money on extra equipment!
Brought a few bottles of this on our last camping trip and it was the perfect post-hike drink. Light enough to sip after a 6 mile hike, but flavorful enough that it feels like a treat after a long day outside. My hiking buddy already begged me for the recipe so he can make a batch for our trip next month.
I was nervous about the 2 hour cook time because I’ve only ever done shorter extract brew days, but it went by so fast! I put on a baseball game while I was boiling the wort and before I knew it, it was time to cool it down and pitch the yeast. My batch turned out so smooth, no off flavors at all, which I was really worried about as a newer brewer.
Just cracked my first bottle of this last night and OMG, it’s even better than the red ale I get at my local taproom. It’s got that perfect balance of toasty malt, a little hint of caramel, and just enough hop bitterness to keep it from being cloying. My roommate already said he’s chipping in for ingredients for the next batch because he loved it so much.
SO good. Made a batch last month and it’s already gone. I shared a few with my bike crew after our group ride last weekend and everyone was blown away that I made it at home. One of my friends thought I bought it from a fancy craft brewery, which was the ultimate compliment. Already have my grains milled and ready to go for batch number two this weekend.
Great base recipe! I added a small amount of vanilla bean during secondary fermentation to give it a little extra depth, and it turned out insanely good. It tastes like a creamier, cozier version of a classic red ale, perfect for cool fall evenings. Knocked a star off because I wish the recipe included a few more suggested add-in ideas for people who like to experiment, but the base itself is totally solid. Would definitely recommend playing around with small add-ins once you get the base recipe down.
I’ve been homebrewing since the 90s and I’m always on the hunt for straightforward, no-fuss recipes that don’t require 10 weird specialty ingredients. This red ale is perfect — it uses easy to find grains, the steps are simple, and the final product is better than most of the overcomplicated recipes I’ve tried from fancy homebrewing books. Shared a six pack with my old army buddy and he said it’s the best red ale he’s ever had. Can’t beat that!