
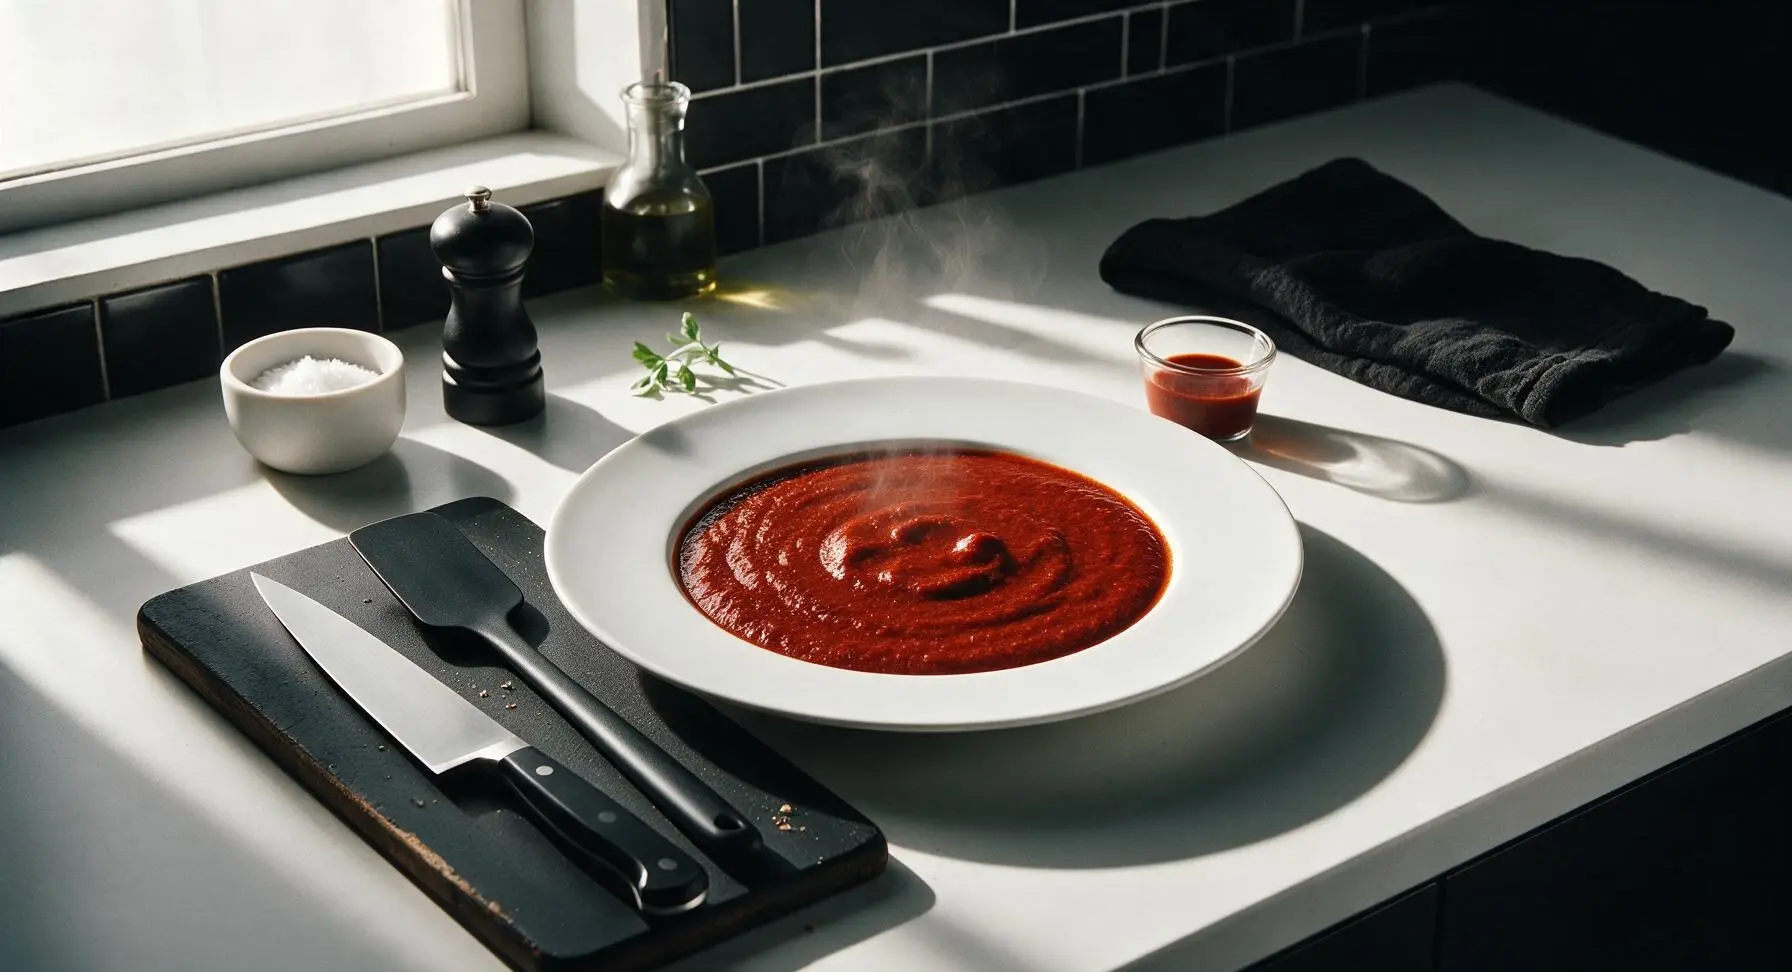
red chile sauce

title 1
red chile sauce
⏱️ cook time 25 minutes
🍽️ servings 4
⚡ Difficulty easy

intro

Deep, earthy, and gently spicy, this velvety red chile sauce is a versatile Southwestern staple perfect for smothering enchiladas, huevos rancheros, or slow-cooked meats.

Ingredients
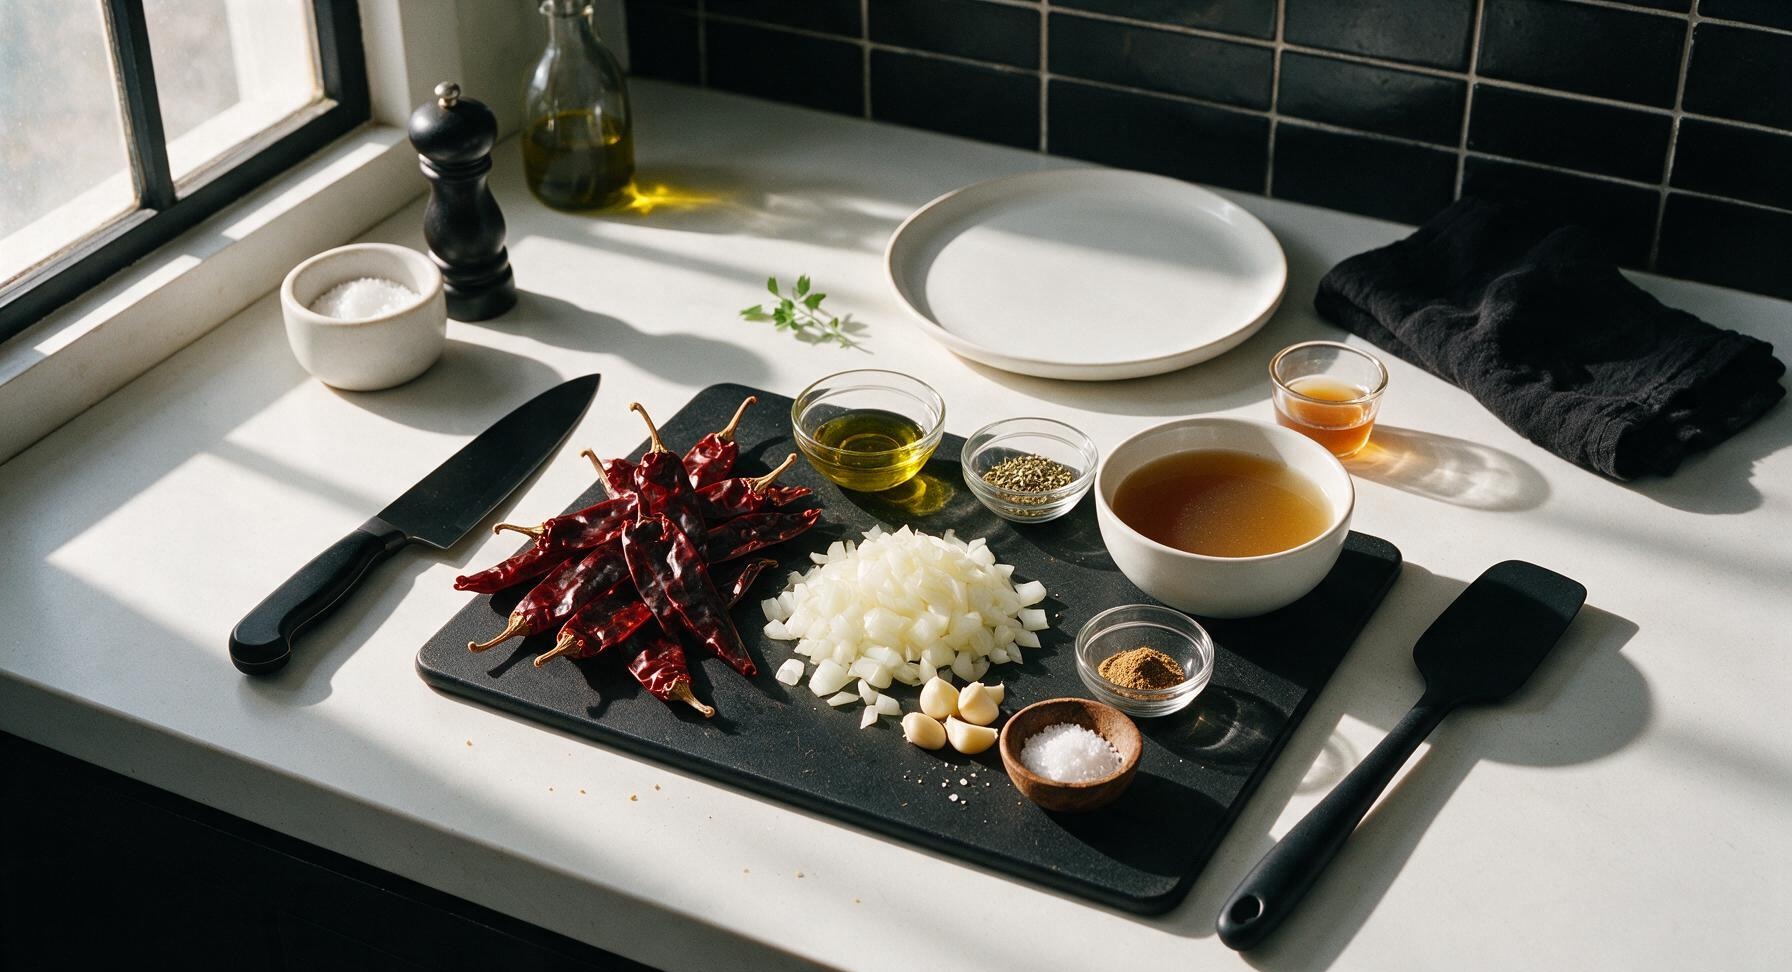
Dried New Mexico red chile pods (stemmed, seeded) 60g (~10 pods)
Yellow onion (rough diced) 75g (1/2 small)
Garlic cloves (peeled, crushed) 12g (4 cloves)
Low-sodium chicken or vegetable broth 480ml (2 cups)
Extra-virgin olive oil 15ml (1 tbsp)
Dried Mexican oregano 1g (1 tsp)
Ground cumin 1g (1/2 tsp)
Coarse kosher salt (Diamond Crystal) 3g (1 tsp)
Apple cider vinegar 5ml (1 tsp)

Steps

1

Prep Dried Chile Pods

Place the dried red chile pods on the reclaimed pine cutting board. Use the 8-inch high-carbon steel chef knife to trim off the woody stem end of each pod, then slice each pod lengthwise to open it flat. Shake out and discard all loose seeds and thin, pale inner membranes (these add unwanted bitter flavor), leaving only the soft, deep red chile flesh. Set cleaned chiles aside; you will have roughly 1 cup of packed cleaned chile pieces.
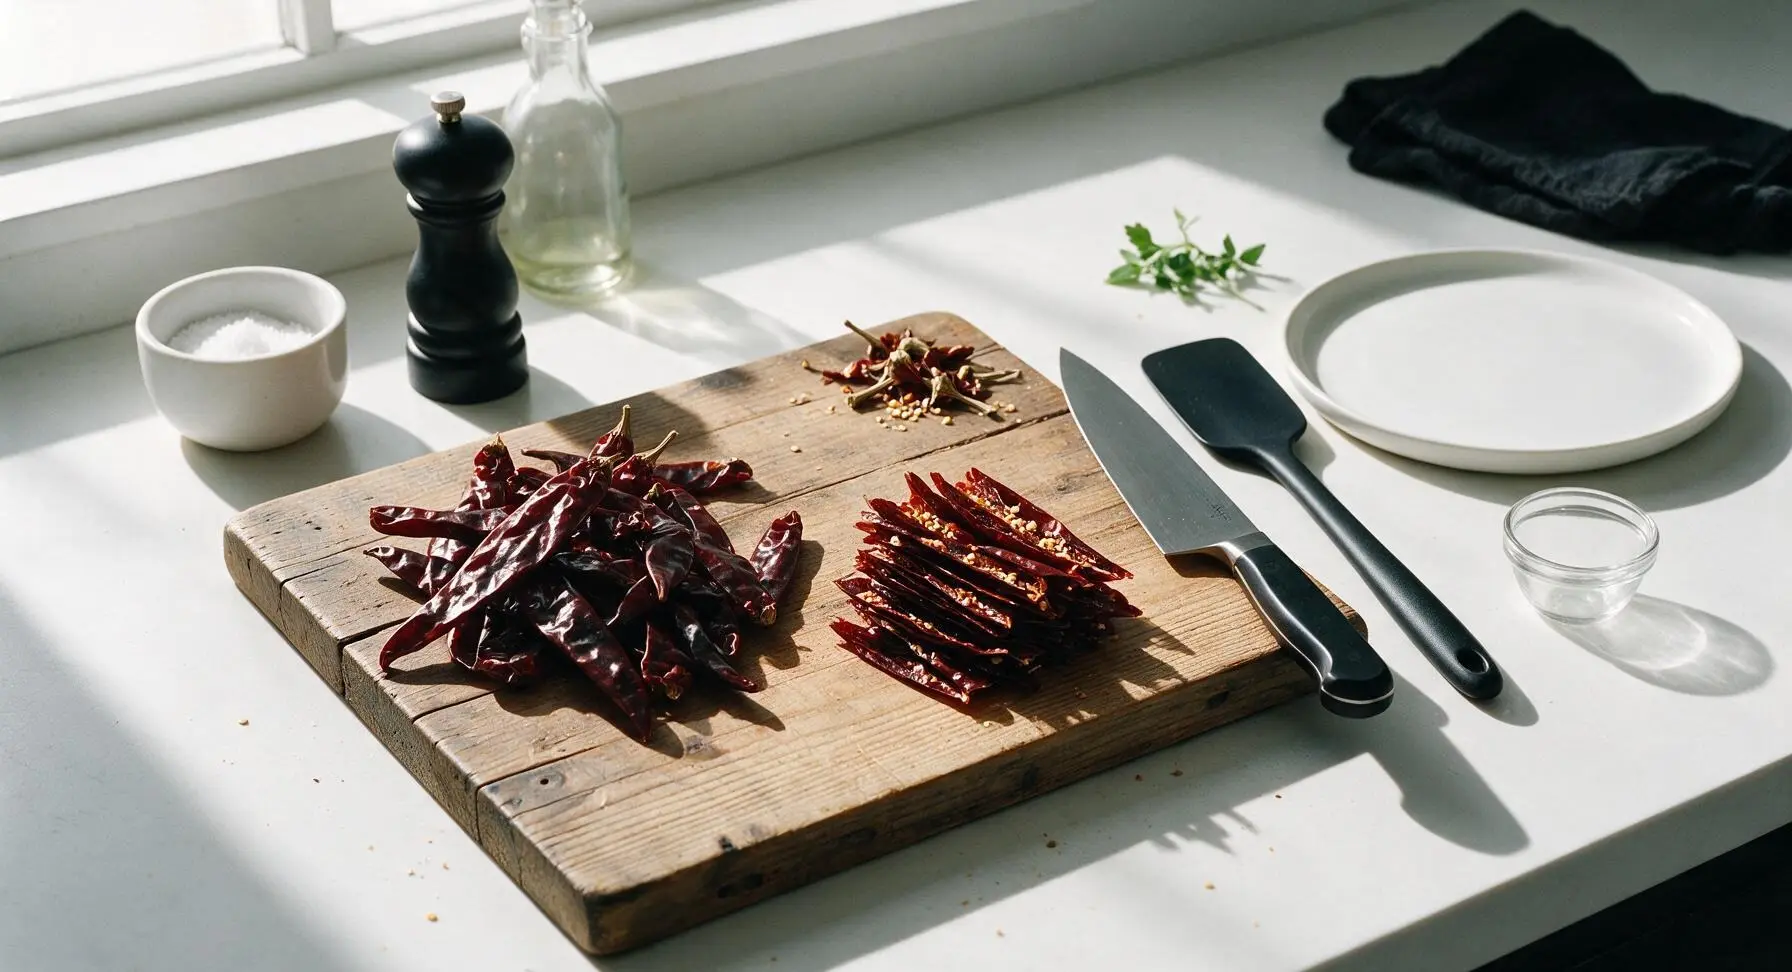
Step 1
step1:Prep Dried Chile Pods
2

Toast Chiles and Aromatics

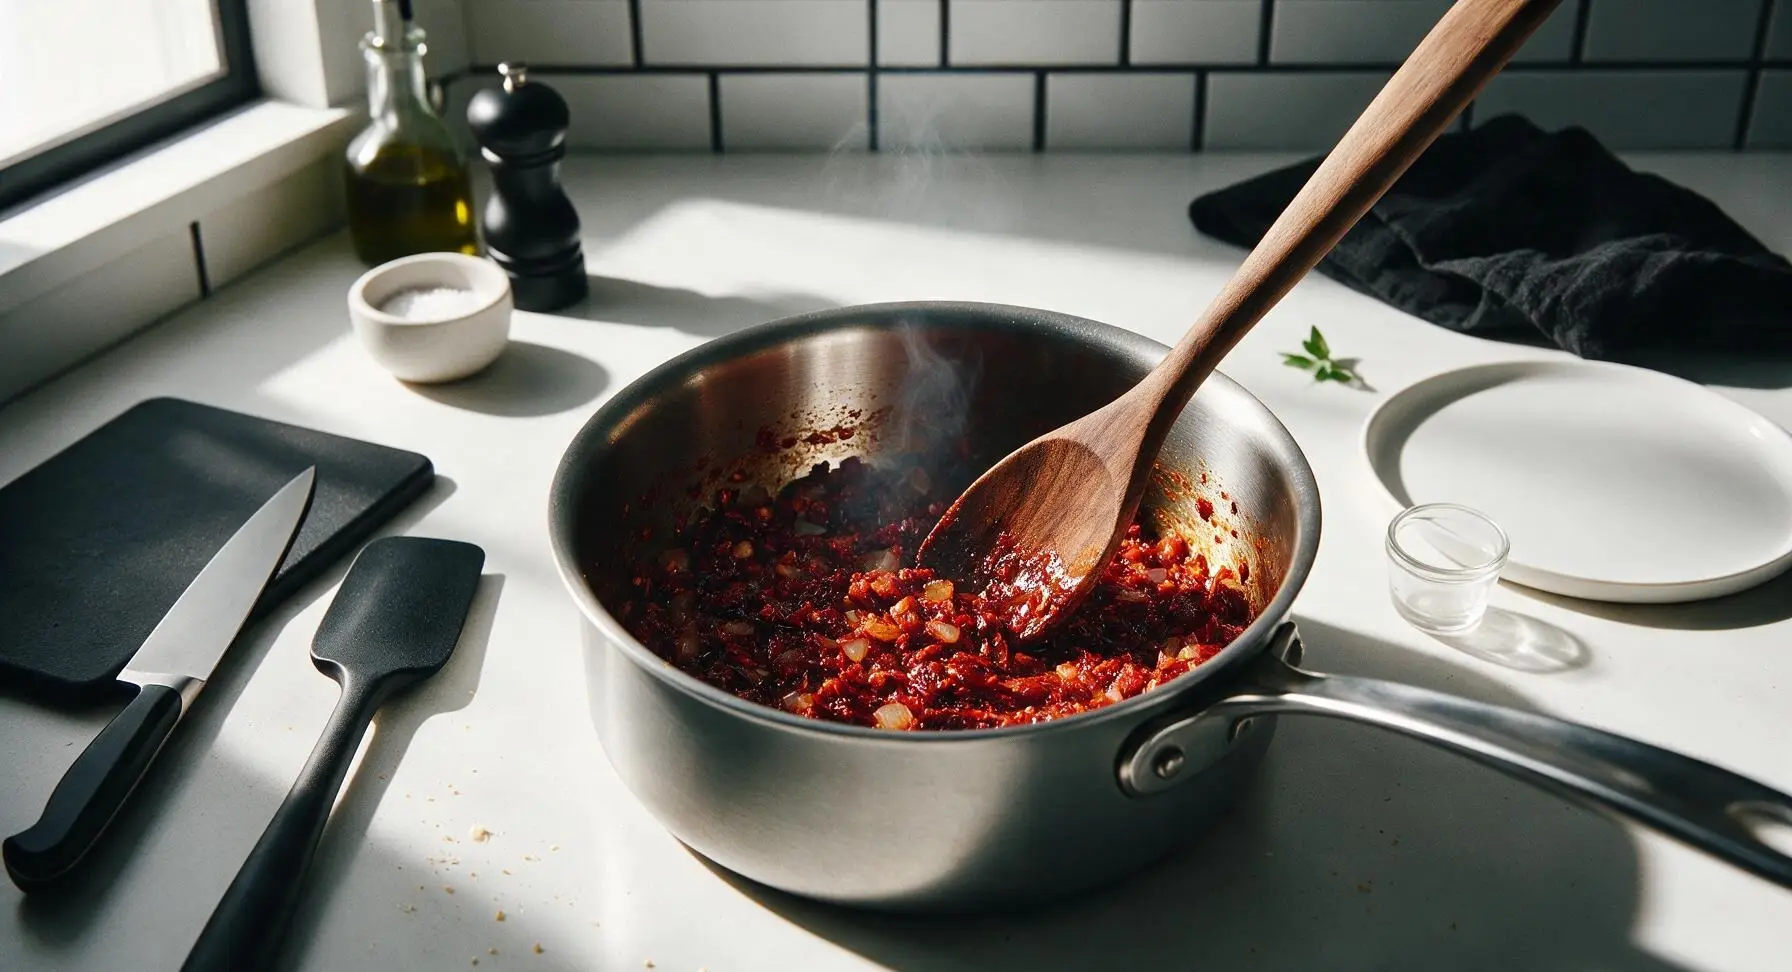
Place the 2-quart heavy-bottomed stainless steel saucepan over medium heat (350°F / 175°C). Add 1 tablespoon of olive oil, then add the cleaned chile pieces, diced yellow onion, and crushed garlic. Toast, stirring constantly with the walnut spoon, for 2-3 minutes, until the chiles smell deeply fragrant and the onion softens slightly. Watch closely to avoid burning the chiles, which will turn the sauce bitter; the chiles should darken slightly to a deeper red but not develop black spots.
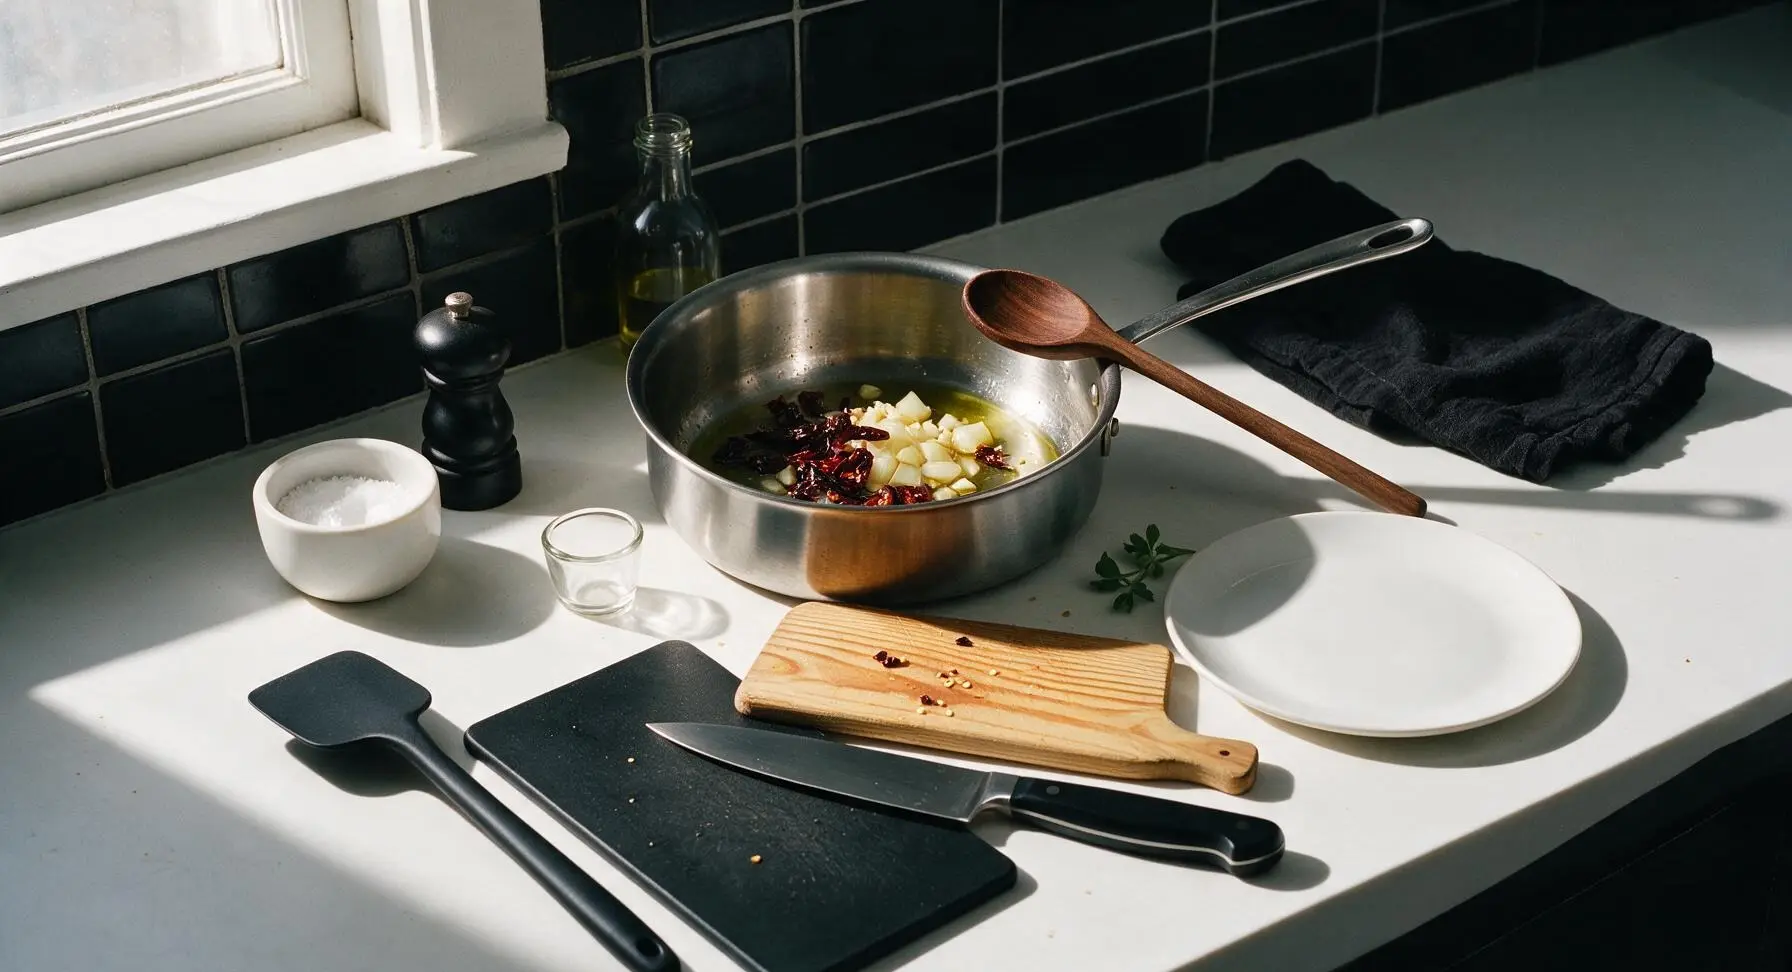
Step 2
step2:Toast Chiles and Aromatics
Step 2
step2:Toast Chiles and Aromatics
3

Simmer Chile Mixture

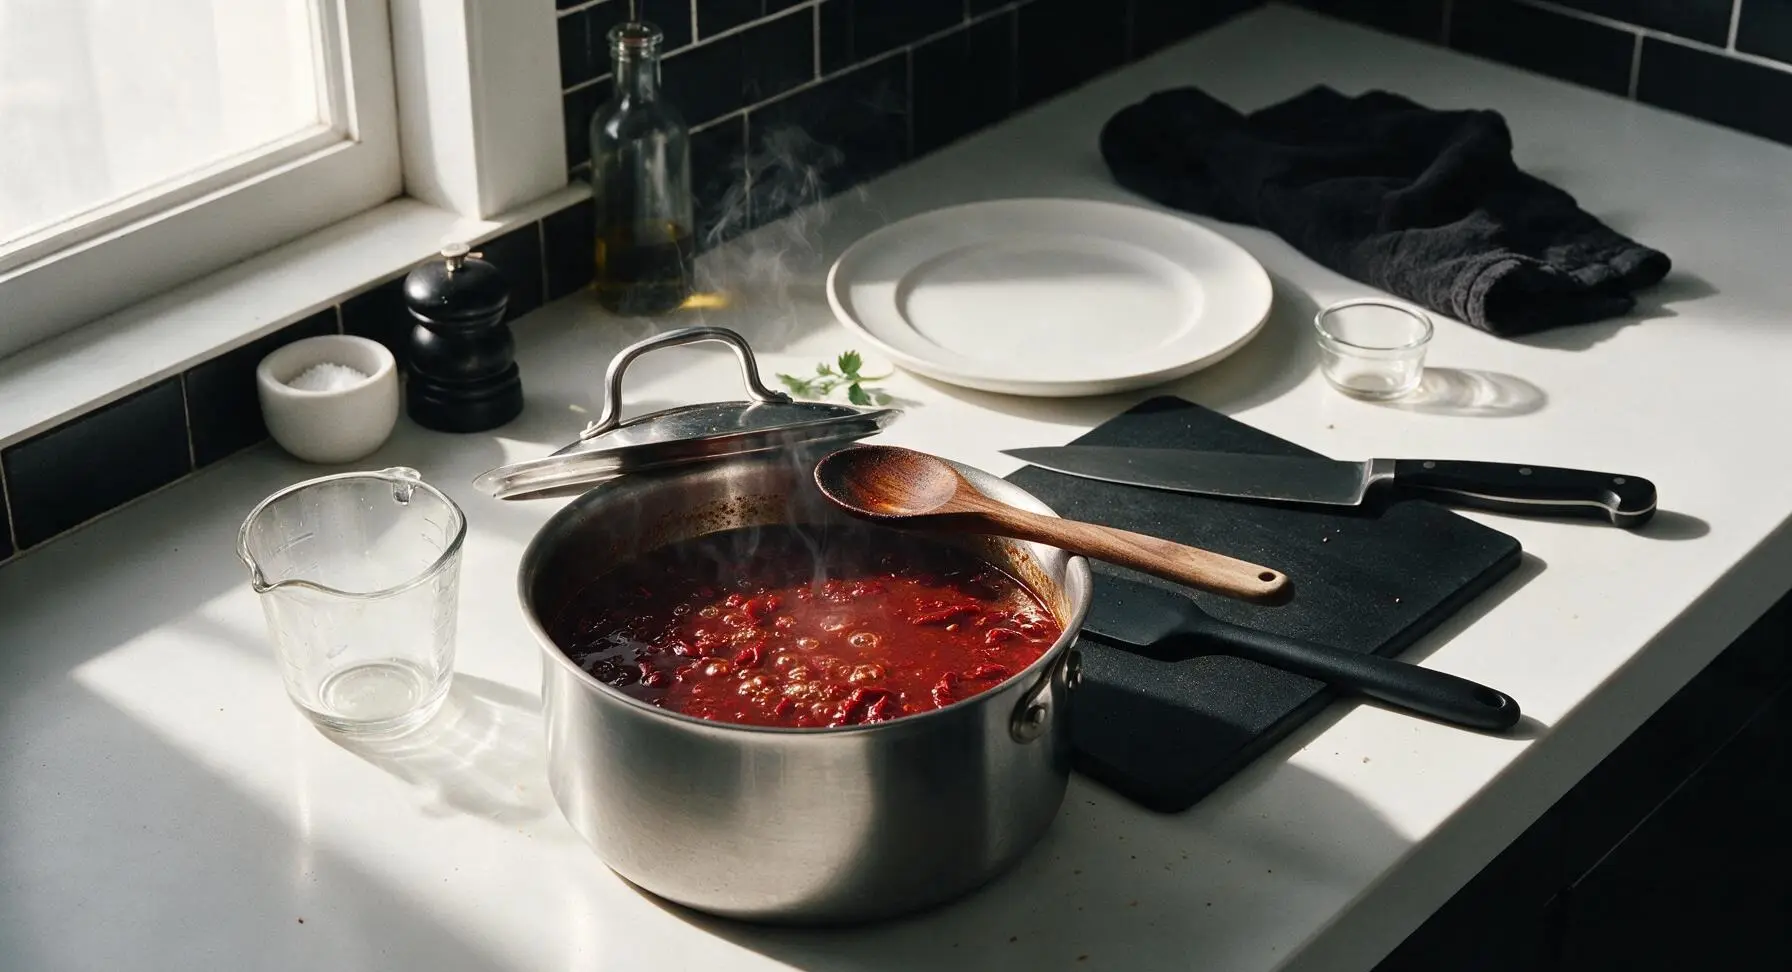
Carefully pour the 2 cups of chicken (or vegetable, for vegan) broth into the saucepan with the toasted chiles and aromatics. Stir in the dried Mexican oregano and ground cumin. Bring the mixture to a gentle rolling boil, then reduce heat to low (200°F / 95°C), set the pan lid slightly ajar, and simmer for 15 minutes. The chiles will soften completely during this time, becoming plump and fully rehydrated, and the liquid will turn a deep, opaque rust red. Do not boil rapidly, as this will cook off delicate chile flavor and make the sauce taste flat.
Step 3
step3:Simmer Chile Mixture
4

Blend Sauce Until Smooth

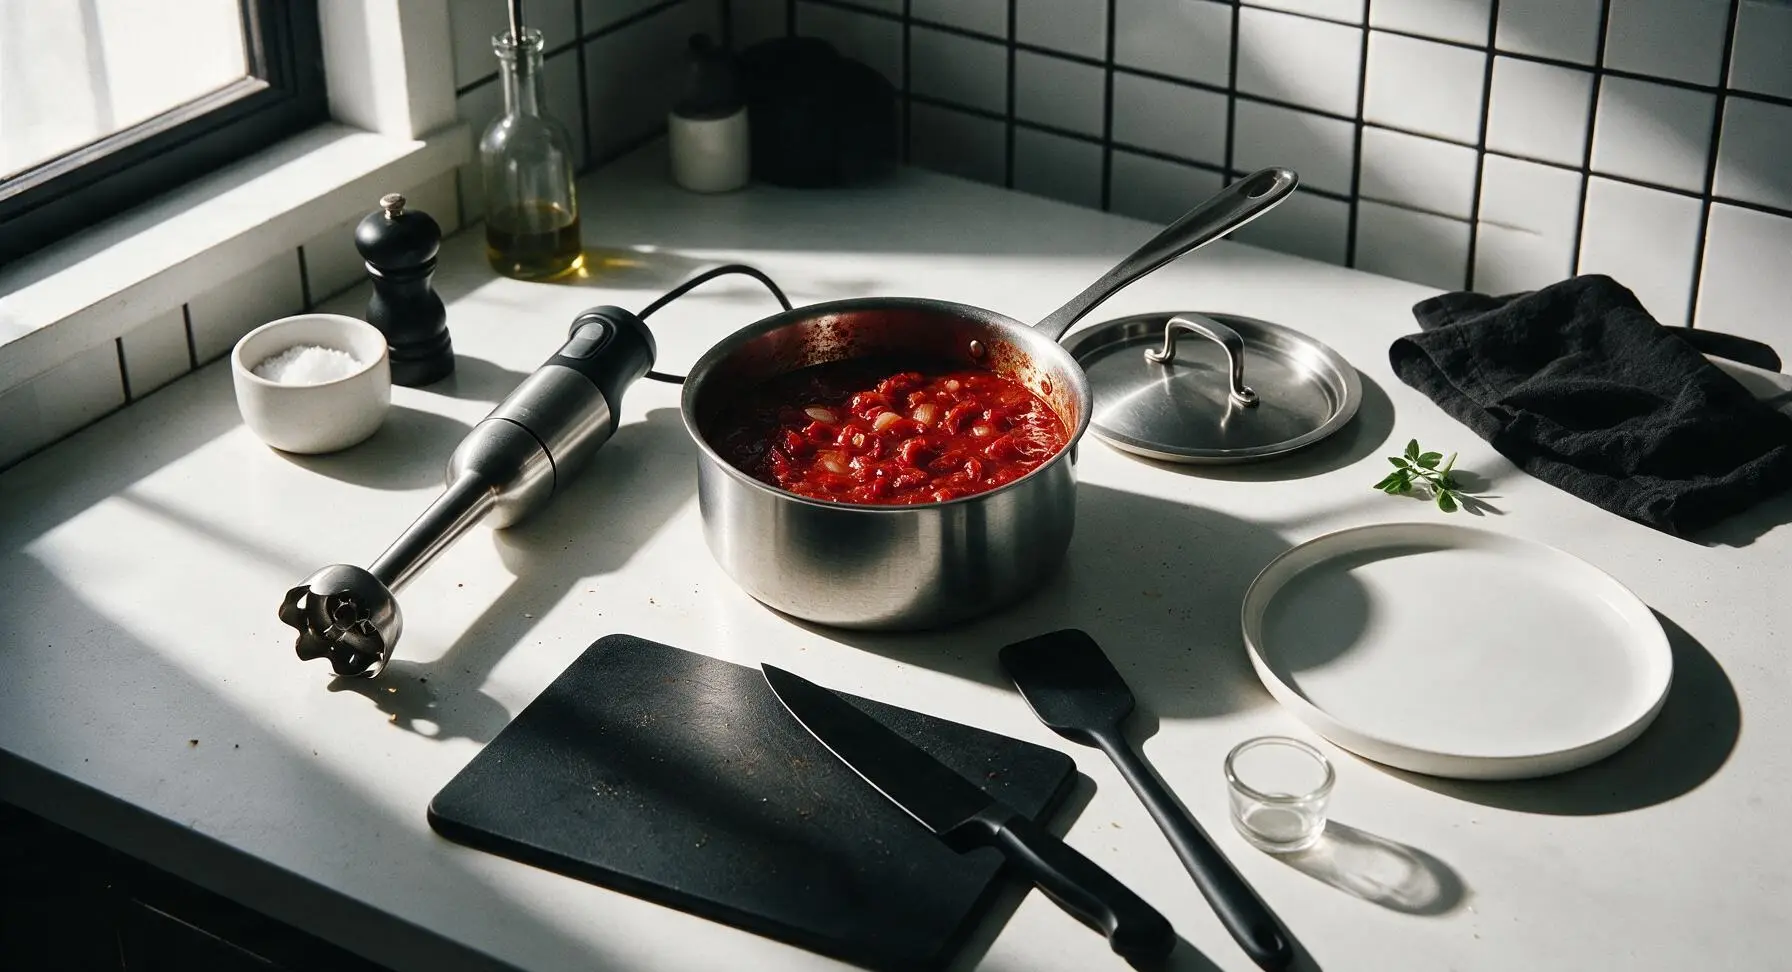
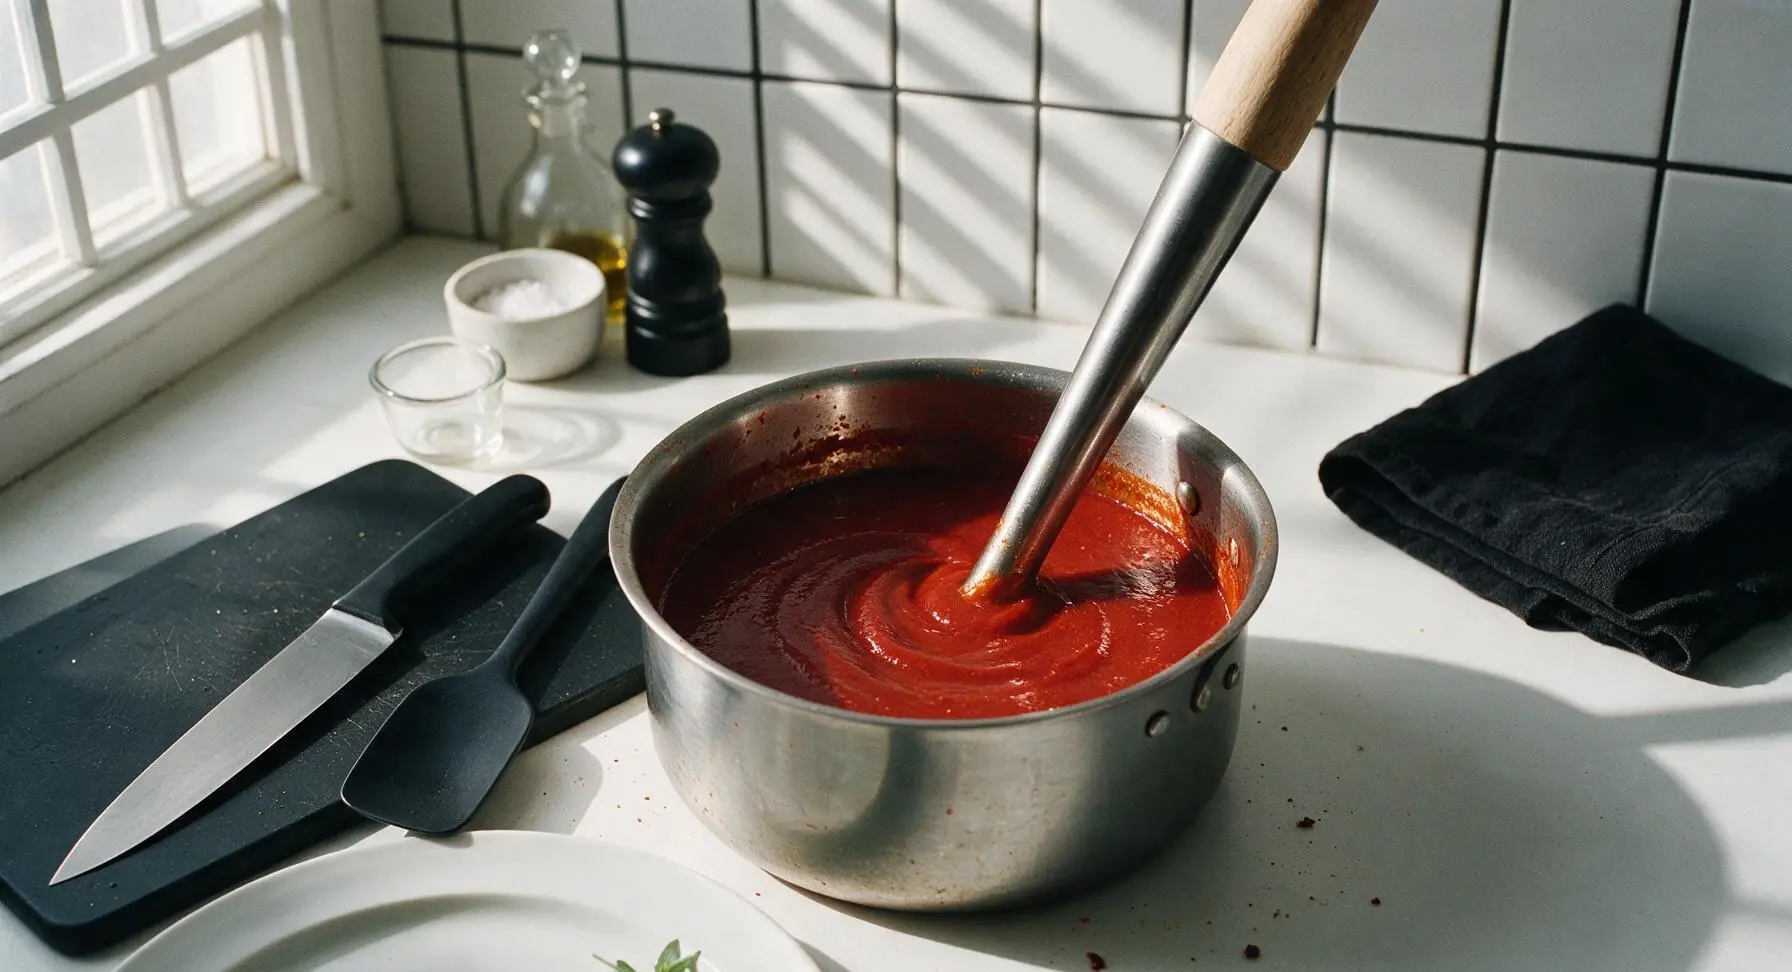
Turn off the heat and let the chile mixture cool for 5 minutes to avoid hot splatters during blending. Retrieve the immersion blender from off-frame storage, submerge its blending wand fully in the chile mixture, and blend on high for 1-2 minutes, until completely smooth with no visible lumps of chile skin or onion. Hold the blender at a slight angle against the pan side to avoid pulling in excess air, which will create unwanted foam on the sauce surface.
Step 4
step4:Blend Sauce Until Smooth
Step 4
step4:Blend Sauce Until Smooth
5

Strain for Silky Texture

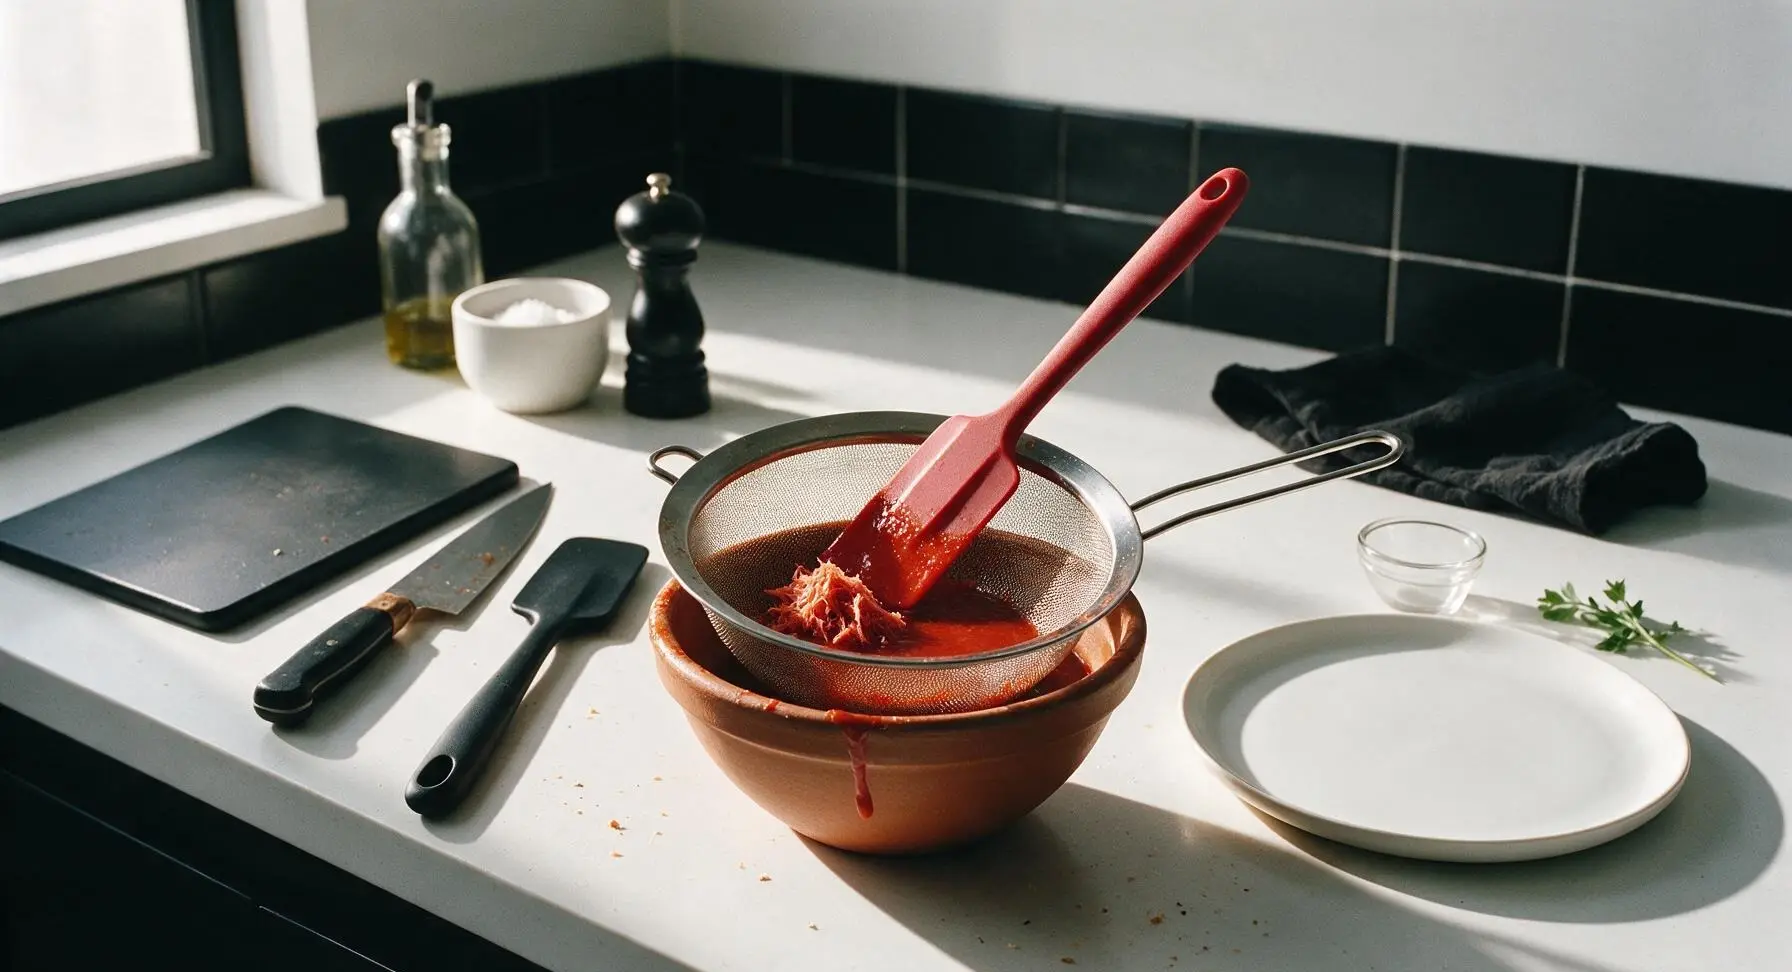
Place the fine-mesh stainless steel strainer across the top of the terracotta serving bowl. Pour the blended chile mixture into the strainer, then use the matte red silicone spatula to press the mixture through the mesh, scraping the bottom of the strainer regularly to capture all the smooth sauce. Discard the small amount of dry, fibrous light-red chile skin left in the strainer after pressing. This step removes any remaining tough, unblended bits for a perfectly silky, restaurant-quality texture.
Step 5
step5:Strain for Silky Texture
6

Season and Finish Sauce

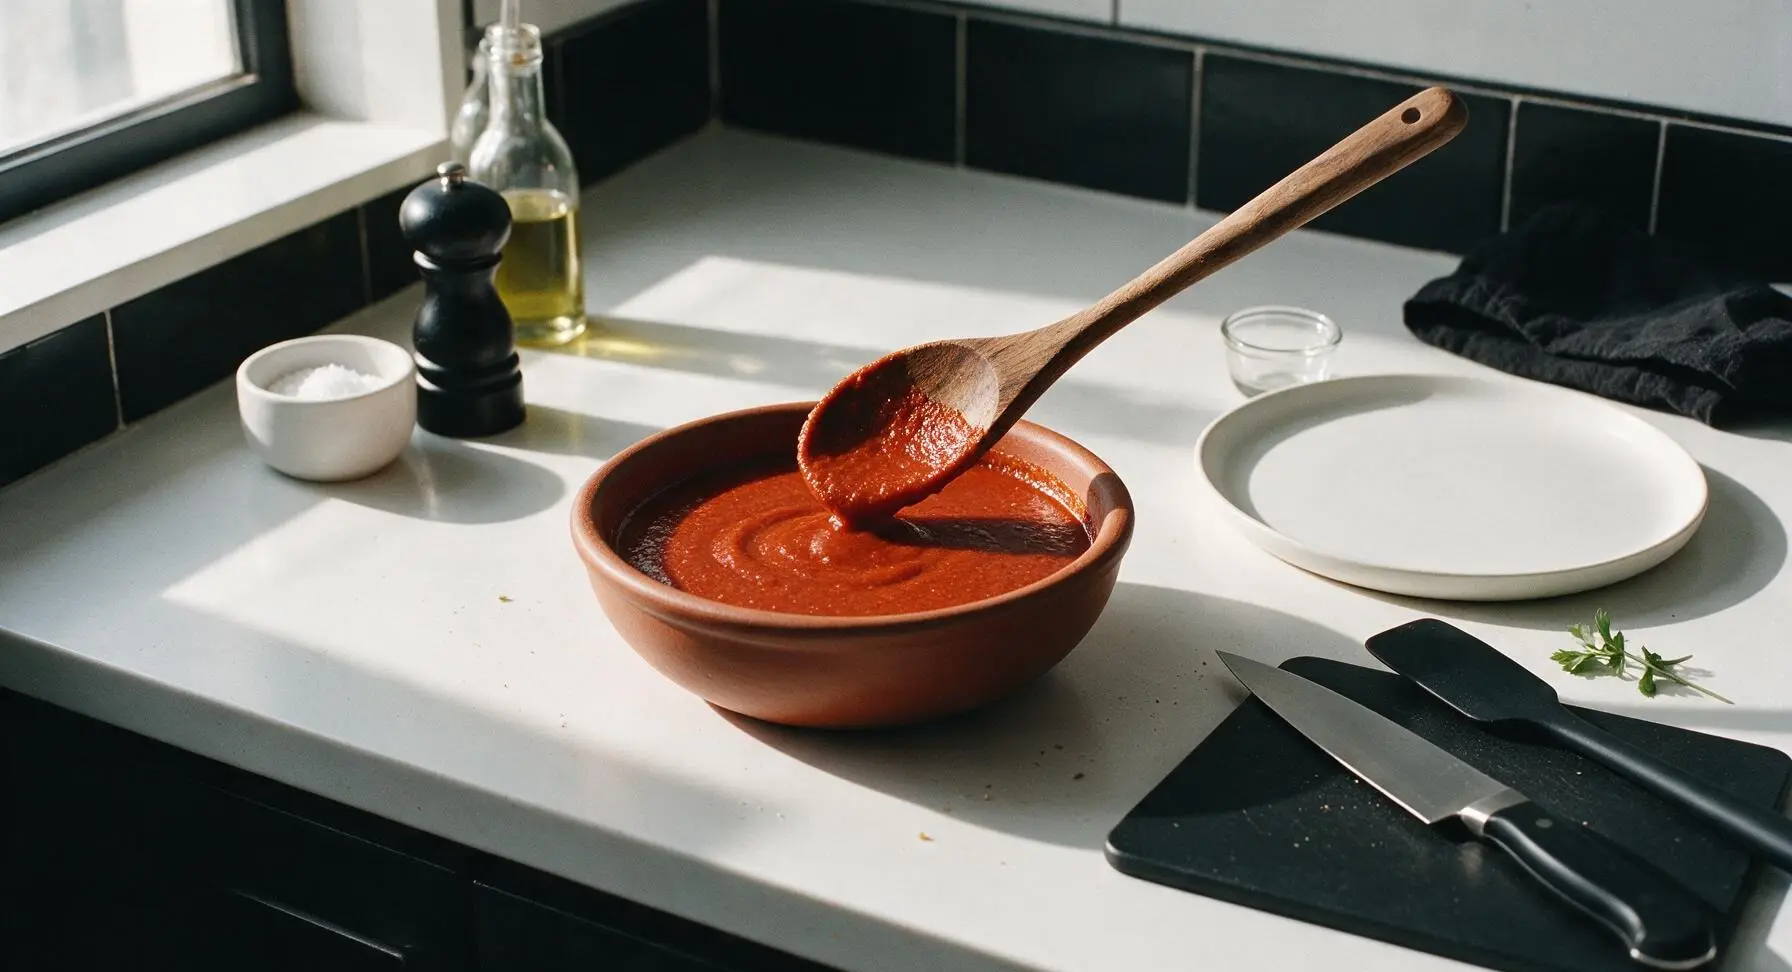
Stir 1 teaspoon of apple cider vinegar and 1 teaspoon of kosher salt into the strained sauce, tasting and adjusting salt as needed to bring out the chiles' bright, fruity, earthy flavor. The vinegar cuts through the richness of the chiles and adds a subtle bright note that balances the deep, toasty flavors. Let the sauce cool for 5 minutes before serving; it will thicken slightly as it cools to a perfect nappe consistency, thick enough to coat the back of a spoon without running off too quickly.
Step 6
step6:Season and Finish Sauce

Tips

1.Select dried chiles that are pliable and deep rust-red, not brittle, dusty, or dark brown: Brittle, faded chiles are past their prime and will produce a flat, bitter sauce lacking the bright, fruity depth of fresh dried chiles.
2.Never skip the straining step, even with a high-speed blender: Tiny, tough bits of chile skin will remain after blending, creating a grainy texture, and straining ensures the silky, smooth consistency that defines restaurant-quality red chile sauce.
3.Store leftover sauce in 1/2-cup portions in sealed glass jars for up to 1 week in the refrigerator, or 6 months in the freezer: Pre-portioned sauce makes quick weeknight meals like chilaquiles, smothered burritos, or huevos rancheros fast and easy to pull together.


✨ You May Also Like

Side Dishes
🍜 India

Velvety, aromatic all-purpose curry sauce perfect for tossing with roasted veggies, grilled protein, or rice for fast, cozy, flavorful meals.

⏱️ 25 minuteSide Dishes ★ 4.8
Side Dishes
🍜 Spain

Tender, starchy boiled yuca tossed in bright, garlicky citrus mojo sauce—an iconic, zesty side that pairs beautifully with roasted pork, grilled meats, and rice and beans.

⏱️ 40 minuteSide Dishes ★ 5
Side Dishes
🍜 United States

Tender, paper-thin potato flatbread, a beloved Norwegian-American Minnesota Christmas staple, griddled until softly spotted and served warm with butter.

⏱️ 1 hour 30Side Dishes ★ 4.6
Side Dishes
🍜 United States

Rich, deeply savory cured salt pork, a long-lasting kitchen staple perfect for frying crispy as a side or adding umami to stews, beans, and chowders.

⏱️ 7 days (2Side Dishes ★ 4.9
Side Dishes
🍜 United States

Crispy, tangy classic Southern fried green tomatoes with a crunchy cornmeal crust, served hot for a nostalgic, comforting summery bite.

⏱️ 25 minuteSide Dishes ★ 4.9
Side Dishes
🍜 United States

Moist, golden-crusted savory muffins with sweet corn, zesty jalapeño, and melted cheddar, perfect for pairing with smoky summer grilled fare.

⏱️ 30 minuteSide Dishes ★ 4.9

red chile sauce:Frequently Asked Questions

1.Can I use a different dried chile if I can’t find New Mexico red chile pods? ▾
You absolutely can, as long as you stick to mild, earthy varieties to match the classic flavor profile. Swap in dried Anaheim chiles, or a 3:1 mix of dried guajillo and mild ancho chiles for a near-identical taste. Skip super hot chiles like de árbol or cayenne as a 1:1 swap—they’ll overpower the sauce’s signature gentle, deep savoriness.
2.How spicy is this authentic red chile sauce? ▾
When made with fully seeded New Mexico chile pods, it’s gently spicy, clocking in at 500–1,000 Scoville Heat Units—milder than a fresh jalapeño. If you prefer more heat, reserve 1–2 teaspoons of the chile seeds to add back in during blending, or toss in one small dried chile de árbol for a bright kick without muddying the earthy base.
3.Is it really necessary to seed the dried chile pods? ▾
Seeding and removing the pale, tough inner membranes gives you the smooth, non-bitter, velvety texture this sauce is known for. Those bits add harsh, gritty bitterness and uneven, sharp heat if left in. If you want extra spice, you can reserve a small pinch of seeds to add back, but always strain the final sauce to catch any remaining fibrous grit.
4.Can I make this sauce vegetarian or vegan? ▾
Absolutely! The recipe already lists low-sodium vegetable broth as a direct swap for chicken broth, so just choose that option, and stick with the extra-virgin olive oil—there are no other animal products in the base. The final sauce will have the same deep, earthy flavor and smooth texture, perfect for vegan enchiladas or roasted veggie bowls.
5.Why did my red chile sauce turn out bitter, and how do I fix it? ▾
Bitterness almost always comes from over-toasting the chiles (they burn very quickly!), leaving too many seeds and membranes in, or sautéing the garlic and onion until dark brown. If your sauce is bitter, stir in a tiny pinch of brown sugar or 1/4 teaspoon of apple cider vinegar at a time, tasting as you go, to balance the flavor without making it sweet or tangy.
6.How long will this sauce stay fresh in the refrigerator? ▾
Stored in a tightly sealed, airtight glass jar, it will keep for 7 to 10 days in the fridge. Let it cool completely to room temperature before sealing it up to avoid condensation buildup, and give it a quick stir before using—light separation of the olive oil is totally normal, and not a sign the sauce has gone bad.
7.Can I freeze this red chile sauce for later use? ▾
It freezes beautifully for up to 6 months, which makes it a great staple to prep ahead. Portion it into 1-cup freezer-safe containers or heavy-duty zip-top bags, squeeze out excess air, and lay bags flat to save freezer space. Thaw it overnight in the fridge, then whisk briefly over low heat if it separates to restore that velvety texture.
8.Why does the recipe call for low-sodium broth instead of regular? ▾
Dried red chiles have delicate, nuanced earthy notes that get easily masked by overly salty broth. Using low-sodium chicken or vegetable broth lets you control the salt level to taste at the end of cooking, so you won’t end up with an overly briny sauce that clashes with seasoned dishes like enchiladas or slow-cooked meats.
9.My sauce came out gritty and lumpy—what went wrong? ▾
Gritty, uneven texture almost always comes from not blending the ingredients long enough, or skipping the final straining step. After blending the softened chiles, onion, and garlic on high for 60–90 seconds, pour the sauce through a fine-mesh sieve, pressing with a spatula to push all the smooth pulp through, and discard the leftover fibrous bits.
10.What’s the best way to prep the dried chile pods before blending? ▾
First, wipe any dusty residue off the pods with a dry paper towel, then snap off stems, split pods open, and scrape out all seeds and inner membranes. Toast them lightly in a dry pan over medium-low heat for 30–45 seconds per side until fragrant (don’t let them burn!), then rehydrate in warm broth for 15 minutes before blending.
11.Can I use pre-ground red chile powder instead of whole dried pods? ▾
Whole dried pods deliver the deepest, most authentic layered flavor, but you can swap in 3/4 cup of high-quality, unsweetened New Mexico red chile powder in a pinch. Skip the toasting and rehydrating steps, whisk the powder into sautéed onion and garlic, add broth, simmer 10 minutes, then strain for the closest texture and flavor match.
12.What are the best ways to use this red chile sauce? ▾
This versatile Southwestern staple works for so many dishes! Smother it over enchiladas or huevos rancheros, use it to braise slow-cooked pork or beef for burritos and tamales, drizzle it over breakfast burritos, toss it with roasted vegetables, or stir it into posole for extra depth. It’s easy to keep on hand for quick weeknight meals.
13.Do I need to cook the sauce after blending it, or can I use it right away? ▾
Always simmer the blended, strained sauce for 8–10 minutes over medium-low heat after blending. This quick cook removes any raw, starchy taste from the rehydrated chiles, melds the garlic and onion flavors together, and thickens the sauce to that perfect, coat-the-back-of-a-spoon consistency ideal for smothering dishes.

Comments (11)

5 days ago

OMG this red chile sauce is a total game changer! I’ve been buying jarred stuff for years for our weekly taco nights and this is so much better, plus it only took 25 minutes total? No brainer. My kids even asked for extra to drizzle on their eggs this morning. 10/10.

3 days ago

So glad your whole family loves it, Mia! It’s amazing on breakfast eggs too, one of my favorite quick uses for leftover sauce. Thanks for leaving a review!

2 weeks ago

Made this for a potluck at work last weekend and people were begging for the recipe! It has the perfect depth of flavor, not too spicy but has that nice warm kick. Super easy to throw together even when you’re running behind on prep. Will make again for sure.

3 days ago

Wait, has anyone tried making this with dried chiles that were a little past their prime? I have a bag in my pantry that’s been there a couple months, wondering if it’ll still turn out okay? I don’t wanna run to the store if I don’t have to!

2 days ago

I did that last week! Mine were about 3 months old, just toasted them a tiny bit longer to bring the flavor back and it turned out perfect. No weird stale taste at all, promise.

yesterday

Great tip from Tom! As long as your dried chiles don’t have any mold or weird off smells, a quick extra toast in the dry pan will wake up their flavor even if they’ve been stored a few months. Enjoy!

3 days ago

SO good! I used this for enchiladas last night for our family dinner and everyone went back for seconds. I was worried it would be too complicated for a weeknight meal but it’s genuinely so easy, even for someone who burns toast half the time (aka me).

2 days ago

Love that this worked for your weeknight enchilada night, Sarah! Weeknight-friendly recipes are my favorite because no one wants to spend hours in the kitchen after work. Thanks for the kind words!

1 week ago

Meal prep win! I made a double batch on Sunday and used it all week on burrito bowls, chilaquiles, even as a dip for tortilla chips when my friend stopped by unannounced. Freezes really well too, I popped half in a freezer bag for next week. Zero complaints.

2 days ago

Is this sauce spicy enough for people who love heat, or should I add a couple arbol chiles to kick it up? I’m making this for my partner who puts hot sauce on literally everything, and I don’t want it to be too mild for him.

yesterday

I added 3 arbol chiles when I made it last week for my heat-obsessed brother and he said it was perfect! The base recipe is pretty mild on its own, great for kids, so extra chiles definitely help if you want more burn.

2 hours ago

Jess is exactly right! The base recipe is mild, so adding 2-4 arbol chiles (depending on how much heat you love) is a fantastic tweak for heat lovers. You can also leave a few seeds in for extra kick if you want!

2 days ago

Took me a minute to get the chiles de-stemmed and seeded but other than that this was totally foolproof. Way better than the red sauce I had at my local Mexican restaurant last week, no cap. I’ll never buy the canned stuff again.

yesterday

That means so much to hear, Mike! Canned sauce can never compete with that fresh, toasty chile flavor, right? So glad it worked out for you.

5 minutes ago

My abuela makes red chile sauce almost exactly like this! I was nervous I wouldn’t get the flavor right when I moved out of state, but this recipe tastes just like hers. Made me so nostalgic, I called her immediately after I tasted it to tell her I finally nailed it.

yesterday

Wait, do you have to strain the sauce at the end? I don’t have a fine mesh sieve right now, mine broke last week when I was making jam. Wondering if it’ll still be good if I just blend it really smooth?

2 hours ago

I didn’t strain mine last time! Blended it on high for like 2 full minutes in my blender and it was totally smooth, no gritty bits at all. Save yourself the extra dish, honestly.

30 minutes ago

Carlos’s hack is spot on! If you don’t have a sieve, blending on the highest speed for 1-2 minutes will get you a super smooth sauce. Straining just makes it extra silky, but it’s 100% not required if you don’t mind a tiny bit of texture.

yesterday

Made this for smothered burritos last night and my roommate ate three servings, lol. The flavor is so deep and rich, you’d think it simmered for hours instead of just 25 minutes. Total home run.

2 hours ago

Smothered burritos sound like the perfect use for this sauce, Nate! I love hearing when roommates approve — that’s the real test of a good recipe, right?

2 hours ago

Can I use vegetable broth instead of chicken broth to make this vegan? I’m hosting a taco night next weekend and a couple of my friends are plant-based, I want a sauce everyone can eat!

30 minutes ago

I used low sodium vegetable broth when I made this for my vegan cousin last month and it tasted exactly the same! No difference in flavor at all, just make sure you get the kind without weird added sweeteners.

just now

Great call from Megan! Vegetable broth works perfectly as a 1:1 swap here for a totally vegan sauce, I do it all the time for my plant-based friends. Hope your taco night is a hit!



