
Red Pepper Grilled Cheese

title 1
Red Pepper Grilled Cheese
⏱️ cook time 12 minutes
🍽️ servings 2
⚡ Difficulty easy

intro

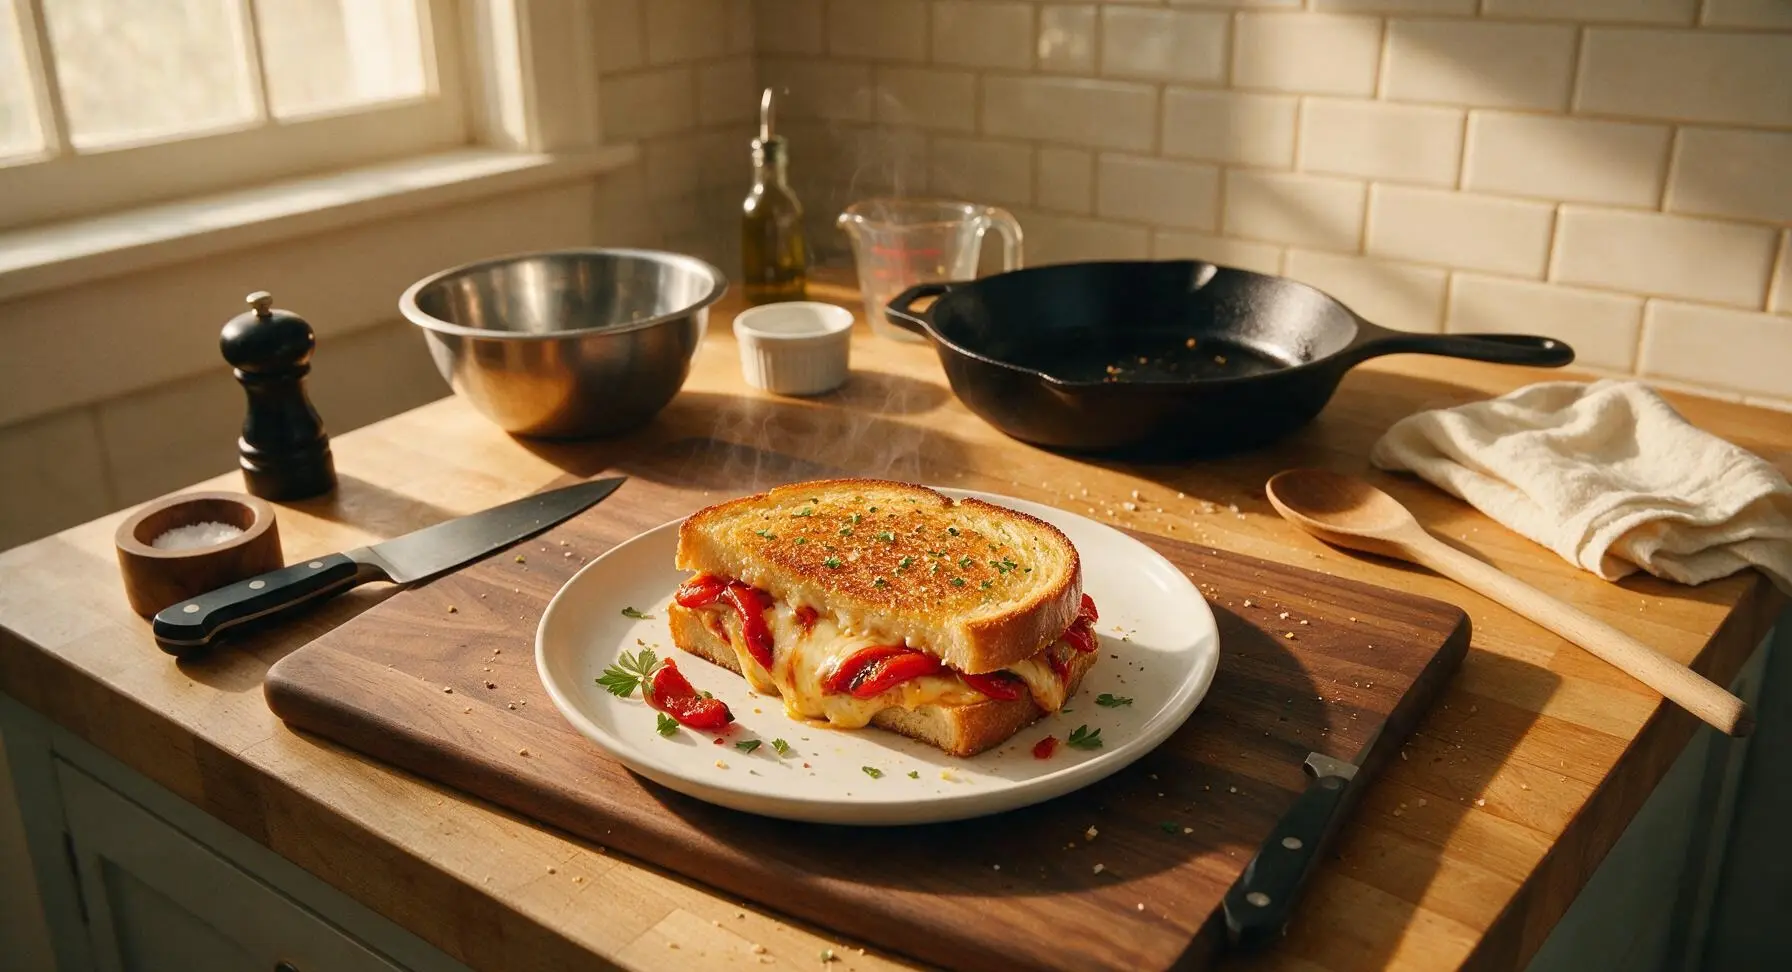
Crispy golden garlic butter bread oozing with melted cheese and sweet, smoky roasted red peppers—this elevated classic is cozy, fast, and deeply satisfying.

Ingredients
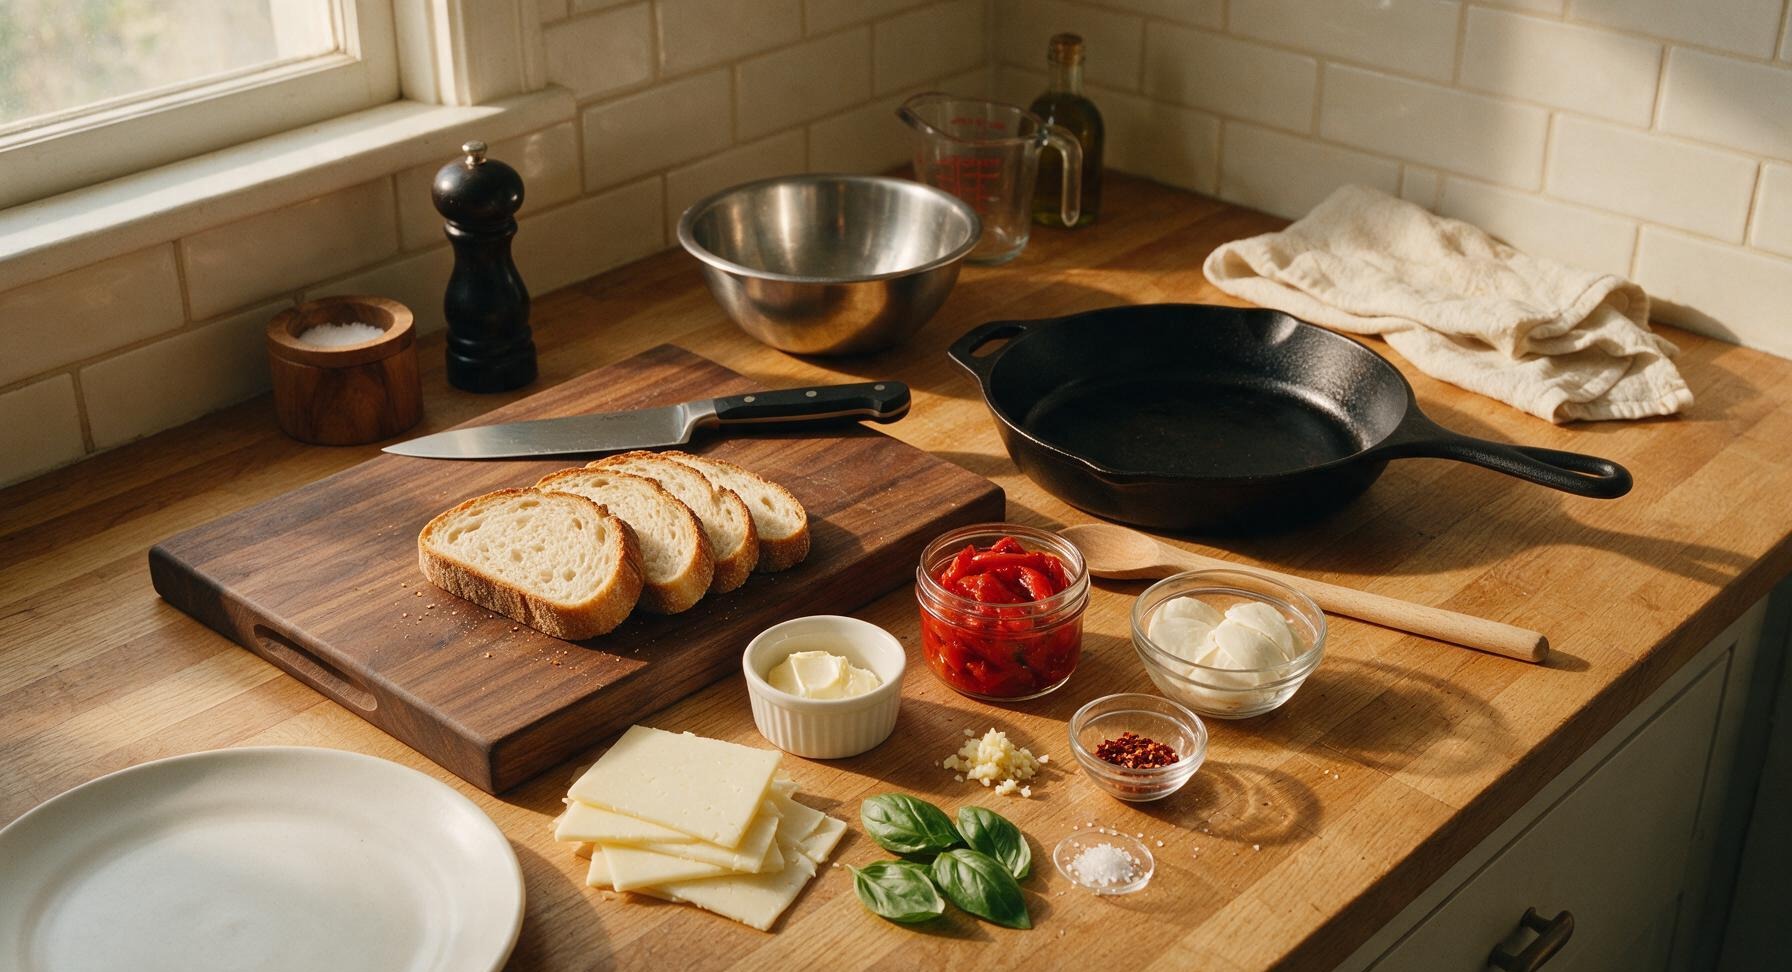
Thick-cut sourdough bread 4 slices (1.5cm thick, 120g total)
Sharp white cheddar cheese 60g, thinly sliced
Low-moisture mozzarella cheese 40g, thinly sliced
Jarred roasted red peppers 75g (1/2 cup, drained)
Unsalted butter 2 tbsp (28g), softened
Garlic clove 1 small, finely minced
Red pepper flakes 1/4 tsp
Fresh basil leaves 6 large
Flaky sea salt 1/8 tsp

Steps

1

Prep Roasted Peppers

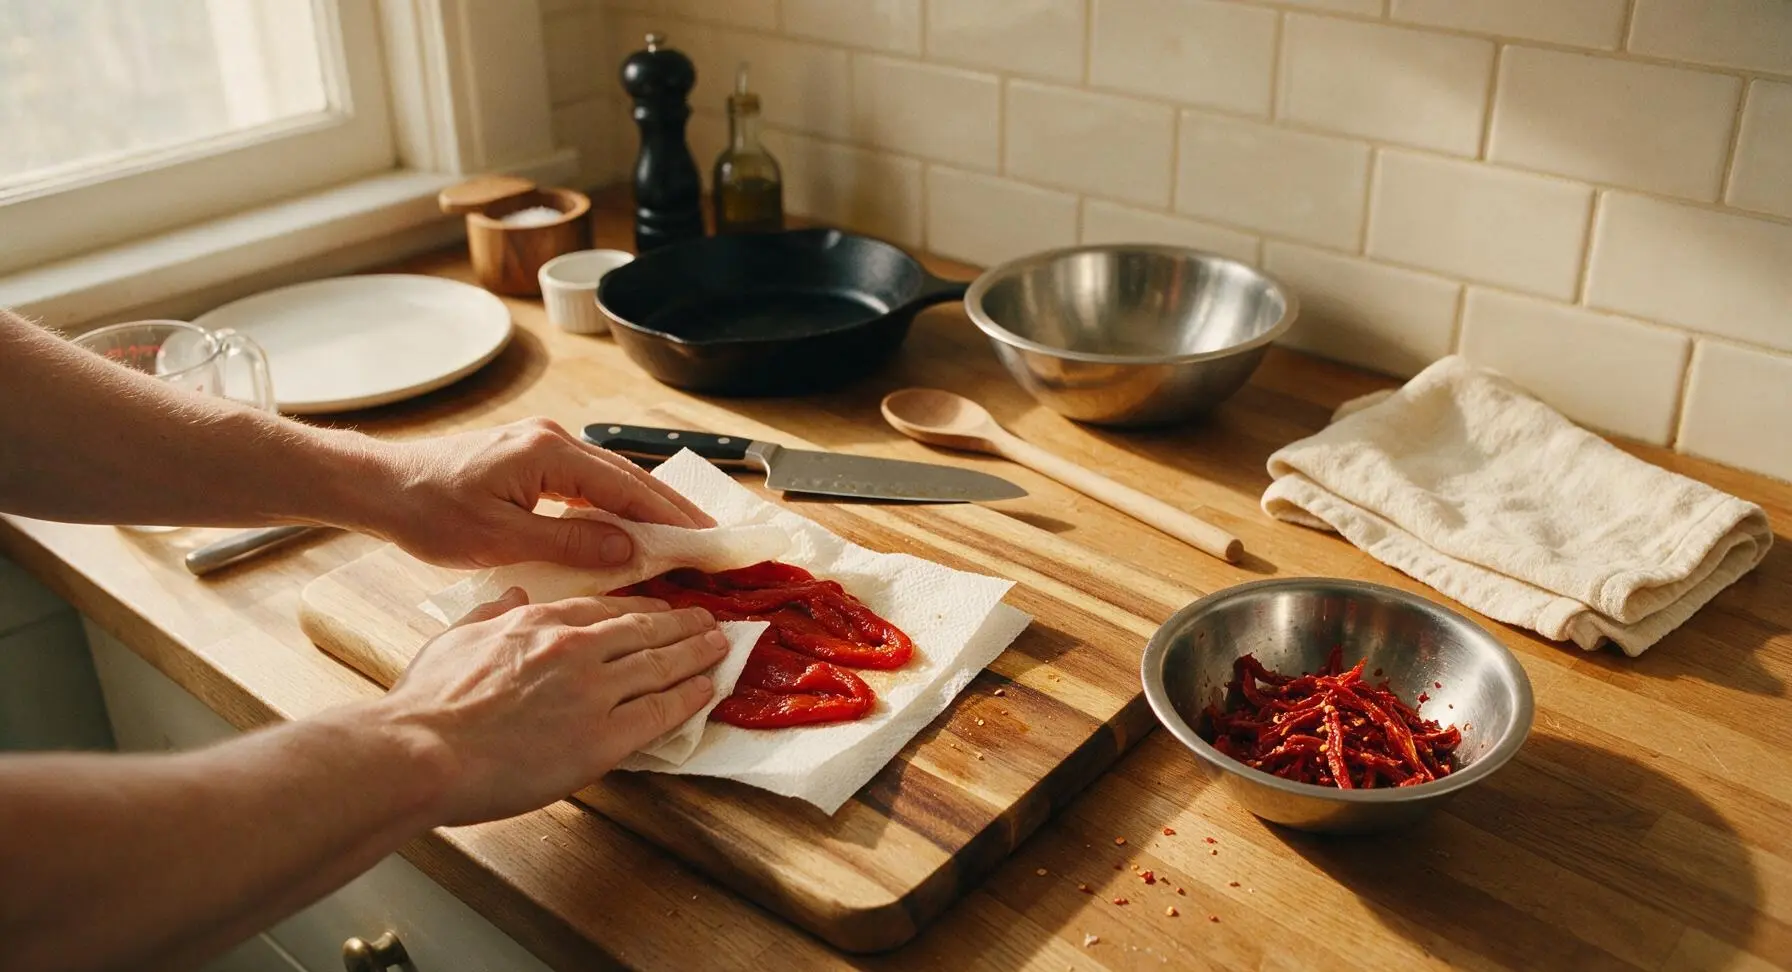
Set the acacia wood cutting board centrally on the counter. Measure 1/2 cup of drained roasted red peppers from the jar, and place them on a double layer of unbleached paper towel. Pat firmly on all sides to remove all excess brine and oil—this is critical to avoid soggy bread. Cut the dried peppers into 1cm wide strips, then transfer them to the small stainless steel prep bowl. Toss with 1/4 tsp red pepper flakes and set aside.
Step 1
step1:Prep Roasted Peppers
2

Mix Garlic Butter

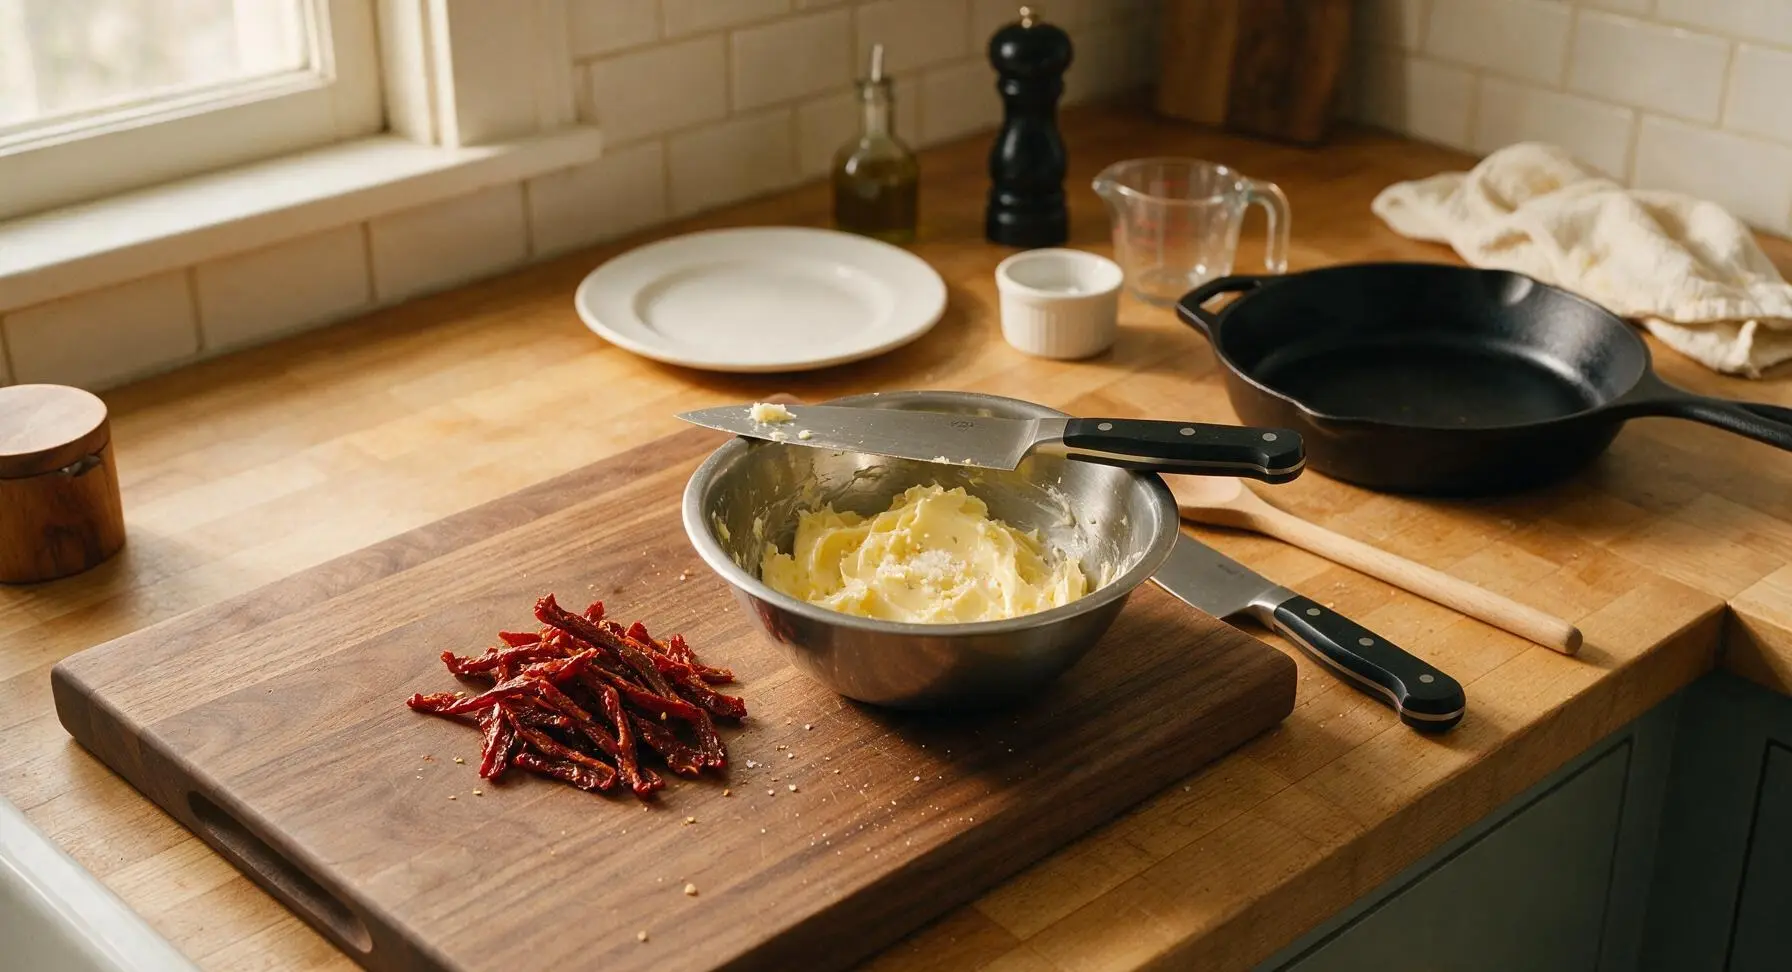
Place the 2 tablespoons of softened room-temperature unsalted butter in the small stainless steel prep bowl (wipe the bowl dry first after removing the peppers). Add the finely minced garlic and 1/8 tsp flaky sea salt, then mix thoroughly with the tip of the santoku knife until fully combined into a smooth, fragrant spread. The butter should be soft enough to spread without tearing bread, similar in consistency to mayonnaise.
Step 2
step2:Mix Garlic Butter
3

Layer Sandwich Fillings

Lay all 4 slices of sourdough bread flat on the acacia cutting board. Spread the outer (up-facing) side of each slice evenly with 1/2 tablespoon of the garlic butter, covering all the way to the crust edges to ensure even toasting. Flip two slices over so the unbuttered side faces up, then layer evenly on each: half the sliced sharp white cheddar, half the patted-dry roasted red pepper strips, 3 fresh basil leaves, then half the sliced low-moisture mozzarella. Top with the remaining bread slices, buttered side facing out, and press down gently on each sandwich to help layers adhere.
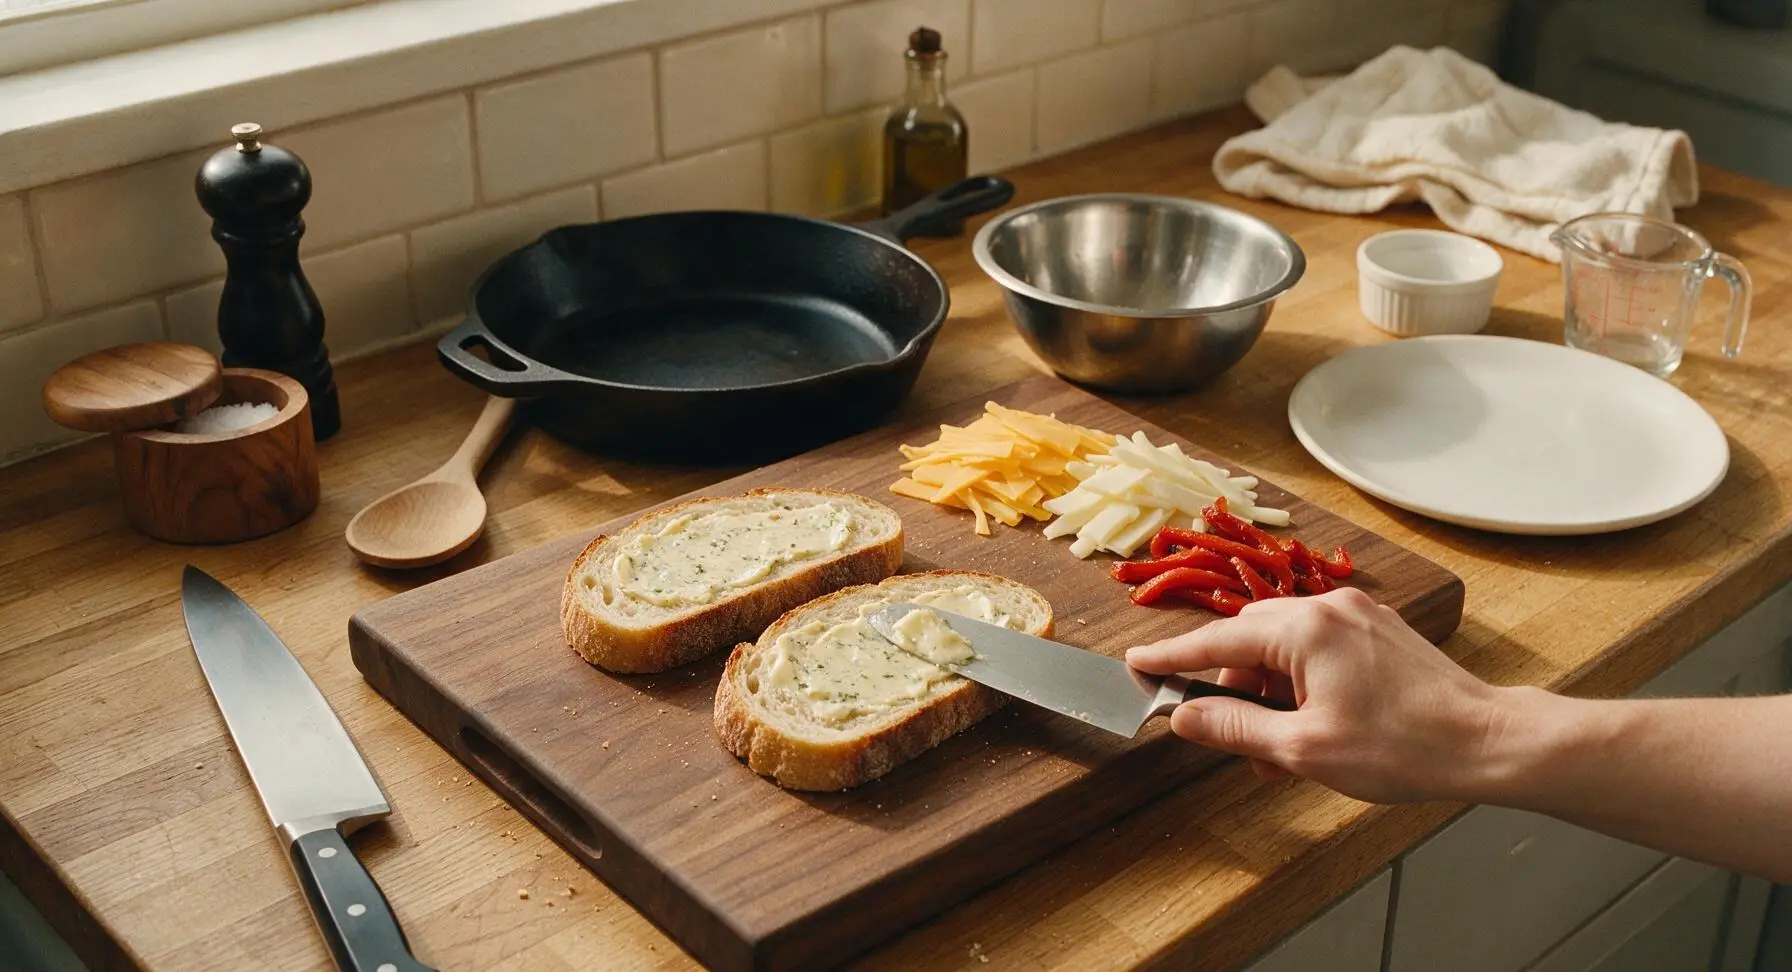
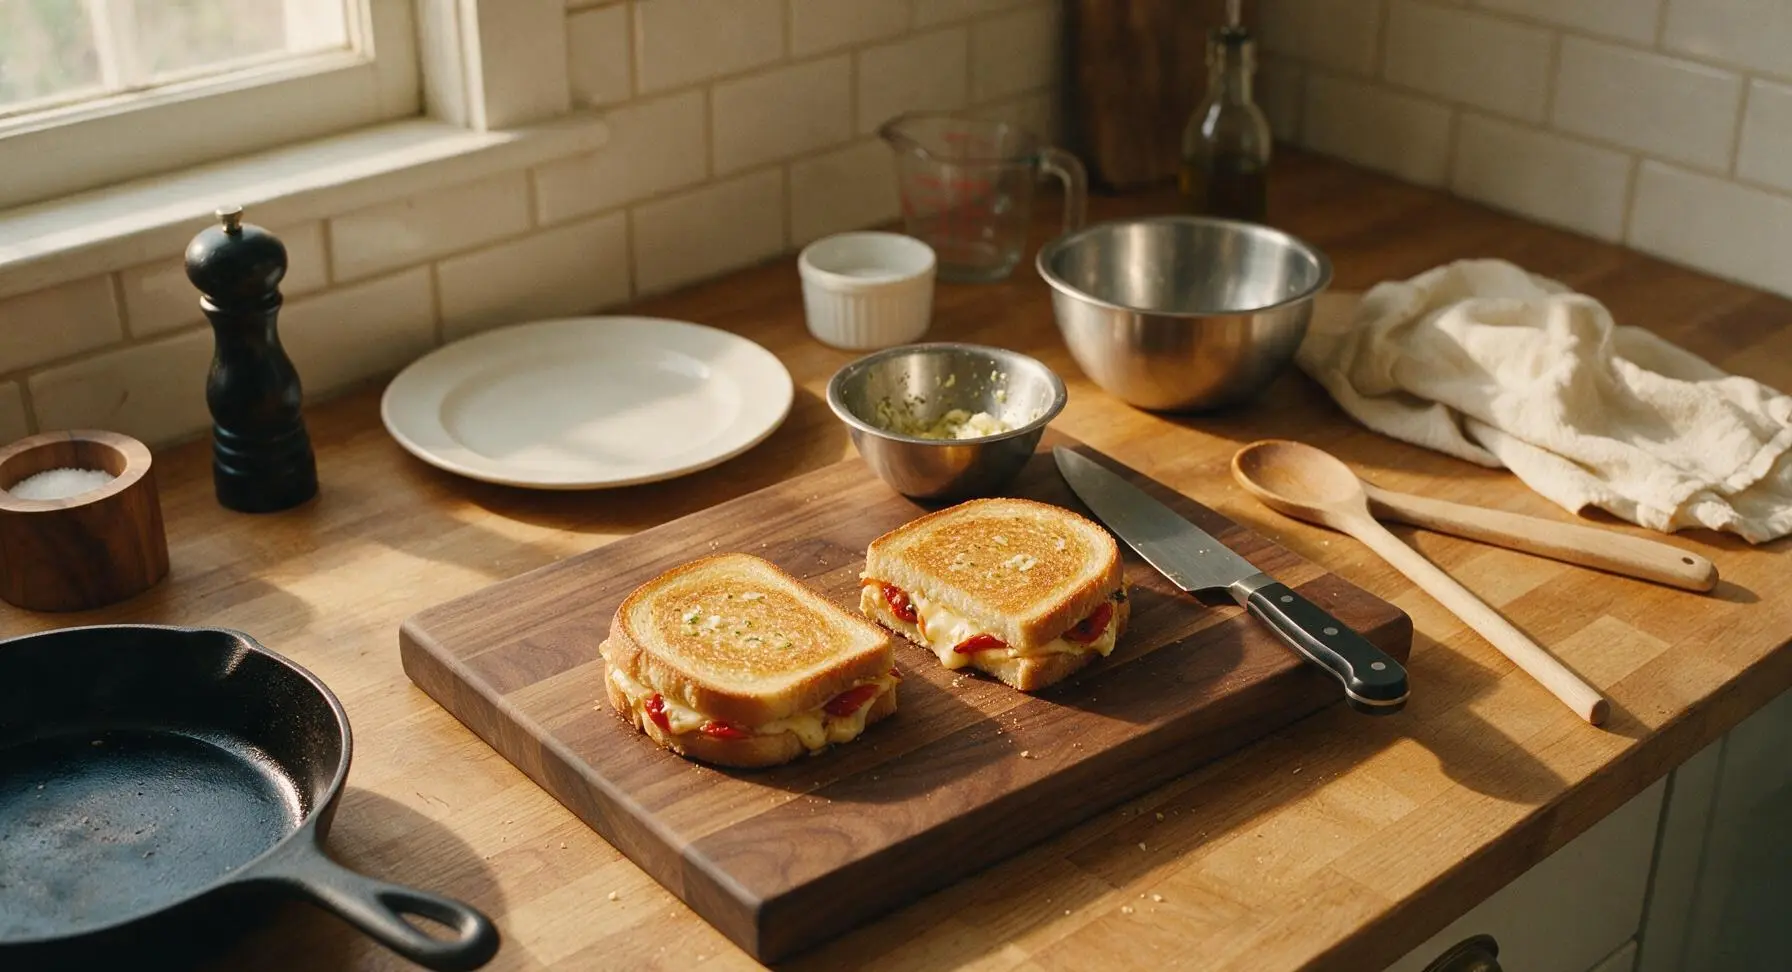
Step 3
step3:Layer Sandwich Fillings
Step 3
step3:Layer Sandwich Fillings
4

Preheat Cooking Skillet

Retrieve the 10-inch matte charcoal gray nonstick skillet and place it on the flush induction cooktop zone set into the right third of the counter. Turn heat to medium-low (325°F / 160°C), and let the pan preheat for 2 full minutes. Test the temperature by sprinkling a single drop of water: it should sizzle gently and dance across the surface, not evaporate instantly (too hot) or sit without bubbling (too cold). Set the thin flexible metal spatula next to the stovetop zone for easy access.
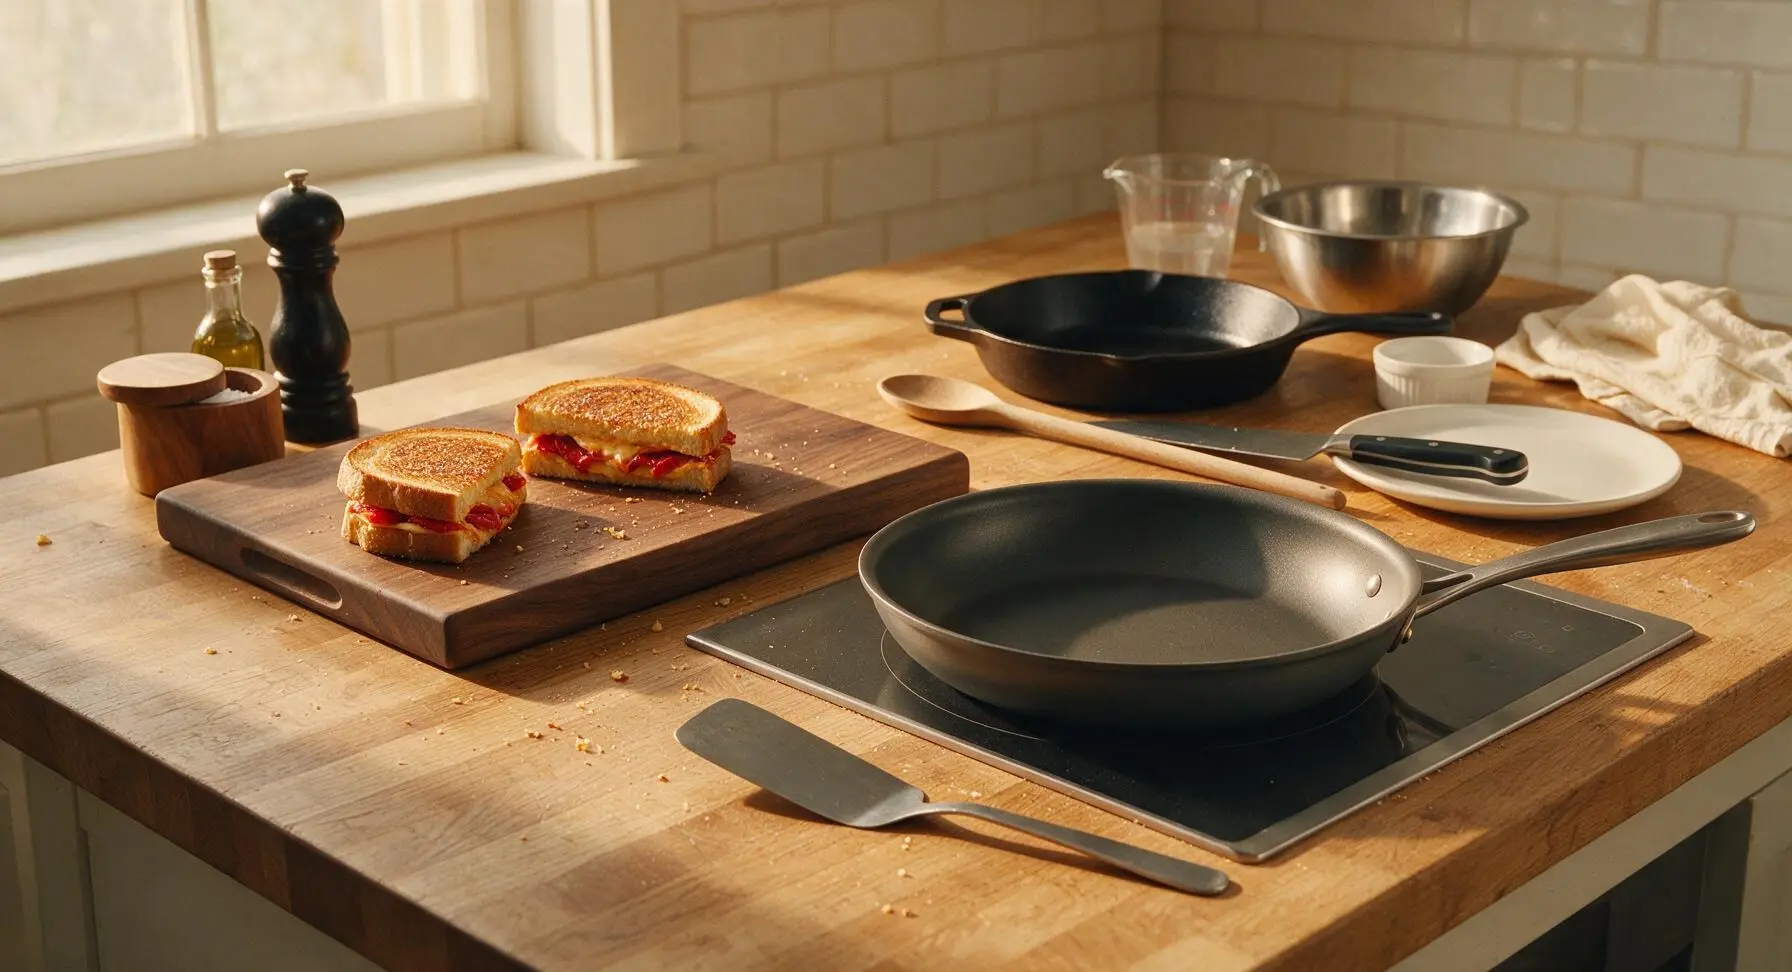
Step 4
step4:Preheat Cooking Skillet
5

Grill First Sandwich Side

Use the metal spatula to carefully lift one assembled sandwich and place it gently into the preheated skillet. Let cook for 3 to 3.5 minutes, without pressing down hard on the sandwich (this squeezes out melted cheese). The first side is ready to flip when it reaches a deep, even golden brown color, is crisp to the touch, and the cheese on the bottom layer has just started to melt and bubble around the sandwich edges.
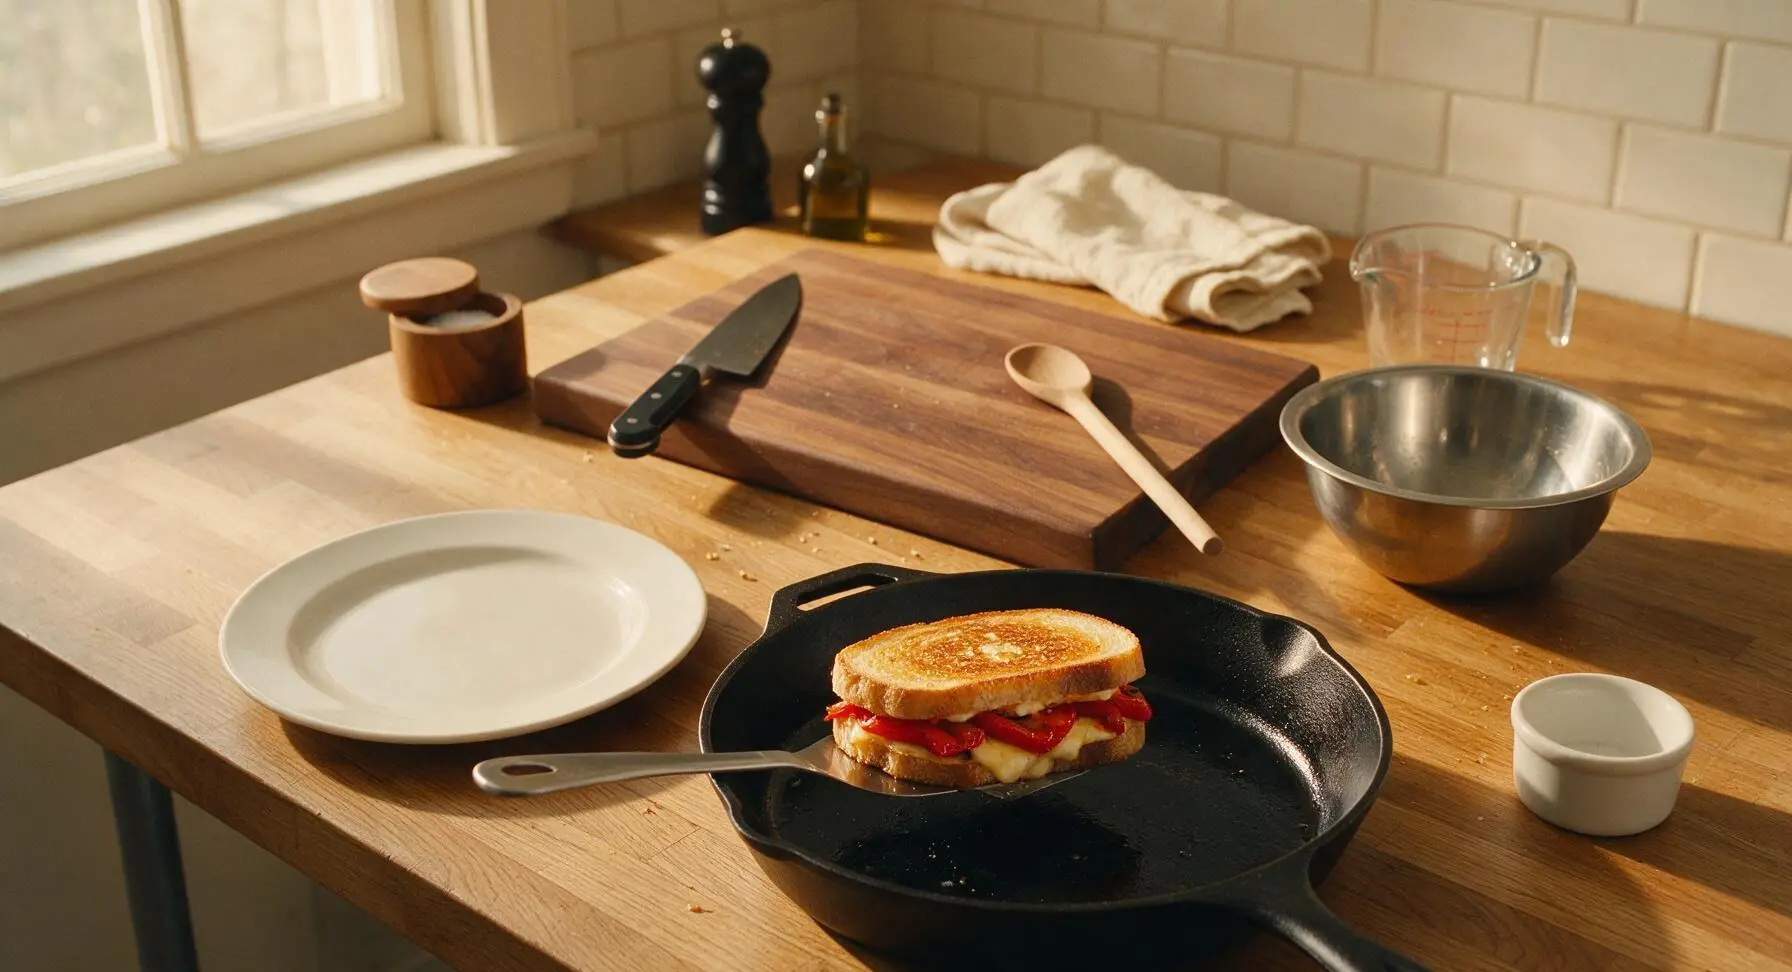
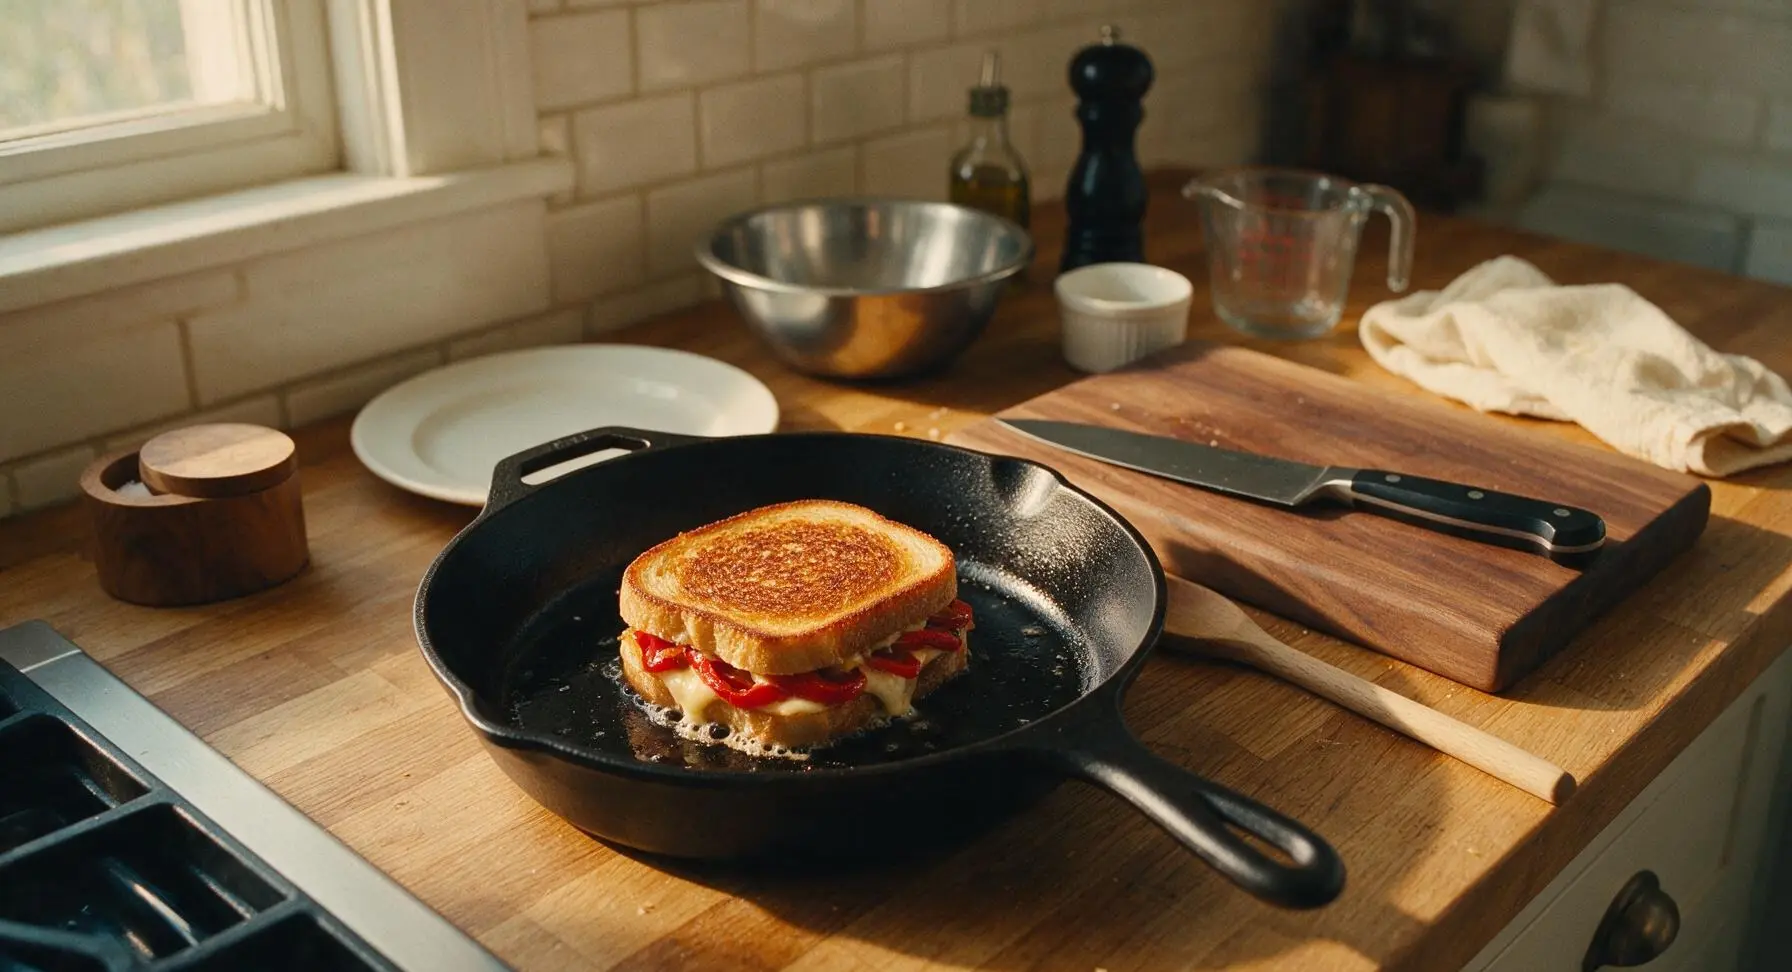
Step 5
step5:Grill First Sandwich Side
Step 5
step5:Grill First Sandwich Side
6

Flip and Cook Second Side

Slide the metal spatula fully under the sandwich to support the entire bread slice, then flip it in one smooth, quick motion. Cook the second side for another 2.5 to 3 minutes, until that side is also deep golden brown and crisp. Peek under a corner of the bread to confirm the center cheese is fully melted and stringy. Remove the finished sandwich to one of the matte cream ceramic plates, add a tiny pat of remaining butter to the pan if the surface looks dry, then repeat the cooking process with the second sandwich.
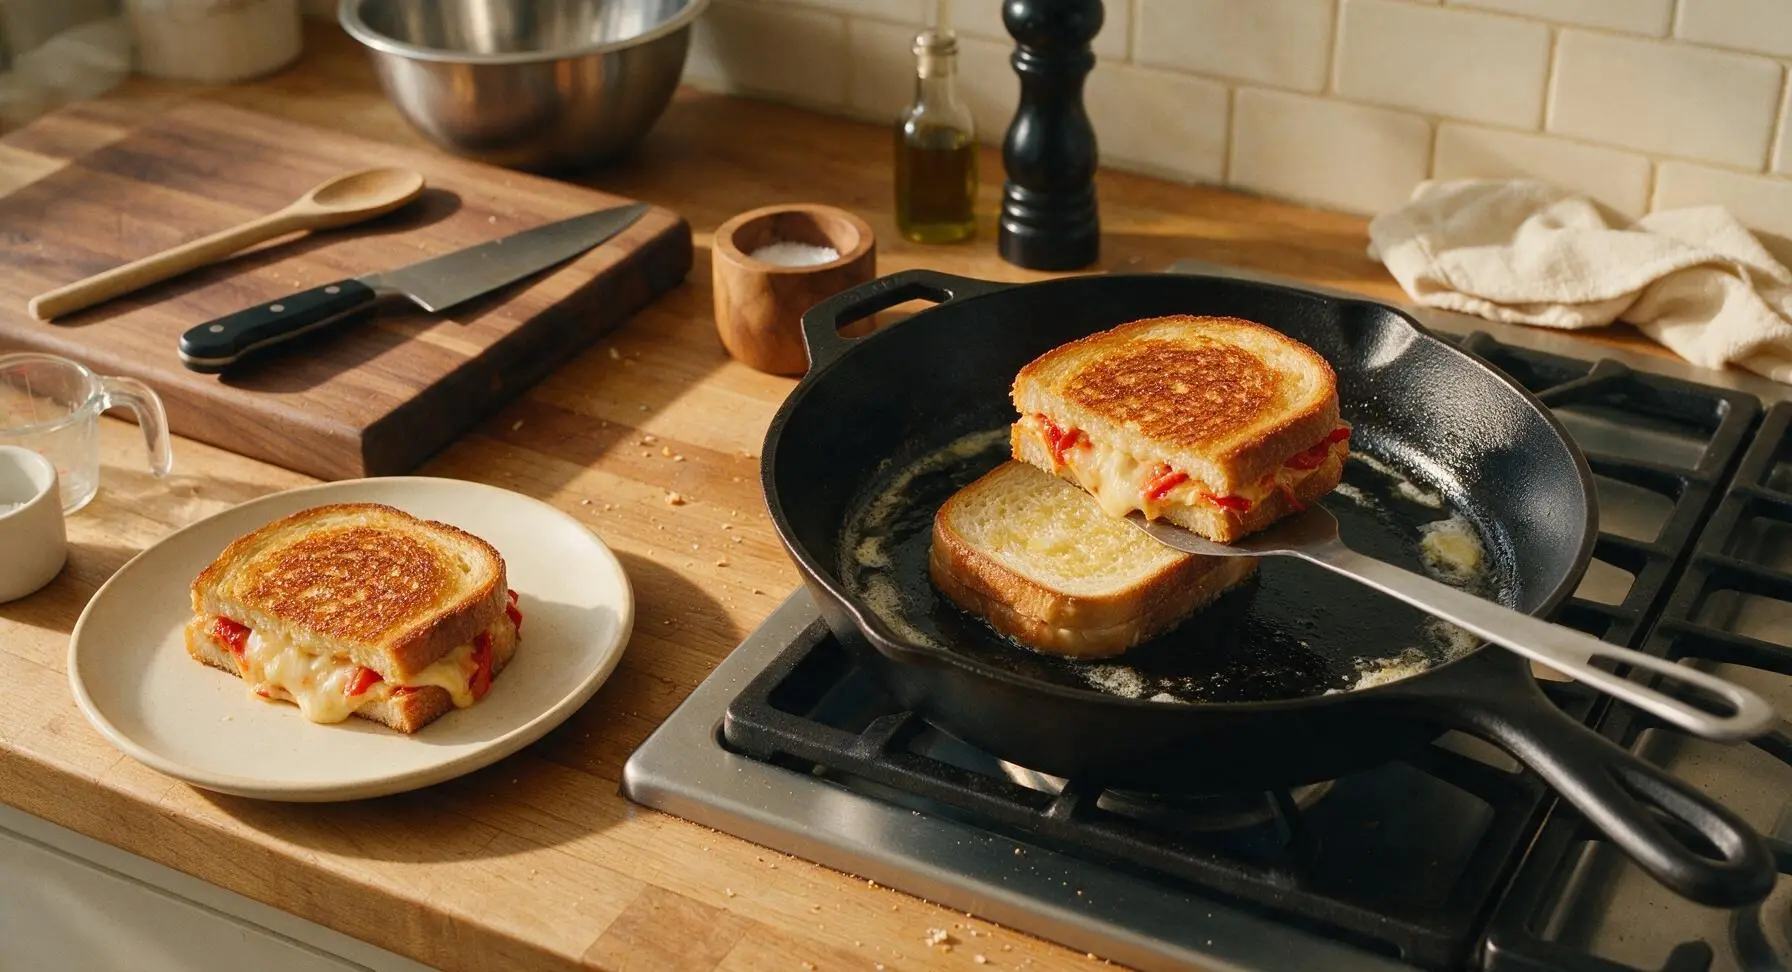
Step 6
step6:Flip and Cook Second Side
7

Rest and Slice Sandwiches

Let both cooked sandwiches rest on the matte cream ceramic plates for 1 full minute. This short rest lets the melted cheese set slightly so it does not gush out when sliced. Use the santoku knife to cut each sandwich diagonally into two triangular halves. Arrange the slices slightly offset on the plate, tucking a single fresh basil leaf between the halves for a bright garnish.
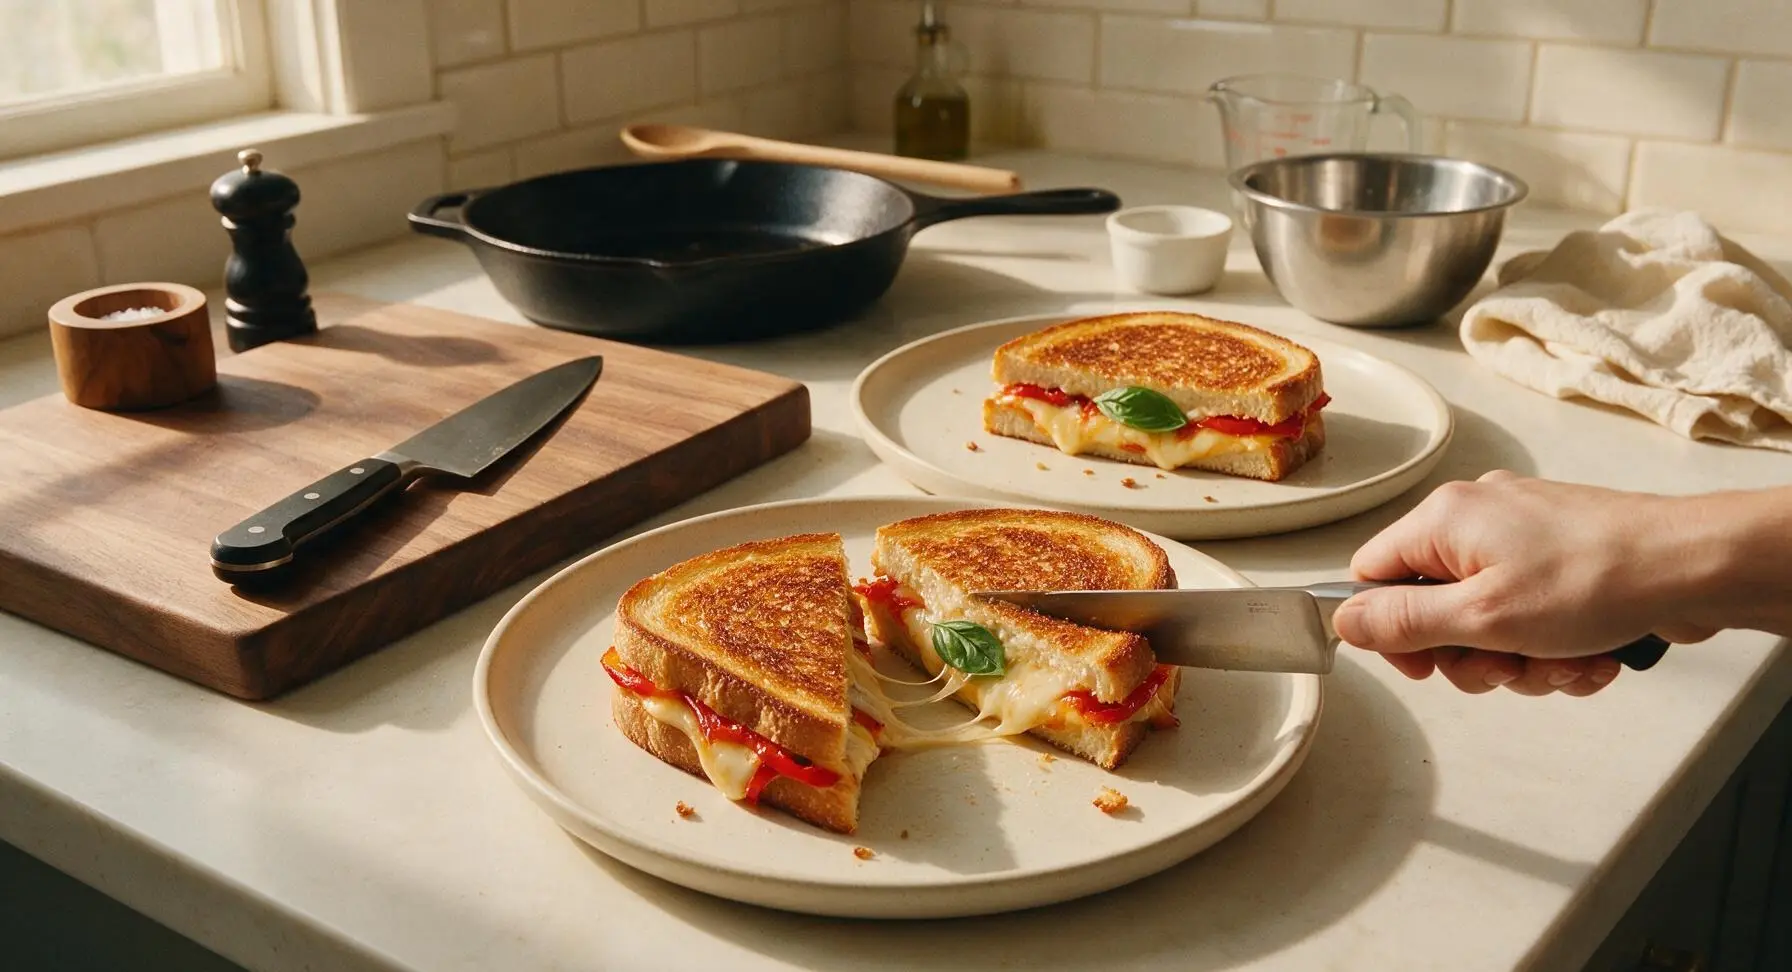
Step 7
step7:Rest and Slice Sandwiches

Tips

1.Pat roasted red peppers completely dry before adding them to the sandwich: excess brine or oil from the jar will soak into the bread crumb and create a soggy, mushy center instead of a light, crisp, evenly toasted crust.
2.Cook over medium-low heat, not high: high heat will burn the butter and outer bread surface before the cheese in the center fully melts, leading to a bitter, charred crust and cold, un-melted filling. Slow, gentle heat ensures even toasting and stringy, fully melted cheese all the way through.
3.Never press down firmly on the sandwich with the spatula while cooking: pressing squeezes melted cheese and butter out from between the bread layers, leading to a dry, flat sandwich and burnt cheese residue stuck to your pan. The weight of the top bread slice is enough to create even contact with the pan for uniform toasting.


✨ You May Also Like

Lunch
🍜 United States

Creamy, salty, tangy nostalgic Midwestern sandwich pairing rich peanut butter with crisp briny dill pickles for a fast, satisfying no-cook meal.

⏱️ 5 minutesLunch ★ 4.6
Lunch
🍜 United States

Crispy, melty pressed sandwich layered with savory roast pork, ham, Swiss cheese, pickles, and tangy mustard: a beloved Cuban-American comfort classic.

⏱️ 25 minuteLunch ★ 4.9
Lunch
🍜 United States

Hearty, briny New Orleans pressed sandwich stacked with cured Italian meats, provolone, and zesty olive salad, served cold for bold, portable flavor.

⏱️ 1 hour 20Lunch ★ 4.7
Lunch
🍜 United States

A tangy, creamy Southern American staple, this no-cook cheesy sandwich is packed with sharp cheddar and sweet pimentos for a satisfying, portable bite.

⏱️ 1 hour 15Lunch ★ 4.8
Lunch
🍜 United States

Crispy Cajun-spiced fried shrimp piled on crusty French bread with tangy remoulade and fresh toppings, the iconic Louisiana street food sandwich.

⏱️ 35 minuteLunch ★ 4.4
Lunch
🍜 United States

Stacked, savory deli-style corned beef sandwich with melted Swiss, tangy mustard, and crisp griddled rye— a fast, hearty, satisfying classic.

⏱️ 15 minuteLunch ★ 4.9

Red Pepper Grilled Cheese:Frequently Asked Questions

1.Why do you use both sharp white cheddar and low-moisture mozzarella instead of just one cheese? ▾
Great question! Sharp white cheddar brings that bold, tangy, savory punch that cuts through rich butter and sweet, smoky peppers, while low-moisture mozz delivers that iconic, stretchy, melty pull everyone loves. Single-cheese versions often end up either flat in flavor or overly greasy without that perfect balance.
2.Do I need to pat dry jarred roasted red peppers before adding them to the sandwich? ▾
Absolutely—this is the number one trick to avoid a soggy grilled cheese. Jarred peppers are packed in wet brine, so lay them on a paper towel and pat firmly on both sides to remove excess moisture before layering. Skipping this step leads to limp, soggy bread instead of that perfect crisp, golden crust.
3.Can I roast my own red peppers instead of using jarred? ▾
Of course! Roast fresh red bell peppers over a gas flame, under a broiler, or on a grill until skin is fully charred, then seal in a bowl to steam for 10 minutes, peel off skins, and remove seeds. Homemade roasted peppers have brighter, fresher smoky flavor—just be sure to pat them dry just like jarred ones.
4.What heat setting should I use so the bread doesn’t burn before the cheese melts? ▾
Stick to medium-low heat, no higher! This gives the butter time to crisp the bread to that perfect golden brown over 3-4 minutes per side, while giving the cheese enough time to fully melt through. High heat burns the crust fast, leaving you with charred bread and cold, unmelted cheese in the center.
5.The intro mentions garlic butter bread, but garlic isn’t listed as a key ingredient—is that optional? ▾
It’s totally optional, but I highly recommend it! Mince one small garlic clove and mix it into your softened unsalted butter before spreading it on the outside of the bread. It cooks gently as the sandwich grills, adding warm, savory aroma without the harsh bite of raw garlic.
6.Why do you specify low-moisture mozzarella instead of fresh mozzarella? ▾
Fresh mozzarella has very high water content that leaches out as it melts, making your bread soggy just like undried roasted peppers. Low-moisture mozz is formulated to melt smoothly into that perfect stretch without releasing excess water, so you get a gooey center without a limp, wet crust.
7.How much cheese should I use per sandwich for the perfect melt without messy oozing? ▾
Aim for about 1/3 cup total shredded cheese per sandwich, split evenly between the two bread slices (layer half under the peppers, half on top). That ratio gives you plenty of rich, melty pull to hold peppers in place, without so much cheese that it spills out the sides and burns on your pan.
8.Can I make this sandwich ahead of time for meal prep? ▾
Grilled cheese is best eaten right off the pan, but you can prep components ahead to cut down on cook time. Shred your cheese mix, pat dry roasted peppers, and mix garlic butter up to 3 days in advance, stored in airtight containers in the fridge. Assemble and cook right before eating for the crispiest results.
9.What kind of pan works best for making this red pepper grilled cheese? ▾
A heavy-bottomed cast iron skillet or nonstick frying pan works perfectly. Cast iron holds even, steady heat that creates a uniformly golden crust, while a good nonstick pan makes flipping easy and prevents burnt cheese bits from sticking. Avoid thin, lightweight pans that create uneven hot spots.
10.Do I need to put a lid on the pan while cooking the sandwich? ▾
It’s a great hack if you struggle with fully melted cheese! Cover the pan for the first 2 minutes of cooking on the first side—this traps gentle steam that melts cheese all the way through without making bread soggy, so you don’t end up with cold, unmelted cheese in the center of your sandwich.
11.Can I substitute yellow cheddar for the sharp white cheddar? ▾
Absolutely! Sharp yellow cheddar has almost identical flavor and melting properties to sharp white cheddar; the only difference is the added annatto that gives it that signature golden hue. Just stick to a sharp, aged variety instead of mild cheddar, which will taste bland next to smoky sweet peppers.
12.How do I keep roasted red peppers from sliding out of the sandwich when I take a bite? ▾
The key is tucking peppers between two layers of cheese! Lay a thin base of cheese on the bottom bread slice, add your patted-dry pepper strips in a single even layer, then top with remaining cheese before adding the top slice. Melted cheese acts like glue to hold peppers firmly in place.
13.Can I make this recipe vegan or dairy-free? ▾
You definitely can! Swap the two cheeses for a mix of dairy-free sharp cheddar-style shreds and dairy-free low-moisture mozzarella-style shreds, and use plant-based butter in place of unsalted butter. Just double-check that your jarred roasted peppers don’t have hidden dairy additives in their brine.
14.Should I butter the inside of the bread or just the outside? ▾
Only butter the outside of the bread! Buttering the inside makes the bread soggy and takes away from the chewy, soft sourdough texture that contrasts so nicely with the crispy crust. The melted cheese and peppers provide more than enough moisture and richness for the sandwich interior.
15.What can I add to this sandwich to make it more filling for a full meal? ▾
Thin slices of crispy prosciutto, a handful of well-patted fresh baby spinach, a thin smear of pesto, or a few slices of crispy cooked bacon all work beautifully. Just avoid adding too many high-moisture toppings like fresh tomato without drying them first, or you’ll end up with a soggy sandwich.
16.My bread got golden brown but the cheese was still not fully melted—what did I do wrong? ▾
Most likely your heat was too high, or your cheese was straight out of the ice-cold fridge. Next time, turn heat down to medium-low, and let shredded cheese sit out for 10 minutes before assembling so it isn’t chilled. You can also use the pan lid trick to trap heat and melt cheese faster.
17.Can I make this in an air fryer instead of on the stovetop? ▾
Sure! Assemble the sandwich, butter the outer bread slices, and cook at 375°F for 4 minutes, flip carefully, then cook 3-4 more minutes until bread is golden and cheese is fully melted. Keep a close eye on it the last minute, as air fryer heat levels can vary pretty widely between models.
18.How thick should the sourdough slices be for the best result? ▾
Aim for slices that are ½ to ¾ of an inch thick. Any thinner, and the bread won’t hold up to the cheese and peppers and will get soggy fast. Any thicker, and heat won’t reach the center to melt the cheese before the crust burns to an unappetizing dark brown.
19.Do I need to shred my own cheese, or is pre-shredded cheese okay to use? ▾
Pre-shredded cheese works in a pinch, but it’s coated in anti-caking agents that can make the melt a little grainy instead of smooth and gooey. Shredding your own cheddar and mozz from a block takes 2 extra minutes and gives you that perfectly silky, stretchy melted cheese texture everyone craves.
20.What’s the best way to reheat leftover grilled cheese so it stays crispy? ▾
Skip the microwave—it turns bread rubbery and cheese greasy. Reheat leftovers in a dry skillet over medium-low heat for 2-3 minutes per side, or in a 350°F toaster oven for 5 minutes, until the crust crisps back up and cheese is melty again. It’ll taste almost as good as fresh.

Comments (5)

2 days ago

OMG this red pepper grilled cheese is SO good, total game changer!!! I threw in a little extra roasted red pepper from the jar I had in the fridge and paired it with tomato soup for the kids’ after school snack, and they begged for seconds. SO easy to throw together on a busy weeknight too, 12 minutes flat is no joke! 10/10 will be making this on repeat for our weekend lunch rotation.

yesterday

Wait did you use jarred roasted red peppers or fresh? I’ve got a jar in my pantry I’ve been trying to use up, this sounds perfect!

yesterday

Jarred roasted red peppers work perfectly here! Just pat them dry a little before adding so your sandwich doesn’t get soggy. So glad your kids loved the recipe!

1 week ago

I’ve been making boring basic grilled cheese for years and never thought to add red pepper? Game. Changer. I used a mix of provolone and cheddar like the recipe suggested and the little hint of sweet smoky red pepper cut through the richness so well. Made this for my potluck at work last week and everyone was asking for the recipe!

5 days ago

Love that you brought this to a potluck! The provolone and cheddar mix is one of my go-to combos too, glad it was a hit with your coworkers!

3 days ago

Perfect easy meal prep lunch! I made a batch of these on Sunday, wrapped them up, and just popped them in the air fryer for 3 minutes at lunch time all week. The red pepper adds such a nice pop of flavor that doesn’t get soggy even after storing. Only reason I’m knocking off a star is I wish the recipe mentioned how well these hold up for prep, I almost didn’t try it because I thought grilled cheese was only good fresh! Way better than sad desk salad, tbh.

5 minutes ago

Wait this is so easy even I can’t mess it up! I live in a dorm with just a tiny panini press and this came out perfect first try. I didn’t have fancy bread, just plain white sandwich bread from the dining hall, and it still slapped. 10/10 for broke college students looking to upgrade from ramen.

just now

Omg I’m gonna make this tonight! I have that same tiny panini press, did you butter the bread or just spray it a little?

yesterday

Made this for family dinner last night when I forgot to thaw chicken for the main dish, and it was the star of the meal! I added a sprinkle of red pepper flakes for a little heat and served it with a side salad. My husband who ‘hates grilled cheese’ (weird, I know) went back for a whole second sandwich. Will absolutely be adding this to our regular rotation.

2 hours ago

The red pepper flakes addition sounds so good! I’m a total heat fiend, I’ll definitely be adding a dash (okay, three dashes) when I make these this weekend.

30 minutes ago

The red pepper flakes are such a great call! A little heat pairs so perfectly with the sweet roasted red peppers and melty cheese. So glad your husband ended up loving it too!



