
Red Pepper Pesto Grilled Cheese
intro
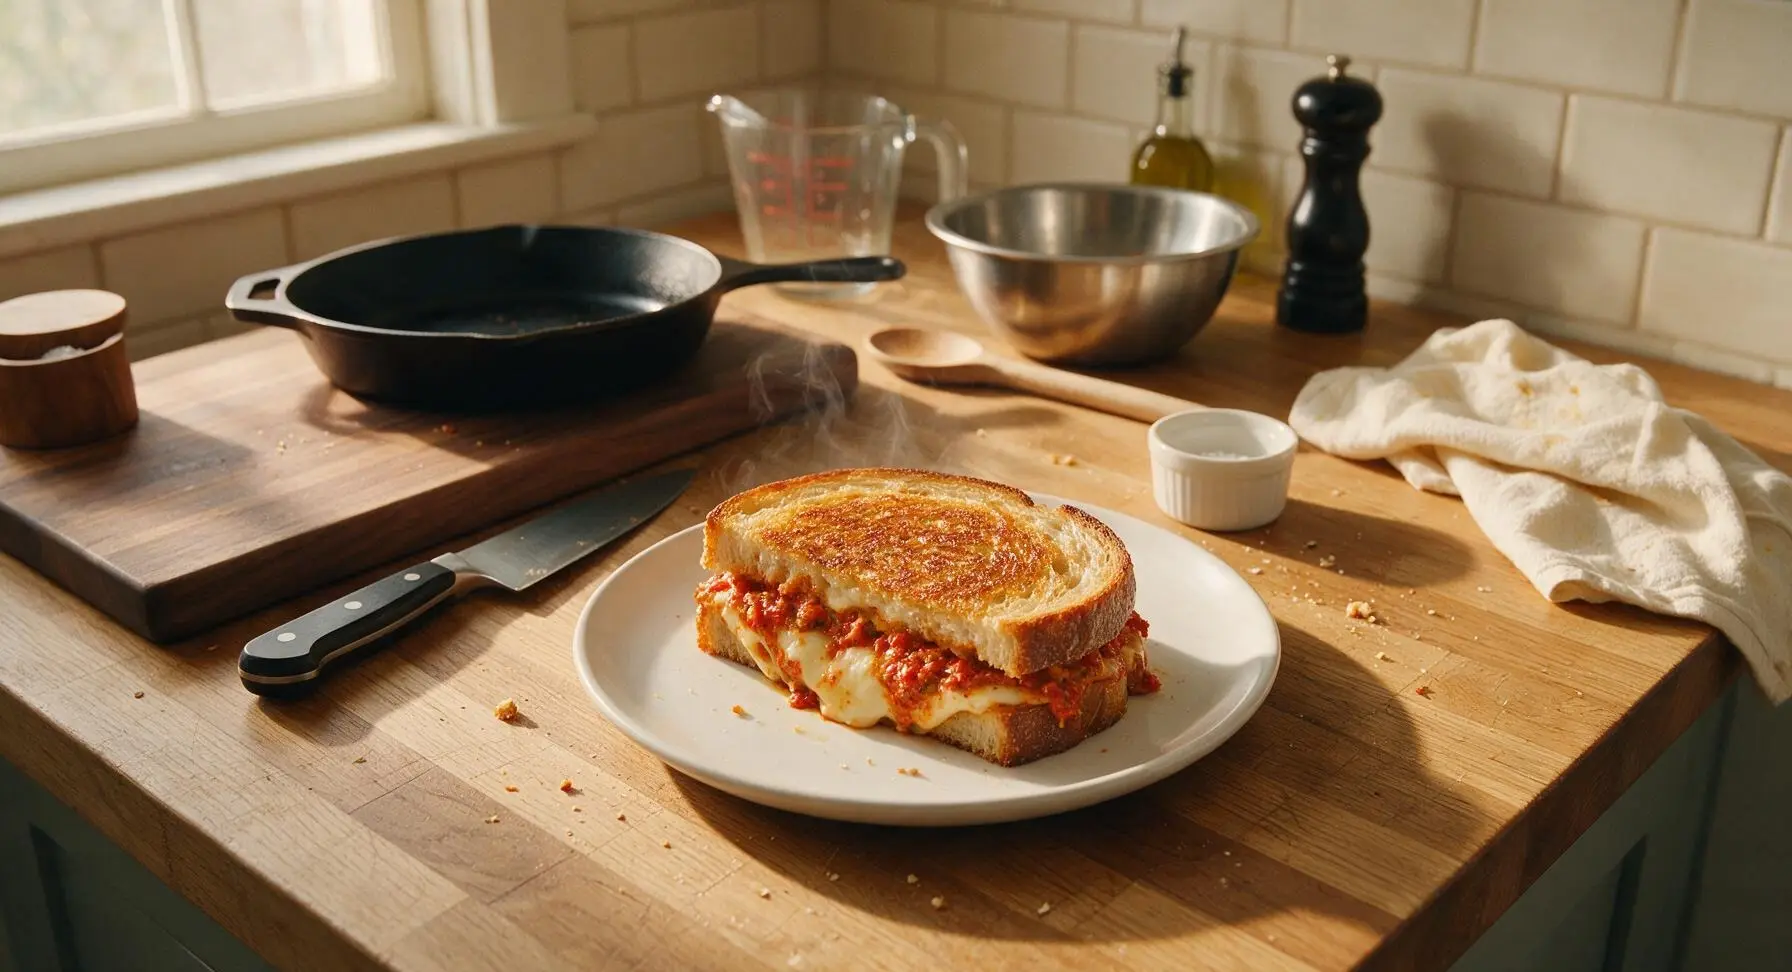
Crispy, buttery sourdough encases melted creamy cheese and bright, smoky roasted red pepper pesto for a cozy, flavor-packed upgrade to the classic grilled cheese sandwich.
Ingredients
Steps
Blend Red Pepper Pesto
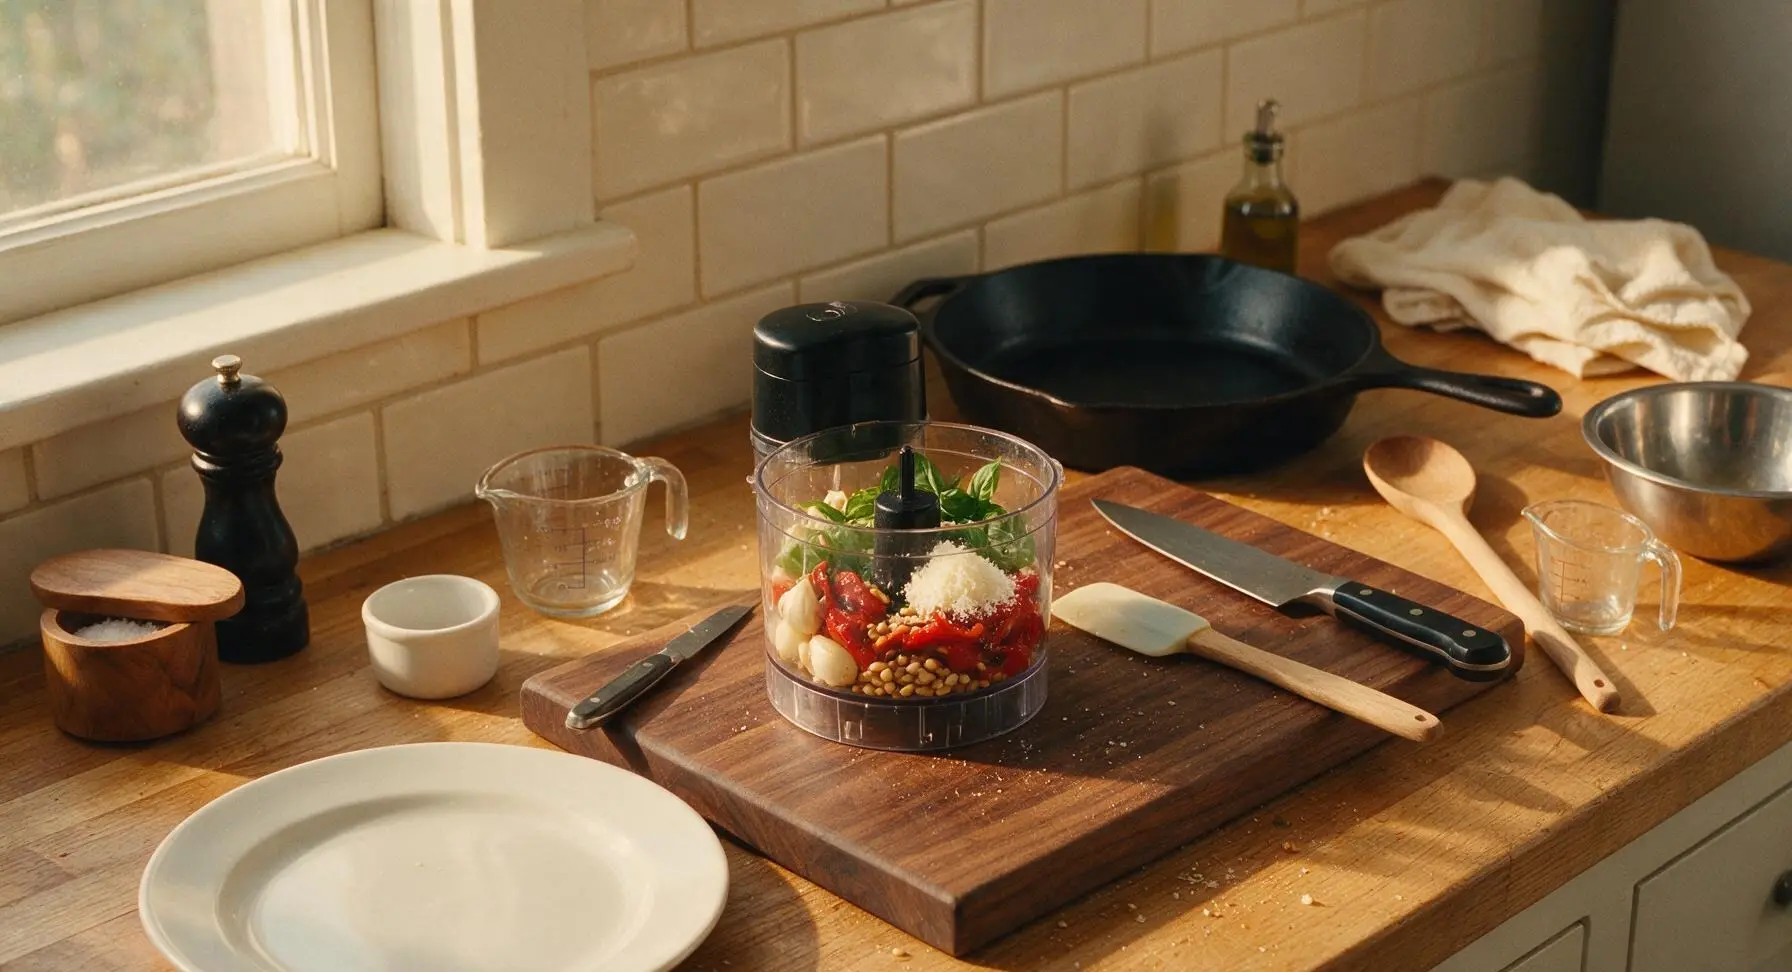
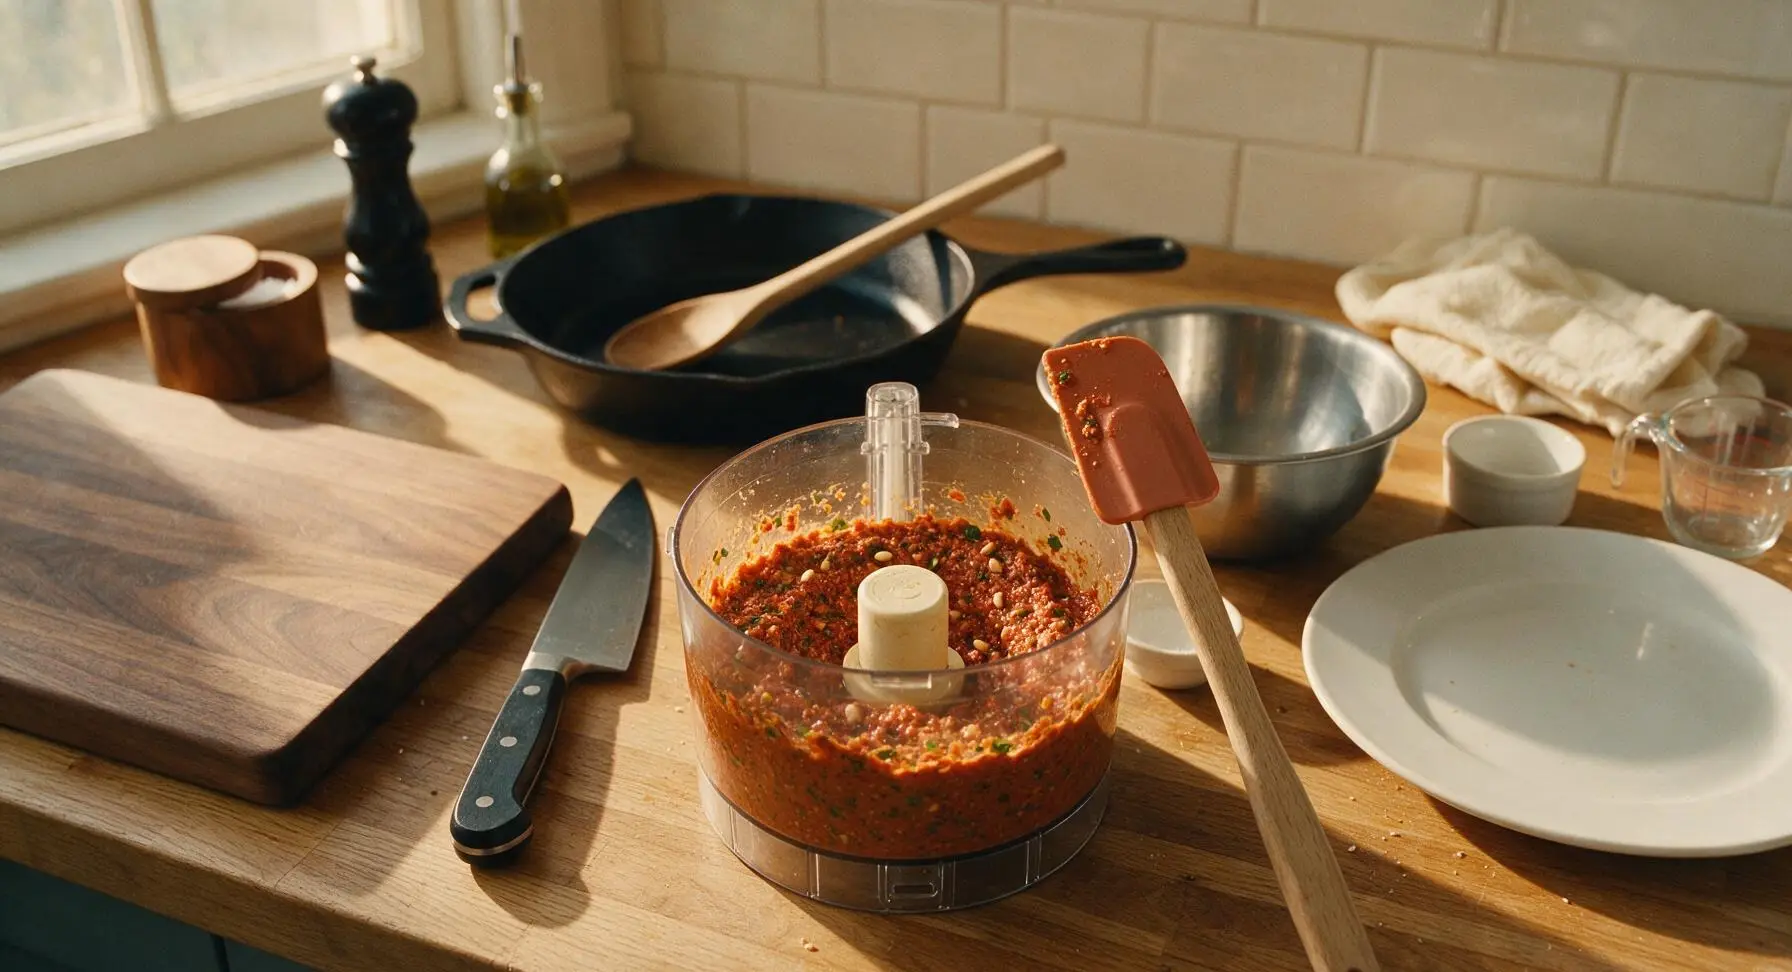
Use the paring knife to peel the small garlic clove, then add it along with drained roasted red peppers, fresh basil, toasted pine nuts, grated parmesan, 1/8 tsp kosher salt, and black pepper to the work bowl of the mini food processor. Pulse 8-10 times until ingredients are finely chopped, then with the processor running, slowly stream in 2 tbsp olive oil. Blend until the pesto is slightly chunky (not completely smooth), about 30 seconds total. Scrape down the sides of the bowl with the silicone spatula as needed to ensure even blending. Taste and add the remaining 1/8 tsp kosher salt if needed.
Butter Bread Slices
Lay all 4 sourdough slices flat on the acacia wood cutting board. Use the small offset spatula to spread 1/2 tbsp of softened unsalted butter evenly across one entire side of each bread slice, making sure to coat all the way to the crust edges. The buttered sides will form the crispy outer surface of the sandwich, so ensure no dry bread spots remain, as dry spots will turn pale and tough instead of golden and crispy.
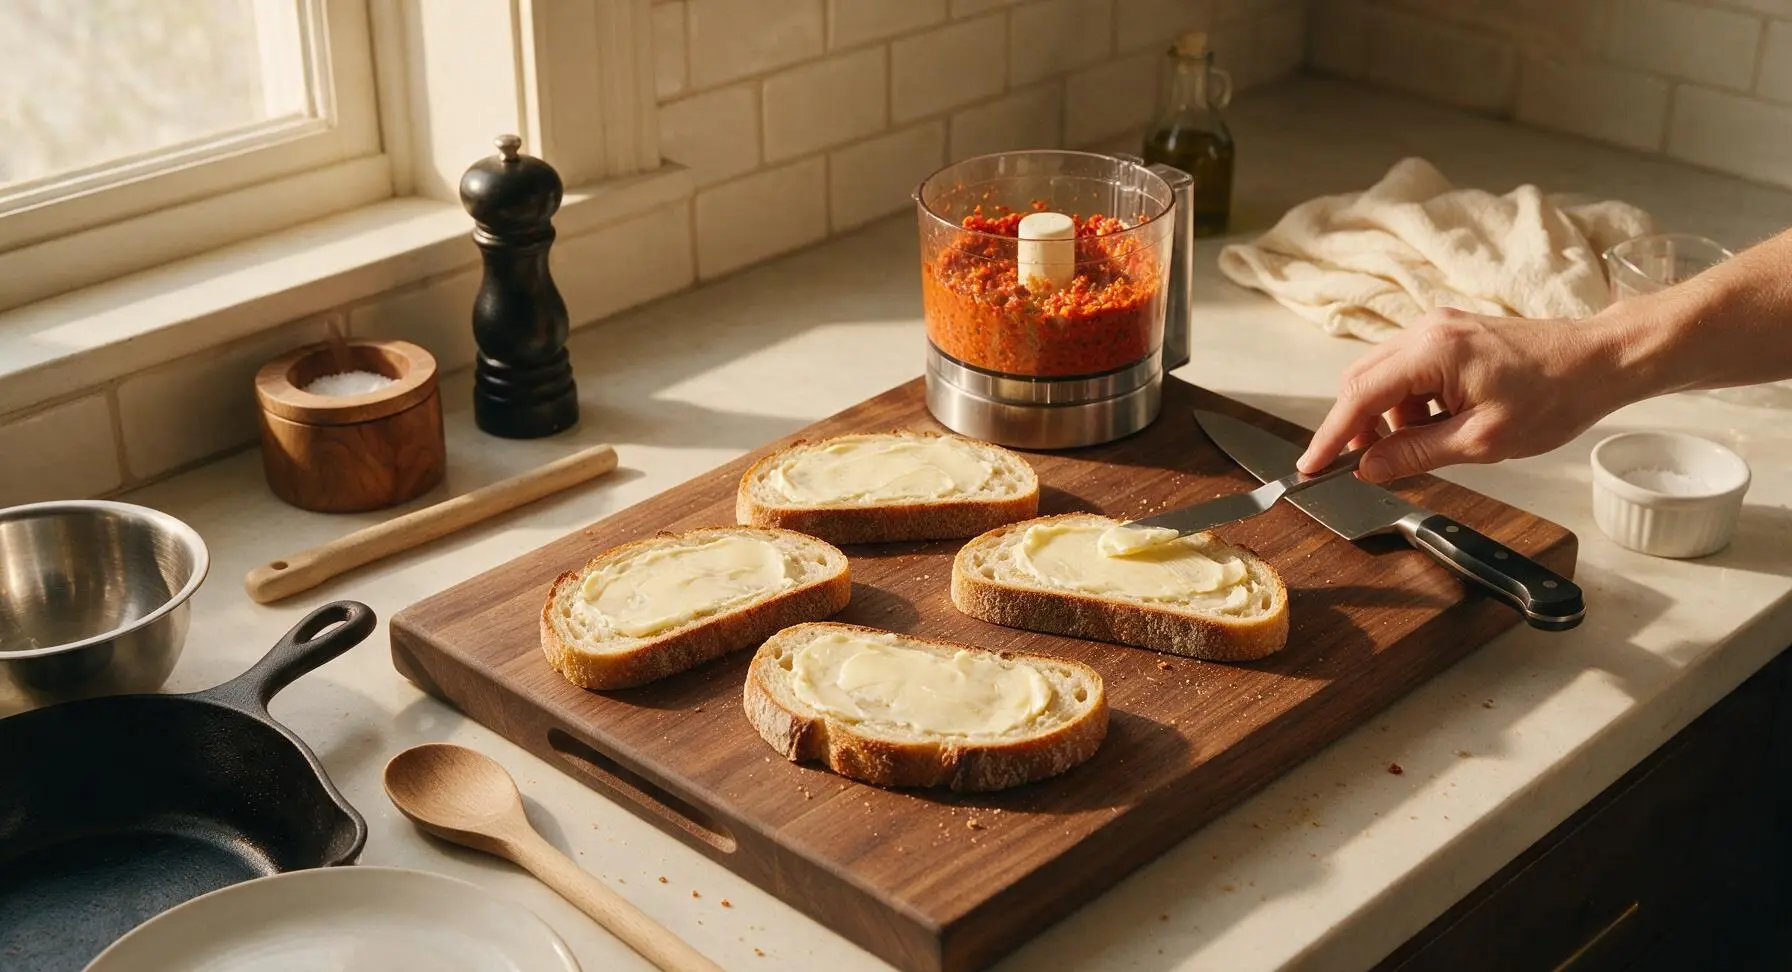
Spread Pesto Layer
Flip two of the bread slices over so the buttered side faces down against the cutting board, leaving the unbuttered side facing up. Use the silicone spatula to spread 2 tbsp of red pepper pesto evenly across the unbuttered surface of each of these two slices, spreading all the way to the crust to ensure every bite has bright pepper flavor. Set the remaining two bread slices aside temporarily, buttered side down.
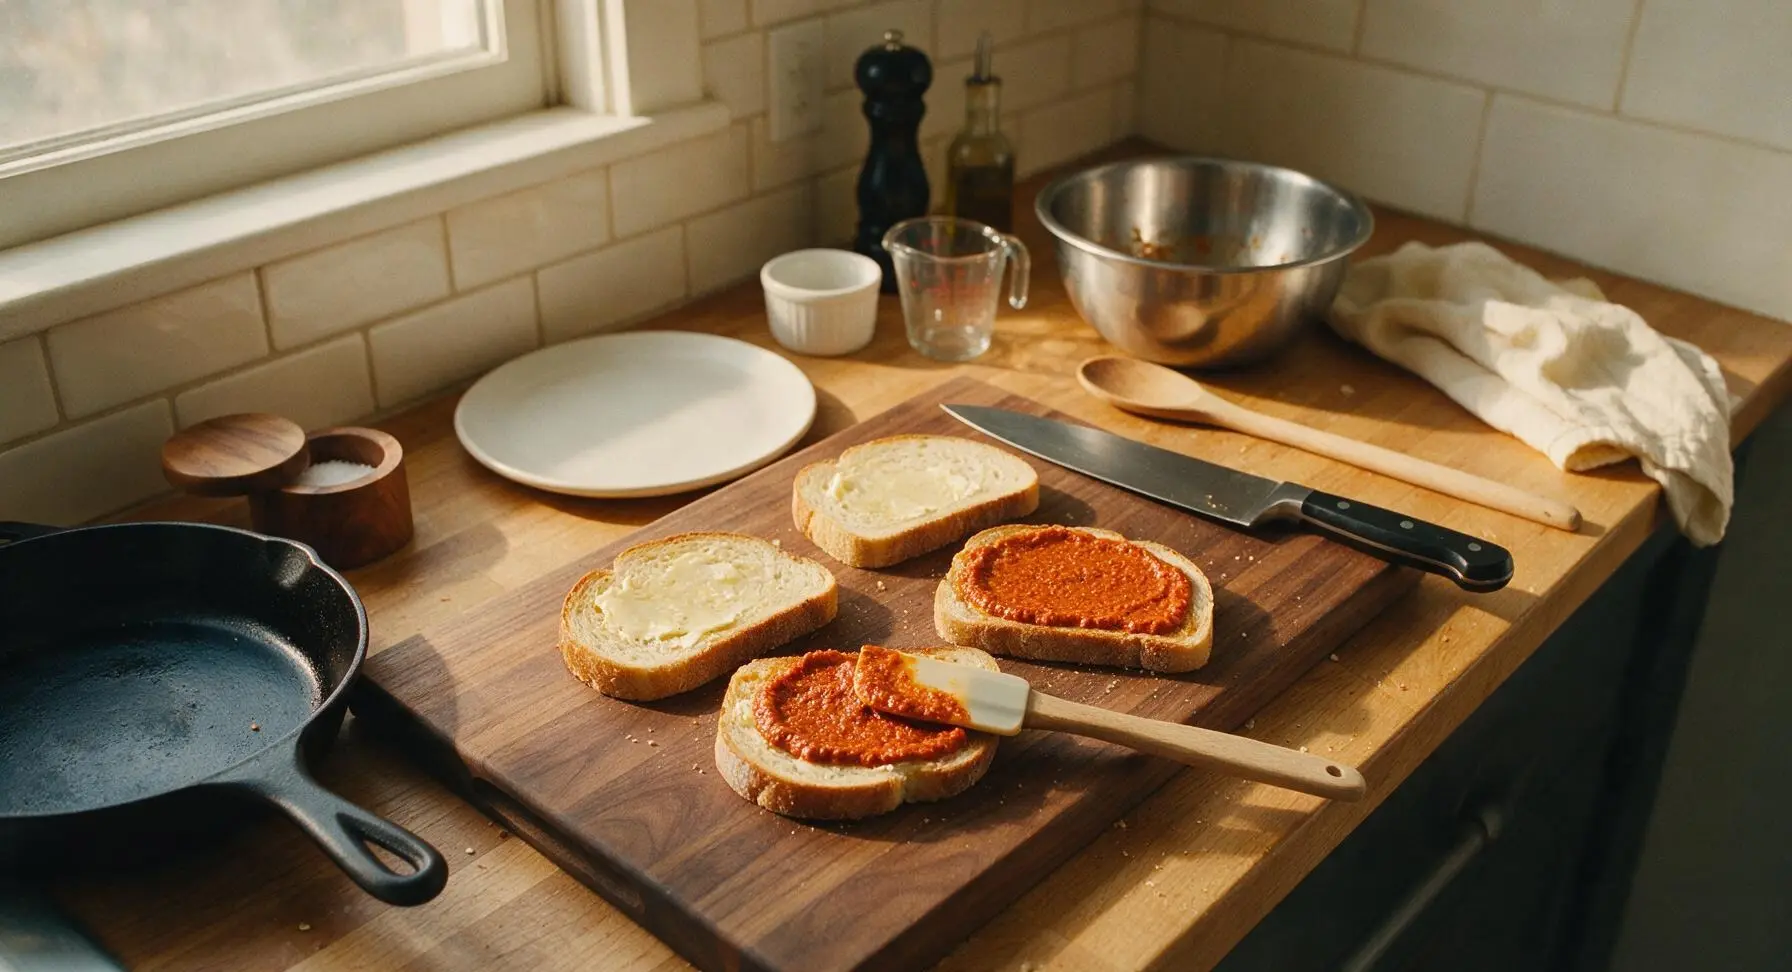
Layer Cheese Fillings
Top each pesto-covered bread slice with one slice of provolone cheese, then divide the shredded mozzarella evenly between the two slices, spreading it in a thin even layer. Top the mozzarella with the second slice of provolone on each sandwich, then place the remaining two bread slices on top, buttered side facing out. Press down gently on each sandwich to adhere the layers, and trim any cheese that hangs over the bread edges to prevent burning in the skillet.
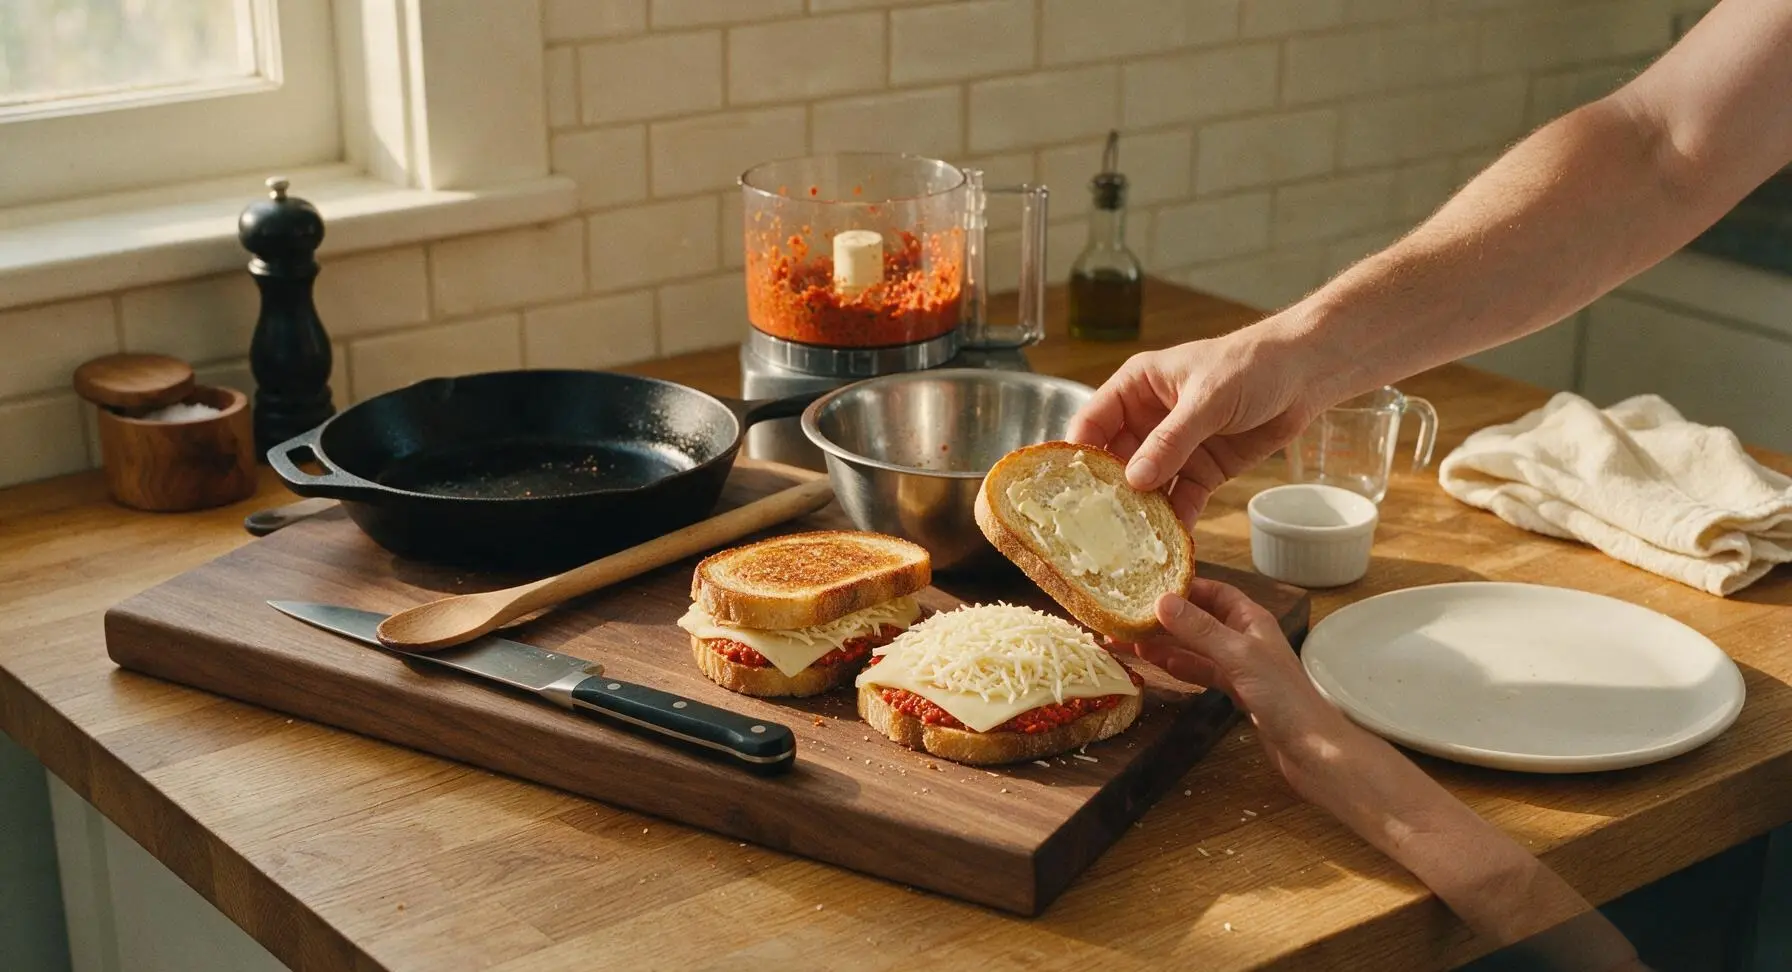
Cook First Sandwich Side
Place the 10-inch stainless steel skillet on the stovetop over medium-low heat (325°F / 160°C). Once the pan is warm, test the temperature by sprinkling a single drop of water: it should sizzle gently and evaporate in 3 seconds to confirm correct heat. Carefully place both sandwiches in the skillet. Cook for 3-4 minutes, until the bottom bread slice is deep golden brown and crispy, and the cheese closest to the pan has started to melt. Do not press down on the sandwiches while cooking, as this will squeeze out melted cheese and lead to a soggy crust.
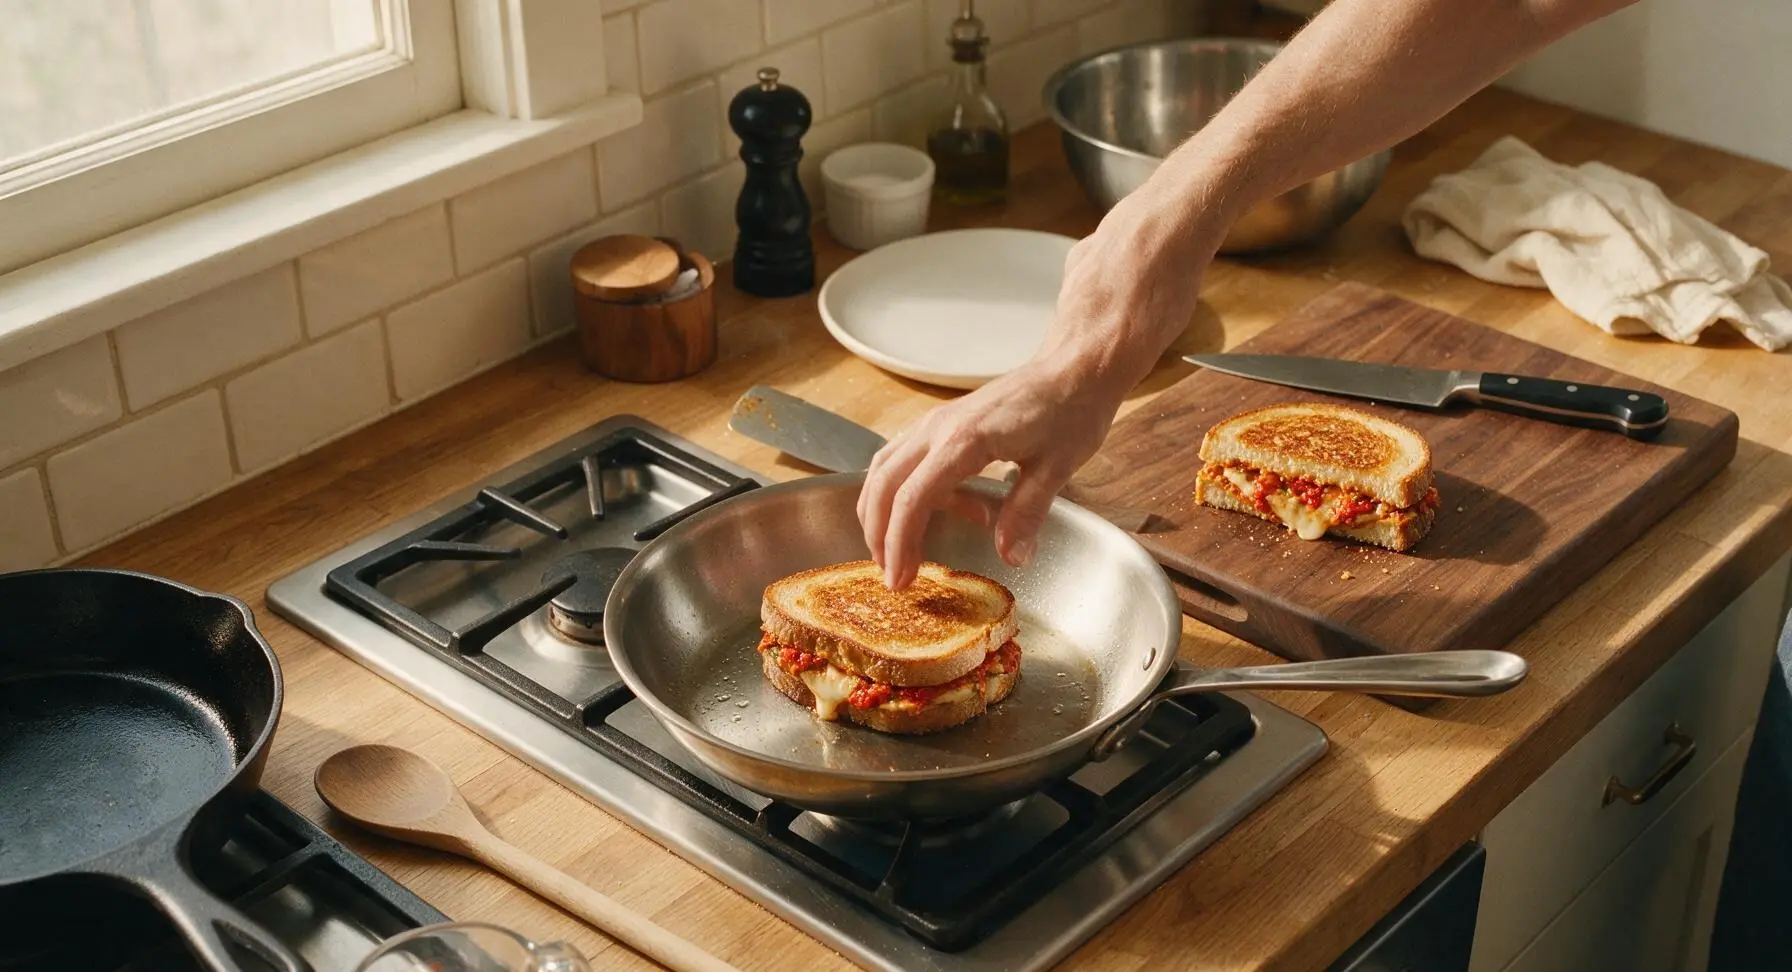
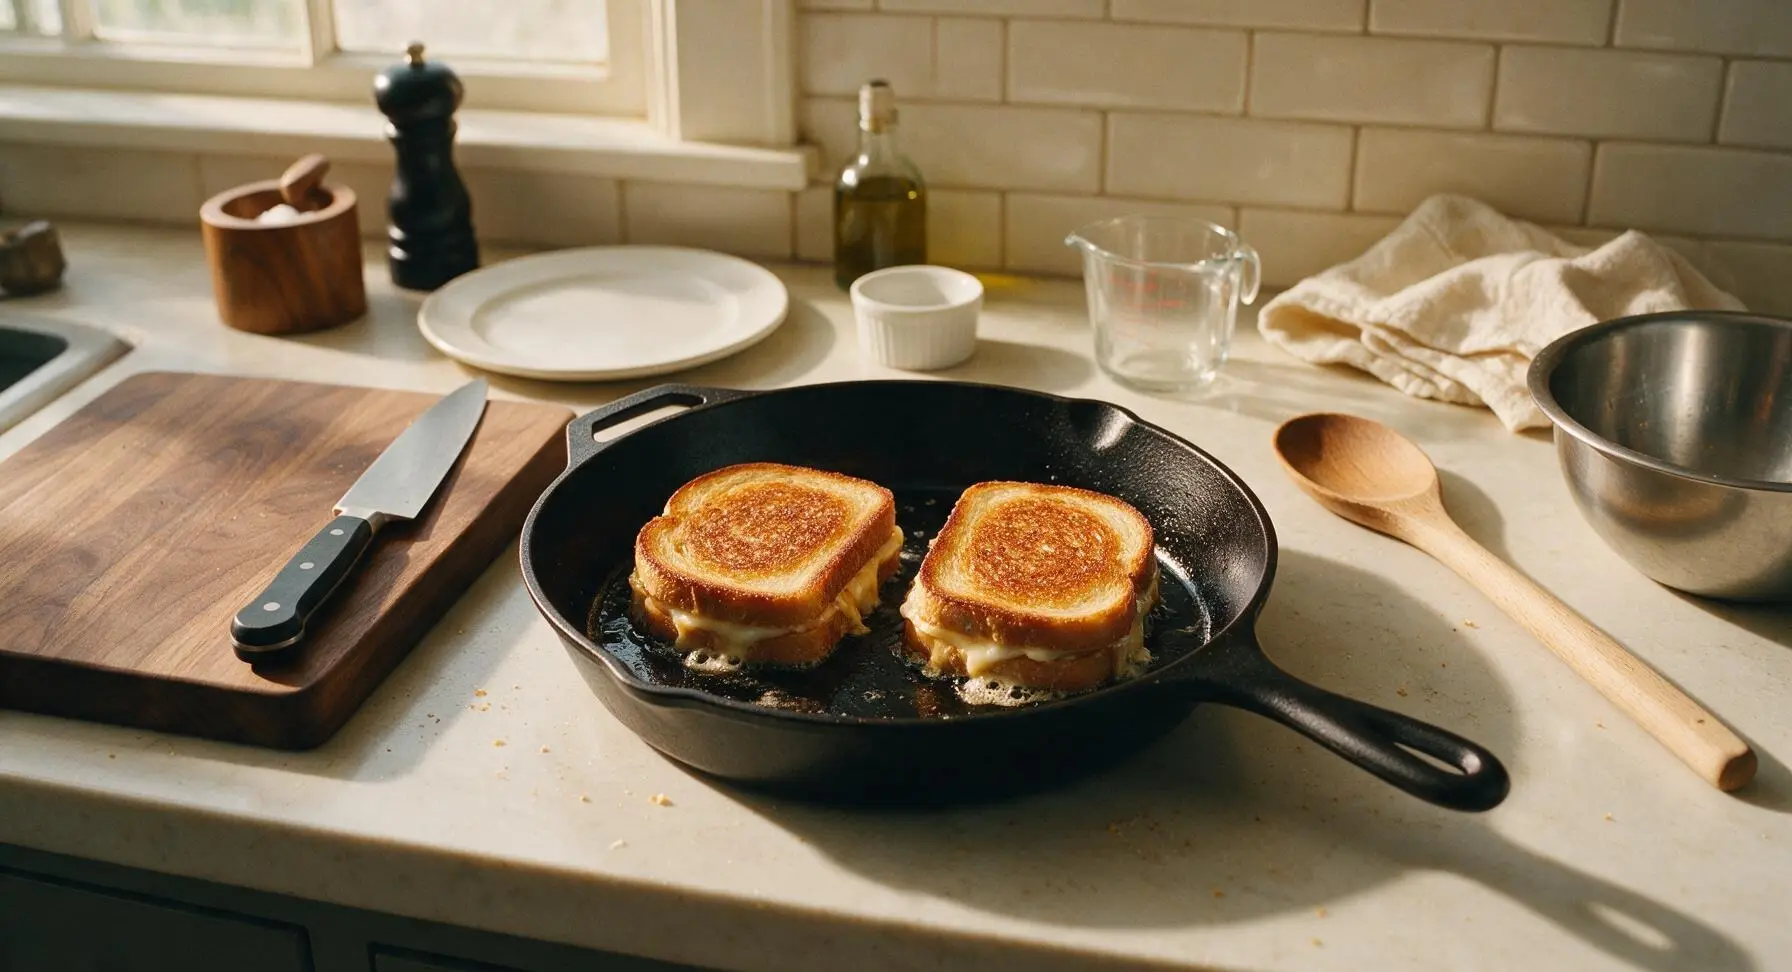
Flip and Cook Second Side
Use the small offset spatula to carefully flip each sandwich, taking care not to tear the delicate crispy crust. Cook for an additional 2-3 minutes on the second side, until the bread is equally deep golden and crispy, and all cheese inside is fully melted (you will see soft, oozing cheese seeping slightly from the sandwich edges when it is ready). If the bread browns too quickly before the cheese melts, turn the heat down to low to avoid burning the crust.
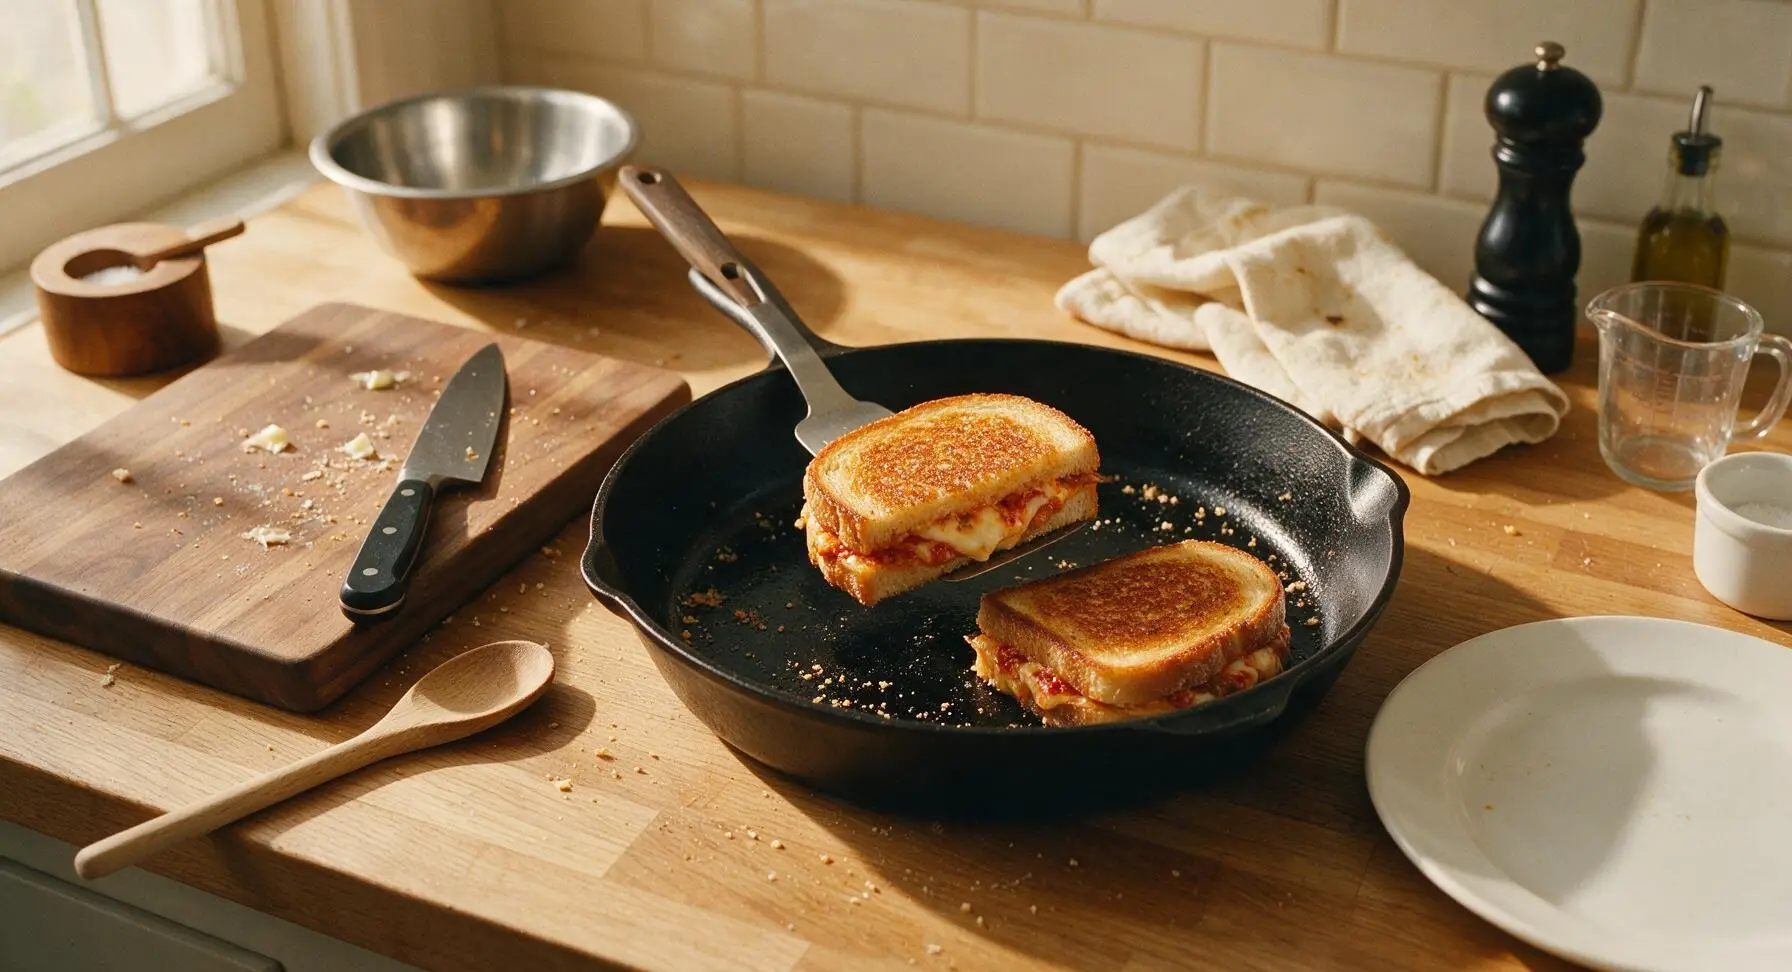
Rest and Plate Sandwiches
Transfer cooked sandwiches to the acacia cutting board and let rest for 1 minute to allow the cheese to set slightly (this prevents all the cheese from running out when you cut it). Use the paring knife to cut each sandwich diagonally across the middle, then transfer to the matte cream ceramic dinner plates. Garnish with a single small fresh basil leaf if desired before serving.
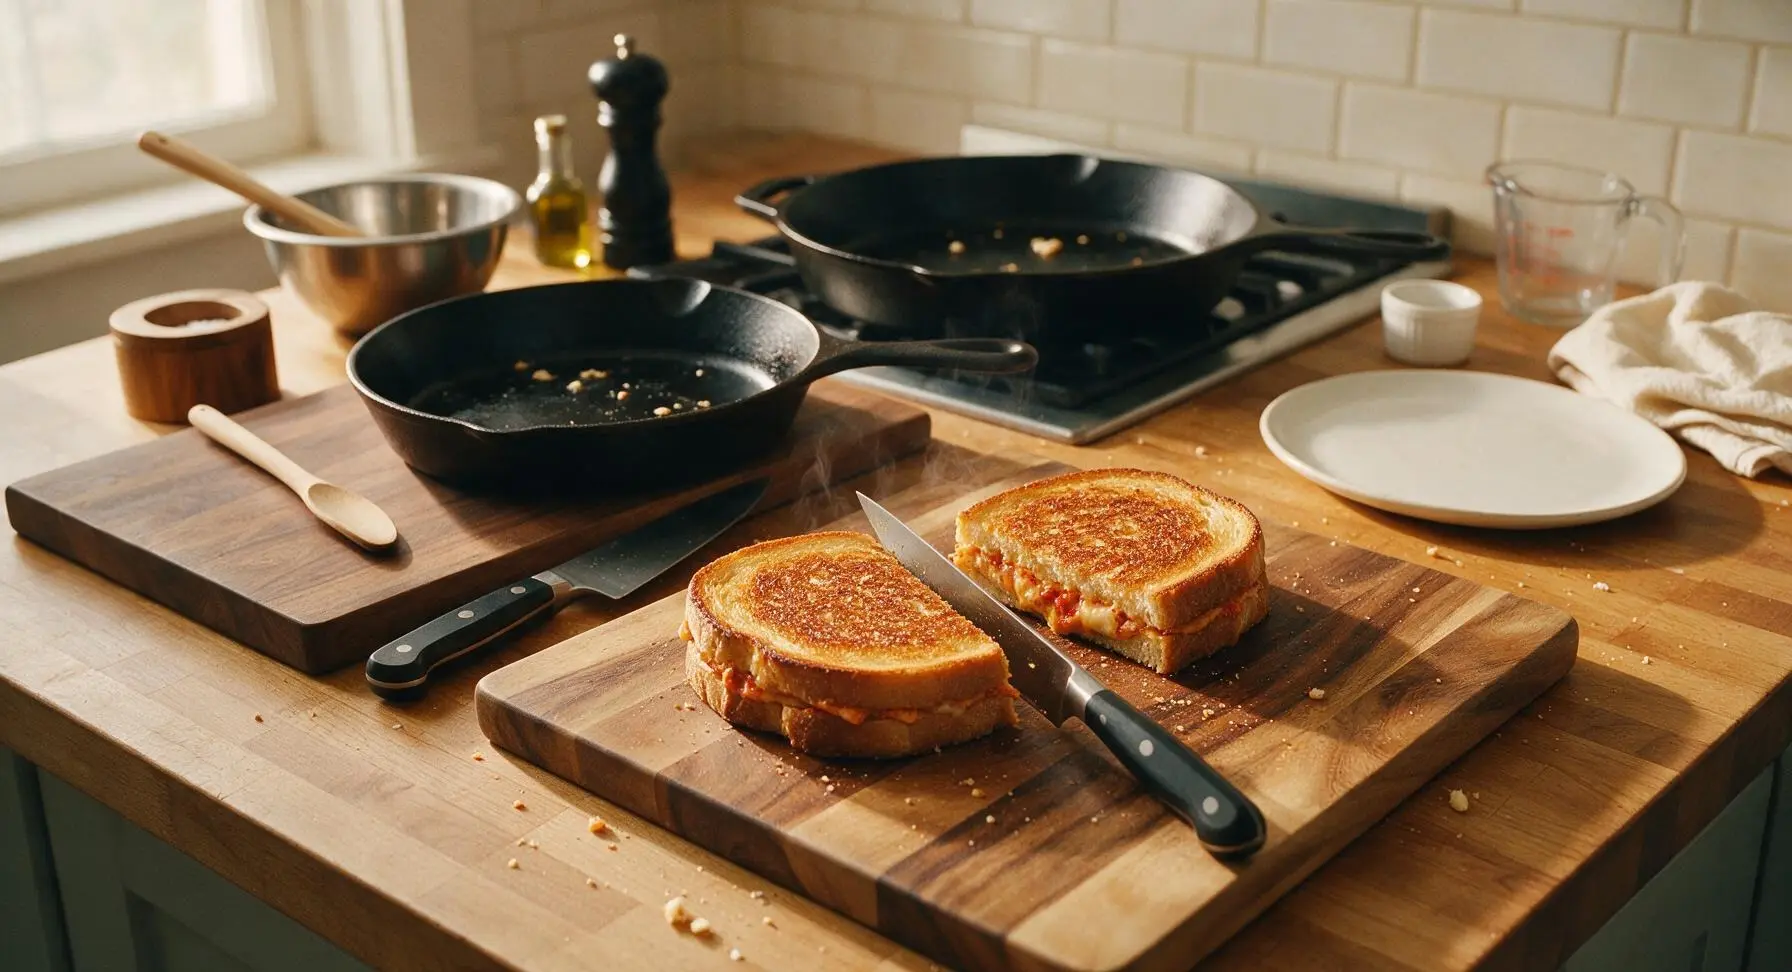
Tips
2.Avoid using high heat to speed up cooking: high heat will burn the butter and bread crust before the cheese in the center of the sandwich has time to fully melt, resulting in a charred, bitter outside and cold, un-melted cheese inside. Medium-low heat ensures gradual, even browning and fully melted cheese.
3.Don’t skip the 1-minute rest after cooking: cutting the sandwich immediately after removing it from the pan will cause all the hot, runny melted cheese to gush out the sides. The short rest lets the cheese thicken slightly, so it stays stretchy and contained between the bread slices for the perfect bite.






OMG this is such a game changer for quick weeknight dinners! I threw this together in literally 7 minutes flat last night when my boys had back to back soccer practice, and both of them asked for seconds — my kids loved it so much they’re already begging me to make it again tonight. The red pepper pesto adds such a nice zing that regular grilled cheese just doesn’t have. SO good!
Took this to our neighborhood potluck last weekend and people were hounding me for the recipe all night! I used sourdough bread instead of white because that’s what I had on hand, and it turned out chef’s kiss. Only note is I’d probably add a tiny bit more mozzarella next time for extra cheese pull.
Perfect easy recipe for dorm cooking! I don’t have a full grill so I just made this in my tiny countertop panini press and it worked perfectly. Way fancier than the sad microwave meals I’ve been living on all semester. Will definitely be adding this to my weekly meal prep rotation!
Made this with gluten free sourdough and dairy free provolone for my dietary restrictions, and it still turned out amazing! I was worried the cheese wouldn’t melt right but it got perfectly crispy and gooey. My only tiny note is I wish I’d added a little fresh basil to brighten it up, but otherwise it was perfect. Will make again for my next lunch with friends.
Wait, is the red pepper pesto spicy? My 6 year old is super sensitive to any kind of heat so I want to make sure before I make this for our family movie night this Friday.
I was a little skeptical that pesto would work on a grilled cheese, but wow this blew my expectations out of the water. I added a couple slices of crispy bacon to mine because I’m a meat guy through and through, and it was the best lunch I’ve had in months. Who knew?
This is my new go-to work from home lunch! It cooks so fast I can make it during my 10 minute midday break and I don’t have to spend time prepping a million ingredients. My only complaint is I keep making it every single day so I’m going through bread way faster than usual lol
Finally a grilled cheese that feels fancy enough to serve when my friends come over for brunch but easy enough that I don’t have to stress about cooking while hosting. I paired mine with a side arugula salad and it felt like a restaurant quality meal for a fraction of the cost. Absolutely delicious.
First time ever making grilled cheese that didn’t burn! The instructions were so simple to follow, even someone as useless in the kitchen as me couldn’t mess this up. The red pepper pesto adds such a nice depth of flavor, I don’t think I can ever go back to plain grilled cheese again.
I made a batch of these on Sunday to grab for quick lunches throughout the week, and they hold up so well! I just wrap them in parchment paper and reheat in the toaster oven for 3 minutes, and they’re just as crispy and gooey as the day I made them. Game changer for my busy work weeks.
I stirred a little pinch of red pepper flakes into the pesto to give it an extra kick, and it was *chef’s kiss*. This recipe is so solid as written but so fun to tweak to your own taste. 10/10, will be making this for my next game night with the girls.
I’ve been making grilled cheese for over 50 years, and I have to say this red pepper pesto version is one of the best twists I’ve ever tried. It’s simple, flavorful, and doesn’t overcomplicate a classic. Made it for my granddaughter when she visited last weekend and she asked for the recipe to take back to college. Real winner.