
Renaissance Faire Turkey Leg
intro
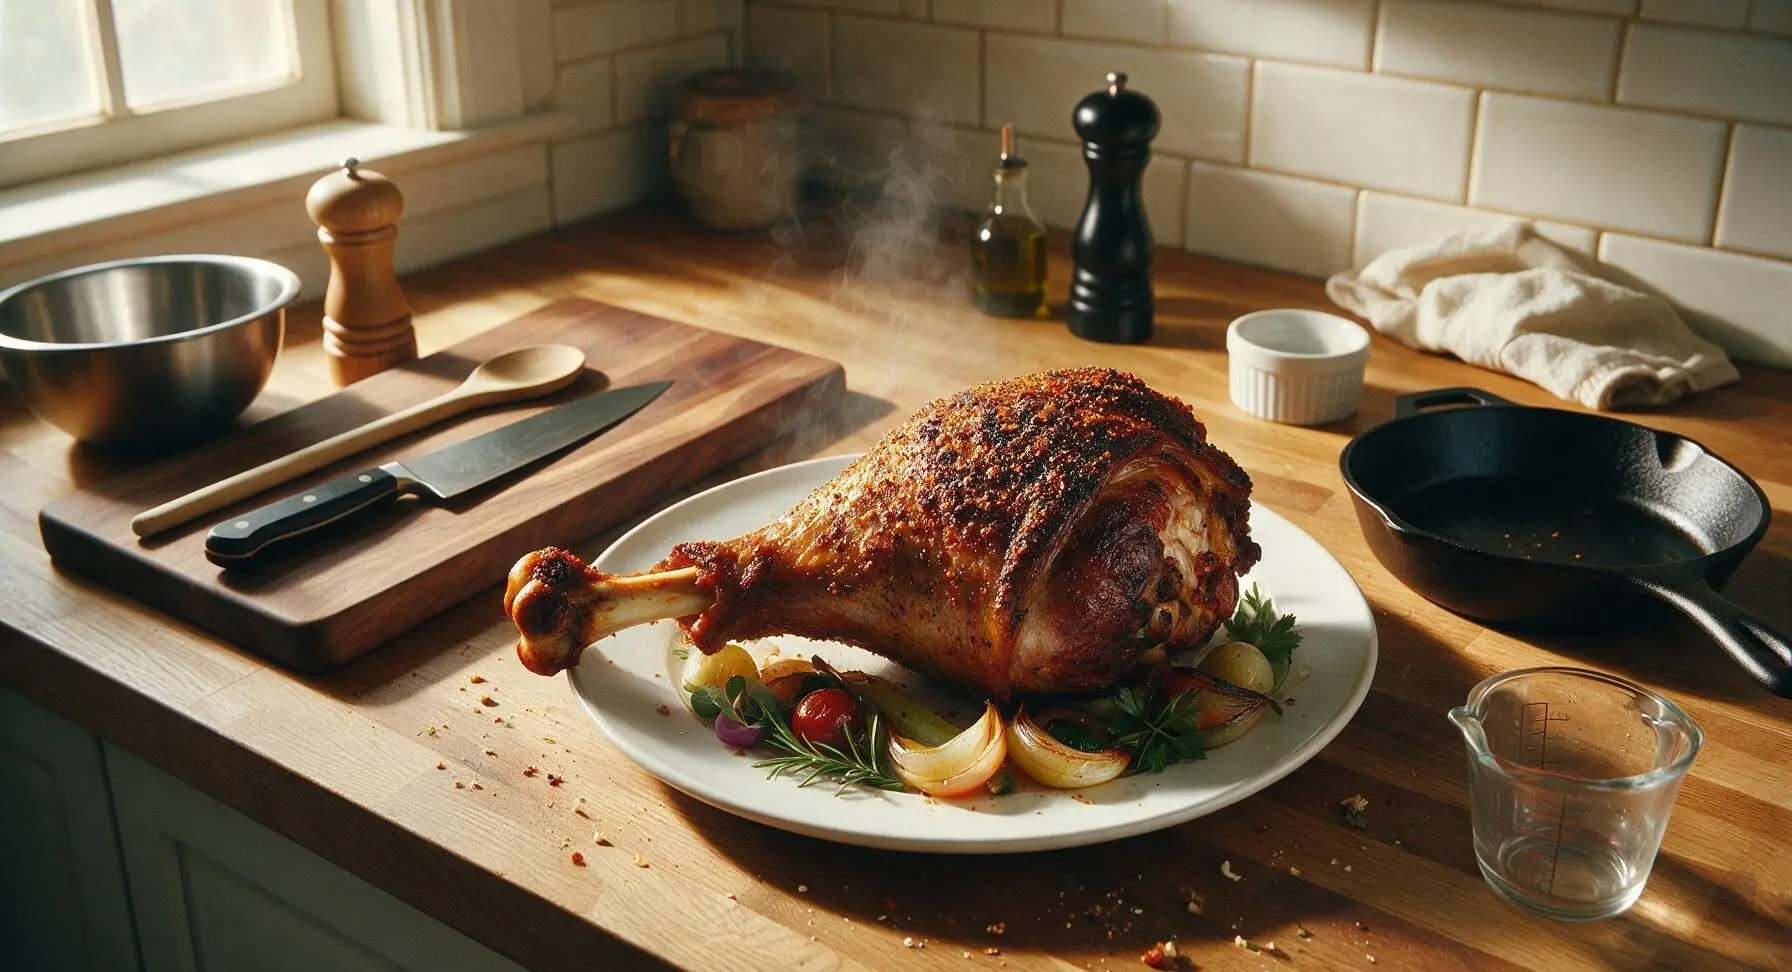
Juicy, smoky giant turkey legs with shatteringly crisp spiced crust, the iconic handheld Renaissance Faire feast, cooked low and slow over apple wood for nostalgic, fair-worthy flavor.
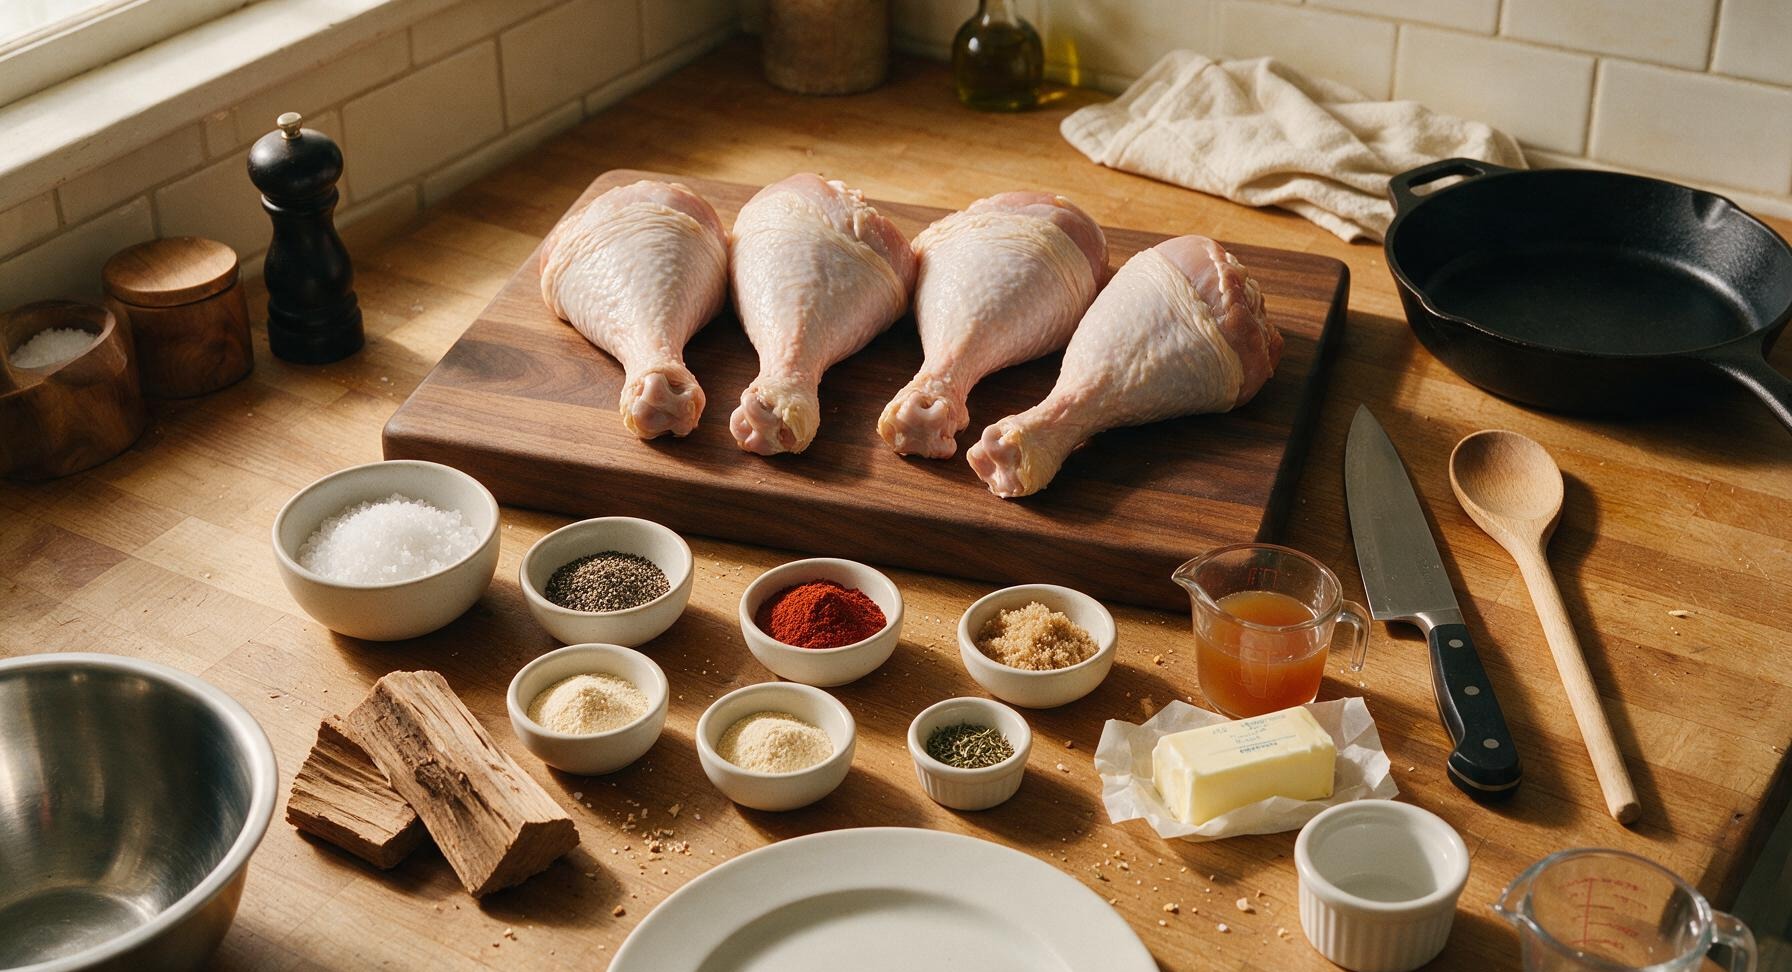
Ingredients
Steps
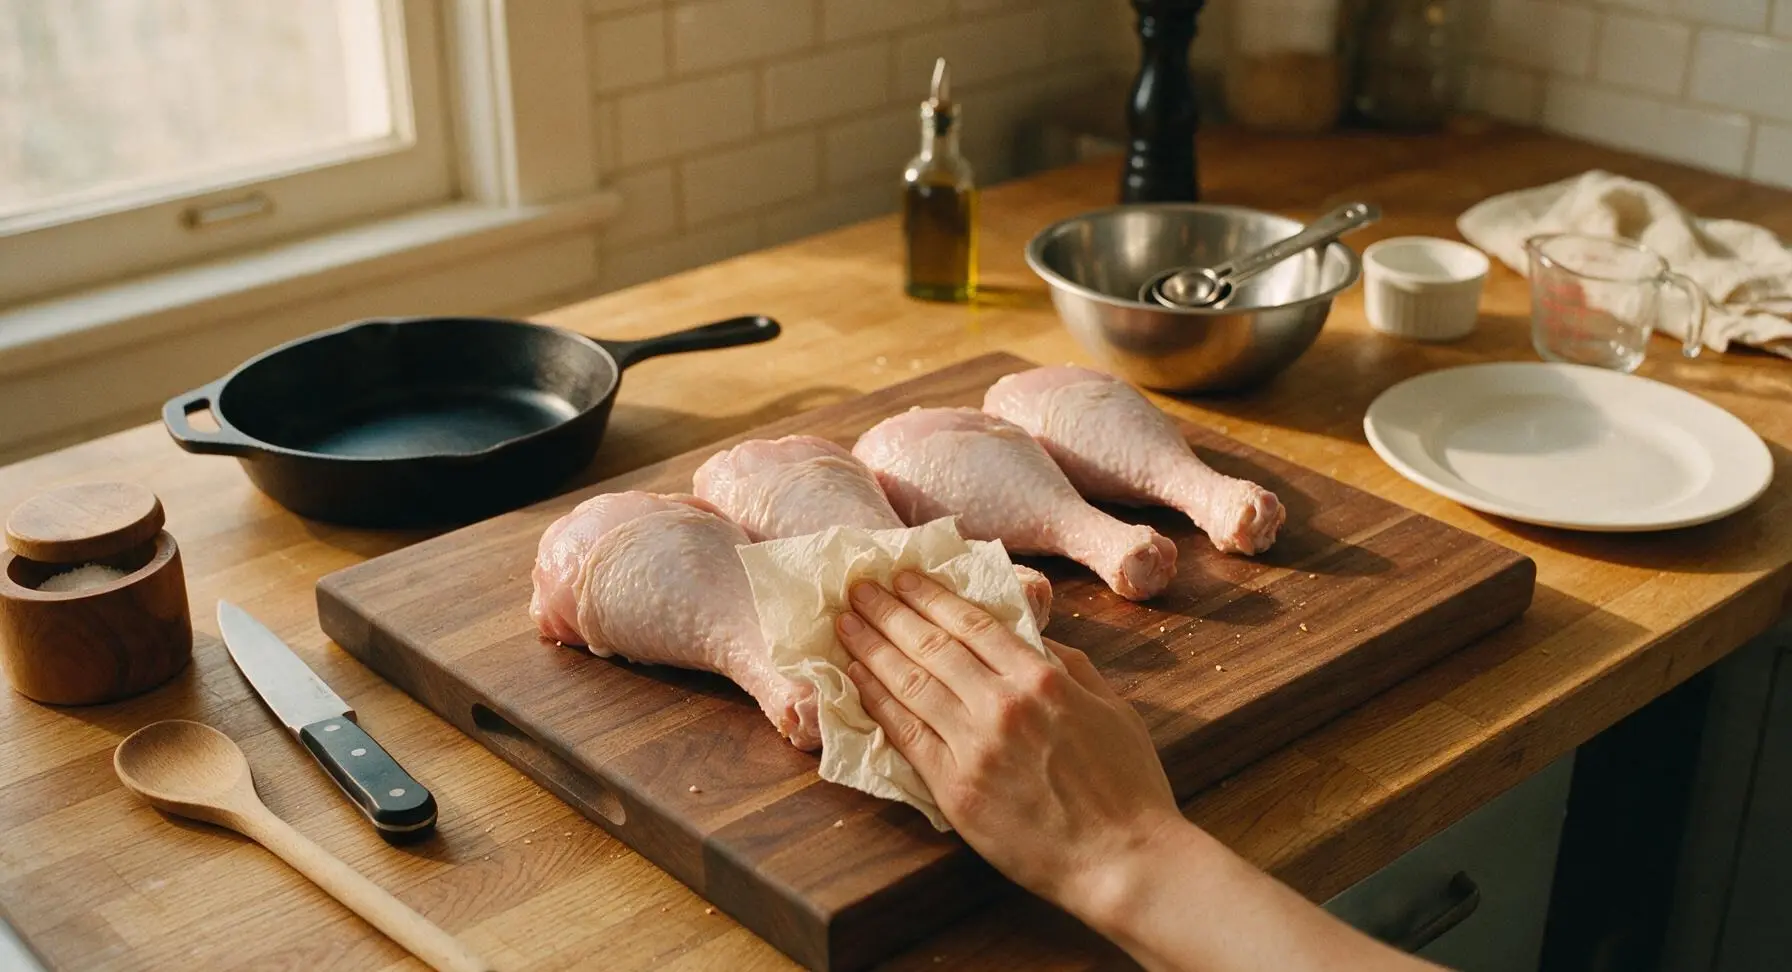
Pat Turkey Legs Dry
Remove 4 bone-in, skin-on giant turkey legs from packaging, rinse briefly under cool running water, then arrange them on the acacia wood cutting board. Tear sheets from the unbleached paper towel roll to thoroughly pat every surface of the legs completely dry, paying extra attention to the skin under the drumstick curve. Discard used paper towels off-frame; fully dry skin is critical for a crispy final crust.
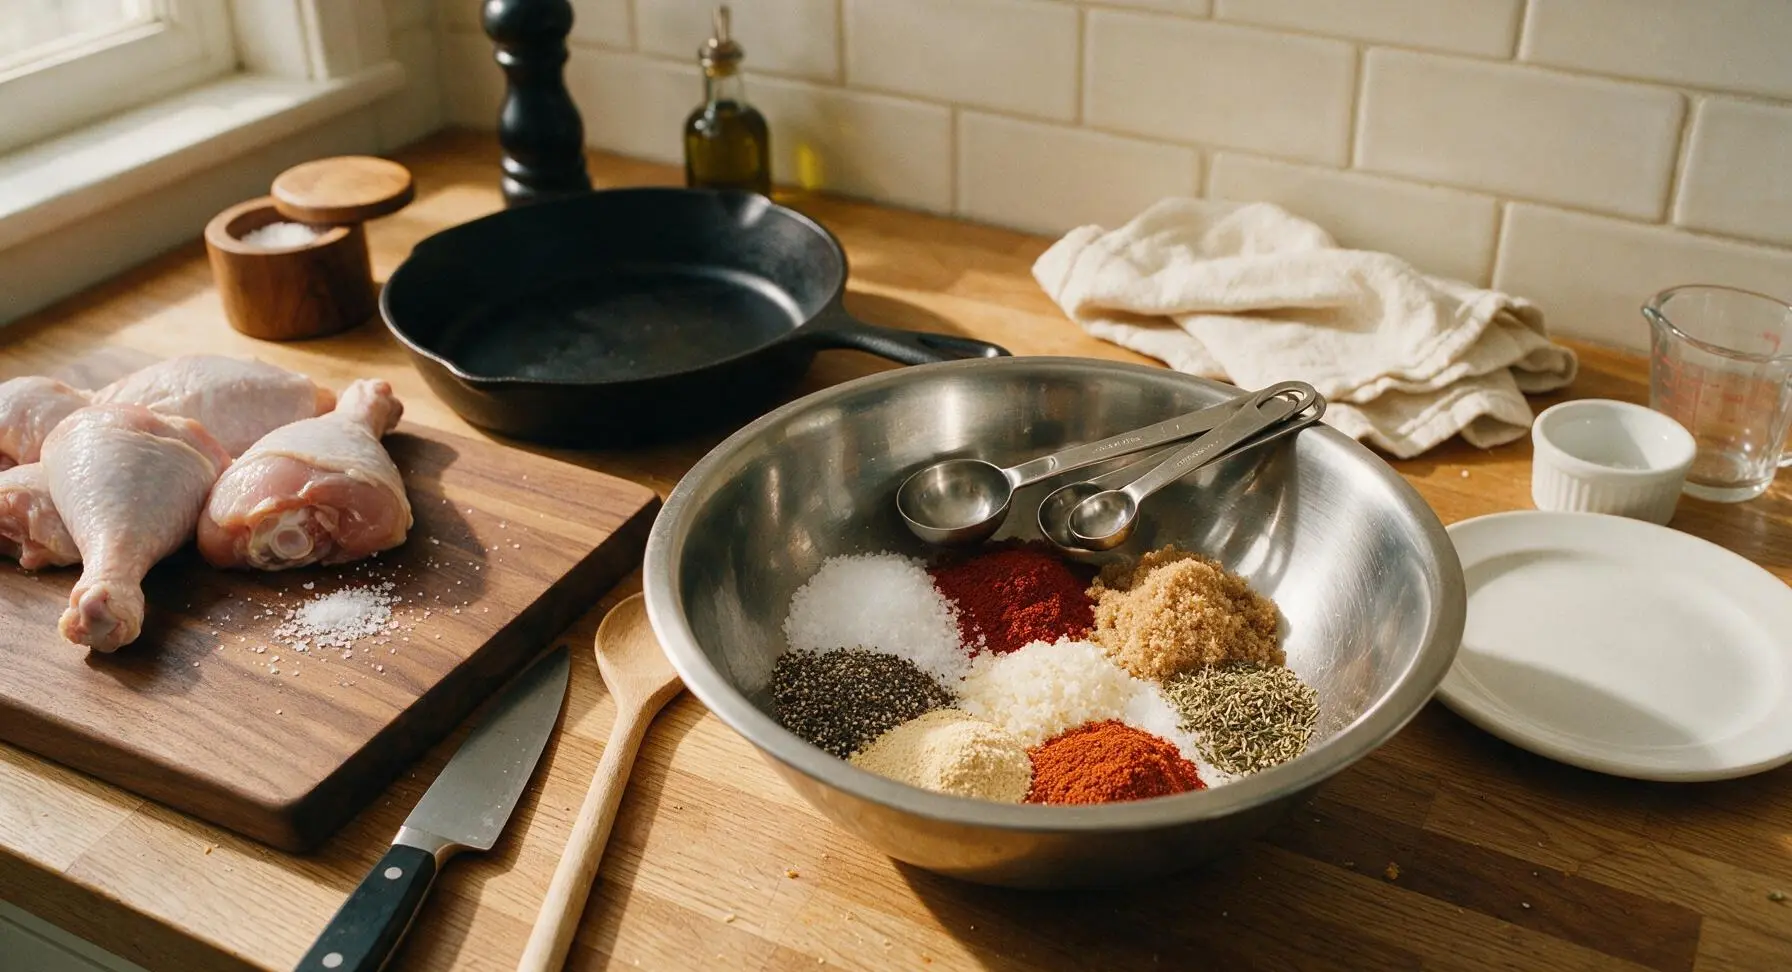
Mix Savory Spice Rub
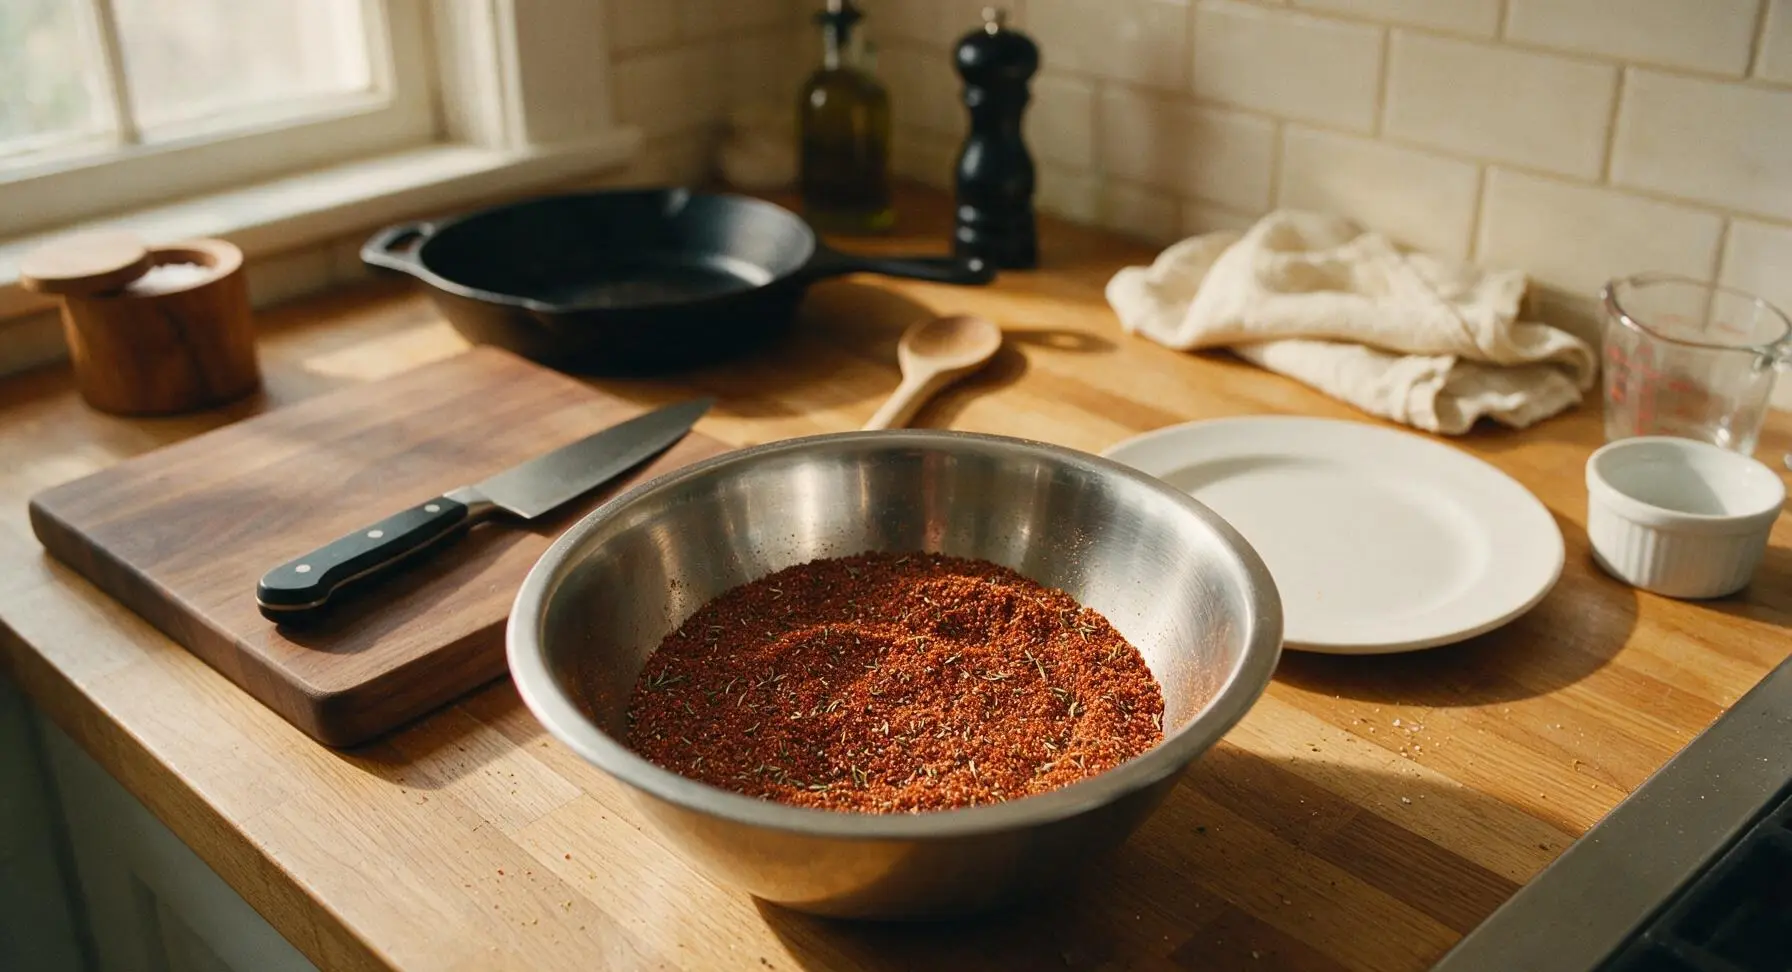
In the medium stainless steel mixing bowl, measure 2 tbsp kosher salt, 1 tbsp coarse black pepper, 2 tbsp smoked paprika, 1 tbsp garlic powder, 1 tbsp onion powder, 1 tbsp light brown sugar, and 1 tsp dried thyme using the stainless steel measuring spoons, leveling each spoonful for accurate measurement. Stir the ingredients thoroughly with the handle of the basting brush until fully combined, breaking up any small clumps of brown sugar, to create a deep reddish-brown rub flecked with black pepper and tan thyme.
Coat Legs with Rub
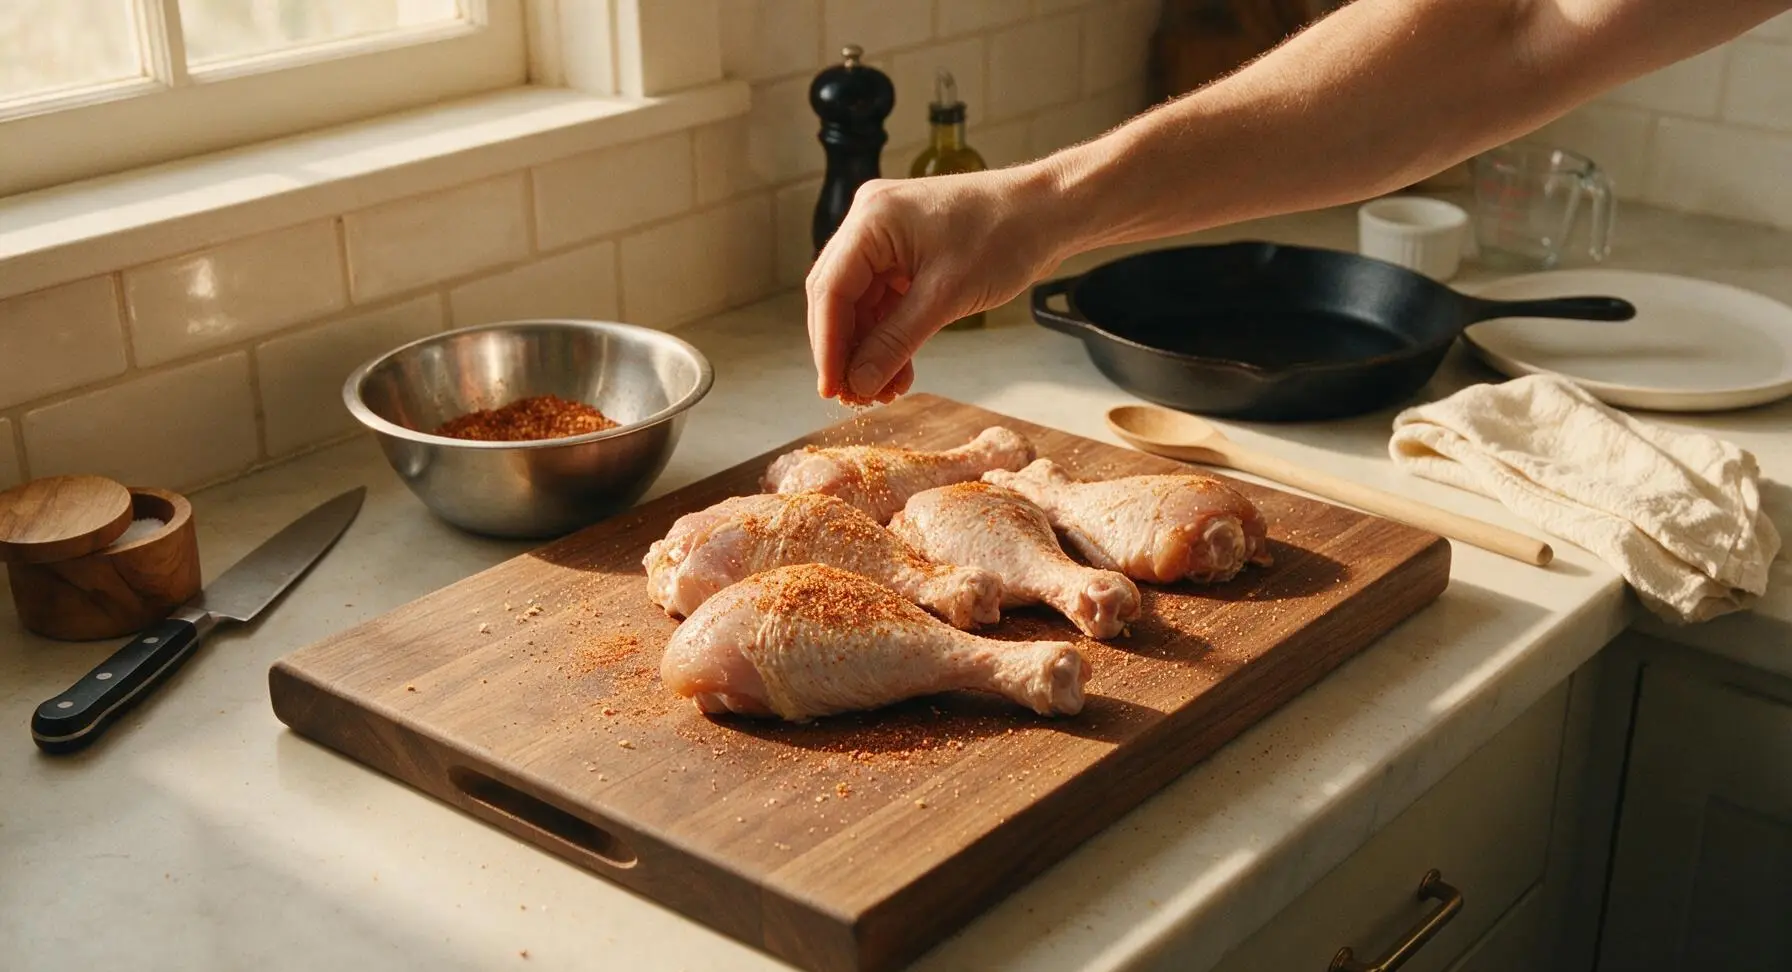
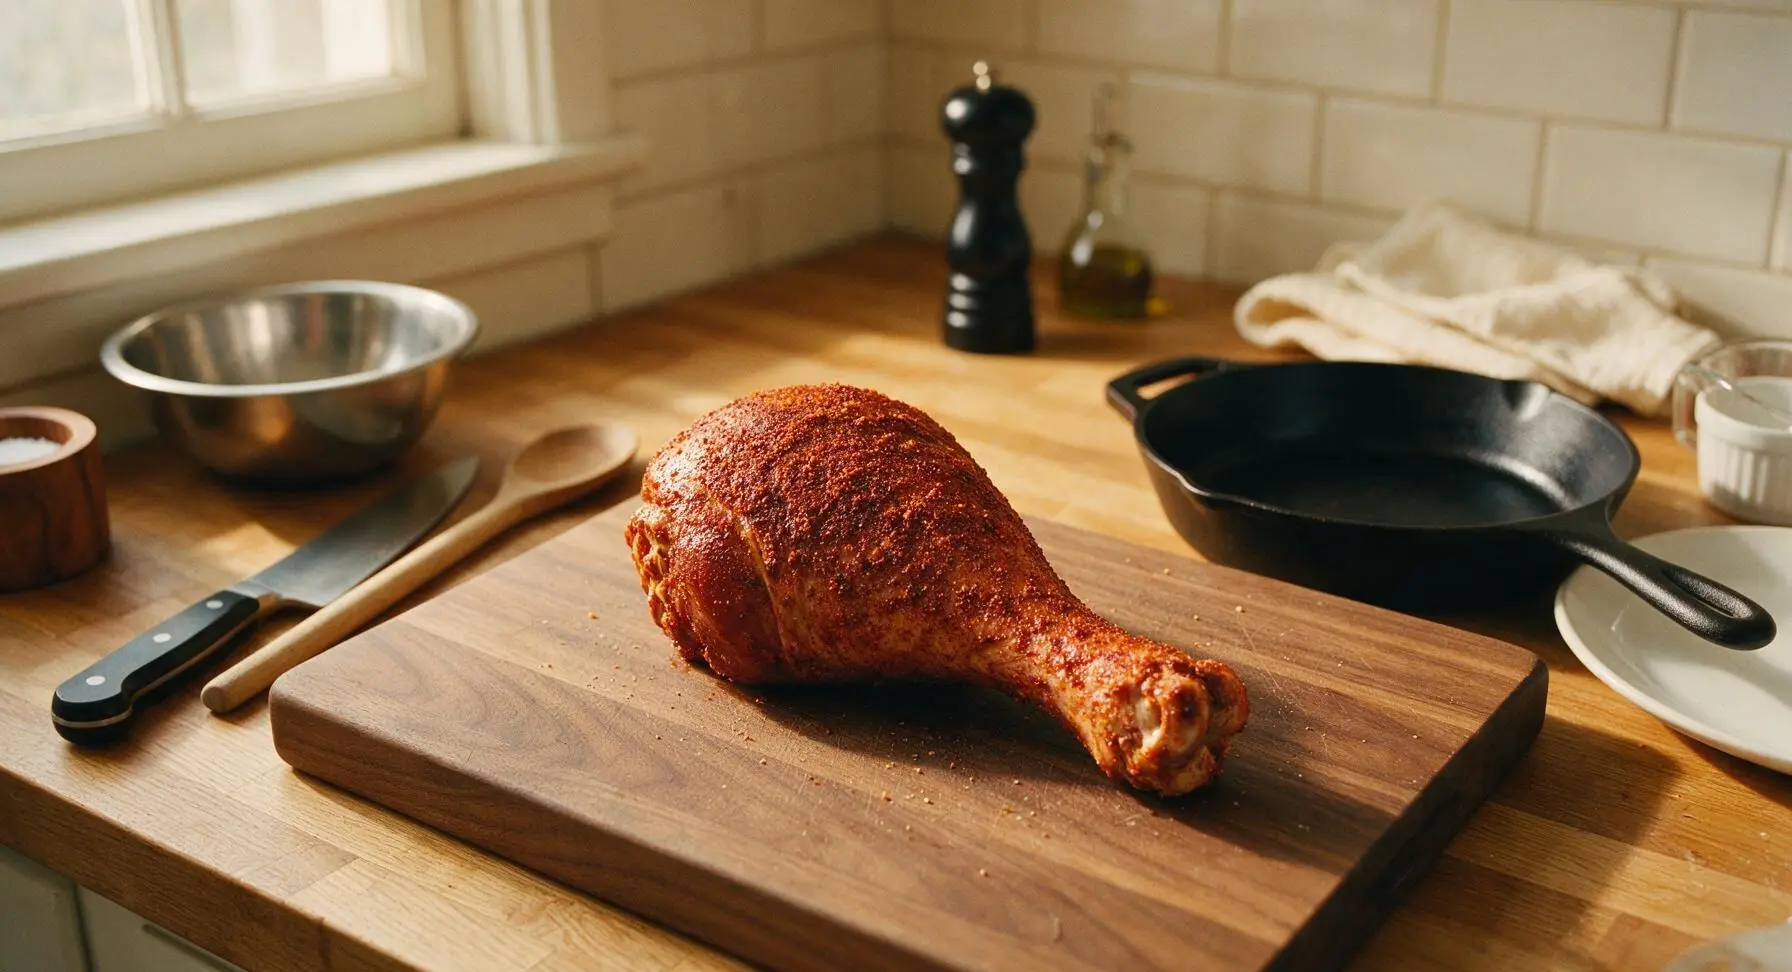
Drizzle 1 tbsp apple cider vinegar over all surfaces of the dry turkey legs, rubbing lightly with clean hands to create a tacky surface that helps the rub adhere. Sprinkle the mixed spice rub evenly over every side of the legs, pressing gently with clean hands to work the rub into the skin and crevices around the bone, using roughly 1 tbsp of rub per leg to ensure no bare patches of skin remain.
Prep Two-Zone Grill
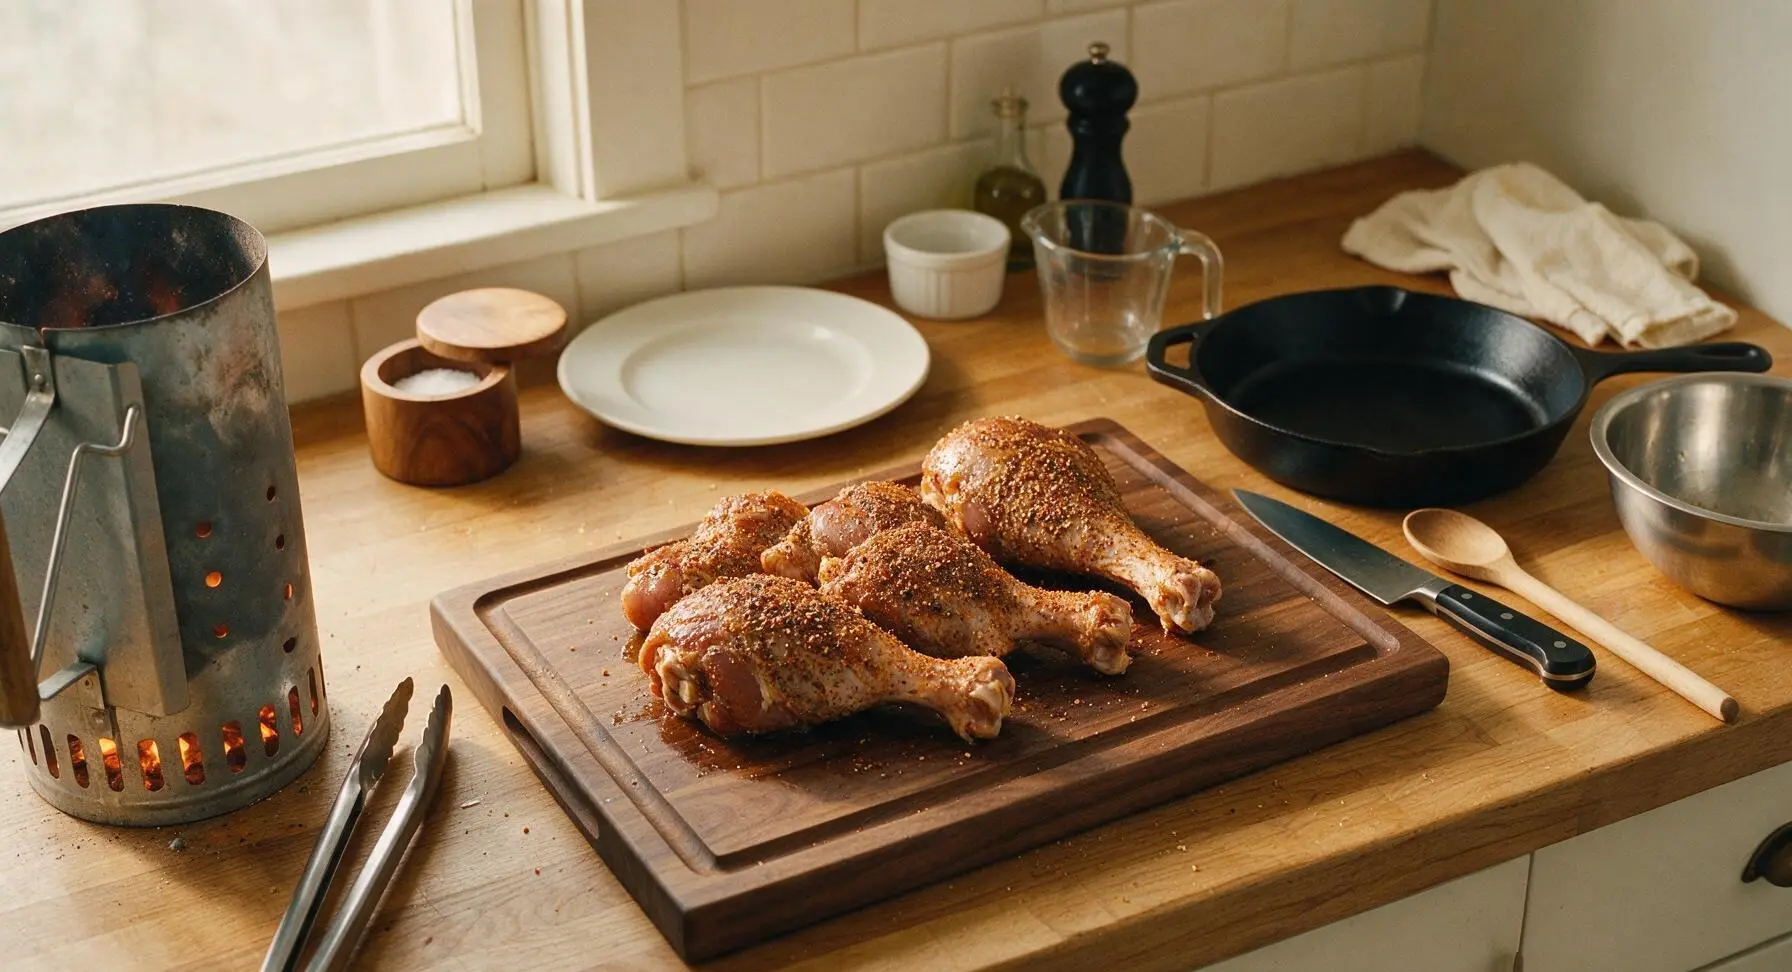
Fill the galvanized charcoal chimney starter 3/4 full with lump charcoal, light it, and let burn for 15 minutes until the top layer of coals is coated in thin gray ash. Pour the lit coals onto one side of the matte black charcoal kettle grill to create a two-zone indirect heat setup, targeting a steady internal grill temperature of 325°F (160°C). Place 2 large apple wood chunks directly on top of the lit coals to produce light, sweet smoke.
Grill Over Indirect Heat
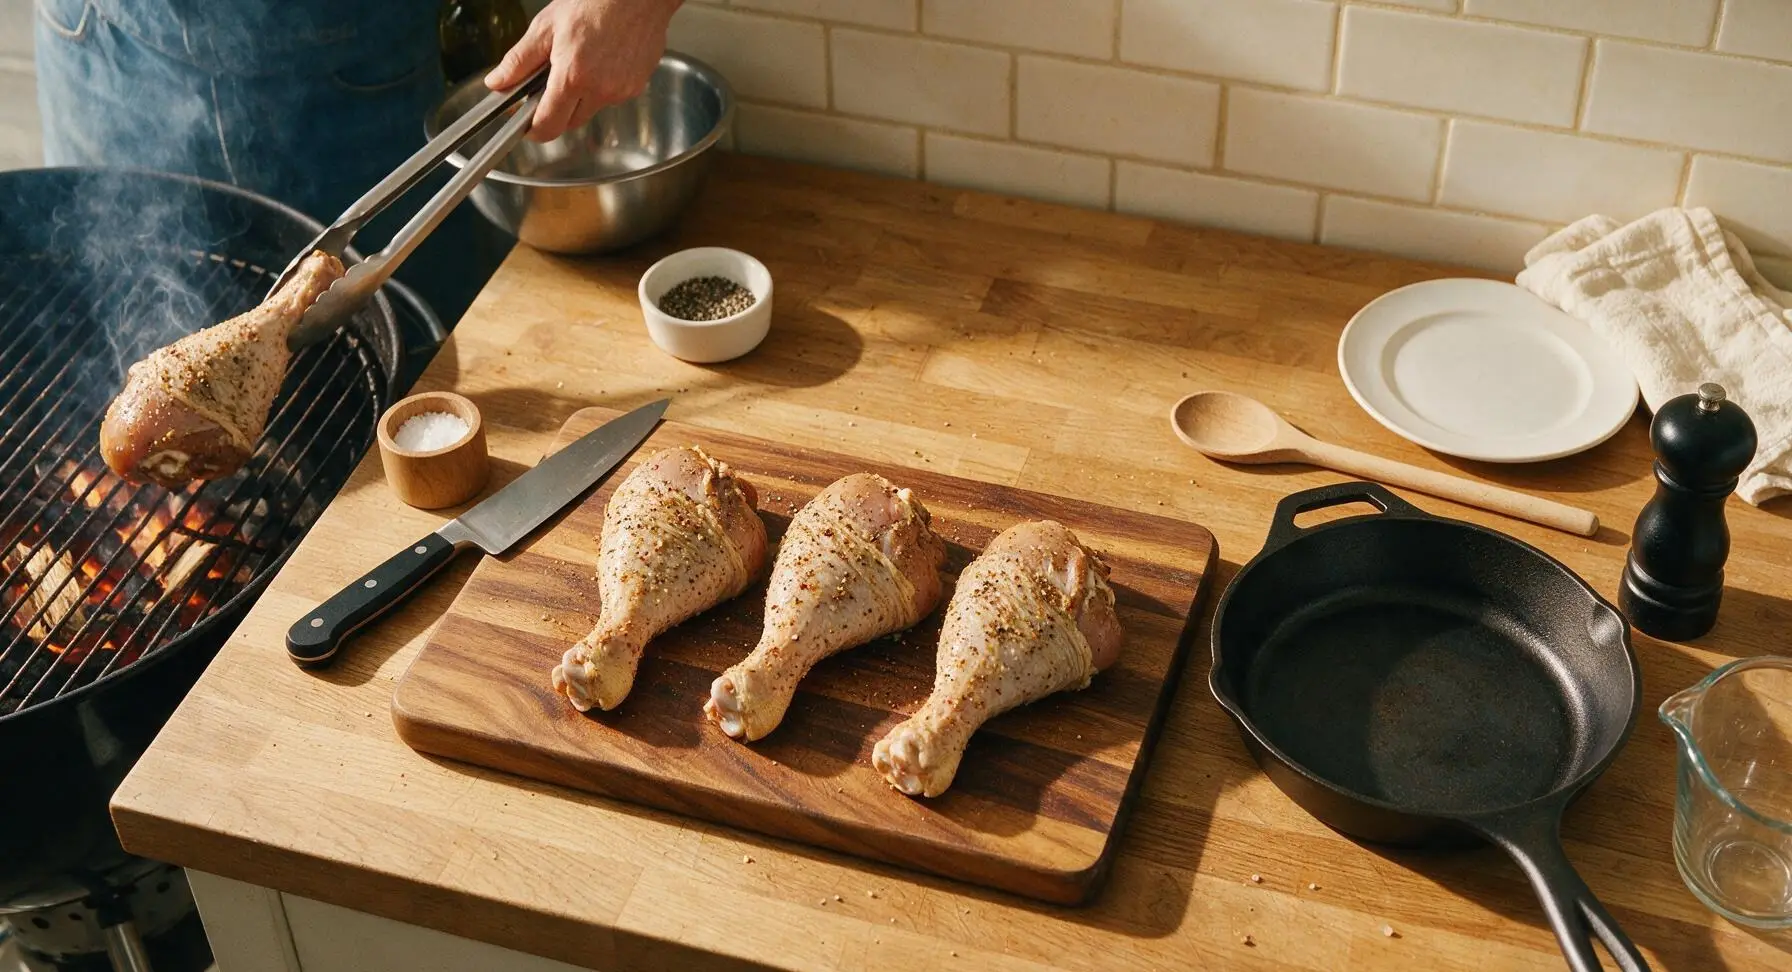
Use the long stainless steel tongs to place the seasoned turkey legs on the unlit, cool side of the grill, arranging them with 2cm of space between each leg to allow even smoke and air circulation. Close the grill lid, positioning the top vent directly over the turkey legs to draw smoke across the meat surface. Maintain a steady 325°F temperature, cooking for 1 full hour, adding a small handful of extra charcoal if the temperature drops below 300°F.
Baste with Butter Mix
After the first hour of cooking, open the grill lid. Melt 2 tbsp unsalted butter, stir in the remaining 1 tbsp apple cider vinegar, and pour the mixture into a small clear glass ramekin. Use the long-handled basting brush to coat every surface of the partially cooked turkey legs with the butter mixture, which will help crisp the skin and add rich, tangy flavor. Close the grill lid and continue cooking for 30-45 additional minutes.
Check Doneness Temp
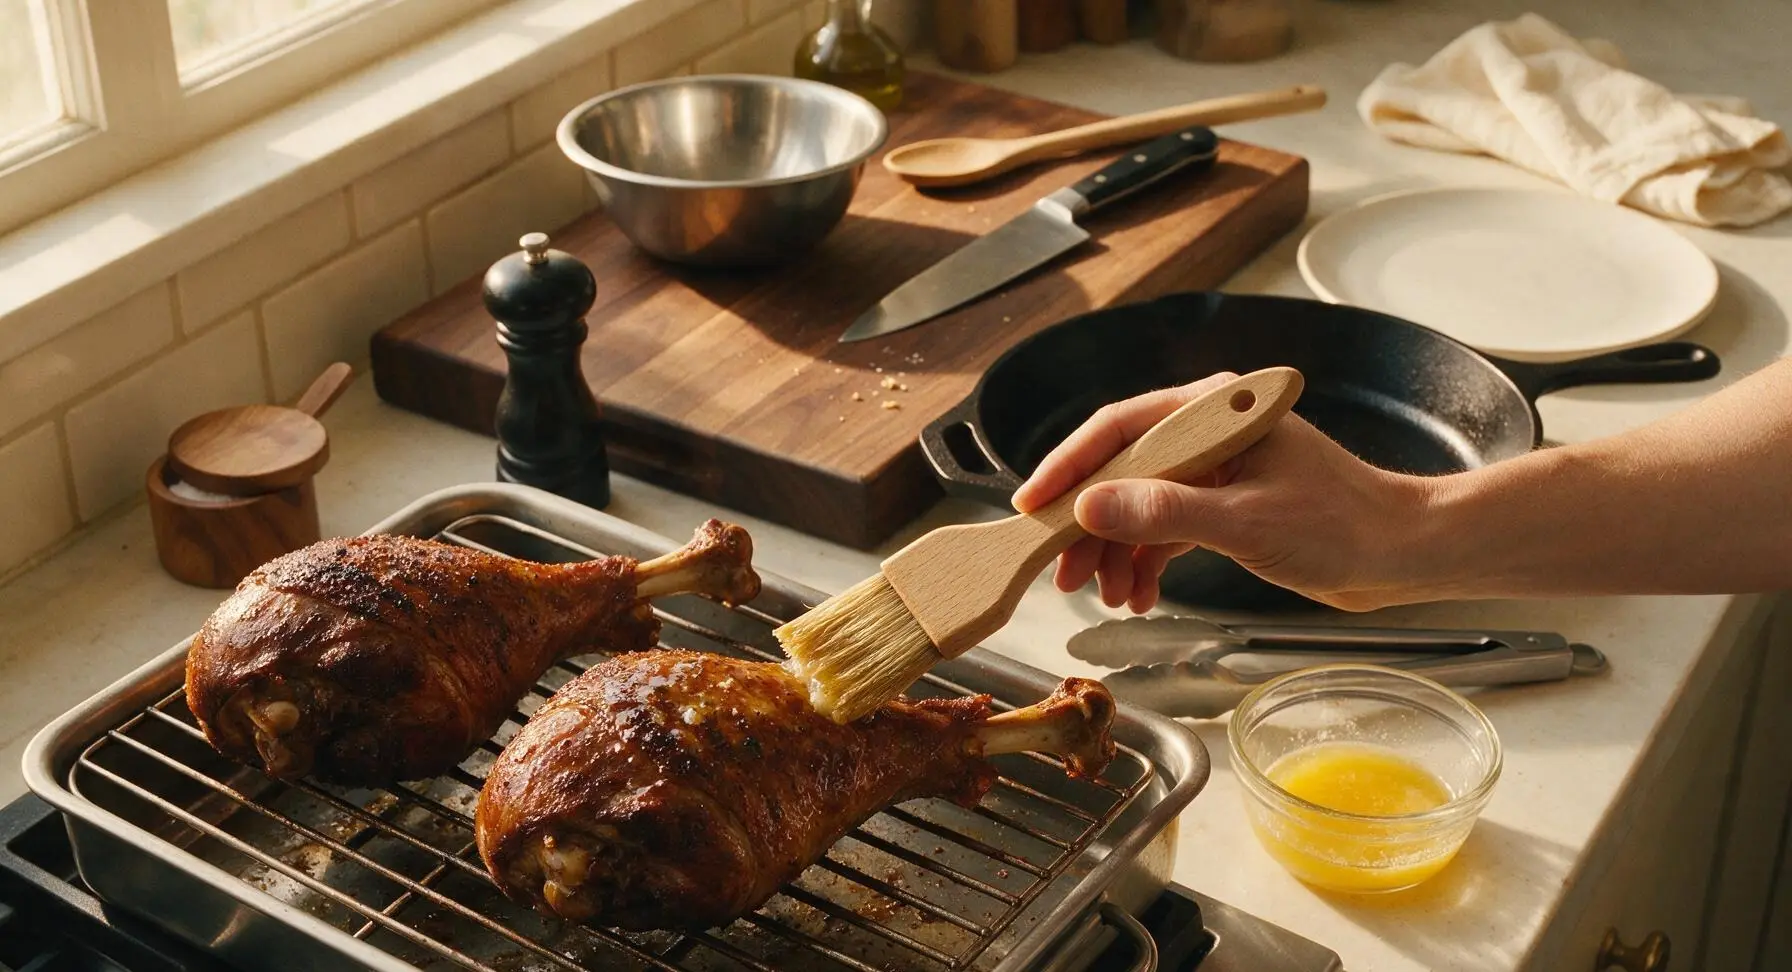
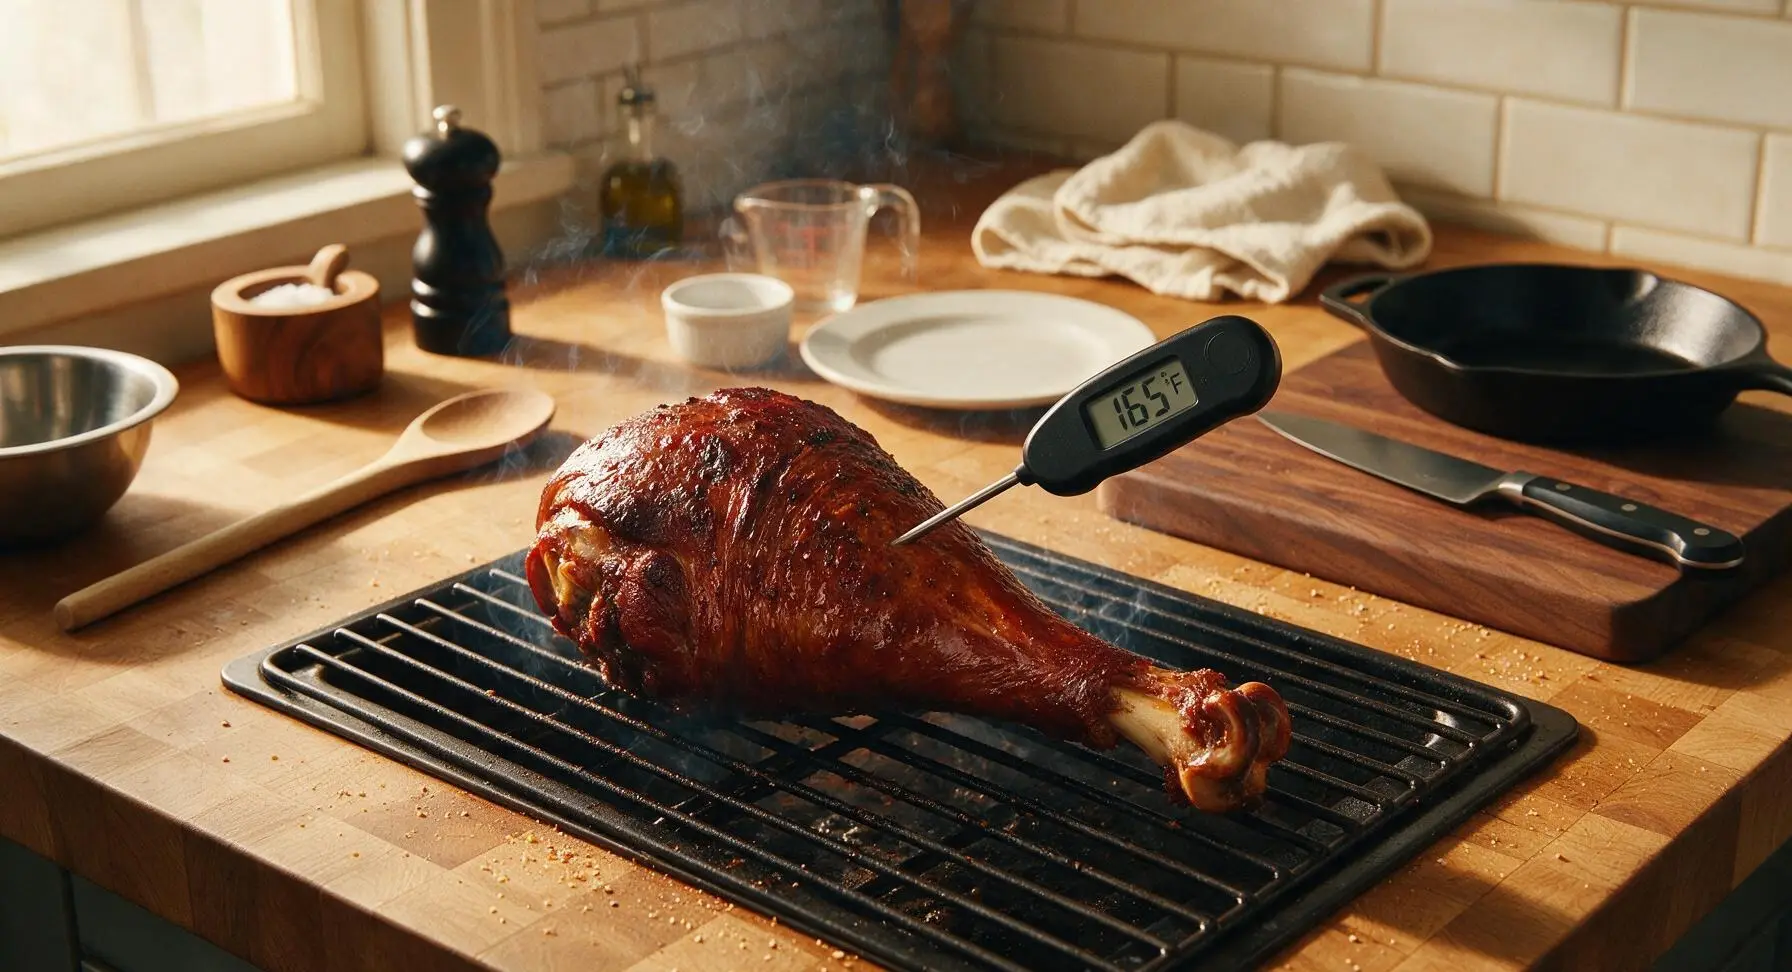
After 30 minutes of additional cooking, insert the digital instant-read meat thermometer into the thickest part of the largest turkey leg, taking care not to touch the bone (which will give an inaccurately high temperature reading). The legs are fully cooked when the internal temperature reaches 165°F (74°C), with crispy deep mahogany skin and rendered fat bubbling gently across the surface.
Rest Before Serving
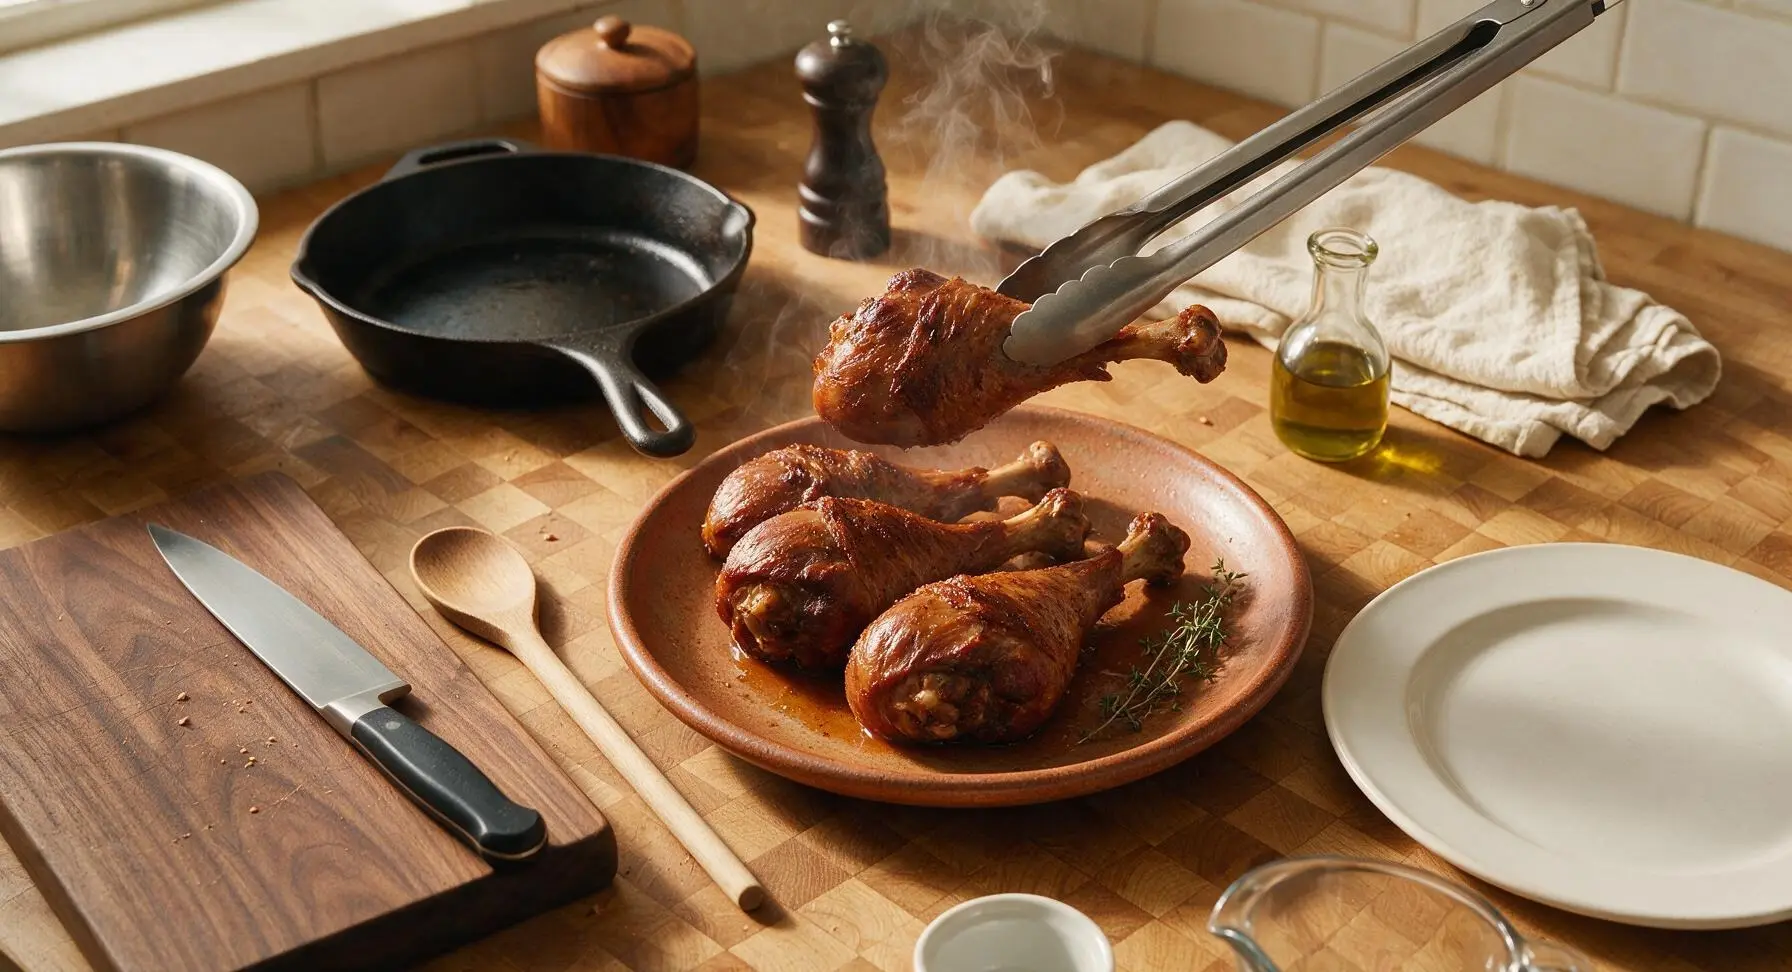
Use the long stainless steel tongs to transfer the fully cooked turkey legs from the grill to the thick hand-thrown terracotta plate. Let the legs rest for 10 minutes at room temperature to allow muscle fibers to relax and redistribute juices, then tuck a small sprig of fresh thyme next to the legs for garnish.
Tips
2.Maintain steady indirect heat at 325°F for the full cook: placing legs directly over hot coals will burn the spice rub and skin long before the meat closest to the bone reaches a safe 165°F, leading to bitter, unevenly cooked results.
3.Let cooked legs rest for a full 10 minutes before serving: during this time, the hot muscle fibers relax and reabsorb juices, ensuring every bite is tender and moist rather than having flavorful juice run down your wrist immediately after the first bite.






OMG I made these for our annual neighborhood block party last weekend and people went absolutely feral for them! Tastes exactly like the giant turkey legs I wait in 45 minute lines for at the SoCal ren faire, no cap. The brine is chef’s kiss, I didn’t skip the smoked paprika and it was so worth the 1 hour 45 minute cook time. 10/10 will make again!
My kids loved it! They kept pretending they were knights at the dinner table, it was so cute. I was worried it’d be too tricky since it’s marked medium difficulty, but the steps were super straightforward. Only thing I adjusted was cutting the salt a tiny bit because my youngest is sensitive to super salty food, still turned out SO good.
Game changer! I’ve been trying to nail copycat ren faire turkey legs for YEARS and this is the first recipe that didn’t come out dry or bland. The butter rub under the skin? *Chef’s kiss* Made these for my husband’s birthday cookout and he said they’re better than the ones we got on our last ren faire date. No notes.
Okay, I caved and made these after seeing how rave the reviews were, and wow. I brought a batch to our local ren faire pre-game meetup and everyone was asking for the recipe before we even walked through the gates. Only heads up: make sure you pat the legs dry before rubbing, I skipped that the first test run and the skin didn’t crisp up right.
Meal prep win! I made 4 of these on Sunday, portioned them out with roasted veggies and mashed potatoes for lunches all week, and they hold up so much better than I thought they would. Way more fun than boring grilled chicken breast, honestly. The only reason I’m not giving 5 stars is the cook time is a little long for weeknight prep, but for Sunday meal prep it’s perfect.
Brought these to my office potluck yesterday and they were the first thing gone! I had three people stop by my desk before lunch was even over to ask for the link. I did add a little extra garlic powder to the rub because I’m a garlic fiend, and it paired so well with the smoky flavor. Will absolutely be adding this to my regular potluck rotation.
Wait y’all, I’m a broke college student with a tiny apartment oven and I still pulled these off?? I was intimidated by the medium difficulty rating but it’s mostly just waiting for it to cook, right? My roommates lost their minds, we ate them while we watched Game of Thrones and it felt like we were at a medieval feast. 10/10, only thing I messed up was forgetting to buy parchment paper so I had to scrub my baking sheet for like 20 minutes after, oops.
I’ve been making smoked turkey legs for family dinners for over 40 years, and I have to say this rub recipe is a new favorite. I used my old smoker instead of the oven method and it turned out perfectly, my grandkids fought over the last leg. Don’t let the medium difficulty scare you off, even if you’re a beginner cook you can handle this as long as you follow the brine instructions.
Made these for our last family camping trip, cooked them on the camp grill with a little smoker box and they were unreal. Way better than the usual hot dogs and burger routine, my teen son said it’s the best camping food I’ve ever made. The brine kept the meat super juicy even when I was cooking over uneven camp coals, which I was shocked by. Definitely making these for our next trip out.
Went to the Renaissance Faire a few weeks ago and paid $18 for a single turkey leg, so I knew I had to try making these at home when I saw the recipe. Let me tell you—these are BETTER than the faire ones. The meat is juicier, the skin is crispier, and I made 6 legs for less than the cost of two at the fair. Absolute steal, will be making these all summer long.
Made these for my wife’s ren faire themed birthday party last weekend and I was the hero of the night. We had people in full costume chowing down on these, multiple guests said they felt like they were actually at the faire. The cook time felt a little long but it was 100% worth it, I even got a fancy new apron as a thank you from my wife after. Win win!
Super easy to adapt for food allergies! I have a gluten sensitivity so I swapped the regular soy sauce in the brine for tamari, and it didn’t change the flavor at all. I was worried I’d miss out on that classic ren faire turkey leg taste because of my dietary restrictions, but this worked perfectly. My whole family ate them even without knowing I made a swap, that’s how good it was.
Okay full transparency, I burned the first two legs I tried to make because I cranked the oven too high trying to cut down on cook time. Don’t be like me! Follow the temp instructions, trust the process, and you’ll get perfect, juicy, crispy legs that taste just like the faire. I got it right on my second try and my roommate said they’re better than the ones we got at the faire last year, so win.