
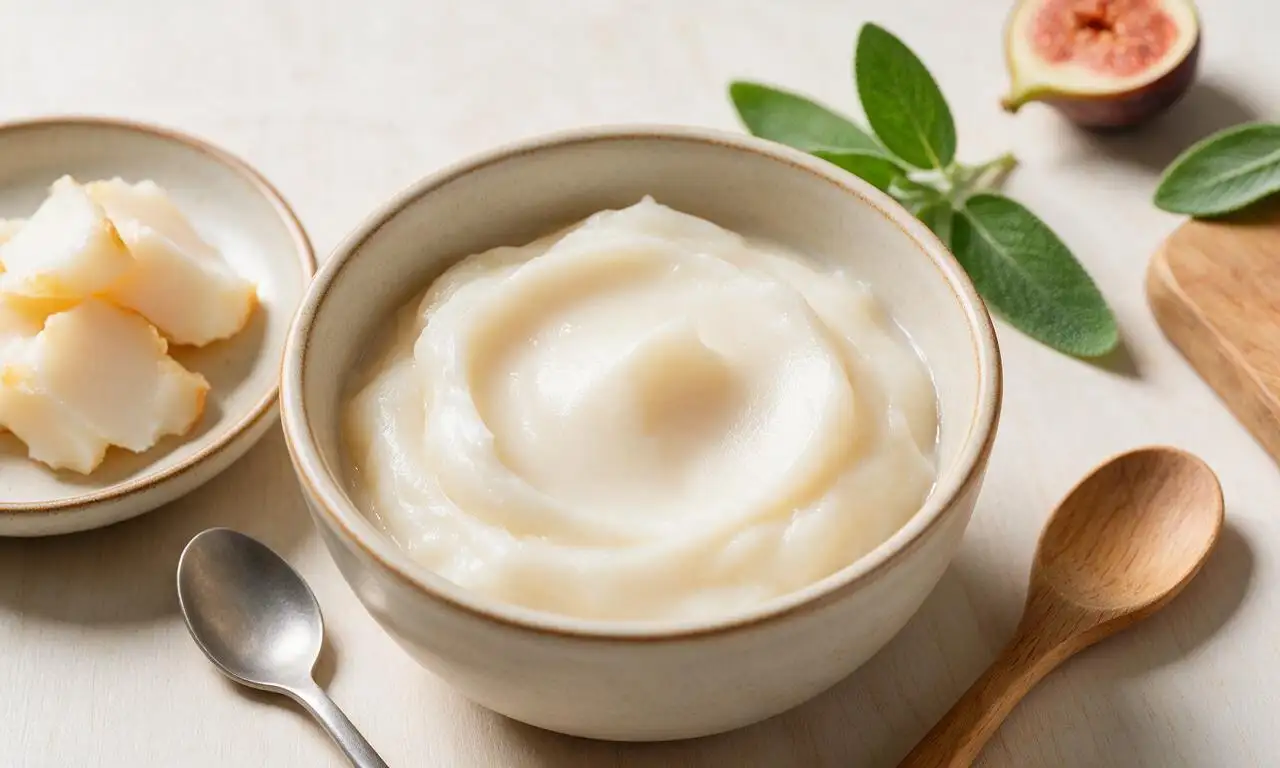
Rendered Fat

title 1
Rendered Fat
⏱️ cook time 45 minutes
🍽️ servings 12
⚡ Difficulty easy

intro

Silky, mild rendered pork fat is a versatile, shelf-stable cooking staple perfect for frying, baking, and adding rich savoriness to home-cooked dishes.

Ingredients

Pork fatback (trimmed of skin and lean tissue) 1000 grams (2.2 lbs)
Cold filtered water 120 ml (1/2 cup)

Steps

1

Prep the pork fat

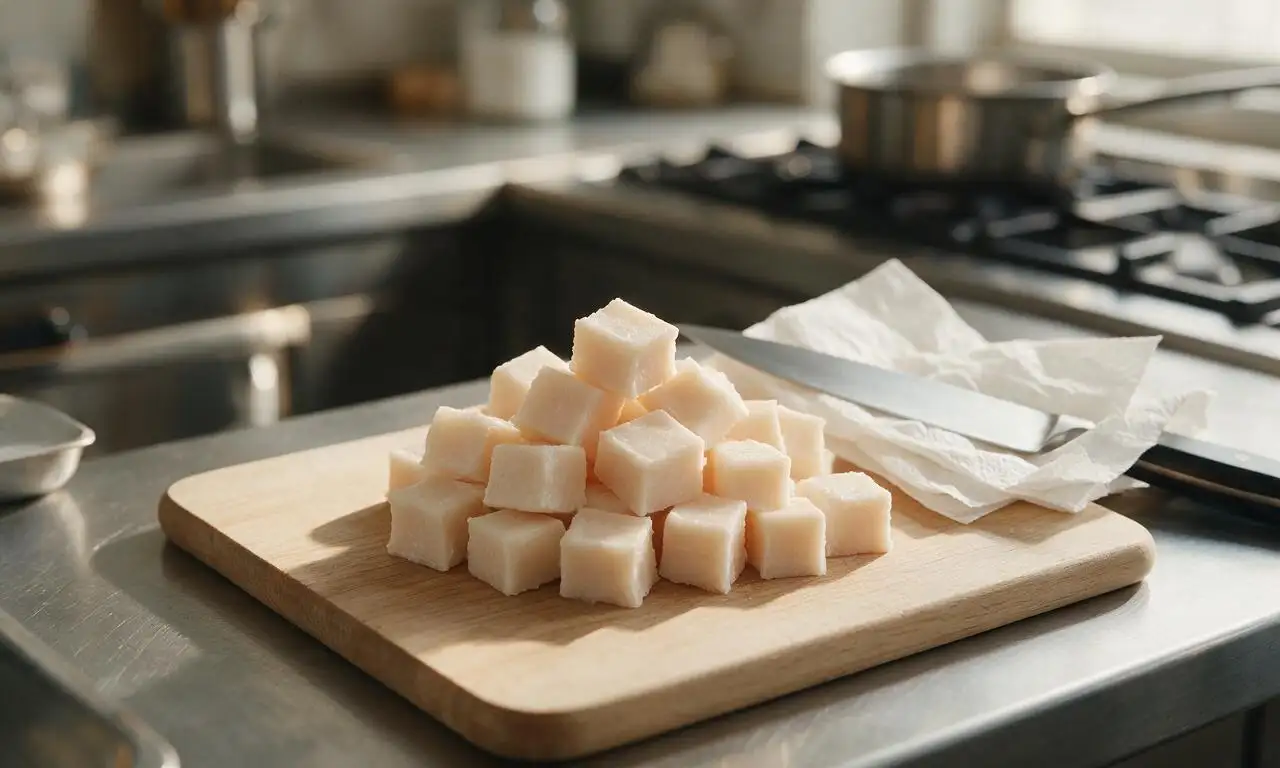
Start with cold 1000g pork fatback, trimmed of all attached skin, lean meat bits, and discolored blood spots. Cut the fat into uniform 1.5 cm (1/2 inch) cubes to ensure even, consistent rendering, then pat all cubes completely dry with paper towels.
Step 1
step1:Prep the pork fat
2

Add fat and water

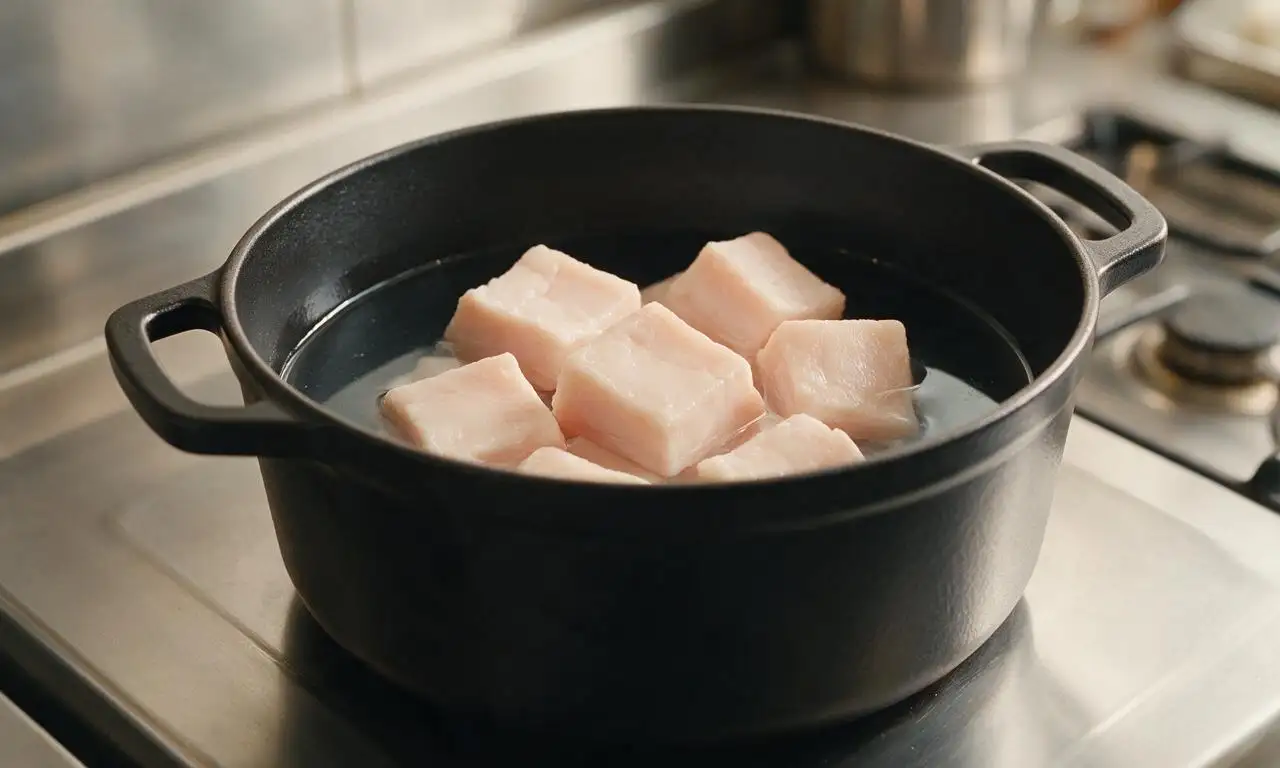
Transfer the cut fat cubes into a heavy-bottomed 5L (5-quart) Dutch oven or deep stockpot, then pour in 120ml cold filtered water. The water creates a gentle initial heat buffer to prevent fat from scorching before it begins to melt evenly.
Step 2
step2:Add fat and water
3

Begin low-heat rendering

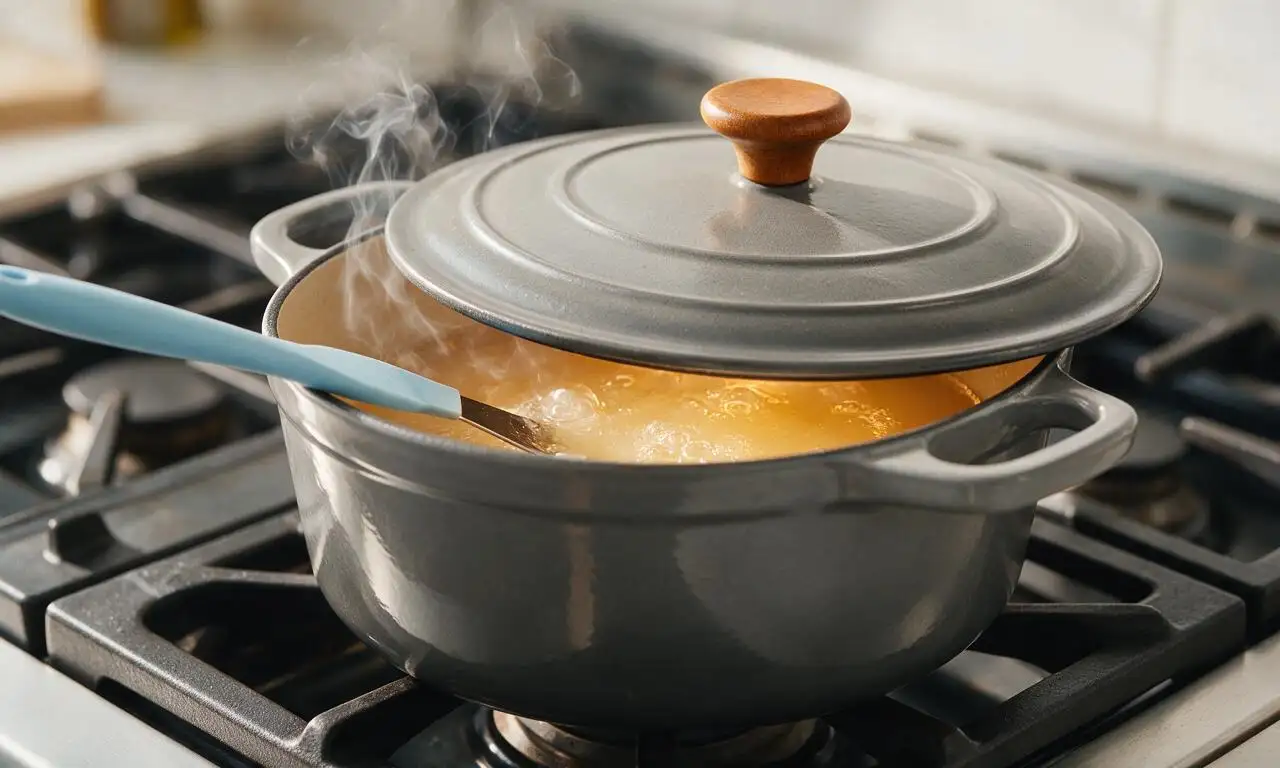
Turn the stovetop to the lowest heat setting, set the pot lid slightly ajar to leave a 1cm gap for steam to escape, and cook for 15 minutes. Stir the fat cubes every 5 minutes with a heat-resistant silicone spatula to prevent sticking to the pot bottom.
Step 3
step3:Begin low-heat rendering
4

Render fat until clear

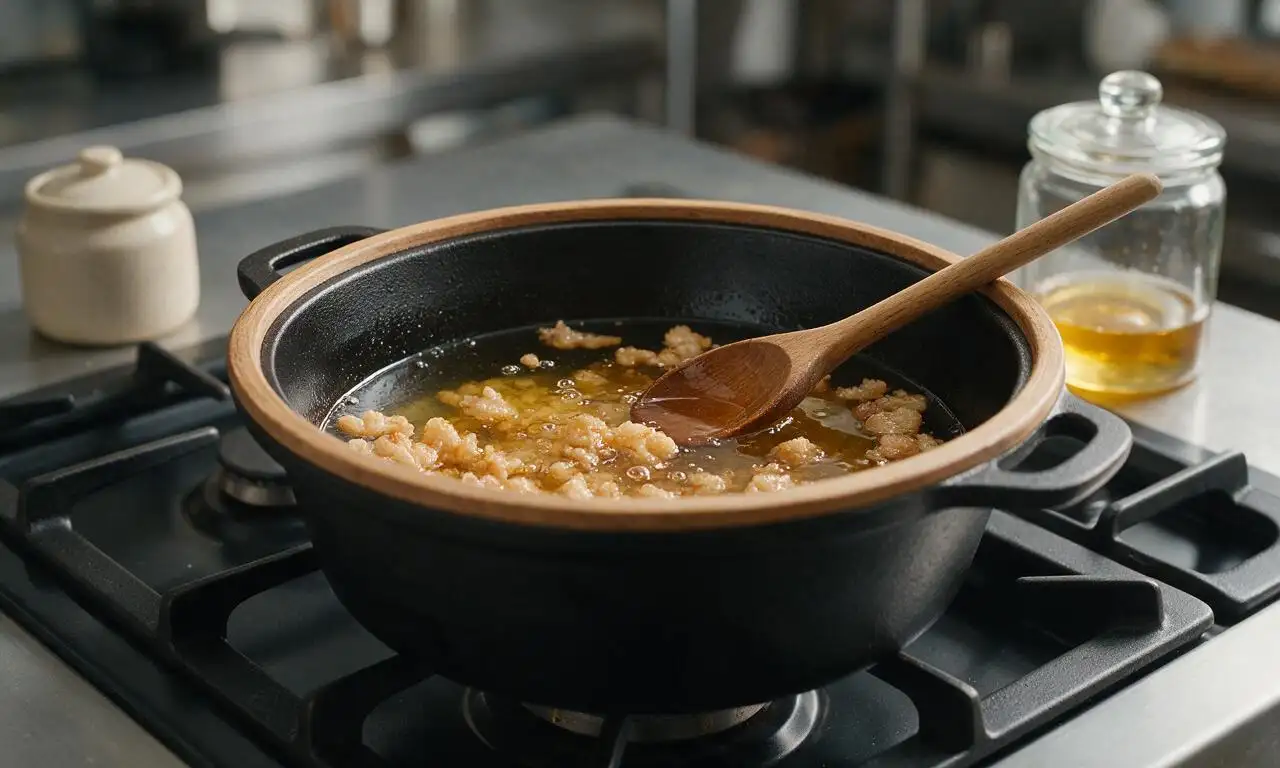
After the initial 15 minutes, remove the lid entirely. Continue cooking on the lowest heat setting for another 25 minutes, stirring gently every 3 minutes. Clear, pale golden liquid fat will accumulate as the solid fat cubes shrink and turn light golden brown.
Step 4
step4:Render fat until clear
5

Strain the warm fat

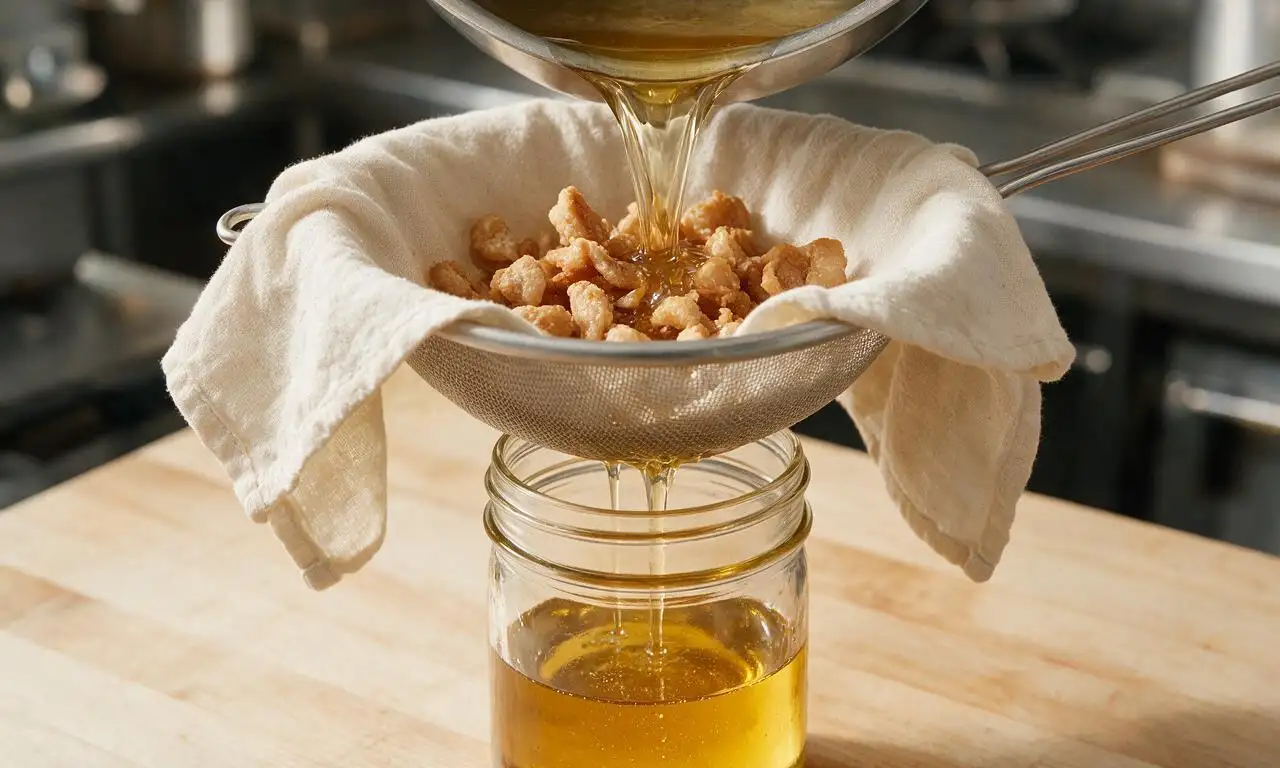
Once the solid cracklings are deep golden and crispy (not dark brown, which signals burnt, bitter fat), turn off the heat. Let the fat cool for 10 minutes, then pour it through a fine-mesh sieve lined with 2 layers of cheesecloth into dry, heat-safe glass jars, leaving 2cm of headspace at the top of each jar.
Step 5
step5:Strain the warm fat
6

Cool and store fat

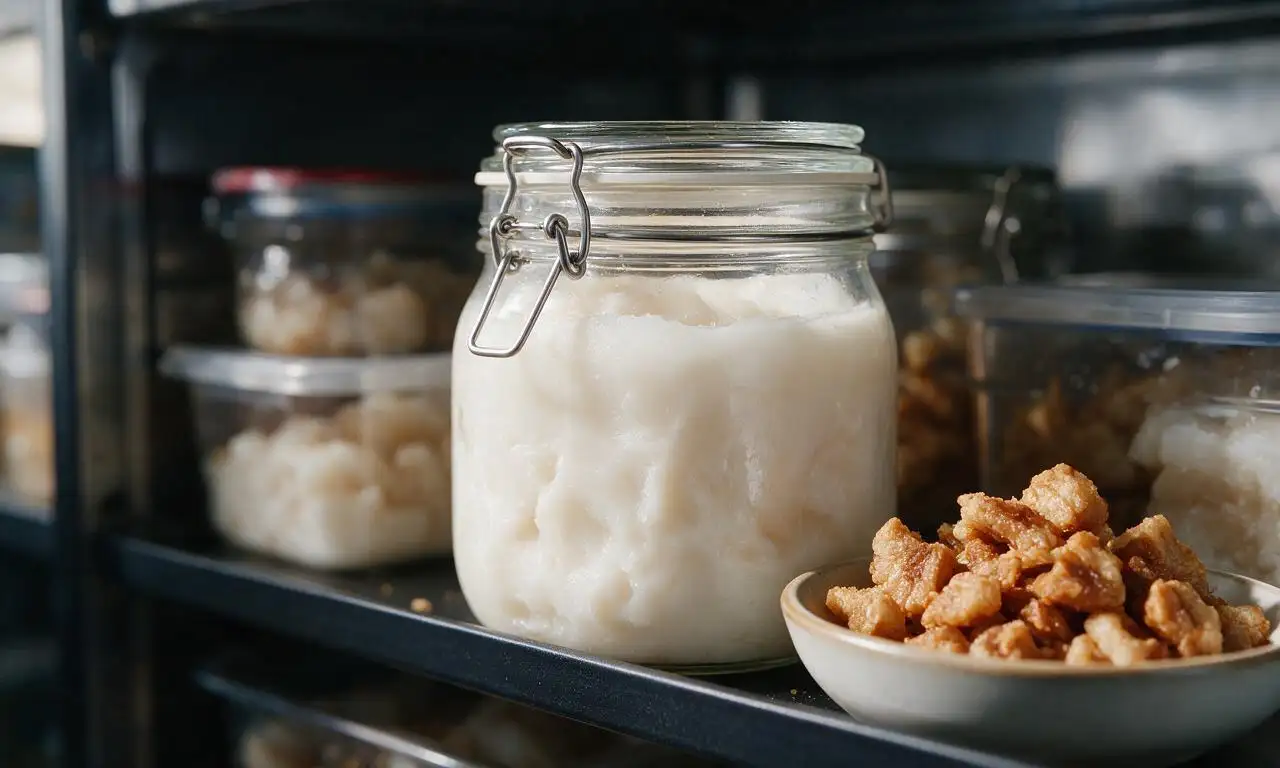
Let the strained rendered fat cool completely to room temperature (roughly 1 hour) before sealing jars tightly with lids. Store sealed jars in the refrigerator for up to 6 months, or in a cool, dark pantry for up to 3 months; the fat will solidify to a smooth, opaque off-white when fully cool.
Step 6
step6:Cool and store fat

Tips

1.Never raise the heat above the lowest setting during rendering: high heat will scorch the fat, giving it a bitter, unpleasant taste and dark, murky color instead of a mild, clean flavor.
2.The crispy leftover cracklings strained from the fat can be tossed with a pinch of salt for a quick snack, or stirred into cornbread, fried rice, or salads for a salty, crunchy boost.
3.Ensure all jars, sieves, and utensils used for straining and storage are completely dry: any residual water introduced to the cooled fat will speed up spoilage and shorten its shelf life.


✨ You May Also Like

Side Dishes
🍜 India

Velvety, aromatic all-purpose curry sauce perfect for tossing with roasted veggies, grilled protein, or rice for fast, cozy, flavorful meals.

⏱️ 25 minuteSide Dishes ★ 4.8
Side Dishes
🍜 Spain

Tender, starchy boiled yuca tossed in bright, garlicky citrus mojo sauce—an iconic, zesty side that pairs beautifully with roasted pork, grilled meats, and rice and beans.

⏱️ 40 minuteSide Dishes ★ 5
Side Dishes
🍜 United States

Tender, paper-thin potato flatbread, a beloved Norwegian-American Minnesota Christmas staple, griddled until softly spotted and served warm with butter.

⏱️ 1 hour 30Side Dishes ★ 4.6
Side Dishes
🍜 United States

Rich, deeply savory cured salt pork, a long-lasting kitchen staple perfect for frying crispy as a side or adding umami to stews, beans, and chowders.

⏱️ 7 days (2Side Dishes ★ 4.9
Side Dishes
🍜 United States

Crispy, tangy classic Southern fried green tomatoes with a crunchy cornmeal crust, served hot for a nostalgic, comforting summery bite.

⏱️ 25 minuteSide Dishes ★ 4.9
Side Dishes
🍜 United States

Moist, golden-crusted savory muffins with sweet corn, zesty jalapeño, and melted cheddar, perfect for pairing with smoky summer grilled fare.

⏱️ 30 minuteSide Dishes ★ 4.9

Rendered Fat:Frequently Asked Questions

1.What cut of pork should I use to make mild, smooth homemade lard? ▾
Pork fatback, fully trimmed of skin and any attached lean red tissue, is the ideal pick for neutral, silky all-purpose lard. Trim away every bit of stray meat, as those bits burn easily during rendering and add bitter, overly strong pork flavors that ruin lard’s mild, versatile profile.
2.Why is cold water added to the pot at the start of rendering? ▾
The small amount of cold water acts as a gentle heat buffer to prevent the fat from heating too quickly and scorching in the early stages of cooking. It evaporates fully as the fat renders, so you won’t end up with watery lard, and it helps solid cracklings settle for clearer, lighter finished fat.
3.How do I tell when my lard is finished rendering? ▾
You’ll know rendering is complete when the solid fat pieces (called cracklings) sink to the pot’s bottom, turn light golden and crisp, and there’s no more foaming or bubbling from evaporating water. Pull the pot off heat right away at this stage, as leaving it on longer can quickly burn the fat and ruin its flavor.
4.Does homemade lard need to be refrigerated for long-term storage? ▾
Fully strained, moisture-free lard stays shelf-stable for up to 6 months in an airtight container stored in a cool, dark pantry. For storage lasting up to a year, keep it sealed in the refrigerator. Always keep crumbs and water out of the storage jar, as contaminants will cause premature spoilage.
5.What’s the best way to strain lard to get it perfectly clear? ▾
Set a fine-mesh sieve lined with two layers of cheesecloth (or an unbleached coffee filter) over a heatproof glass jar, then pour warm (not boiling) fat through it slowly. Avoid pressing on the leftover cracklings in the sieve, as that pushes fine, murky sediment through and will leave your final lard cloudy.
6.What can I do with the leftover cracklings from rendering? ▾
Don’t toss those crisp, golden cracklings! Toss them with a pinch of salt for a quick savory snack, crumble them into cornbread or refried beans, sprinkle them over salads or roasted veggies, or mix them into stuffing for an extra hit of rich, porky savoriness. Just drain them well on paper towels first.
7.What heat level should I use to avoid burnt, bitter lard? ▾
Stick to medium-low heat for the entire rendering process. High heat scorches fat fast, creating a dark, harsh, overly strong-tasting lard that works poorly for baking or delicate frying. Rendering takes 45 to 60 minutes total, so resist the urge to crank up the heat to speed things up, and stir occasionally.
8.Is homemade lard a good choice for high-heat cooking? ▾
Absolutely! Properly rendered lard has a smoke point around 370°F, making it far more stable for frying, searing, and roasting than delicate fats like extra-virgin olive oil or butter. It creates exceptionally crisp crusts on fried foods and roasted veggies, with a subtle savoriness that doesn’t overpower other ingredients.
9.Why did my finished lard turn out cloudy instead of pale and smooth? ▾
Cloudy lard usually stems from one of three easy-to-fix missteps: you didn’t strain out all fine sediment, you rendered the fat at too high a heat leaving tiny burnt particles suspended, or leftover moisture was trapped from incomplete rendering. It’s still safe to use, but won’t have the clean flavor or long shelf life of clear lard.

Comments (18)

2 weeks ago

I’ve been rendering lard for 40+ years and this recipe is spot on for beginners. No fancy steps, no confusing equipment, just pure, clean rendered fat perfect for every cooking use. Great job breaking it down simply.

2 weeks ago

This is my go-to lard recipe now! I render 3-4 big batches a year to use for all our cooking, and this method gives me the cleanest, most neutral tasting lard every time. I will say, straining it through a coffee filter at the end makes such a big difference in how smooth it turns out, don’t skip that step!

1 week ago

Coffee filter tip is chef’s kiss! I used a fine mesh sieve the first time and there were little sediment bits that made it go bad faster in the fridge. The coffee filter makes it crystal clear.

5 days ago

Totally agree about the straining step! Even if you use a fine mesh sieve, lining it with cheesecloth or a coffee filter catches all those tiny little sediment bits that can shorten the shelf life of your lard. So glad it’s working well for your homestead cooking!

2 weeks ago

I taught my teen granddaughter to make this over the weekend, and she was so proud of the jar of lard she took home to her apartment. We saved the cracklings to sprinkle on salads and popcorn, such a fun little bonus snack!

1 week ago

Cracklings on popcorn?! That is genius, I’ve been throwing mine away this whole time. Gotta save them next batch, that sounds incredible.

1 week ago

I rendered a batch last week to make my grandma’s old flaky pie crust recipe and y’all… the crust came out SO good. I will never go back to shortening for pie crust ever again. The subtle savory note makes the apple filling taste even brighter.

1 week ago

I was so intimidated to try rendering lard for the first time because I thought it would be super messy and complicated, but this recipe was so straightforward. Minimal cleanup too, which is a huge win for weeknight cooking.

5 days ago

So happy to hear it felt approachable! A lot of people overcomplicate rendering lard, but it really is such a simple, low-fuss process once you try it.

1 week ago

Got a whole bunch of pork fat from the hog we butchered last fall and finally got around to rendering it with this recipe. Came out perfect, no weird off flavors, even after storing the fat in the freezer for months. Quick question—do you have a favorite use for the leftover cracklings?

5 days ago

We mix our cracklings into cornbread batter! It adds the best salty, crunchy bite, it’s my husband’s favorite part of rendering lard every year.

3 days ago

Great call on the cornbread add-in! My other go-to uses for cracklings are sprinkling them over loaded baked potatoes, mixing into scrambled eggs, or even tossing a handful into homemade dog treats for my pup (just make sure they’re unsalted if you do that!).

5 days ago

Brought my homemade lard to the neighborhood potluck last week to make cast iron cornbread in, and three neighbors asked for the recipe! It makes the cornbread edges so crispy and perfect, just like my mom used to make.

5 days ago

I’ve been making lard for 60 years and I love that this recipe doesn’t add any water during rendering! I tried the water method once and it took forever for the lard to dry out, this method is so much faster and gives a cleaner end product. My only tip is to keep a close eye on it the last 10 minutes so the cracklings don’t burn!

2 days ago

Oh I wish I’d seen your tip before I made my first batch! I burned the cracklings like you warned about, but I’m gonna try again this weekend and pay extra attention the last 10 minutes.

yesterday

Thanks for sharing that great tip, Betty! That last 10 minutes really is when it can go from perfectly golden to burnt super fast, so staying close by to stir and monitor makes all the difference. Good luck on your next batch, Nate!

5 days ago

Fried my carnitas in this lard last night and wow, that authentic restaurant flavor is no joke. My roommate thought I ordered takeout from our favorite taco spot down the street until I told him I made it all at home. 10/10

3 days ago

Right?! I did carnitas with this lard too a couple weeks ago and my whole family thought I catered. The secret is definitely the lard, no substitute hits the same.

3 days ago

Super easy recipe even for a total newbie like me! I grabbed some cheap pork fat from the campus butcher, followed the steps, and now I have a jar of lard to fry eggs and tater tots in for the next month. Total win for dorm cooking on a budget.

3 days ago

This lard is a keto diet game changer! It’s zero carb, has a high smoke point, and is way more affordable than all those fancy avocado oils and grass-fed tallows I’ve been buying. I fry all my keto chicken tenders and veggies in it now.

2 days ago

Same! I started making this after seeing how much processed seed oil was in regular cooking fats, and it’s saved me so much money on grocery bills. A $3 pack of pork fat makes like 3 jars of lard that last months.

yesterday

Wait I didn’t even think about the cost comparison! That’s such a good point, I’m gonna grab extra pork fat from the butcher next time I’m there to stock up.

3 days ago

Wait, I tried this last night and I think I messed up? I left the heat too high at the start and some of the fat bits got burnt, so the lard has a slightly bitter taste. Is there a way to fix that, or do I have to start over?

2 days ago

Oh no, sorry that happened! Burnt bits can definitely make the final lard taste off, and there’s not a great way to fix that bitter flavor once it’s there. Next time, keep the heat on medium-low the whole time and stir occasionally, and pull it off the heat as soon as the cracklings are golden brown (not dark brown/black) — you’ve got this!

2 days ago

OMG this homemade lard is a total game changer! I used it to fry up my smoked brisket hash for our family brunch last weekend and every single person went back for seconds. Way better than the weird preservative-filled stuff from the grocery store, and 45 minutes cook time is totally manageable even on a lazy Sunday.

2 days ago

Wait a second, can I use this lard for making tortillas? I’ve been trying to nail homemade flour tortillas for months and they always come out a little dry and tough. Would swapping the shortening for this lard help?

yesterday

YES. I make flour tortillas with this lard every weekend now and they come out so soft and fluffy, even better than the ones from the local Mexican grocery store. You won’t go back.

2 hours ago

Lard is actually the traditional fat for homemade flour tortillas for exactly that reason! It makes them tender, soft, and gives them that perfect rich flavor. Swap it 1:1 for the shortening in your recipe and you’ll be shocked at the difference.

yesterday

Used this lard to season my new cast iron skillet after I got it for Father’s Day, and it worked like a charm! The seasoning is so smooth and non-stick already after two rounds, way better than when I tried to season with canola oil before.

2 hours ago

Oh smart! I never thought to use homemade lard for seasoning cast iron, I’ve been wasting money on that fancy seasoning spray. Gonna try that with my next batch!

2 hours ago

I got a bunch of leaf lard from my local farm stand and used this recipe to render it, and let me tell you — the pie crust I made with it was out of this world. So flaky, no weird porky aftertaste at all, just perfect flaky layers.

30 minutes ago

Leaf lard is the BEST for pie crusts! I was worried about a pork taste too the first time, but if you render it low and slow like the recipe says, it’s totally neutral. My peach pie this summer won first place at the county fair using leaf lard crust.

5 minutes ago

Leaf lard is absolutely the gold standard for baking, you’re so right! It makes the flakiest, most tender baked goods with no off flavors when rendered properly. Congrats on the perfect pie crust!

30 minutes ago

Meal prepped a double batch of this on Sunday! I use lard for roasting veggies, frying chicken, and even greasing my baking pans. My kids said the roasted sweet potatoes I made with it last night were the best they’ve ever had. Quick question though—how long does this stay good in the fridge?

5 minutes ago

So glad your kids loved the sweet potatoes! Properly strained homemade lard will stay good in the fridge for up to 6 months, and you can freeze it for up to a year if you want to keep it longer!

just now

Just pulled my first ever batch of lard off the stove and it looks perfect! It’s that beautiful pale creamy white I’ve seen in all the homesteading videos. The only thing I wish I’d done is buy more pork fat so I had a bigger batch.

just now

Congratulations on your first batch! It’s so satisfying when it turns that perfect creamy color, right? Next time you can absolutely scale the recipe up as big as you want, just make sure your pot is big enough to hold all the fat without boiling over.



