
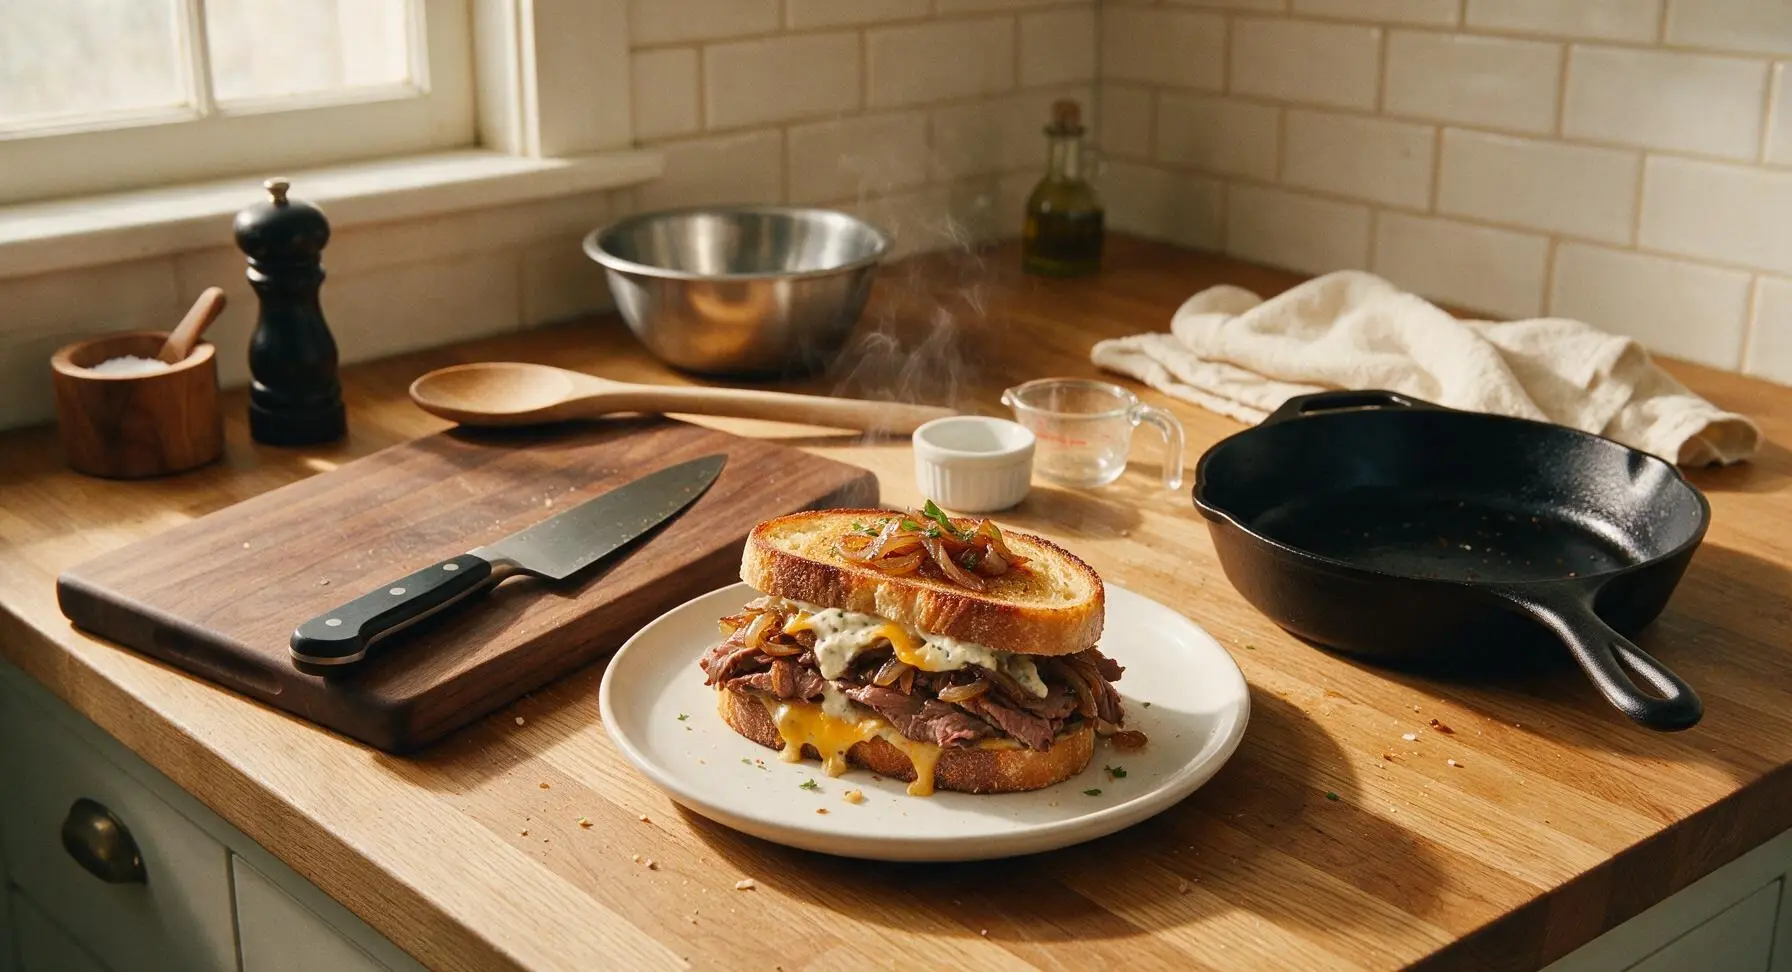
Roast Beef Melt

title 1
Roast Beef Melt
⏱️ cook time 20 minutes
🍽️ servings 4
⚡ Difficulty easy

intro

Crispy butter-toasted sourdough piled high with tender roast beef, jammy caramelized onions, melty cheddar, and zesty horseradish sauce—pure nostalgic diner comfort in every bite.

Ingredients
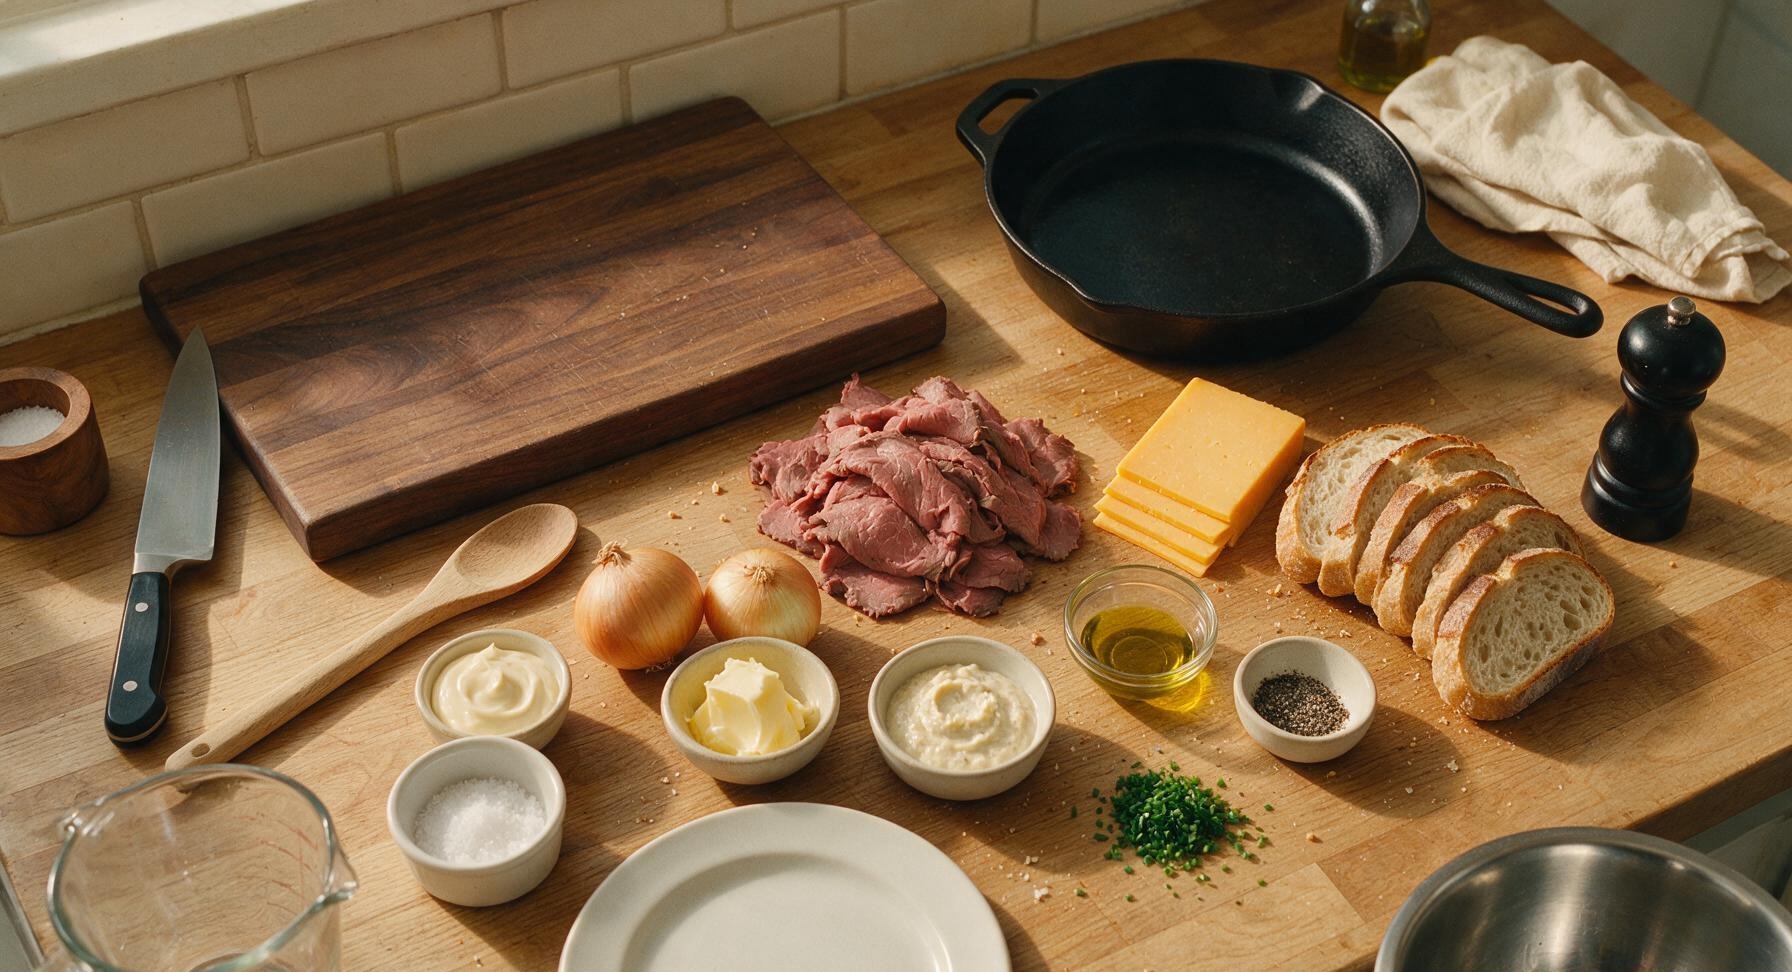
Thinly sliced roast beef (deli or leftover) 500g
Sharp cheddar cheese, sliced 3mm thick 200g
Sourdough bread, 1.5cm thick slices 8 slices
Yellow onion 2 medium (~300g total)
Prepared horseradish sauce 60ml
Mayonnaise 30ml
Unsalted butter, softened 30g
Extra virgin olive oil 1 tbsp
Kosher salt 1 tsp
Freshly ground black pepper 1/2 tsp
Fresh chives, chopped (for garnish) 1 tbsp

Steps

1

Slice Yellow Onions

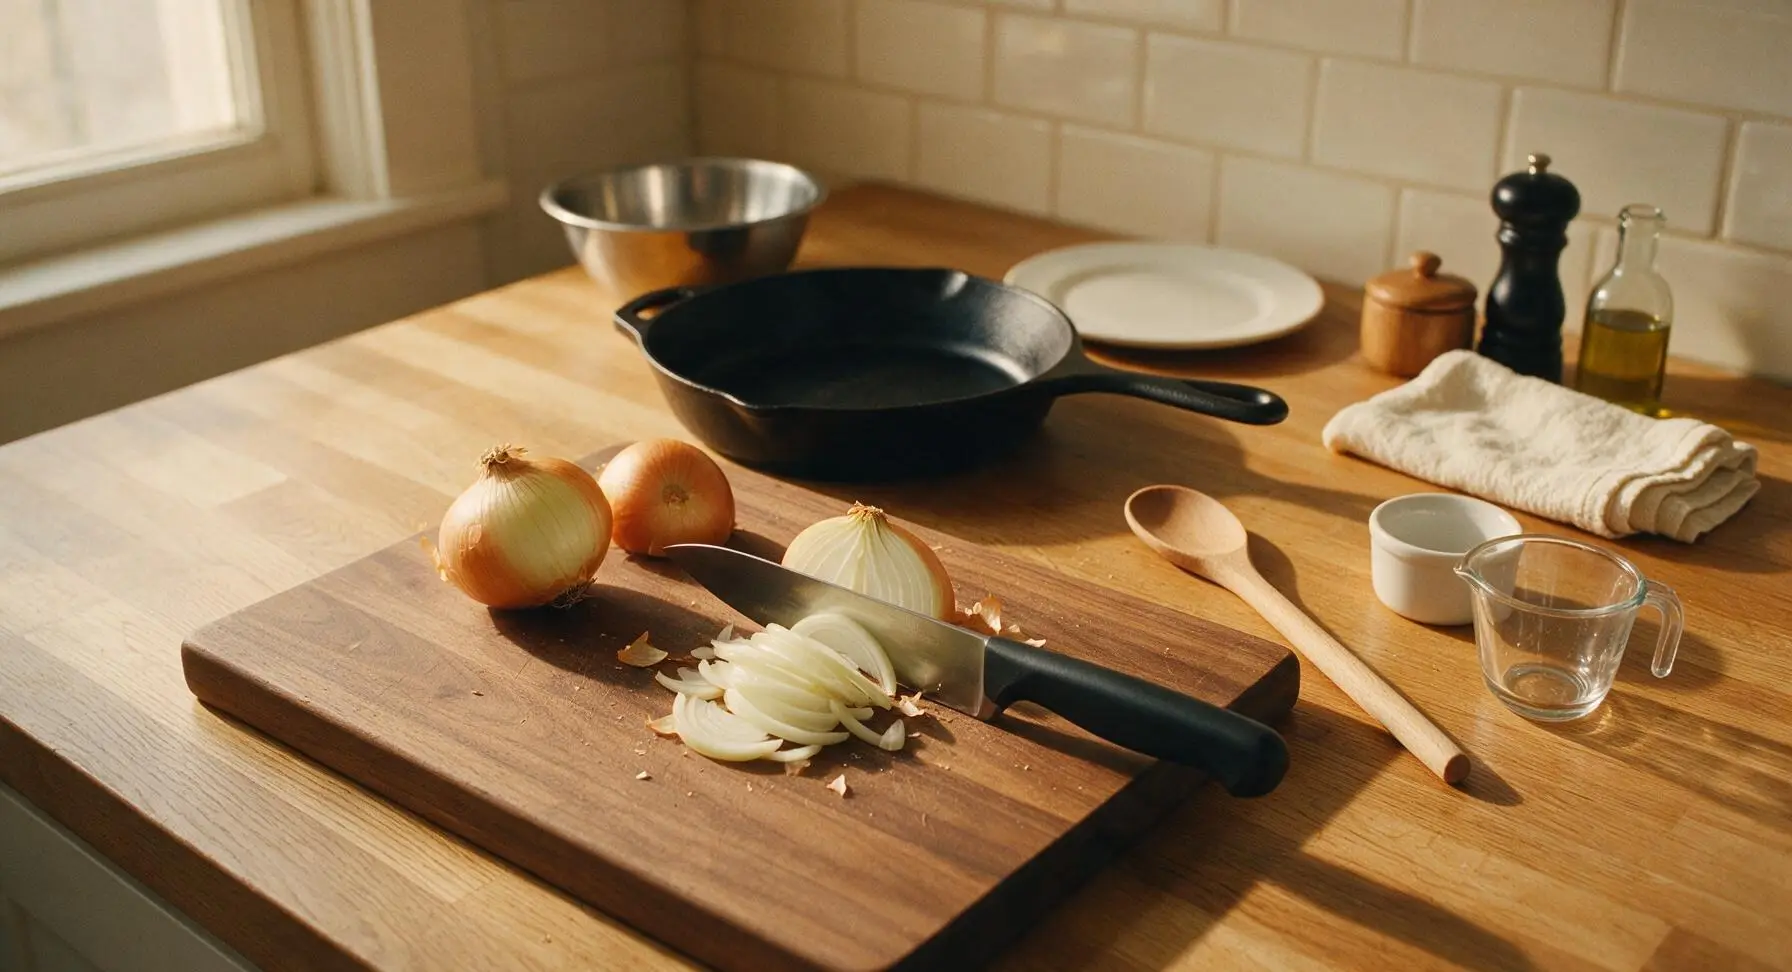
Place the two yellow onions on the acacia wood cutting board. Using the 8-inch chef knife with matte black handle, trim the root and stem ends, peel off the dry outer papery layers, then slice the onions into thin 3mm half-moons. Discard peels and trimmings, set sliced onions aside in the clear tempered glass measuring cup. Wipe any stray onion skins from the cutting board with the edge of the knife.
Step 1
step1:Slice Yellow Onions
2

Caramelize Onions Slowly

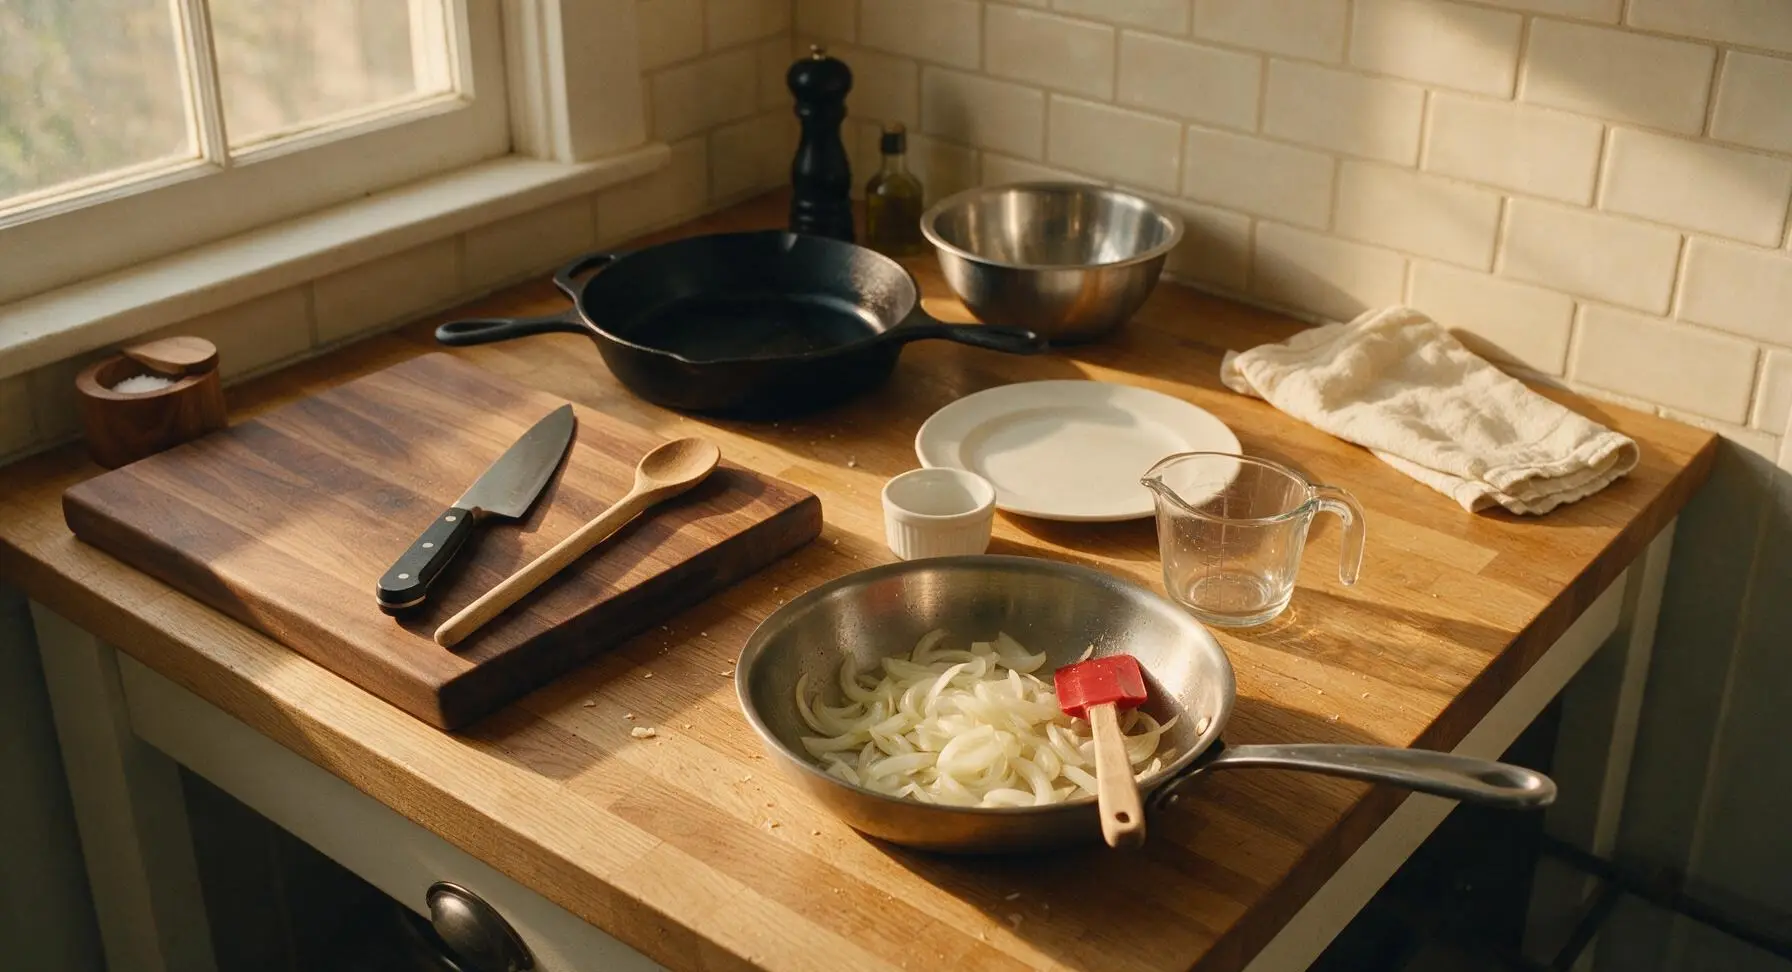
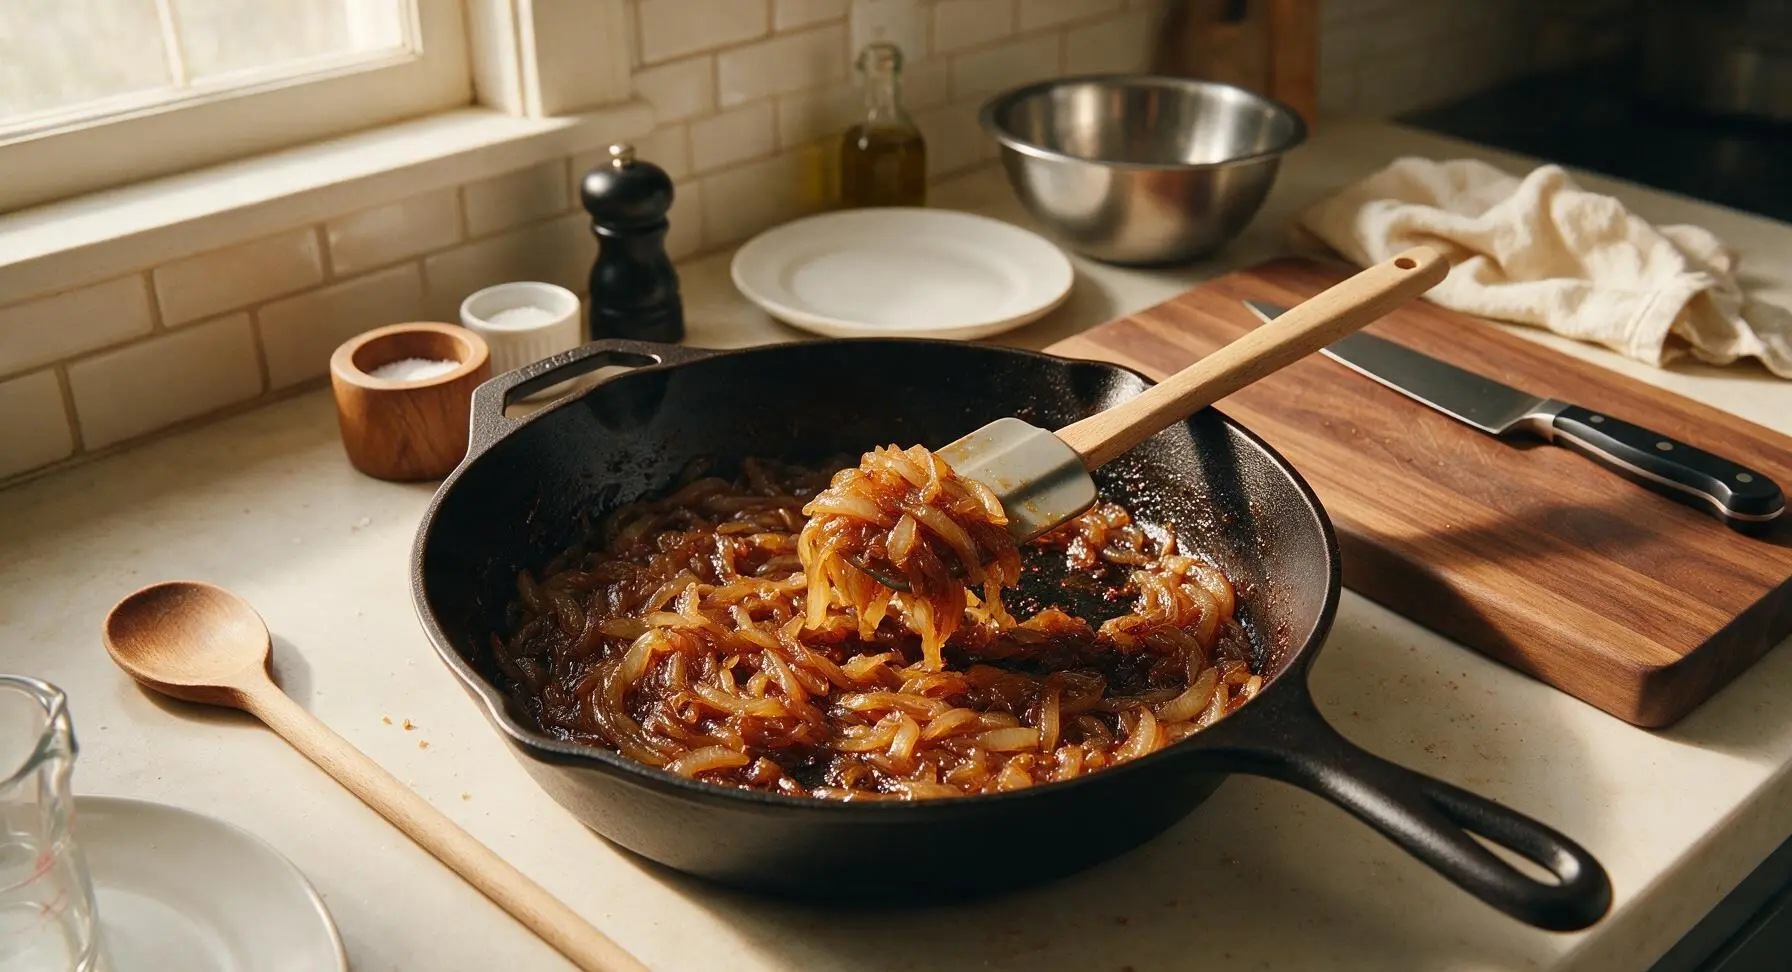
Place the 20cm brushed stainless steel skillet over medium-low heat, add 1 tablespoon extra virgin olive oil. Once the oil shimmers, add the sliced onions and 1/4 teaspoon kosher salt, stirring with the red-headed silicone spatula to coat evenly. Cook for 10-12 minutes, stirring every 2 minutes, until onions are deep golden brown, soft, and jammy with a sweet aroma. Avoid turning heat to high, as this will burn the onions and create bitter flavor. Once fully caramelized, transfer onions back to the clear glass measuring cup.
Step 2
step2:Caramelize Onions Slowly
Step 2
step2:Caramelize Onions Slowly
3

Mix Creamy Spread

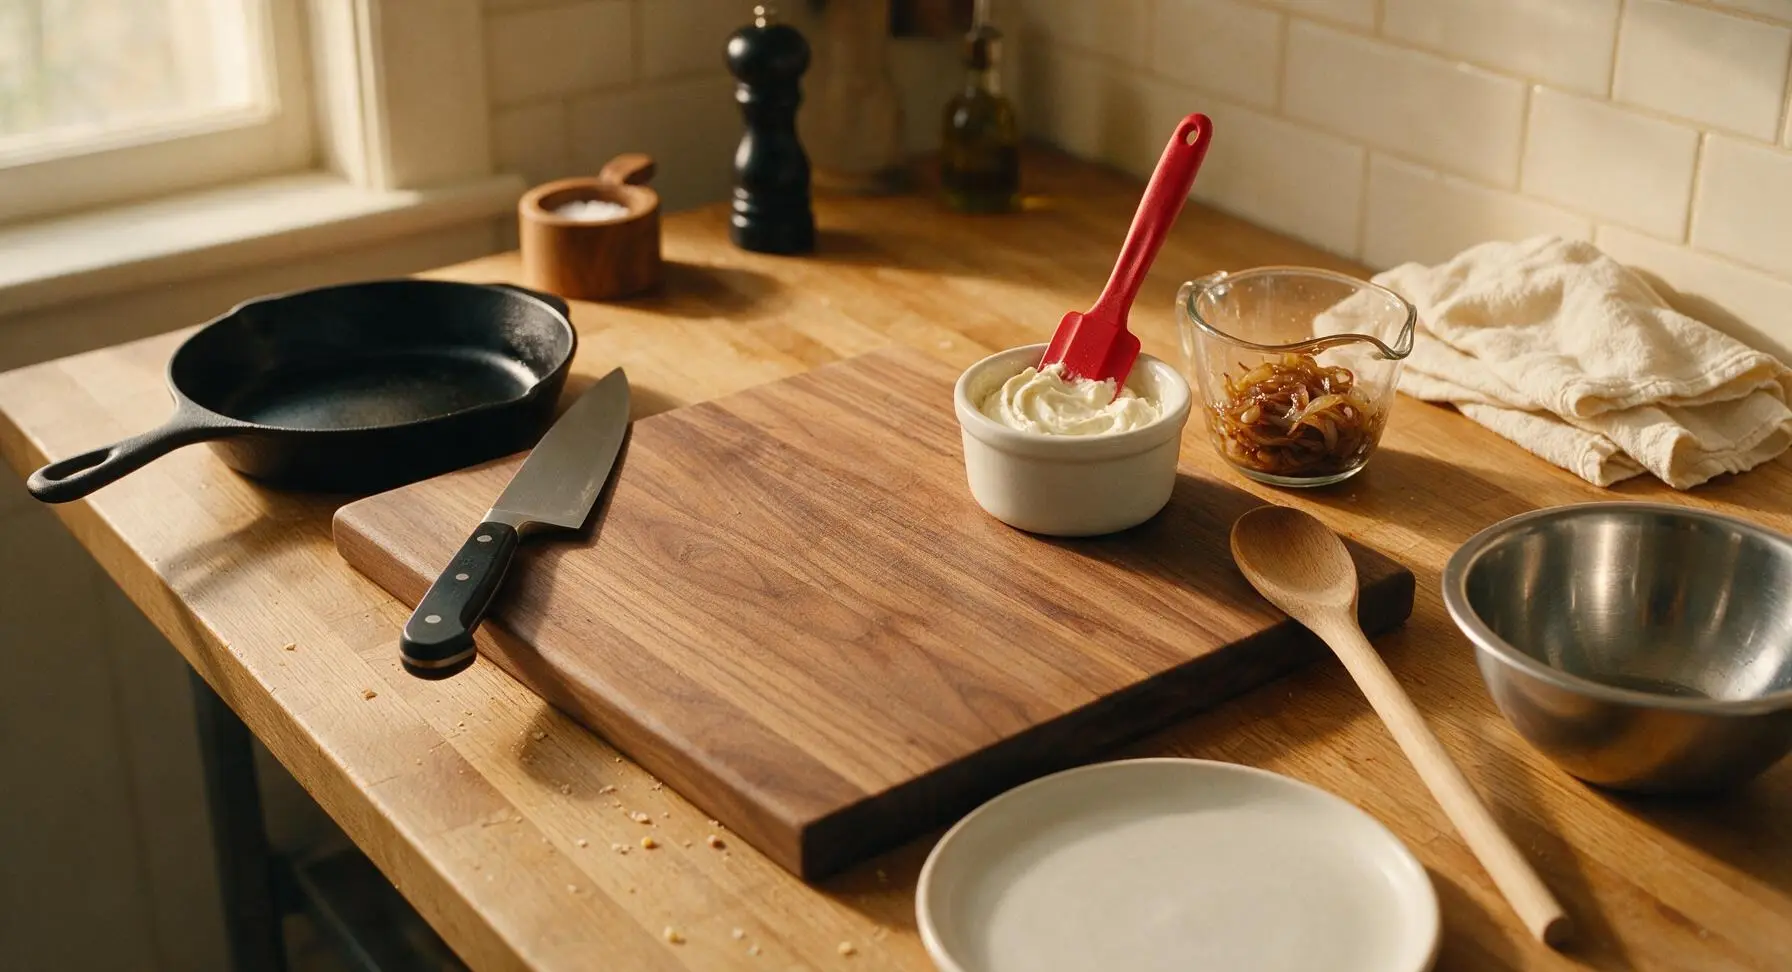
In one small matte white ceramic ramekin, combine 60ml prepared horseradish sauce and 30ml mayonnaise, stirring with the tip of the silicone spatula until fully smooth and evenly combined. Season with 1/4 teaspoon freshly ground black pepper, stir once more, then set the ramekin beside the cutting board.
Step 3
step3:Mix Creamy Spread
4

Assemble Sandwich Layers

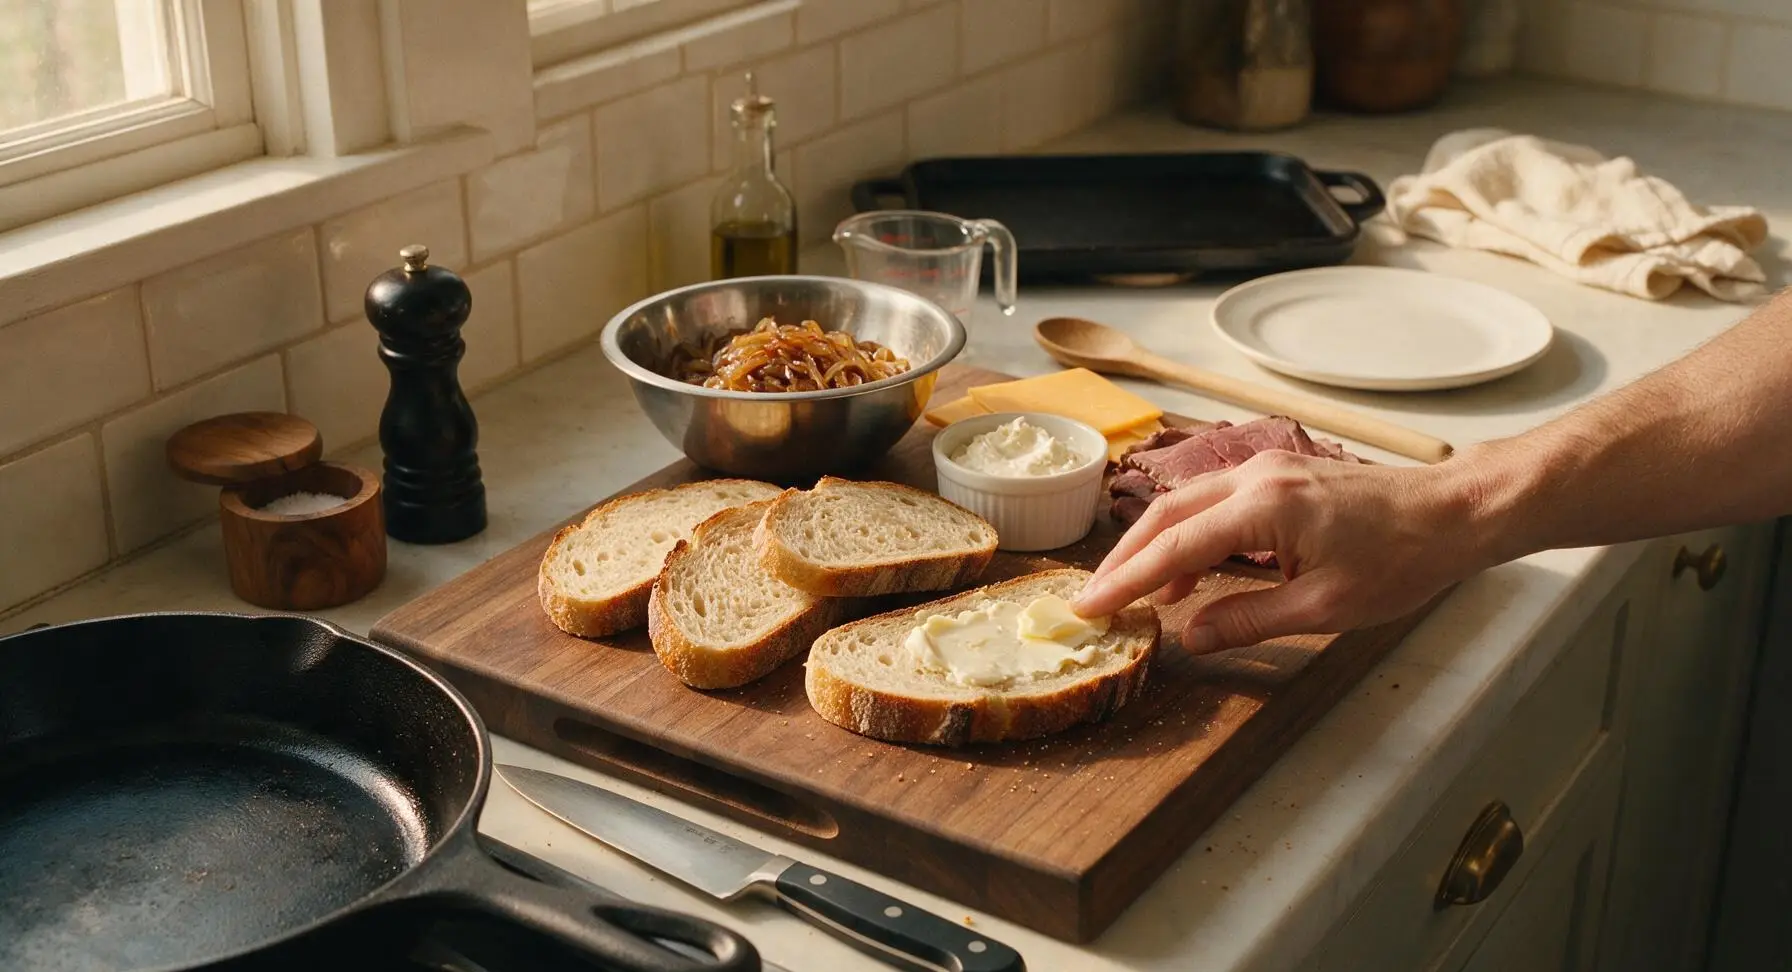
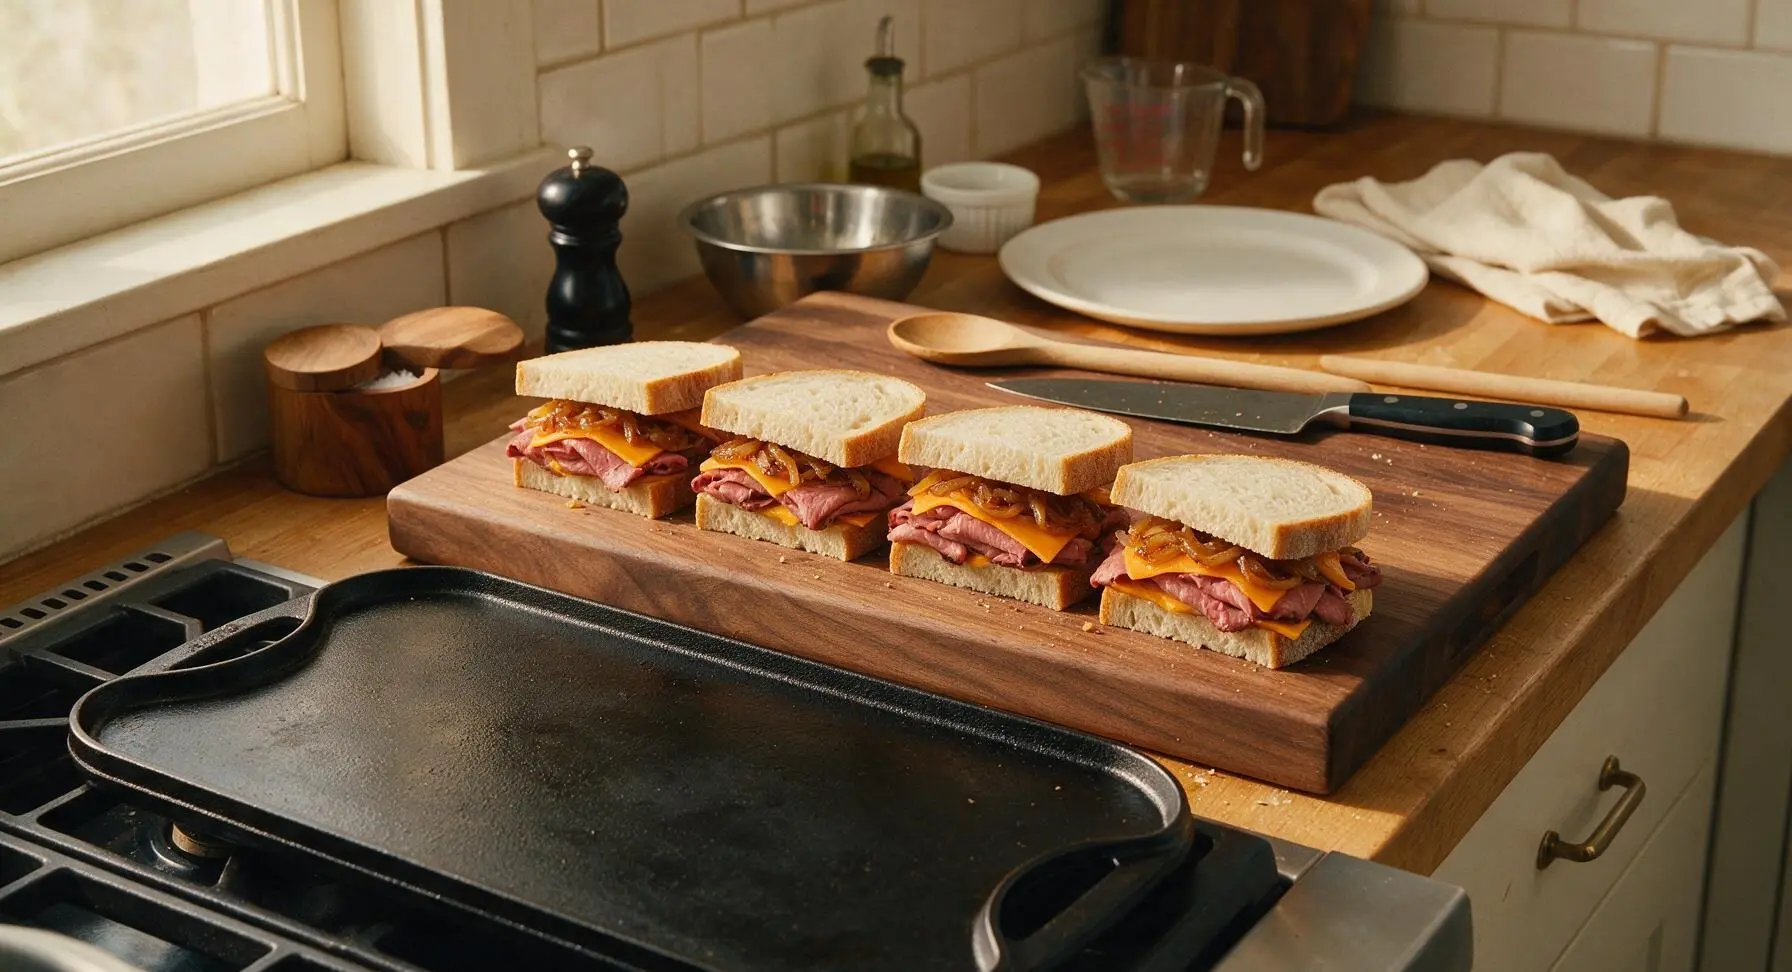
Lay all 8 slices of sourdough bread flat on the acacia wood cutting board. Spread 1 teaspoon of softened unsalted butter on the outer side of every bread slice to create a crisp golden crust when toasted. Flip 4 slices so the buttered side faces down, then spread 1 tablespoon of the horseradish-mayo mixture on the unbuttered inner surface. Layer 2-3 slices of cheddar cheese, 125g thinly sliced roast beef, a 1/4 portion of caramelized onions, and a second layer of cheddar on each base slice. Top with the remaining 4 bread slices, buttered side facing out, pressing gently to secure each sandwich.
Step 4
step4:Assemble Sandwich Layers
Step 4
step4:Assemble Sandwich Layers
5

Toast Until Golden

Confirm the 30cm matte black cast iron griddle is preheated to 175C/350F over medium heat. Carefully place the 4 assembled sandwiches on the griddle, leaving 2cm of space between each. Cook for 4-5 minutes on the first side, until the bread is deep golden brown and crispy, and the bottom layer of cheese begins to melt. Use the metal turner spatula to press gently on each sandwich halfway through cooking to encourage even crisping across the entire bread surface.
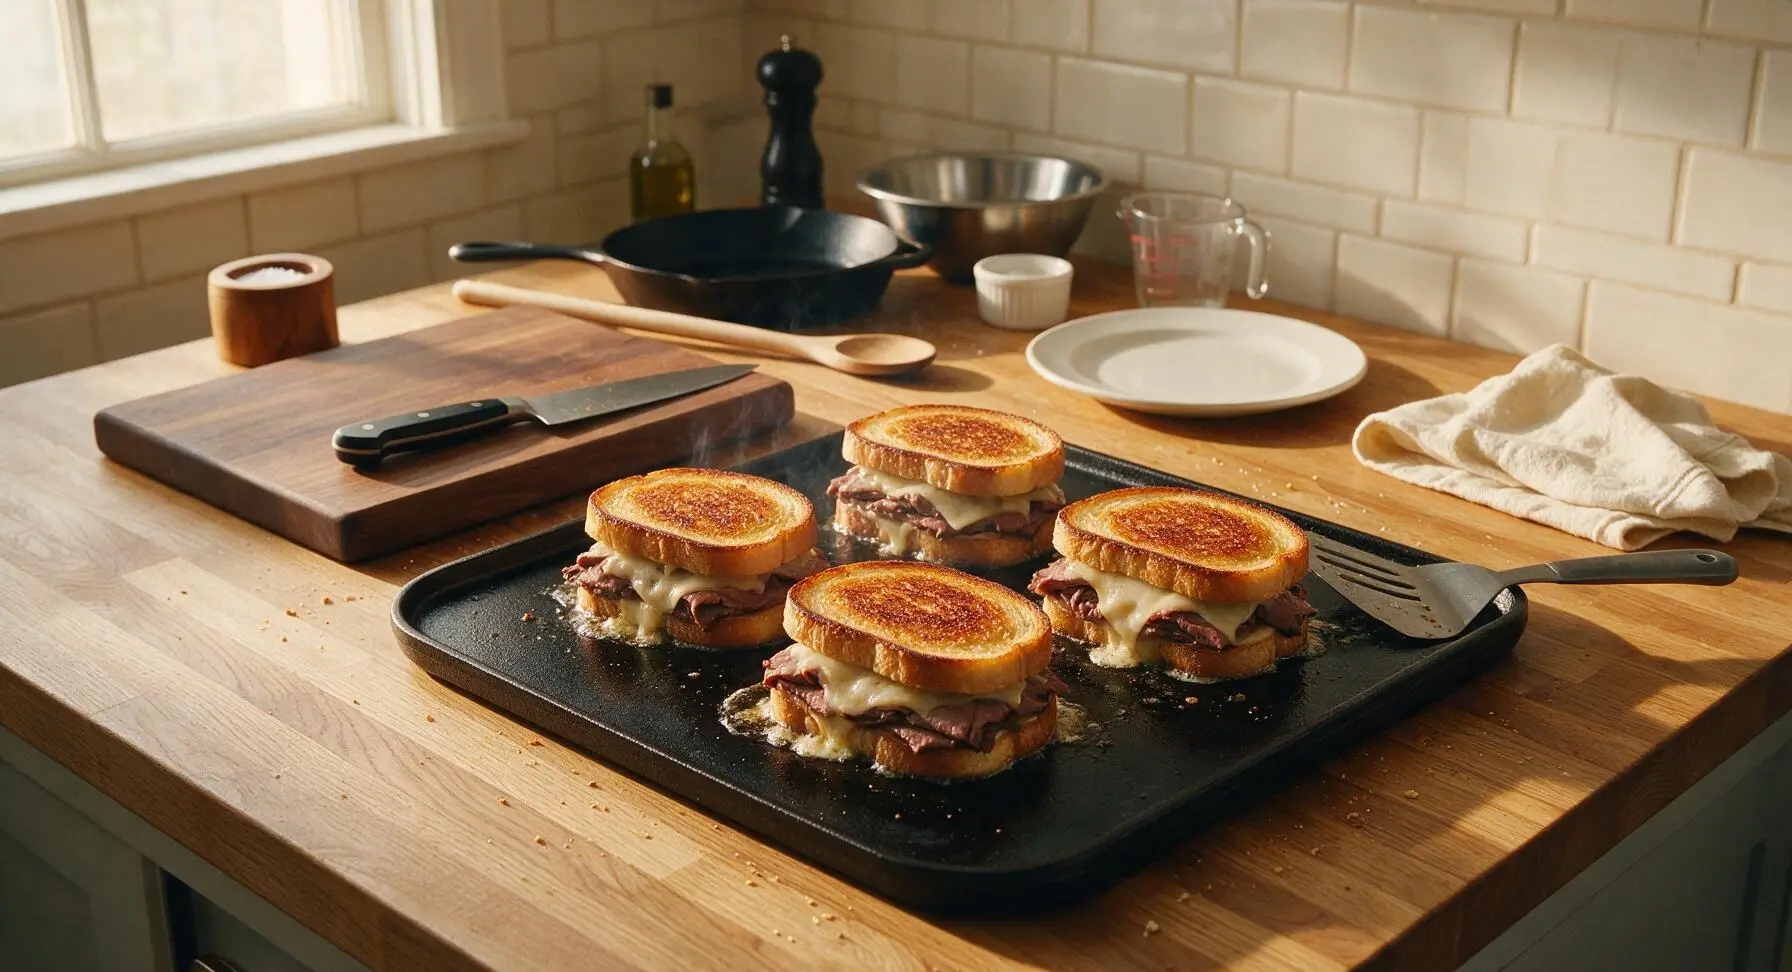
Step 5
step5:Toast Until Golden
6

Flip and Melt Cheese

Use the metal turner spatula to carefully flip each sandwich to its second side. Cook for an additional 3-4 minutes, until the second side is equally golden and crispy, and all cheddar cheese is fully melted and oozing slightly out of the sandwich edges. The roast beef inside should be warmed through to 60C/140F. Remove the griddle from heat once cooking is complete.
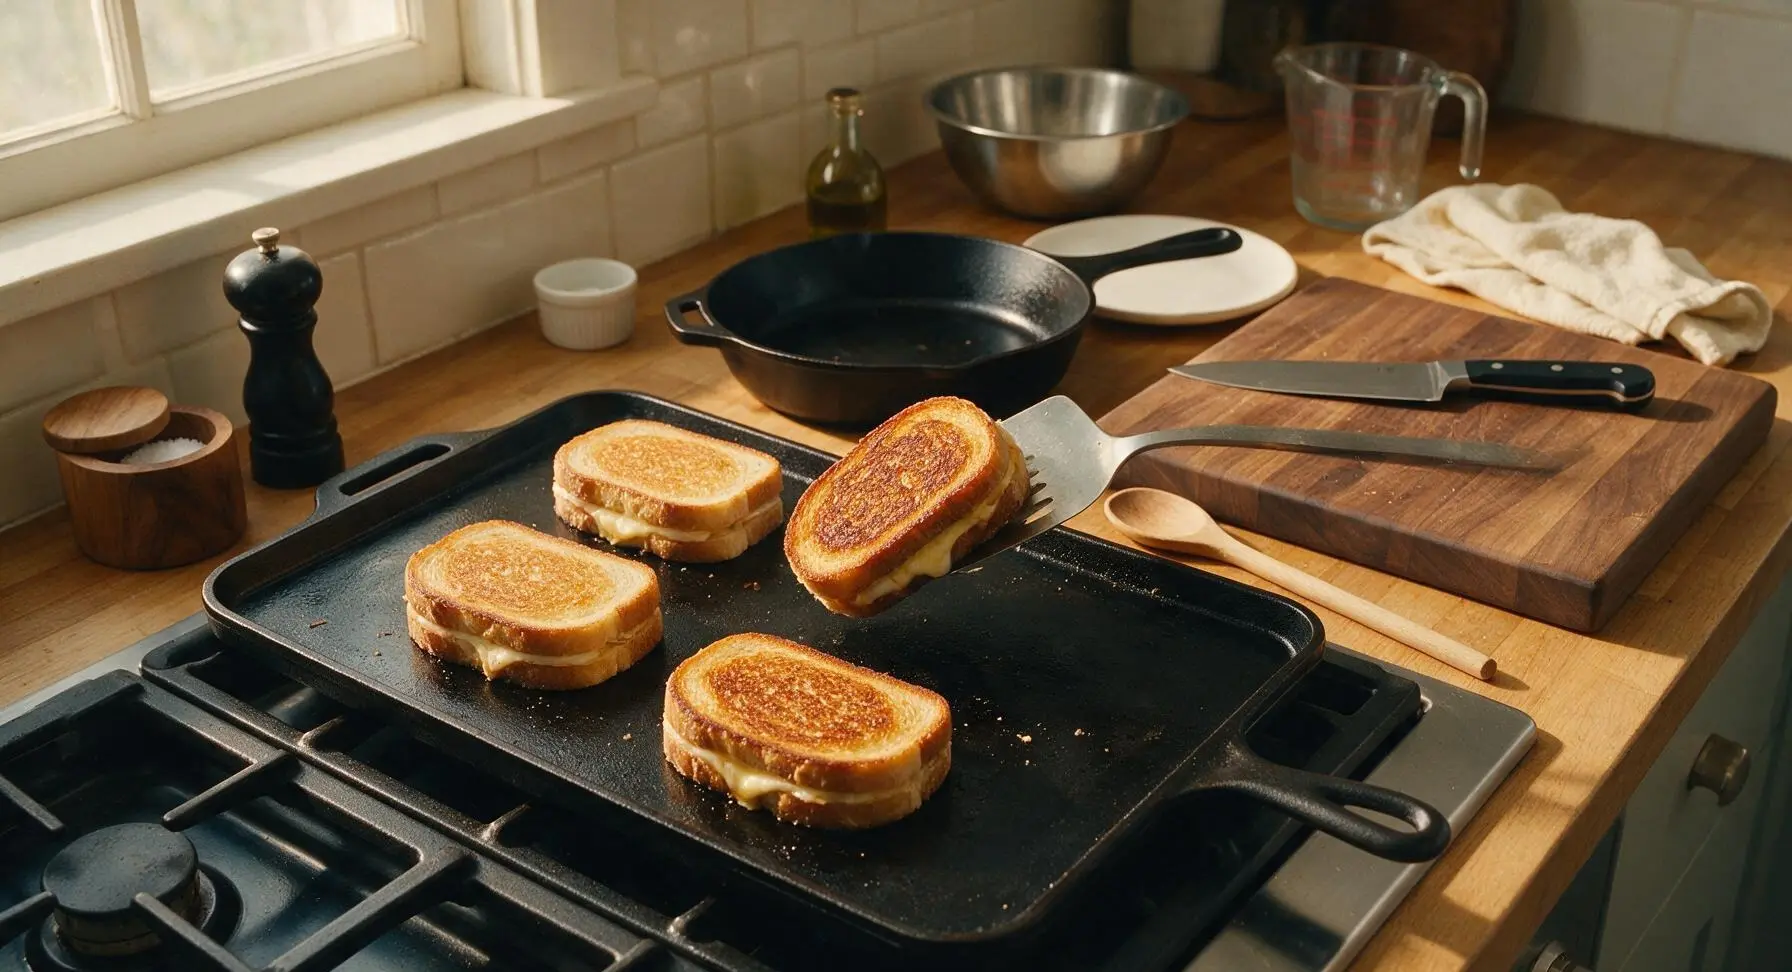
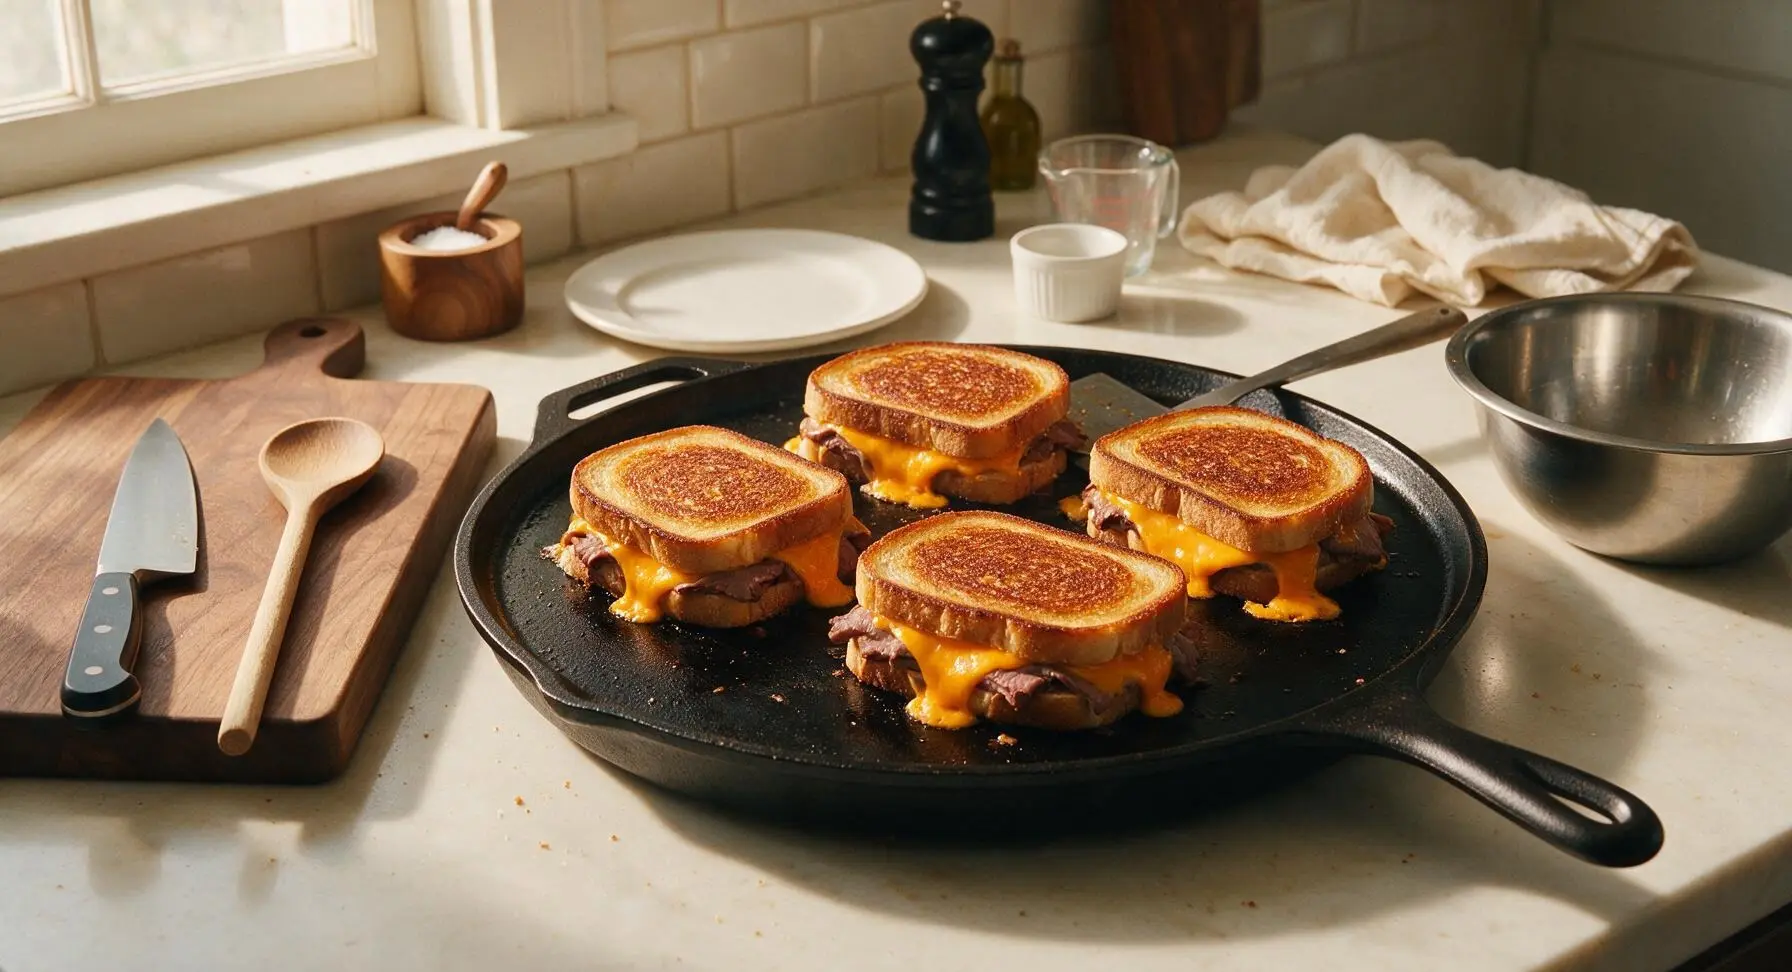
Step 6
step6:Flip and Melt Cheese
Step 6
step6:Flip and Melt Cheese
7

Cut and Plate Melts

Transfer each cooked melt from the griddle back to the acacia wood cutting board. Using the 8-inch chef knife, cut each sandwich diagonally into two equal triangular halves. Place two halves per serving on the matte cream ceramic dinner plates, arranging the cut sides to face outward to showcase the layered filling. Sprinkle a pinch of chopped fresh chives over each plate for a bright, fresh garnish.
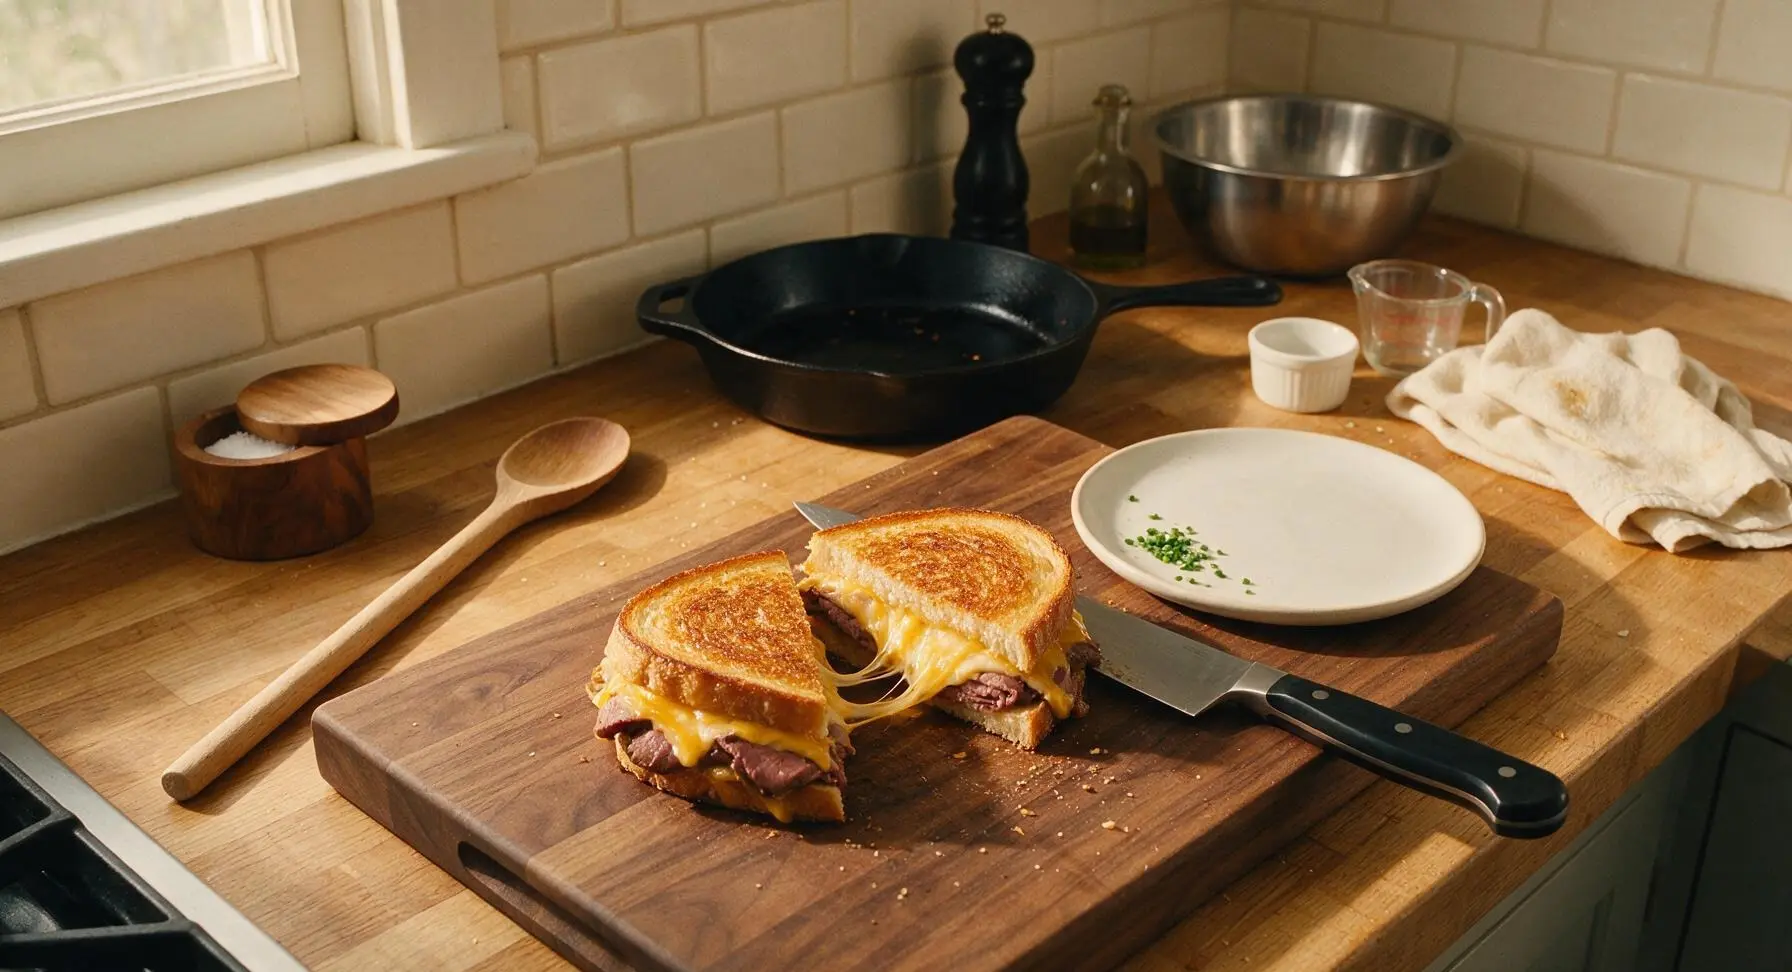
Step 7
step7:Cut and Plate Melts

Tips

1.Opt for slightly day-old sourdough if available: bread that is 1-2 days old toasts up to a shatteringly crisp crust without turning soggy from sandwich juices, whereas ultra-soft fresh bread can compress and become mushy as it cooks.
2.Cook caramelized onions low and slow: keeping the heat at medium-low prevents the onion sugars from burning, creating a deep, sweet, jammy texture that cuts through the richness of the beef and cheese; high heat will produce bitter, charred onions that ruin the sandwich balance.
3.Butter the bread, not the griddle: spreading softened butter directly on the outer surface of each bread slice creates an even, golden, non-greasy crust across every inch of the sandwich, instead of patchy, oily spots caused by butter pooled directly on the hot griddle.


✨ You May Also Like

Lunch
🍜 United States

Creamy, salty, tangy nostalgic Midwestern sandwich pairing rich peanut butter with crisp briny dill pickles for a fast, satisfying no-cook meal.

⏱️ 5 minutesLunch ★ 4.6
Lunch
🍜 United States

Crispy, melty pressed sandwich layered with savory roast pork, ham, Swiss cheese, pickles, and tangy mustard: a beloved Cuban-American comfort classic.

⏱️ 25 minuteLunch ★ 4.9
Lunch
🍜 United States

Hearty, briny New Orleans pressed sandwich stacked with cured Italian meats, provolone, and zesty olive salad, served cold for bold, portable flavor.

⏱️ 1 hour 20Lunch ★ 4.7
Lunch
🍜 United States

A tangy, creamy Southern American staple, this no-cook cheesy sandwich is packed with sharp cheddar and sweet pimentos for a satisfying, portable bite.

⏱️ 1 hour 15Lunch ★ 4.8
Lunch
🍜 United States

Crispy Cajun-spiced fried shrimp piled on crusty French bread with tangy remoulade and fresh toppings, the iconic Louisiana street food sandwich.

⏱️ 35 minuteLunch ★ 4.4
Lunch
🍜 United States

Stacked, savory deli-style corned beef sandwich with melted Swiss, tangy mustard, and crisp griddled rye— a fast, hearty, satisfying classic.

⏱️ 15 minuteLunch ★ 4.9

Roast Beef Melt:Frequently Asked Questions

1.Can I use pre-sliced deli roast beef instead of leftover homemade roast beef for this melt? ▾
Absolutely! Deli-sliced roast beef works perfectly here—just ask the counter to cut it extra thin (nearly paper-thin) so it heats evenly without turning chewy. Skip thick, tough pre-packaged roast beef if you can; if using leftover homemade roast beef, slice it against the grain as thin as possible for the most tender bite.
2.What’s the best way to get that perfectly crispy, buttery sourdough toast just like diners make? ▾
That signature diner crisp comes from buttering the outer side of each bread slice directly, not the pan. Use softened, salted butter spread in a thin, even layer all the way to the crusts, then cook the sandwich over medium-low heat so the bread toasts golden before the cheese fully melts.
3.My cheddar never fully melts before the bread burns—what am I doing wrong? ▾
That issue almost always stems from cooking over too high heat, or using cheese that’s ice cold straight from the fridge. Keep your stovetop at medium-low, and pull your sliced cheddar out 10 minutes before assembling. Cover the pan with a lid for 1-2 minutes after flipping to trap steam and melt cheese evenly.
4.Can I swap the sharp cheddar for a different type of cheese? ▾
Of course! Provolone is a classic diner swap that melts ultra-smooth and pairs beautifully with roast beef and horseradish. Swiss, pepper jack for a little kick, or a melty American cheese blend work great too—just stick to well-melting cheeses, and skip crumbly options like feta that won’t get that gooey, pull-apart texture.
5.How do I make jammy caramelized onions for this melt without them burning? ▾
Thinly slice your yellow onion, then cook it low and slow over medium-low heat with a pat of butter and tiny pinch of salt, stirring every 3-4 minutes for 20-25 minutes. Resist the urge to crank the heat to speed it up—high heat will char onion edges before natural sugars break down into that soft, sweet texture.
6.Is store-bought prepared horseradish sauce the same as the creamy spread diners use? ▾
Most store-bought creamy prepared horseradish sauce works perfectly here, just check the label to make sure it’s not straight, unseasoned grated horseradish, which will be far too sharp. If you only have plain grated horseradish, mix 2 parts horseradish with 3 parts mayo and a pinch of black pepper for a quick, zesty dupe.
7.Can I make these melts ahead of time for weekly meal prep? ▾
These are best eaten fresh right off the griddle, but you can prep components ahead to cut down on cook time. Caramelize onions 3-4 days in advance, slice your cheese and bread ahead, and store roast beef sealed in the fridge. Wait to assemble and toast sandwiches until right before serving so the bread doesn’t get soggy.
8.What if I don’t have sourdough bread? Can I use another bread variety? ▾
You can swap in other sturdy, thick-cut breads for sourdough. Diner-style rye, thick-cut white sandwich bread, or even ciabatta rolls sliced in half work well—just make sure slices are around 1.5cm thick so they hold up to fillings without getting soggy. Avoid thin, soft sandwich bread that will tear or turn mushy.
9.How much roast beef should I pile on each sandwich for that classic overstuffed diner feel? ▾
Aim for 4-5 ounces of thinly sliced roast beef per sandwich for that iconic loaded diner portion. Pile it loosely instead of pressing it down tight so heat can circulate through the beef to warm it evenly, and it stays tender instead of getting compacted and chewy as the sandwich cooks.
10.Can I make this melt in a panini press instead of on the stovetop? ▾
Absolutely! A panini press works great, just set it to medium heat and don’t press the sandwich down too hard—you’ll squeeze out all the fillings and flatten that fluffy, overstuffed diner texture. Cook for 3-4 minutes until the bread is crispy golden and the cheese is fully melted, just like stovetop prep.
11.My horseradish sauce always makes the bread soggy—how do I prevent that? ▾
The key is to spread horseradish sauce on the inner side of the bread, between layers of cheese and roast beef, not directly against bare toast. Adding a thin slice of cheese against each bread slice creates a moisture barrier that keeps bread crispy, even with creamy spreads and juicy roast beef inside.
12.Can I add extra veggies to this roast beef melt? ▾
Definitely! Thinly sliced roasted red peppers, sautéed mushrooms, a handful of peppery arugula added right after toasting, or even thin slices of ripe tomato (patted dry first to avoid sogginess) all make delicious additions. Just don’t overstuff the sandwich so much that fillings fall out when you take a bite.
13.How thick should I cut the cheddar cheese for the best melt and flavor? ▾
Stick to the recommended 3mm thick slices, about the thickness of a standard credit card. If slices are too thick, cheese won’t fully melt by the time the bread is toasted; if too thin, you won’t get that rich, gooey cheese pull that makes diner melts so satisfying. Two slices per sandwich is usually perfect.
14.Can I make a vegetarian version of this classic roast beef melt? ▾
You can easily swap the roast beef for thin-sliced vegetarian roast beef deli slices, or even marinated, thinly sliced portobello mushrooms seared until tender for a plant-based twist. Keep all other components the same—caramelized onions, cheddar, horseradish sauce, crispy sourdough—to hold onto that classic diner flavor.
15.What’s the best side to serve with this melt for a full diner-style meal? ▾
Classic diner pairings work perfectly here: crispy seasoned French fries, a crunchy dill pickle spear, creamy coleslaw, or a simple cup of tomato soup. For a lighter option, a crisp side salad with tangy vinaigrette cuts through the richness of the melted cheese and beef really nicely.
16.Do I need to warm the roast beef before putting it on the sandwich? ▾
You don’t have to pre-warm it! Thin slices will heat all the way through as the sandwich toasts on the pan, especially if you trap steam with a lid for a minute or two. If your roast beef is ice cold straight from the fridge, toss it in the warm pan for 30 seconds first to take the chill off, but don’t cook it long enough to get tough.
17.Why does my caramelized onion turn out bitter instead of sweet and jammy? ▾
Bitter caramelized onions usually come from cooking them over too high heat, which burns the outer layers before natural sugars can develop, or using an old onion that’s started to sprout. Use a fresh, firm yellow onion, keep heat low, and add a tiny splash of water or beef broth if the pan gets too dry to prevent scorching.
18.Can I use red onion instead of yellow onion for the caramelized onions? ▾
You can, but yellow onion is the classic diner choice because it has a milder, sweeter flavor when caramelized. Red onion will have a slightly sharper, more tangy profile even when fully cooked, which works if you prefer that flavor, but it won’t have that same soft, sweet, jammy taste you get from slow-cooked yellow onion.
19.How do I reheat leftover roast beef melts without them getting soggy? ▾
Skip the microwave—it will make the bread rubbery and the cheese greasy. Reheat leftover melts in a dry skillet over medium-low heat for 2-3 minutes per side, or in a toaster oven at 350°F for 5-7 minutes, until the bread crisps back up and the cheese is melty again. They’ll taste almost as good as fresh!
20.Is there a way to make this melt lower in fat without losing that classic diner flavor? ▾
You can cut a little fat by using a light butter spread for toasting, swapping full-fat cheddar for a well-melting reduced-fat sharp cheddar, and mixing a little plain Greek yogurt into your horseradish sauce to cut down on mayo. Just don’t skip the thin butter layer entirely—you won’t get that signature crispy, golden toast crust.

Comments (13)

3 days ago

OMG this roast beef melt is exactly what I grew up eating at my local small-town diner! Made it for the kids’ after-school dinner last night and they begged for seconds. The rye bread toast level was *chef’s kiss*, not too soggy even with the melted cheese and sauce. 10/10 will be adding this to the weekly rotation.

2 days ago

Same here! I thought I’d never replicate that crispy, cheesy diner melt at home, the tip about toasting the bread before adding the fillings is such a game changer. I dipped mine in a side of au jus and almost cried it was so good.

2 days ago

So glad your family loved it! Toasting the bread first really does lock out sogginess – the au jus dip is a fantastic call, I’ll have to note that for folks who love that extra savory kick!

5 days ago

20 minute cook time? Sign me up. I prepped a batch of these for my work lunches this week and they held up way better than I thought they would when I reheated them in the office toaster oven. No sad, soggy sandwich here! Used a little extra horseradish sauce because I love that zing.

3 days ago

Great call adding extra horseradish! For meal prep, if you store the sauce separate from the bread until you’re ready to reheat, they hold up even better – happy this fits your busy weekday schedule!

1 week ago

Brought these cut up into slider-sized bites to our neighborhood block party potluck last weekend and they were gone in 10 minutes flat. People kept asking me for the recipe! I added a little caramelized onion on mine for extra sweetness, highly recommend that hack.

2 hours ago

Wait, has anyone tried making this with sourdough instead of rye? I don’t have rye bread at home right now and don’t feel like running to the grocery store in the rain. Wondering if it’ll still hit that diner vibe.

30 minutes ago

I made it with sourdough last week when I was out of rye too! It was SO good, the tang of the sourdough paired perfectly with the roast beef and melted cheddar. No notes, would absolutely do that again.

5 minutes ago

Sourdough makes a fantastic swap! You can also use white sandwich bread if that’s what you have on hand – the recipe is super flexible, so don’t stress about running to the store in bad weather.

30 minutes ago

First time ever making a hot sandwich that didn’t turn into a burnt, soggy mess! This recipe was so easy even I couldn’t mess it up, and my roommates all said it tasted better than the melts we get at the campus diner down the street. Win for cheap, easy dorm cooking!

just now

That makes us so happy to hear! This recipe is perfect for beginner cooks because it’s hard to mess up – so glad you and your roommates enjoyed it, that’s the best win!

1 week ago

Does anyone know if this works well with gluten-free rye bread? I have celiac so regular rye is off the table for me, but I’ve been craving a good roast beef melt for months now.

5 days ago

I used my go-to gluten-free seeded rye for this last week and it was perfect! Just make sure you toast it a little longer than regular bread to get that crispy outside so it doesn’t get mushy.

3 days ago

Great tip from GFfoodie4life! Gluten-free bread does need a touch more toasting time to get that ideal crispy texture, but the recipe works beautifully with it – hope you love it when you make it!

2 weeks ago

Made this for our casual Sunday family dinner last weekend, served it with a side of crinkle cut fries and pickles, just like the diner does. My husband said it’s the best hot sandwich I’ve ever made, and he’s a super tough critic when it comes to roast beef! Next time I’m adding a slice of tomato for a little freshness.

yesterday

Threw a couple pickled jalapeños on mine before melting the cheese and wow, that little kick of heat took this to the next level. If you love spicy food you have to try that add-in. So easy, so cheesy, so satisfying after a long day at work.

yesterday

Pickled jalapeños are such a genius add! The briny heat cuts through the rich cheese and roast beef perfectly – we love hearing all the fun customizations folks come up with.

5 days ago

I used a mix of provolone and American cheese instead of just straight American and it was *chef’s kiss*. The provolone adds that perfect melty, stringy pull we all love in a good melt. Anyone else tried mixing cheeses on this?

3 days ago

I did cheddar and Swiss last time I made it! It was so good, the nuttiness of the Swiss paired so well with the roast beef. I don’t think I’ll ever go back to just one cheese on these.

2 days ago

Mixed cheeses are always a win in our book! Provolone, Swiss, cheddar – all pair beautifully with the roast beef, so feel free to get creative with whatever cheese you have in the fridge.

3 days ago

Made this at 1am after getting home from a concert and it was the best late night meal I’ve ever made. Quick, satisfying, hit every single craving I had. Way better than hitting the drive thru, that’s for sure. 10/10 would make for post-night out food again.

2 days ago

Wait, how well do these freeze? I want to make a big batch to pull out on busy nights when I don’t have time to cook, but I don’t want them to turn into a soggy mess when I reheat them from frozen.

yesterday

These freeze really well if you wrap them tightly in plastic wrap and then foil! When you’re ready to eat, reheat them in a 375°F oven for 15-20 minutes straight from frozen, and they’ll get nice and crispy again – no sogginess, promise.

2 weeks ago

I worked at a small town diner for 22 years making these exact melts, and let me tell you – this recipe is spot on. The ratio of roast beef to cheese, the light spread of mayo and mustard on the toasted bread, even the butter on the griddle – it’s exactly how we used to make them. Brought back so many good memories making these for my grandkids last weekend.

1 week ago

Made these for our weekly football watch party with the guys and they were a total hit. Served them with a side of beer cheese dip for dipping and everyone was raving the whole game. So much better than ordering takeout for the crew, and way cheaper too!

5 days ago

The beer cheese dip idea is genius! I’m making these for our tailgate next weekend and I’m 100% stealing that. I was trying to figure out what dip to serve with them, and that sounds perfect.



