
roast garlic in toaster oven

title 1
roast garlic in toaster oven
⏱️ cook time 40 minutes
🍽️ servings 4
⚡ Difficulty easy

intro

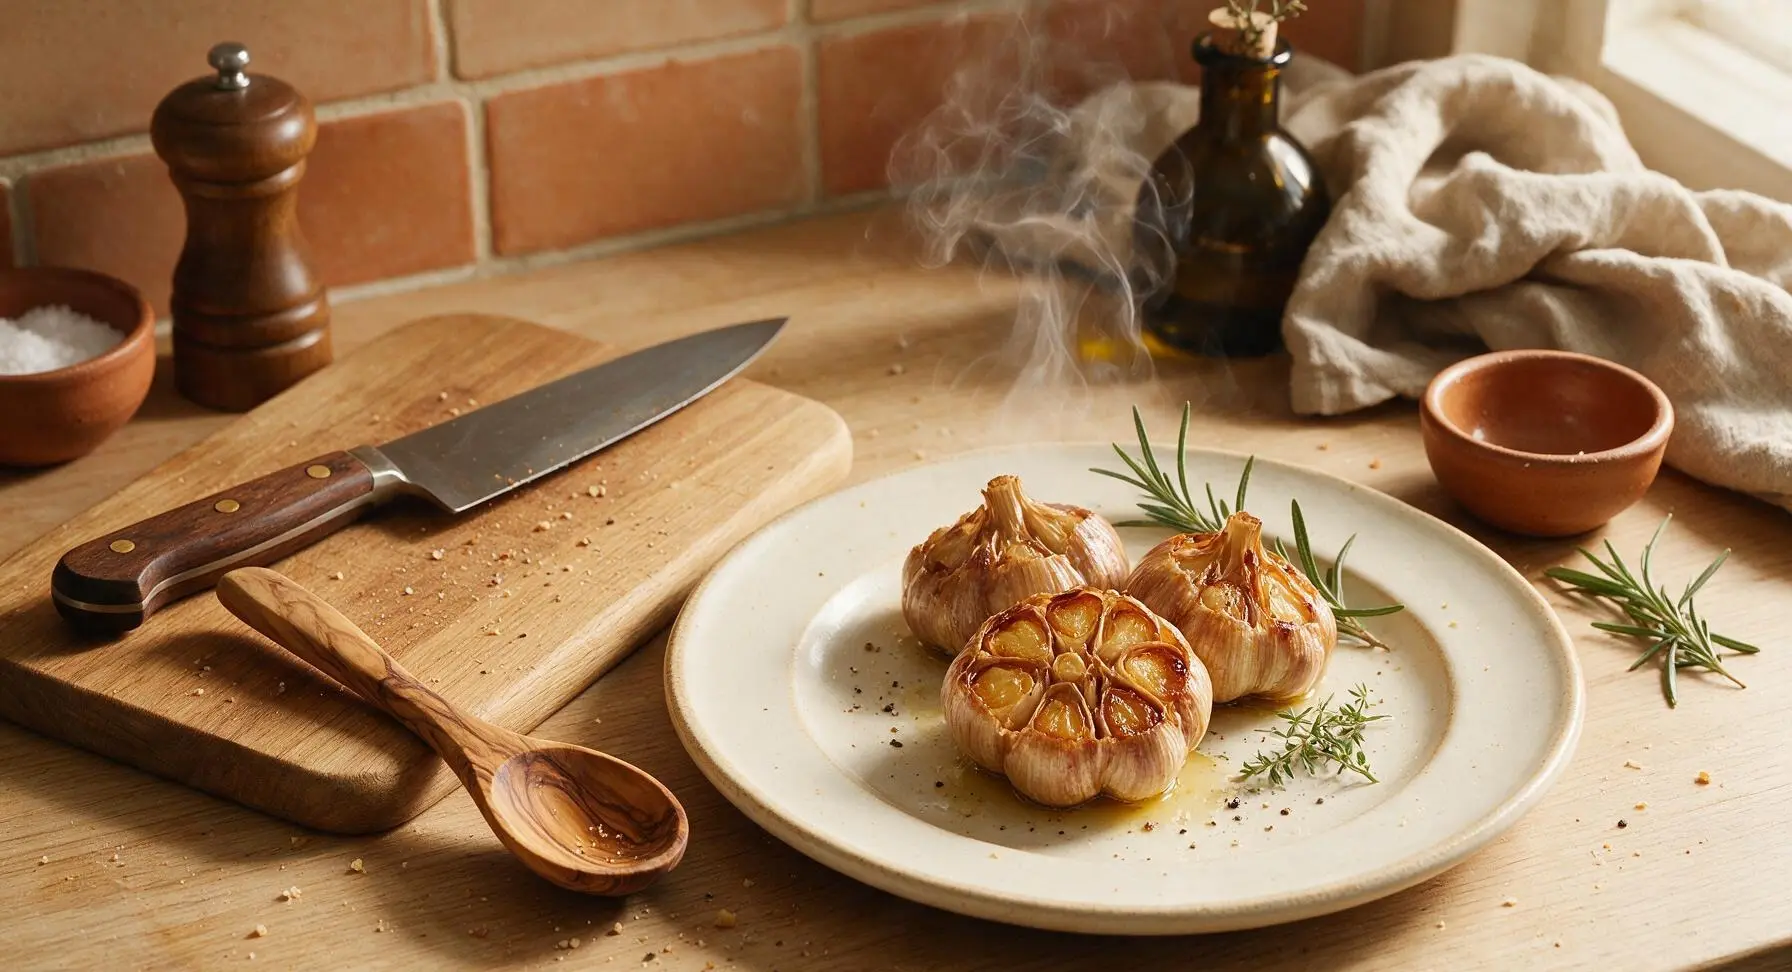
Silky, caramelized roasted garlic made effortlessly in a toaster oven—sweet, mellow, and perfect for spreading on bread, stirring into pasta, or elevating simple weeknight meals.

Ingredients
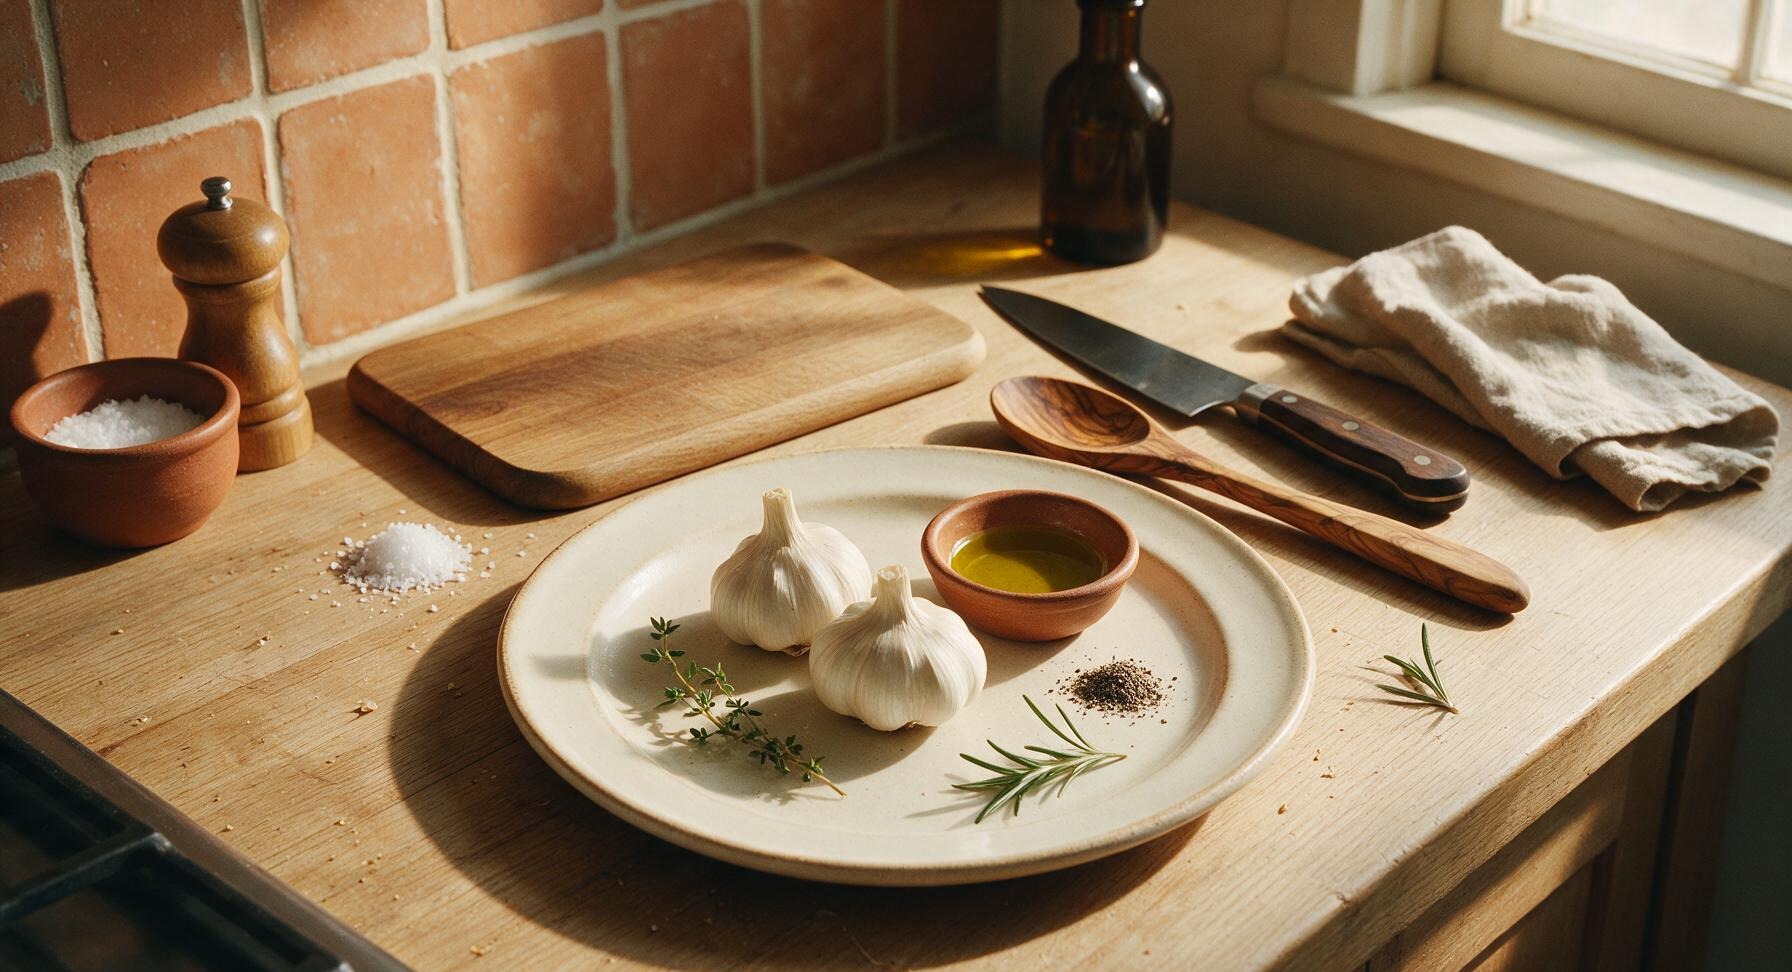
Large whole garlic heads 2 (approx 60g each)
Extra-virgin olive oil 2 teaspoons
Flaky sea salt 1/4 teaspoon
Freshly ground black pepper 1/8 teaspoon
Fresh thyme sprigs 2 small

Steps

1

Prep Garlic Heads

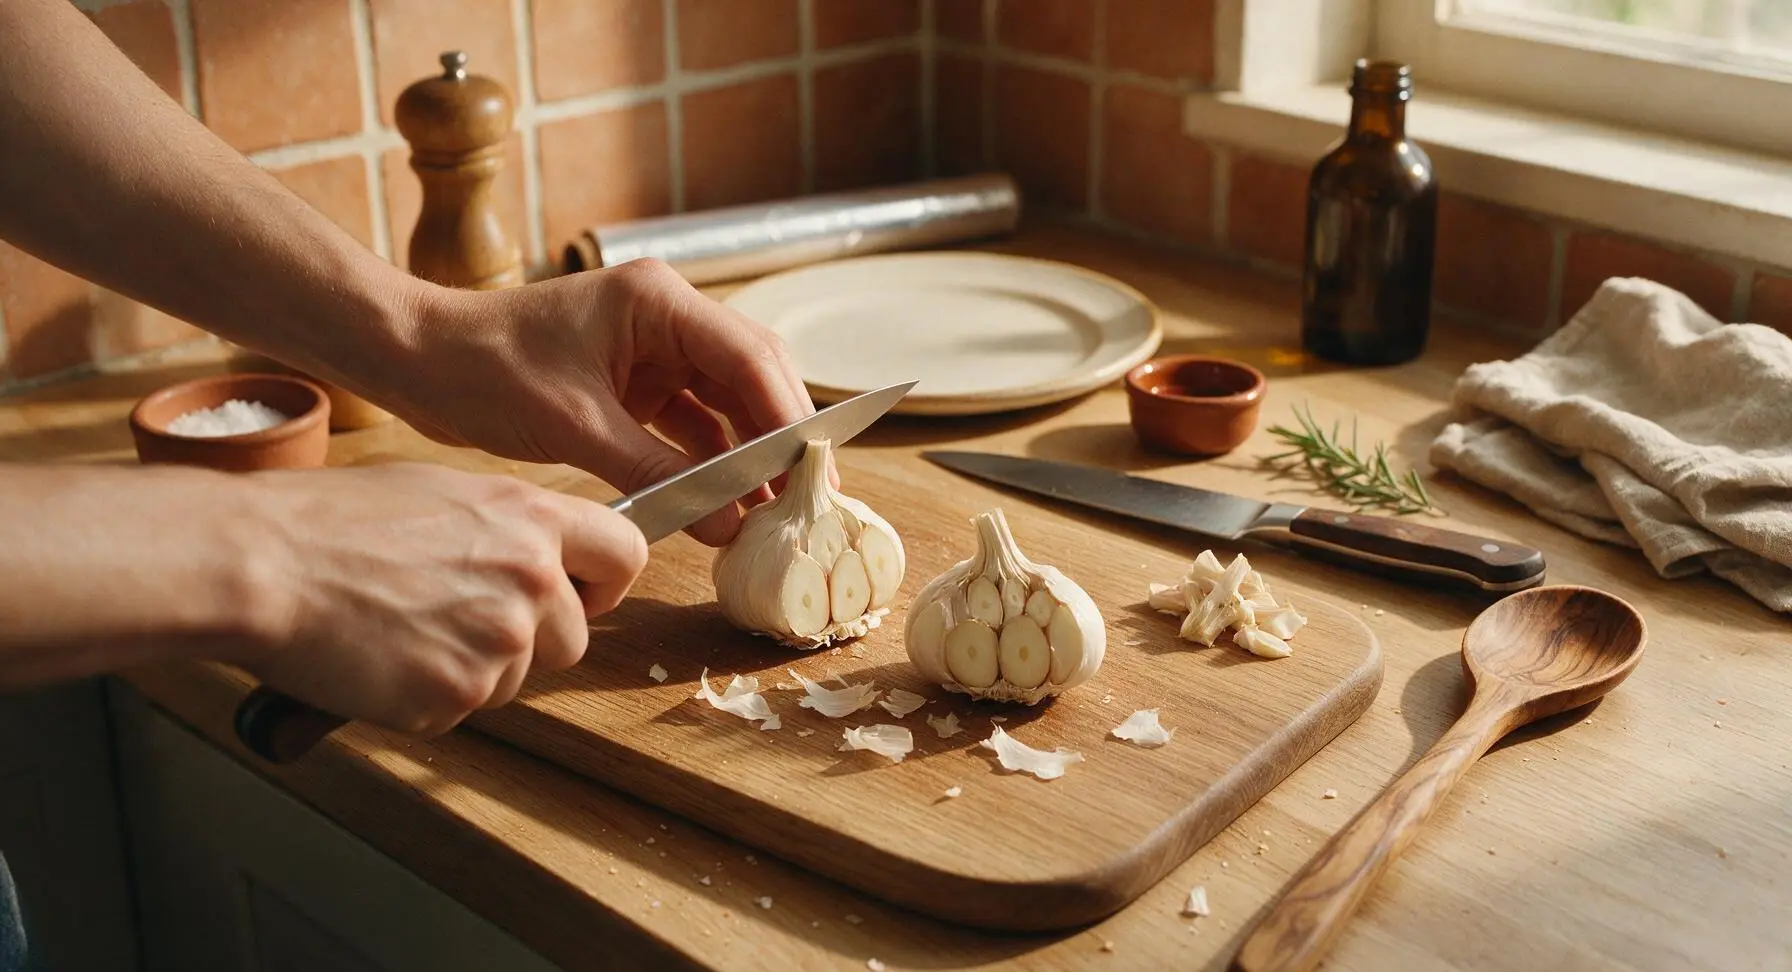
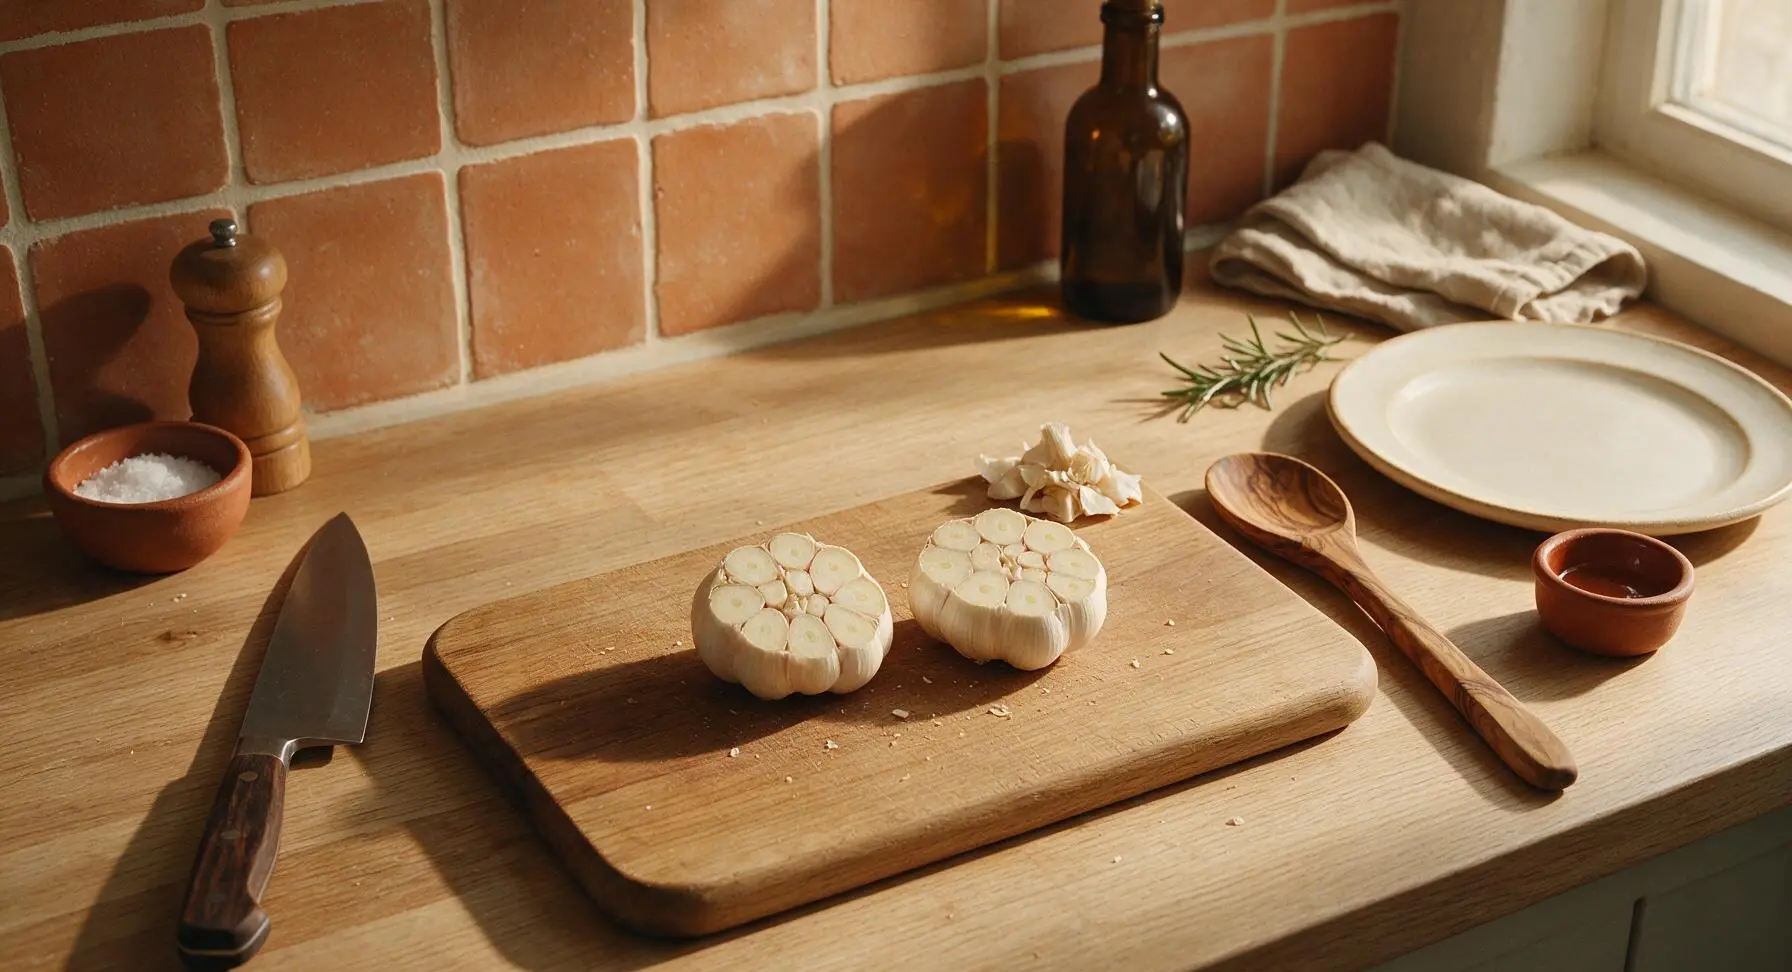
Remove any loose, papery outer skins from the 2 large garlic heads, taking care to leave the root end and individual clove skins fully intact so cloves stay connected. Set the garlic on the acacia wood cutting board, then use the 3.5-inch paring knife to slice exactly 1/4 inch off the pointed top end of each head, exposing the top surface of every individual clove. Set the trimmed top scraps in a small pile at the top right corner of the cutting board for disposal. Visual cue: No clove should remain fully covered by papery skin after trimming; all cut surfaces will be pale, creamy ivory.
Step 1
step1:Prep Garlic Heads
Step 1
step1:Prep Garlic Heads
2

Season Garlic Surfaces

Drizzle 1 teaspoon of extra-virgin olive oil over the cut top of each garlic head (2 teaspoons total). Use a clean finger to rub the oil evenly across all exposed clove surfaces, ensuring every cut edge is lightly coated. Sprinkle 1/4 teaspoon flaky sea salt and 1/8 teaspoon freshly ground black pepper evenly over the oiled surfaces. Visual cue: There will be no pools of excess oil on the cutting board, and salt/pepper will be distributed evenly across the cut tops, not clumped in one spot.
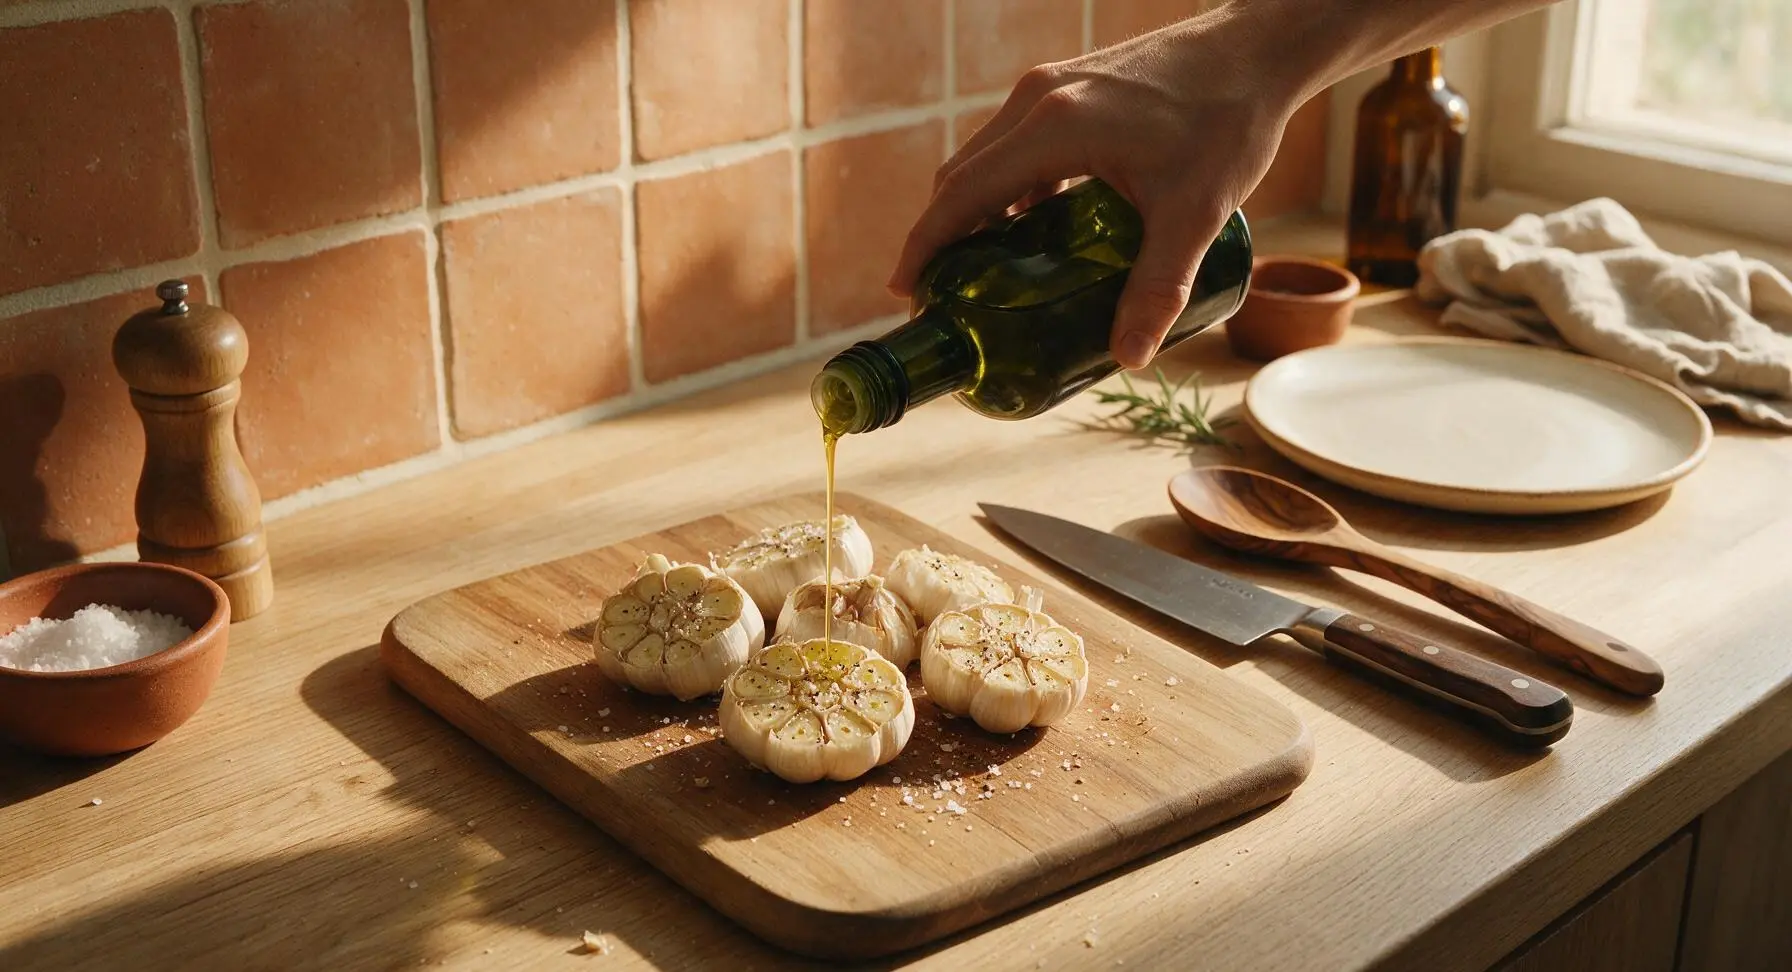
Step 2
step2:Season Garlic Surfaces
3

Wrap in Aluminum Foil

Tear a 30cm (12-inch) square of heavy-duty aluminum foil from the fixed roll. Lay the foil flat on the cutting board, then set the two seasoned garlic heads cut-side up in the center of the square. Fold the foil edges up and over the garlic, crimping tightly along all seams to create a fully sealed, rounded packet with no gaps for steam to escape. Visual cue: The sealed packet will hold its shape when lifted, with no loose edges or open seams that would allow steam to leak out during roasting.
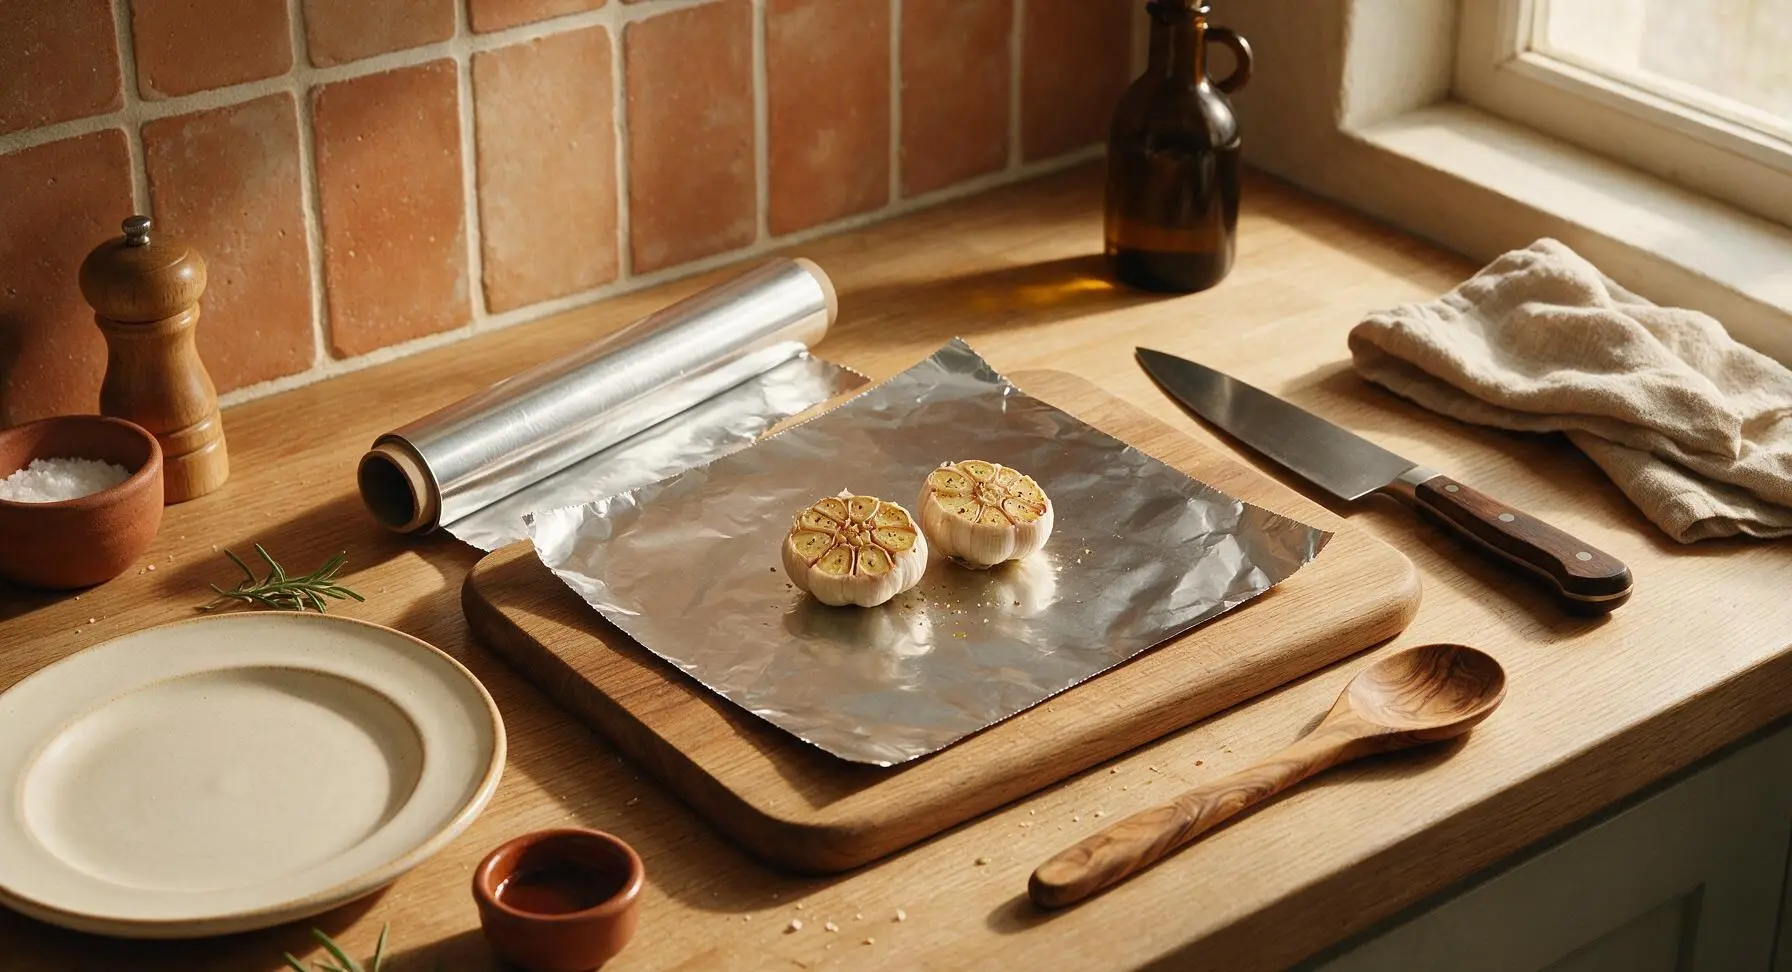
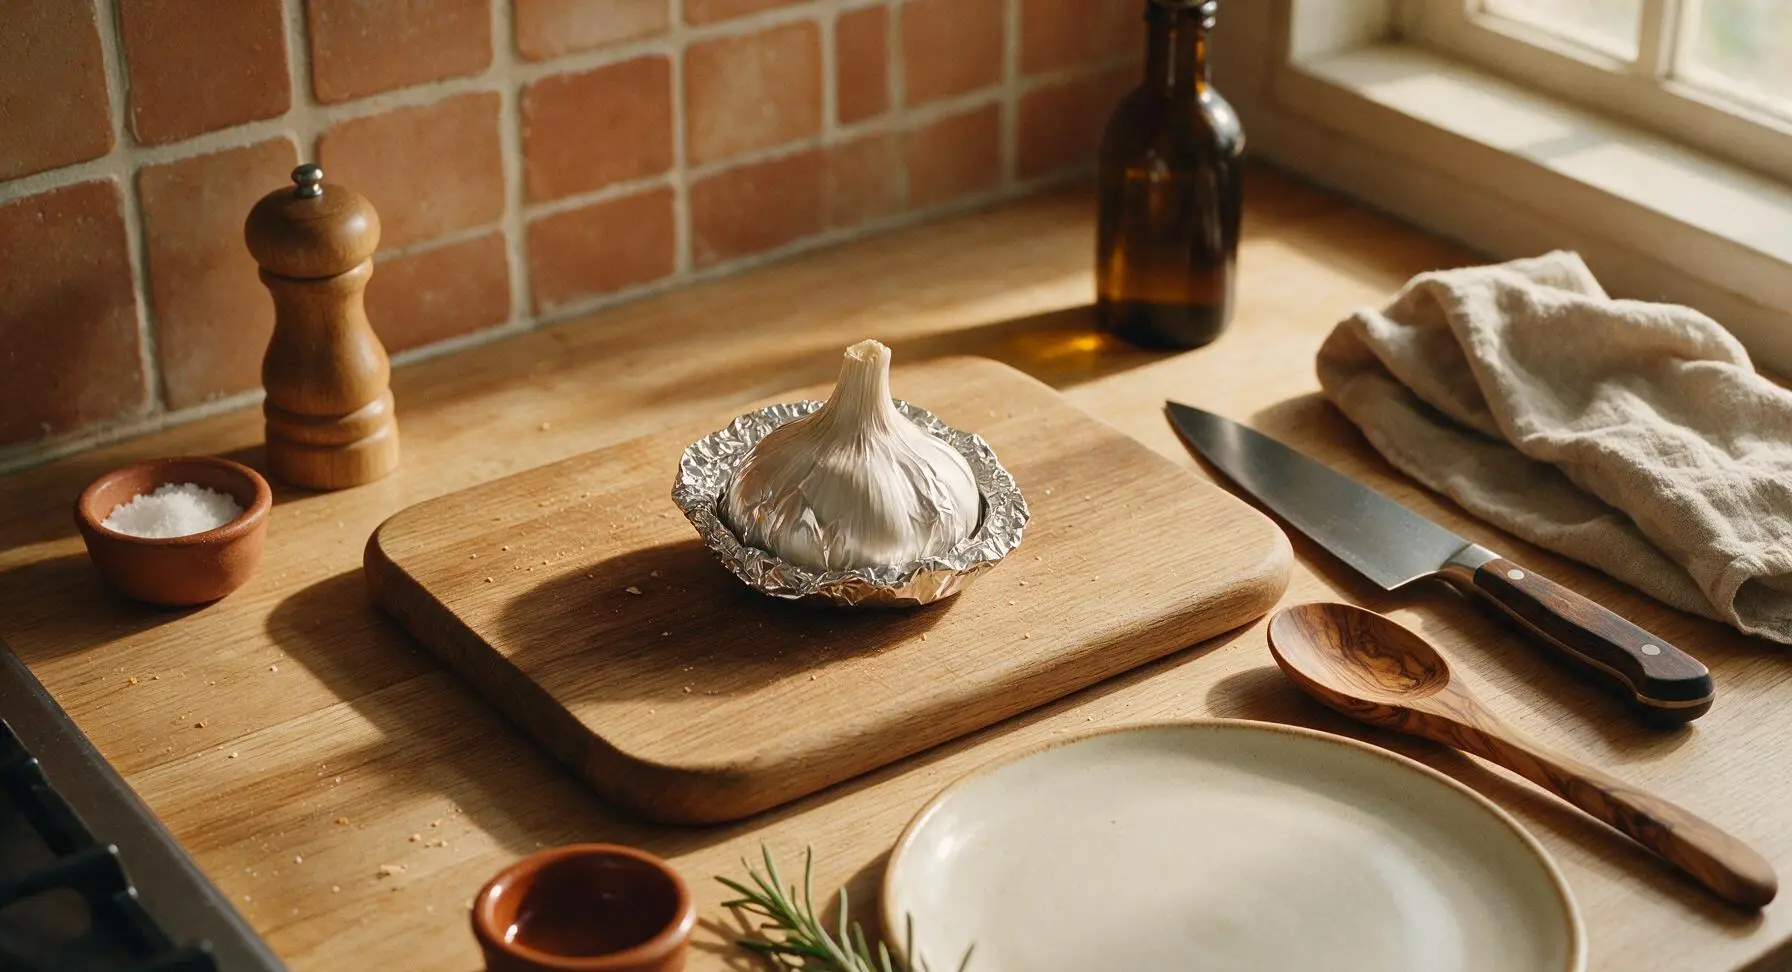
Step 3
step3:Wrap in Aluminum Foil
Step 3
step3:Wrap in Aluminum Foil
4

Preheat Toaster Oven

Adjust the toaster oven wire rack to the middle position, ensuring it sits 10cm (4 inches) below the top heating elements. Set the toaster oven to standard bake mode (do not use convection, which causes uneven browning) at 400°F (200°C), close the glass door, and preheat for 5 minutes. Visual cue: The toaster oven’s power indicator light will illuminate, and the top and bottom heating elements will glow faint orange as it reaches temperature.
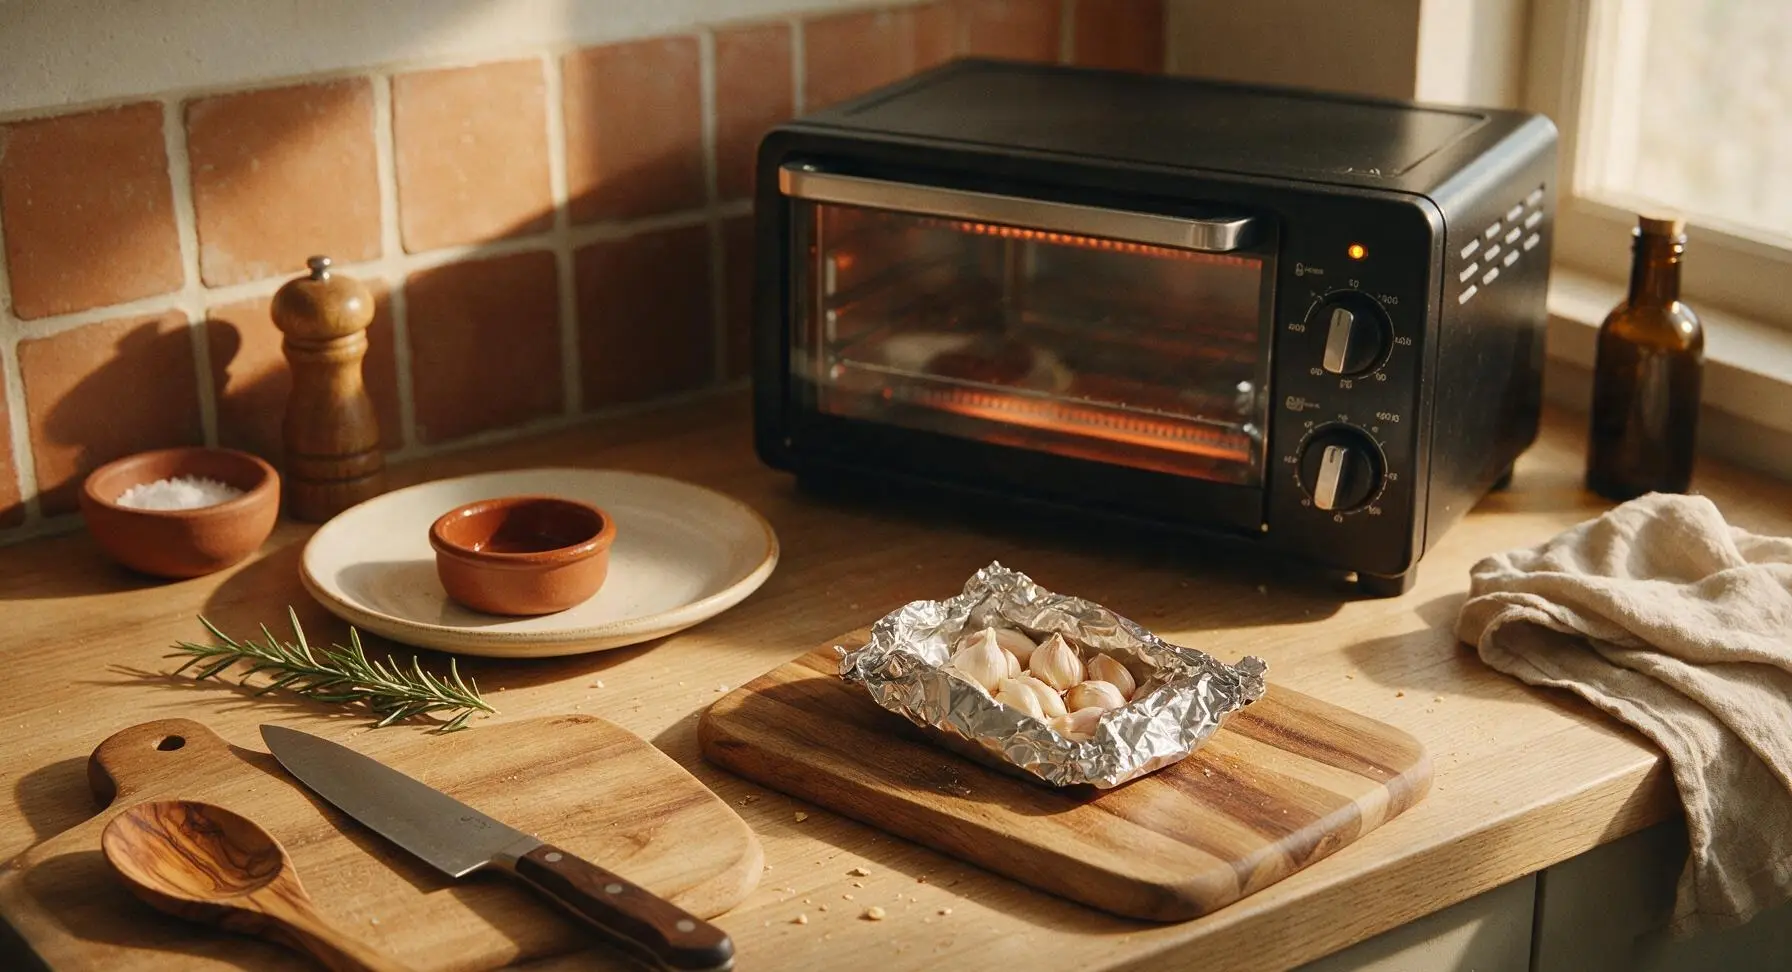
Step 4
step4:Preheat Toaster Oven
5

Roast Until Tender

Open the preheated toaster oven door, set the sealed foil packet directly on the middle rack, and close the door securely. Roast for 35 minutes, then carefully open the door and peel back the top edge of the foil (watch for escaping steam) to check doneness. If cloves are still firm and pale, reseal the foil and roast for 5 additional minutes. Visual cue: Fully roasted cloves will be pale golden, soft enough to spread easily when pressed with a fork, and will release a sweet, mellow, non-pungent aroma.
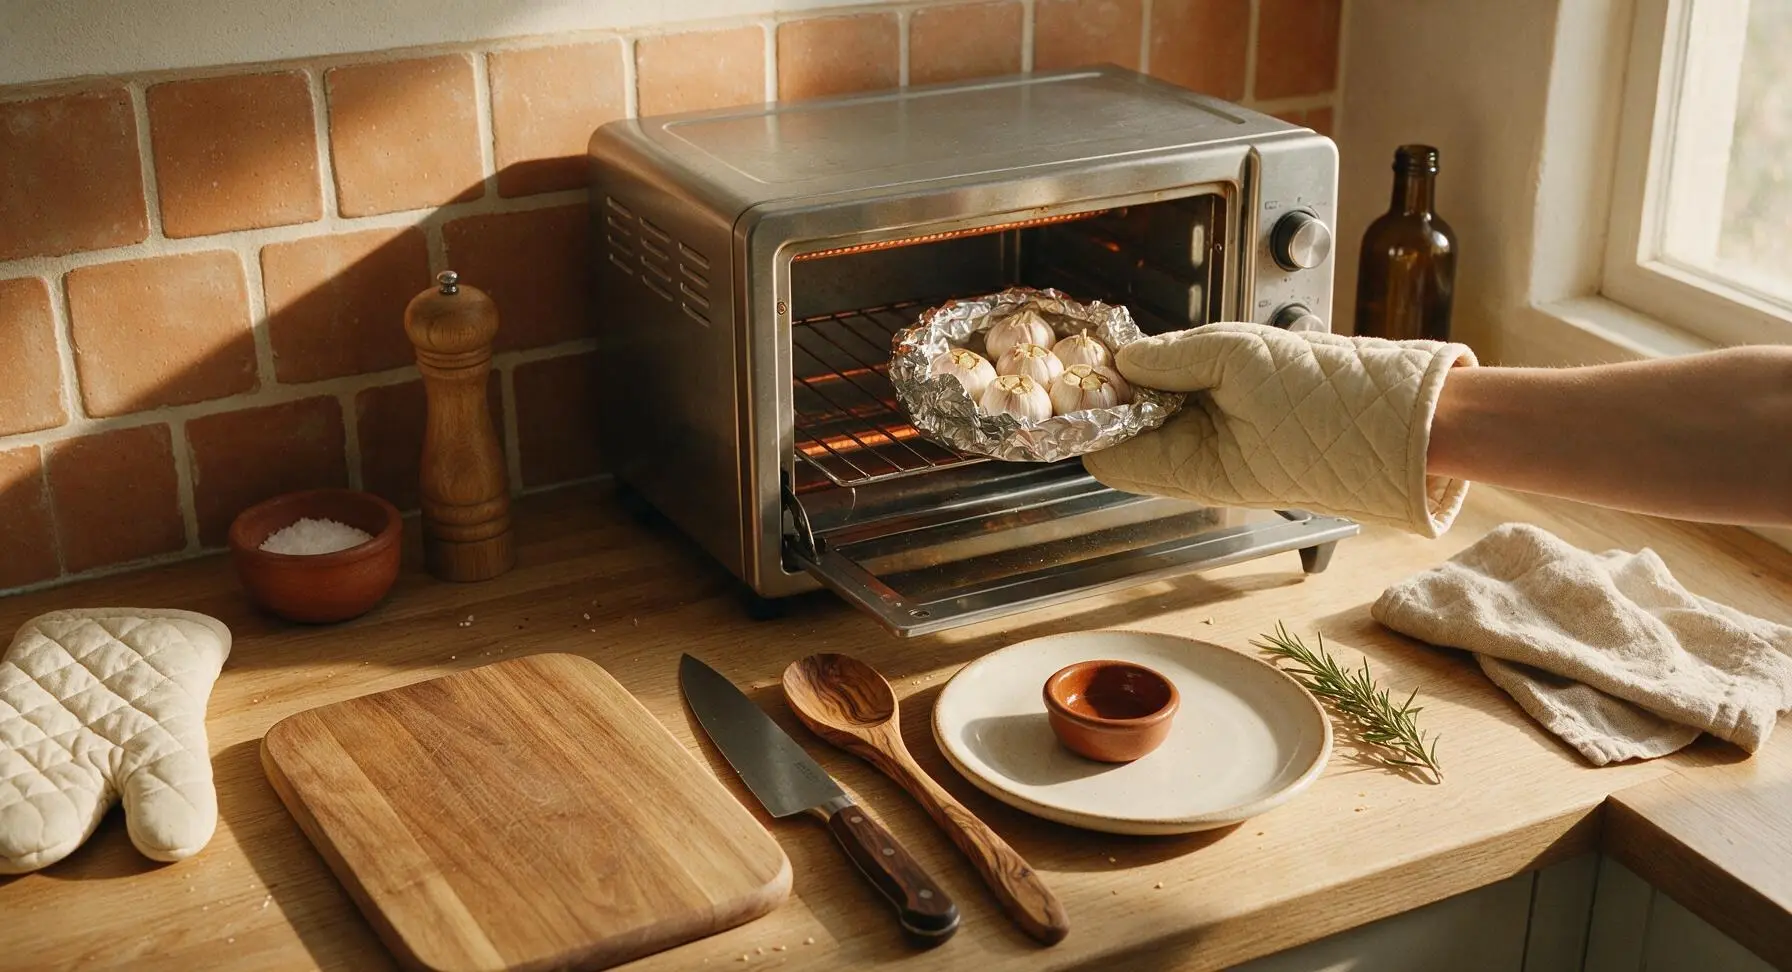
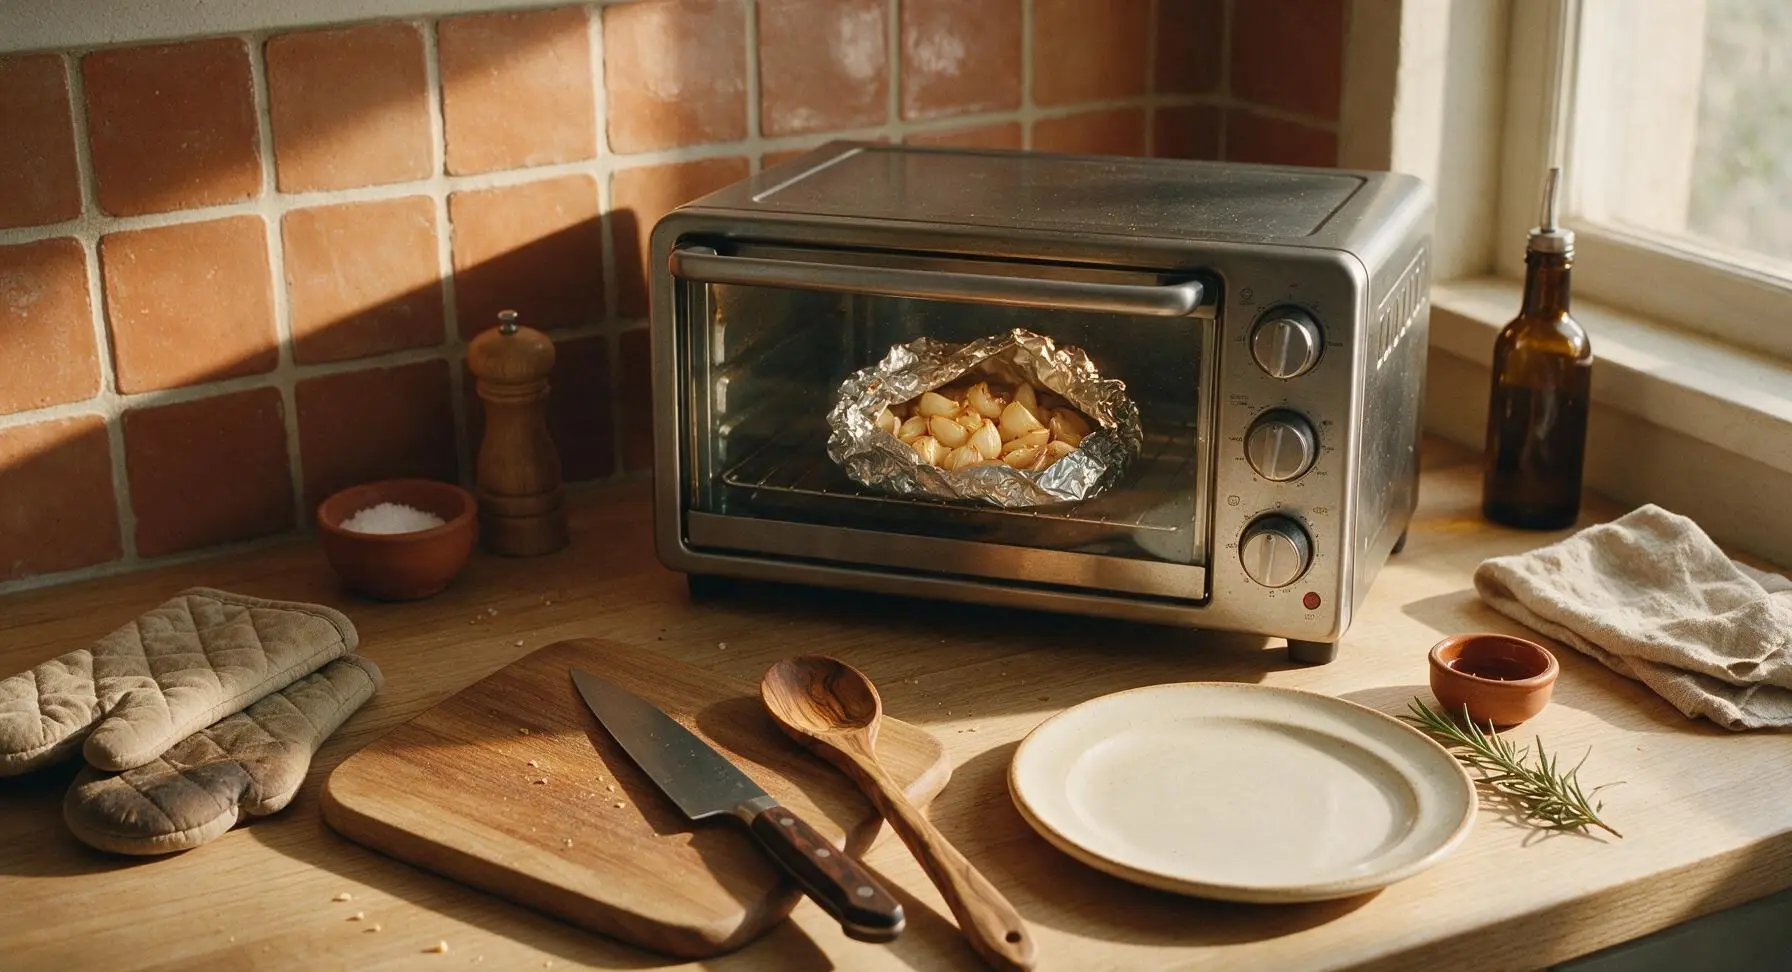
Step 5
step5:Roast Until Tender
Step 5
step5:Roast Until Tender
6

Let Garlic Cool

Use the quilted cotton oven mitts to carefully lift the hot foil packet from the toaster oven, and set it back on the acacia wood cutting board. Peel the foil fully open to release trapped steam, and allow the garlic to rest for 5 minutes to cool to a safe handling temperature. Visual cue: Soft, wispy steam will rise steadily from the opened packet, and the cloves will darken slightly to a rich caramel gold as they cool.
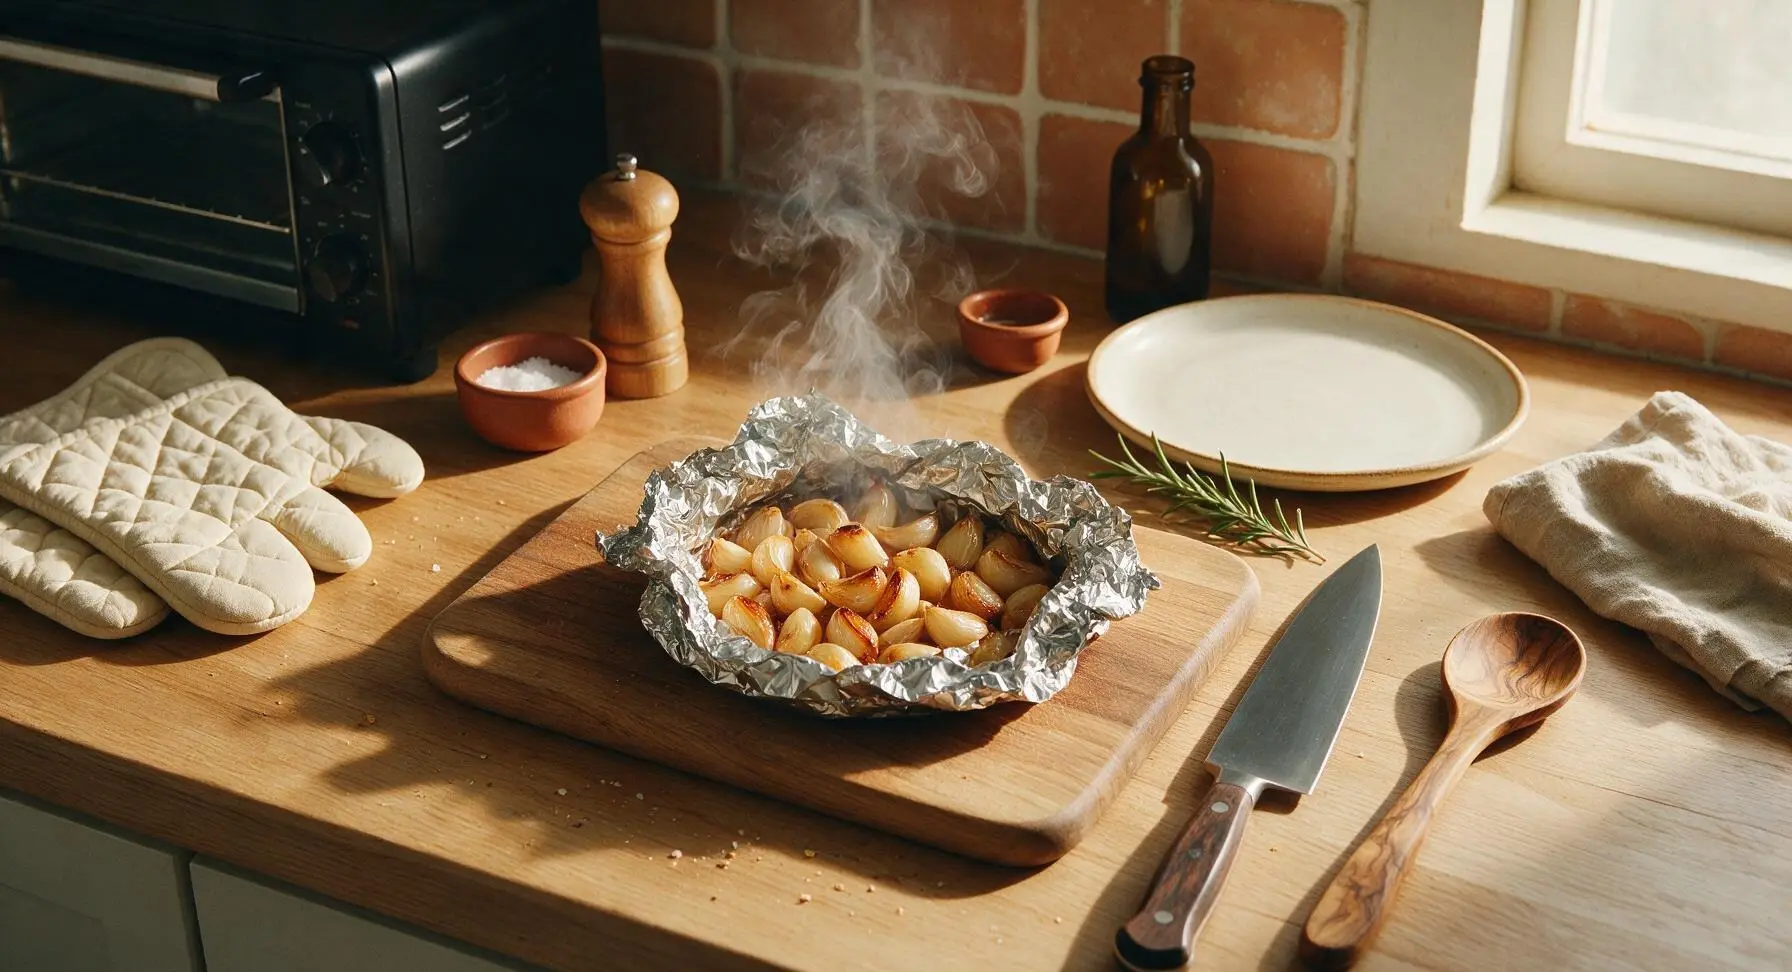
Step 6
step6:Let Garlic Cool
7

Plate for Serving

Gently transfer the cooled garlic heads cut-side up to the fixed matte cream ceramic serving plate. Tuck one fresh thyme sprig next to the garlic as a light garnish, then drizzle any remaining olive oil and golden garlic juice collected in the bottom of the foil packet over the top of the cloves. Serve immediately, or transfer cooled garlic to an airtight glass container and refrigerate for up to 1 week for later use.
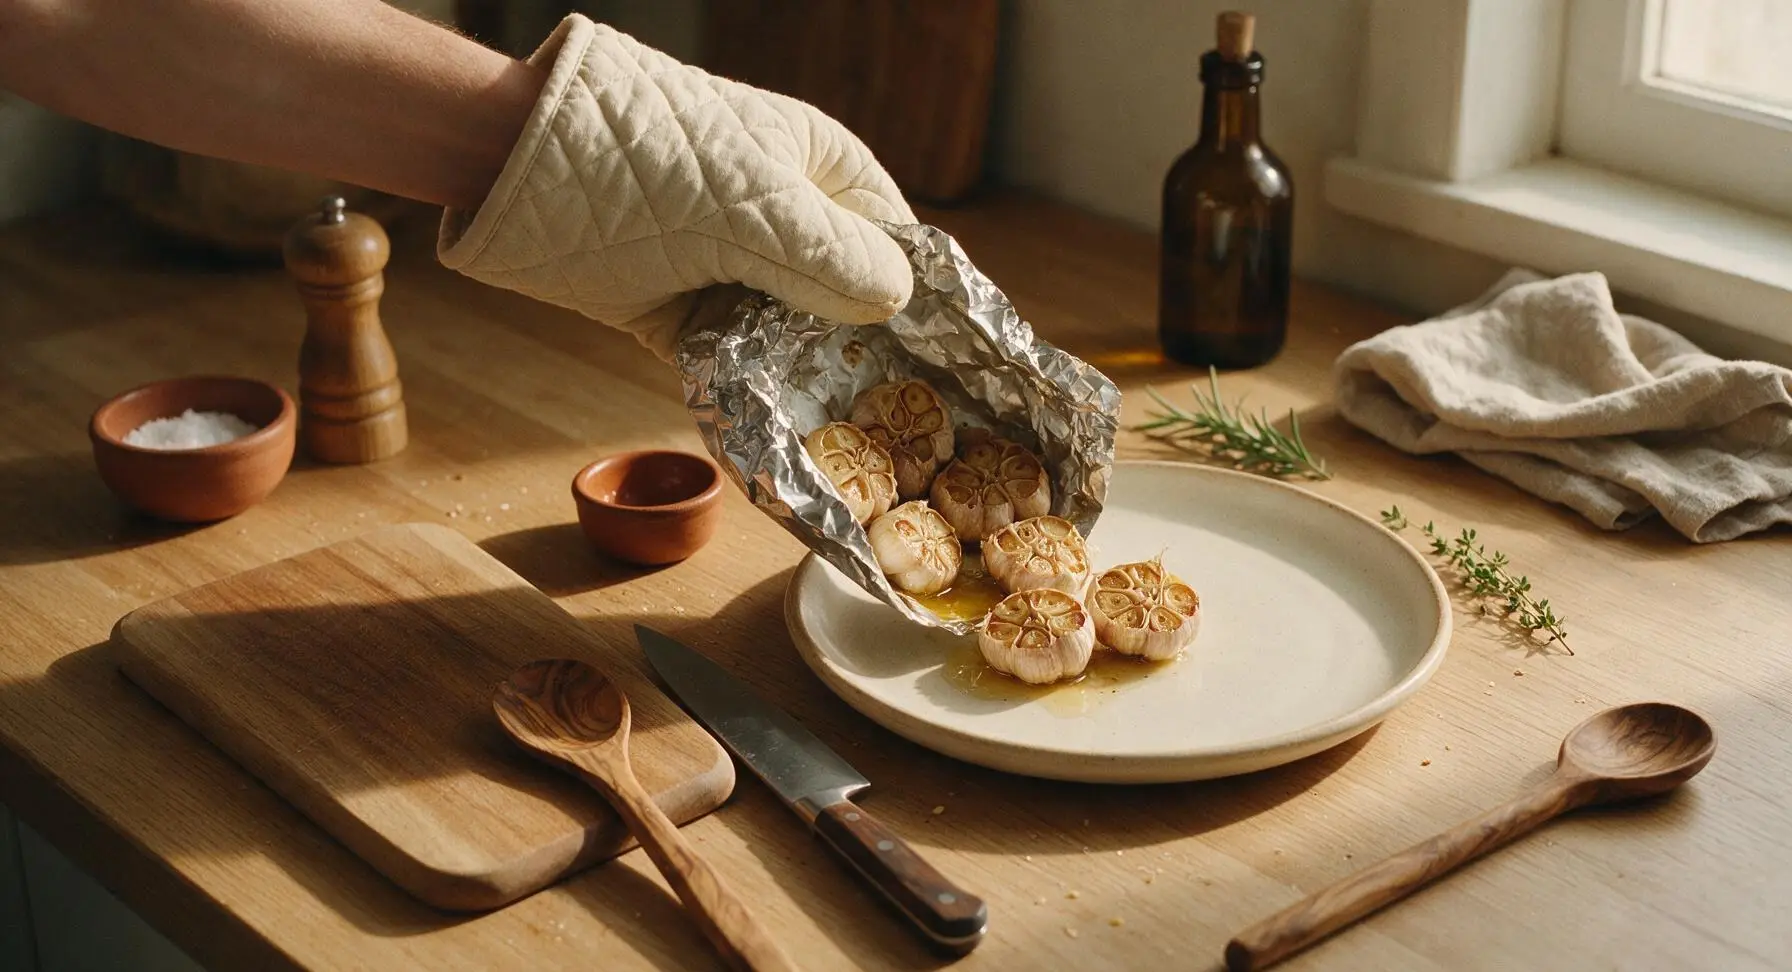
Step 7
step7:Plate for Serving

Tips

1.Always leave the hard root end of each garlic head intact when trimming: The root base holds individual cloves together after roasting, making it easy to squeeze out soft cloves without them falling apart into the foil.
2.Skip your toaster oven’s convection or broil settings for this recipe: Fast, circulating hot air or direct top heat will burn delicate garlic clove tips before the center of the head softens and loses its sharp, raw bite.
3.For easy meal prep, roast a double batch and freeze individual peeled cloves covered in olive oil in ice cube trays: Frozen roasted garlic keeps for up to 3 months, and cubes can be dropped directly into soups, pastas, or sauces for instant deep flavor.


✨ You May Also Like

Side Dishes
🍜 India

Velvety, aromatic all-purpose curry sauce perfect for tossing with roasted veggies, grilled protein, or rice for fast, cozy, flavorful meals.

⏱️ 25 minuteSide Dishes ★ 4.8
Side Dishes
🍜 Spain

Tender, starchy boiled yuca tossed in bright, garlicky citrus mojo sauce—an iconic, zesty side that pairs beautifully with roasted pork, grilled meats, and rice and beans.

⏱️ 40 minuteSide Dishes ★ 5
Side Dishes
🍜 United States

Tender, paper-thin potato flatbread, a beloved Norwegian-American Minnesota Christmas staple, griddled until softly spotted and served warm with butter.

⏱️ 1 hour 30Side Dishes ★ 4.6
Side Dishes
🍜 United States

Rich, deeply savory cured salt pork, a long-lasting kitchen staple perfect for frying crispy as a side or adding umami to stews, beans, and chowders.

⏱️ 7 days (2Side Dishes ★ 4.9
Side Dishes
🍜 United States

Crispy, tangy classic Southern fried green tomatoes with a crunchy cornmeal crust, served hot for a nostalgic, comforting summery bite.

⏱️ 25 minuteSide Dishes ★ 4.9
Side Dishes
🍜 United States

Moist, golden-crusted savory muffins with sweet corn, zesty jalapeño, and melted cheddar, perfect for pairing with smoky summer grilled fare.

⏱️ 30 minuteSide Dishes ★ 4.9

roast garlic in toaster oven:Frequently Asked Questions

1.What temperature and cook time works best for roasting garlic in a toaster oven? ▾
Set your toaster oven to 400°F on standard bake mode, and roast for 35 to 45 minutes total. The cloves are done when they’re deep golden and soft enough to squeeze easily out of their papery skins. Start checking at 30 minutes, since toaster oven heat output varies widely by model, to avoid accidental burning.
2.Do I need to wrap garlic in aluminum foil for this toaster oven method? ▾
Foil is highly recommended for even, gentle cooking, because it traps steam to prevent garlic from drying out and shields cut clove tops from burning under close toaster oven heating elements. If you avoid foil, use a small lidded ceramic ramekin with 1 teaspoon of water in the bottom to build needed steam.
3.How should I prep whole garlic heads before roasting them? ▾
First, peel off any loose, papery outer skins from each head, leaving the root end fully intact so cloves don’t separate as they cook. Slice ¼ inch off the pointed top to expose the tip of every clove, so oil, salt, pepper, and thyme can seep in, and cloves squeeze out easily once roasted.
4.Can I roast multiple garlic heads at once in my toaster oven? ▾
Absolutely! As long as you leave ½ inch of space between each foil-wrapped or ramekin-held garlic head to let hot air circulate, you can roast as many as fit on your toaster oven’s middle rack. Most standard countertop toaster ovens easily fit 3 to 4 heads per batch with no extra cook time needed.
5.How do I tell when roasted garlic is done, rather than burnt? ▾
Perfectly roasted garlic will be a warm, deep golden brown, not dark charred brown, and cloves will feel completely soft when you gently squeeze the side of the foil-wrapped head through an oven mitt. If you smell sharp, bitter burnt garlic before the 35-minute mark, your toaster oven runs hot—pull it out immediately to check.
6.Can I use dried thyme instead of fresh sprigs for this recipe? ▾
Yes, dried thyme works perfectly if you don’t have fresh on hand. Use ¼ teaspoon of dried thyme per garlic head, sprinkled directly over the exposed cut cloves after you drizzle on olive oil and add salt and pepper, since dried herbs are far more concentrated in flavor than fresh. It adds the same warm, earthy note that pairs beautifully with sweet caramelized garlic.
7.Why does my roasted garlic sometimes turn out bitter instead of sweet? ▾
Bitter roasted garlic almost always stems from two common issues: excessively high heat, or burnt edges on exposed cloves. Toaster ovens often have intense, uneven heat close to their elements, so always use the middle rack (not the top rack closest to coils) and fully cover the cut garlic top with foil to shield it from direct heat.
8.How should I store leftover roasted garlic, and how long does it last? ▾
Let roasted garlic cool completely first, then squeeze the soft cloves out of their skins into a small, airtight glass container. Cover the cloves completely with a thin layer of extra-virgin olive oil, seal tightly, and refrigerate for up to 2 weeks. You can also freeze individual cloves in an ice cube tray for up to 3 months for long-term use.
9.Do I have to use extra-virgin olive oil, or can I substitute another oil? ▾
Extra-virgin olive oil adds a rich, fruity note that complements roasted garlic beautifully, but you can absolutely swap in other high-smoke-point oils if you prefer. Avocado oil, grapeseed oil, or melted unsalted butter work well; just avoid low-smoke-point oils like toasted sesame or flaxseed oil that will burn at 400°F.
10.Should I use my toaster oven’s convection setting for roasted garlic? ▾
You can use convection if you’d like, but you will need to adjust your settings to avoid burning. Drop the oven temperature to 375°F instead of 400°F, and start checking for doneness at 25 minutes, since convection fans circulate hot air faster and cut total cook time by roughly 25% compared to standard bake mode.
11.Can I add other seasonings besides salt, pepper, and thyme? ▾
Absolutely—this recipe is a very flexible base. Try adding a pinch of smoked paprika, a light sprinkle of red pepper flakes for subtle heat, a small sprig of fresh rosemary, or even a tiny drizzle of honey over the cloves before wrapping for extra depth. Just go light on seasonings so you don’t overpower garlic’s natural sweet, mellow roasted flavor.
12.Why are some cloves still hard and undercooked after roasting? ▾
Unevenly cooked, hard cloves usually happen when you didn’t slice enough off the top of the garlic head, so those hidden cloves weren’t exposed to oil or even heat, or if the head was positioned too close to the cool edge of the toaster oven. Next time, make sure every clove tip is exposed, and rotate foil packets halfway through cooking for even heat distribution.
13.What are the best ways to use toaster oven roasted garlic? ▾
The options are nearly endless! Spread soft cloves directly on crusty bread for a quick appetizer, stir them into mashed potatoes or pasta sauce, mix into salad dressings or hummus, mash into butter for flavorful compound butter, or add a few cloves to roasted vegetable trays for an extra layer of warm, sweet depth.
14.Is it normal for my toaster oven to smell strongly of garlic while this cooks? ▾
A mild, warm garlic aroma is totally normal and expected, since small amounts of aromatic steam will escape from foil packets as the garlic cooks. If the smell is overwhelmingly sharp, double check that your foil packets are sealed tightly to lock in steam, and make sure your toaster oven’s vent isn’t blocked to keep air flowing properly.

Comments (9)

2 hours ago

OMG this is such a game changer! I always thought roasting garlic required a full oven and wasted so much energy, but doing it in my toaster oven? Perfect. It came out so creamy and spreadable, I slathered it on sourdough for a quick snack last night. SO good.

30 minutes ago

Wait, do I need to wrap the garlic in foil for this? I tried roasting garlic once before in my toaster oven and the top got all burnt before the inside was soft. Wondering if I messed up the wrapping step!

5 minutes ago

Great question! Wrapping the bulb tightly in foil after drizzling with olive oil is key here—it traps the steam so the garlic cooks evenly without burning the top. Just make sure your toaster oven is set to 375F and you’ll get that perfect creamy texture every time!

2 weeks ago

Game. Changer. I used to heat up my whole big oven just to roast 2 bulbs of garlic, which felt so silly in the summer when it’s 90 degrees outside. This method didn’t heat up my kitchen at all, and the garlic came out just as caramelized and sweet as when I do it in the regular oven. 10/10

1 week ago

Right?! I avoid using my regular oven July through August because it makes my whole apartment feel like a sauna, this toaster oven method is a total summer lifesaver.

5 days ago

We’re so glad you love it! It’s perfect for small batches in the warmer months, no need to heat up the whole kitchen for a couple bulbs of garlic.

2 days ago

I do meal prep every Sunday for the work week, how long does this roasted garlic stay good in the fridge? I’d love to make a big batch to add to pasta, salads, and sandwich spreads all week!

yesterday

I make a batch every week too! It stays good for up to 2 weeks in an airtight container in the fridge, I’ve even frozen the individual cloves for up to 3 months and it works great!

yesterday

Made this for our Sunday family dinner to go with our roasted chicken and mashed potatoes, and even my super picky 7 year old asked for extra garlic on her plate! Total win, took barely any effort and cooked perfectly in 40 minutes just like the recipe said.

5 days ago

Wait, my toaster oven is a super old hand-me-down from my kid, it doesn’t have temperature settings just a dial with toast/broil/bake. Will this still work? I don’t want to waste a whole bunch of garlic if it’ll burn!

3 days ago

I have an old toaster oven just like that! I set it to bake, put the rack in the middle slot, and checked it every 10 minutes after the 30 minute mark. Mine turned out great at 42 minutes total, just watch for that golden caramel color on the cloves!

2 days ago

Great tip from RetroKitchenLove! If your toaster oven doesn’t have exact temperature settings, using the bake function and keeping an eye on it toward the end of the cook time works perfectly. The garlic is done when the cloves are soft enough to squeeze easily out of the skins.

1 week ago

Took a chance on this for our neighborhood potluck last weekend, I made a roasted garlic dip to go with pita chips and people were asking me for the recipe all night! Who knew something so simple could be such a hit.

5 days ago

That sounds absolutely delicious! Roasted garlic dip is such a crowd pleaser—so glad it was a hit at your potluck, thanks for sharing how you used it!

3 days ago

Super easy recipe for someone who only has a toaster oven in their dorm! I didn’t have fancy foil or anything, just used a little baking dish, cut the top off the garlic bulb, drizzled olive oil, and it turned out perfect. Way cheaper than buying pre-roasted garlic from the grocery store too.

5 minutes ago

Has anyone tried this with a convection toaster oven? I’m worried the cook time will be off since mine runs a little hot and circulates air more.

just now

I have a convection toaster oven! I turned the temp down by 25 degrees and checked it at 30 minutes, it was perfectly done at 35 minutes total for me. No burning, super creamy!



