
Ruffles Hashbrown Casserole
intro
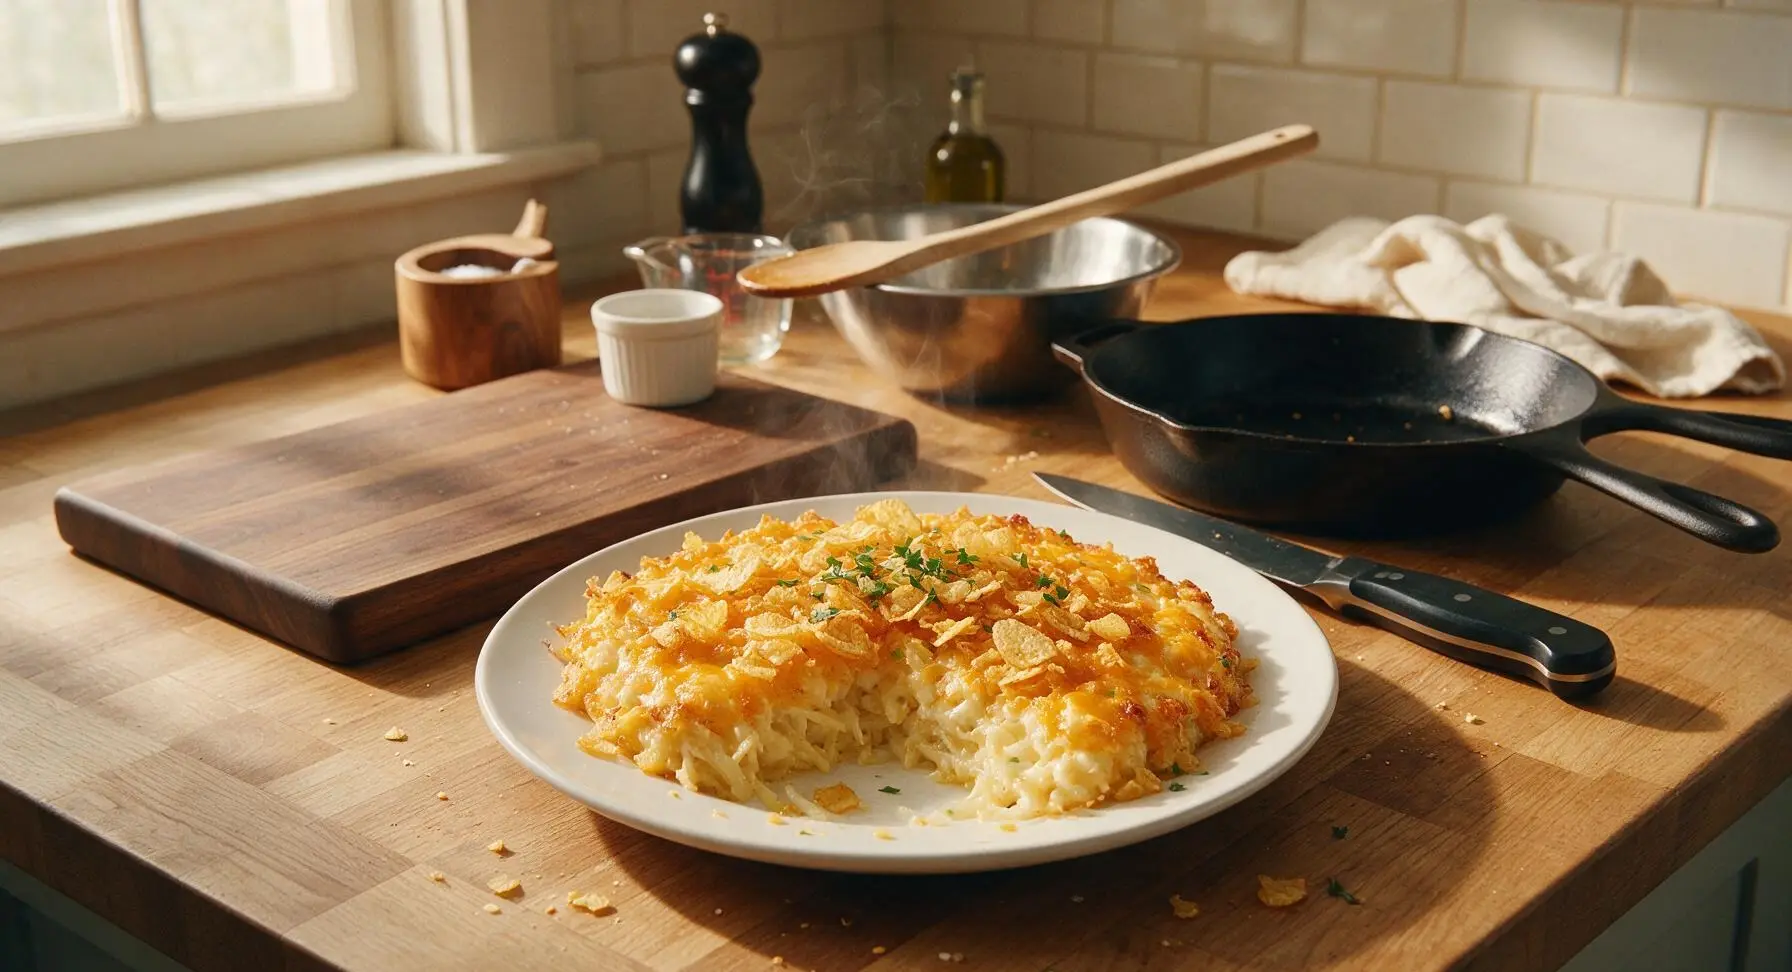
Creamy, cheesy shredded potato bake topped with crunchy, salty Ruffles potato chips—this nostalgic comfort food is a guaranteed crowd-pleasing potluck staple.
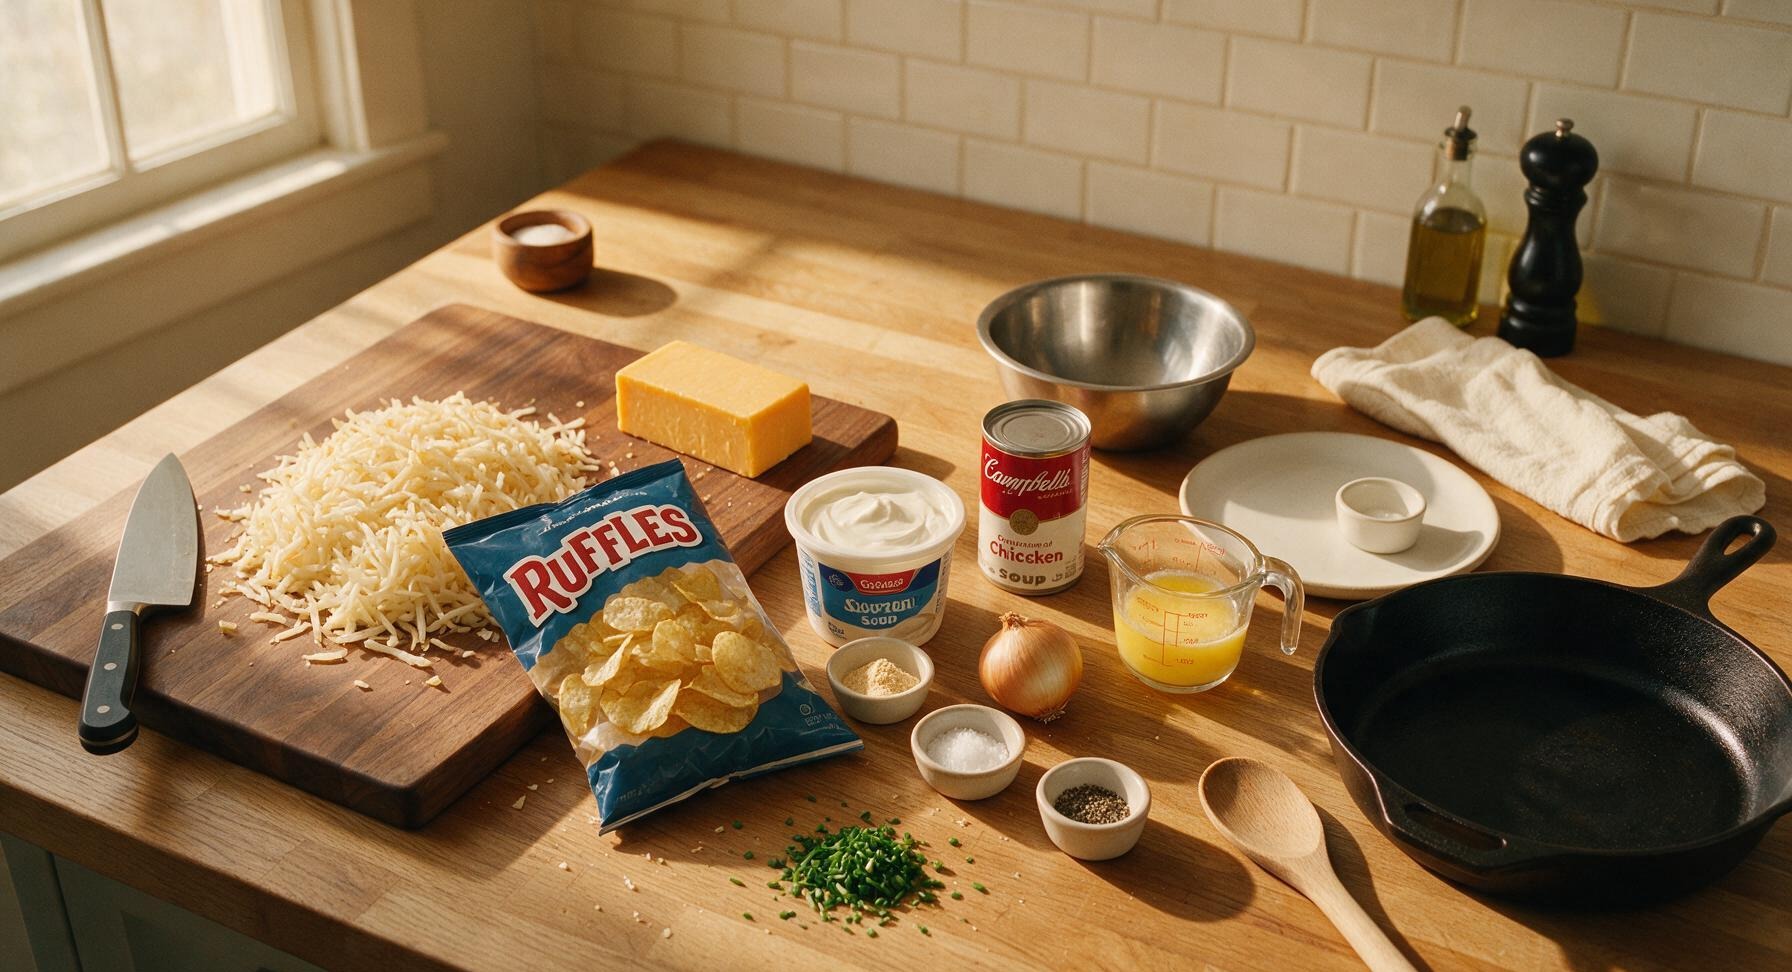
Ingredients
Steps
Prep Oven and Dish
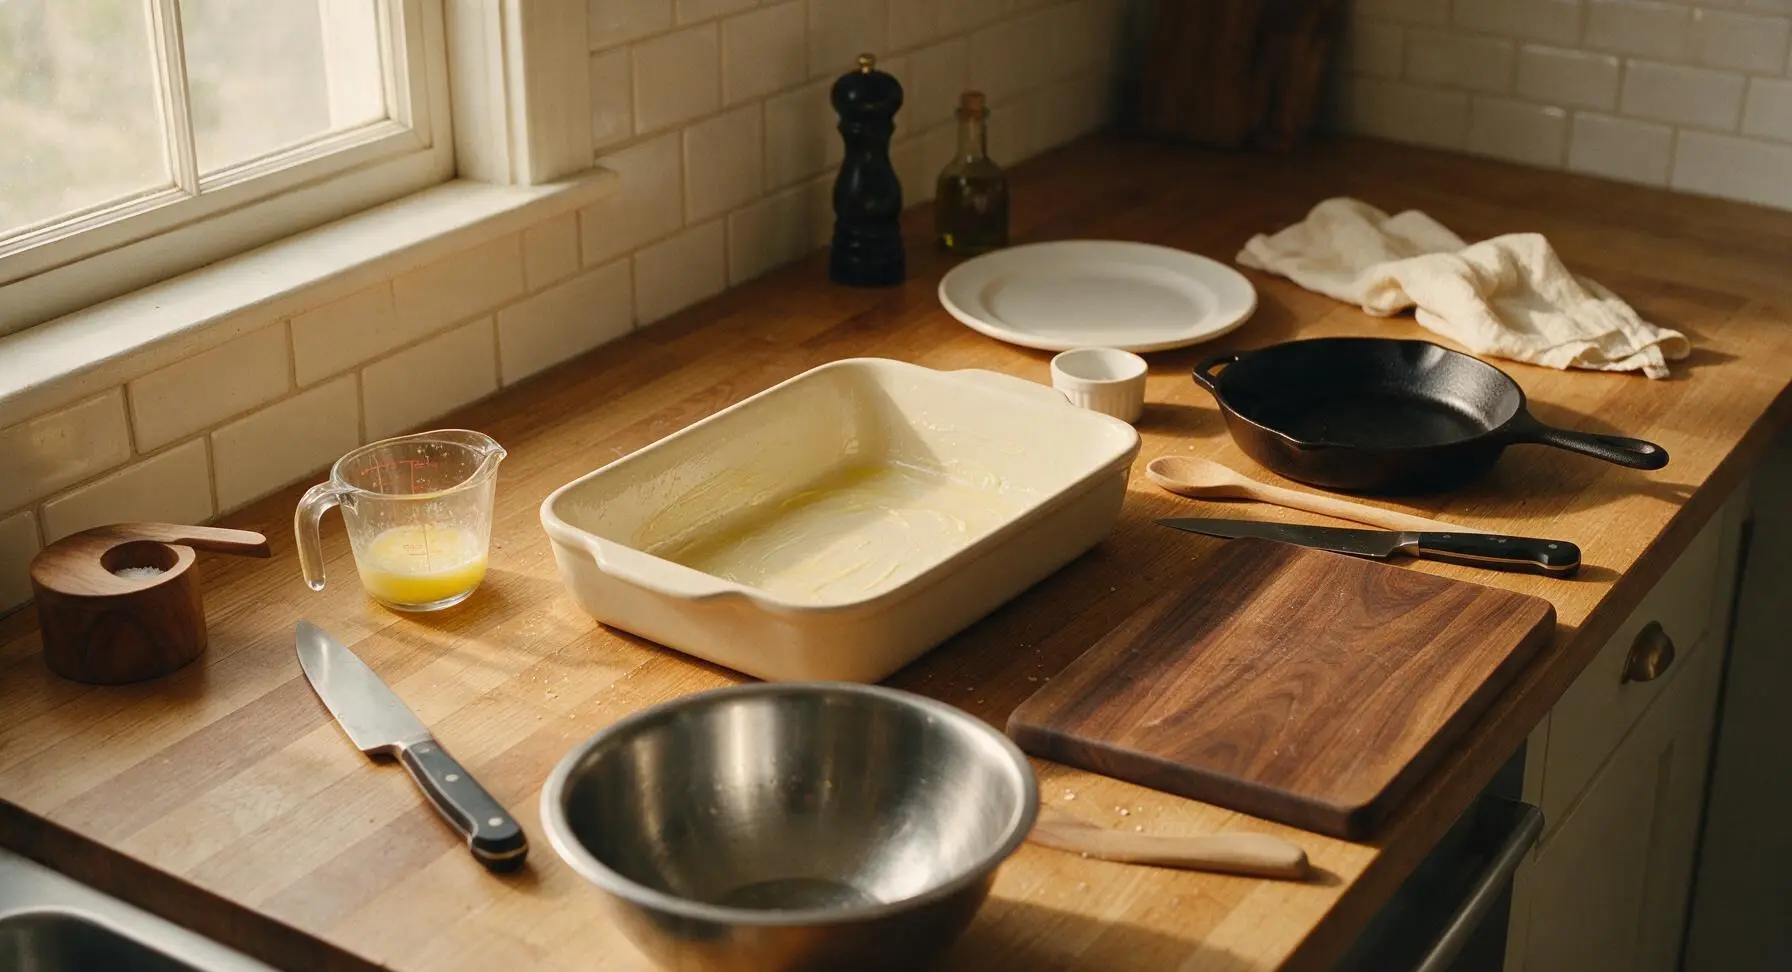
Preheat your oven to 375°F (190°C). Melt the unsalted butter in the clear glass measuring cup. Grab the 9x13 inch matte cream ceramic baking dish, and lightly grease the interior with 1 tablespoon of the melted butter, setting the remaining melted butter aside for the filling and topping. No parchment paper is needed—the light butter coating will prevent sticking.
Dice Onion, Shred Cheese
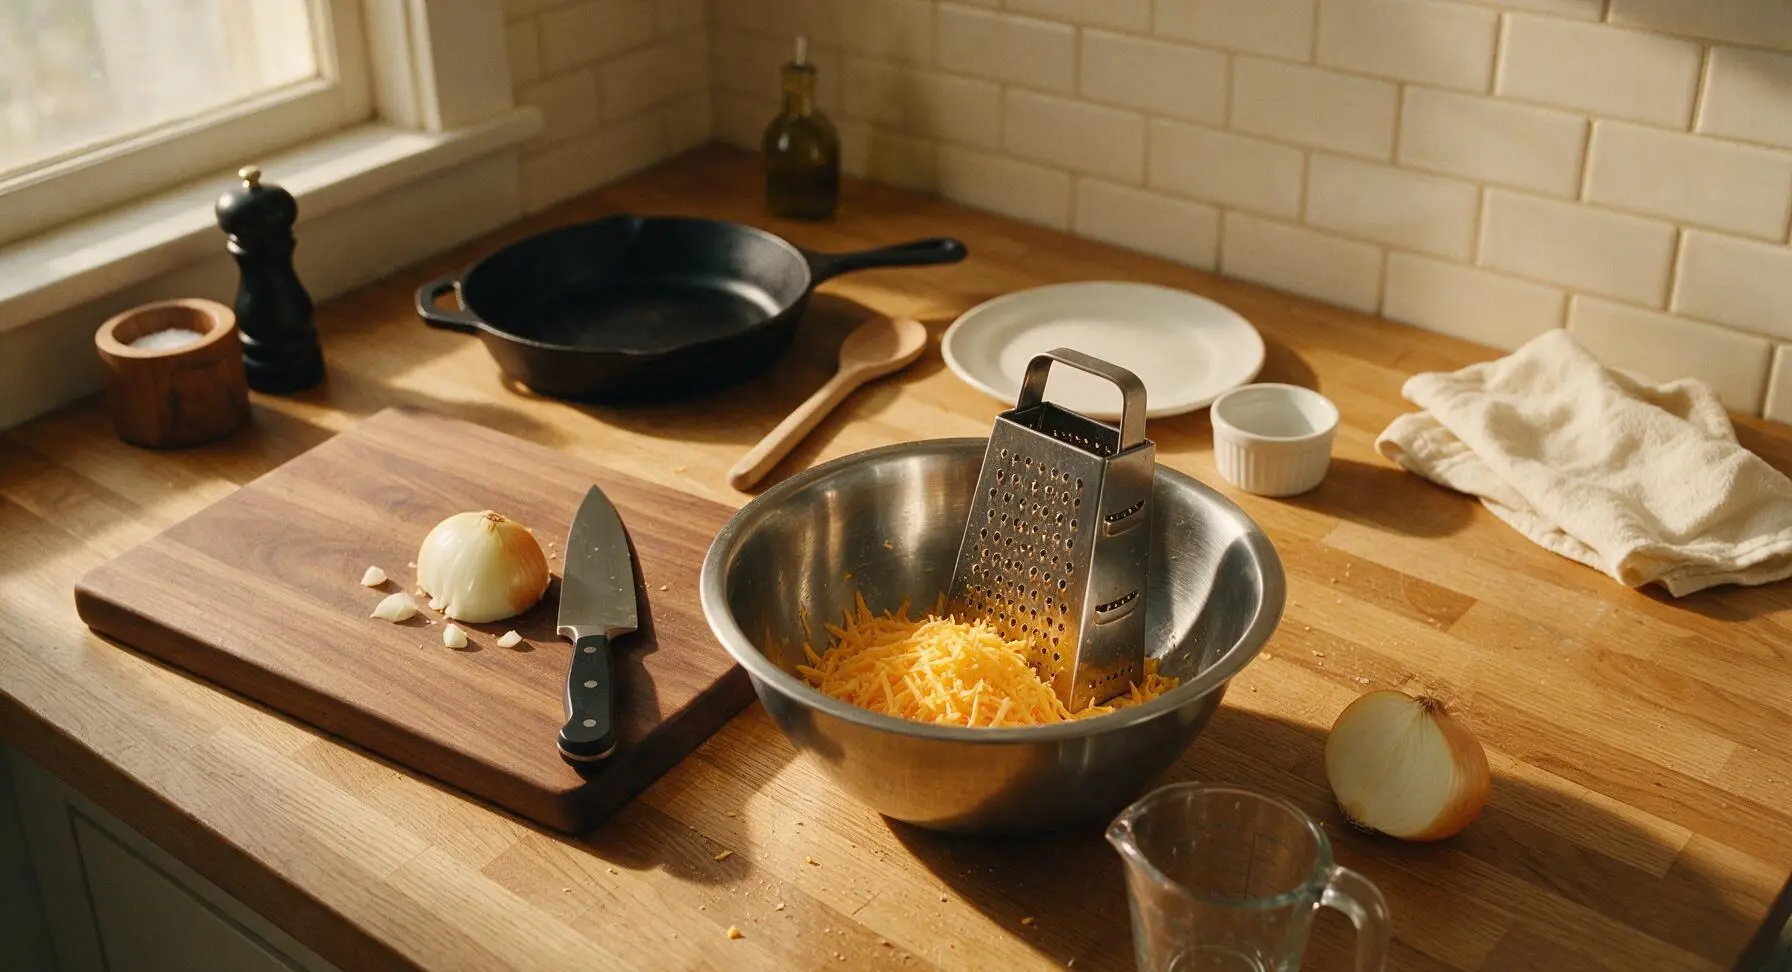
Place the large walnut cutting board on the counter to the left of the mixing bowl. Use the 8-inch chef knife to finely dice the whole yellow onion into uniform 1/4-inch pieces, then set the diced onion aside. Place the four-sided stainless steel box grater into the large stainless steel mixing bowl, hold the block of sharp cheddar against the large grater holes, and shred the entire block into coarse, fluffy shreds. Avoid pre-shredded bagged cheese for this recipe—it contains anti-caking agents that make the filling grainy instead of smooth and creamy.
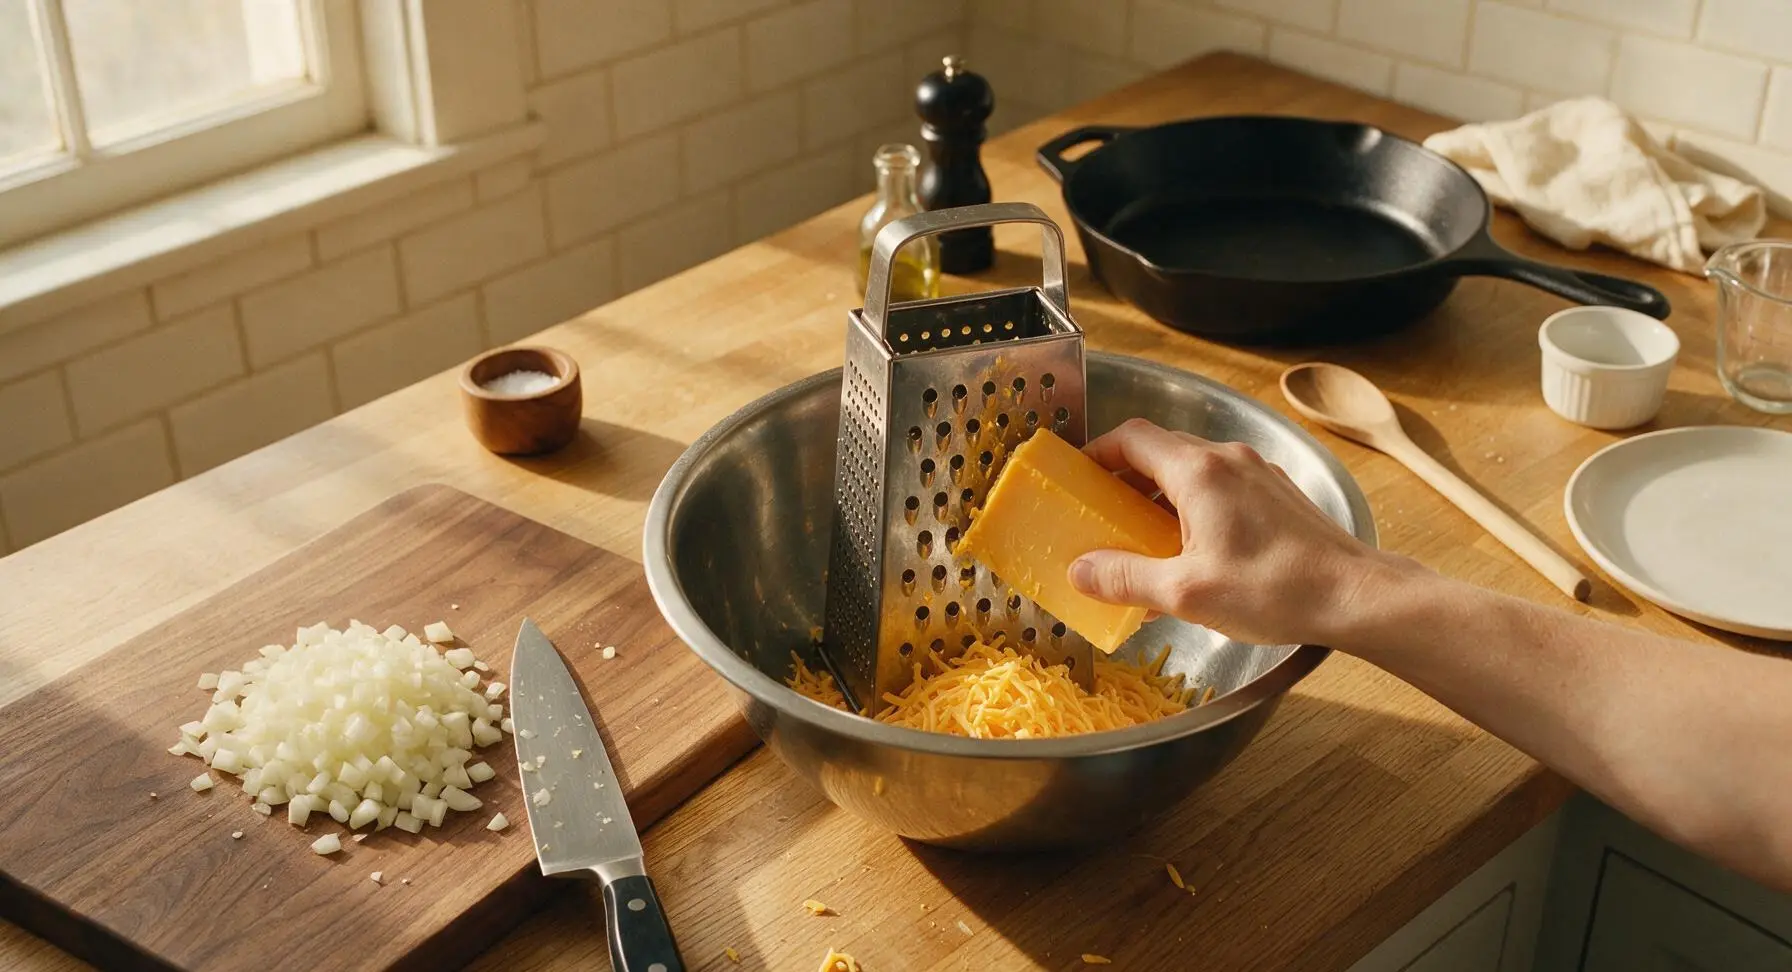
Combine Casserole Filling
Push the cutting board and chef knife to the back left of the counter to make space. To the bowl of shredded cheddar, add the fully thawed and drained shredded hashbrowns, finely diced yellow onion, full-fat sour cream, condensed cream of chicken soup (opened with the manual can opener), garlic powder, kosher salt, freshly ground black pepper, and half of the remaining melted butter. Use the pale yellow silicone spatula to fold all ingredients together gently until evenly combined—do not overmix, as you want the hashbrown shreds to stay intact rather than turning mushy.
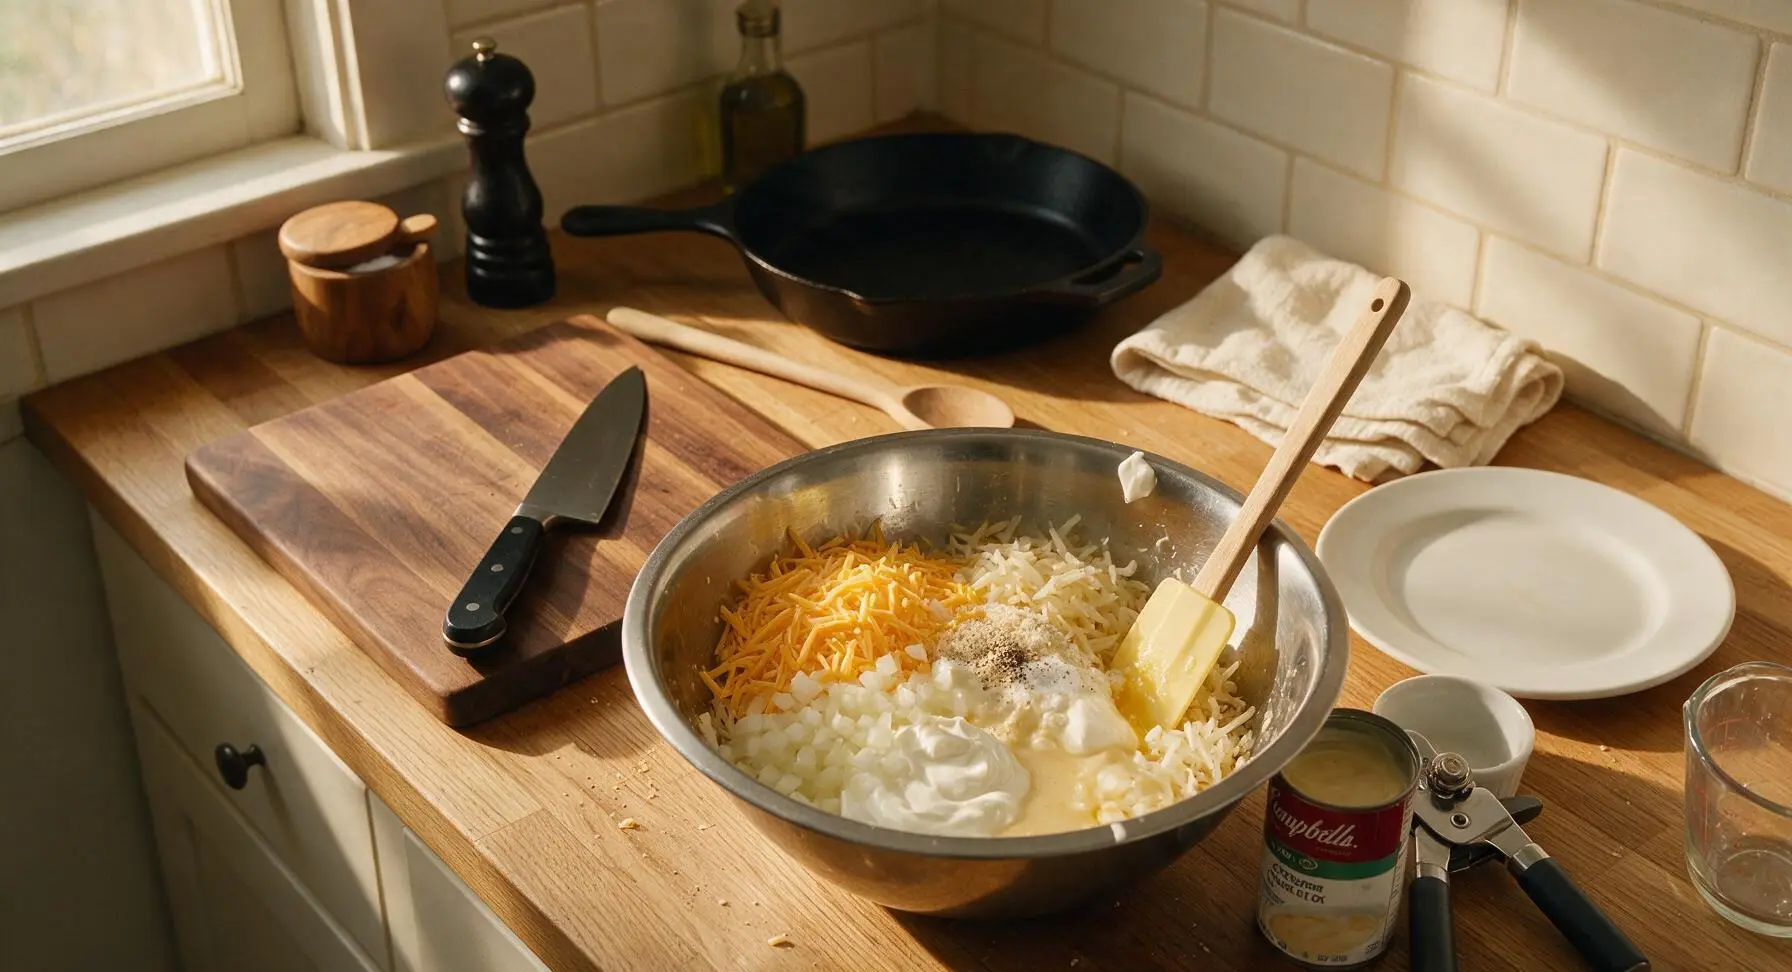
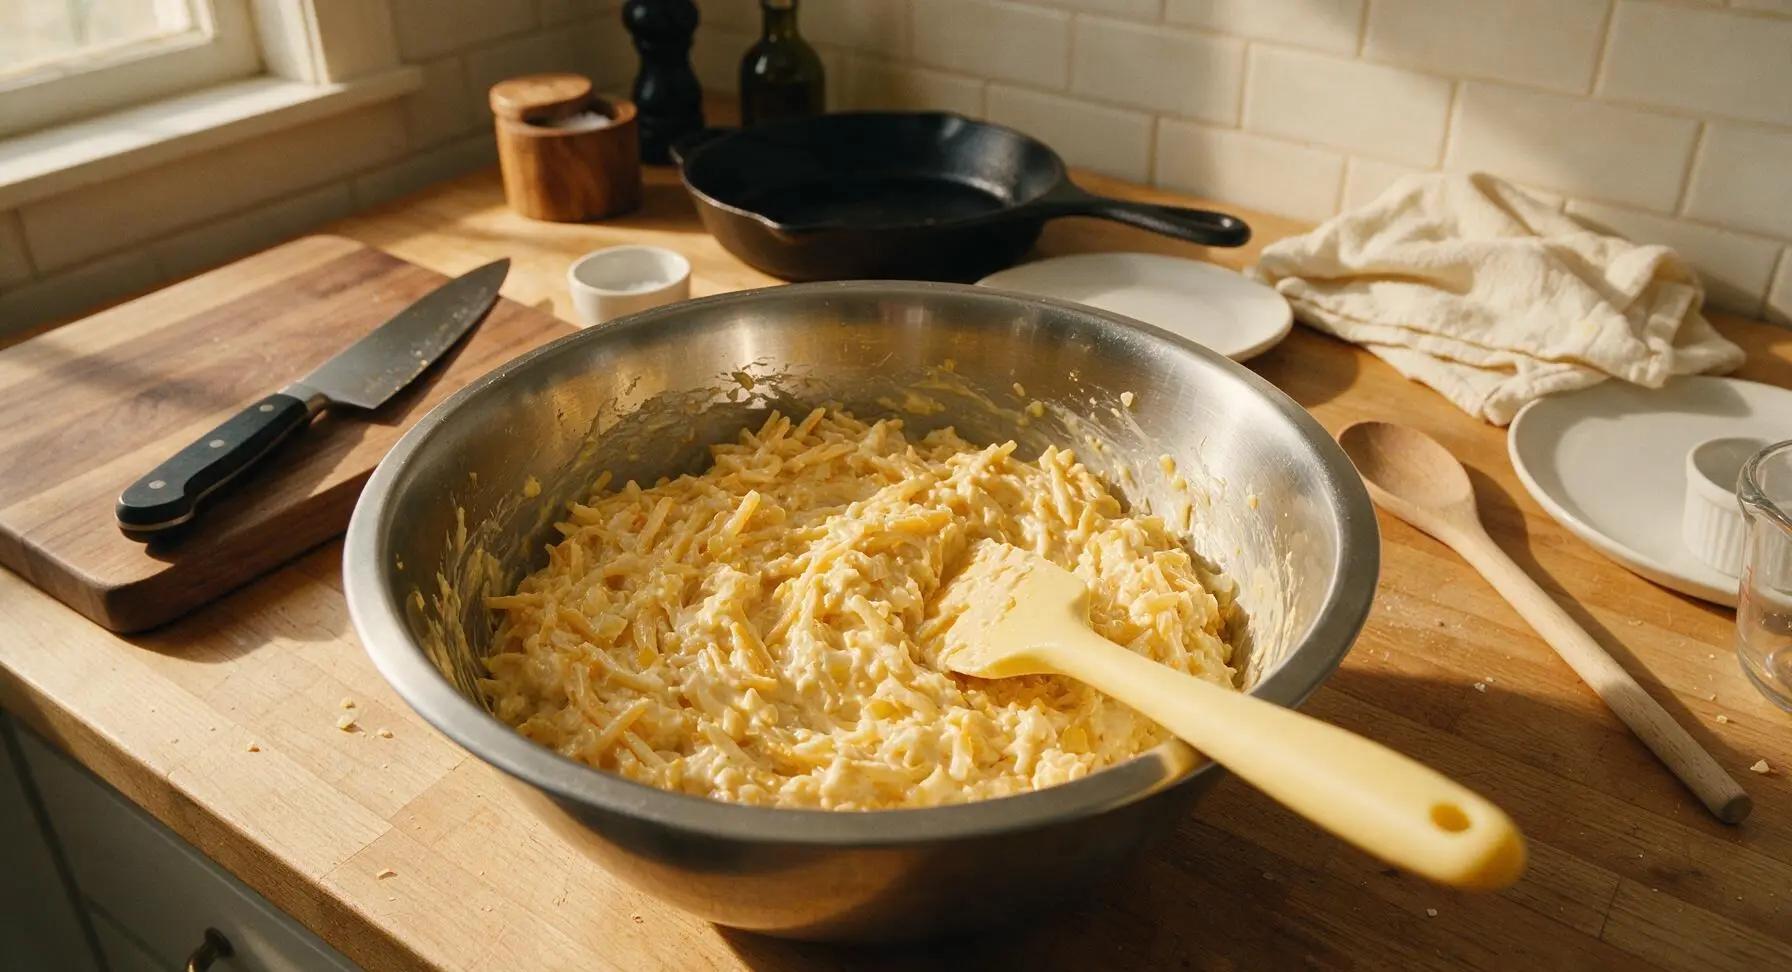
Add Filling to Pan
Scoop all of the mixed filling from the mixing bowl into the prepared buttered 9x13 inch baking dish. Use the silicone spatula to spread the filling into an even, flat layer across the entire dish, pressing gently to eliminate air pockets. Do not pack the filling too tightly, as this will make the casserole dense instead of light and creamy.
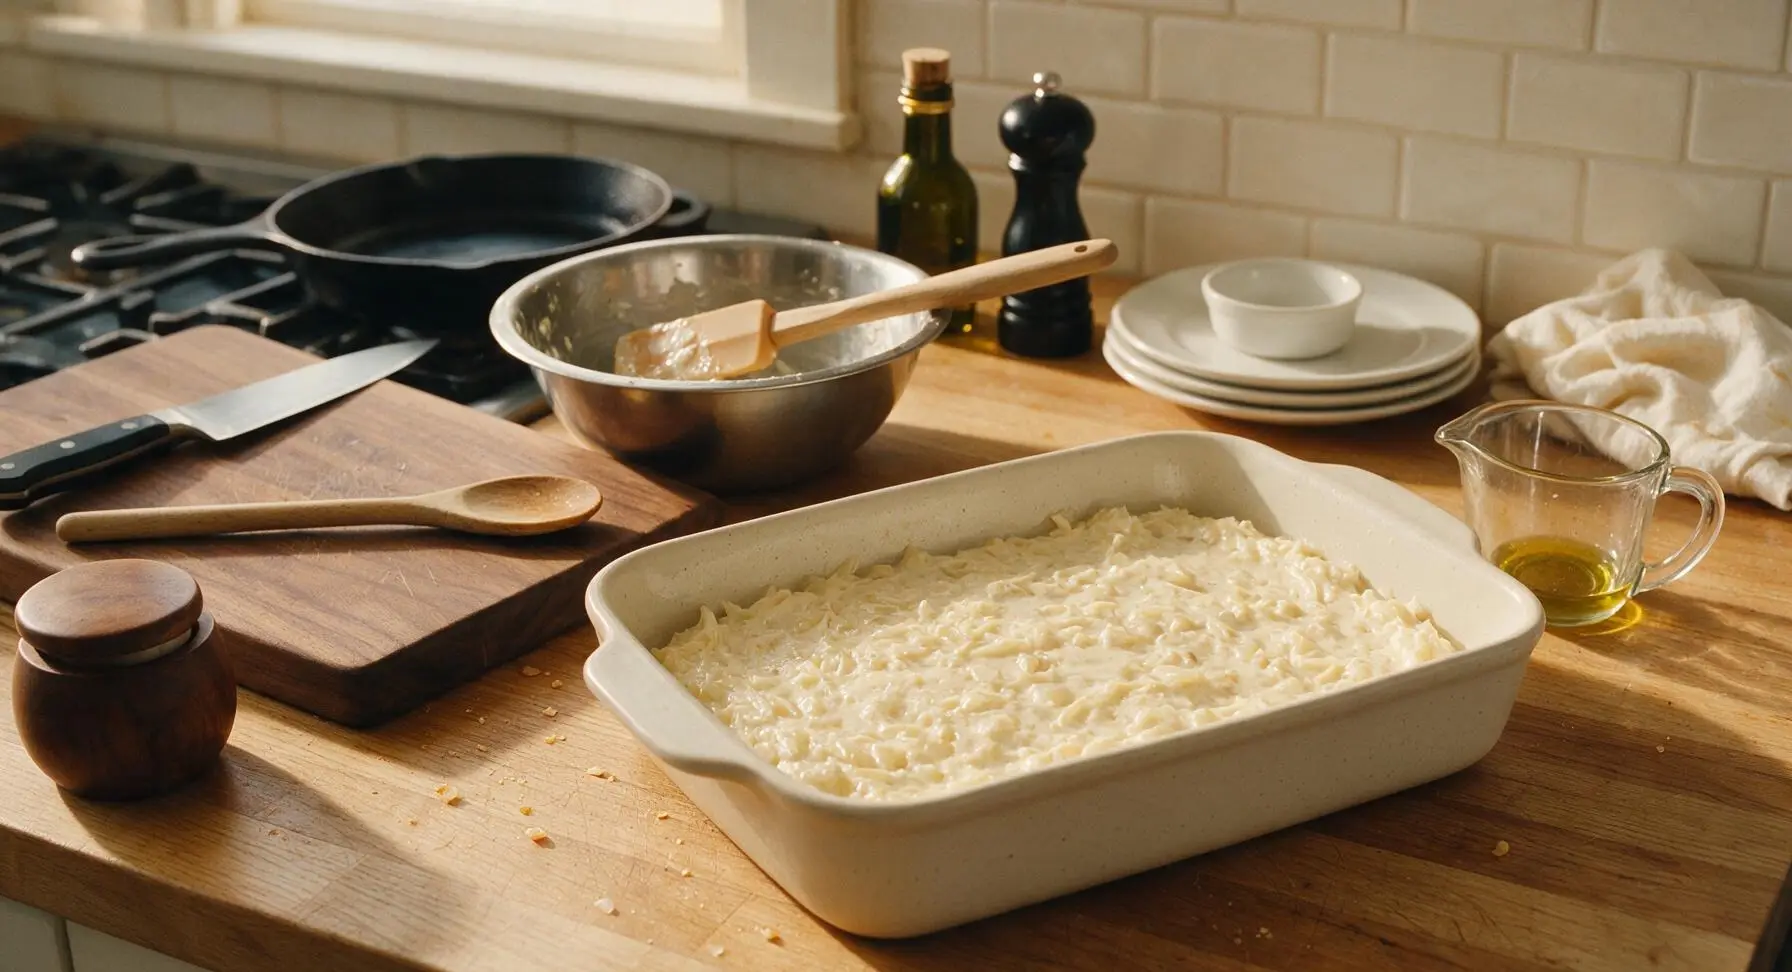
Make Chip Topping
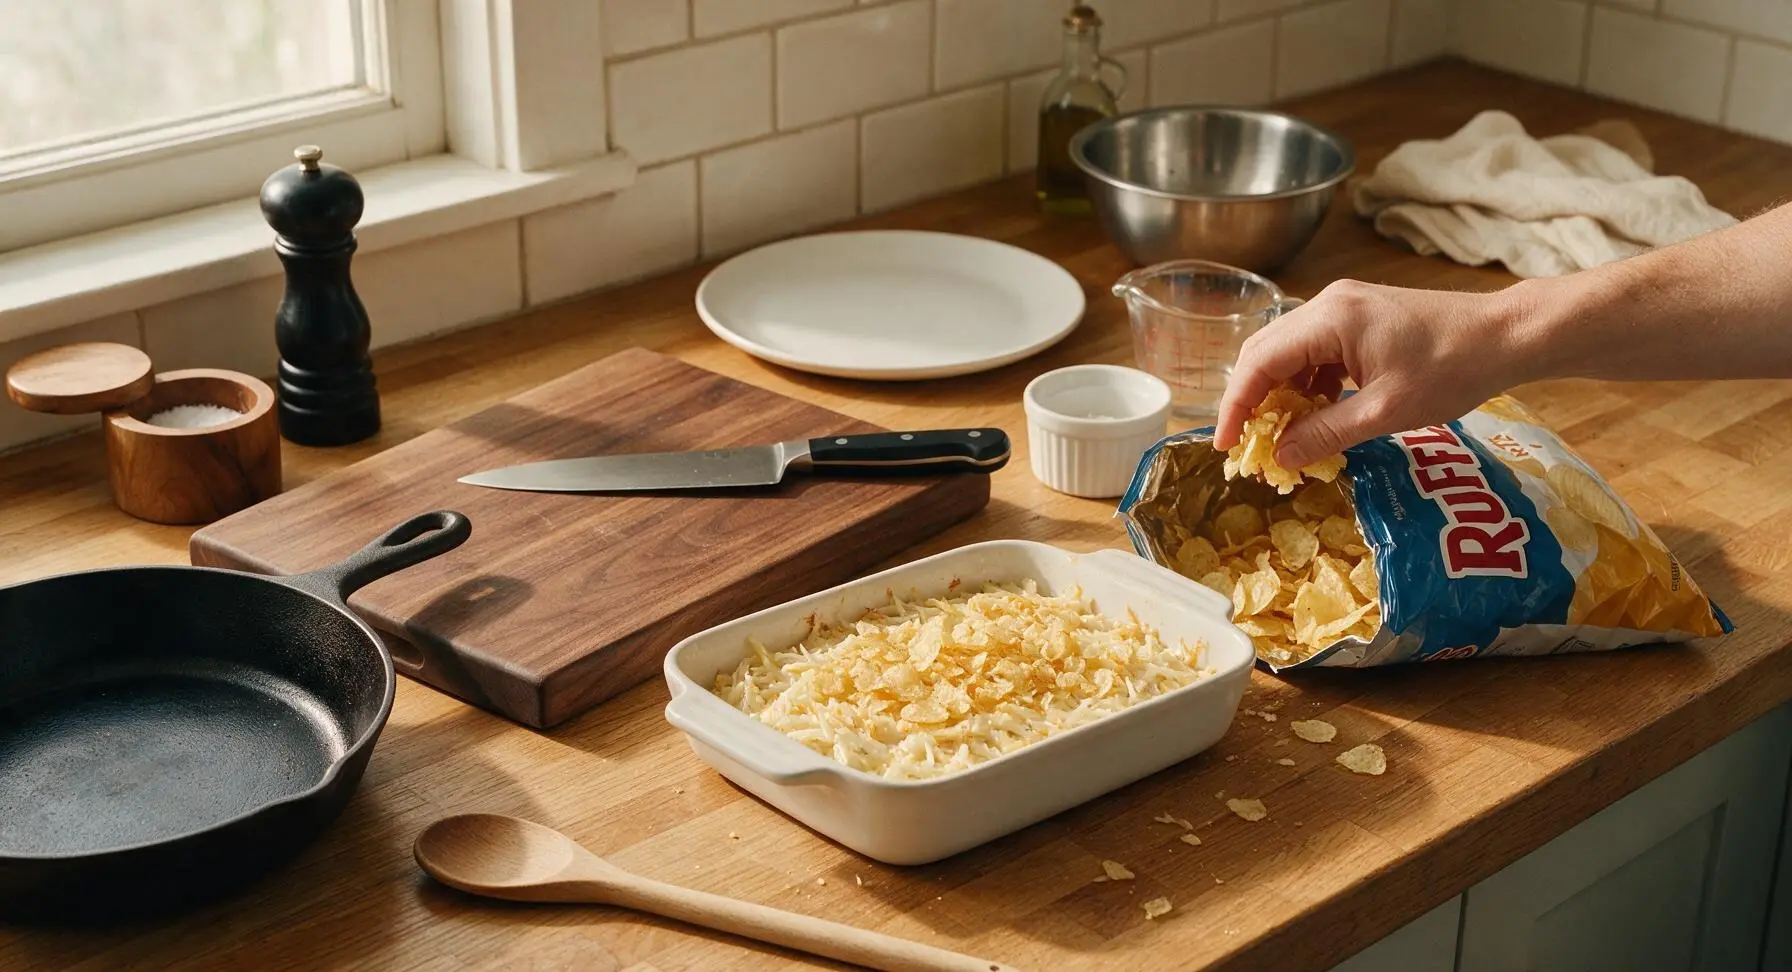
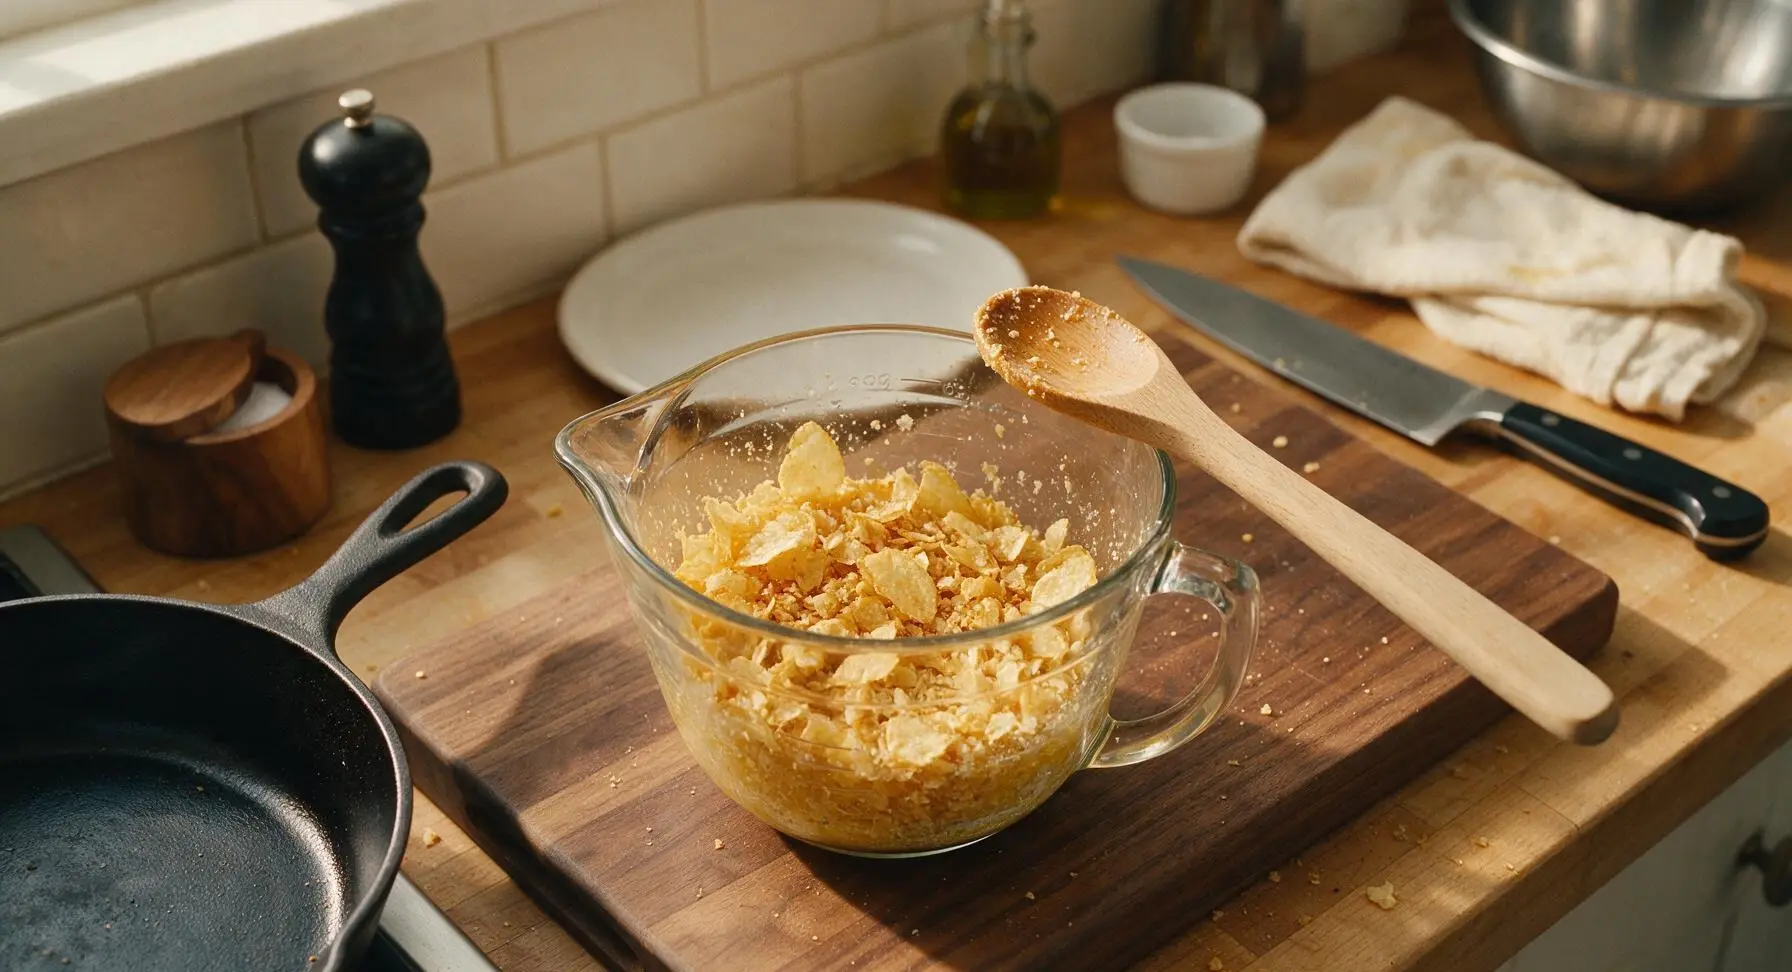
Place the original Ruffles potato chips into their open bag, and crush them with your hands into coarse, uneven crumbs—aim for a mix of pea-sized crumbs and larger 1-inch chip pieces for texture, not fine dust. Pour the crushed chips into the remaining melted butter in the glass measuring cup, and toss gently with the spatula to coat the crumbs evenly with butter.
Bake Until Bubbly
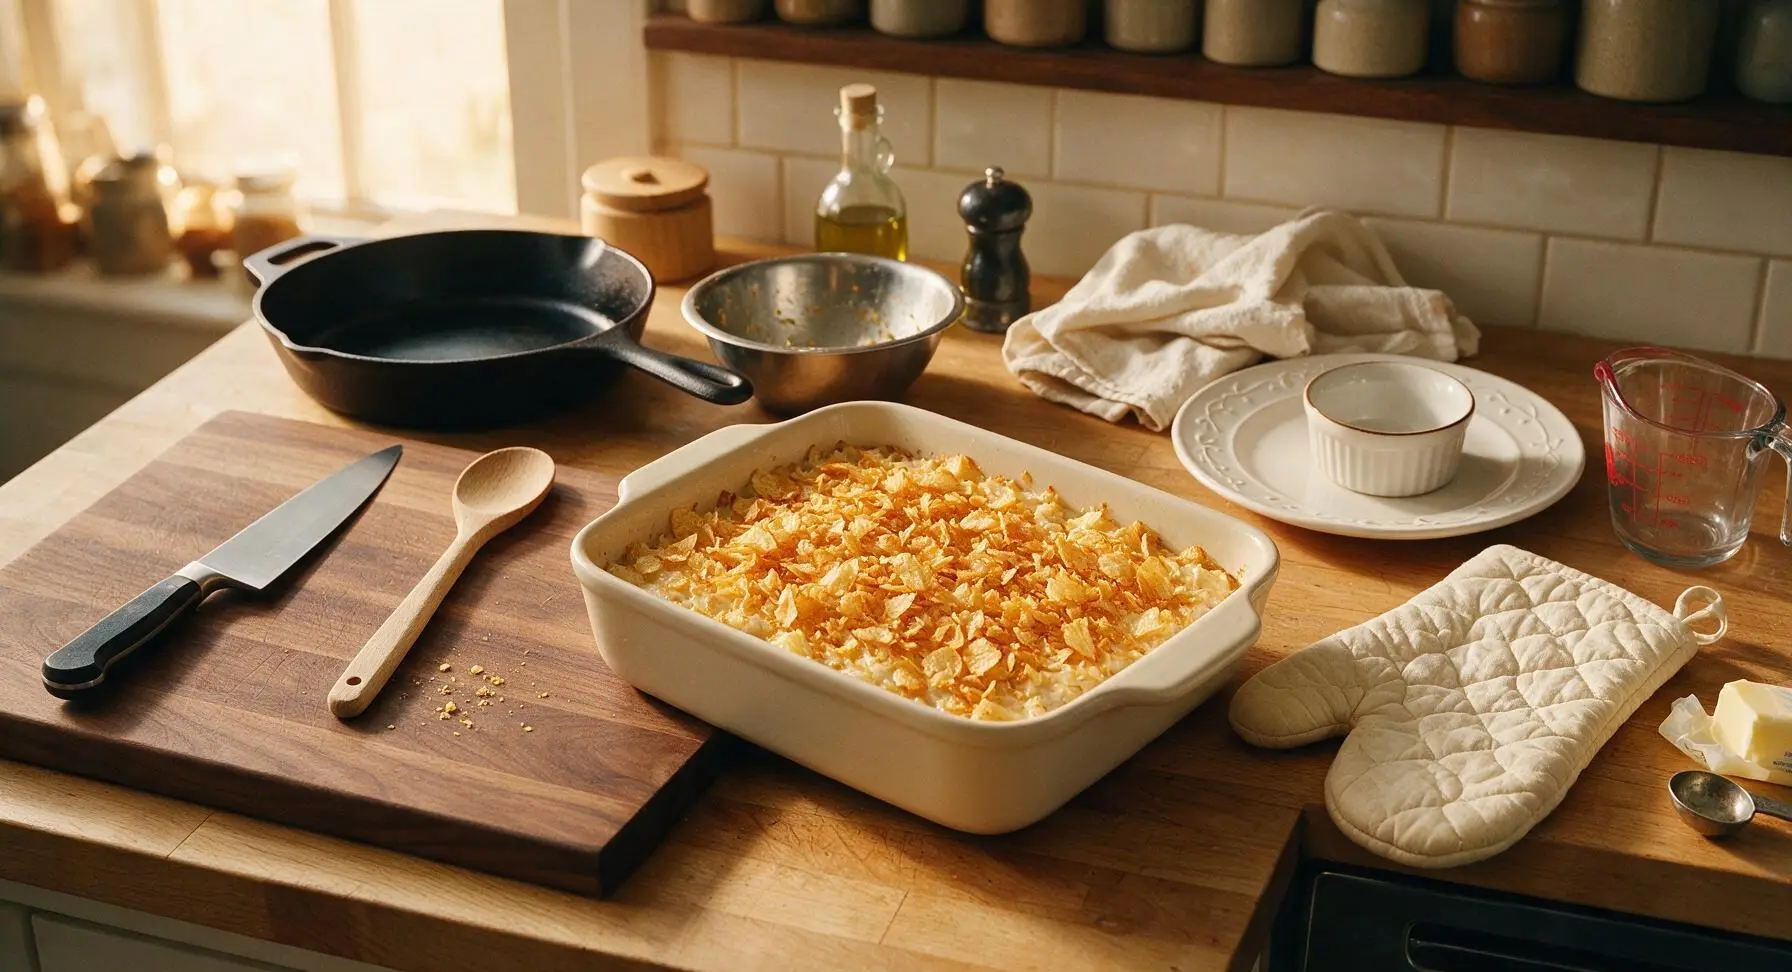
Sprinkle the buttered Ruffles crumbs evenly across the entire top of the hashbrown filling in the baking dish, leaving a few larger chip pieces exposed for extra crunch. Place the dish on the middle rack of the preheated 375°F (190°C) oven, and bake for 45-50 minutes, until the edges are bubbling vigorously and the chip topping is deep golden and crisp. If the topping starts to brown too quickly after 30 minutes, tent a piece of foil loosely over the top for the remaining cook time.
Rest and Garnish
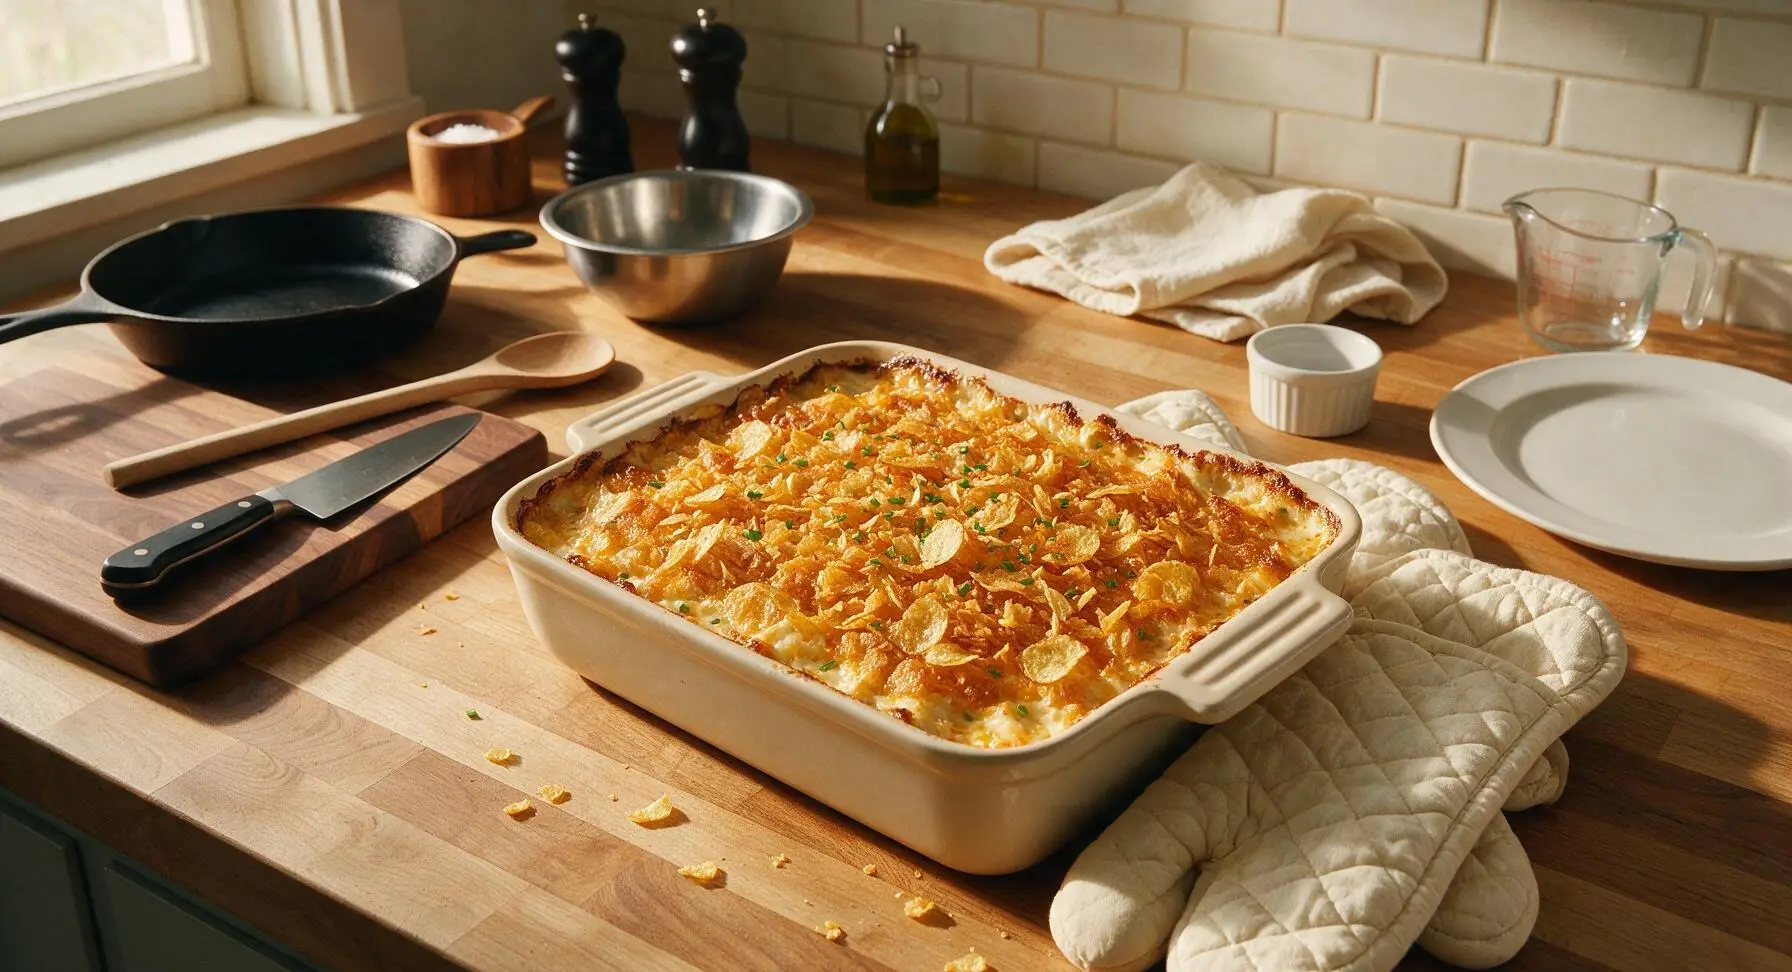
Once baked, use the cream cotton oven mitts to carefully remove the hot casserole from the oven, and let it rest for 10 minutes at room temperature before serving—this allows the creamy filling to set so it doesn’t run when scooped. Sprinkle the top with freshly chopped chives for a bright, fresh color contrast.
Tips
2.Crush Ruffles to uneven sizes, not fine crumbs: A mix of 1-inch chip pieces and pea-sized crumbs creates the best crunchy texture contrast to the soft creamy filling; finely crushed dust will turn soggy when coated in butter and baked.
3.Make this casserole ahead for easy potluck transport: Assemble the filling in the baking dish, cover tightly, and refrigerate for up to 24 hours. Wait to add the buttered Ruffles topping until right before baking to keep the chips crisp, rather than letting them absorb moisture from the filling in the fridge.






OMG this was such a game changer for our weekly Sunday family dinner! I was so tired of my same old hashbrown casserole recipe and swapping the regular potato chips for crushed Ruffles gave it the perfect salty crunch. My 3 kids went back for seconds, even my picky 7 year old! So easy to throw together too, I had all the ingredients in my pantry already.
Brought this to my office potluck yesterday and it was GONE in 10 minutes flat. People were coming up to me all afternoon asking for the recipe! I added a handful of crumbled cooked bacon because I can never leave well enough alone, and it was chef’s kiss. Only note is I wish I’d made a double batch!
Made this on Sunday for my weekly meal prep and it held up perfectly all week for lunches! I was worried the Ruffles would get soggy after a couple days in the fridge, but they stayed surprisingly crisp. 10/10, will be adding this to my regular rotation.
Made this for my roommates last night and we all ate way too much lmao. It’s so easy even I can’t mess it up, and it tastes like the fancy side my grandma makes for Thanksgiving but half the work. Absolute banger of a recipe.
Really tasty overall! The Ruffles add such a great crunch that regular hashbrown casserole is missing. My only tiny complaint is that I found it a little too salty for my taste – I think next time I’ll use reduced sodium cream of chicken soup to cut that a bit. Still a huge hit with the fam, though!
Wait this looks absolutely insane! Quick question before I make it for my girlfriend’s family dinner this weekend – can I assemble this the night before and bake it the next day? I want to get all my prep done Friday night so I’m not running around the kitchen Saturday when everyone shows up. Would that make the Ruffles soggy?
Okay full transparency, I burned the top layer of Ruffles a little because I got distracted walking my dog mid-bake lmao, but even the slightly burnt parts were SO good. The creamy cheesy hashbrowns under the crunch are unreal. Next time I’ll set three timers so I don’t walk away, oops.
My mom used to make something like this when I was a kid but I haven’t had it in years. Made this last night and it tasted exactly like childhood. 10/10, no notes.
Made this dairy free for my sister who’s lactose intolerant by using vegan cheddar and dairy free sour cream + cream of mushroom soup, and it was still so creamy and delicious! Even my non-dairy-free brother said he couldn’t tell the difference. Such a flexible recipe!
Served this at our college football watch party last weekend and it was the ultimate crowd pleaser. All the guys were raving about it, especially the crunchy Ruffles top paired with the cheesy potatoes. Way better than the boring chips and dip we usually do!
SO. MUCH. CHEESE. The Ruffles crunch sends this over the top. My new go-to side for every cookout from now on.
Wait y’all, I used sour cream and onion Ruffles for this on a whim because that’s all I had in the pantry, and it was LIFE CHANGING. Added that little extra zing of flavor that made it taste even better. 10/10 recommend trying that swap if you have them!
I’ll be honest, I thought this was going to be super mid when my wife asked me to make it with her. Like, Ruffles in a casserole? Sounded like a weird stoner snack idea. But wow, I was so wrong. It’s creamy, salty, crunchy, perfect comfort food. I ate two huge servings and asked for leftovers for lunch today.
Made this for my grandkids when they came to visit last weekend and they ate every last bite. My oldest grandson said it’s even better than the hashbrown casserole I’ve been making for 40 years! High praise coming from that kid, let me tell you. Super easy to whip up too, even with my old arthritis acting up.
This was perfect for a quick weeknight dinner side! I was worried 50 minutes would be too long after getting home from work, but most of that is bake time where I can help the kids with homework, so it was totally hands off. Threw together a quick salad and some baked chicken to go with it, and the whole family cleaned their plates.
Made this at 2am after a night out with my friends and we all agreed it’s the best thing we’ve ever eaten. 10/10, would make drunk again. Wait, would also make sober, it’s just that good.
I tested this out ahead of our Easter dinner this year to see if it was worth making for the whole family, and it’s definitely going on the menu! Quick question – if I double the recipe for a 9x13 pan, do I need to adjust the bake time at all?