1.What can I use if I can’t find dry-curd farmer’s cheese (tvorog) for paskha?
▾
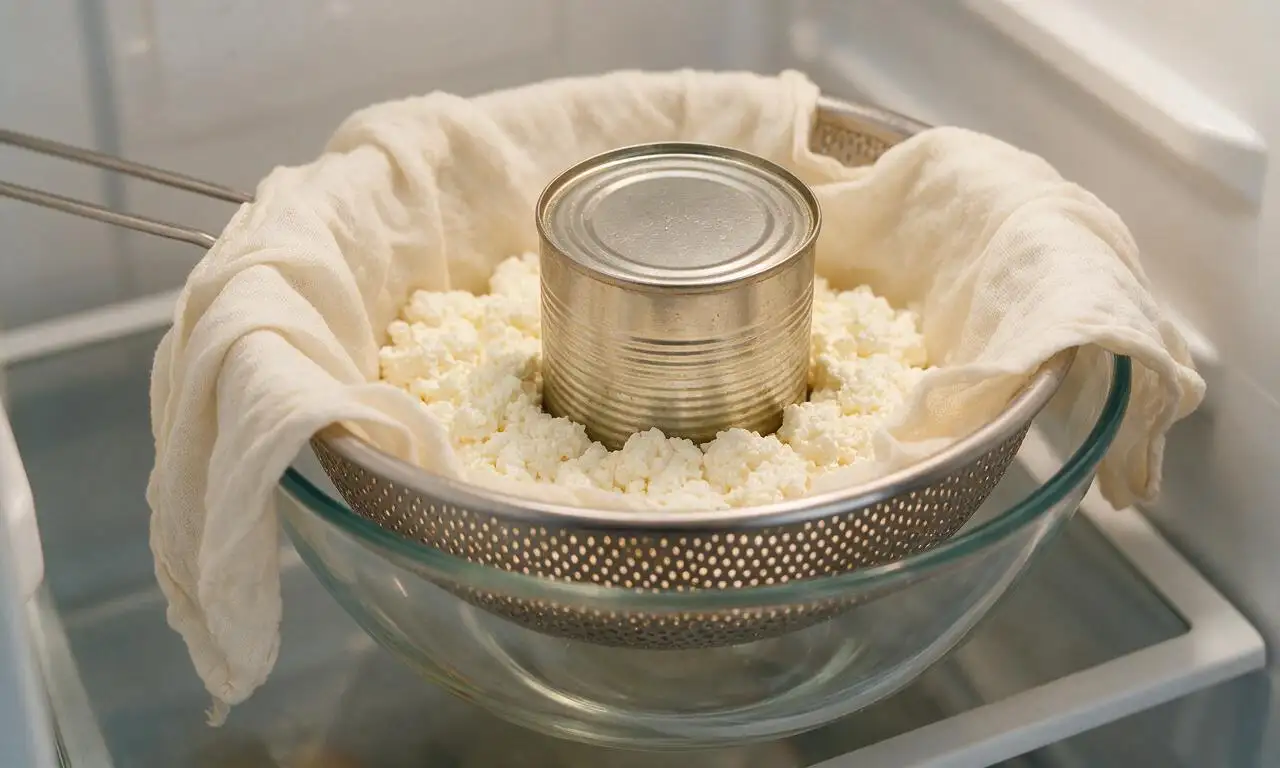
The closest substitute is pressed, fully drained full-fat cottage cheese. Line a sieve with double-layered cheesecloth, add the cottage cheese, set it over a bowl, and weight it for 8–12 hours in the fridge to squeeze out all excess whey until it’s as dry as possible. Avoid low-fat cottage cheese with added gums, as those create a gummy, uneven final texture.
2.Do I really need to mold paskha into a pyramid shape, or can I use a regular dish?
▾
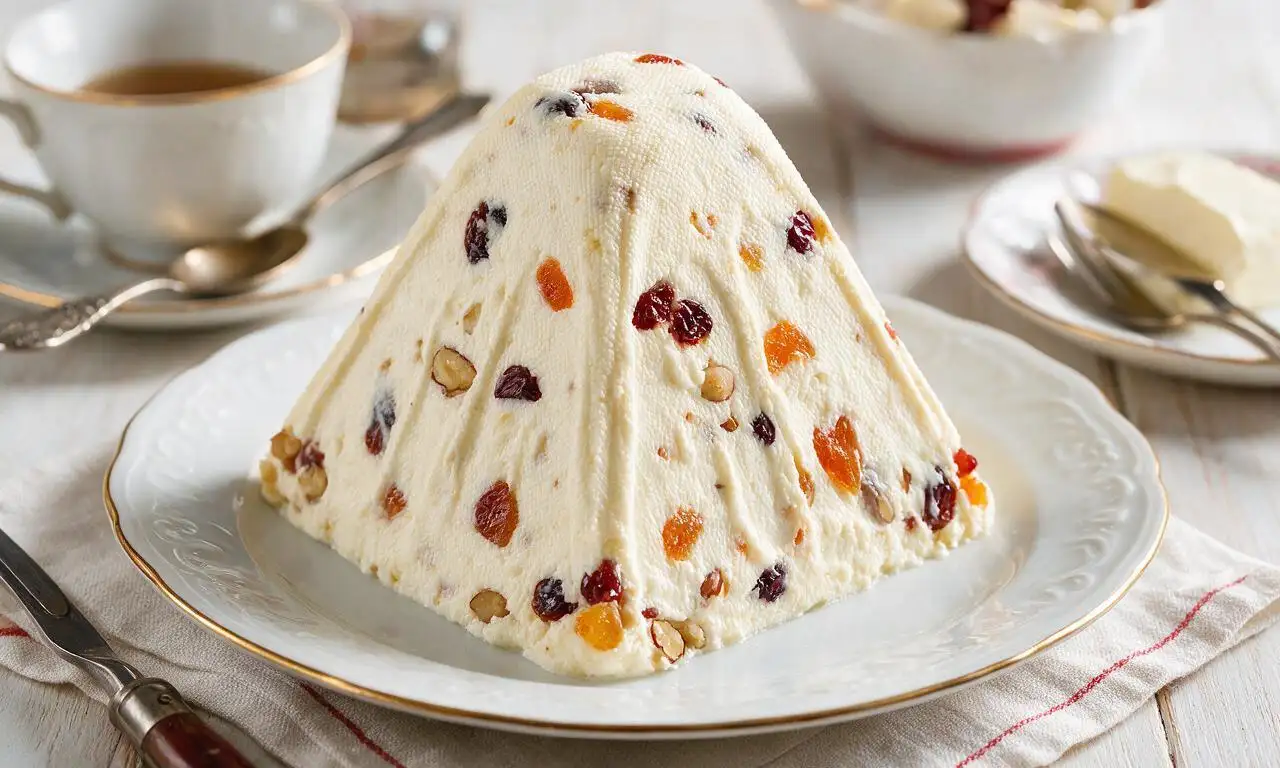
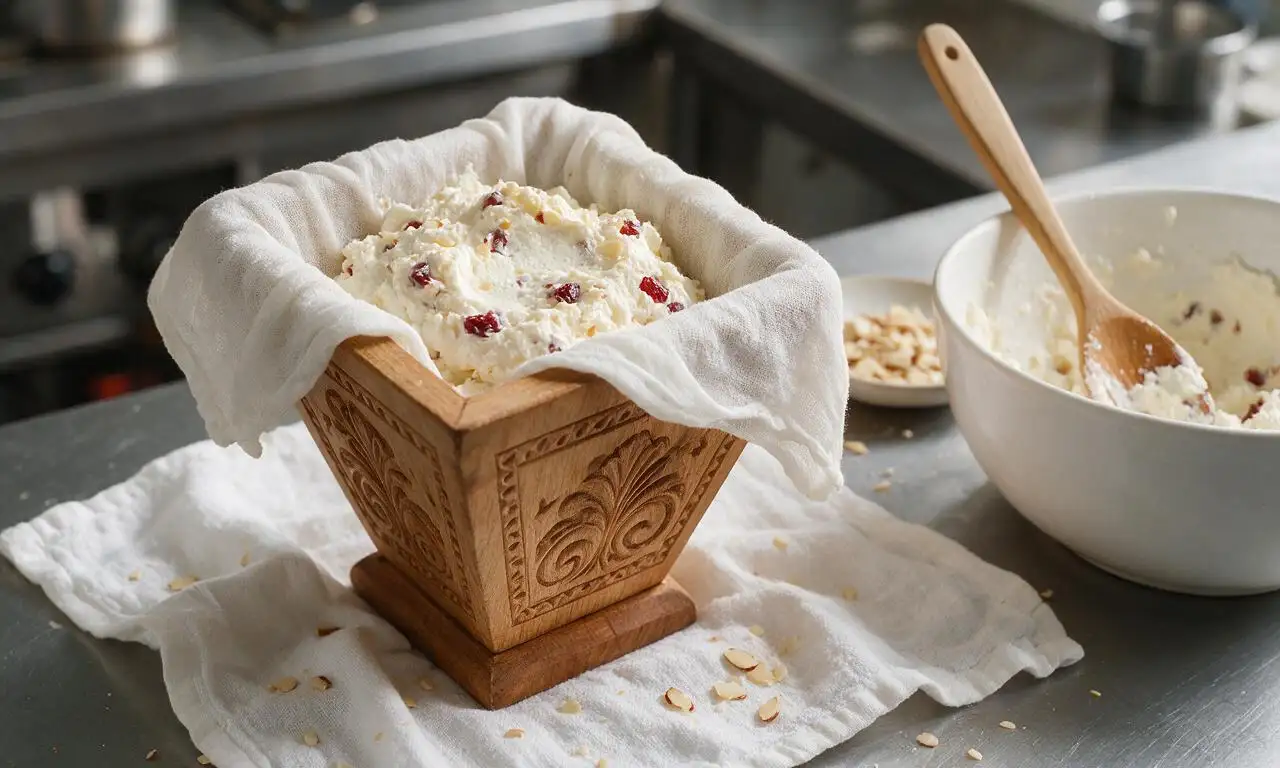
You don’t need a traditional wooden paskha mold to make this dessert! The pyramid shape is symbolic of the Holy Sepulchre, but you can use a clean terracotta pot lined with cheesecloth, a fine-mesh sieve, or even a small loaf pan. The key requirement is that your chosen vessel allows excess whey to drain, so poke small holes in solid dishes before adding the cheese mixture.
3.Is it safe to eat the raw egg yolks in traditional paskha?
▾
This recipe specifies pasteurized large egg yolks specifically to eliminate food safety risks when served uncooked. Look for in-shell pasteurized eggs at most major grocery stores—they’re gently heat-treated to kill harmful bacteria without cooking the egg. If serving immunocompromised guests or young kids, skip the yolks and add 2 extra ounces of softened cream cheese for matching richness.
4.How long do I need to let my paskha drain before serving?
▾
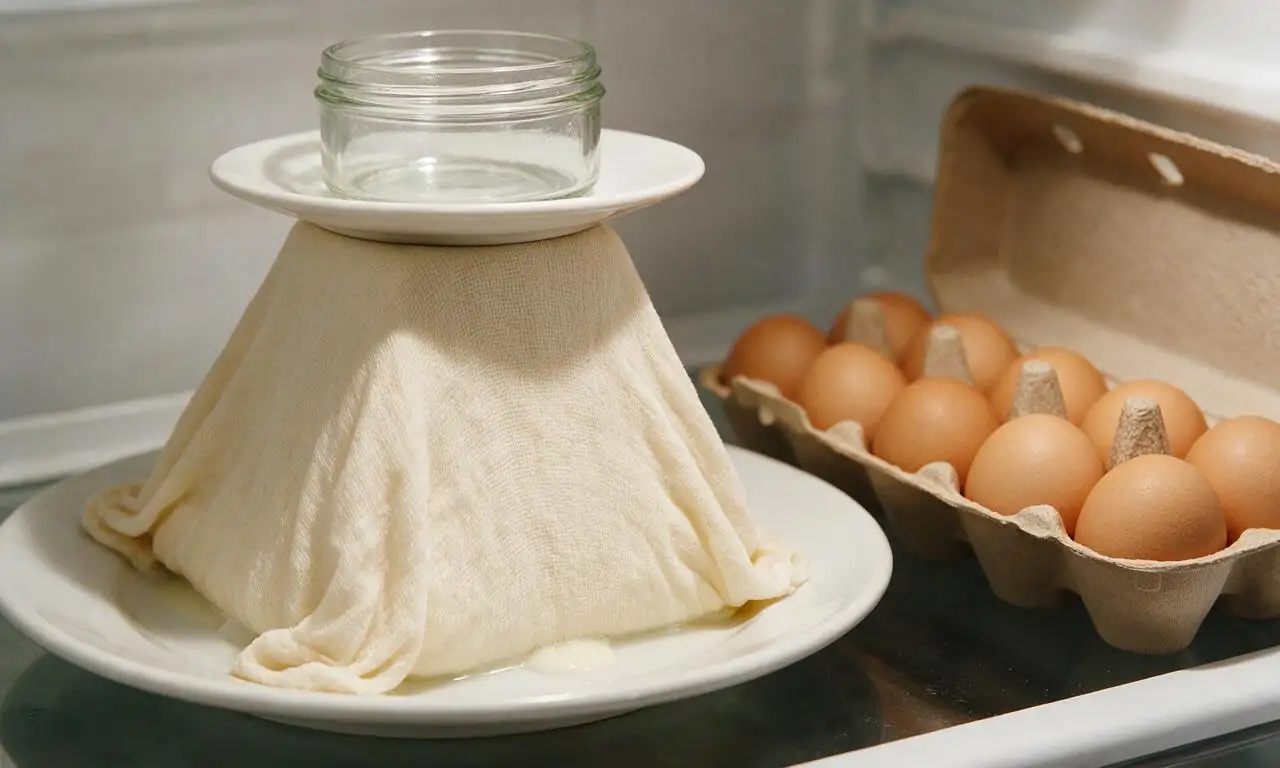
For the firm, sliceable, dense texture traditional paskha is known for, let it drain under light weight in the fridge for a minimum of 12 hours, and ideally 24. Empty the whey catch bowl every 6 hours so the base of the dessert doesn’t sit in pooled liquid and turn soggy. Rushing this draining step is the most common cause of soft, misshapen paskha.
5.What dried fruits and nuts are traditional to add to paskha?
▾
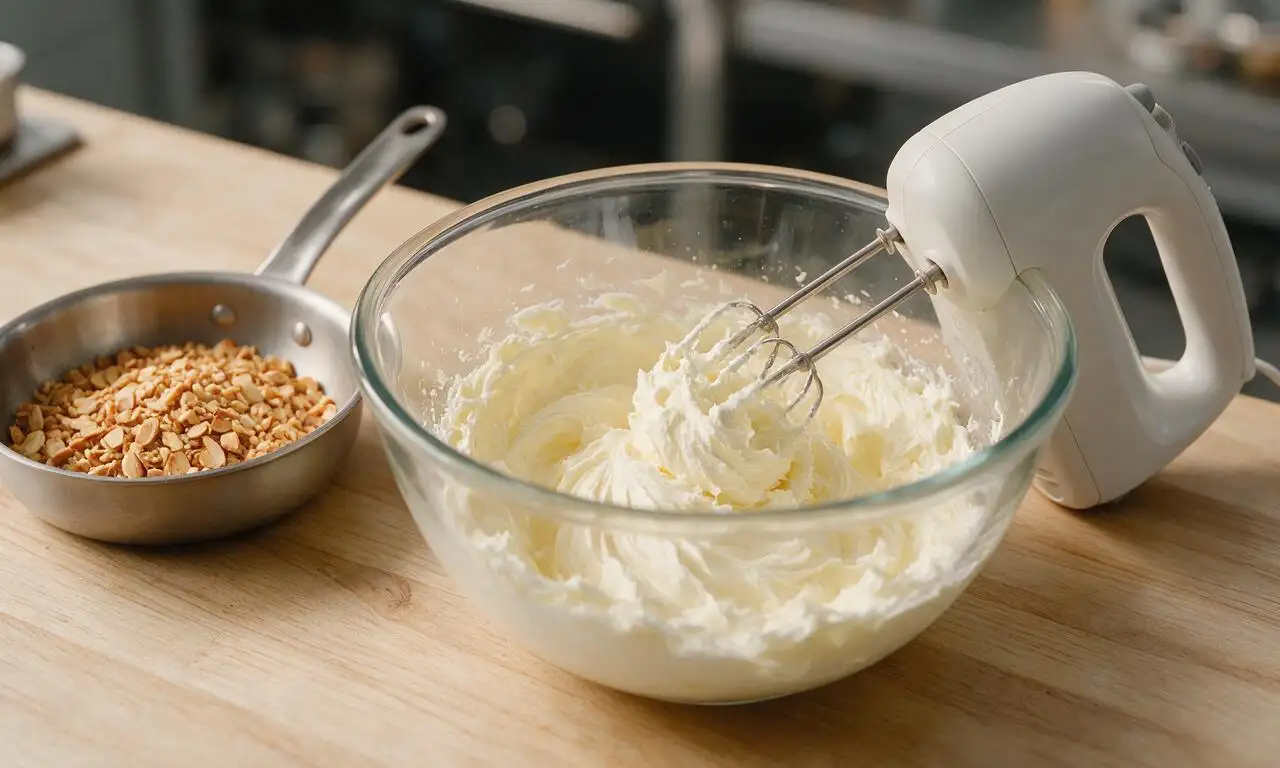
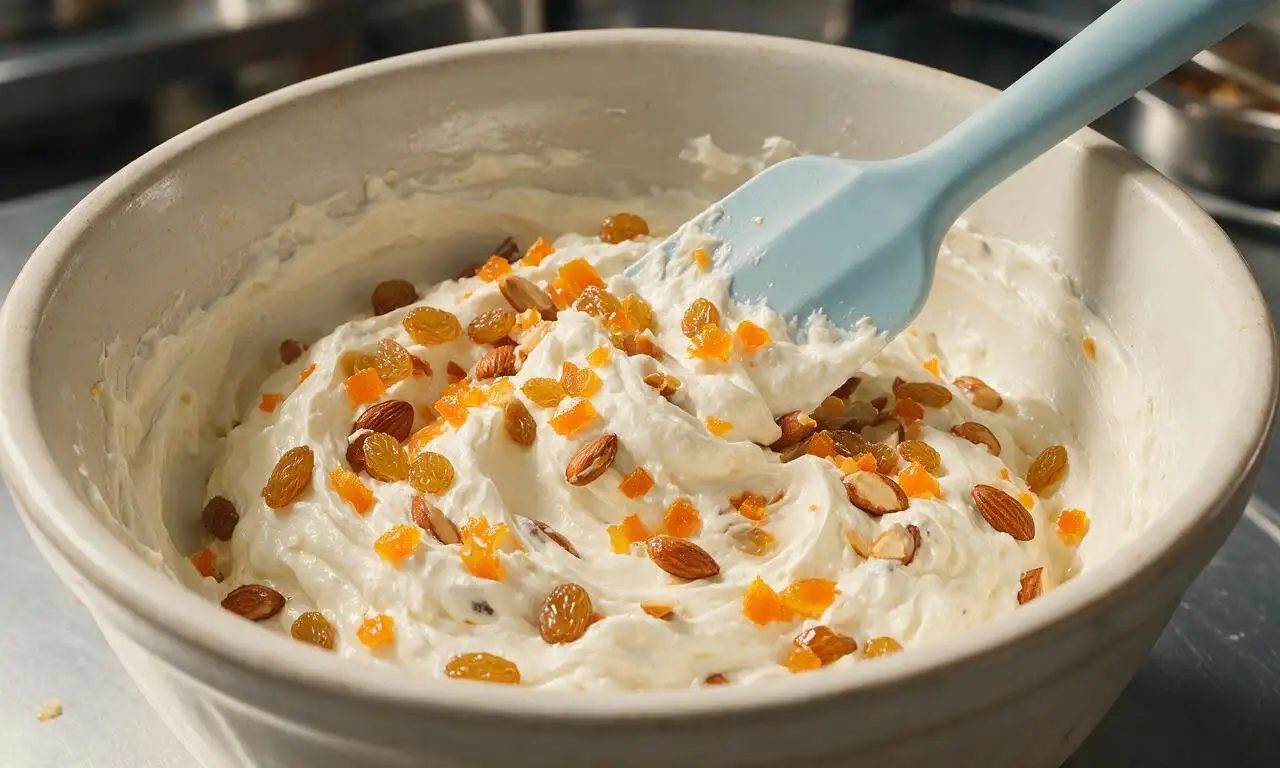
The classic mix includes golden raisins, chopped candied orange peel, slivered blanched almonds, and occasionally a small handful of dried currants or chopped dried apricots. Plump dried fruit in a tablespoon of dark rum or orange juice for 30 minutes (then pat fully dry!) before folding it in, and toast nuts for 5 minutes at 350°F to amp up their warm, nutty depth.
6.Can I make paskha ahead of time for Easter dinner?
▾
Paskha actually tastes better when made ahead! Its flavors meld and texture firms up perfectly after 1–3 days in the fridge, kept tightly wrapped in its cheesecloth lining inside an airtight container. It will keep well for up to 5 days total when stored consistently cold. I don’t recommend freezing it, as the dairy will separate and turn grainy when thawed.
7.Why does my paskha turn out runny even after draining for 24 hours?
▾
Runny paskha almost always traces back to excess residual moisture in your core ingredients. Make sure your tvorog or farmer’s cheese is completely dry, your butter is softened but not melted, and you use thick, full-fat sour cream instead of a watery, low-fat grocery store brand. Un-drained soaked fruit or overmixed cheese can also release extra moisture that softens the final dessert.
8.Do I need a special wooden paskha mold to get the traditional decorative imprints?
▾
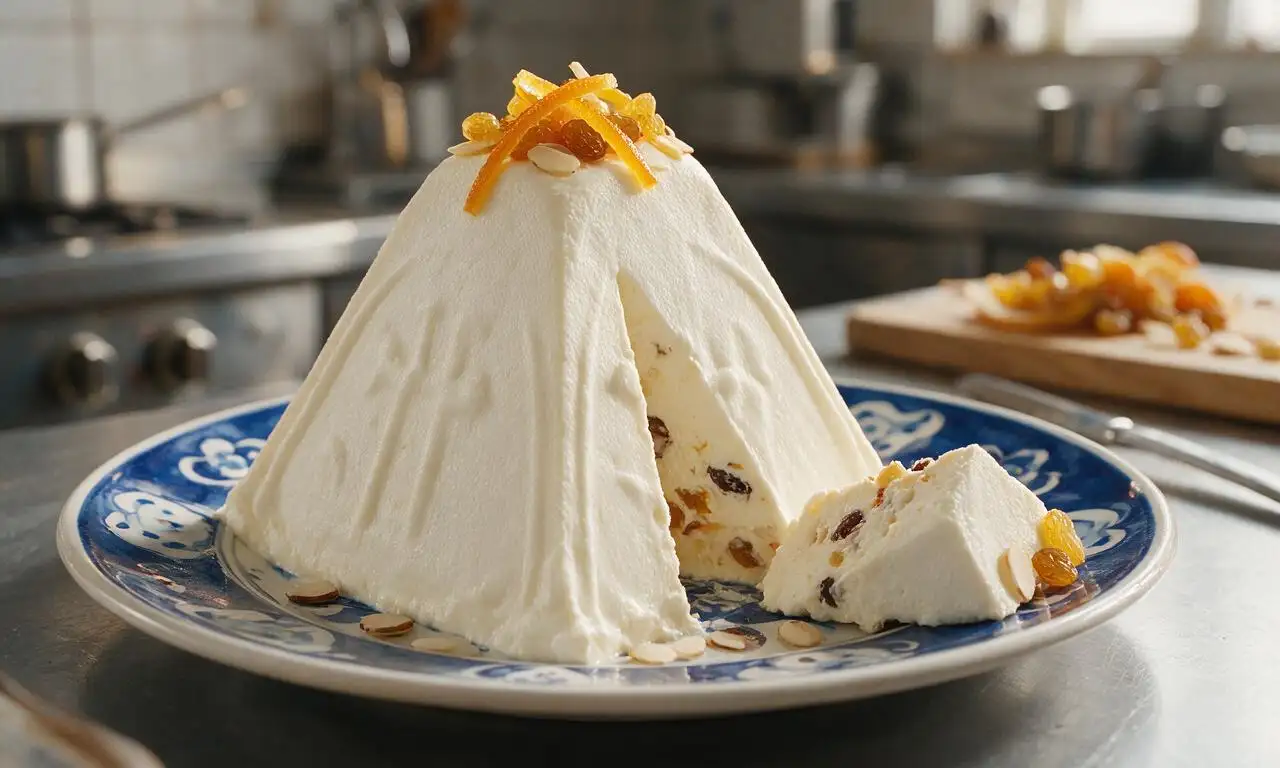
Traditional carved wooden molds leave symbolic religious imprints on finished paskha, but they are not required for a delicious, beautiful result. If you want decorative details without a specialty mold, press edible flowers, slivered almonds, or extra candied fruit onto the surface of the unmolded paskha, or use a patterned silicone mold poked with small drainage holes for whey.
9.Can I make a lower-fat version of paskha?
▾
I don’t recommend swapping full-fat dairy for low-fat or non-fat alternatives for this recipe. The high fat content is what gives paskha its signature rich, smooth, non-grainy texture. Low-fat cheeses and sour cream have extra added stabilizers and high water content that lead to a watery, bland, crumbly final dessert. A small 2-ounce slice is rich enough that a little goes a long way!
10.What’s the best way to serve paskha?
▾
Paskha is traditionally served alongside slices of sweet, brioche-like kulich (Russian Easter bread), but it also pairs beautifully with buttery shortbread cookies, fresh ripe berries, or thin slices of toasted brioche. Let it sit at room temperature for 10 minutes before unmolding and slicing to let the flavors soften, and dust the top with a little extra powdered sugar for a pretty finish.
11.Why do I need to sift the powdered sugar for this recipe?
▾
Sifting powdered sugar removes tiny, hard lumps that won’t break down even with thorough mixing, which would leave gritty, unpleasant spots in your otherwise smooth paskha. It also fluffs the sugar to make it easier to blend evenly into the butter and cheese without overmixing, which can make the final dessert tough instead of light and creamy. Don’t skip this quick 30-second step!
12.Can I add flavor extracts like vanilla or almond to my paskha?
▾
Absolutely! A teaspoon of pure vanilla extract, ¼ teaspoon of almond extract, or even a tiny pinch of ground cardamom are all classic, welcome additions that complement the tangy cheese and sweet dried fruit beautifully. Just avoid adding too much extract—start small, taste as you go, and remember that flavors will intensify as the paskha chills and drains over 24 hours.
13.My farmer’s cheese is lumpy—how do I get a perfectly smooth paskha texture?
▾
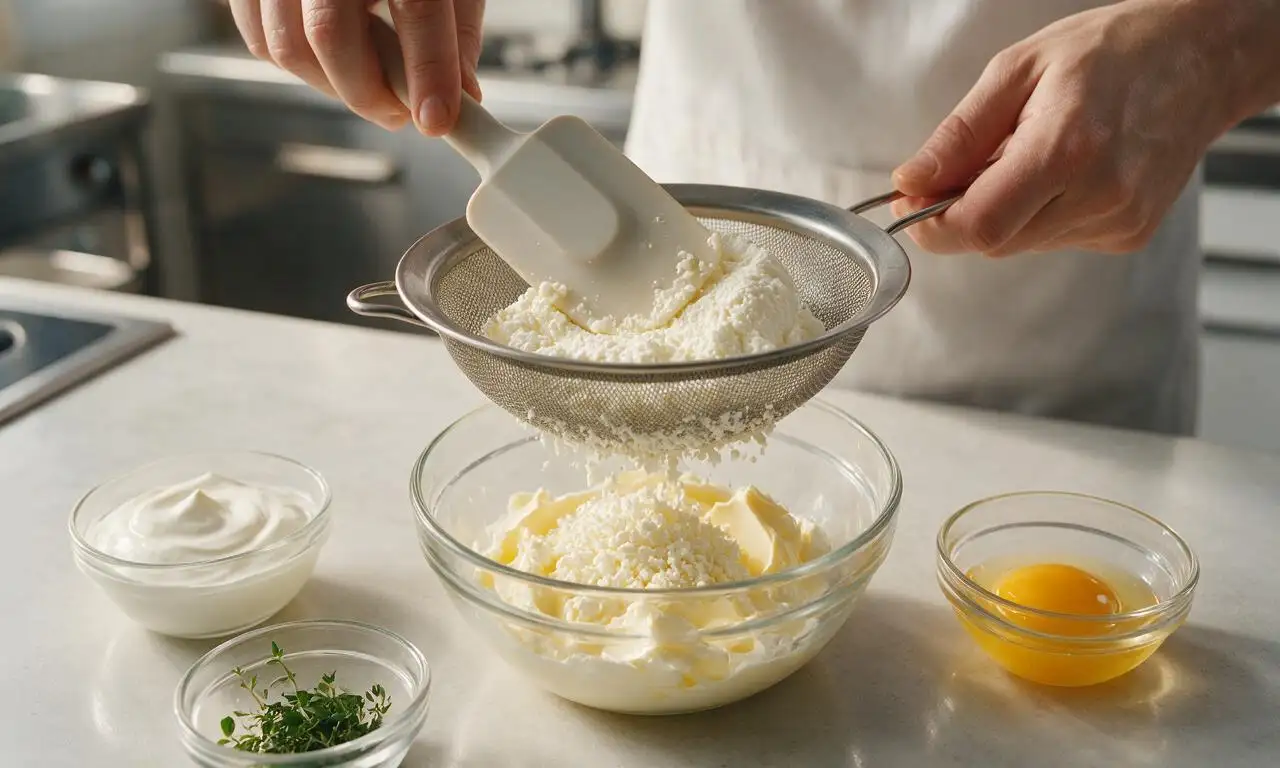
For a silky, lump-free texture, press your room-temperature dry farmer’s cheese through a fine-mesh sieve with a rubber spatula before mixing it with the other ingredients, or pulse it 2–3 times in a food processor until completely smooth. Don’t over-process it, though—too much blending breaks down curds and releases extra moisture that will make your final paskha runny.
14.What weight should I use to press the paskha as it drains?
▾
You don’t need an extremely heavy weight—1 to 2 pounds of evenly distributed pressure is perfect. Two full 15-ounce canned goods, a small cast iron skillet, or a sealed bag of dried beans all work great. Set the weight on a small plate that sits directly on the cheesecloth-wrapped paskha to apply even pressure, which helps it hold shape without squeezing out too much creamy filling.
15.Can I add chocolate to paskha, or is that not traditional?
▾
While chocolate isn’t a classic paskha ingredient, it’s a delicious, popular modern twist! Fold in ¼ cup of finely chopped high-quality dark chocolate or mini chocolate chips after mixing the base, making sure the chocolate is completely dry so it doesn’t seize. Stick to small pieces so they don’t disrupt the dense, smooth texture, and skip overly sweet milk chocolate that clashes with the tangy cheese.
16.Why is my paskha grainy instead of smooth and creamy?
▾
Grainy paskha usually happens when ingredients are mismatched in temperature, or the cheese wasn’t strained finely enough. Make sure your butter, sour cream, and egg yolks are all at cool room temperature (around 65°F) before mixing—cold ingredients won’t emulsify smoothly, and melted butter will separate as it chills. Pressing cheese through a fine sieve pre-mix also eliminates gritty curd bits.
17.What do I do with the whey that drains off the paskha as it presses?
▾
Don’t pour that collected whey down the drain! It’s tangy, nutrient-dense, and perfect for using in other kitchen projects. Swap it for water or buttermilk in pancake, quick bread, or sourdough recipes for a subtle tang and extra tender crumb, or add a splash to smoothies for a protein boost. It keeps in a sealed jar in the fridge for up to a week, so you don’t have to use it right away.







OMG this was the star of our Orthodox Easter potluck last weekend! I’d never made paskha before and was so nervous it’d be too fussy, but the active prep was barely 30 minutes like the recipe said. SO creamy, not too sweet, all my relatives kept asking for the recipe. My picky 7 year old even asked for a second helping!
Game changer! I’ve been buying paskha from the Russian bakery 45 minutes from my house every Easter for years, and this tastes exactly like the stuff I grew up eating. Saved me so much drive time, and my kids loved helping press the cheese mixture into the mold.
Made this for a random weeknight dessert because I had extra farmer’s cheese in the fridge, whoa. I did add a little extra lemon zest because I love that bright kick, and it paired so well with fresh strawberries. SO good, 10/10 will make again even when it’s not a holiday.
Wait, I don’t have a traditional paskha mold—will a regular fine mesh sieve lined with cheesecloth work okay? I don’t want to run out to buy a special mold just for this, but I’ve been craving paskha so bad since my grandma stopped making it a few years back.
Brought this to my neighborhood block party last month and people went crazy for it! I topped mine with slivered almonds and a drizzle of honey, and it was gone in 10 minutes flat. So easy to prep the night before too, which is a lifesaver when you’re juggling a million party dishes.
Wait, how important is it to drain the cheese for the full 12 hours? I tried making paskha last year with a different recipe and skipped the full drain time so it turned into a runny mess, and I’m determined to get it right this time. I’m supposed to bring dessert to my in-laws’ family dinner tomorrow and totally forgot to prep this early, so I’m wondering if 6 hours will cut it.
I swapped the regular cream cheese for dairy free cream cheese and used vegan farmer’s cheese for my lactose intolerant sister, and even the non-vegan folks at our dinner table were raving. So happy I found a recipe that’s easy to adapt for dietary needs!
This is so much easier than I thought it would be! I was intimidated because I thought traditional paskha required all kinds of fancy steps, but it’s basically just mixing a few ingredients and letting it chill. The vanilla bean really takes it to the next level, don’t skip that!
My grandma used to make paskha every Easter with candied fruit, and this recipe tastes exactly like hers. I did add a handful of chopped dried apricots like she always did, and it brought back so many childhood memories. I’m definitely keeping this in my permanent recipe rotation.
Meal prepped this on Sunday to have as a little sweet treat all week, and it held up perfectly in the fridge for 5 days. Portioned it out into small containers with a few graham cracker sticks for dipping, and it made the work week feel so much fancier. 10/10 for meal prep!
I’m not usually a fan of super rich desserts, but this is light enough that I didn’t feel sluggish after eating a slice. The balance of sweet cheese and tang from the sour cream is perfect. Served it with shortbread cookies on the side and everyone was obsessed.
Made this for my Russian husband for his birthday, and he said it tasted exactly like the paskha his mom used to make back in St. Petersburg. Major wife points unlocked! I might have added a little extra vanilla, but no complaints from anyone.
Wait, can I make this with low fat cottage cheese instead of farmer’s cheese? I have a huge tub of it in the fridge that I need to use up, and I’d rather not run to the grocery store in this rain.
Game changer alert! I brought this to my office potluck yesterday, and not a single person guessed it only took 30 minutes of active work. Everyone thought I spent hours slaving over a fancy dessert. Little do they know I threw it together while watching Netflix the night before!
Took this to a friend’s Easter dinner and it was the perfect non-chocolate dessert option for folks who don’t like super sweet treats. I topped it with fresh raspberries and a sprinkle of powdered sugar, and it looked so pretty on the dessert table. Will absolutely be making this again for future holidays.
My kids loved this! We had a blast decorating the top of the paskha with sprinkles and dried fruit together. It’s such a fun, low-stakes recipe to make with little ones because there’s no hot stove or complicated steps. We made it as a Saturday activity, and it was ready to eat for dessert after Sunday dinner. So fun!