
salmon sandwich filling
intro
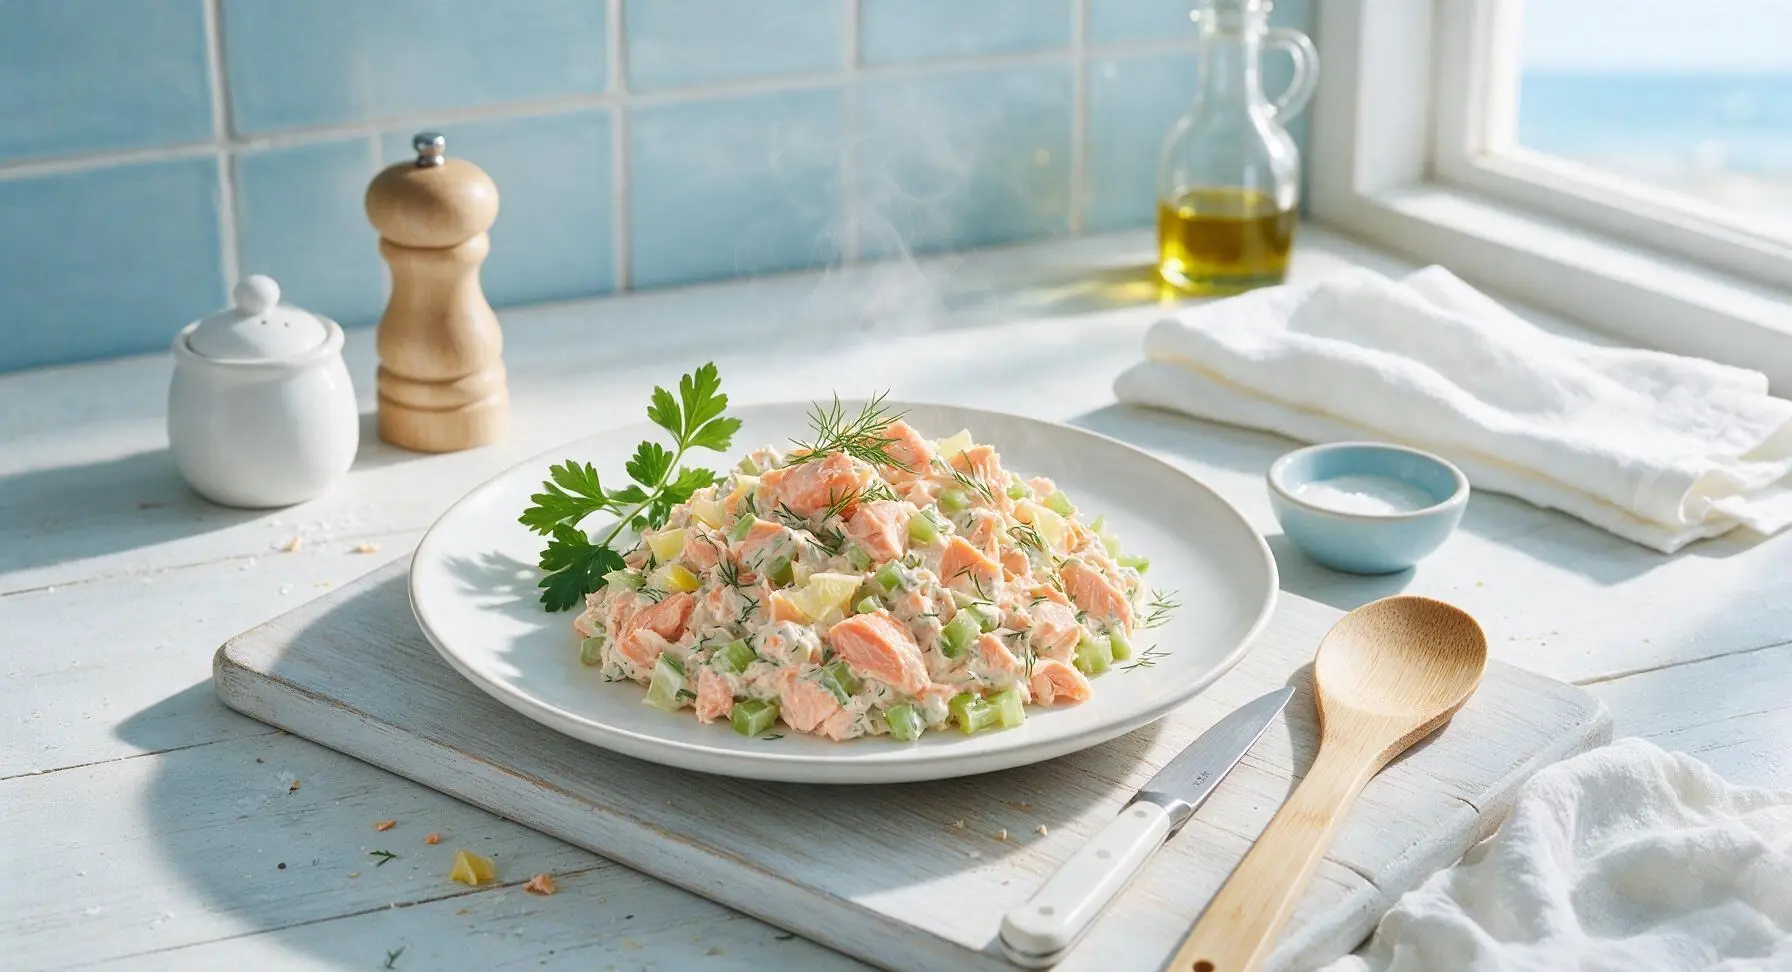
Creamy, bright salmon sandwich filling loaded with tender salmon chunks, fresh dill, crisp celery, and lemon—perfect for soft bread, spring picnics, and quick lunches, with no mushy overmixed texture.
Ingredients
Steps
Prep Salmon Fillets
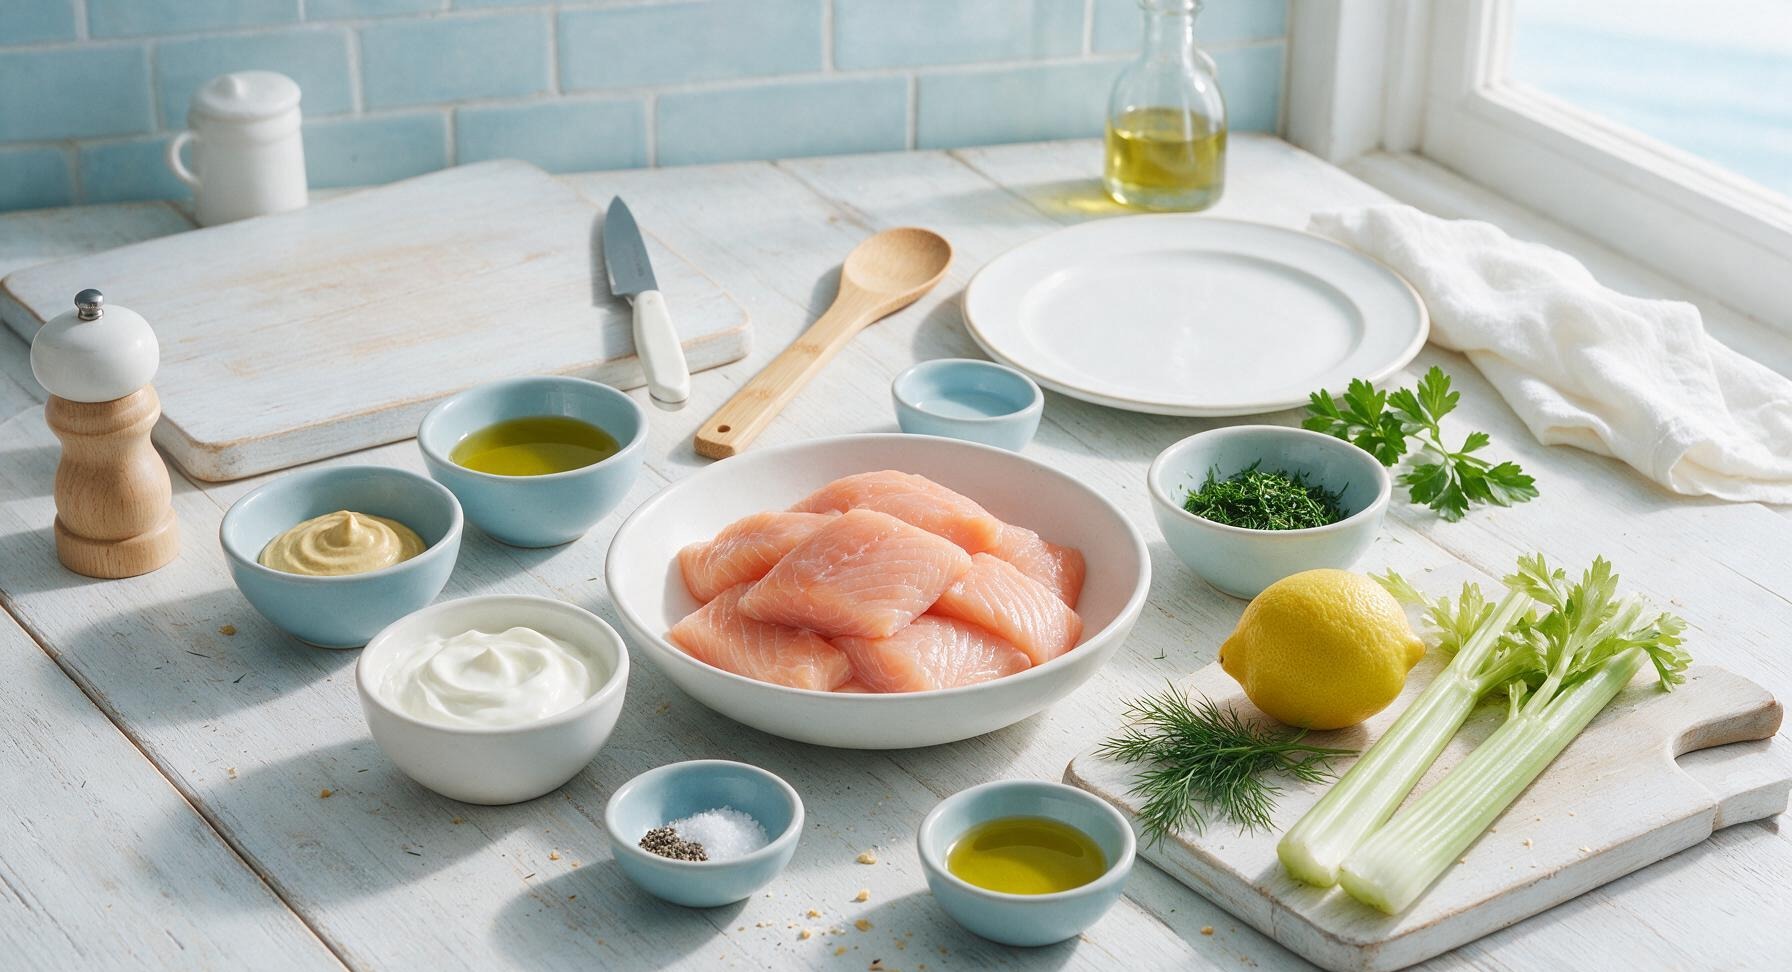
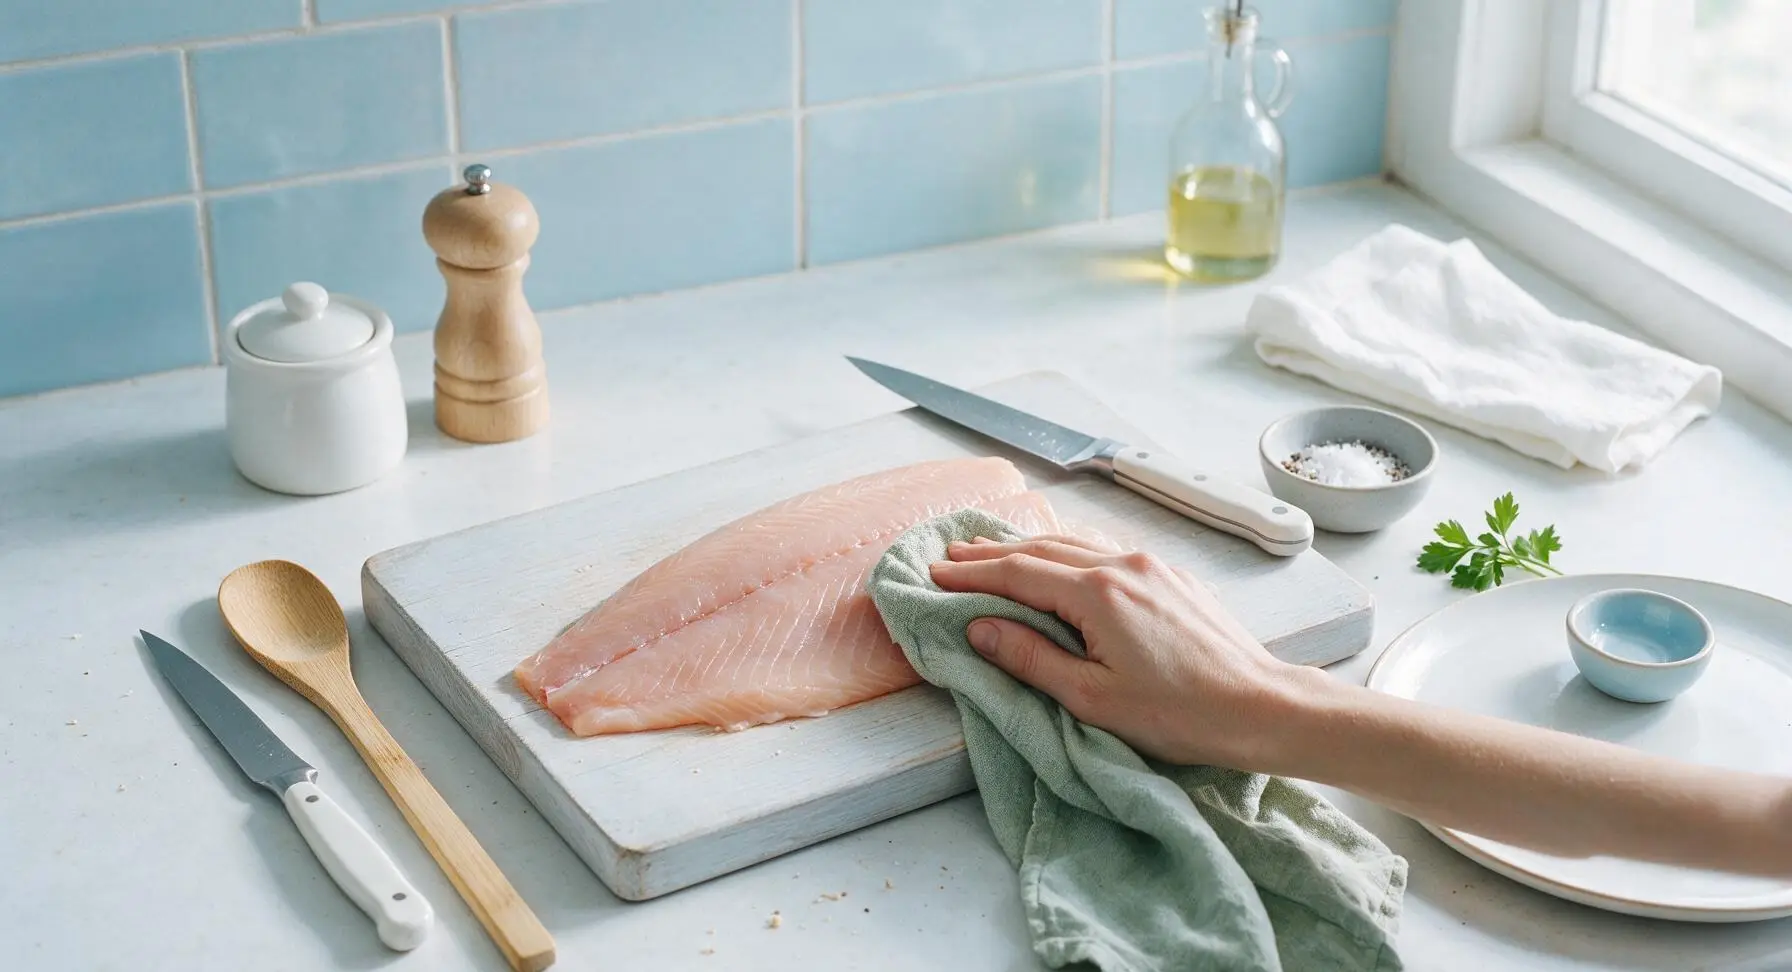
Place the light birch cutting board in the center of the work zone. Lay the skinless, boneless salmon fillets on the board, and pat completely dry on all sides with a corner of the sage linen towel. Season the top surface evenly with 1/4 tsp kosher salt and a pinch of freshly ground black pepper. The salmon should feel dry to the touch, with no visible surface moisture, to ensure even searing without steaming.
Sear Salmon Gently
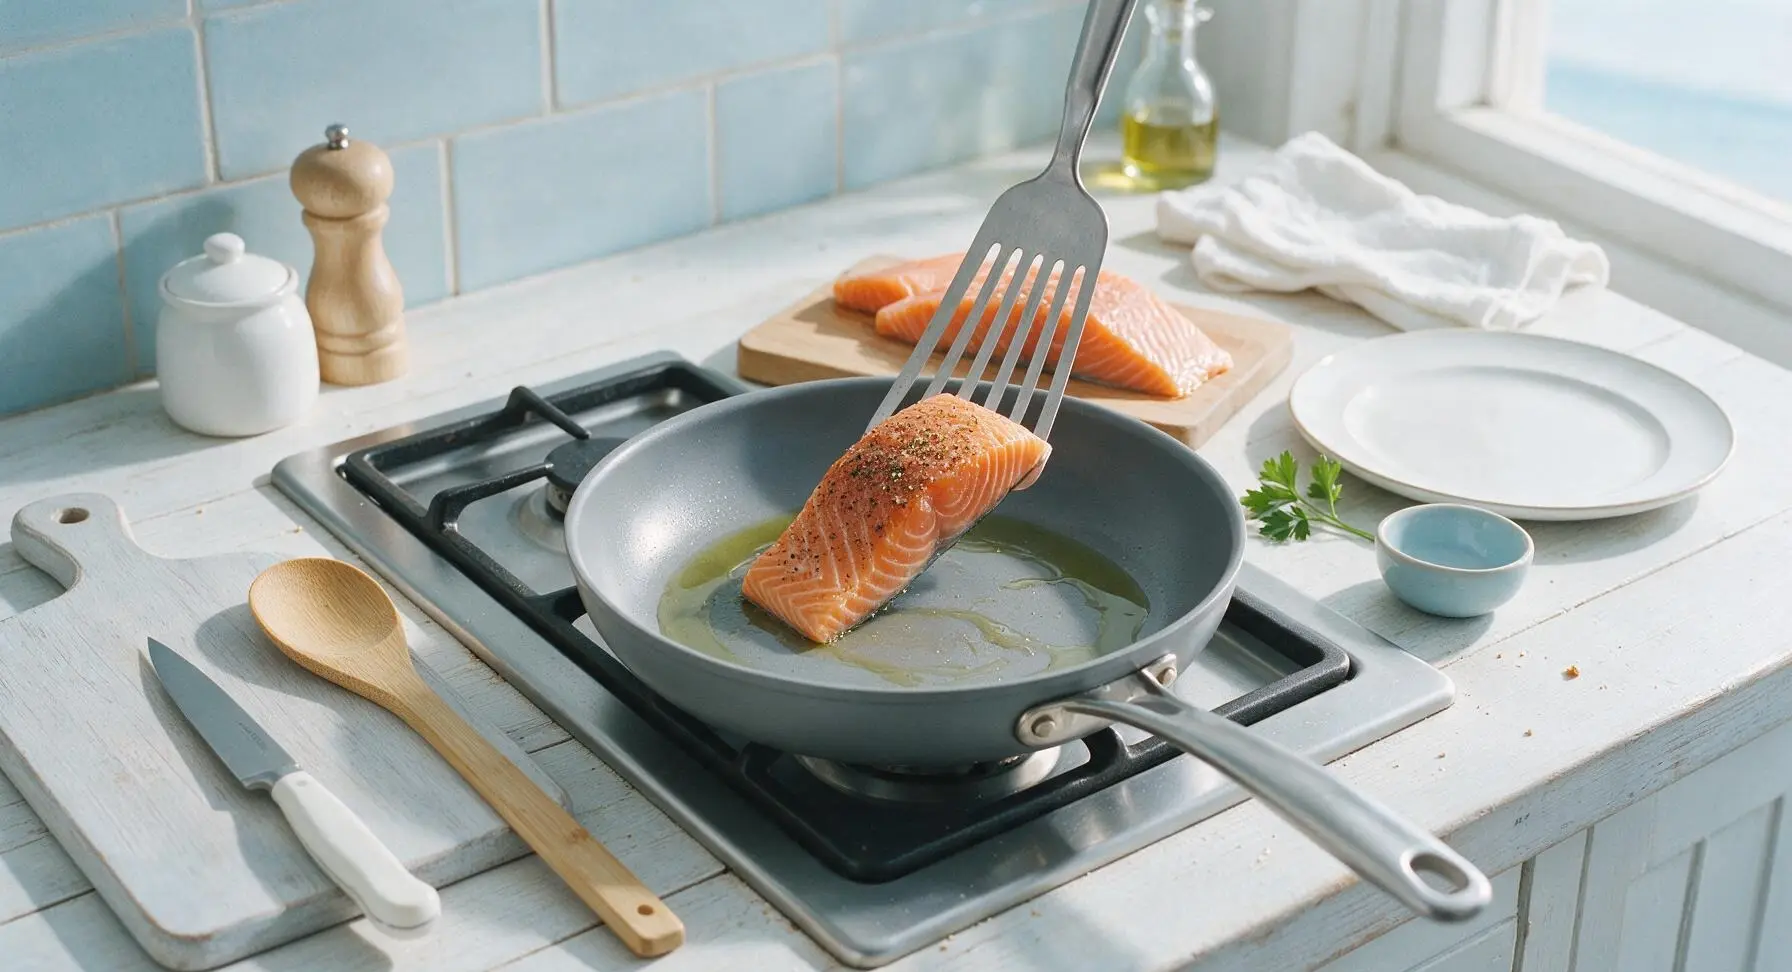
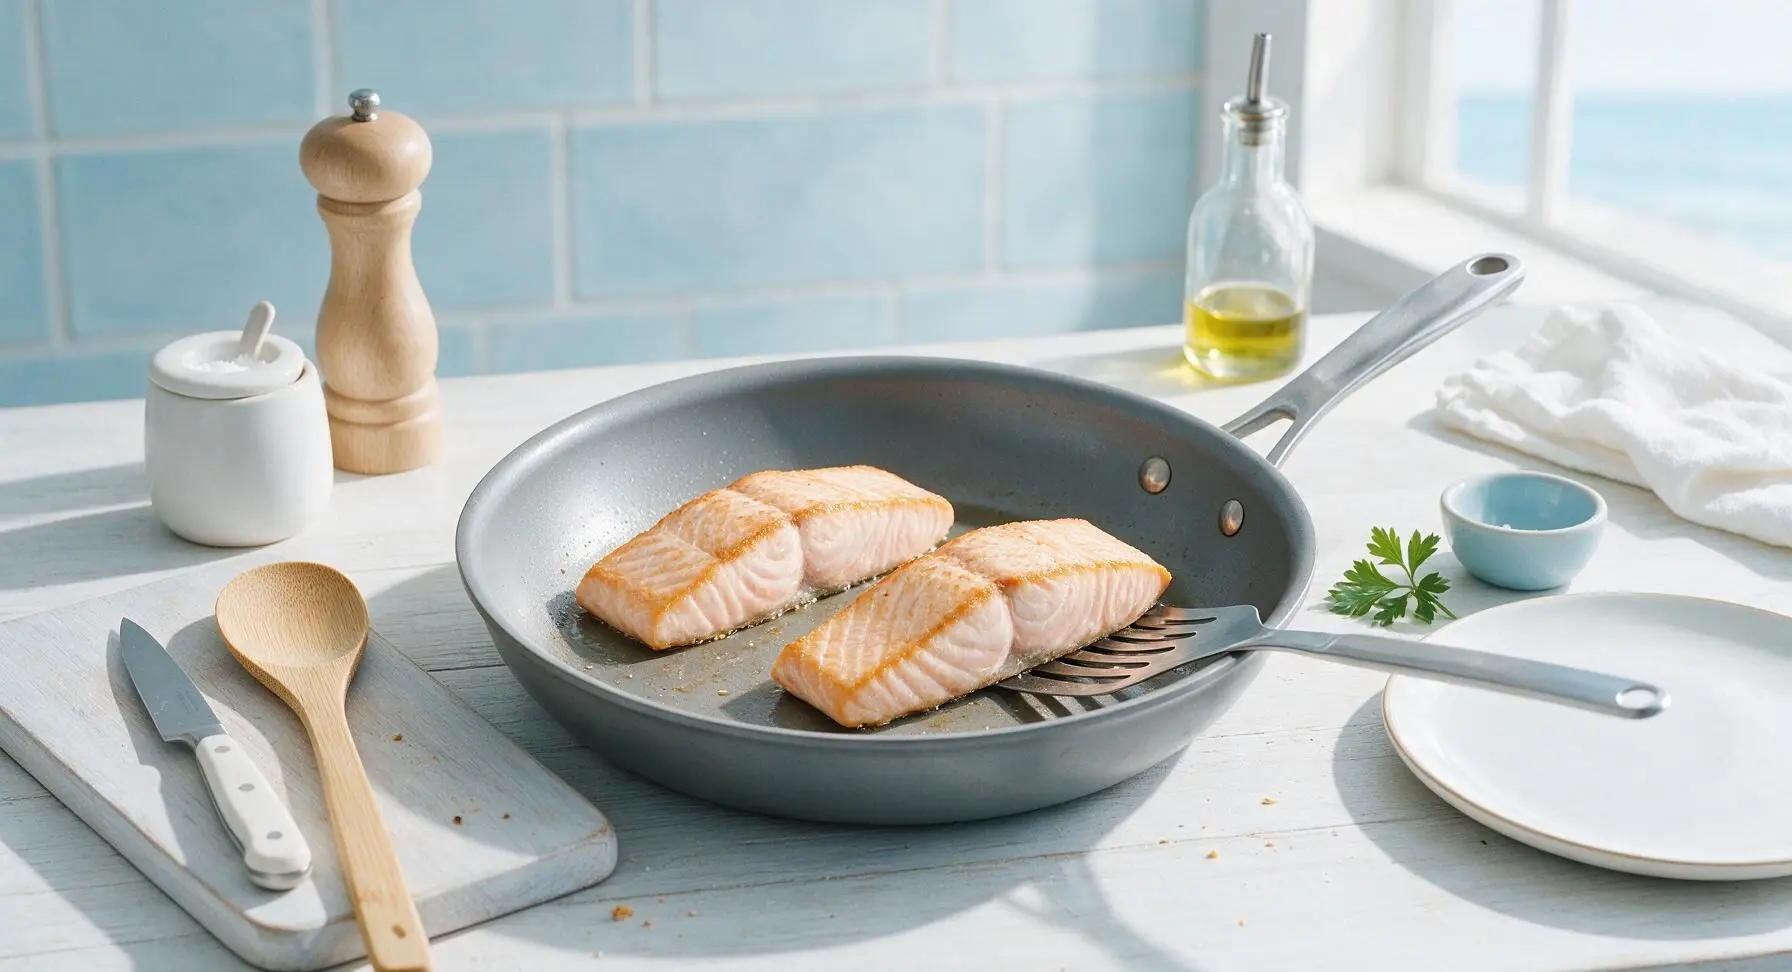
Place the 8-inch matte grey carbon steel nonstick skillet on the stovetop over medium-low heat, add 1 tsp extra-virgin olive oil, and swirl to coat the pan bottom evenly. Once the oil shimmers (about 1 minute of heating), use the slotted stainless steel fish spatula to lay the salmon fillets seasoned-side down in the pan. Sear for 4 minutes without moving, until the bottom edge turns pale opaque and the fillet releases easily from the pan surface. Flip the fillets and cook 3-4 minutes more, until the salmon reaches an internal temperature of 63°C (145°F), with no raw translucent flesh at the thickest point. Do not overcook, as dry, crumbly salmon will create a grainy filling texture.
Cool Salmon Fully
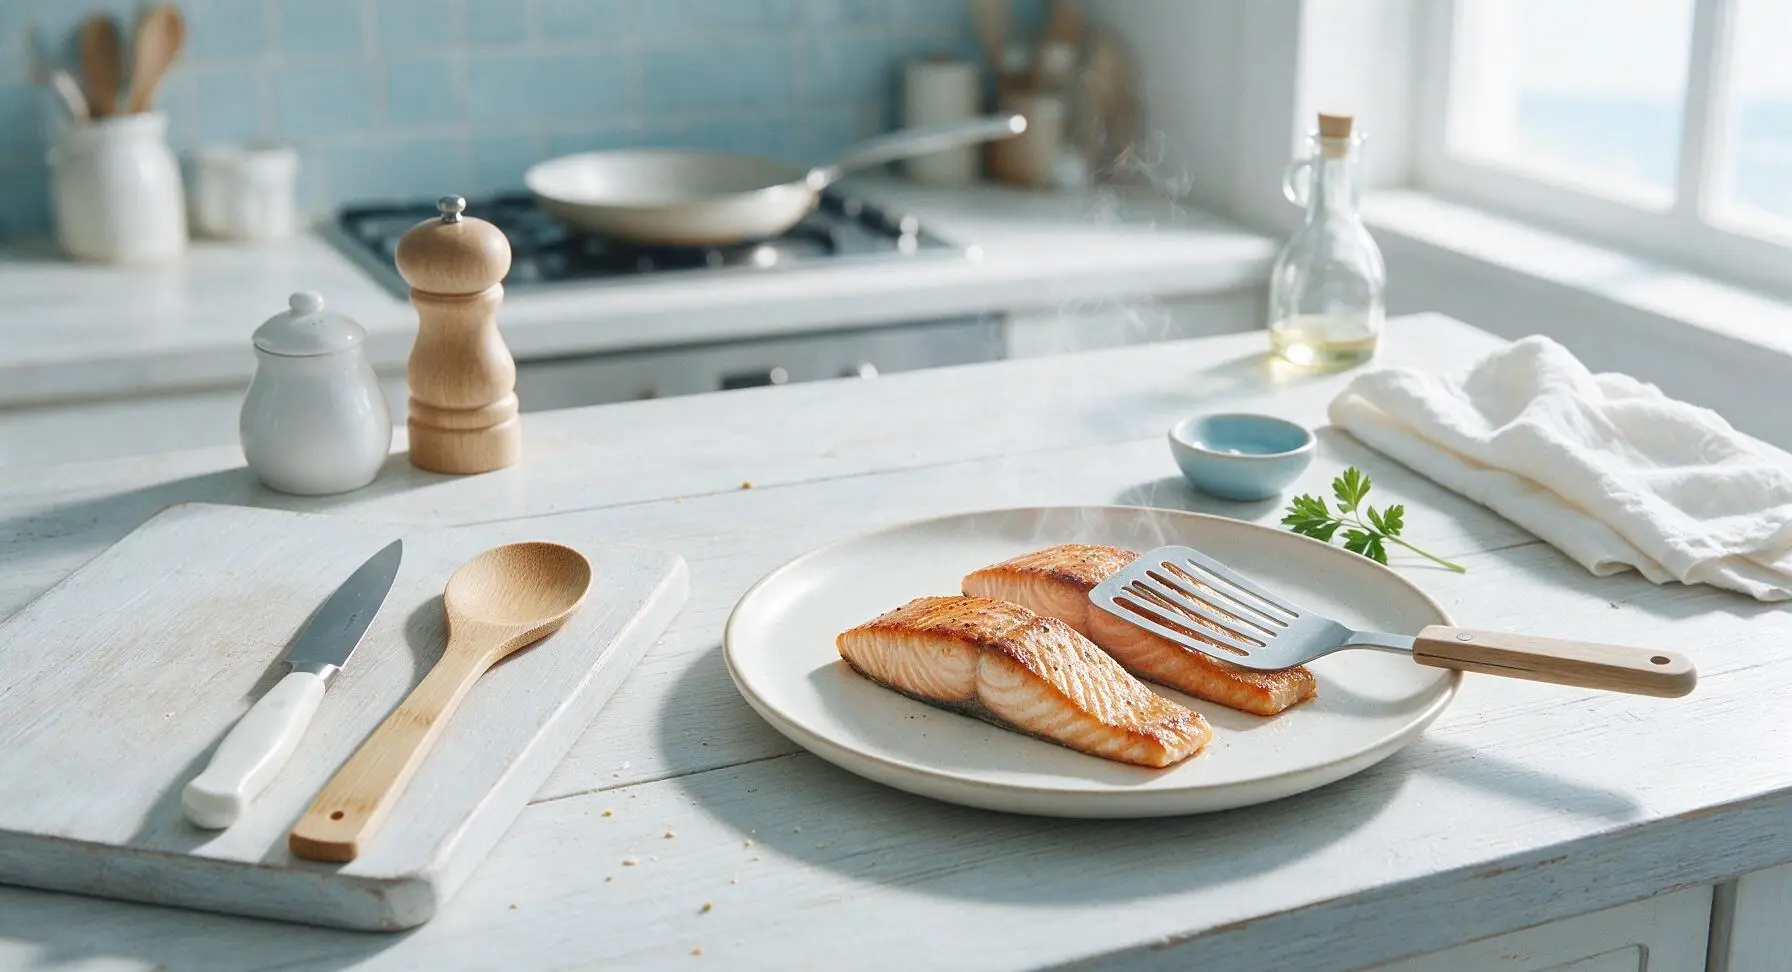
Use the slotted fish spatula to transfer the cooked salmon fillets to the off-white matte ceramic serving plate. Set the plate on a cool section of the counter away from stovetop heat, and let the salmon cool completely to room temperature, approximately 10 minutes. Never flake or mix salmon while it is still hot, as residual heat will melt the dressing and create a mushy, watery filling.
Chop Fresh Aromatics
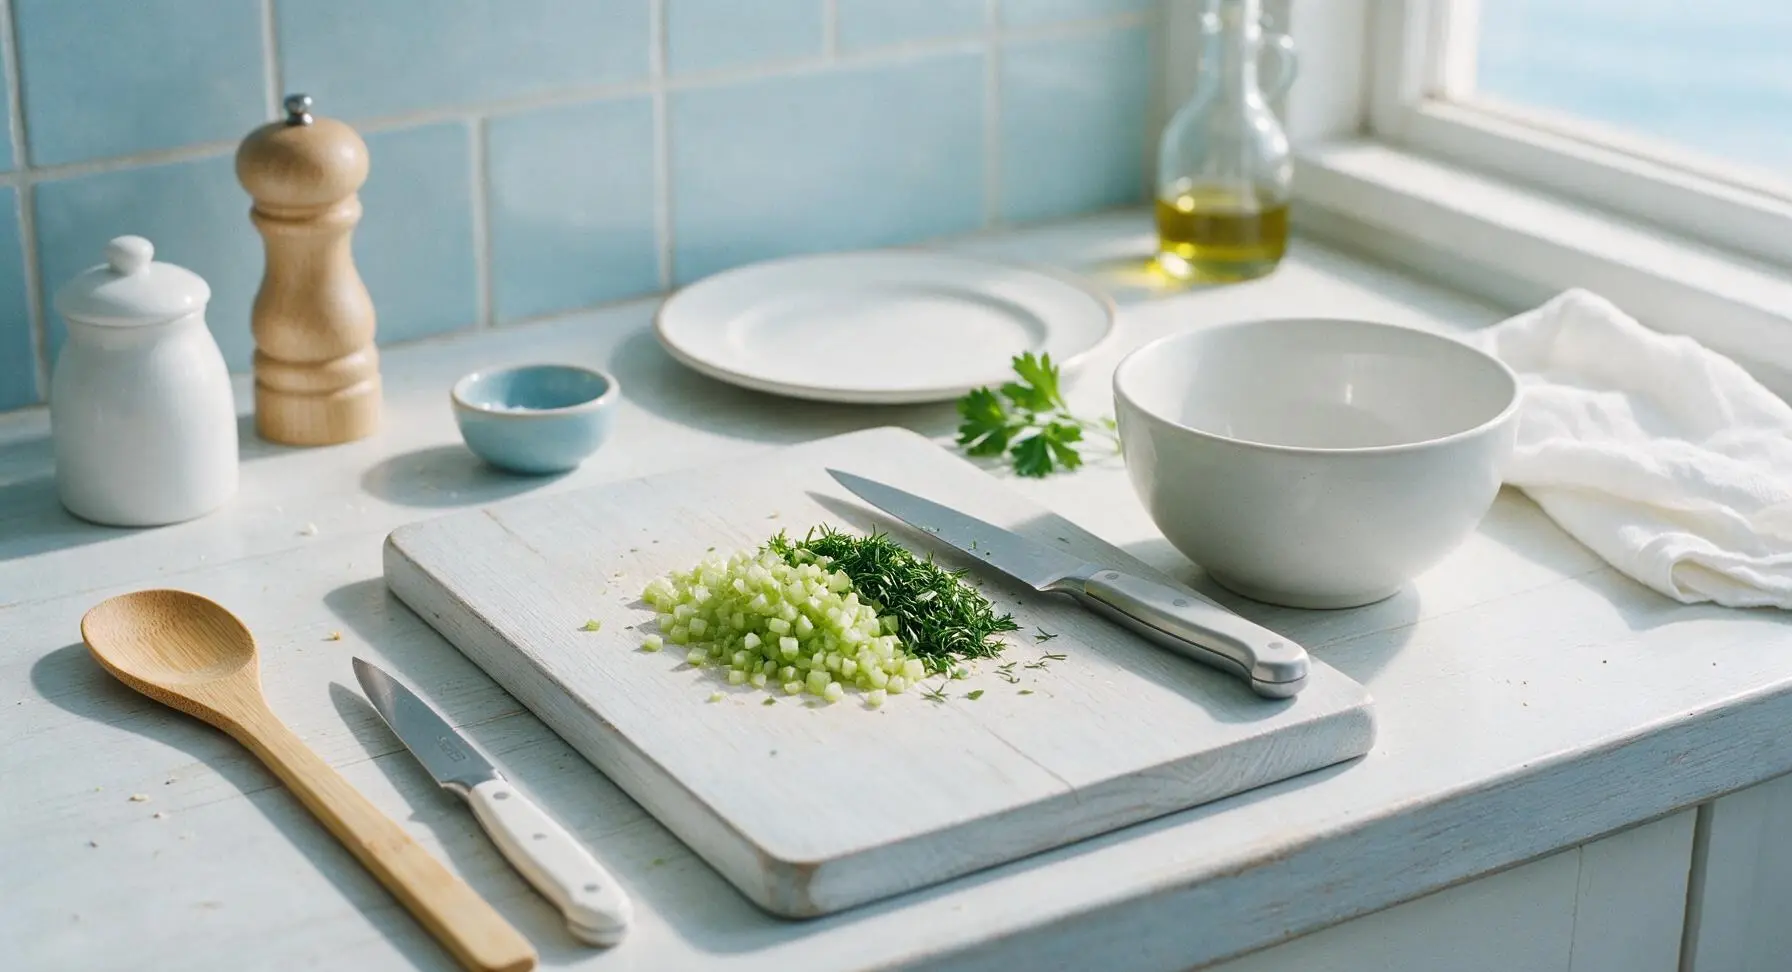
While the salmon cools, place the two celery stalks and fresh dill bunch on the light birch cutting board. Use the 6-inch stainless steel boning knife to trim any tough, stringy outer ribs from the celery, then dice into uniform 3mm (1/8-inch) pieces. Strip the dill fronds from the thick, woody stems, then chop the fronds finely. Transfer the diced celery and chopped dill to the medium matte white ceramic mixing bowl.
Mix Creamy Dressing
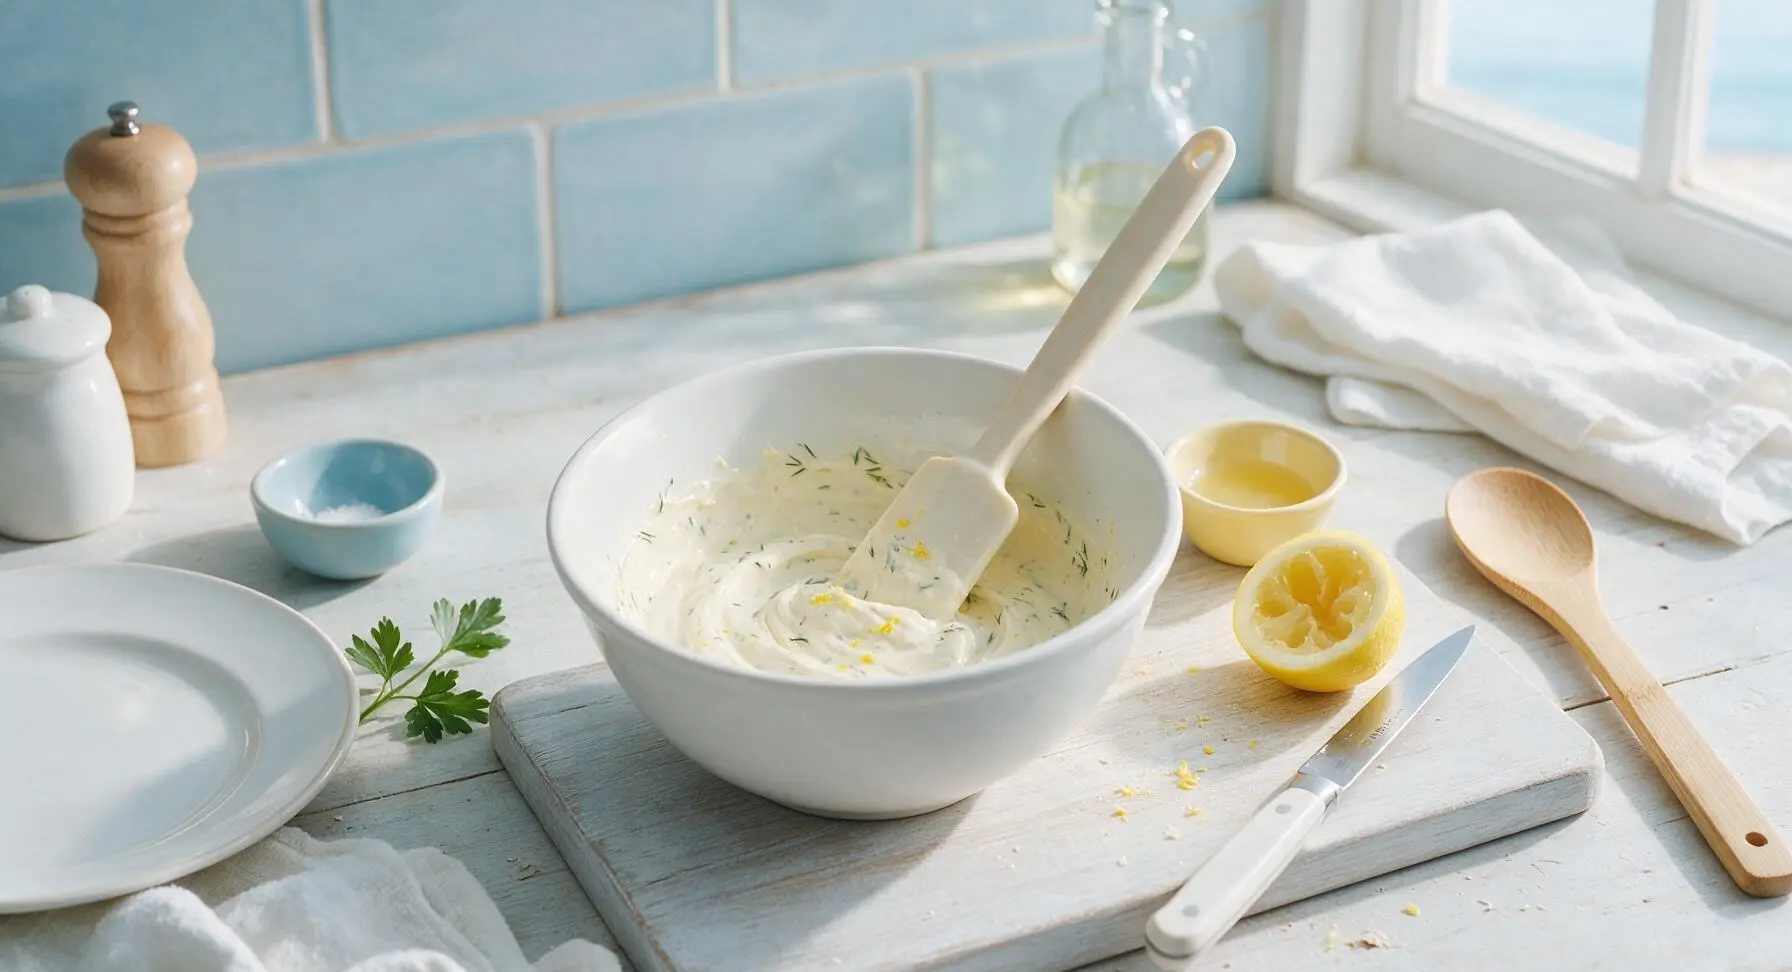
Add the 3 tbsp full-fat mayonnaise, 2 tbsp whole-milk plain Greek yogurt, 1 tsp Dijon mustard, 1 tsp finely grated lemon zest, 1 tbsp fresh lemon juice (strained into the tiny pale yellow ramekin first to catch seeds), remaining 1/4 tsp kosher salt, and 1/4 tsp freshly ground black pepper to the mixing bowl with celery and dill. Use the off-white silicone spatula to stir the mixture until completely smooth, with no visible streaks of mustard or unblended yogurt.
Flake Cooled Salmon
Once the salmon is fully cooled to room temperature (no residual warmth when you touch the fillet with a clean finger), use clean fingers or the tines of a dinner fork to break the fillets into irregular 1–2cm (1/2 to 3/4-inch) chunks. Pick out and discard any tiny stray pin bones or dark, fatty bloodline pieces you encounter as you flake. Do not mash the salmon into fine shreds—large, tender chunks create a satisfying, non-pasty texture.
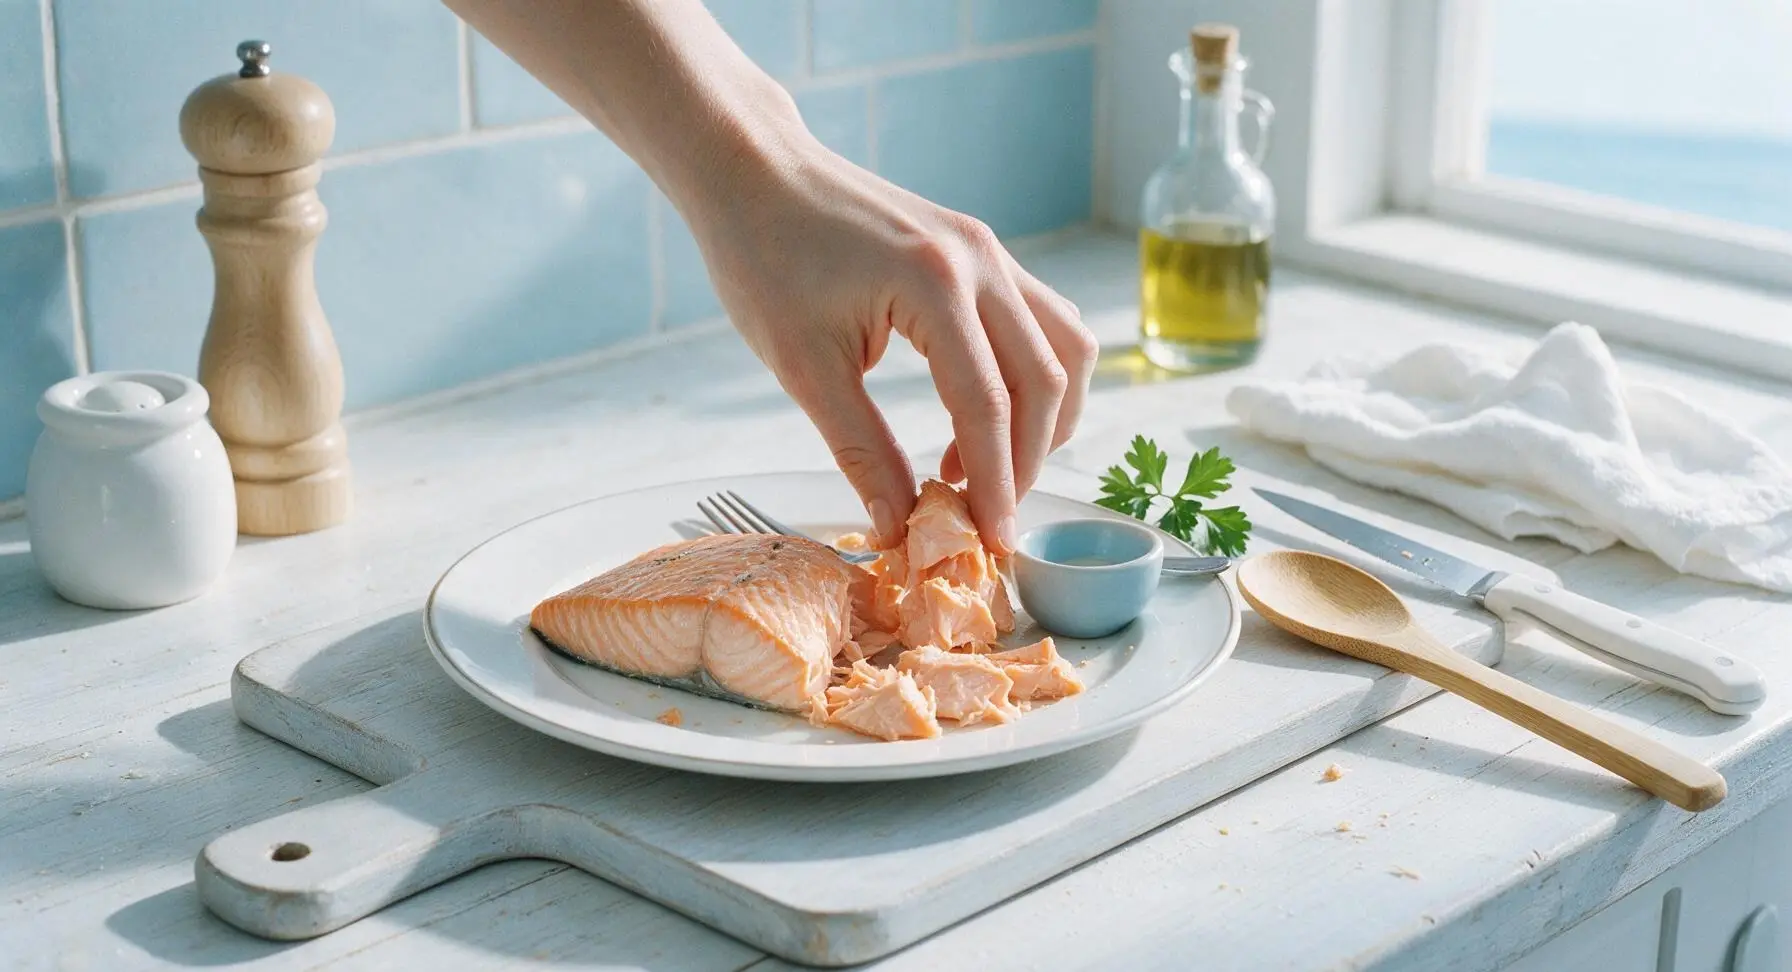
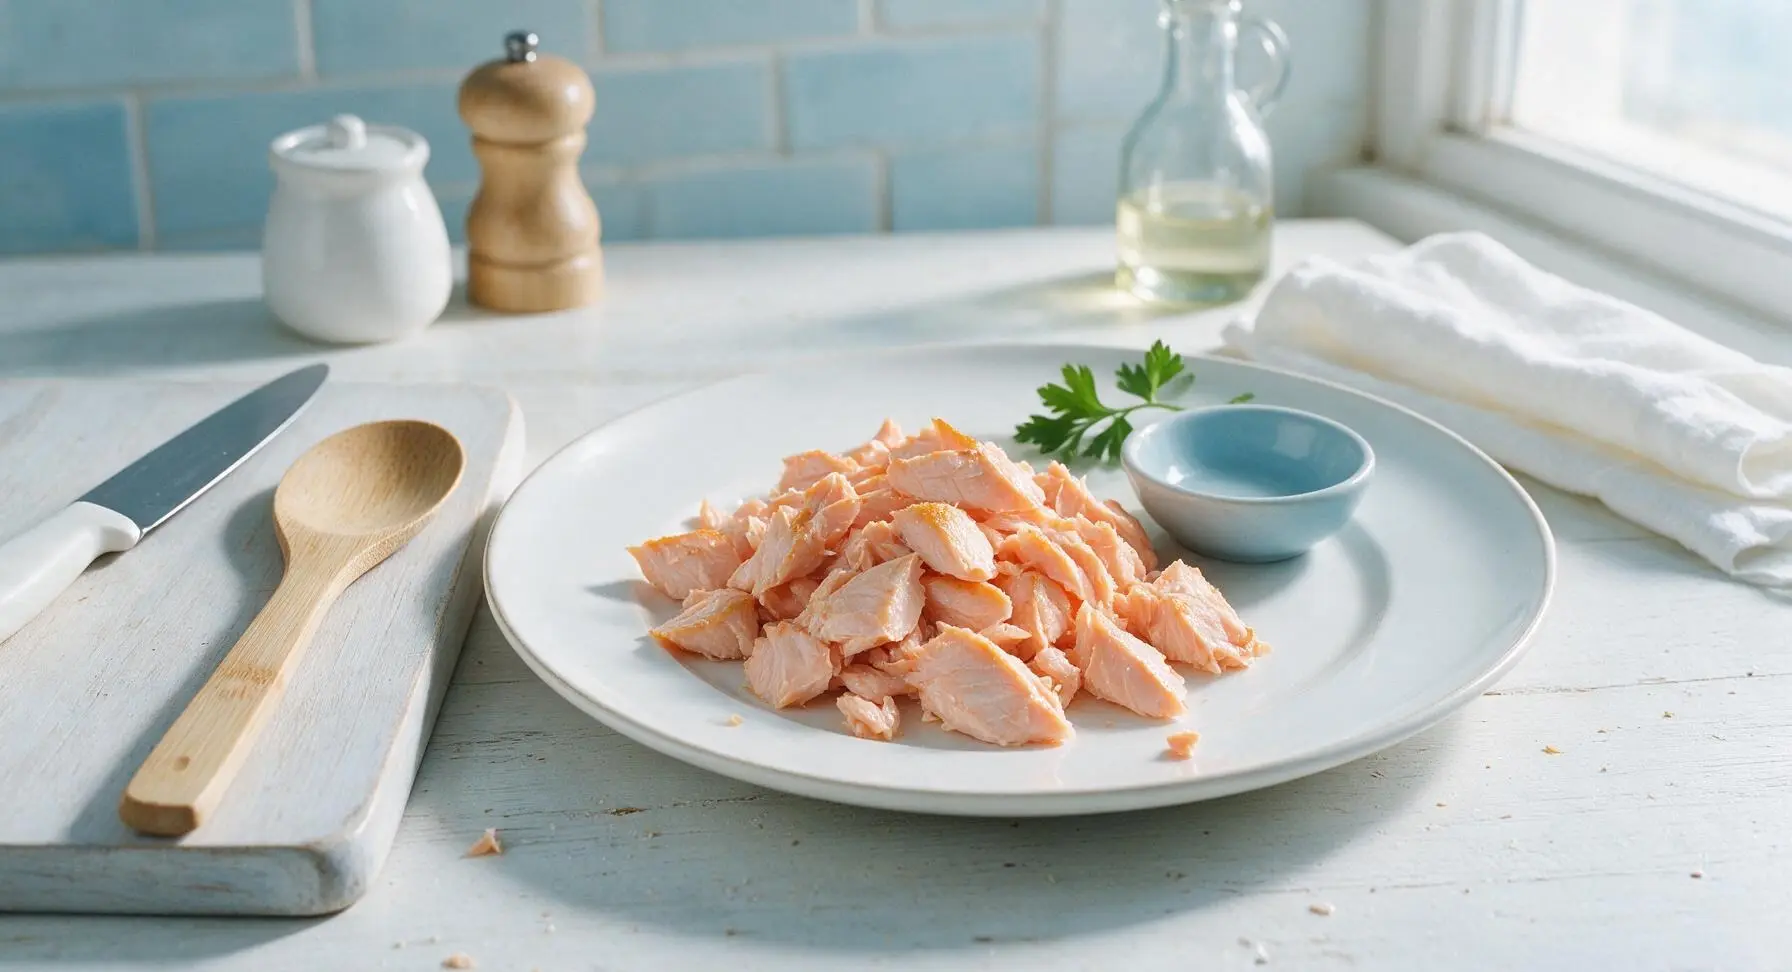
Fold Gently to Combine
Add all the flaked salmon chunks to the mixing bowl with the creamy dressing base. Use the off-white silicone spatula to fold the mixture together very gently, making only 4–5 slow turns, just until the salmon is lightly coated in dressing. Stop mixing as soon as there are no dry, uncoated patches of salmon visible; overmixing will break up chunks and turn the filling mushy.
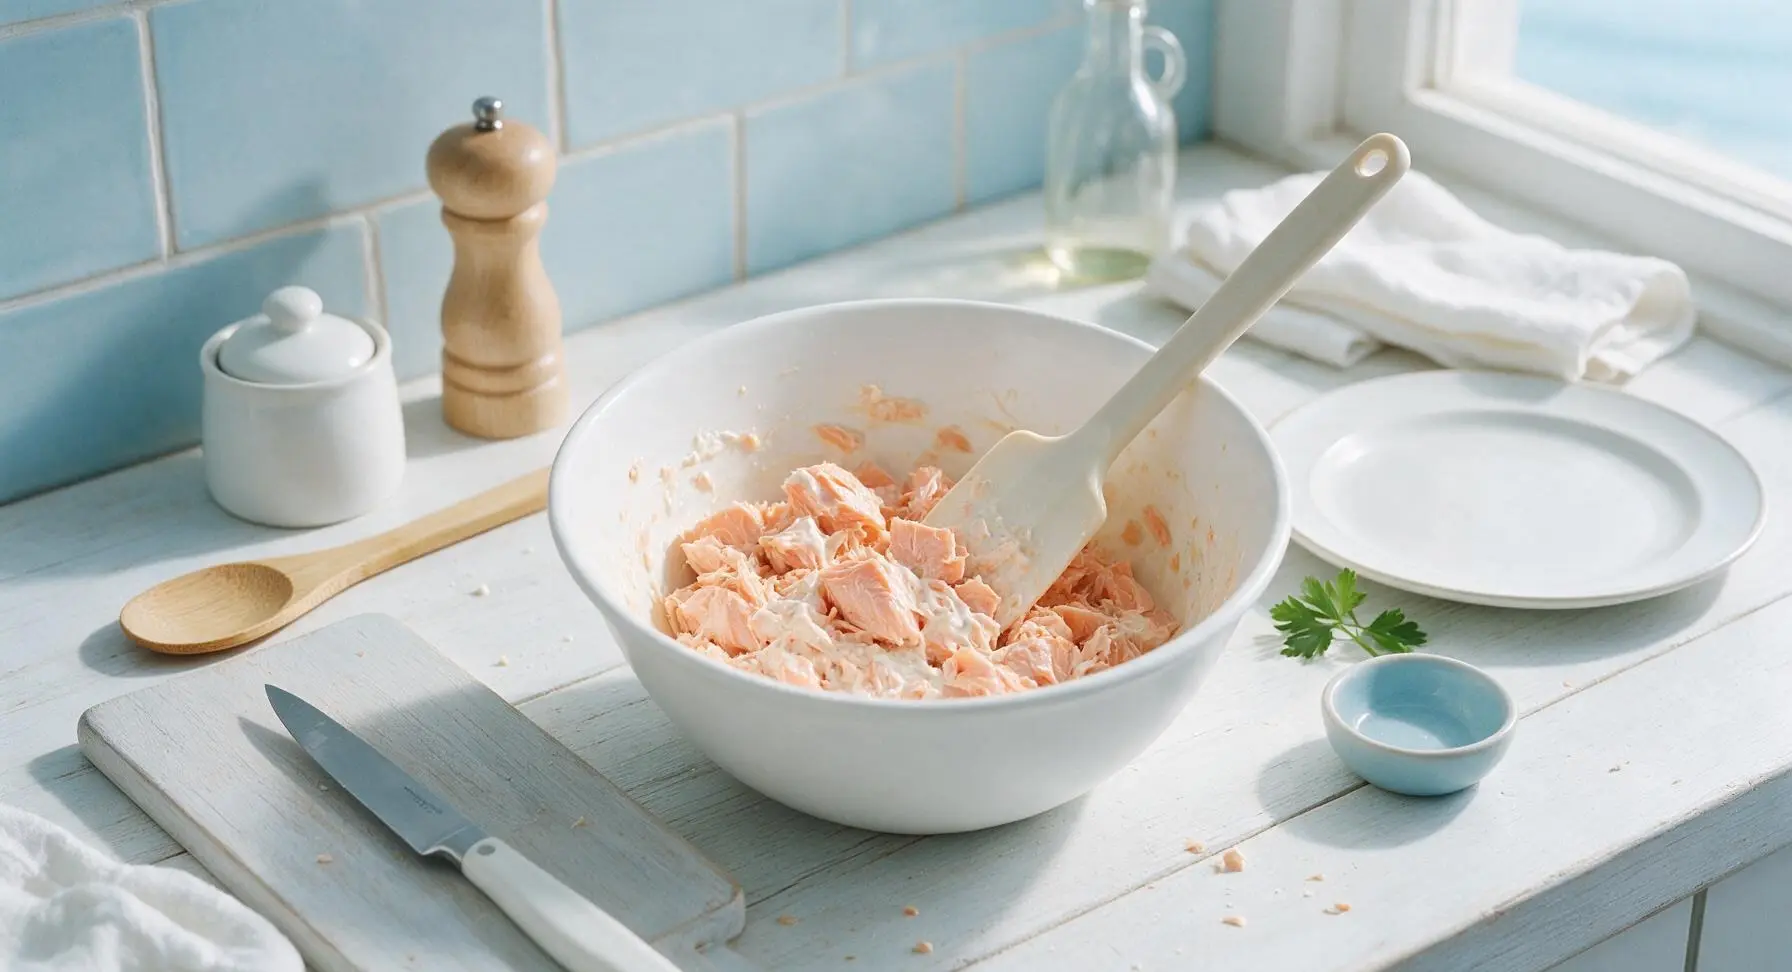
Rest and Plate Filling
Let the mixed filling rest for 5 minutes at room temperature to allow flavors to meld, or cover and chill for up to 15 minutes for a cooler, firmer texture. Taste a small spoonful, and adjust seasoning with an extra squeeze of lemon juice or pinch of salt if needed. Mound the finished filling gently in the center of the off-white matte ceramic serving plate, and garnish with a small fresh dill sprig before serving with sliced sandwich bread, crackers, or crisp lettuce wraps.
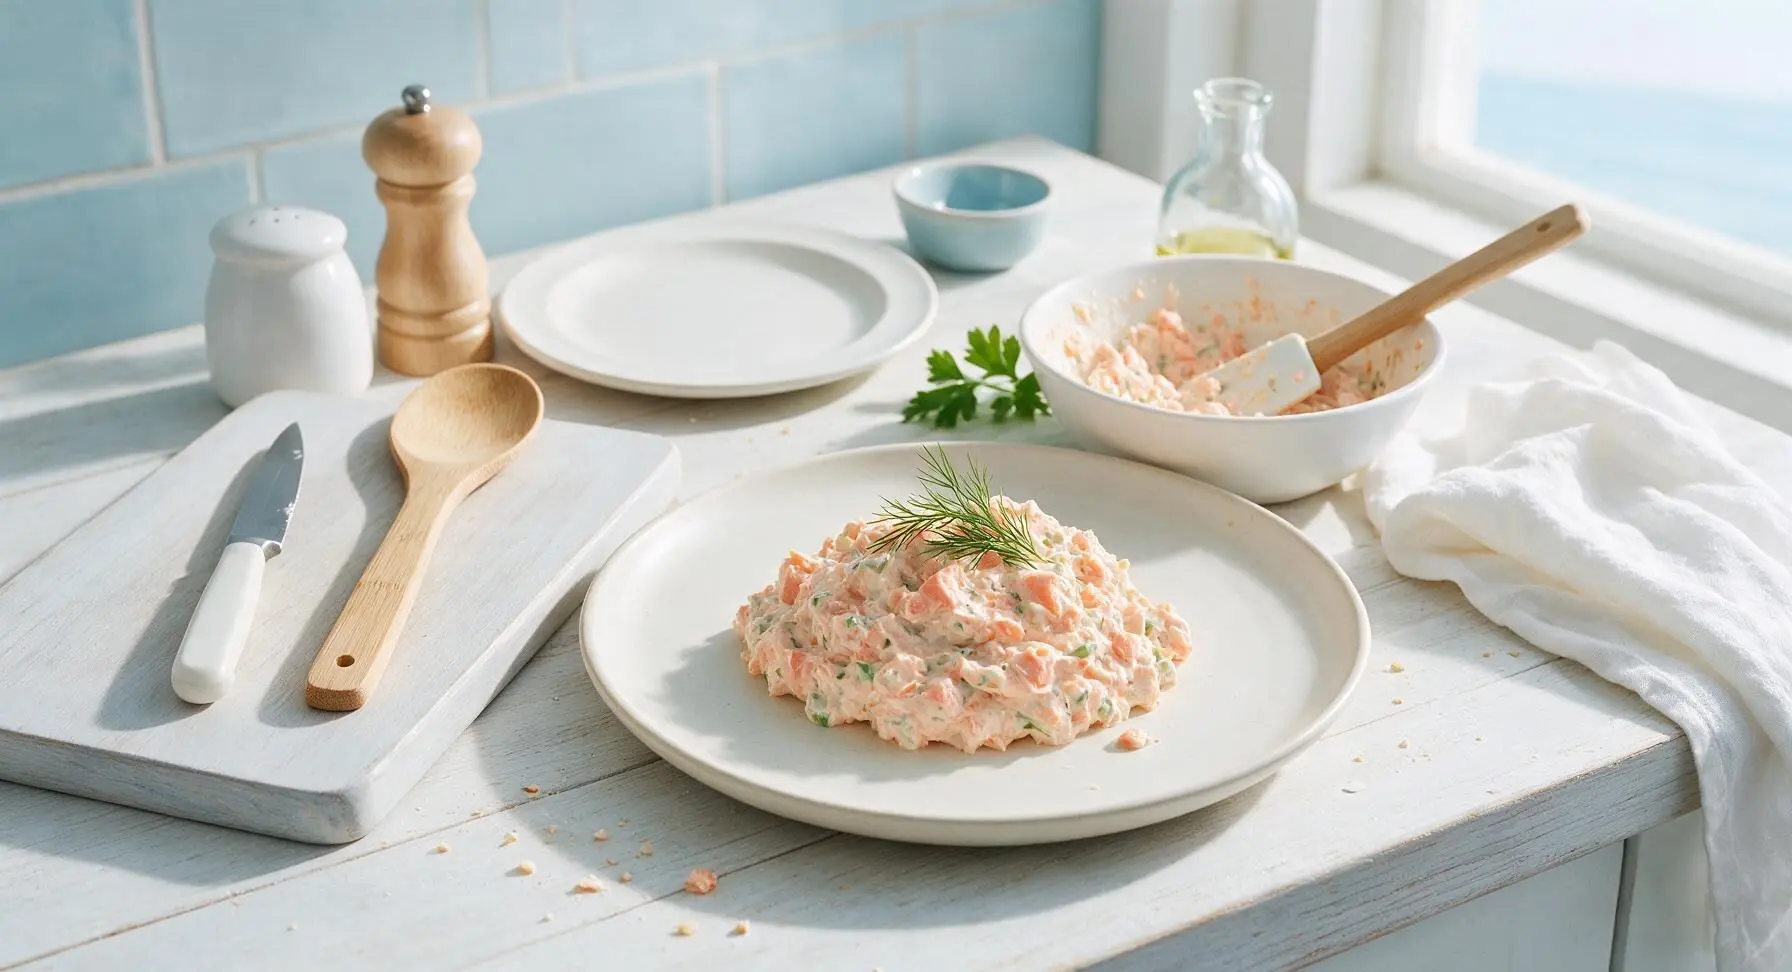
Tips
2.Use full-fat dairy and mayonnaise for the best texture: low-fat or non-fat Greek yogurt and mayo have a watery, chalky consistency that will make the filling runny and dilute the bright, creamy flavor.
3.For picnic prep, store the chilled filling in a sealed ice-packed cooler, and assemble sandwiches right before eating. Spreading a thin layer of butter on the cut side of the bread will create a moisture barrier to prevent sogginess.






OMG this creamy salmon filling is a total game changer for my weekly meal prep! I whipped it up in literally 7 minutes flat, piled it on sourdough with a little arugula, and my husband ate two sandwiches before I even finished packing my lunch for work. SO good, will be making this every other week for sure.
My kids loved it! I was so sick of making the same old tuna salad for school lunches, and this salmon version was a massive hit. Even my super picky 7 year old who turns his nose up at most fish asked for seconds. Super easy too, no fancy ingredients needed.
Brought this to my neighborhood potluck last weekend served on mini croissants as little sliders and people were asking me for the recipe all night! Only reason I’m not giving 5 stars is I wish it had a little more crunch, I think next time I’ll add some diced celery.
Macros are chef’s kiss for this! High protein, not loaded with weird added sugars, tastes way better than the canned chicken salad I’ve been choking down post workout. 10/10, already added this to my regular rotation.
I’ve been making a version of this for years but never thought to add a little paprika like the recipe says, and wow that tiny addition makes such a difference! Served it on rye toast with sliced cucumber for a light lunch on the porch today, absolute perfection.
Super easy for a total kitchen newbie like me! I’ve never cooked salmon before in my life and this only took 8 minutes exactly like the recipe said, no mess no stress. Only bummer was I over-salted it a little, that was my bad though not the recipe’s fault.
Packed this for a day hike up in the Catskills last weekend, kept great in my cooler, and was so much more satisfying than the sad granola bars I usually force down on the trail. Will absolutely be making this for all my upcoming fall camping trips too! It’s hearty, tasty, and doesn’t get soggy if you keep the filling separate from the bread until you’re ready to eat. 10/10 no notes.