
Scalloped Corn
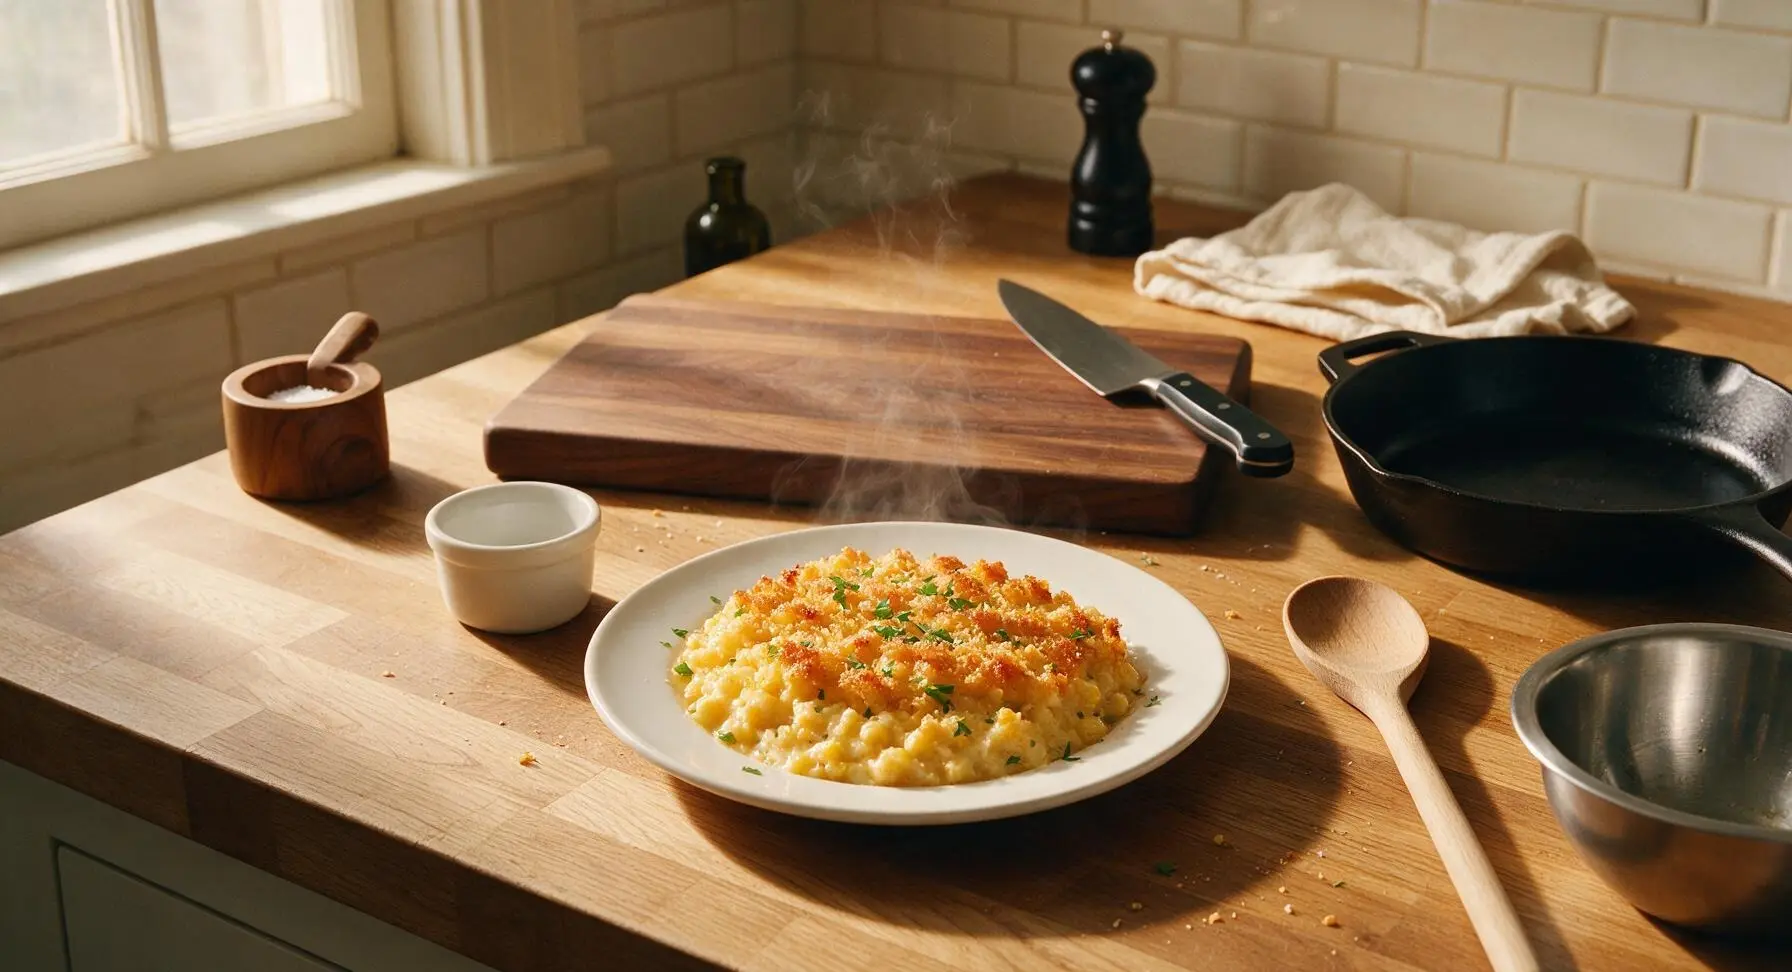
intro
Creamy, sweet, and crisp-topped, this nostalgic baked scalloped corn is a cozy, beloved holiday side that pairs perfectly with roasted turkey and autumn fixings.
Ingredients
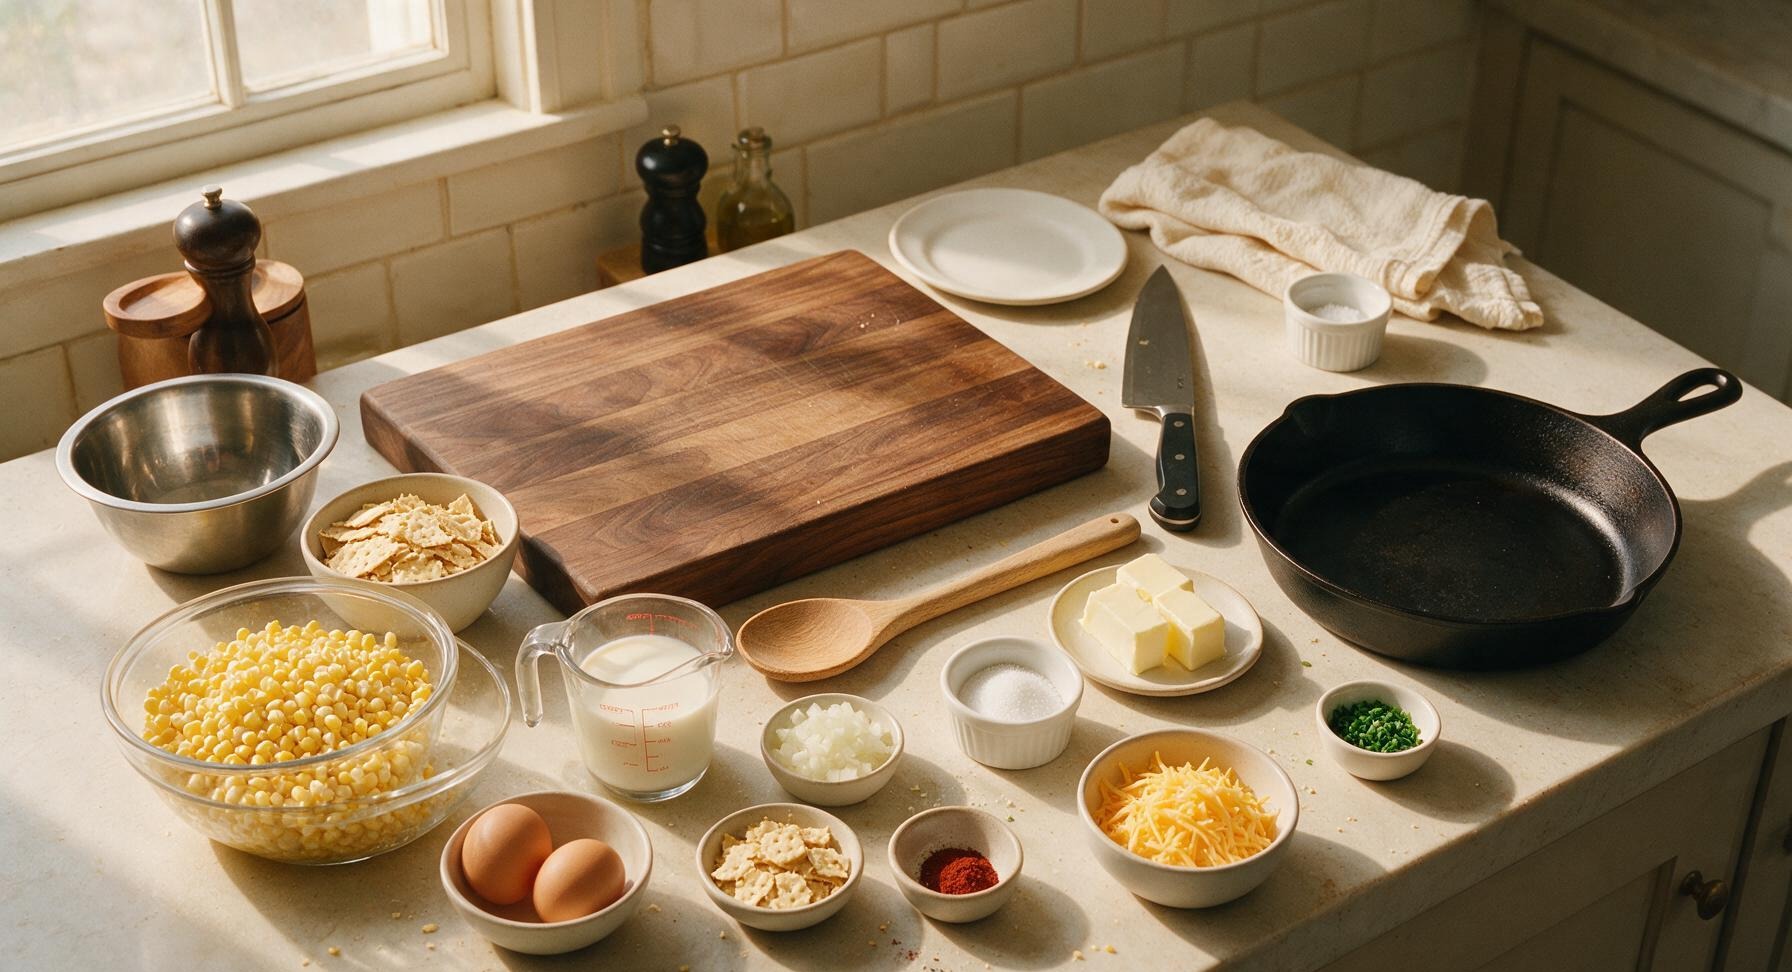
Steps
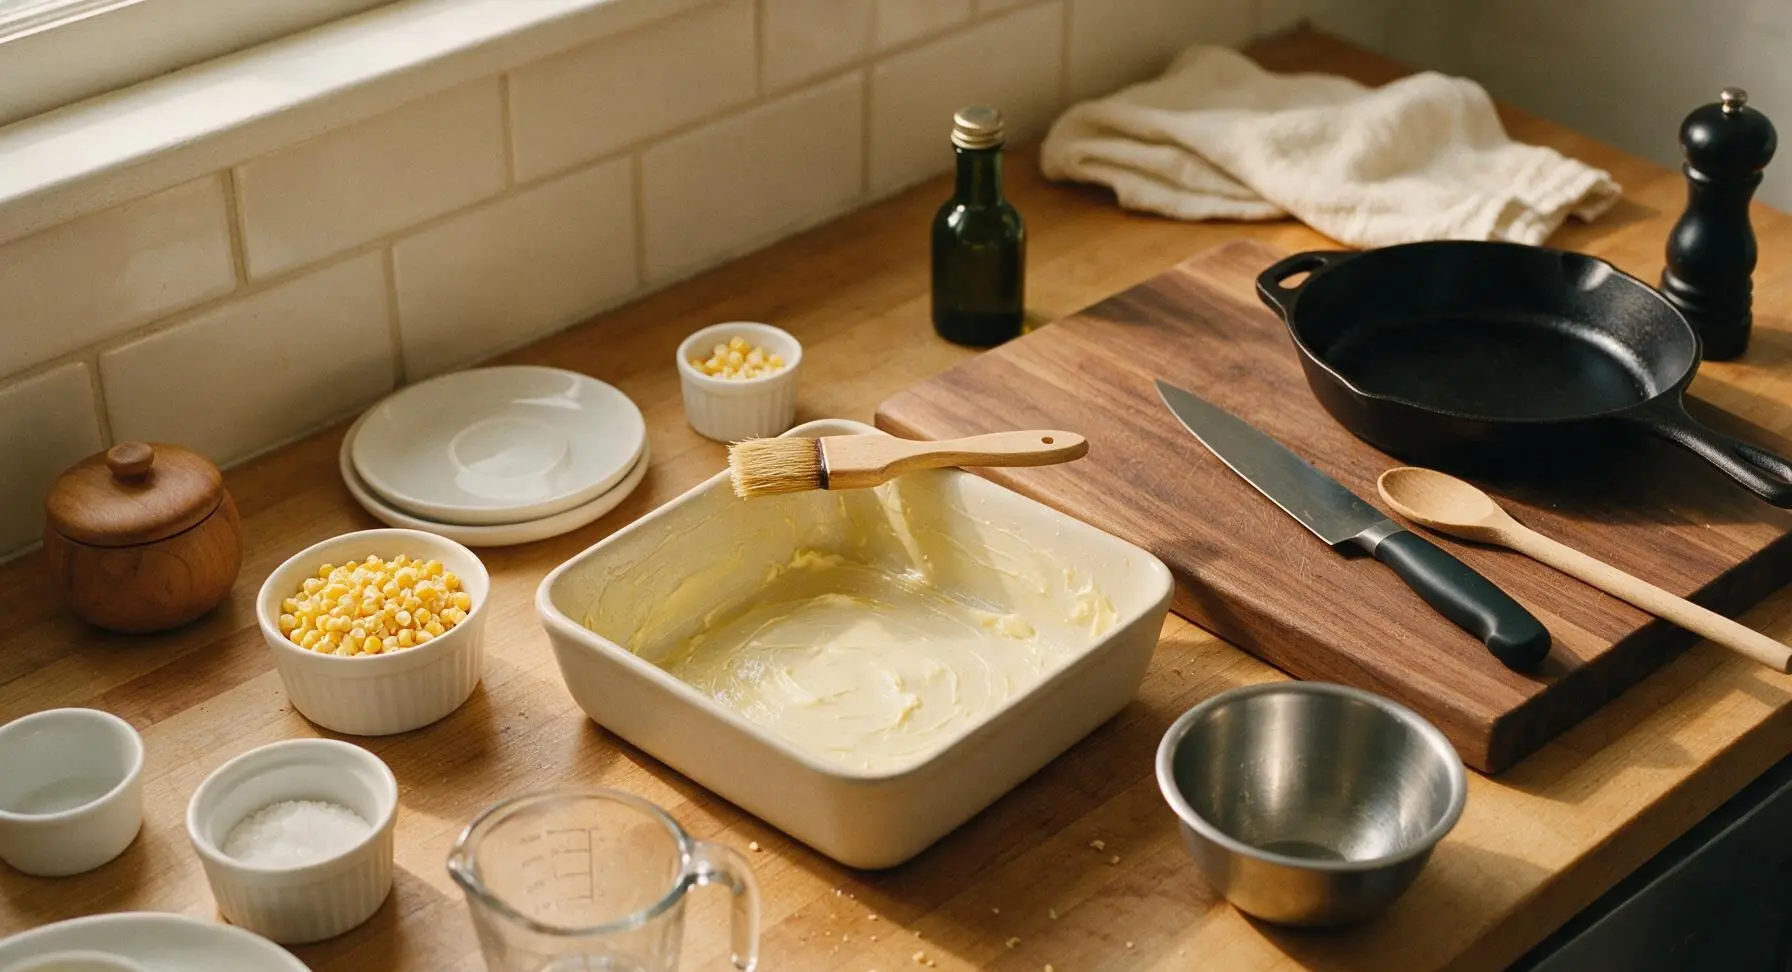
Preheat and Grease Dish
Adjust your oven rack to the middle position and preheat the oven to 350°F (175°C). Use the boar bristle pastry brush to coat the entire interior surface (bottom, sides, and corners) of the 9-inch square matte off-white ceramic baking dish with 1 tablespoon of softened butter, creating a thin, even non-stick layer. Set the prepared dish near the center of the work surface.
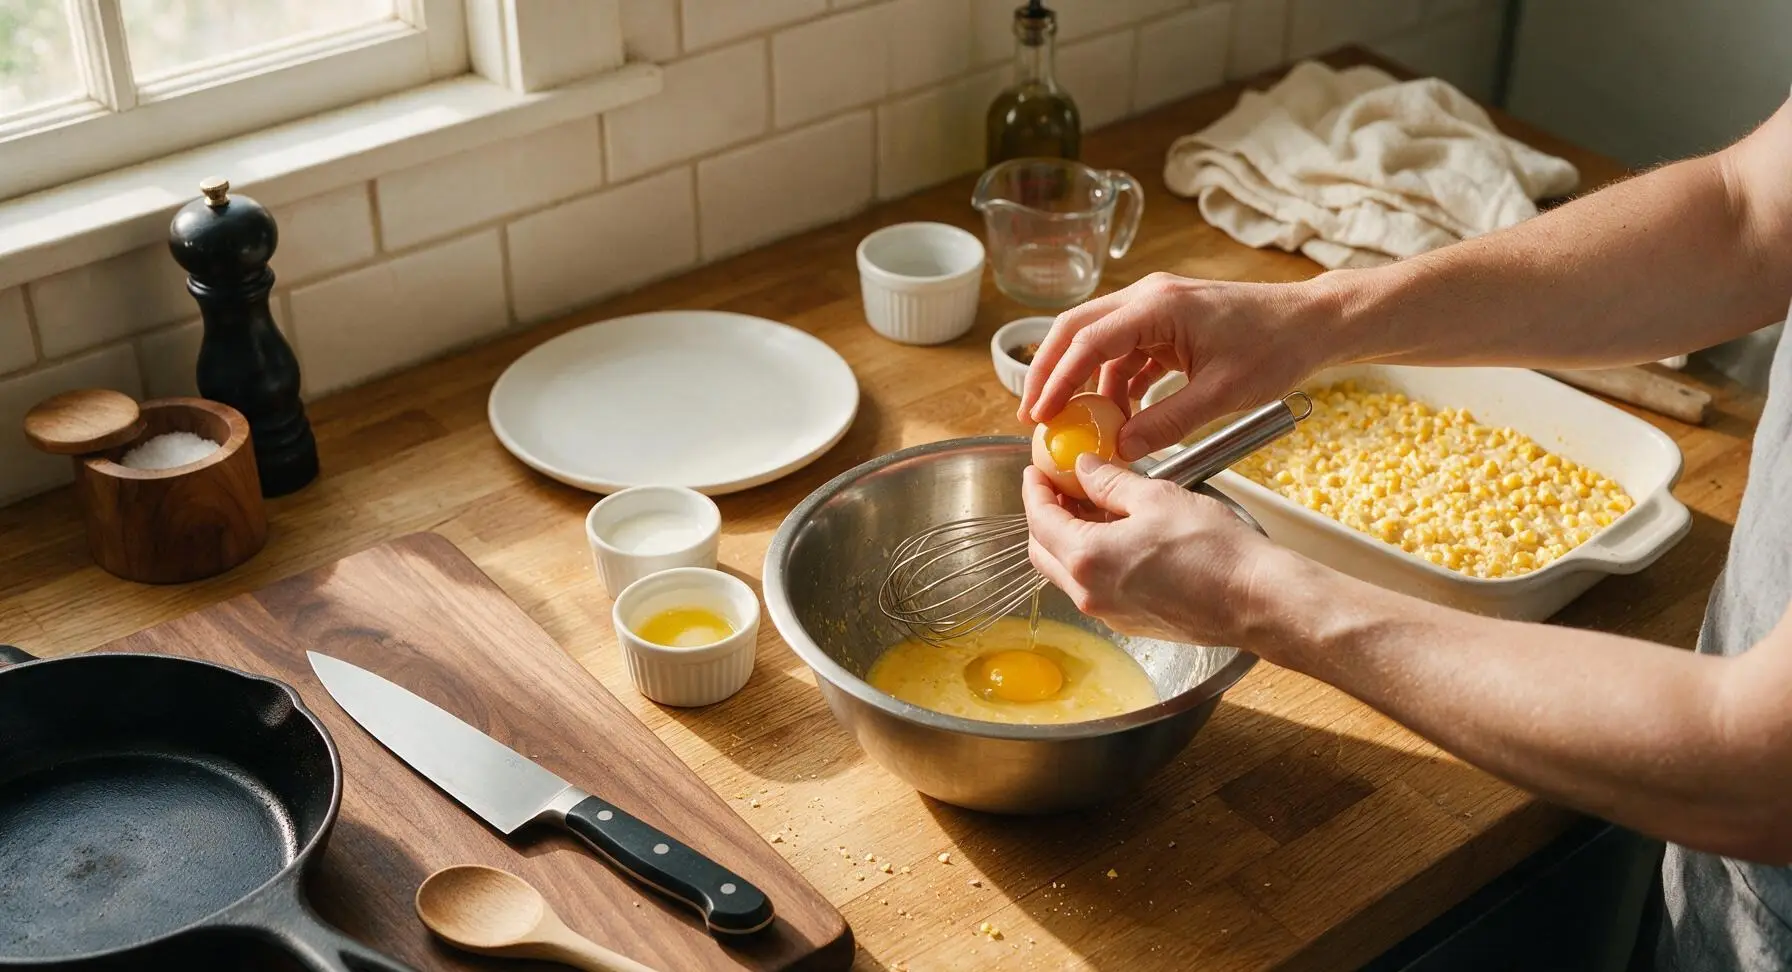
Whisk Custard Base
Crack 2 large eggs into the medium brushed stainless steel mixing bowl. Use the stainless steel wire whisk to beat the eggs for 30 seconds until smooth and pale yellow, with no visible streaks of egg white. Pour in 1 cup whole milk, 2 tablespoons melted unsalted butter, 1 tablespoon granulated sugar, 1 teaspoon kosher salt, 1/2 teaspoon black pepper, and 1/4 teaspoon smoked paprika. Whisk for an additional 20 seconds until the mixture is fully uniform, with no lumps or separated egg.
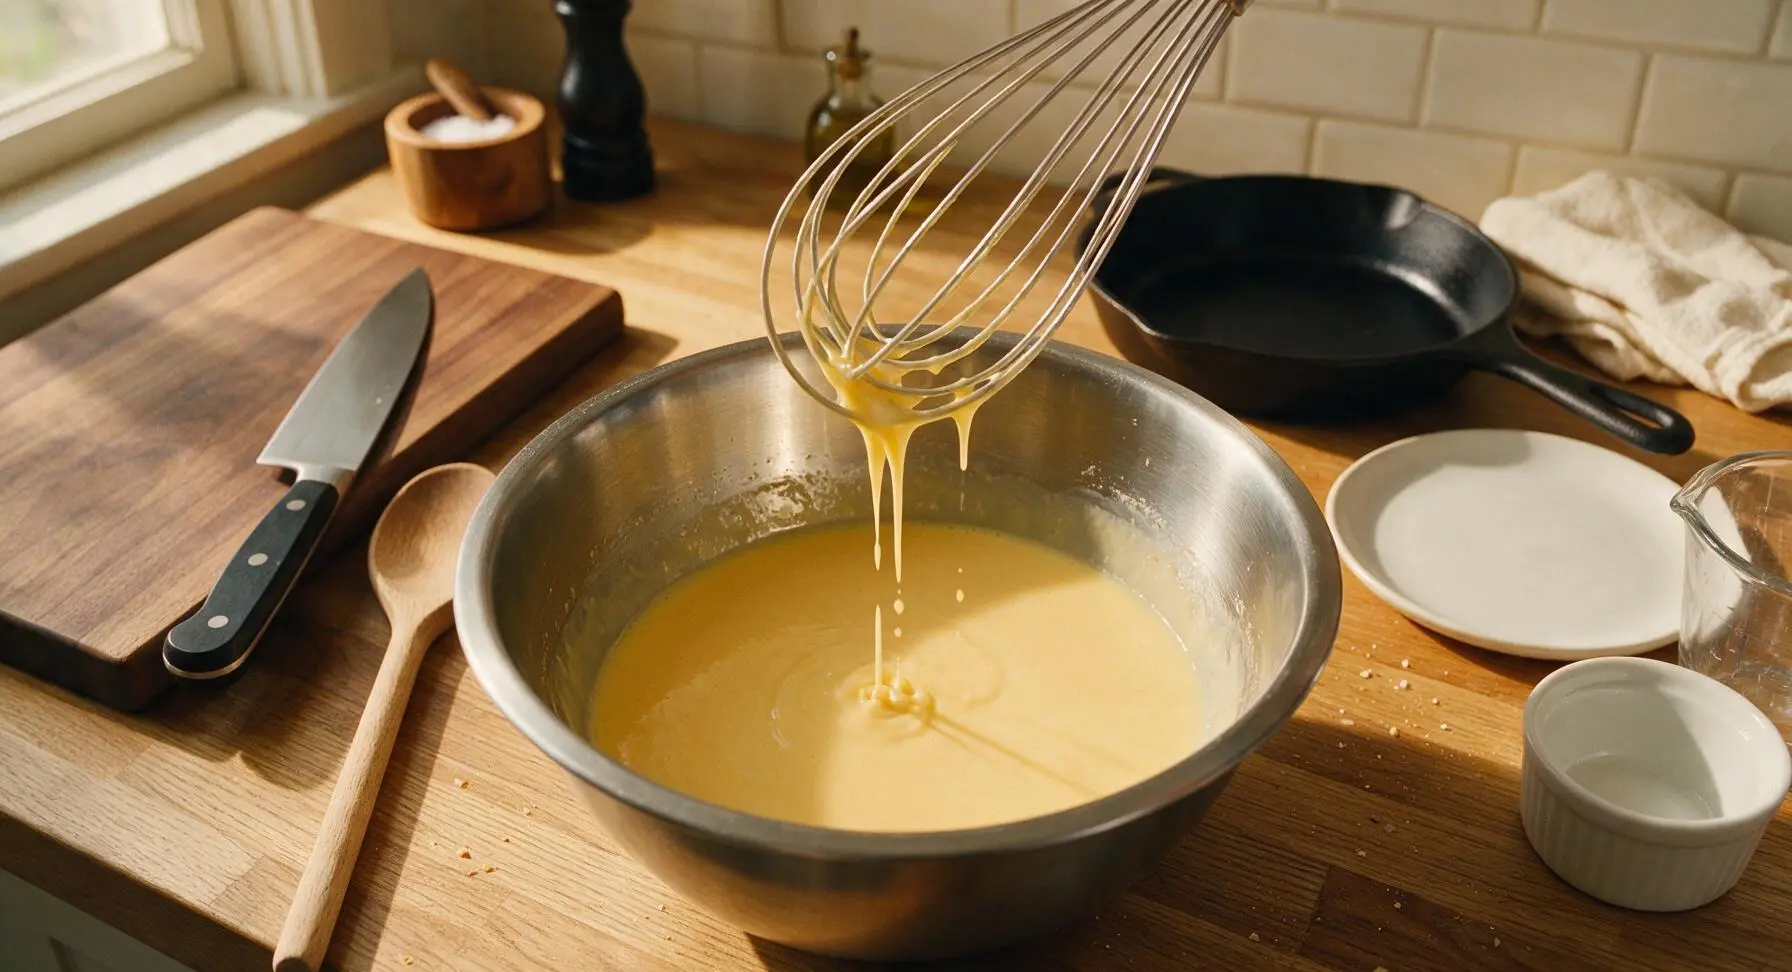
Fold in Corn Mix-ins
Add 4 cups sweet corn kernels, 1/4 cup finely diced yellow onion, 1/2 cup shredded sharp cheddar, and 1/4 cup of the crushed saltine crackers to the custard base. Use the matte sage green silicone spatula to gently fold the ingredients together until evenly distributed, taking care not to mash the tender corn kernels. The finished mixture will be loose, with all solids evenly coated in the thin custard.
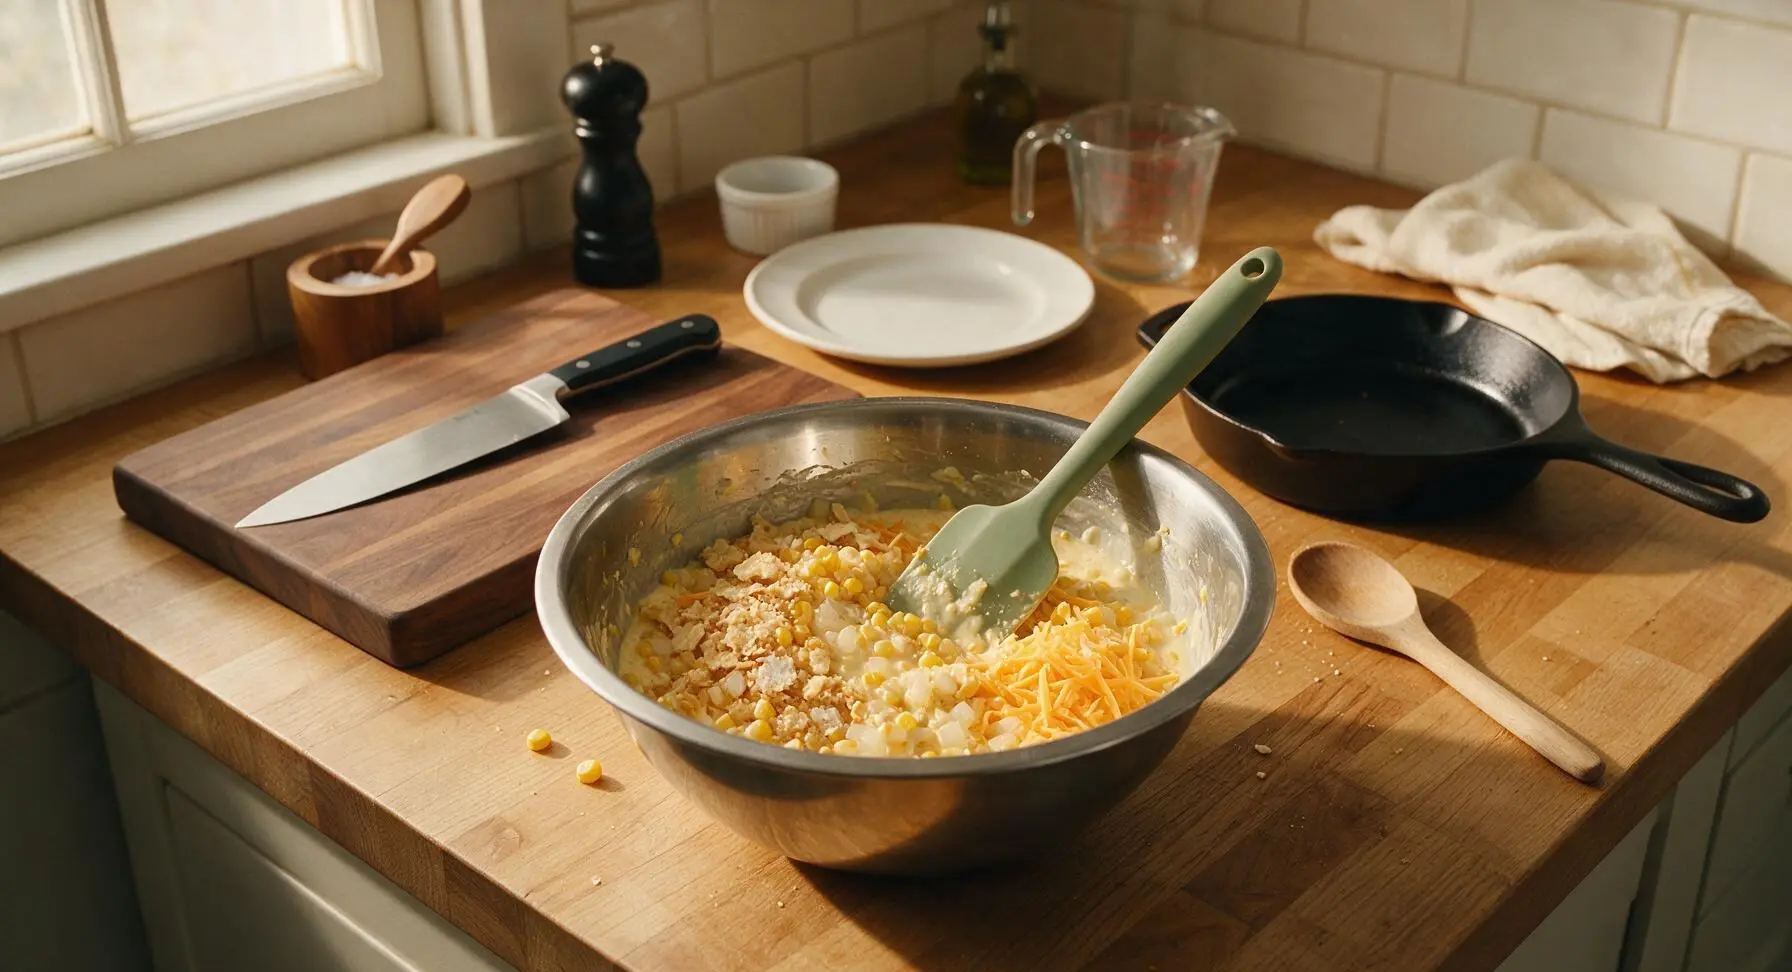
Transfer to Baking Dish
Hold the mixing bowl at a slight angle over the prepared buttered baking dish, and use the silicone spatula to scrape every bit of the corn and custard mixture into the dish. Gently tap the dish on the counter 2-3 times to release any trapped air bubbles, then use the spatula to spread the mixture into a flat, even layer across the dish bottom.
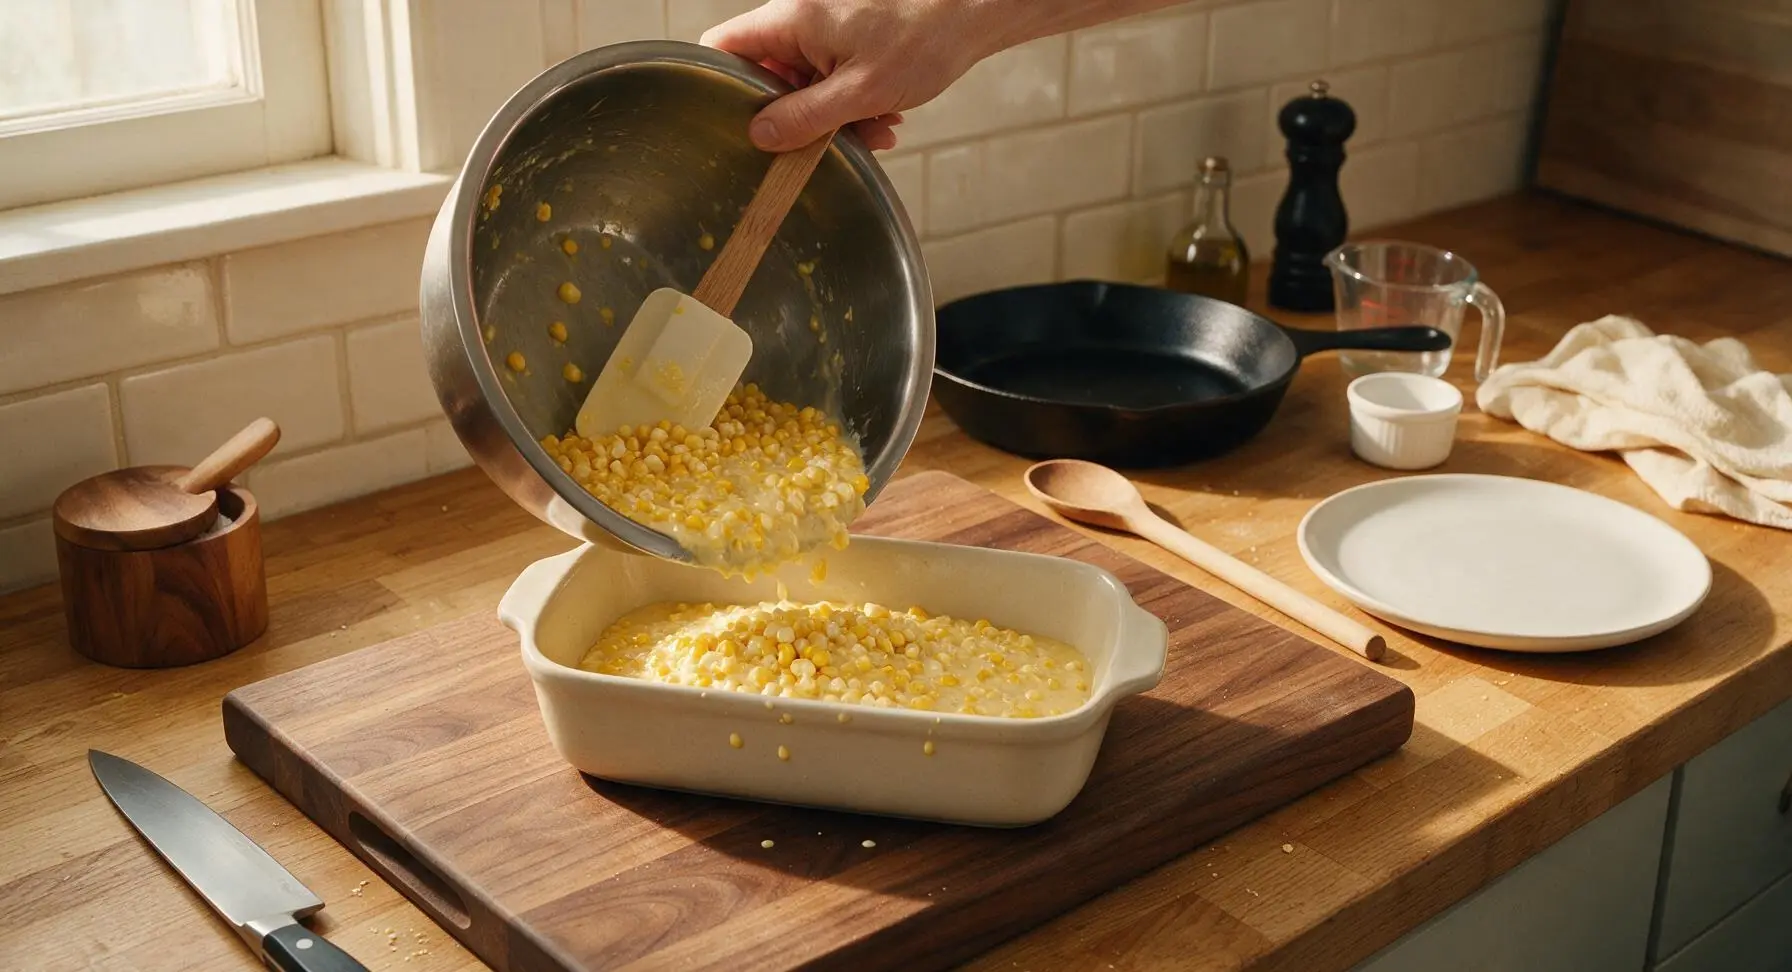
Top with Cracker Crumbs
Sprinkle the remaining 1/4 cup of crushed saltine crackers evenly across the entire top surface of the corn mixture. The crumb layer should be thin and uneven, with small patches of the corn mixture peeking through, rather than a thick, solid crust. For extra richness, you may dot the top with tiny pieces of extra butter, though this is optional.
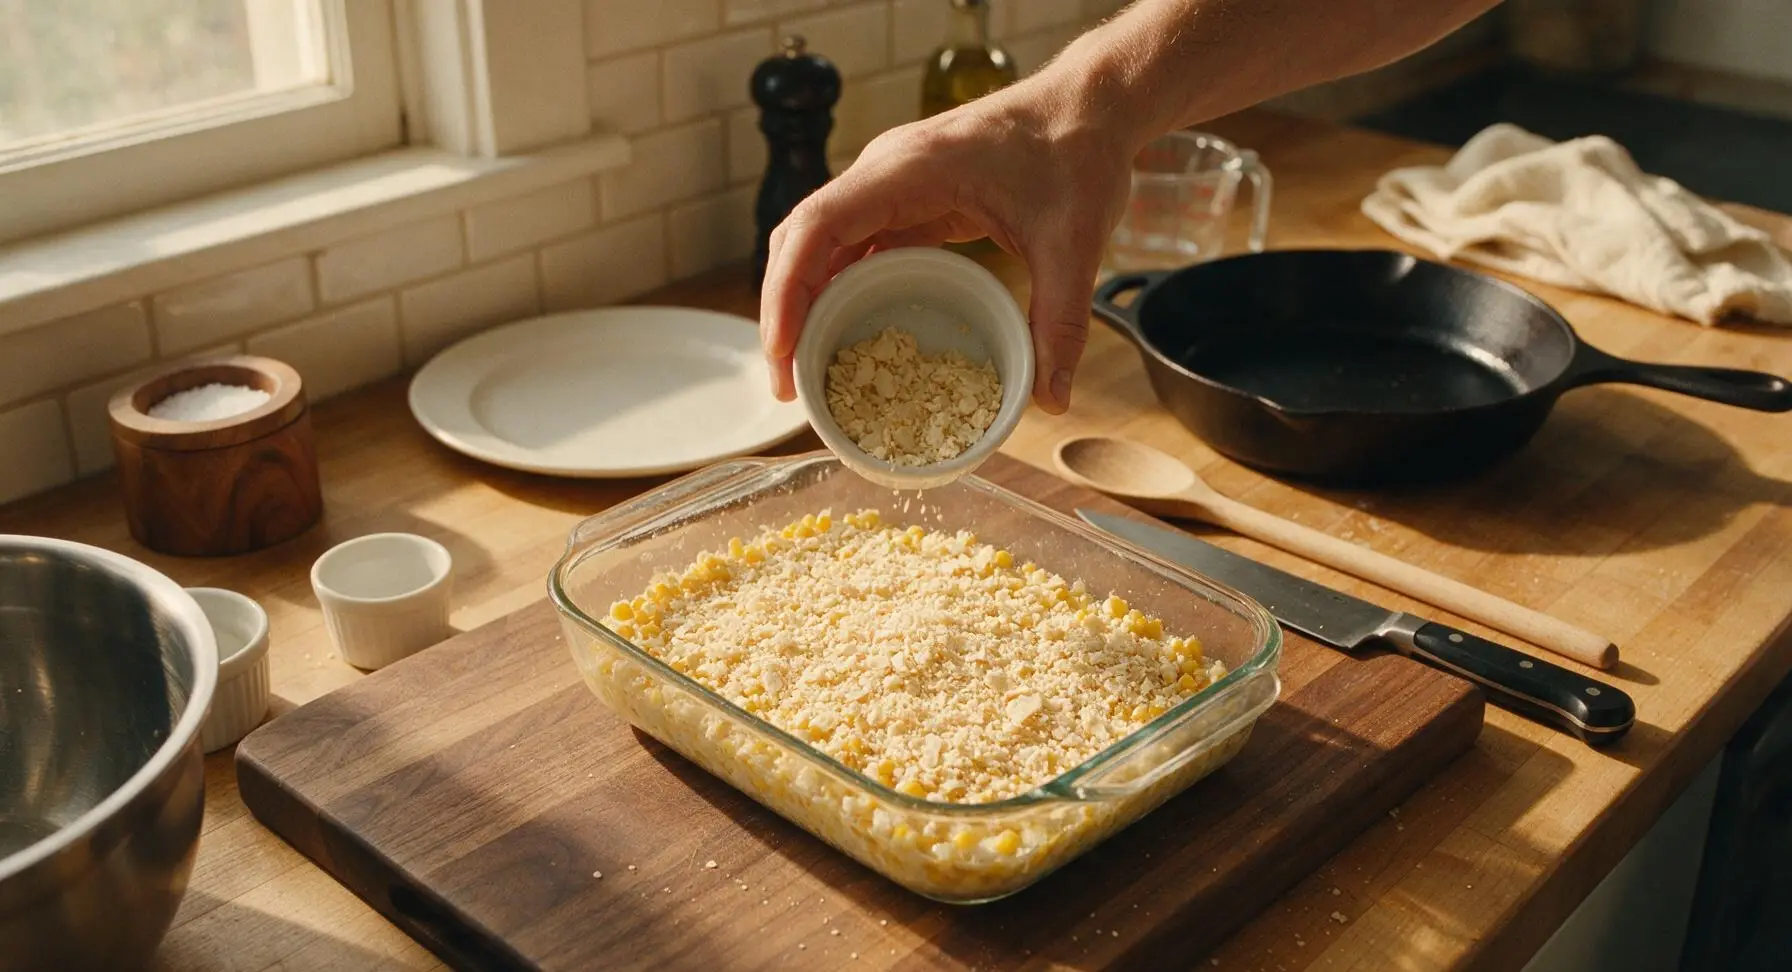
Bake Until Set
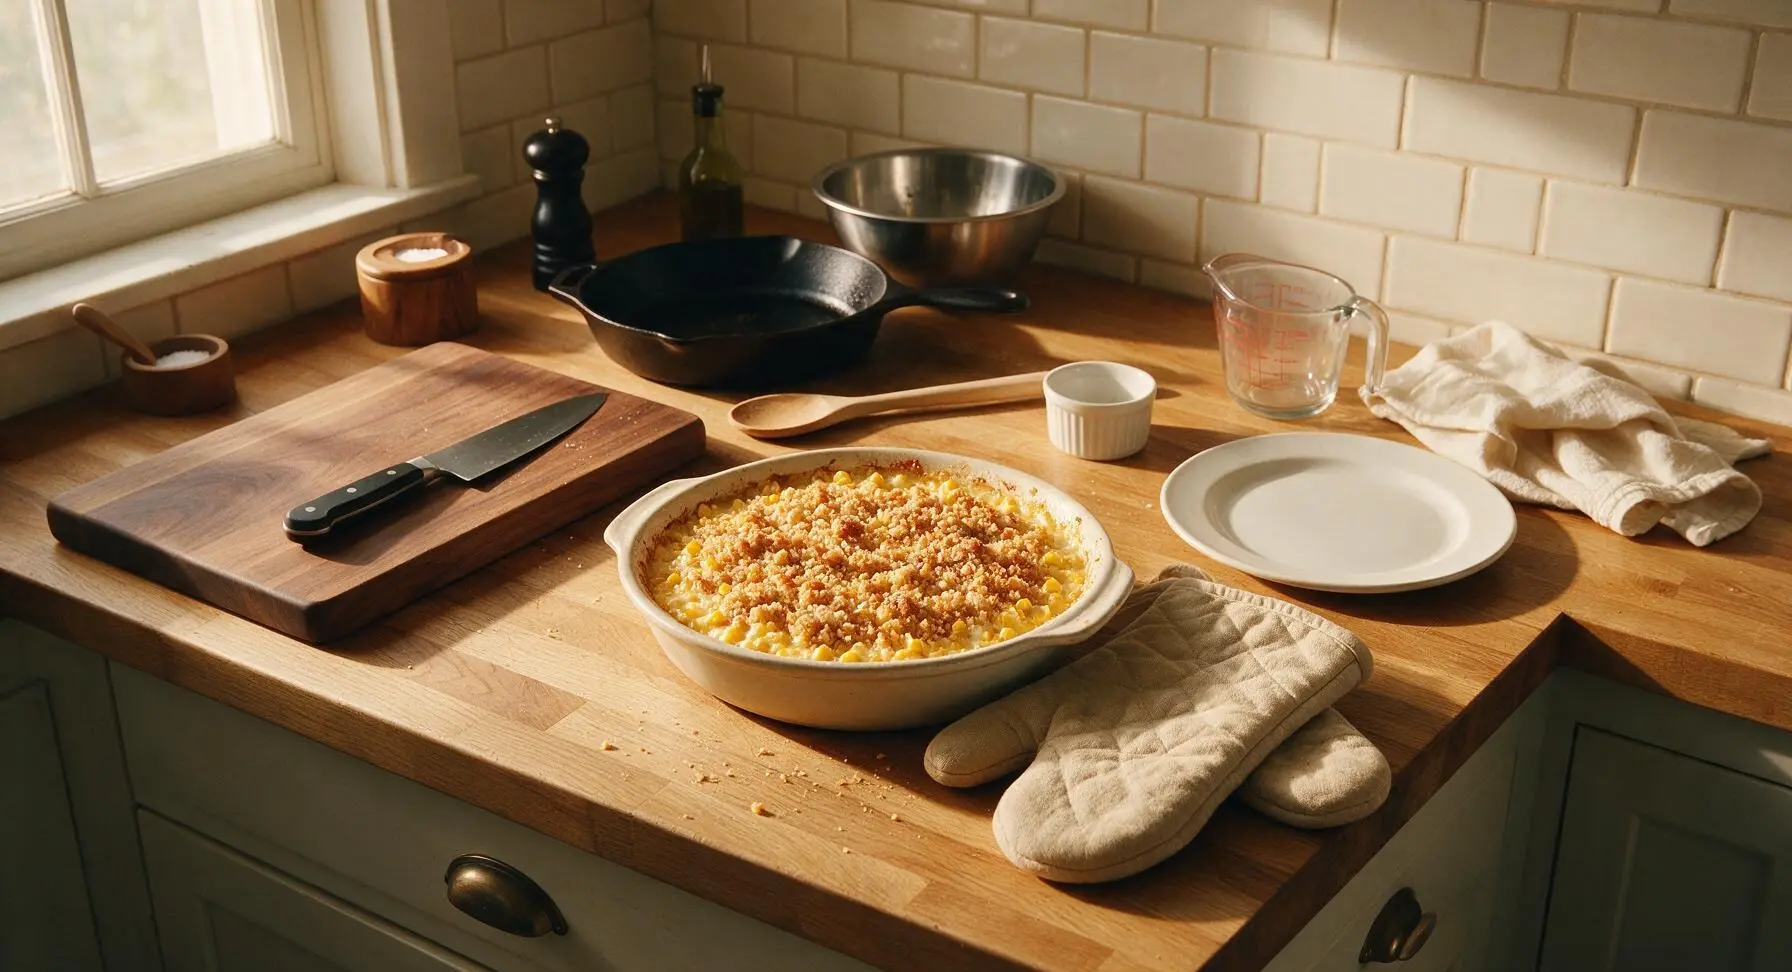
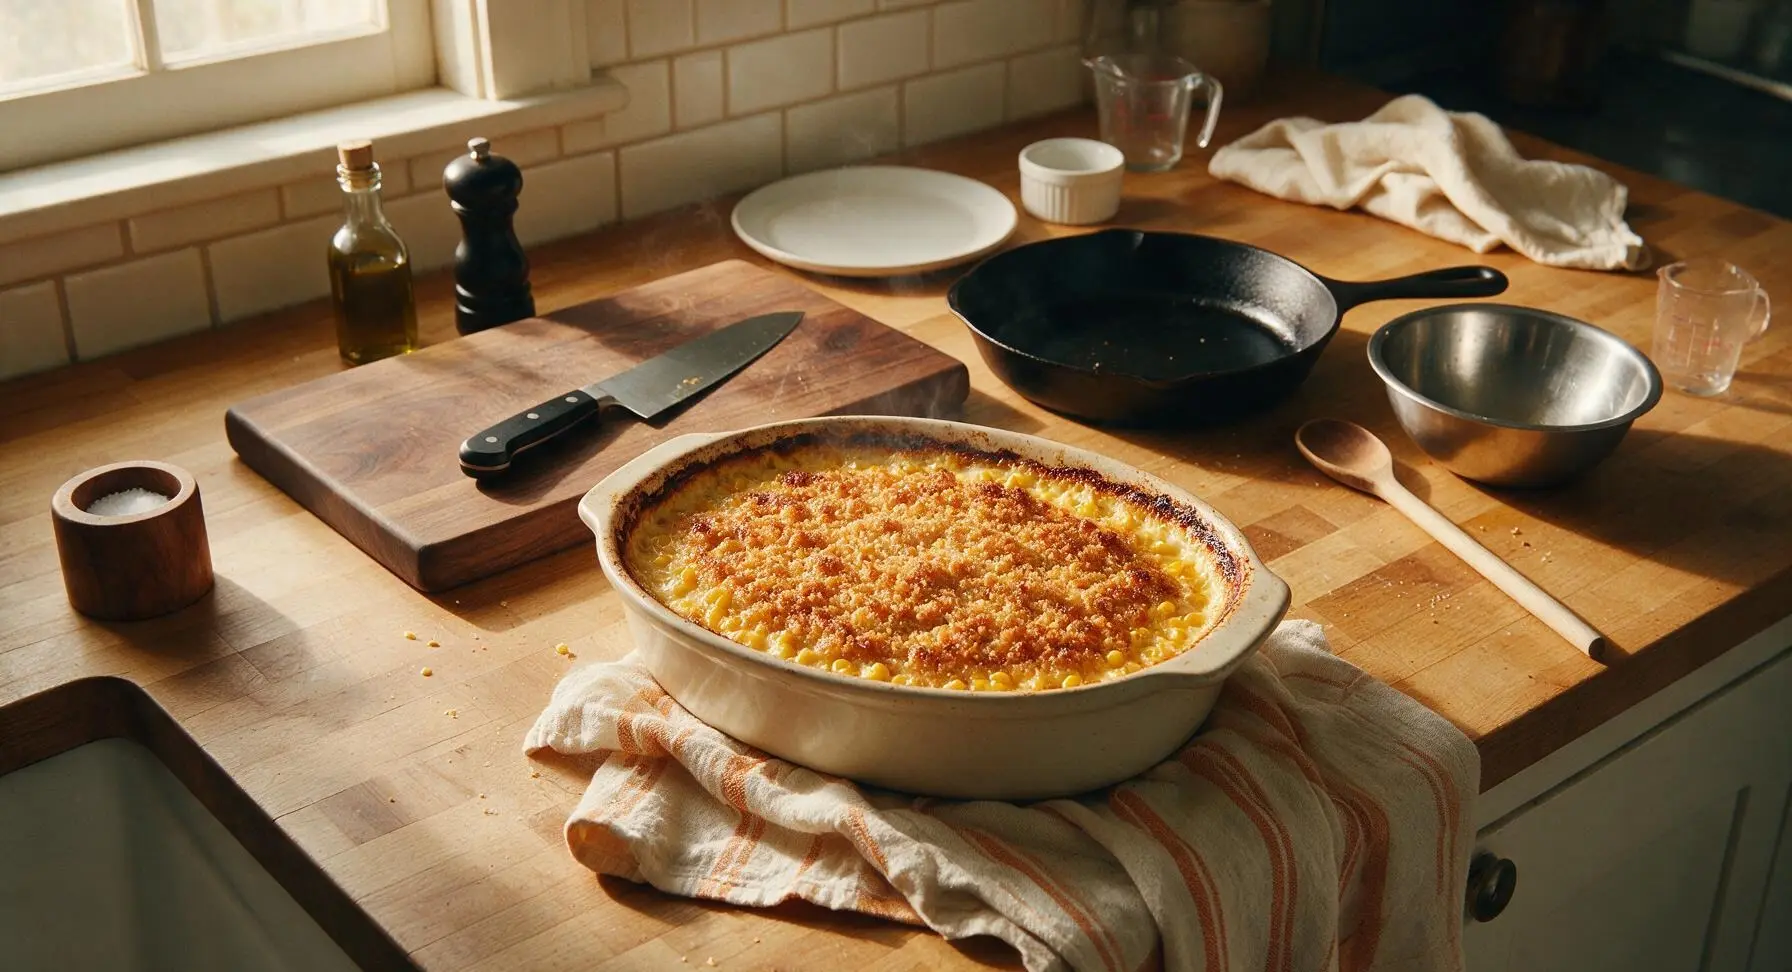
Carefully transfer the assembled baking dish to the middle oven rack. Bake for 40-45 minutes at 350°F (175°C), until the custard is mostly set (it will jiggle only slightly in the very center when nudged, with no loose liquid sloshing) and the cracker crumb top is deep golden brown and crisp around the edges. Remove the dish from the oven and let it rest for 10 minutes at room temperature; the custard will finish setting as it cools.
Garnish and Serve
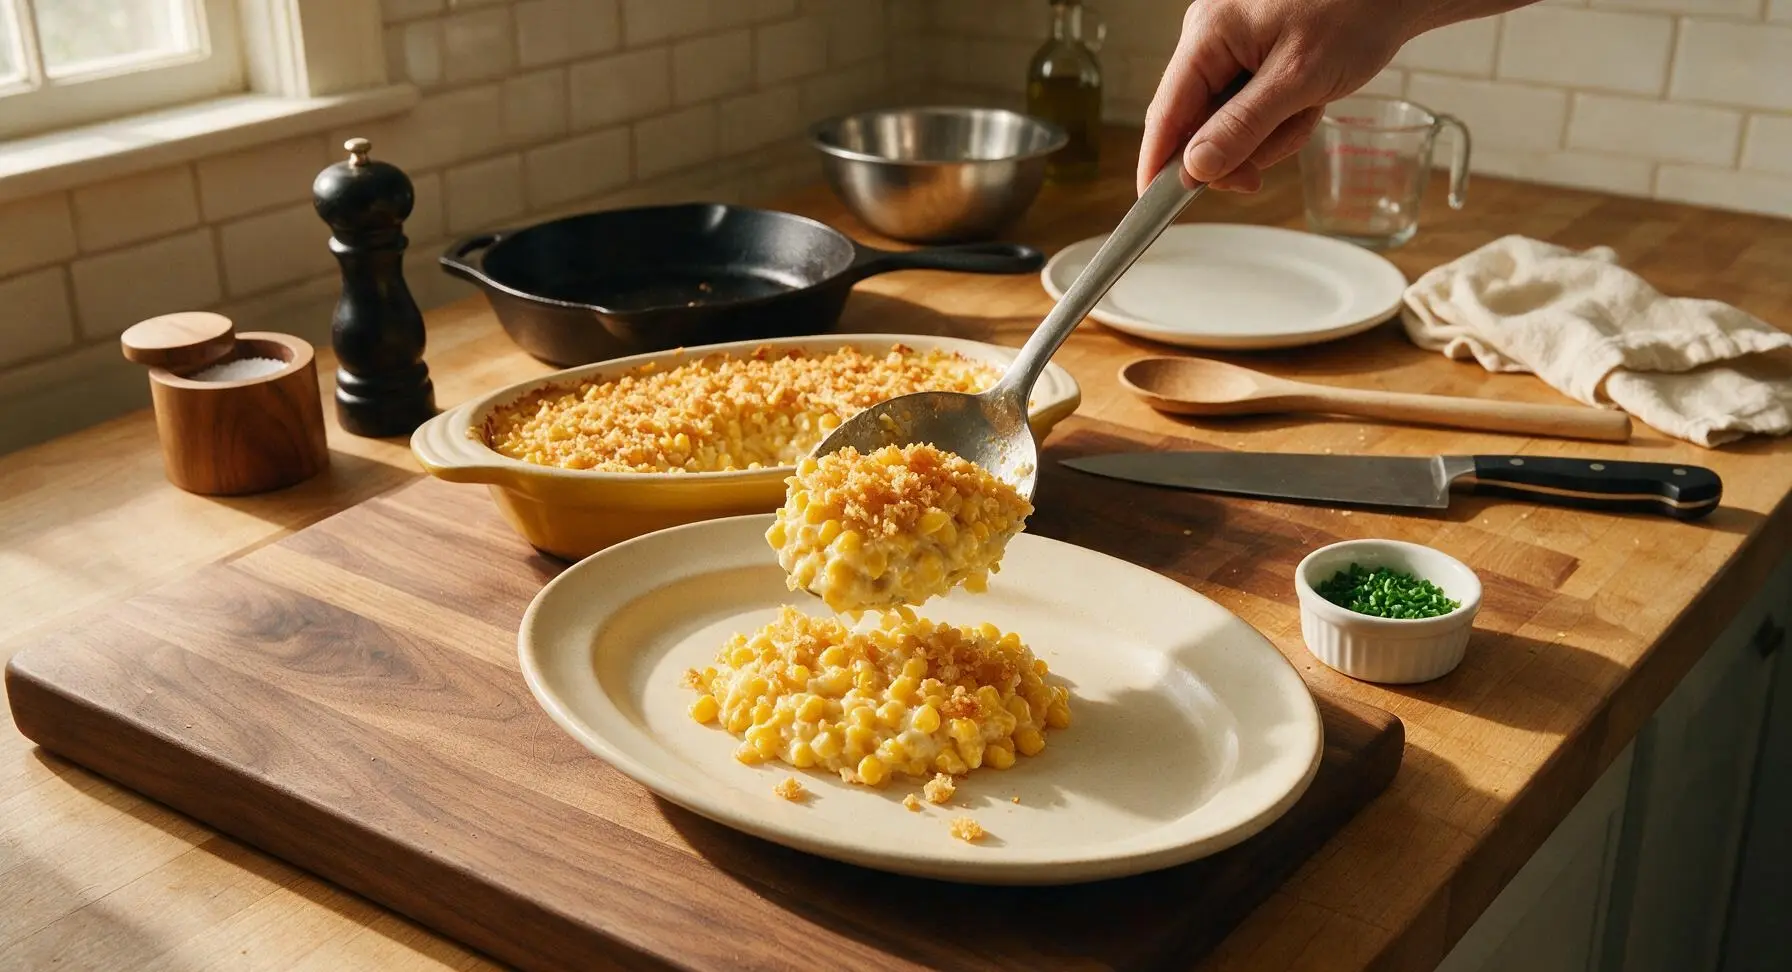
After the 10-minute rest, use the large stainless steel serving spoon to scoop generous portions of scalloped corn onto the matte cream oval serving platter, or serve directly from the baking dish for a casual family meal. Sprinkle the top with 1 tablespoon of finely chopped fresh chives for a bright, fresh color contrast. Serve warm.
Tips
2.Resist the urge to overbake the scalloped corn: the very center should have a soft, slight jiggle when you pull the dish from the oven. The residual heat will finish setting the custard during the 10-minute rest, and overbaking will result in a dry, rubbery texture rather than the desired tender, creamy set.
3.For easy make-ahead prep, assemble the entire dish (without the cracker topping) up to 24 hours in advance, cover tightly, and refrigerate. Add the crumb topping right before baking, and add 5-7 minutes to the total bake time to account for the cold starting temperature.






OMG this scalloped corn is a total game changer! I brought it to my neighborhood potluck last weekend and every last scoop was gone before I even got a second helping. It was so easy to throw together too – 45 minutes total, zero fancy ingredients, even my picky 7 year old asked for seconds. Will 100% be making this for Thanksgiving this year!
Made this to go with our smoked brisket over the weekend and it paired perfectly. I was worried it’d be too mushy but the crunch on top from the buttery cracker crumbs? *Chef’s kiss* Super straightforward recipe, no weird steps, even a guy who mostly cooks meat on a grill can nail this.
Really solid scalloped corn recipe! I added a handful of shredded sharp cheddar to mine because we love cheesy sides around here, and it turned out amazing. Only note is I had to add 5 extra minutes of bake time because my oven runs a little cool, but that’s just my kitchen quirk. Will make again.
As someone who’s never been great at baking side dishes, I was shocked how easy this was! I made it for my partner’s birthday dinner and they swore I spent hours on it. Little do they know it took me 10 minutes to prep and 45 minutes in the oven, no fuss at all.
My kids LOVED this! I’ve been trying to find easy veggie sides that don’t get pushed around the plate, and all three of them cleaned their bowls when I made this last night. I did cut the sugar a tiny bit because I don’t like super sweet corn dishes, and it was perfect for our taste.
SO good. I was skeptical because I’ve only ever had scalloped corn from the can, but homemade baked version is on a whole other level. The texture is creamy but not heavy, perfect with grilled chicken and a salad for a quick weeknight dinner. 10/10.
This is a pretty good base recipe, but I think it’s missing a little something for my taste. I remember my mom’s scalloped corn having a bit more onion and green pepper in it, so I’ll probably add those next time I make it. Bake time was spot on for my oven, though!
Great for meal prep! I made a big pan on Sunday and portioned it out for lunches throughout the week, paired with grilled pork chops. It held up really well in the fridge and reheated perfectly in the microwave, no sogginess. Only reason it’s not 5 stars is I wish it had a little more seasoning out of the gate, but that’s an easy fix.
Just pulled this out of the oven and snuck a bite before dinner – holy cow, that’s good. The cracker topping is buttery and crispy, the corn is creamy, I can already tell my roommates are gonna lose their minds when they get home. Easy as can be, too, I had all the ingredients in my pantry already.
Made this for our family Sunday dinner and it was the star of the table next to the fried chicken. My grandma even asked for the recipe, which is the highest possible compliment I can get because she never uses recipes from the internet lmao.
Who knew scalloped corn could be this good? I made this for a game day spread with wings, nachos, and chili, and people kept going back for more corn over the nachos. Wild. Super easy to make, didn’t require any special equipment, baked up perfectly in 45 minutes just like the recipe said.
Just made this for the first time and it’s perfect! I used frozen corn instead of canned because that’s what I had on hand, and it worked totally fine. Creamy, crispy top, not overly rich, exactly what I was craving when I looked up a classic scalloped corn recipe. No notes!
Really tasty recipe! I swapped the regular crackers for gluten-free butter crackers to accommodate my celiac, and it turned out almost exactly like the regular version I remember from childhood. I wish the recipe noted gluten-free swap options, but that’s my only small critique!
My teen son is going through a growth spurt and eats literally everything in the house, so I made this as a hearty side to go with meatloaf the other night. He had three helpings! Said it tastes like the corn casserole we get at our favorite local diner, but better because it’s homemade. Win for dad.
I added a can of diced green chiles to my batch for a little southwest twist, and it was chef’s kiss. Served it with tacos for taco Tuesday and my whole family was raving. Love that this base recipe is so easy to customize to whatever vibe you’re going for that night. 10/10, will be making variations of this for years.
College student here, I can barely make mac and cheese without burning it, and I nailed this on the first try! All the ingredients were super cheap at the grocery store, it took no time to put together, and my roommates all chipped in for the ingredients because they loved it so much. Perfect cheap, easy side for broke students.
Made this in our RV oven on our last camping trip and it turned out perfectly! I was worried because our RV oven cooks unevenly, but I rotated the pan once halfway through the 45 minute cook time and it came out golden brown and crispy on top, no burnt edges. So easy to make even with limited kitchen space and supplies.
I tested this recipe ahead of our Friendsgiving dinner next month, and it’s officially going on the menu. It’s easy to scale up for a crowd, doesn’t take up valuable oven space for too long (only 45 minutes!), and tastes like pure cozy fall comfort food. Obsessed.