
shallot sauce
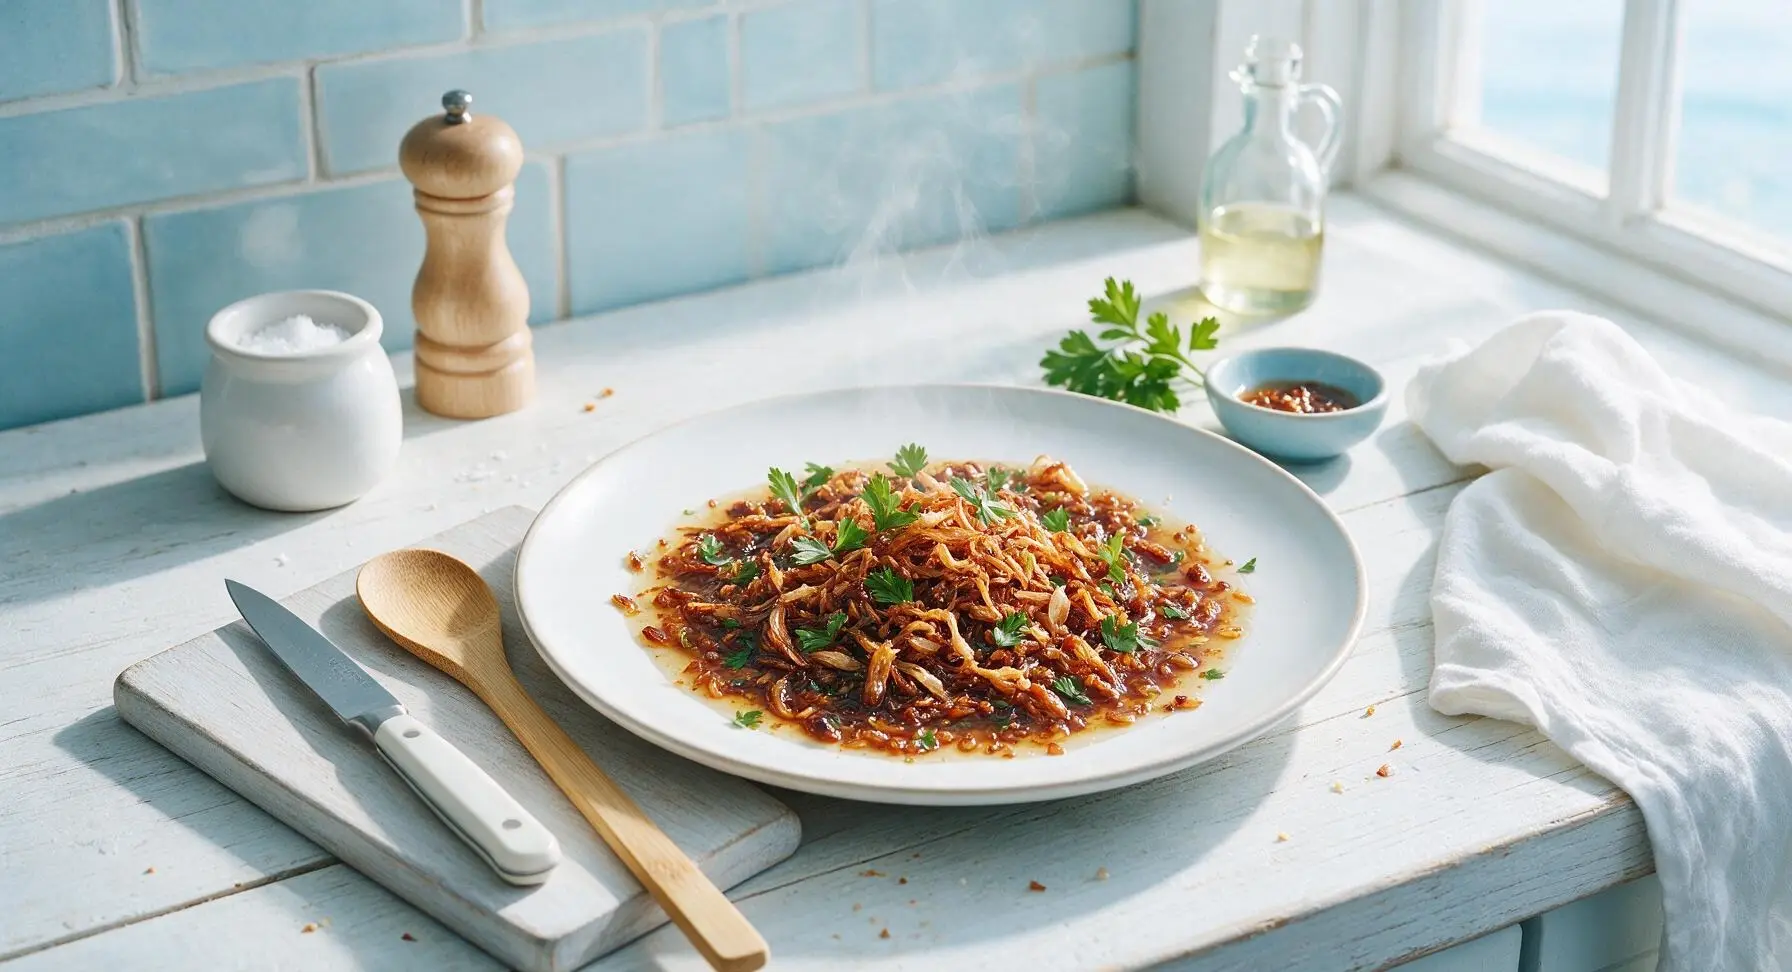
intro
Rich, deeply aromatic crispy shallot sauce with toasty, sweet-savory notes, perfect for tossing with noodles, drizzling over grilled meats, or stirring into soups for instant umami depth.
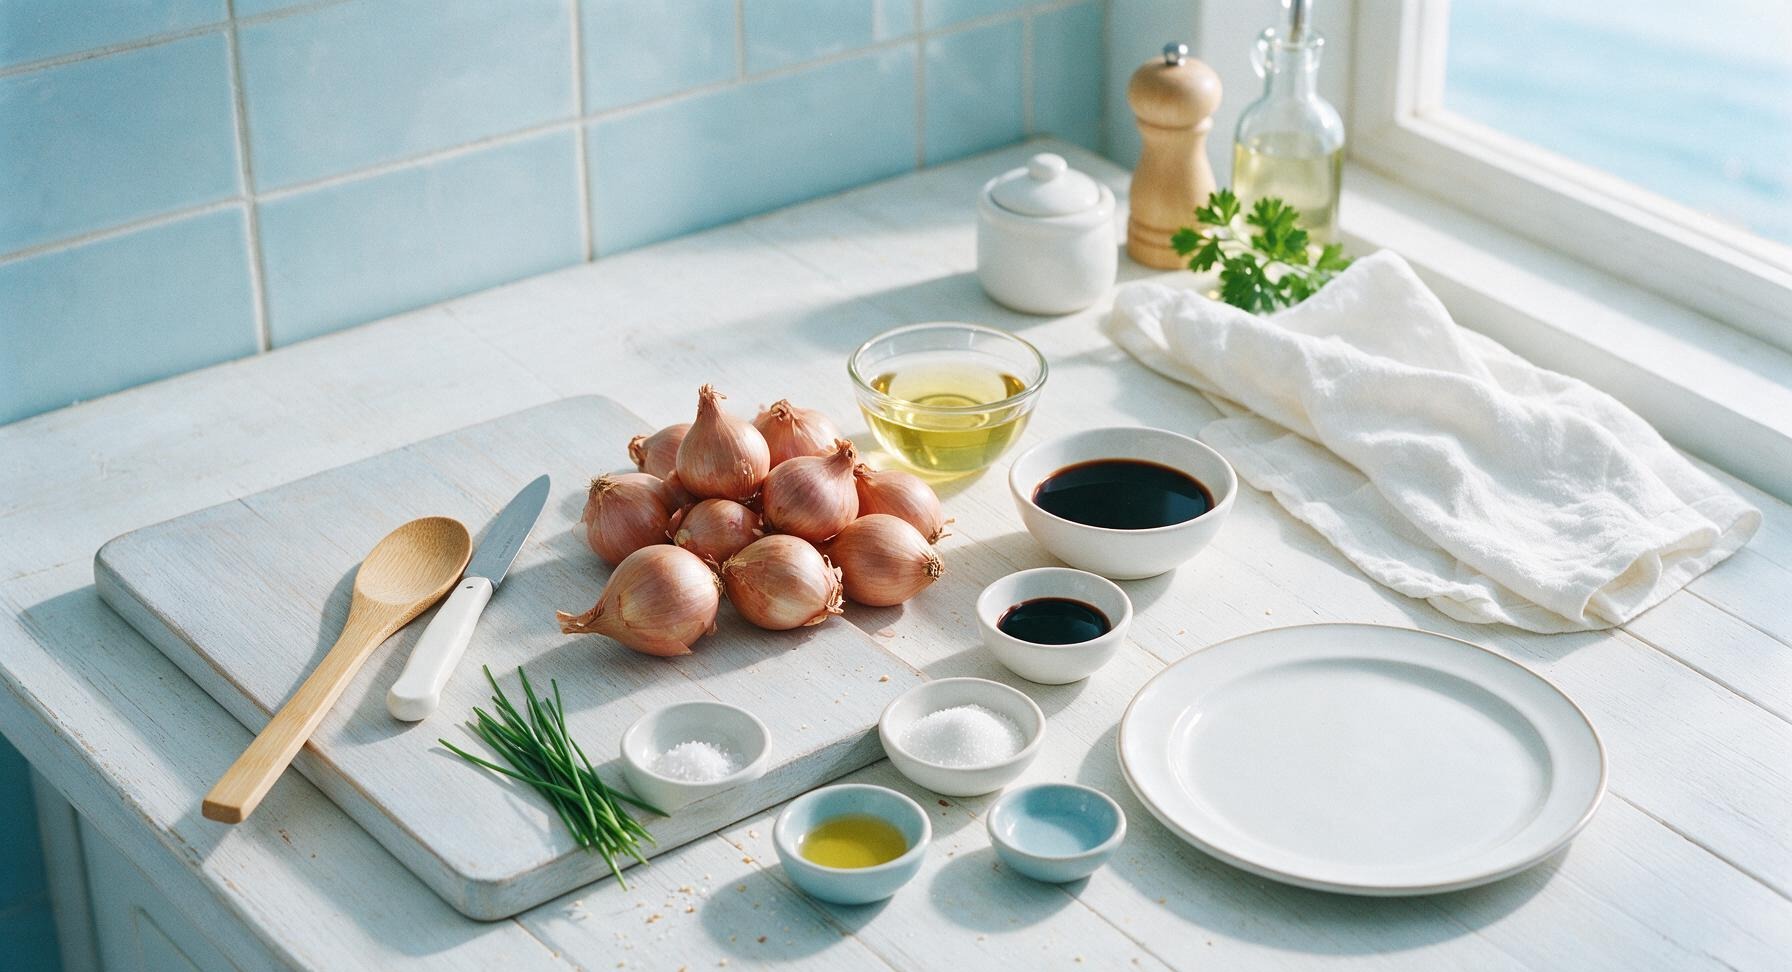
Ingredients
Steps
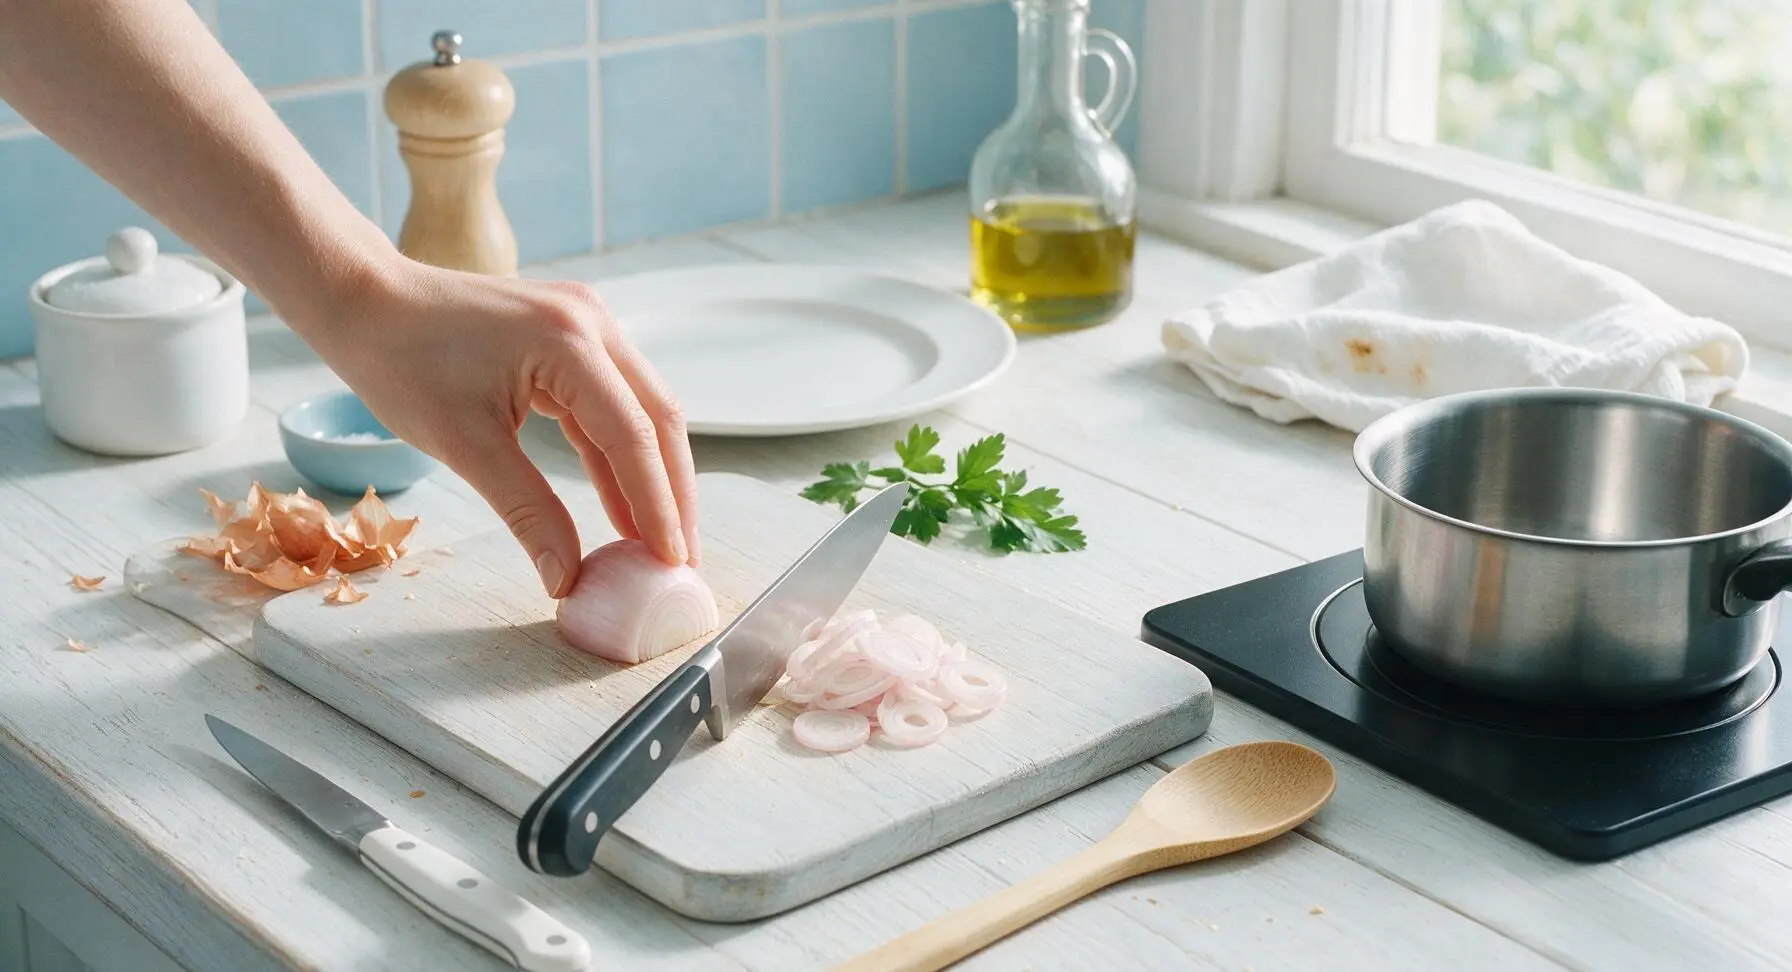
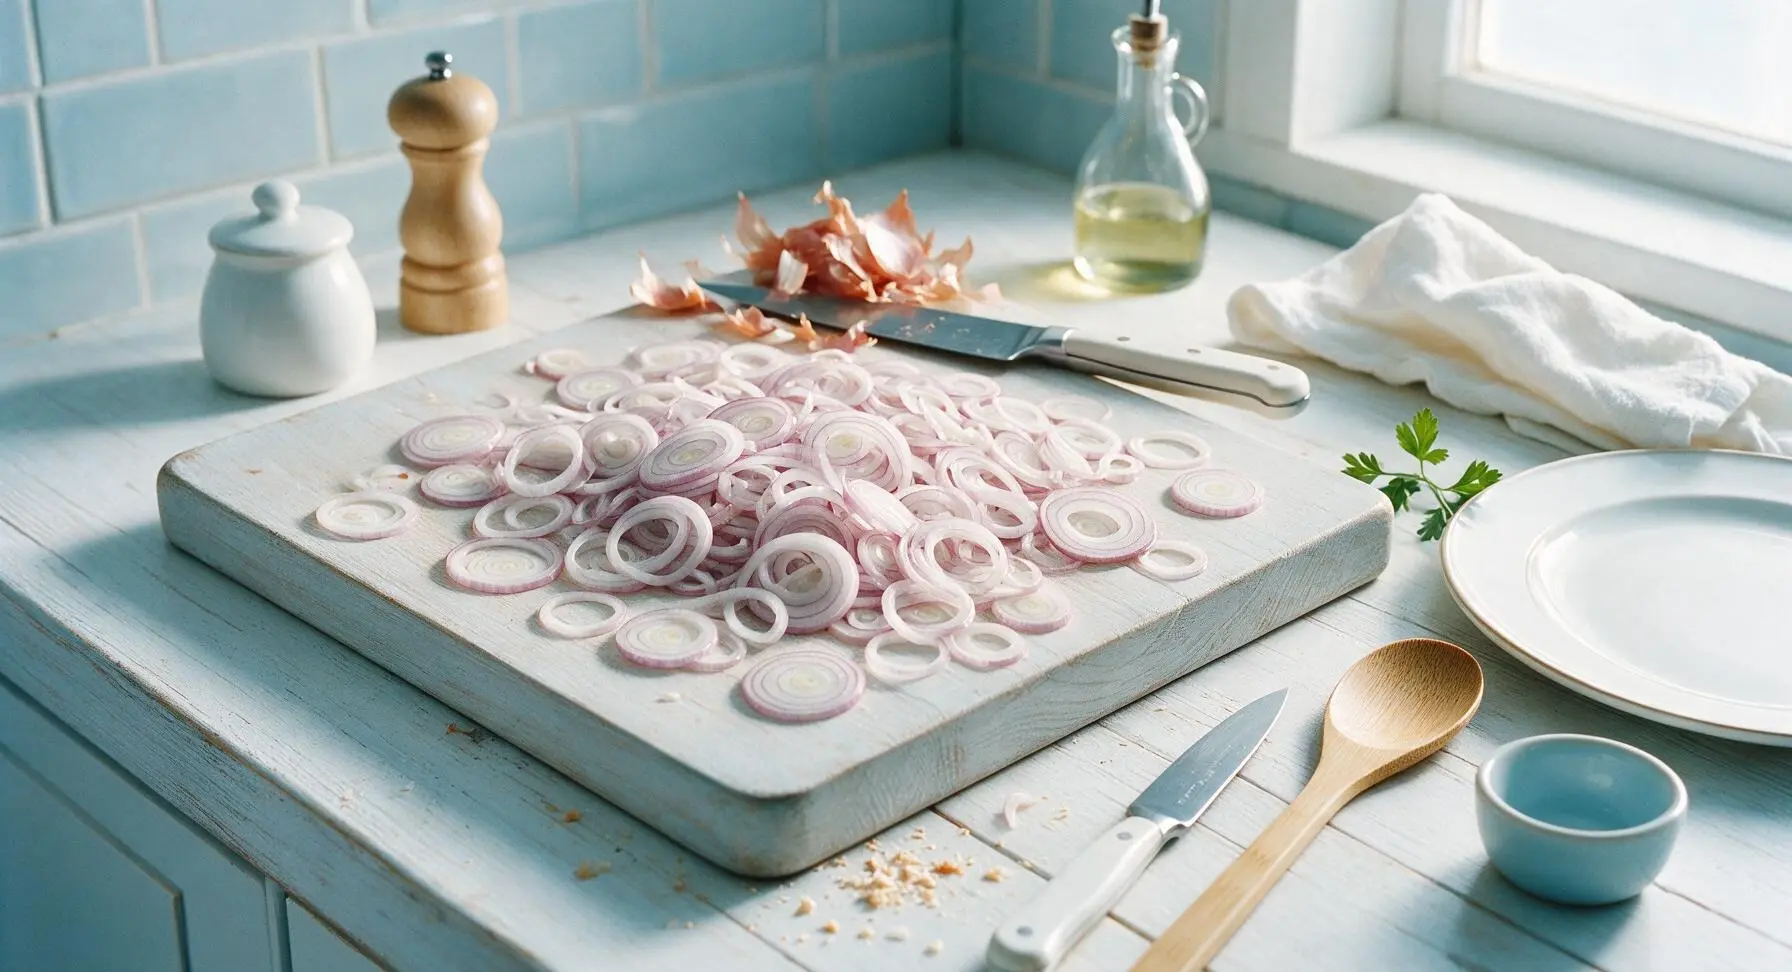
Peel and slice shallots
First, peel the papery outer skin from all 200g of shallots, discarding any tough or blemished layers. Using the 8-inch chef knife on the light grey cutting board, slice the shallots into uniform 2mm-thick even rings. Consistent thickness is critical to prevent some slices from burning while others stay undercooked; separate the rings gently with your fingertips after slicing. This step takes roughly 8 minutes.
Warm oil over low heat
Move the stainless steel saucepan from its pre-cooking counter position onto the right induction burner, pour 120ml of neutral oil from the fixed clear glass oil bottle into the pan, and heat over low heat to 120C (250F). Test the oil temperature by dropping in one single shallot ring: if tiny, gentle bubbles rise slowly around the ring, the oil is ready. Do not heat the oil to smoking point, as this will burn the shallots instantly. This takes approximately 3 minutes.
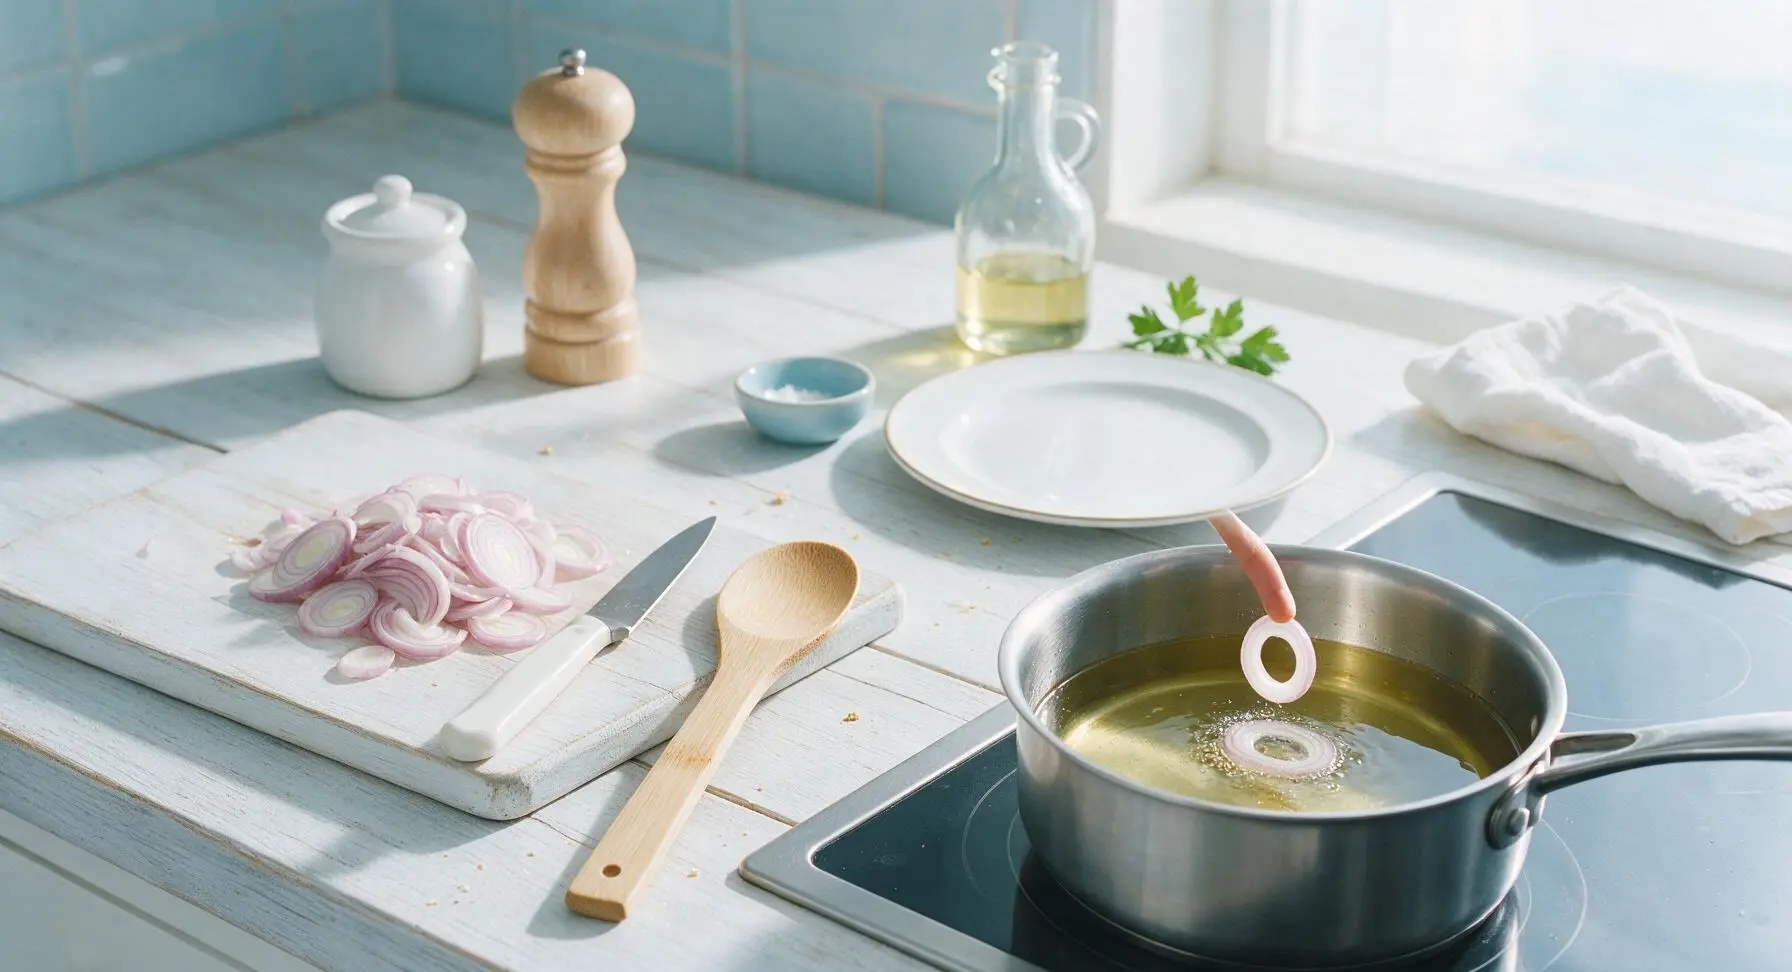
Fry shallots until golden
Add all of the sliced shallot rings to the warm oil in one even batch, stirring gently with the light grey silicone spatula to separate all rings. Maintain consistent low heat (oil temperature holding between 115-125C / 240-255F), stirring every 60 seconds to ensure even cooking. Fry for 8-10 minutes total, until the shallots turn a pale, even golden yellow. Watch closely during the last 2 minutes, as shallots can go from golden to burnt in under 30 seconds.
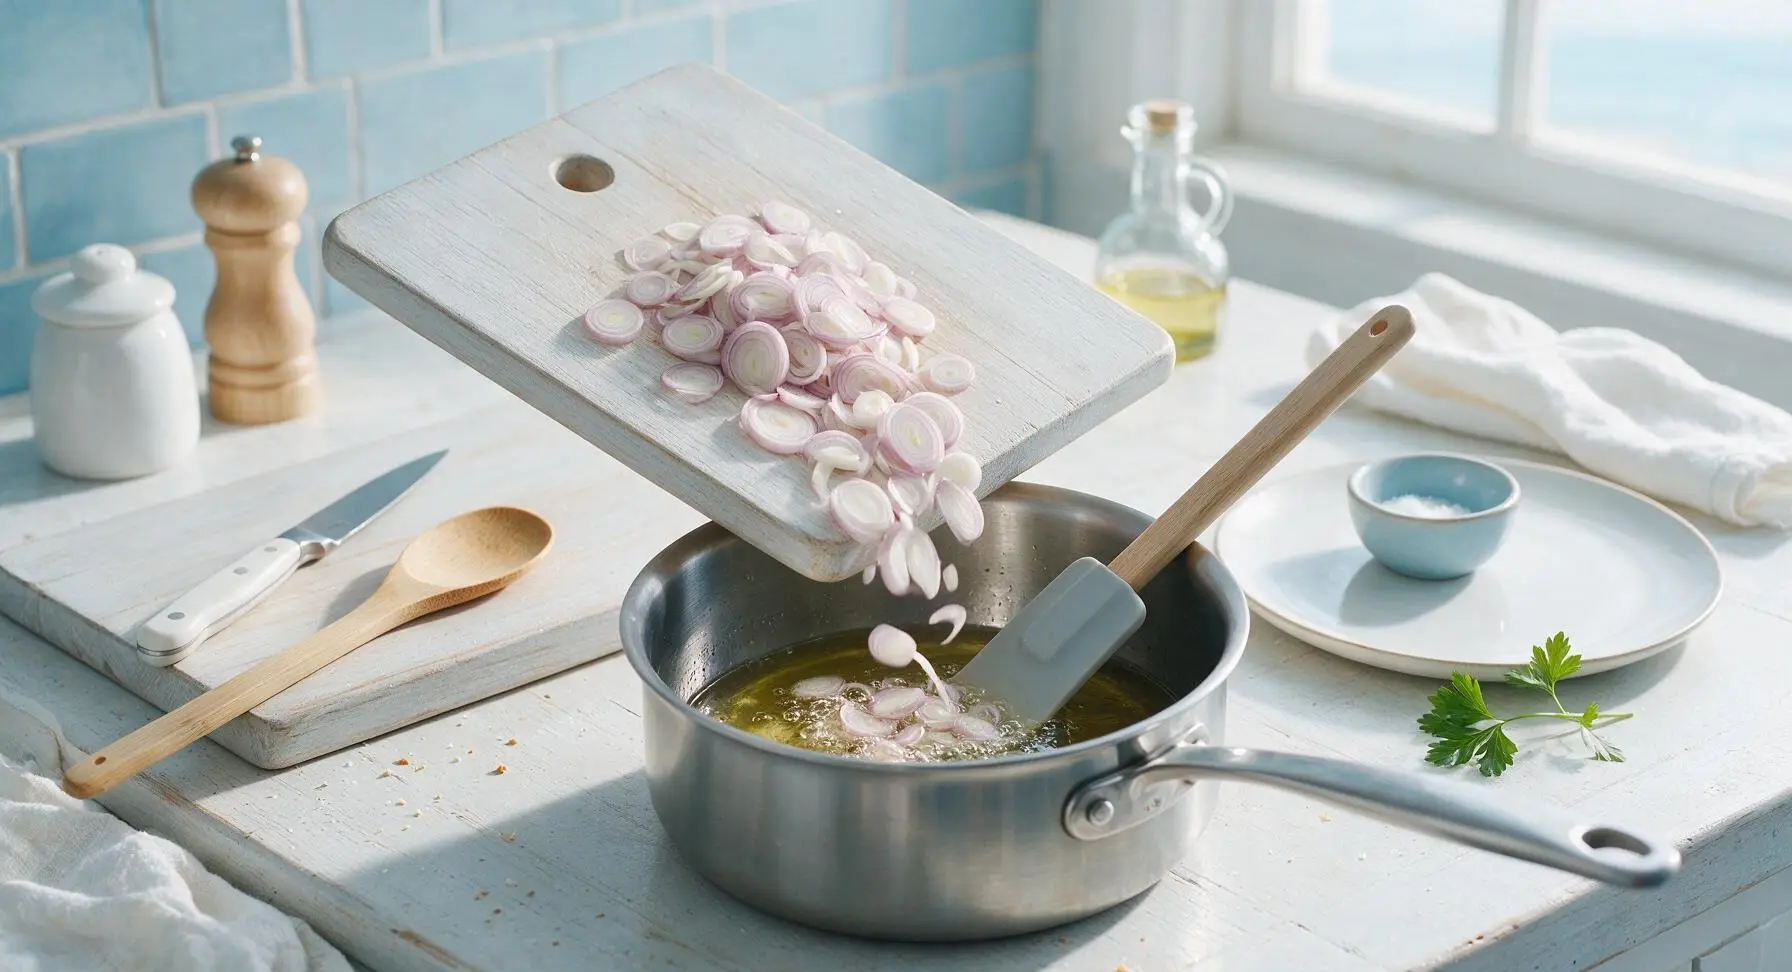
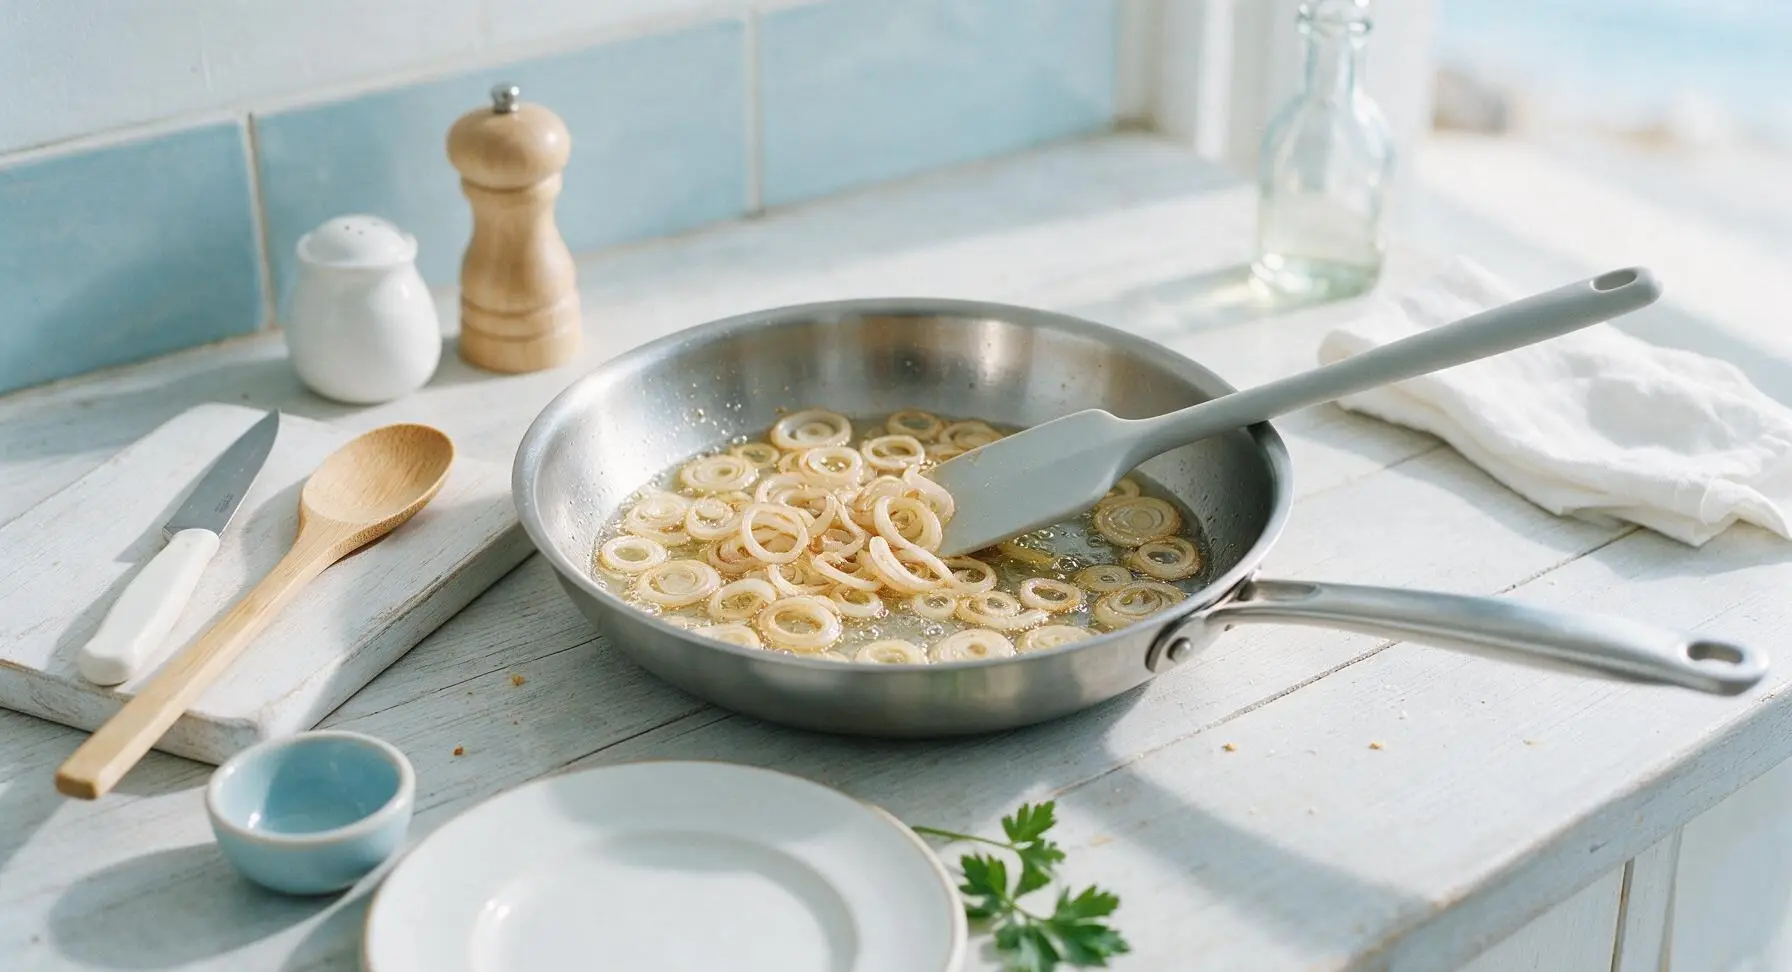
Drain crispy shallot bits
Once the shallots reach a light golden color (they will darken slightly after removal from heat), use the slotted stainless steel skimmer to lift all the shallot bits out of the oil, holding the skimmer over the saucepan for 30 seconds to drain excess oil back into the pan. Transfer the drained crispy shallots temporarily to the dry top corner of the light grey cutting board, spread in a thin single layer to cool and crisp up further. Do not leave the shallots in the hot oil, as residual heat will burn them quickly.
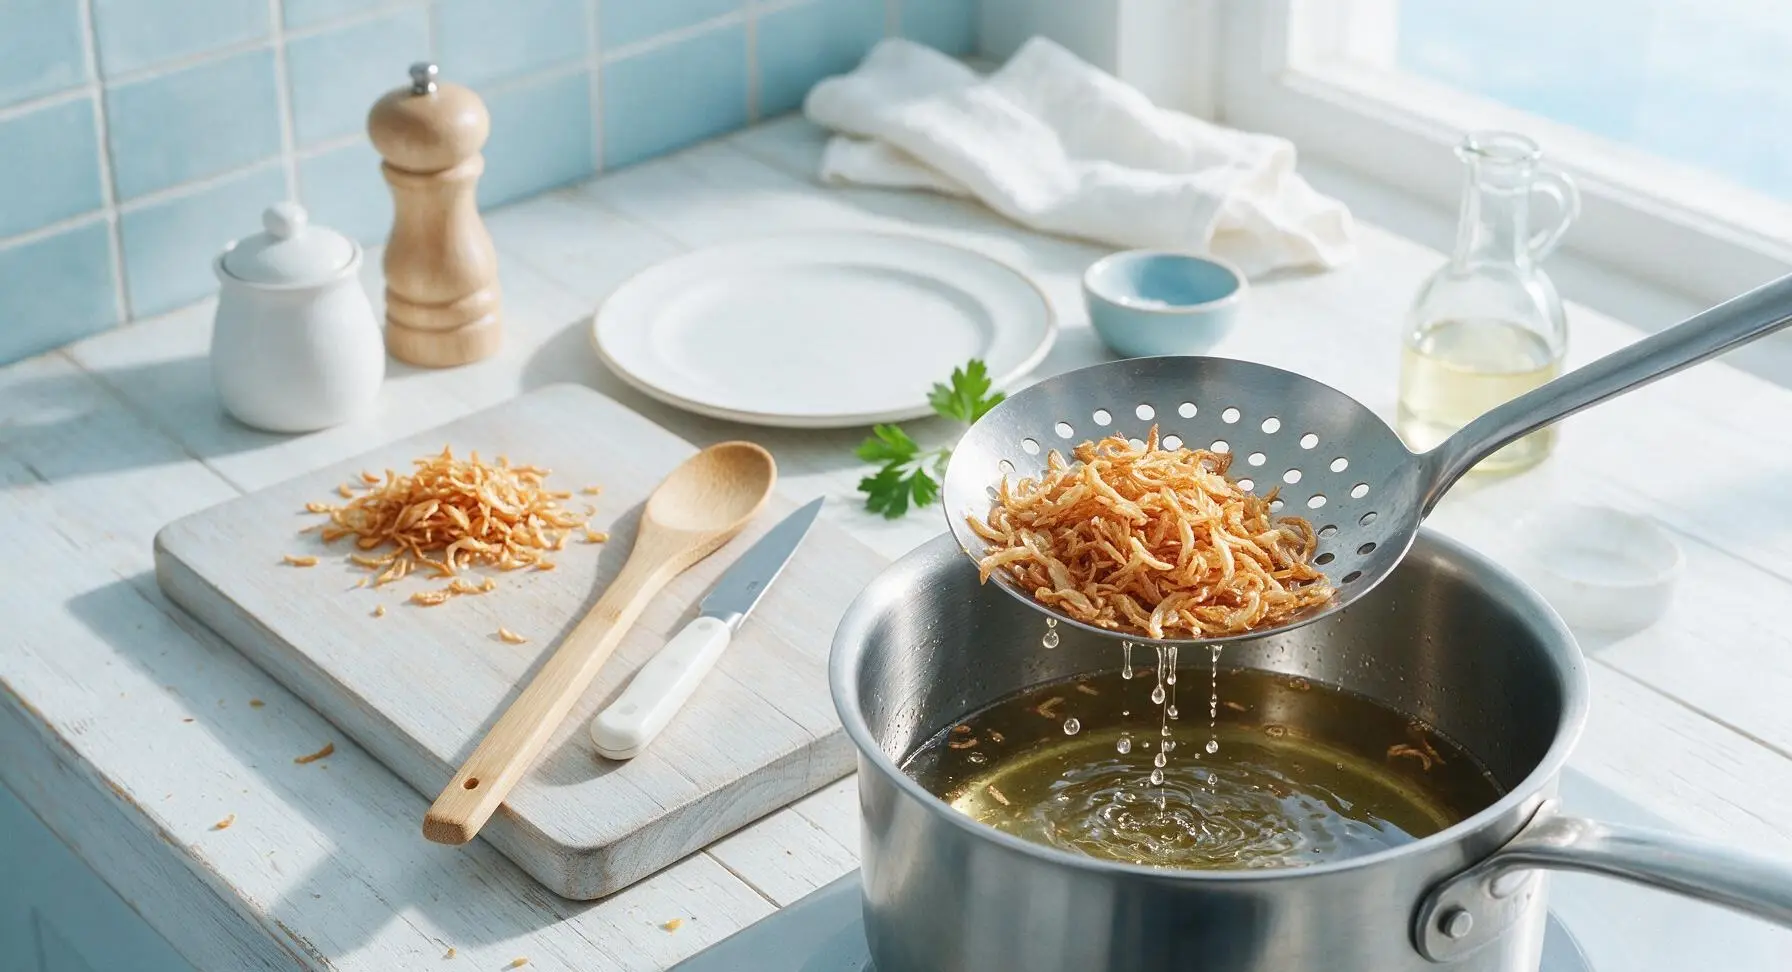
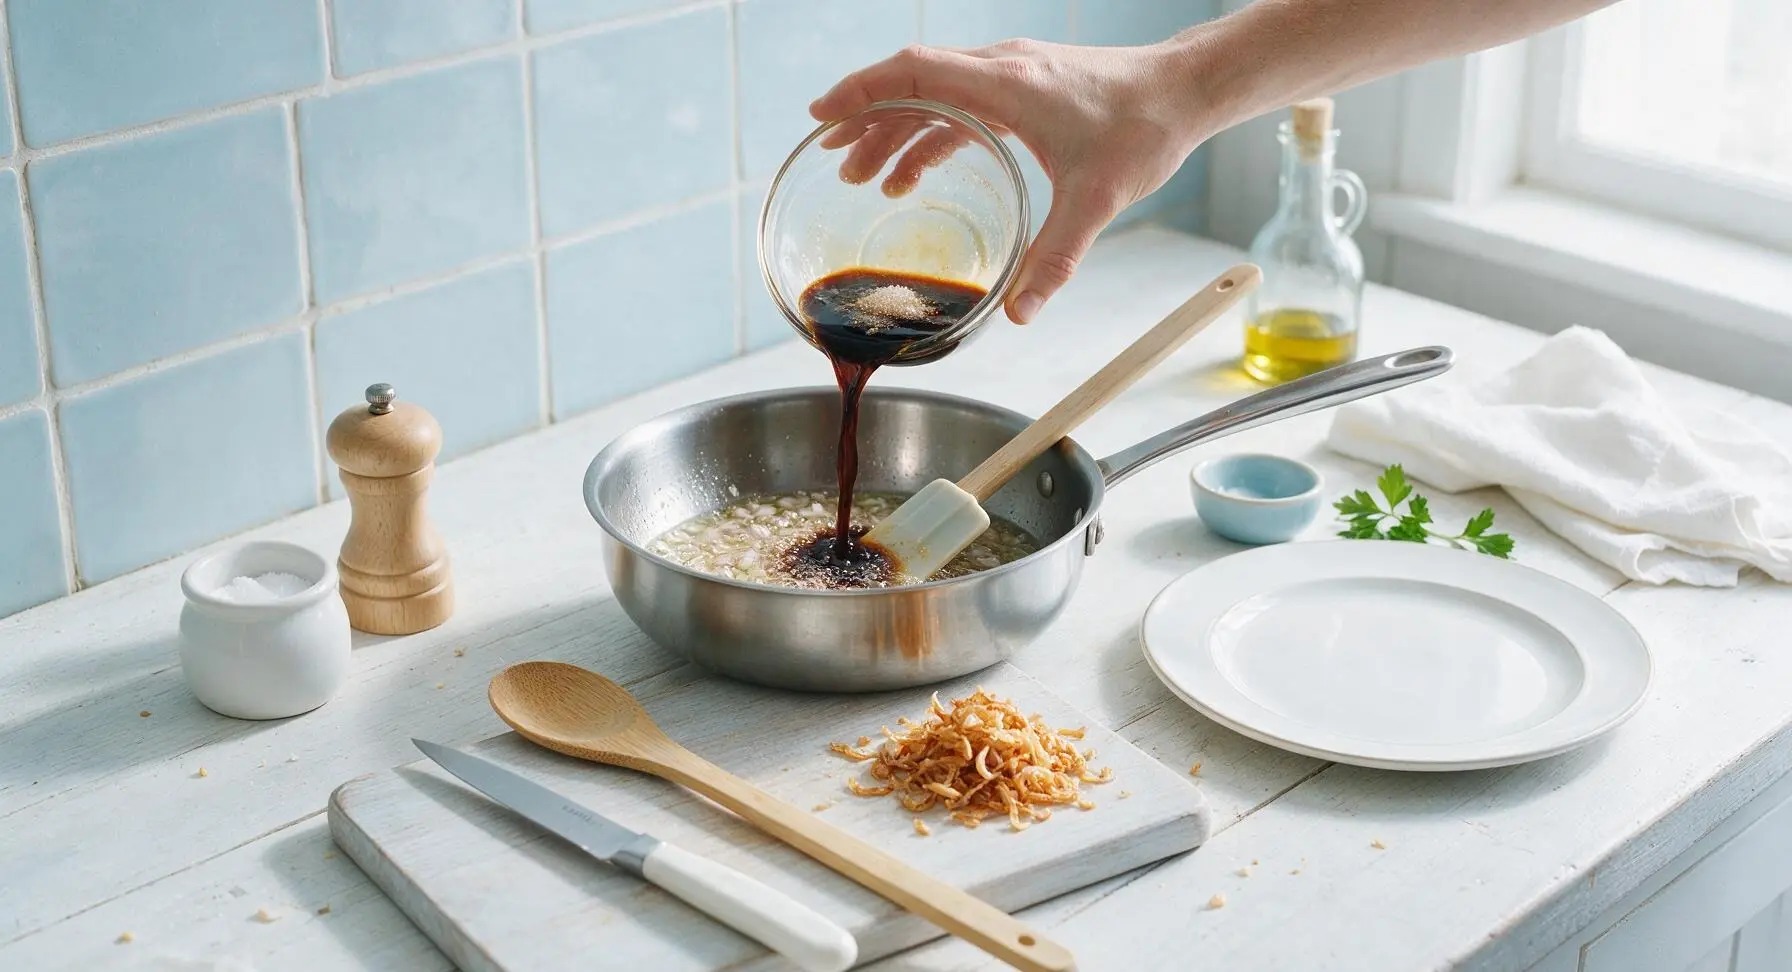
Simmer sauce seasonings
With the shallot-infused oil remaining in the saucepan over the lowest heat, carefully pour the pre-mixed combination of light soy sauce, dark soy sauce, sugar, and salt from the small glass mixing bowl into the oil. The mixture will bubble gently; stir continuously with the silicone spatula for 45 seconds until the sugar fully dissolves and the sauce comes to a very gentle simmer. Do not boil rapidly, as this will make the soy sauce taste bitter.
Mix in crispy shallots
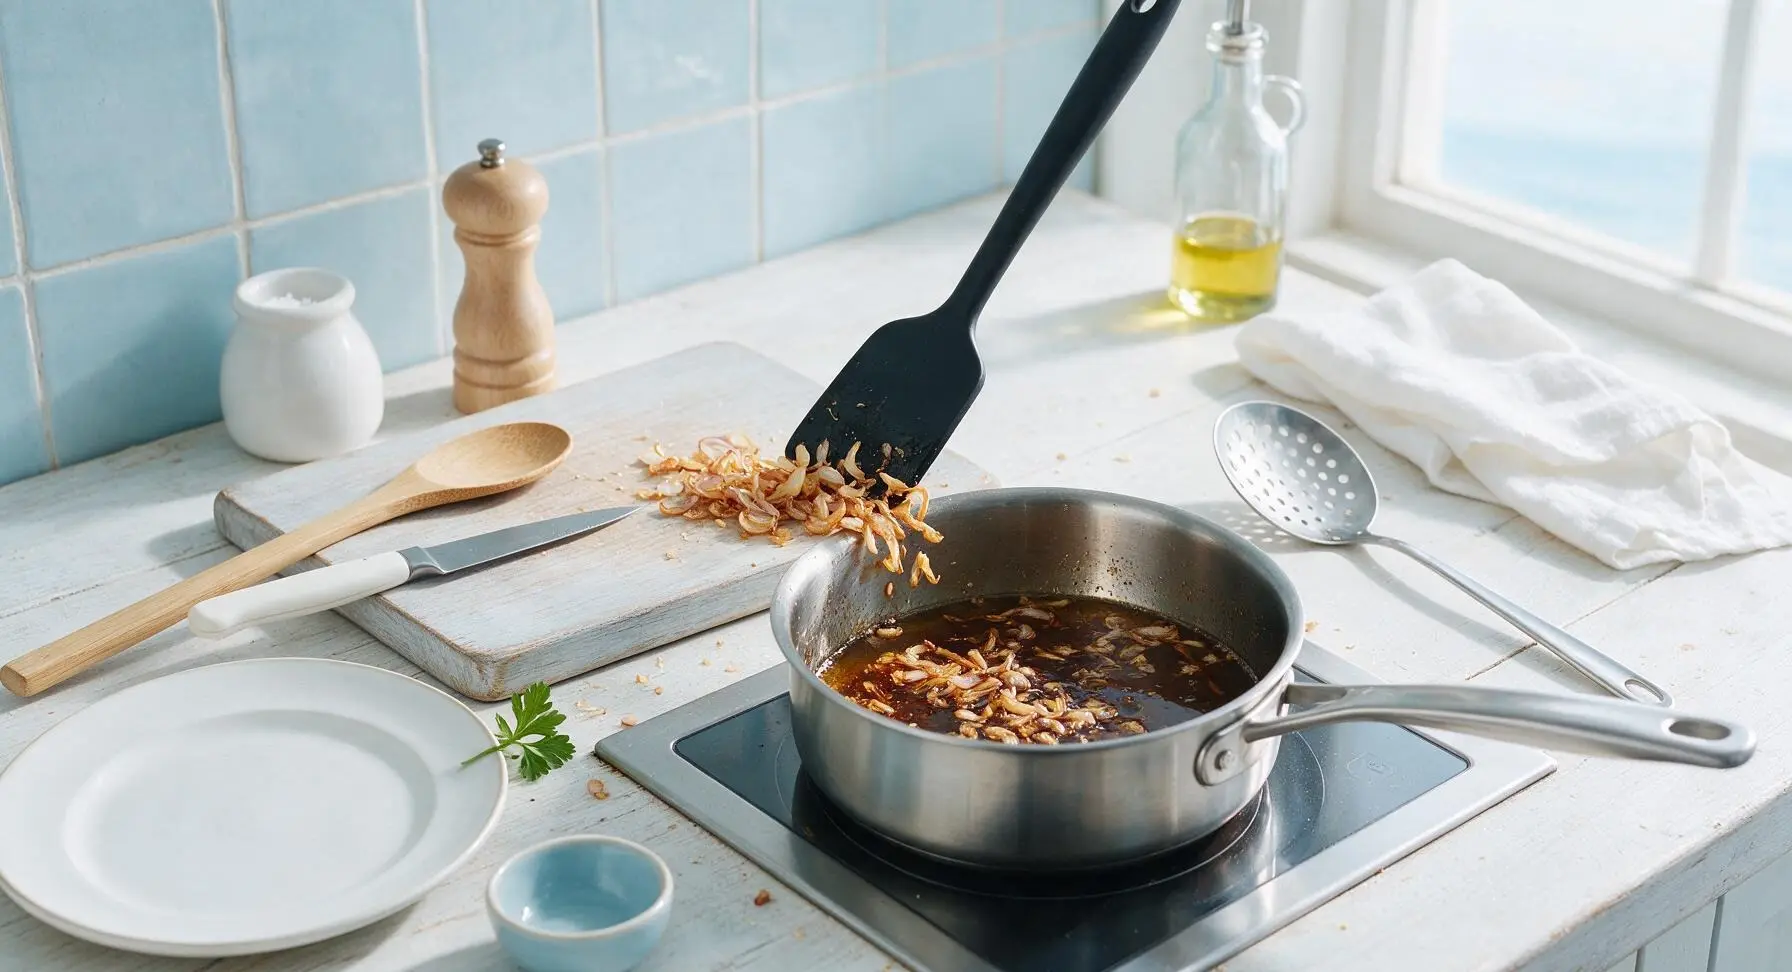
Turn off the induction burner heat, then add the drained crispy shallot bits back into the warm seasoned oil in the saucepan. Stir gently with the silicone spatula to evenly distribute the shallots through the sauce, then stir in the 1 teaspoon of toasted sesame oil for extra nuttiness. Let the sauce cool in the pan for 10 minutes; it will continue to infuse as it cools, and the shallots will crisp up further.
Store or serve sauce
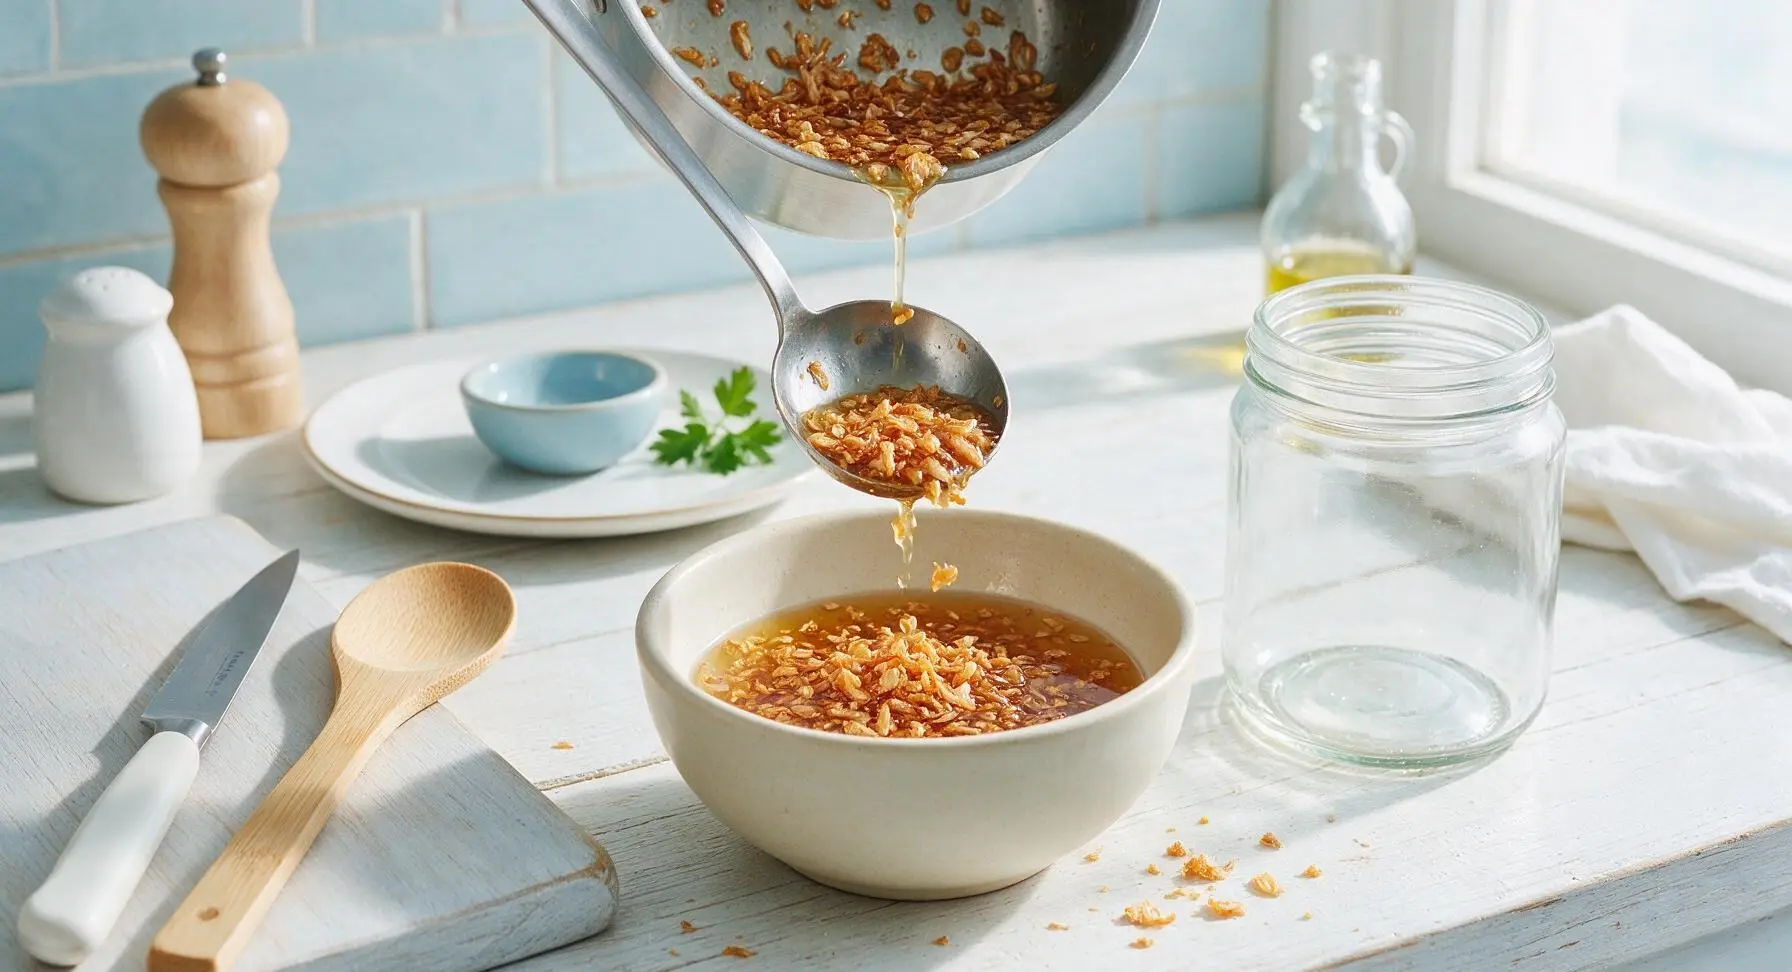
Once the sauce has cooled to room temperature, you can either serve it immediately or transfer it to the clear glass storage jar for later use. Stored sealed in the refrigerator, the sauce will keep for up to 2 weeks. For serving, spoon a portion into the matte cream ceramic condiment bowl, garnish with a tiny pinch of finely chopped fresh chives from the countertop bunch.
Tips
2.Remove shallots from the hot oil when they are pale golden, not deep brown: residual heat will continue to cook the shallots for 1-2 minutes after they are removed from the pan, and waiting until they are dark brown will result in a burnt, acrid aftertaste.
3.Keep heat consistently low during frying and seasoning: high heat will make the oil too hot, causing shallots to brown on the outside while remaining raw and sharp-tasting in the center, and can cause the soy sauce to burn and turn bitter when added.






OMG this sauce is a total game changer! I whipped it up last night for our family dinner steak night and even my super picky 8 year old asked for extra to dip his roasted broccoli in. 15 minutes? No way, it felt even faster. Crispy shallots didn’t burn at all if you keep the heat low like the recipe says.
Brought this to our neighborhood potluck over the weekend and people were literally asking me for the recipe before I even set the dish down! Drizzled it over crispy fried chicken tenders and it was chef’s kiss. Only note: make extra crispy shallots because everyone will pick them out of the sauce first lmao.
SO good! I make a big jar of this every Sunday to use on bowls, eggs, stir fries, you name it, all week. It stays good in the fridge for like a week no problem, which is perfect for my busy work schedule. No weird ingredients, super straightforward, even beginner cooks can nail this.
Wait a second, is this sauce gluten free? I wanna make it for my sister who has celiac and I don’t wanna accidentally use something that’ll make her sick. Looks so good I’ve been staring at the recipe for 2 days!
Y’all I can barely boil water without burning it and I nailed this on the first try?? The instructions were so clear, I didn’t burn the shallots (shocker) and the sauce came out perfectly golden and crispy just like the photos. Drizzled it over my salmon dinner and I felt like a real chef lol.
Added a tiny pinch of red pepper flakes to mine when I simmered the sauce and *chef’s kiss* it gave it the perfect little kick without overpowering that sweet, savory shallot flavor. 10/10 will be making this at least once a month from now on.
Tossed this with some fresh udon noodles and sautéed bok choy for dinner last night and I’m still thinking about it 2 days later. The crispy shallots add that perfect crunch that takes regular noodle night to a whole new level. No more sad takeout noodles for me!
RIP my first batch of shallots because I cranked the heat too high lmao, but my second batch was perfect! The sauce is so flavorful I was literally eating it by the spoonful while I waited for my pork chops to cook. Worth the tiny bit of patience to get the shallots golden, trust me.
Made this for our weekly Sunday dinner with my in-laws and my father-in-law (who swears he hates “fancy chef sauces”) went back for thirds. Served it over seared scallops and it was the star of the whole meal. Easy enough to make on a weeknight but fancy enough for guests, total 10/10.