
Shaved Ice / Snow Cone
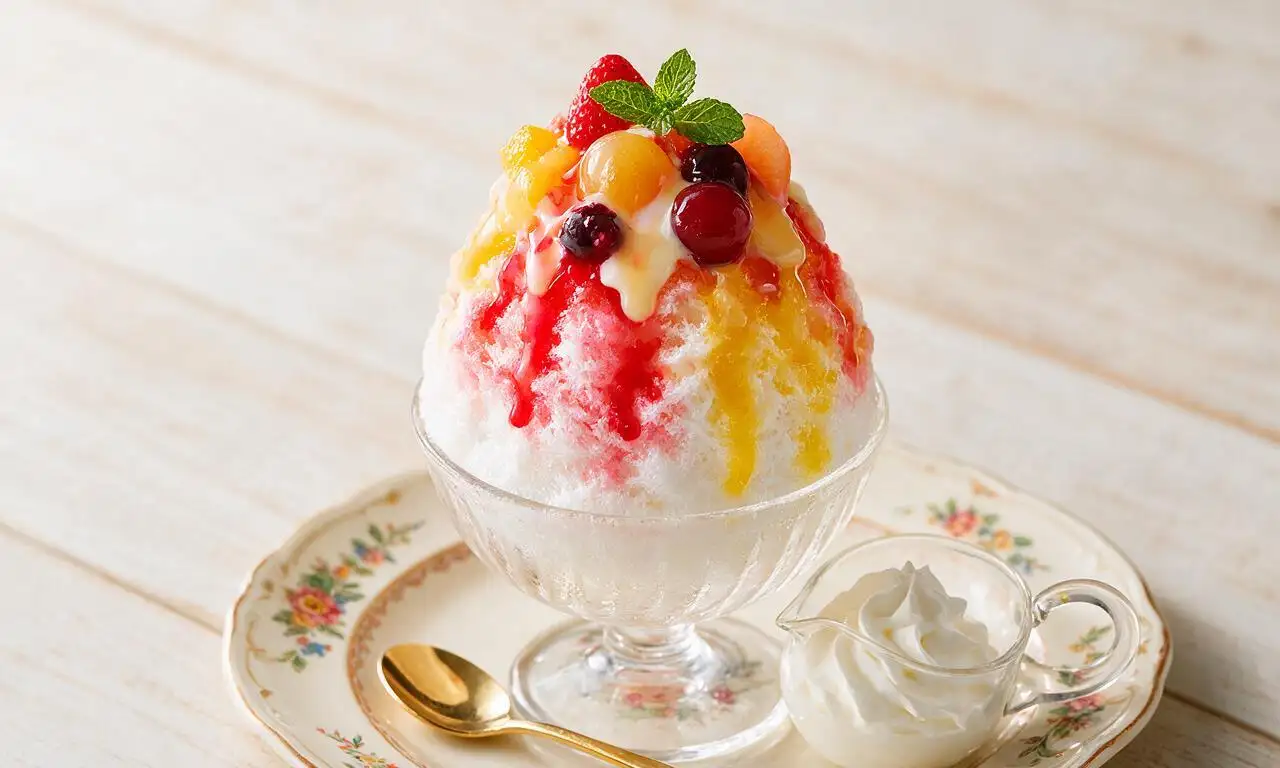
intro
Light, powdery finely shaved ice coated in bright fruity syrups, topped with sweet garnishes for a nostalgic, ultra-refreshing treat to beat sweltering summer heat.
Ingredients
Steps
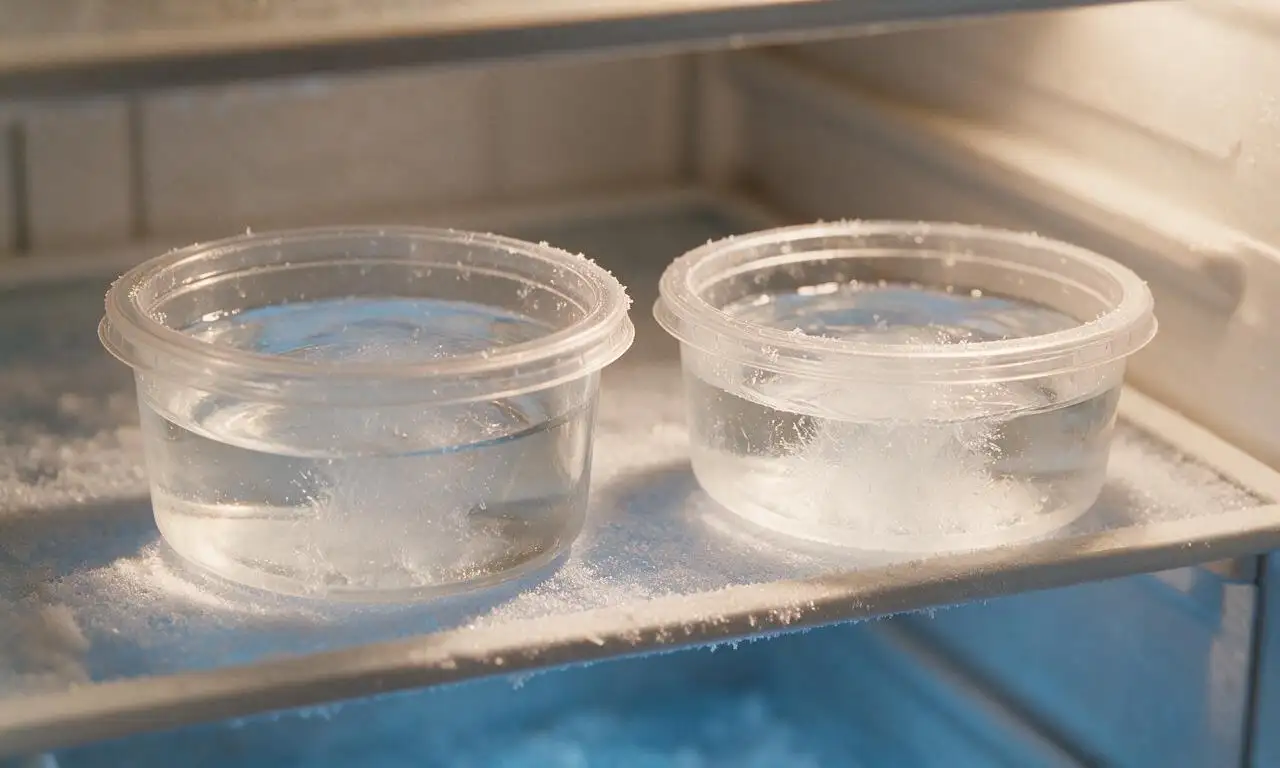
Prep and freeze ice
Pour 8 cups of purified water into 2 lidded, shallow freezer-safe containers (4 cups per container), seal tightly, and place in the coldest section of your freezer set to -18°C (0°F) for 4 to 6 hours, until water freezes into solid, slush-free blocks. Cloudy tap water will create crumbly, less fluffy ice, so stick to purified water for best results.
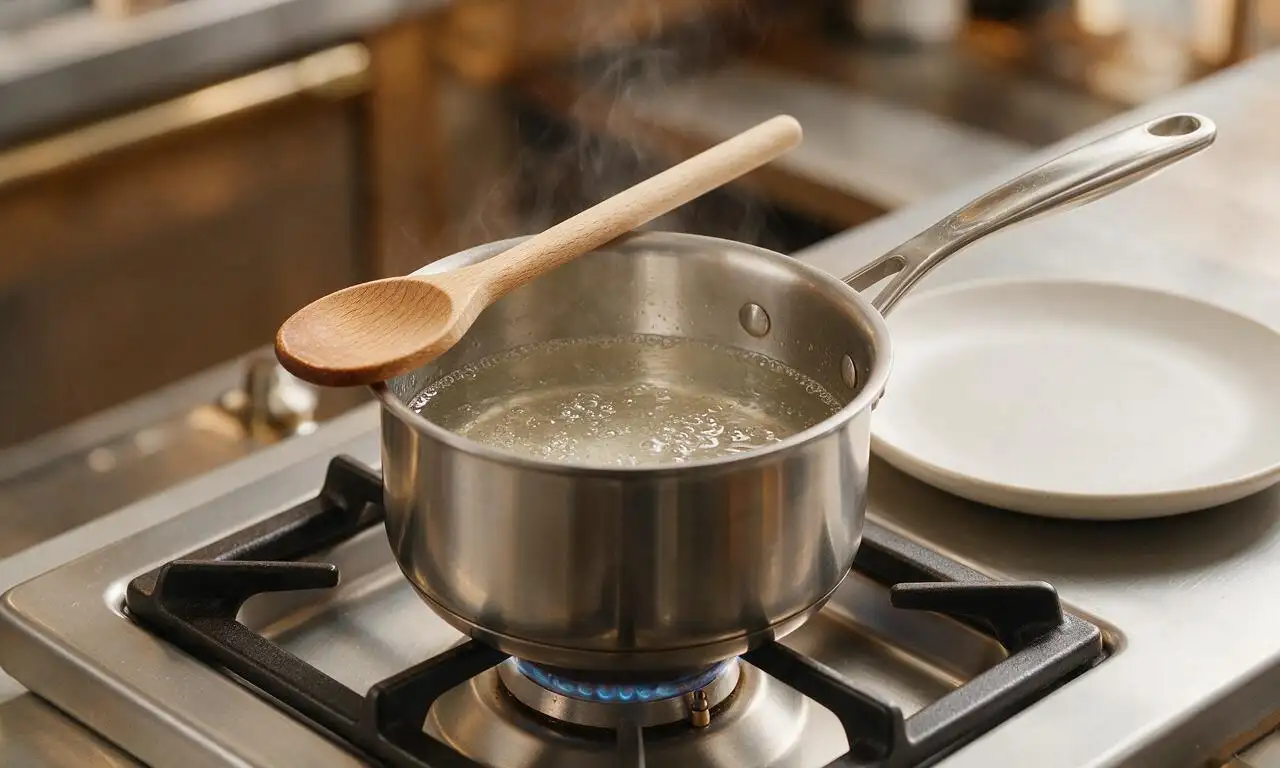
Cook simple syrup
Combine 200g granulated white sugar and 240ml filtered water in a small 1-quart saucepan set over medium heat (stovetop setting 5/10). Stir continuously with a wooden spoon for 3 to 4 minutes, until sugar fully dissolves and the liquid reaches a gentle, low simmer. Remove from heat immediately; do not boil for longer than 1 minute, as this will make the syrup too thick to penetrate the ice.
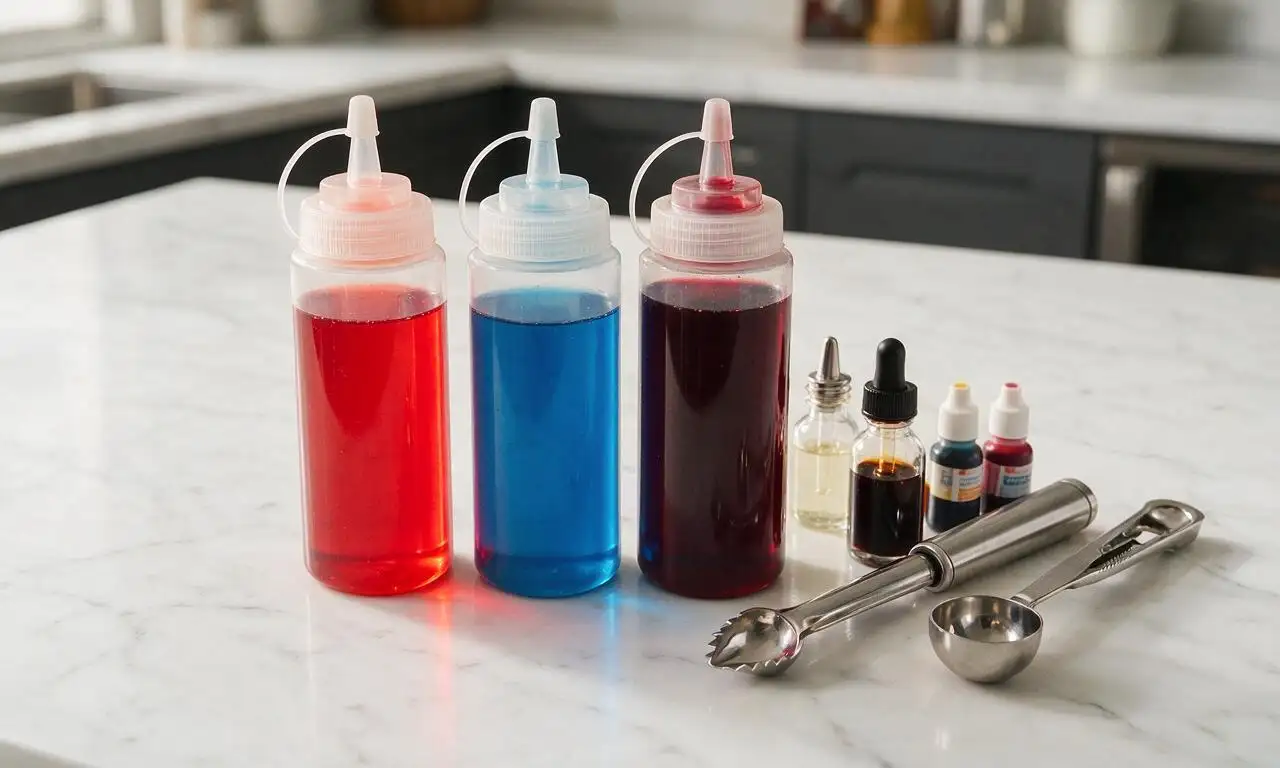
Mix flavored syrups
Let the simple syrup cool to room temperature (approximately 20 minutes on the counter), then divide it evenly between 3 100ml lidded squeeze bottles (80ml per bottle). Add 1 teaspoon of fruit extract and 2 drops of matching food coloring to each bottle: strawberry with red, blue raspberry with blue, cherry with deep red. Seal bottles and shake vigorously for 10 seconds to combine, then chill in the fridge for 15 minutes before use.
Shave ice finely
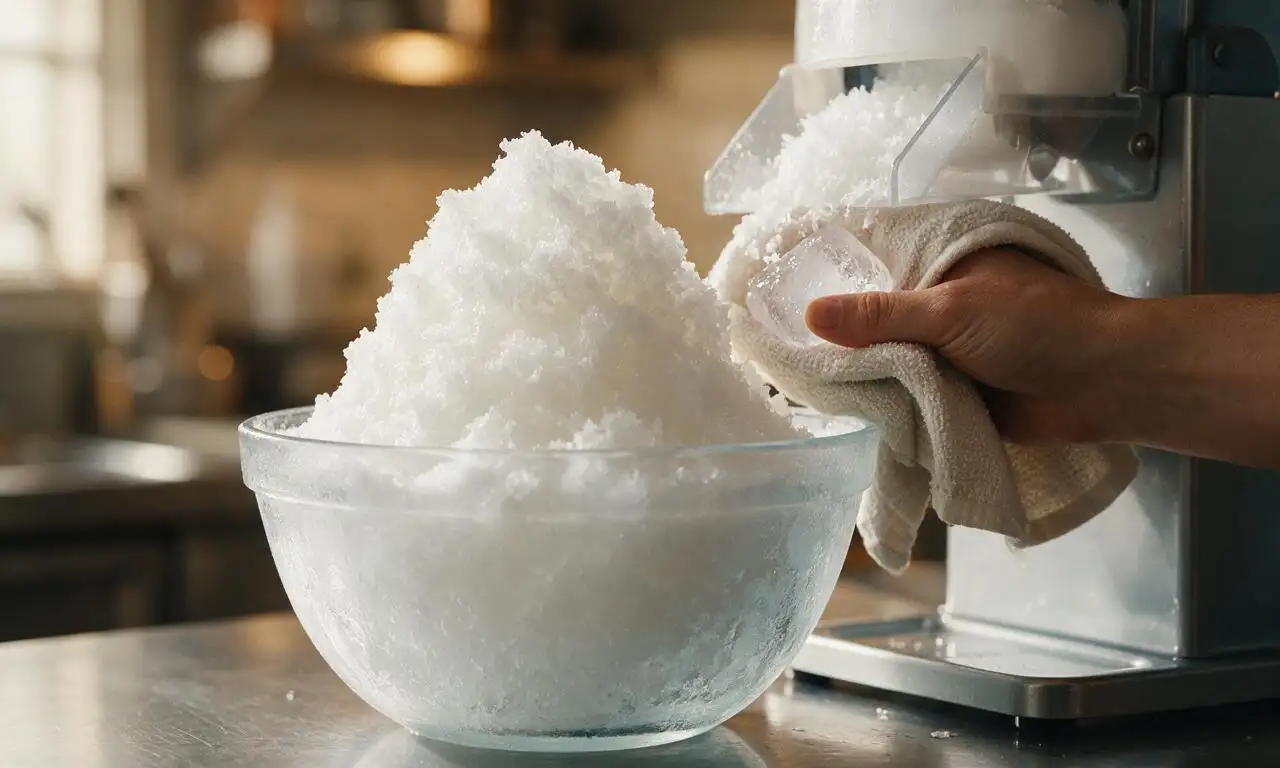
Remove one frozen ice block from its container, holding it with a thick folded kitchen towel to protect your hands from cold burns. Feed the block into a countertop shaved ice machine on its finest shave setting, collecting the light, powdery snow-like ice in a large pre-chilled bowl. Shave until you have 6 total cups of ice, working in batches to avoid overloading the machine; discard any large, crunchy ice chunks.
Portion into cones
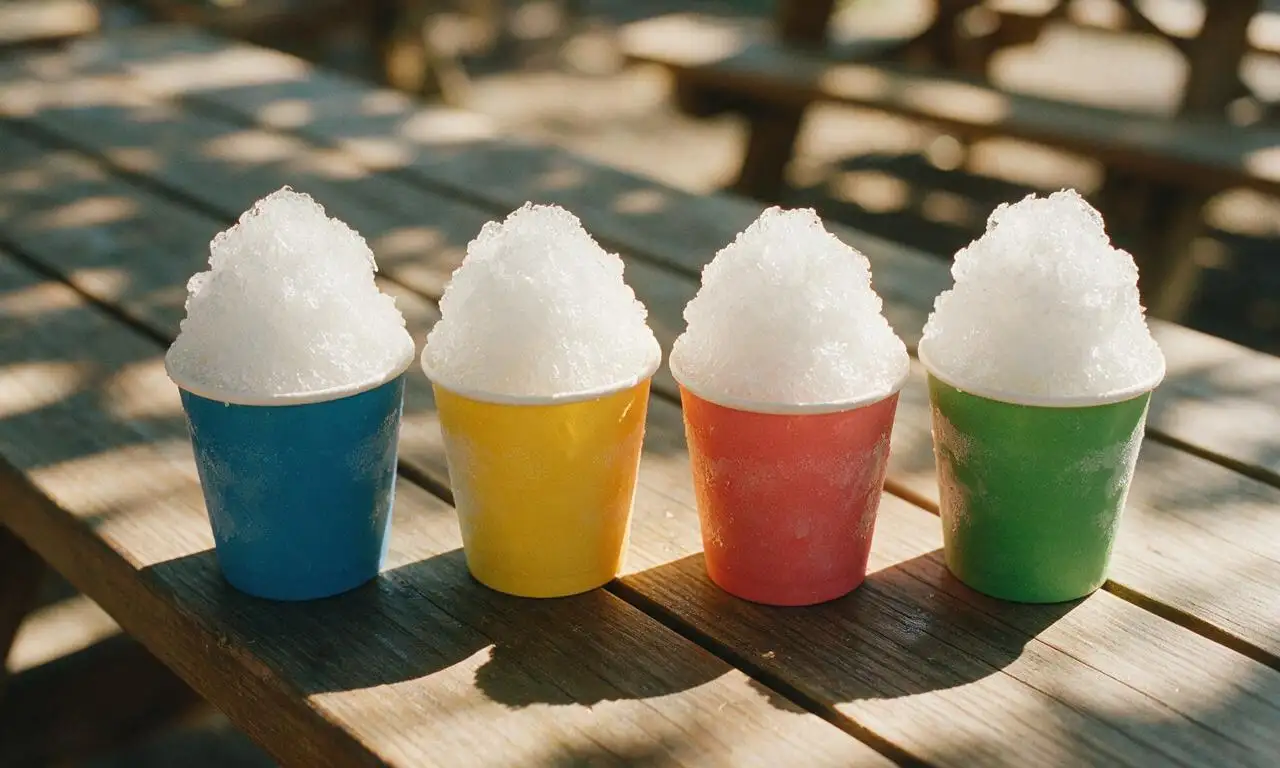
Divide the freshly shaved ice evenly between four 12-oz paper snow cone cups, mounding the ice 1 to 2 inches above each cup rim to create the classic rounded, snow-capped shape. Do not press or pack the ice down tightly, as compacted ice will become dense and hard instead of light and melt-in-your-mouth.
Add syrups and toppings
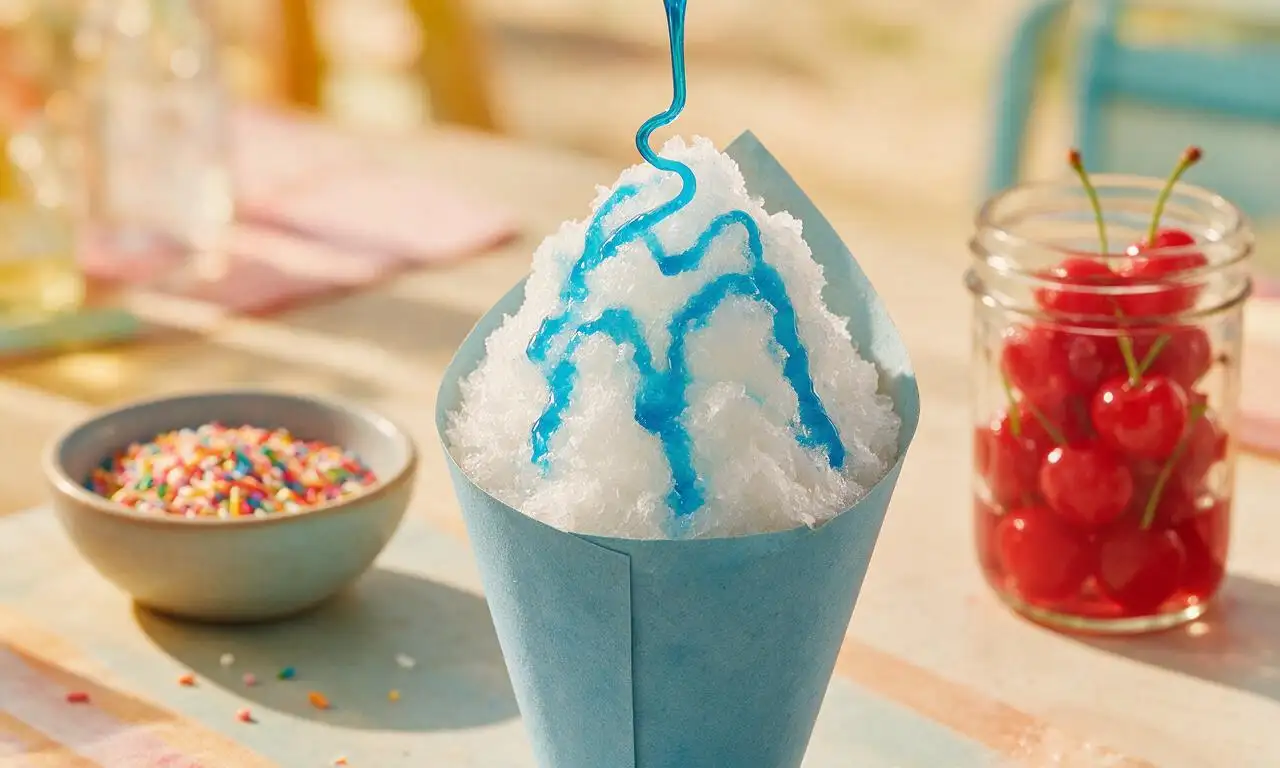
Drizzle 2 tablespoons of chilled flavored syrup over each ice mound, moving the squeeze bottle in slow circular motions to coat the entire surface so syrup seeps evenly through the ice layers. For a creamy twist, drizzle 1 tablespoon of sweetened condensed milk over each serving, then top with 1/2 tablespoon of rainbow sprinkles and 1 maraschino cherry per cone. Serve immediately, as the ice will start to melt after 3 to 5 minutes in warm summer temperatures.
Tips
2.If you do not own a dedicated shaved ice machine, use the smallest grating side of a box grater to shave ice blocks, always holding the block with a thick towel to prevent cold burns on your hands.
3.For an all-natural, no-artificial-color version, replace flavored extracts and food coloring with 80ml of strained, chilled fresh fruit puree (mango, strawberry, or pineapple works best) per syrup bottle.






OMG this was such a game changer for our backyard BBQ last weekend! I grabbed a cheap shaved ice machine off Amazon and followed the ice freezing tips exactly, and the texture was just like the snow cones I got at the county fair as a kid. My kids loved it so much they asked for seconds before they even finished their hot dogs. 10/10 will be making this all summer long!
Super easy recipe, but I will say my first batch of ice came out a little too crumbly? I think I didn’t let it freeze long enough, I only left it in for 3 hours because I was impatient. Tasted great anyway, just had more of a slushie texture than soft shaved ice. Will definitely plan ahead next time!
I don’t have a fancy shaved ice machine, so I used my blender’s ice crush setting and it worked shockingly well! I set out a little syrup bar with cherry, blue raspberry, and pineapple, plus condensed milk drizzle and gummy bear toppings. My boys declared this the official summer snack of our house. SO good.
Made these after a 100 degree day working in the yard and I swear I’ve never been more refreshed. I made a homemade jalapeño-lime syrup to drizzle on top for a little kick, and it paired so perfectly with the plain shaved ice. My wife thought I was crazy for adding spice but she ended up eating two full cups.
Brought this to our neighborhood potluck last week and people were asking me for the recipe before I even set the cooler down! It was so easy to prep ahead, I froze the ice blocks the night before and brought my little portable shaved ice maker to set up on the picnic table. Zero leftovers, total win.
Perfect cheap summer treat for my dorm! I don’t have a ton of kitchen equipment, so I just froze water in old takeout containers and used a manual ice shaver I got for $10 at the dollar store. Total cost for a whole batch was like $2, way cheaper than buying snow cones from the food truck on campus.
I’ve been making shaved ice for my grandkids for over 40 years, and this recipe’s ice freezing tip is the best one I’ve ever come across! The ice comes out so much softer than my old method of just freezing regular ice trays. I served mine with my homemade strawberry syrup and a dollop of whipped cream, just like I did for my own kids back in the day.
Took this setup camping last weekend and it was the perfect post-hike cool down! I pre-froze the ice blocks in my cooler, brought my battery-powered shaver, and had syrup in squeeze bottles. Even my friends who said they ‘don’t like sweet treats’ had a cup. Game changer for car camping trips in the heat.
I made this for our Fourth of July block party and did red, white, and blue syrups (cherry, vanilla, blue raspberry) with star-shaped sprinkles. It was so festive! The only note I have is that if you’re serving for a big group, make way more ice than you think you need—we ran out in 45 minutes flat!
Tastes exactly like the snow cones I used to get from the cart outside Little League practice when I was a kid. I added a scoop of vanilla ice cream at the bottom of the cup for a stuffed snow cone, and it took me right back to 2005. No notes, perfect recipe.
Super easy to make vegan! I swapped out the regular condensed milk topping for coconut condensed milk, and used homemade fruit syrups with no refined sugar. It was so light and refreshing, I didn’t feel sluggish after eating it like I do with store-bought snow cones that are loaded with weird additives.
Made these after my daughter’s soccer game last Saturday for the whole team, and I swear I was the most popular parent on the field. Even the coach asked for a cup. Super simple to throw together, even when you’re running between practices and games all weekend.
I’ll be honest, I thought homemade shaved ice would be way more complicated, but this was so straightforward! The texture was perfect, no big chunky ice pieces at all. I did a matcha syrup with a drizzle of sweetened red bean for a little twist on the classic, and it was incredible.
I run a little summer bake stand in my small town, and I added these classic shaved ice to the menu last weekend. They sold out faster than my chocolate chip cookies! The easy prep means I can make big batches of ice ahead of time without a ton of extra work. Total hit.
First time making a recipe completely by myself without my mom’s help, and it turned out so good! I made blue raspberry syrup with Kool-Aid like the recipe suggested, and my little brother said it was better than the snow cones we get at the zoo. So proud of myself.
When it’s 115 degrees outside, nothing else hits like a cold shaved ice. I’ve been making a batch every other day for the past two weeks, and I’ve experimented with so many syrup flavors now—mango, tamarind, even coke syrup. The base ice recipe is perfect every single time.
We did a ‘summer fun day’ at the office last week, and I brought all the supplies to make shaved ice for the whole team. Everyone loved being able to pick their own syrups and toppings, and it was way cheaper than catering dessert from the local bakery. The easy difficulty rating is no joke, even I couldn’t mess it up!
I keep a cooler of pre-shaved ice and syrup bottles in my car for cross-country road trips now, and it’s saved me so much money on overpriced convenience store slushies. Perfect for when you’re driving through the desert in July and the AC is barely keeping up.
Made this for my husband for our first summer married in our new house, and he said it’s the best dessert I’ve ever made (and I make a pretty good chocolate cake, so that’s high praise!). We sat on our porch and ate our snow cones while watching the sunset, it was such a perfect little summer moment. Thank you for the easy recipe!
Made these on a recent car camping trip outside Rocky Mountain National Park, and they were the perfect treat after a long, dusty hike to an alpine lake. I added a little splash of bourbon to my syrup for an adult version, and it was chef’s kiss. Just make sure you keep your ice blocks in a well-insulated cooler if you’re at higher elevation, they melt faster than you think!