
Short Rib Burnt Ends

title 1
Short Rib Burnt Ends
⏱️ cook time 5 hours 15 minutes
🍽️ servings 4
⚡ Difficulty medium

intro

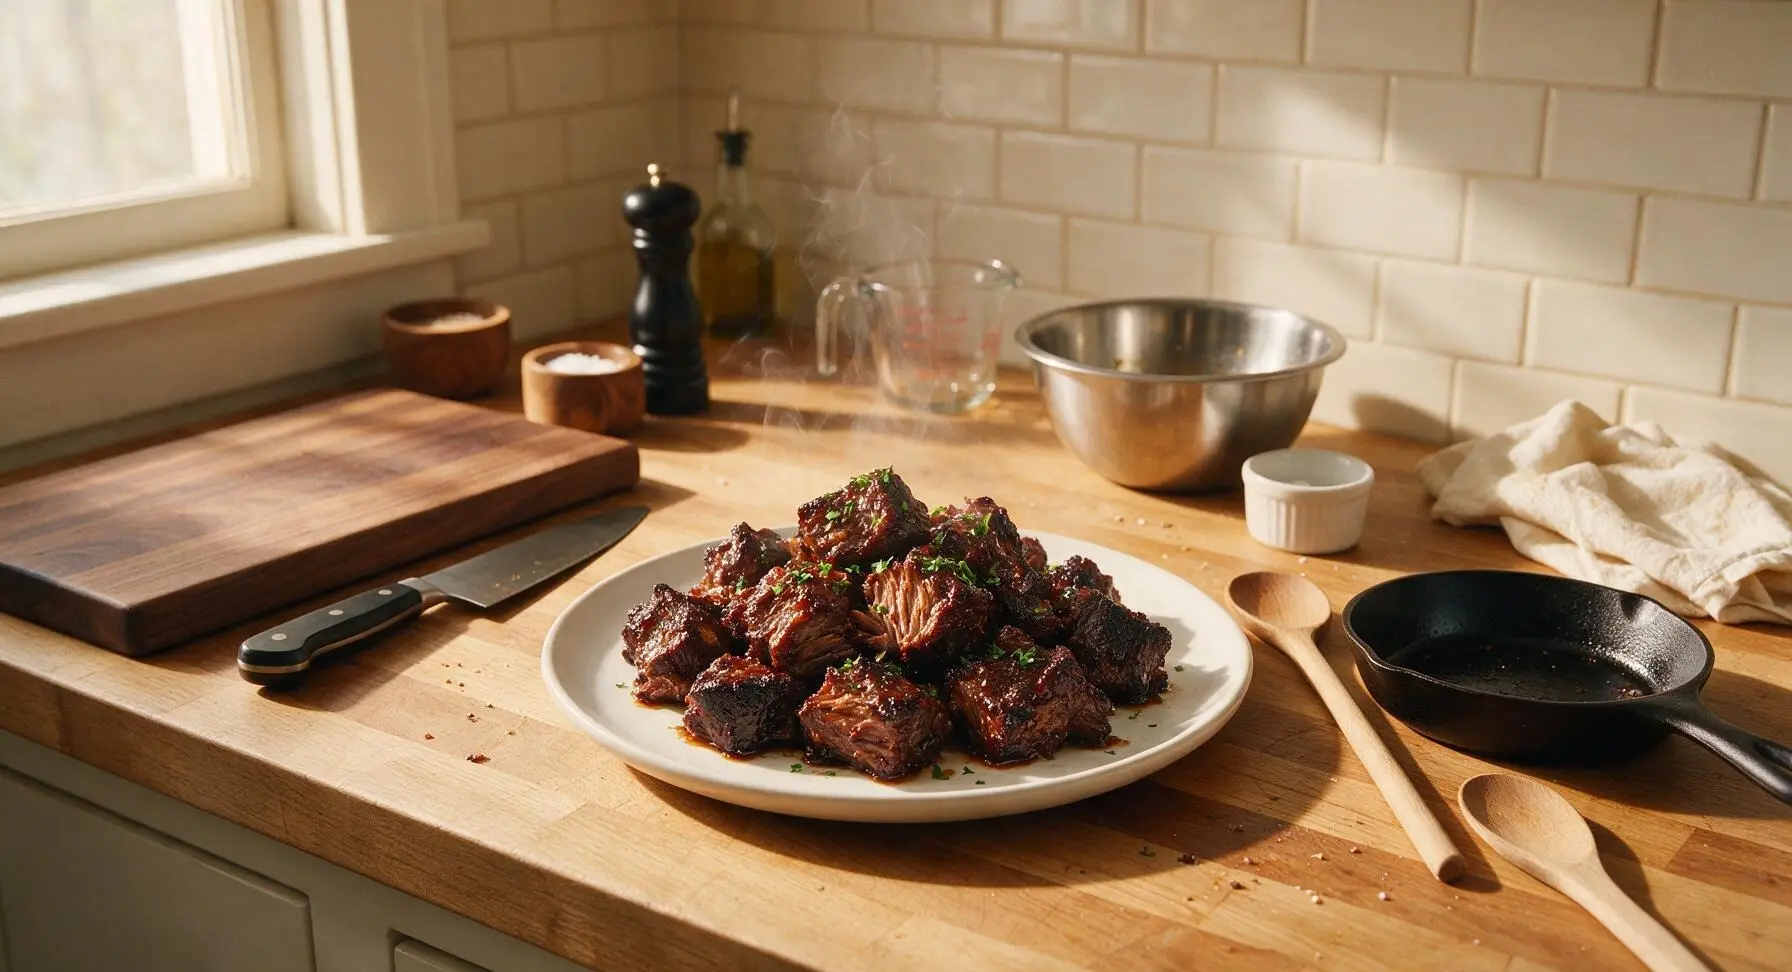
Tender, caramelized beef short rib chunks sticky with sweet-savory BBQ glaze, boasting deep smoky bark and melt-in-your-mouth texture—classic American BBQ comfort.

Ingredients
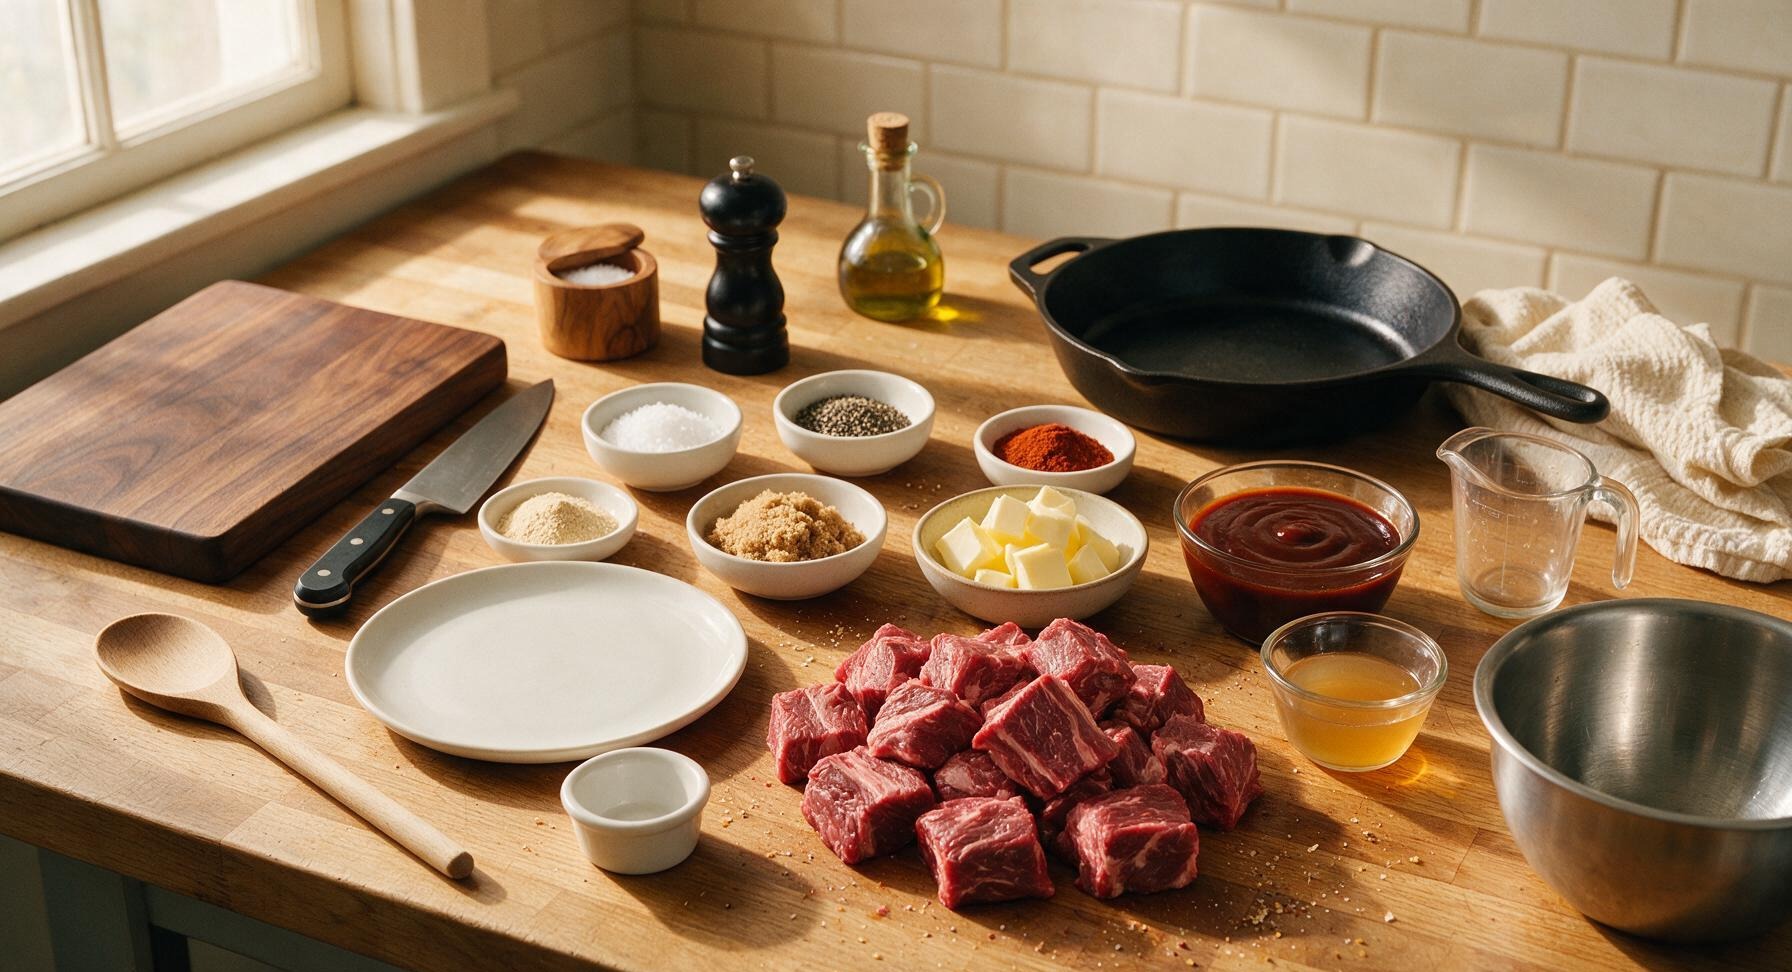
Boneless beef short ribs 2 lbs (900g)
Coarse kosher salt 2 tbsp
Coarse ground black pepper 2 tbsp
Garlic powder 1 tbsp
Smoked paprika 1 tbsp
Light brown sugar (packed) 1/4 cup
Unsalted butter 4 tbsp (1/2 stick)
Kansas City-style BBQ sauce 1 cup
Apple cider vinegar 2 tbsp

Steps

1

Trim the Short Ribs

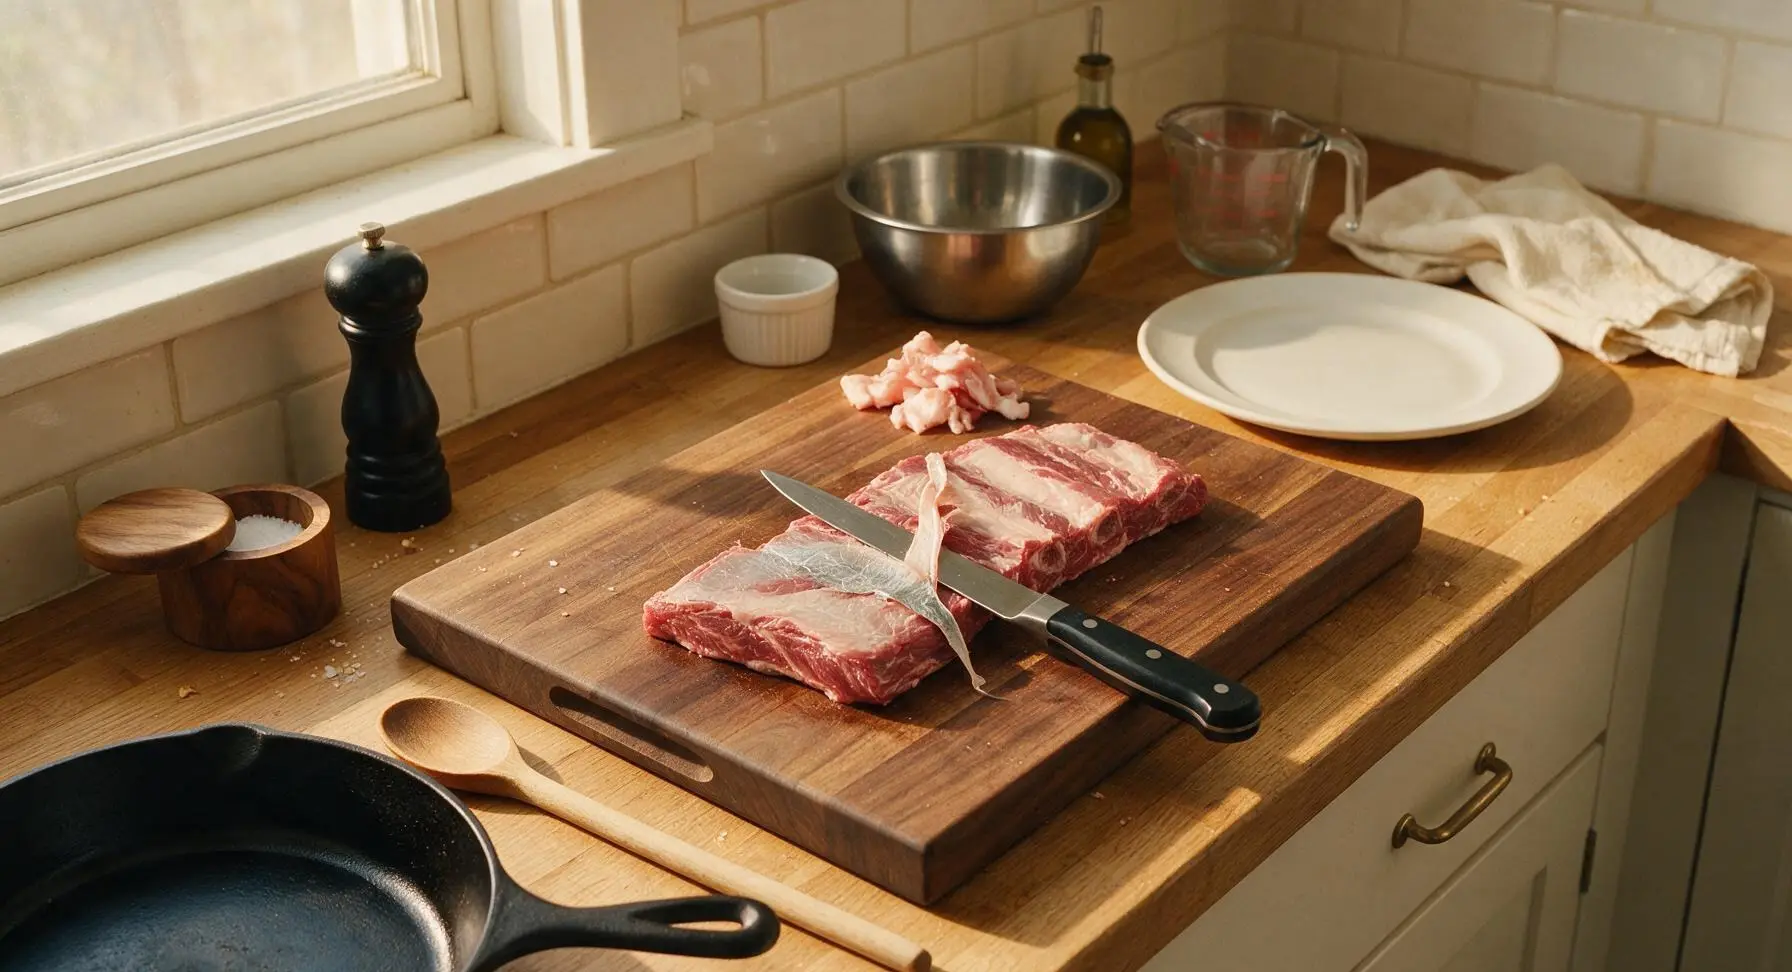
Preheat your smoker to 225°F (107°C), using hickory or oak wood for a mild, smoky flavor. Place the boneless short ribs on the honey oak cutting board. Use the 8-inch boning knife to trim away any hard, thick fat or tough silver skin from the meat surface, leaving only a thin 1/8-inch layer of soft fat to render during cooking. Pat the meat completely dry with a corner of the oatmeal linen towel. The trimmed meat should have a smooth, even surface with no chewy, tough patches attached.
Step 1
step1:Trim the Short Ribs
2

Apply Dry Rub

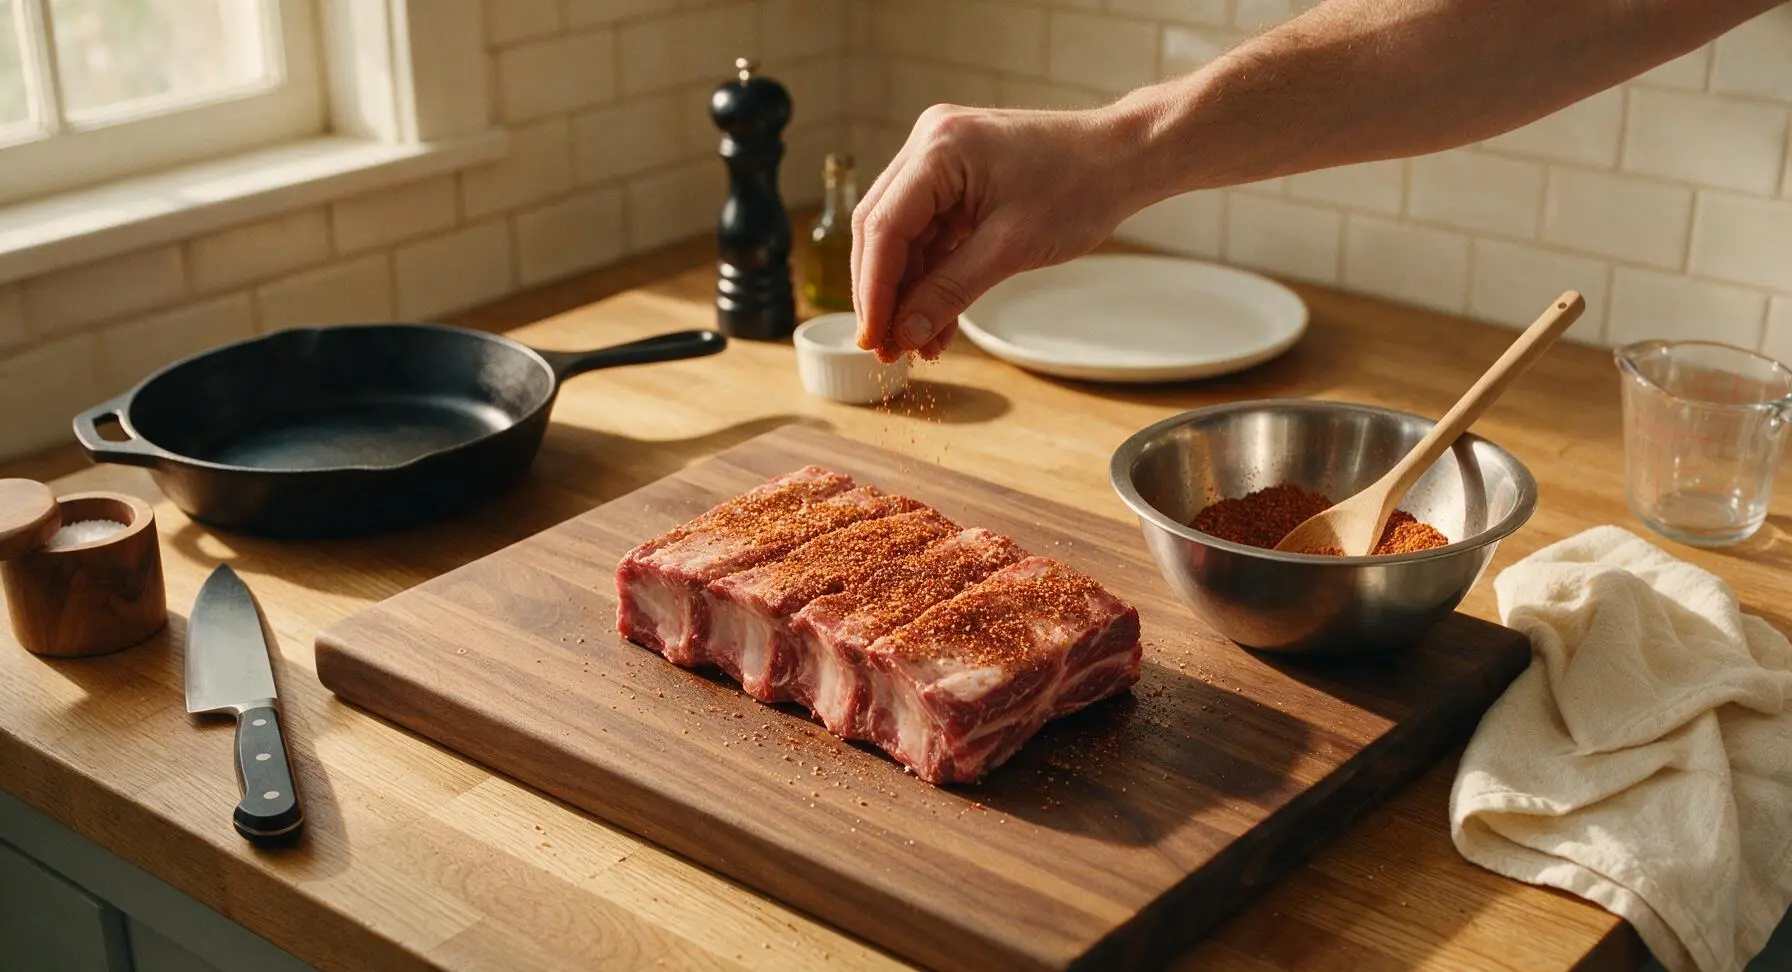
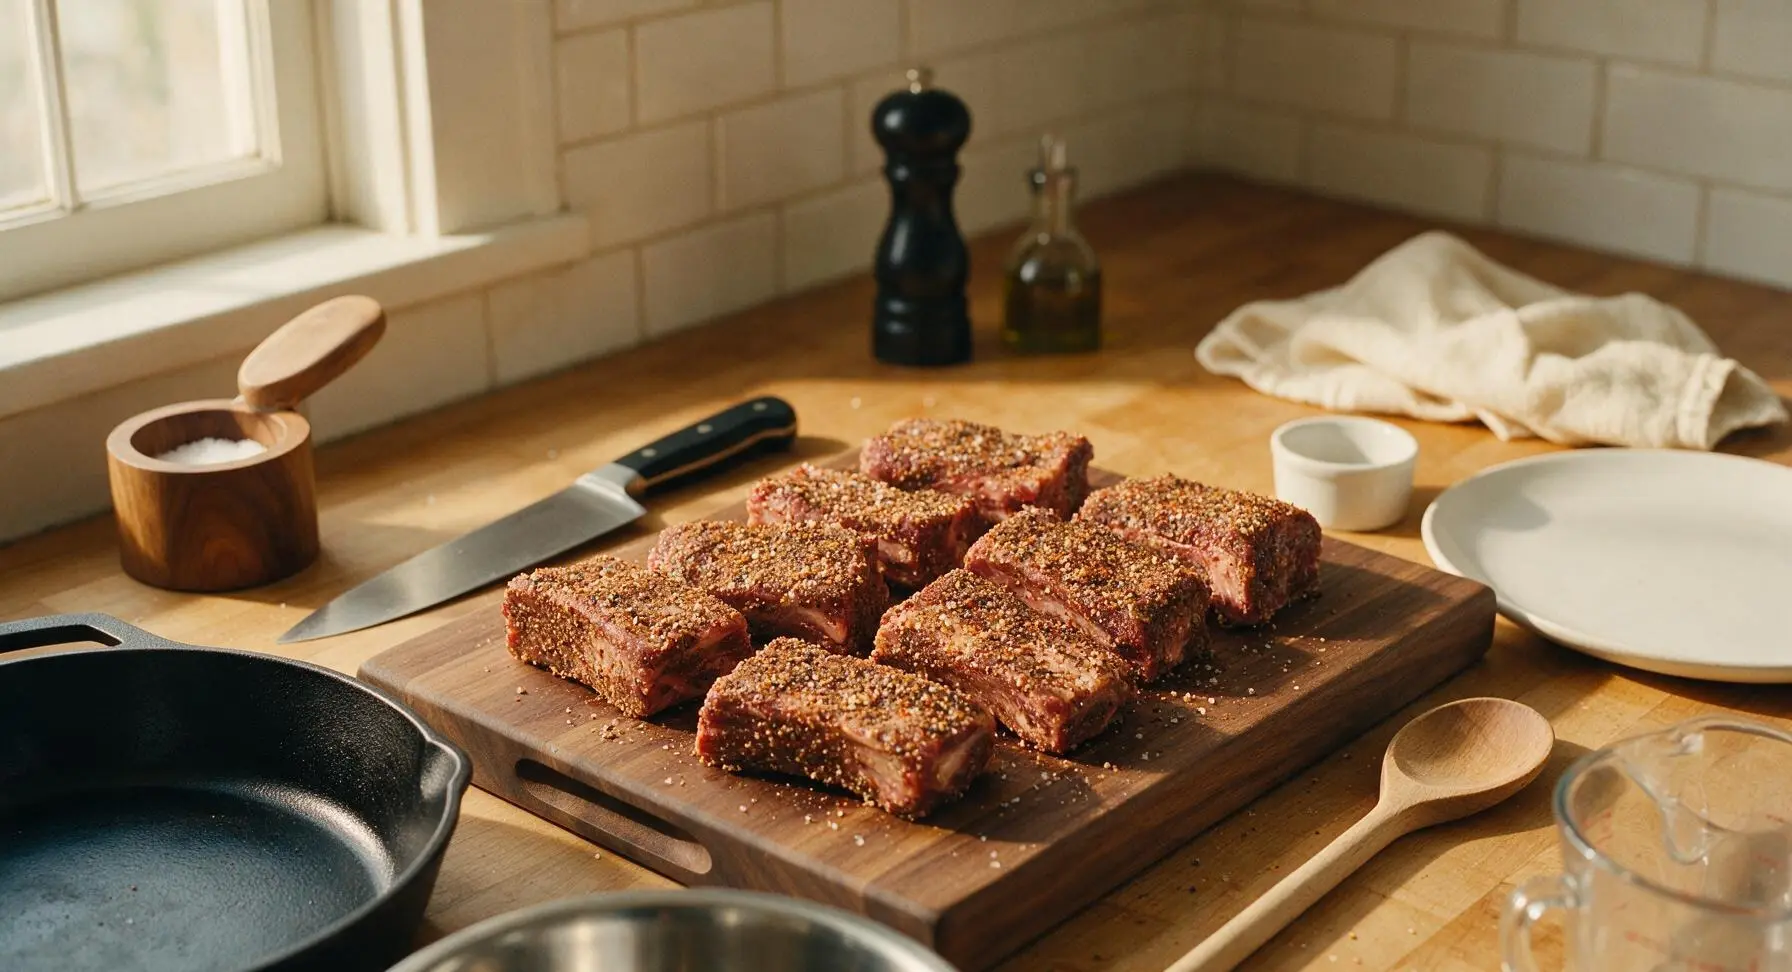
In the medium stainless steel mixing bowl, combine 2 tbsp coarse kosher salt, 2 tbsp coarse black pepper, 1 tbsp garlic powder, and 1 tbsp smoked paprika, stirring to fully blend into a uniform rub. Sprinkle the mixture evenly over all surfaces of the trimmed short ribs, pressing gently to help the spices adhere to the meat. Every part of the ribs should have a light, even coating of rub, with no large bare patches visible.
Step 2
step2:Apply Dry Rub
Step 2
step2:Apply Dry Rub
3

Smoke to Form Bark

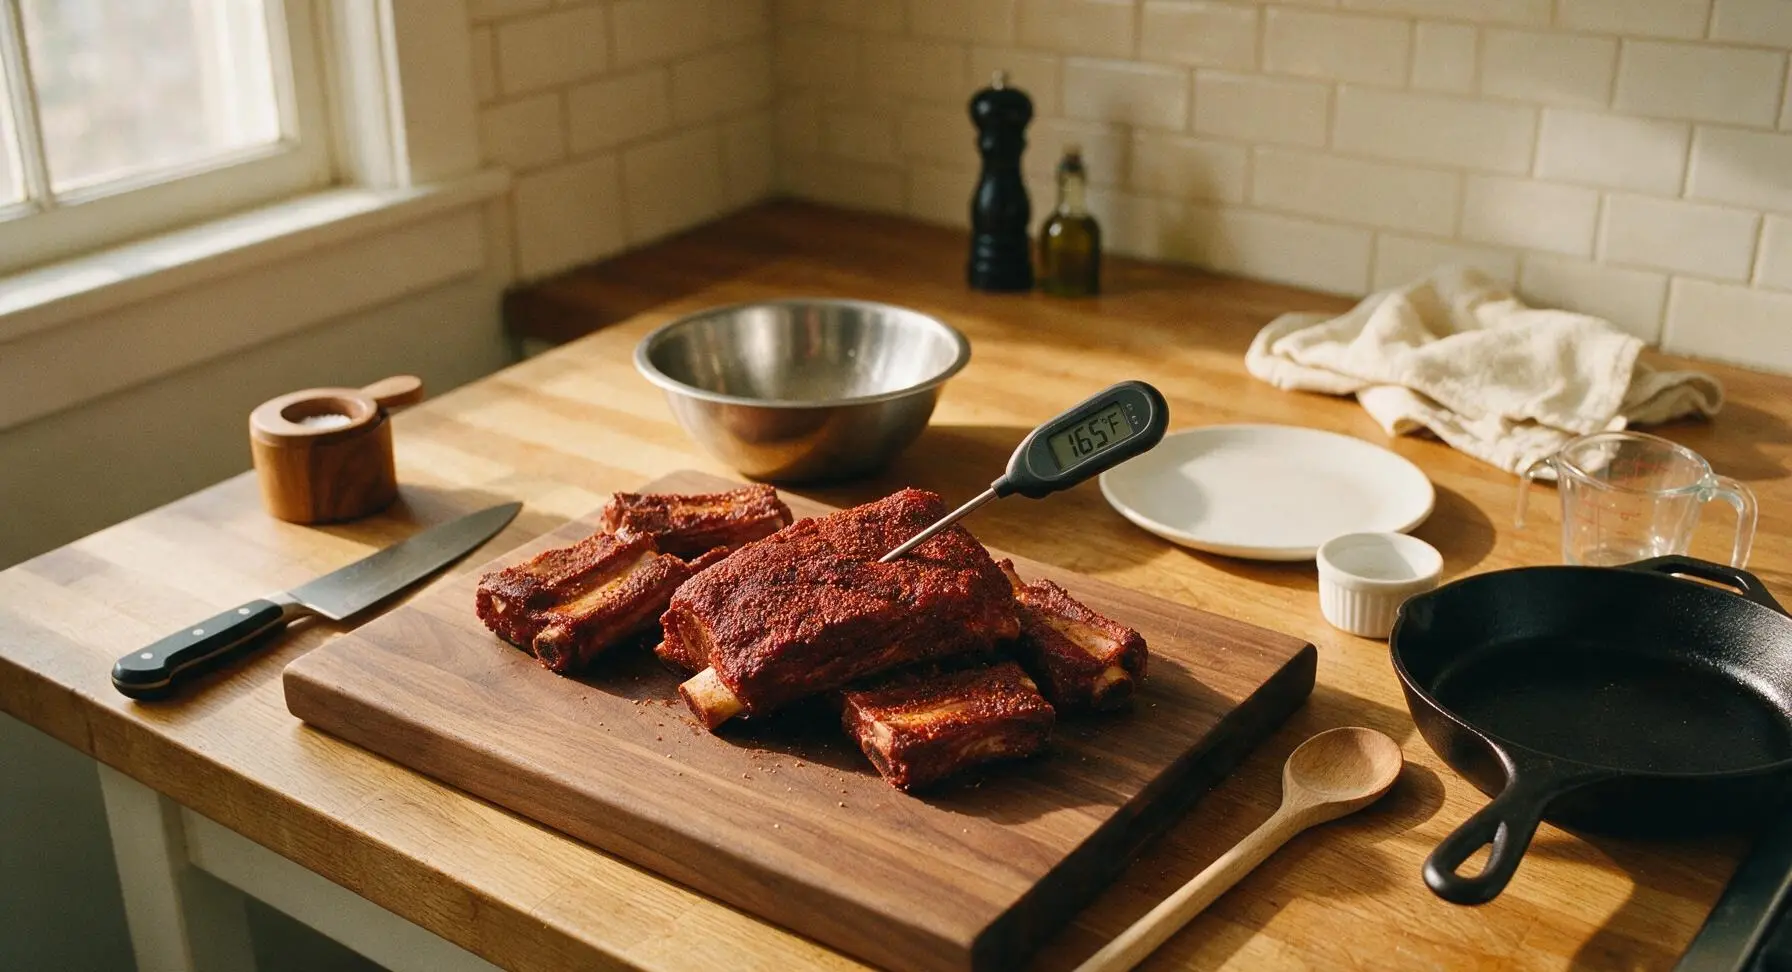
Place the seasoned short ribs directly on the preheated smoker grate, fat side up. Close the smoker lid and cook at a steady 225°F for 3 hours, maintaining thin, wispy blue smoke throughout. Bring the ribs inside to the counter to check doneness: the exterior should have a firm, deep reddish-brown bark, and the internal temperature will read 165°F (74°C) when probed with the digital instant-read thermometer.
Step 3
step3:Smoke to Form Bark
4

Wrap to Braise Tender

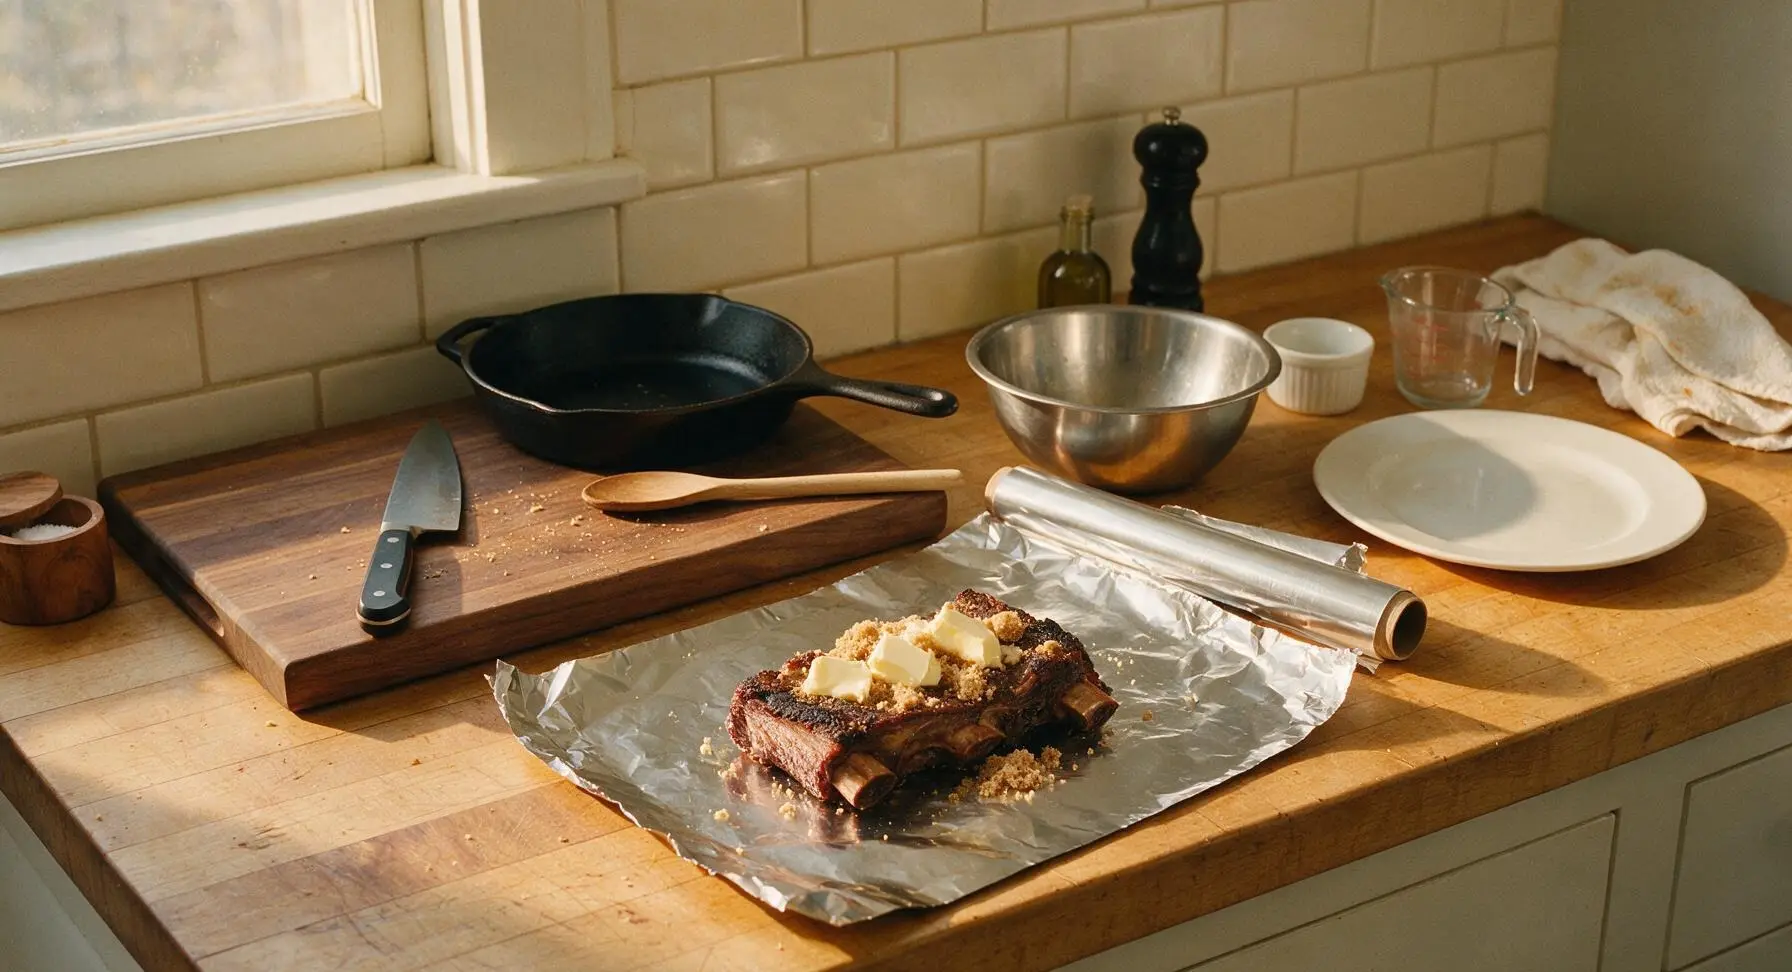
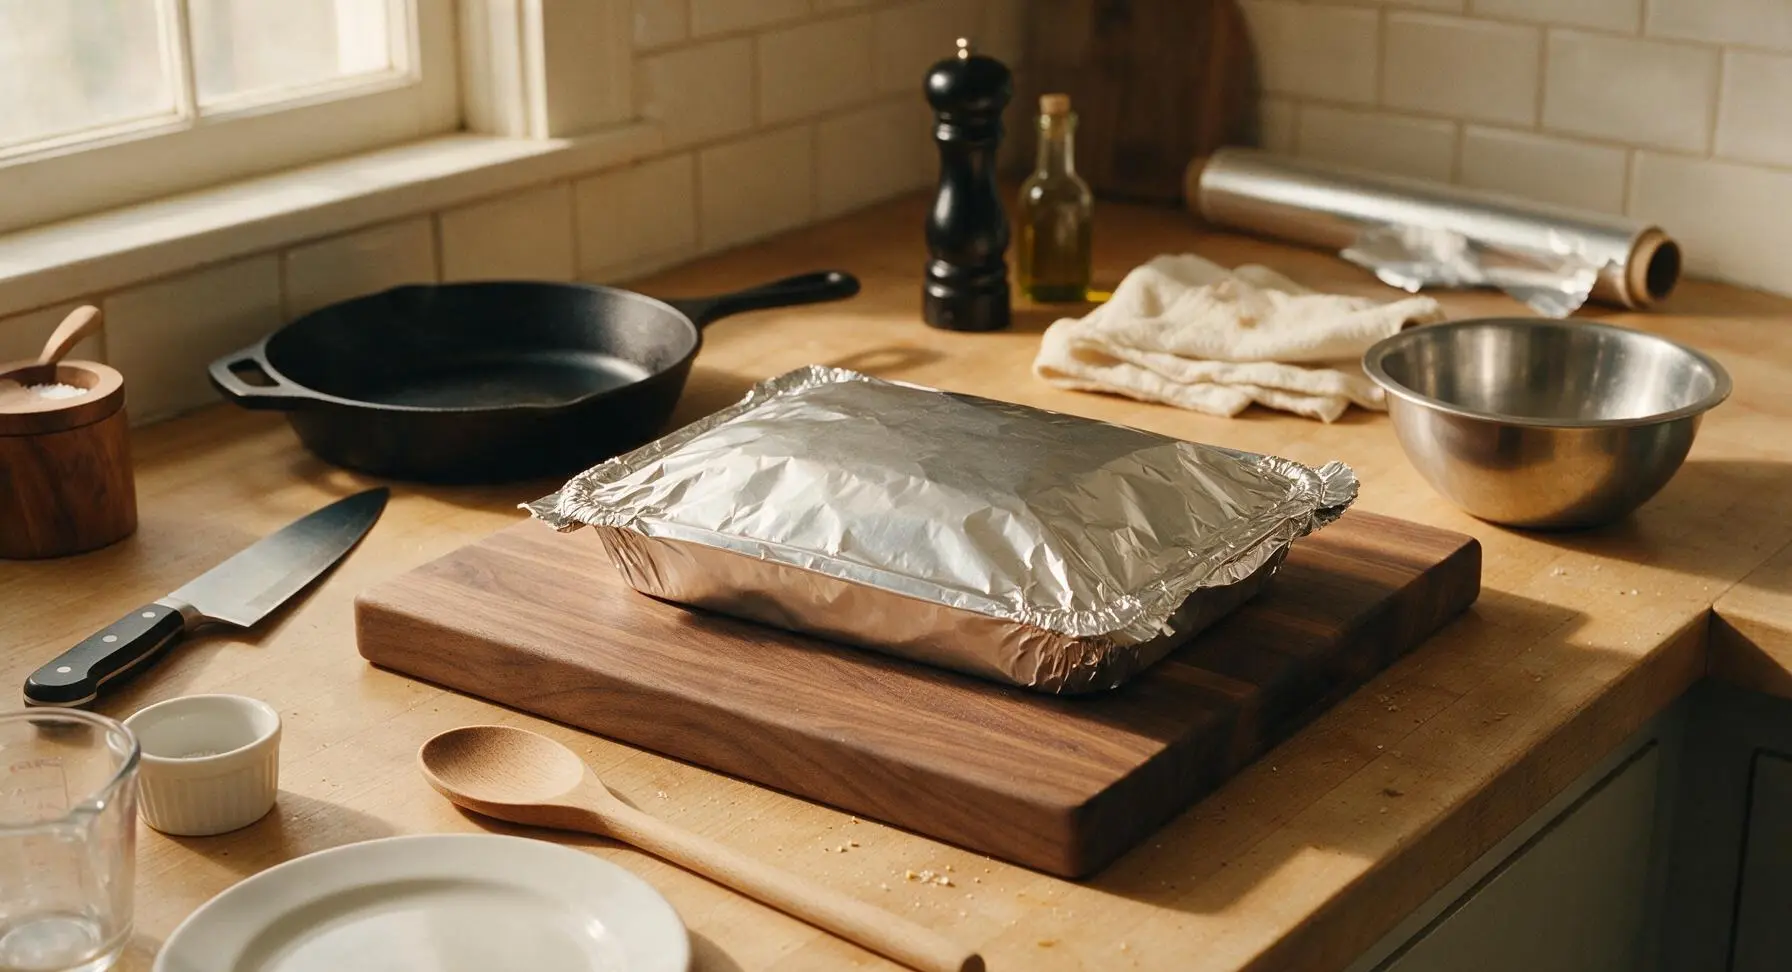
Tear two 24-inch sheets of heavy-duty aluminum foil from the roll. Place the smoked short ribs in the center of the doubled foil, top with 4 tbsp of unsalted butter cut into pats, and sprinkle evenly with 1/4 cup packed light brown sugar. Fold the foil tightly around the ribs to create a sealed, airtight packet, crimping all edges to prevent steam from escaping. Return the foil packet to the smoker for 1.5 hours, until the meat is probe-tender: the thermometer will slide into the meat with no resistance (like sticking into soft butter) at an internal temperature of 203°F (95°C).
Step 4
step4:Wrap to Braise Tender
Step 4
step4:Wrap to Braise Tender
5

Cube Braised Ribs

Carefully open the foil packet (tilt the top away from you to avoid burns from escaping hot steam) and transfer the braised short ribs back to the cutting board. Use the boning knife to cut the ribs into uniform 1.5-inch cubes. The meat should be tender enough that the knife slices through with almost no pressure, with soft, juicy pinkish-brown meat visible under the dark outer bark. Reserve all accumulated braising juices (melted butter, brown sugar, rendered beef fat) from the foil packet to add to the glaze.
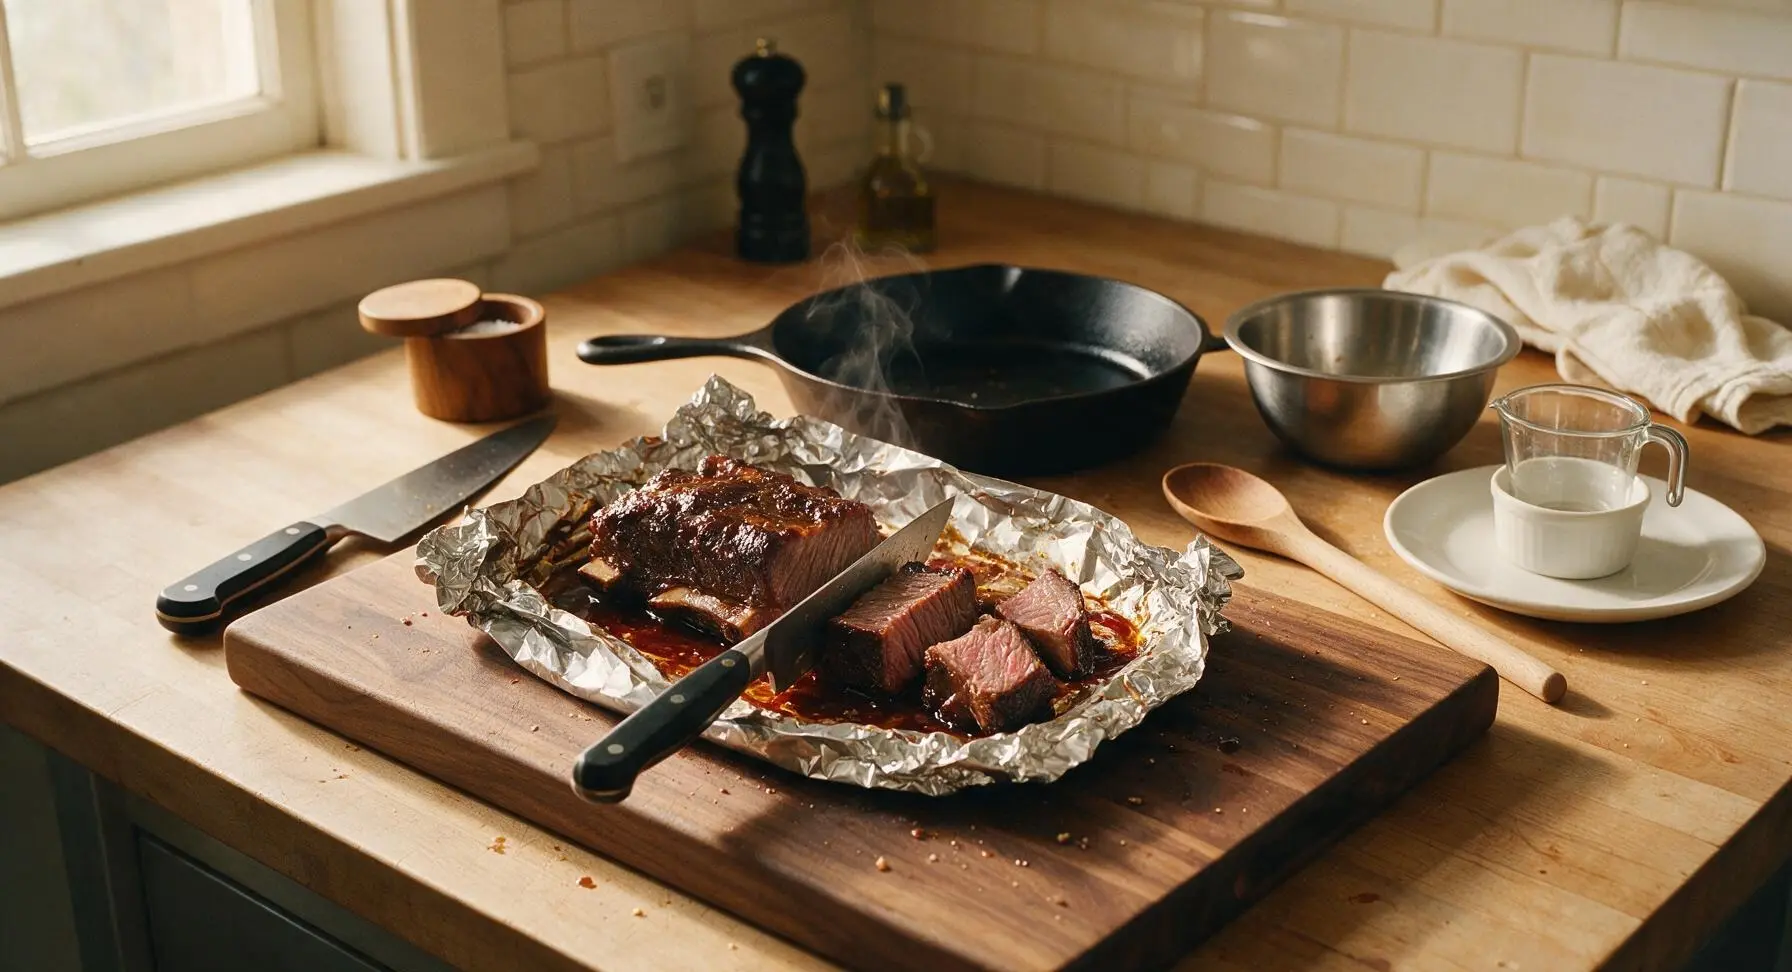
Step 5
step5:Cube Braised Ribs
6

Toss in BBQ Glaze

In the now-empty stainless steel mixing bowl, combine 1 cup Kansas City-style BBQ sauce and 2 tbsp apple cider vinegar, stirring to a smooth, pourable consistency with the silicone basting brush. Add the cubed short ribs and all reserved braising juices to the bowl, tossing gently to coat every cube fully in the glossy glaze.
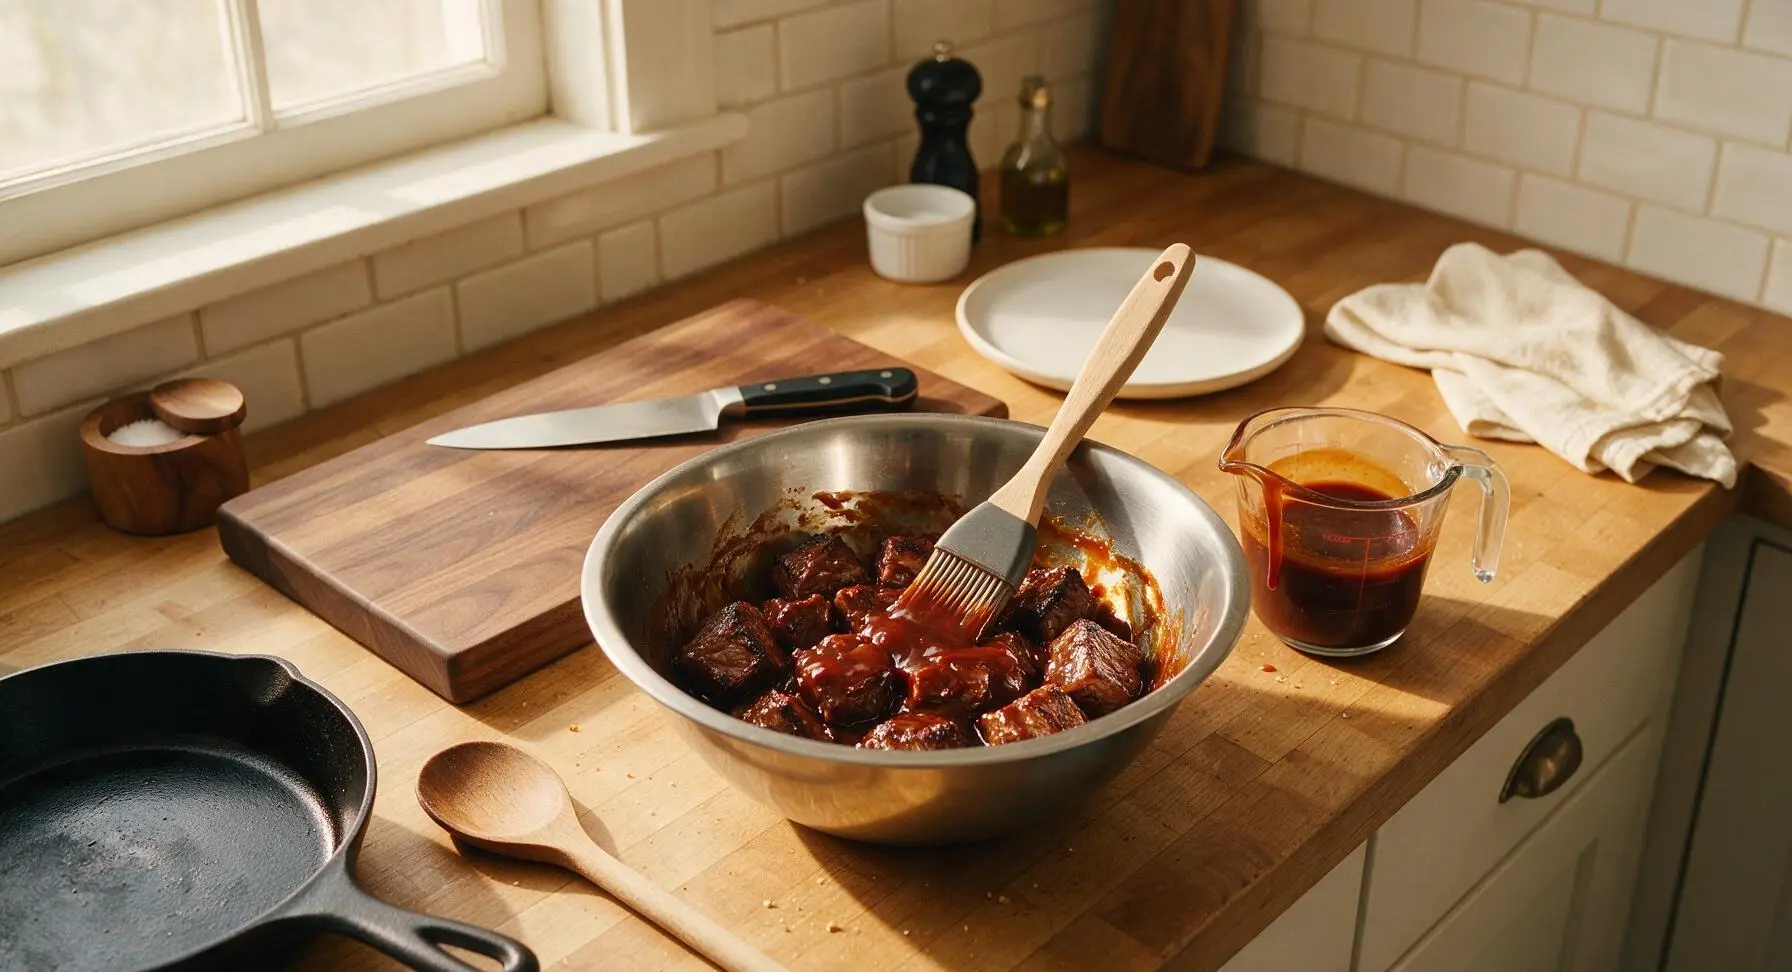
Step 6
step6:Toss in BBQ Glaze
7

Caramelize Burnt Ends

Transfer the sauce-coated cubed ribs to the shallow aluminum foil pan, spreading them in a single, even layer so every piece is exposed to the heat. Return the pan to the smoker (or a 275°F/135°C oven, if no smoker is available) and cook uncovered for 45 minutes, until the glaze is sticky, bubbly, and caramelized to a deep mahogany around the edges of each cube. The sauce should be thick enough to cling to the meat, not runny.
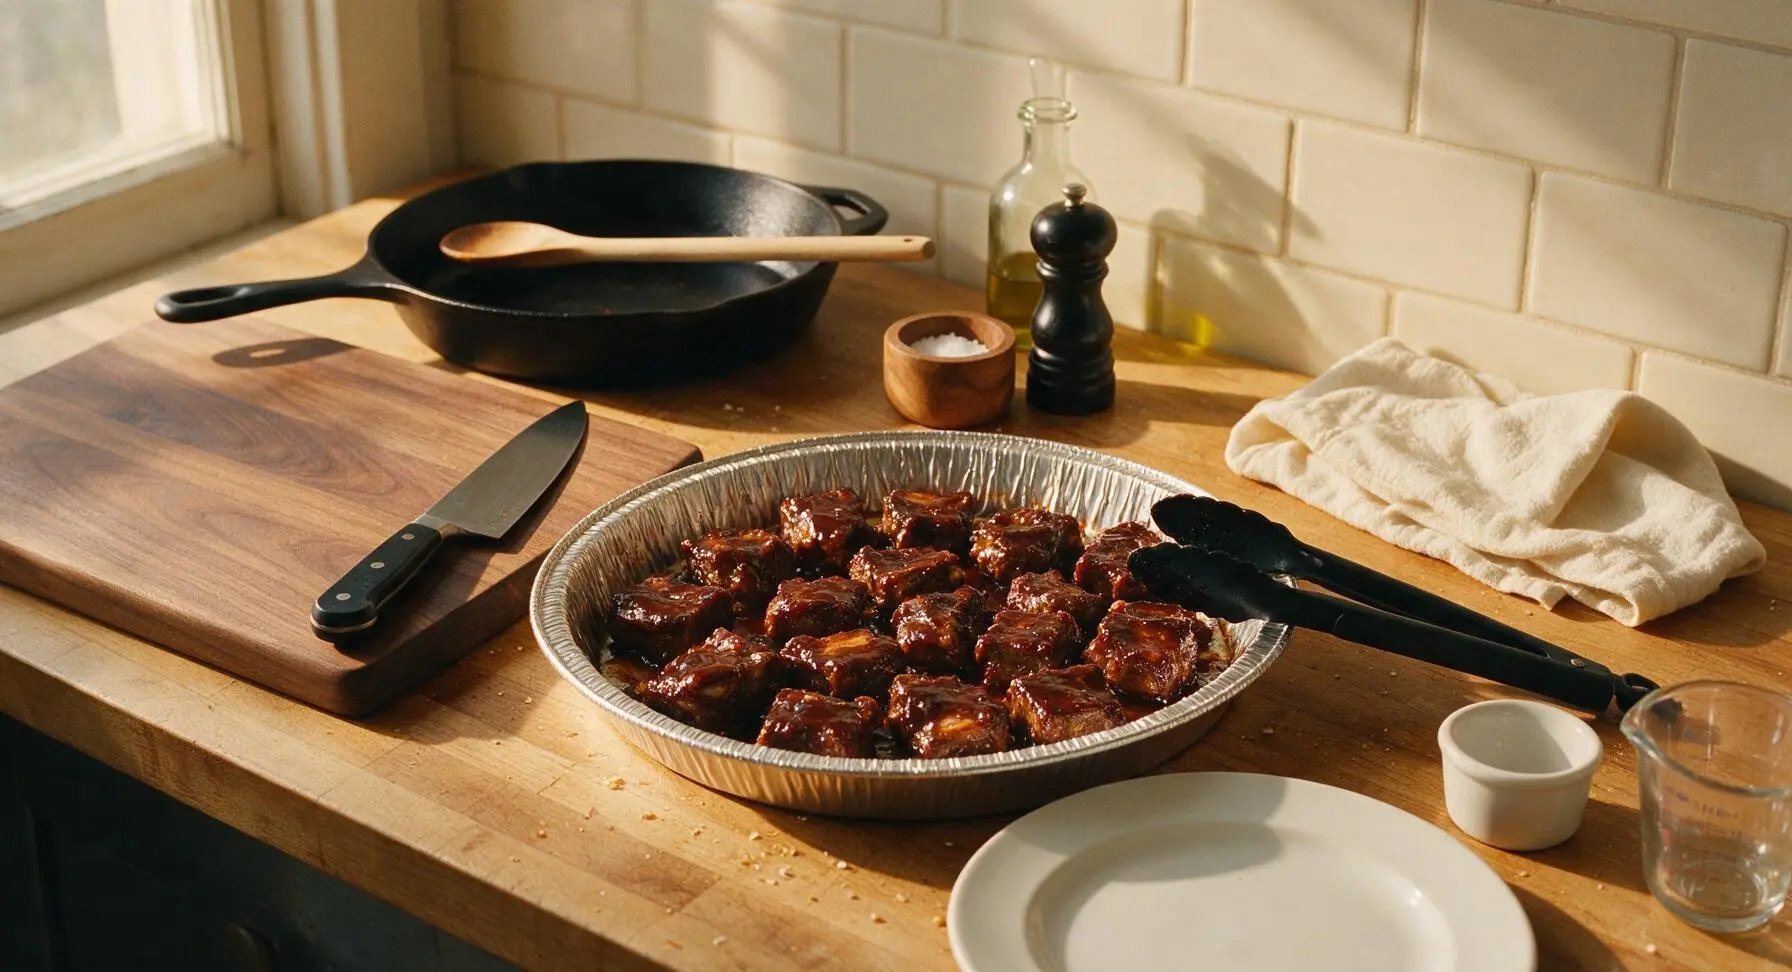
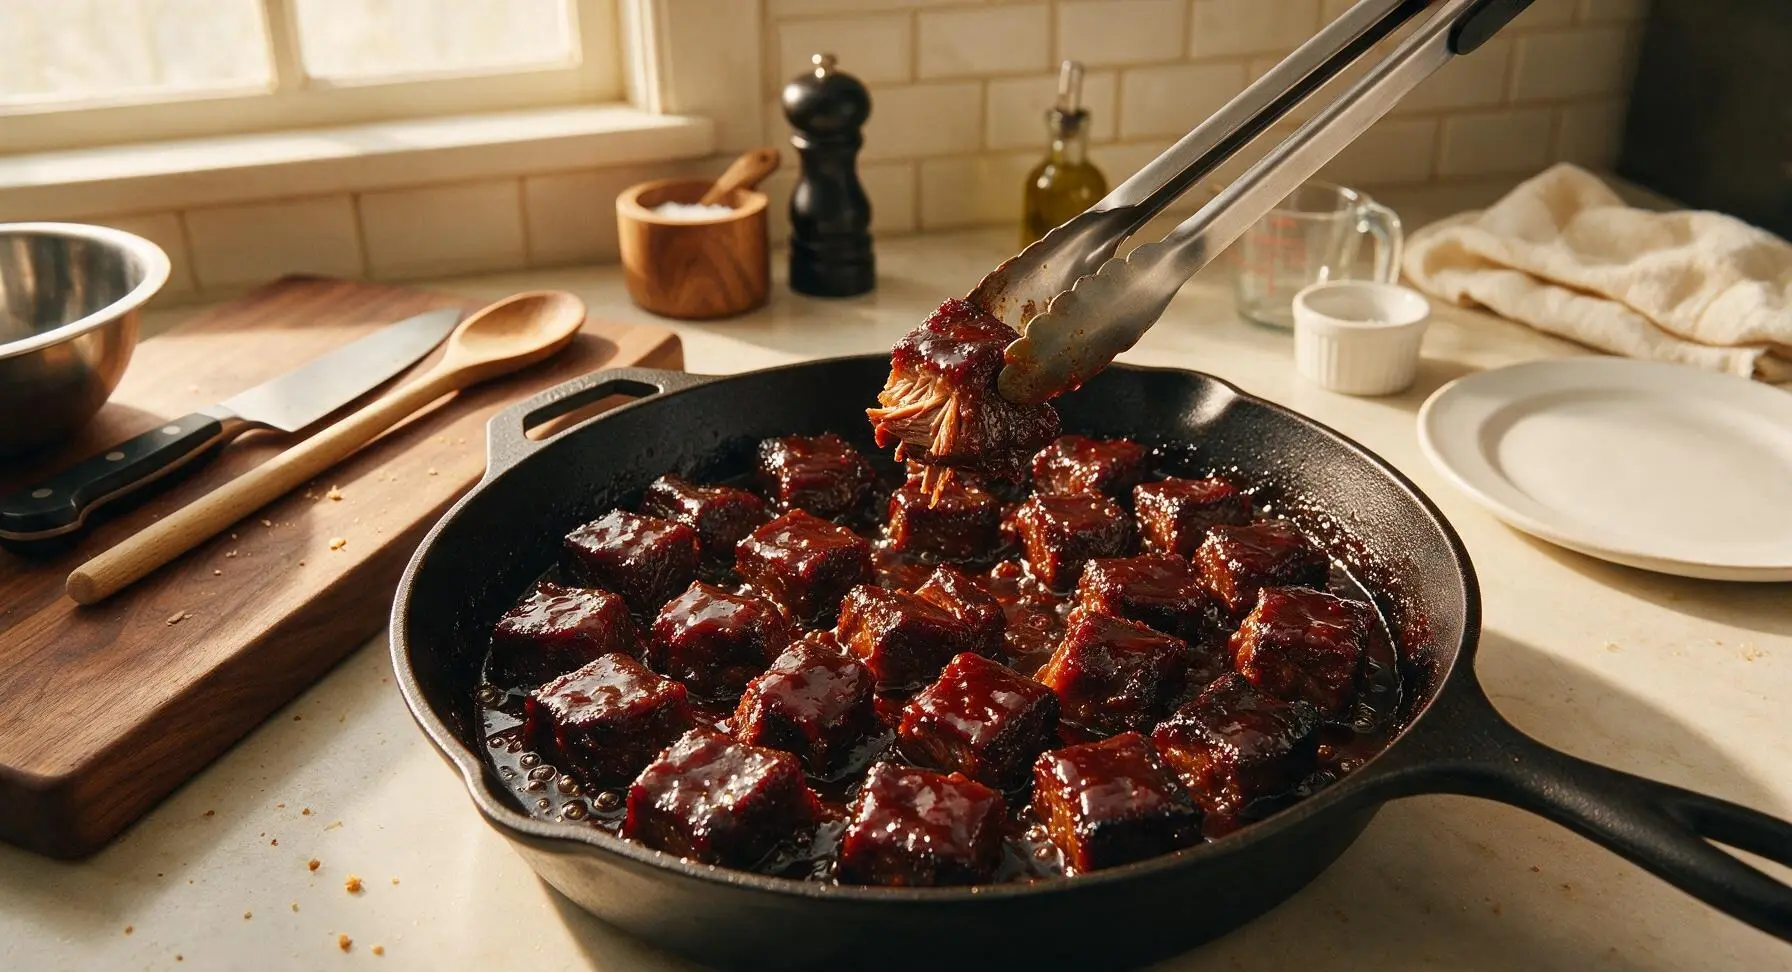
Step 7
step7:Caramelize Burnt Ends
Step 7
step7:Caramelize Burnt Ends
8

Rest and Plate

Remove the pan of burnt ends from the heat and let them rest for 10 minutes to allow juices to redistribute and the glaze to set. Pile the finished burnt ends onto the matte dark charcoal ceramic dinner plate, garnish with a small sprig of fresh thyme plucked from the counter bunch, and serve immediately.
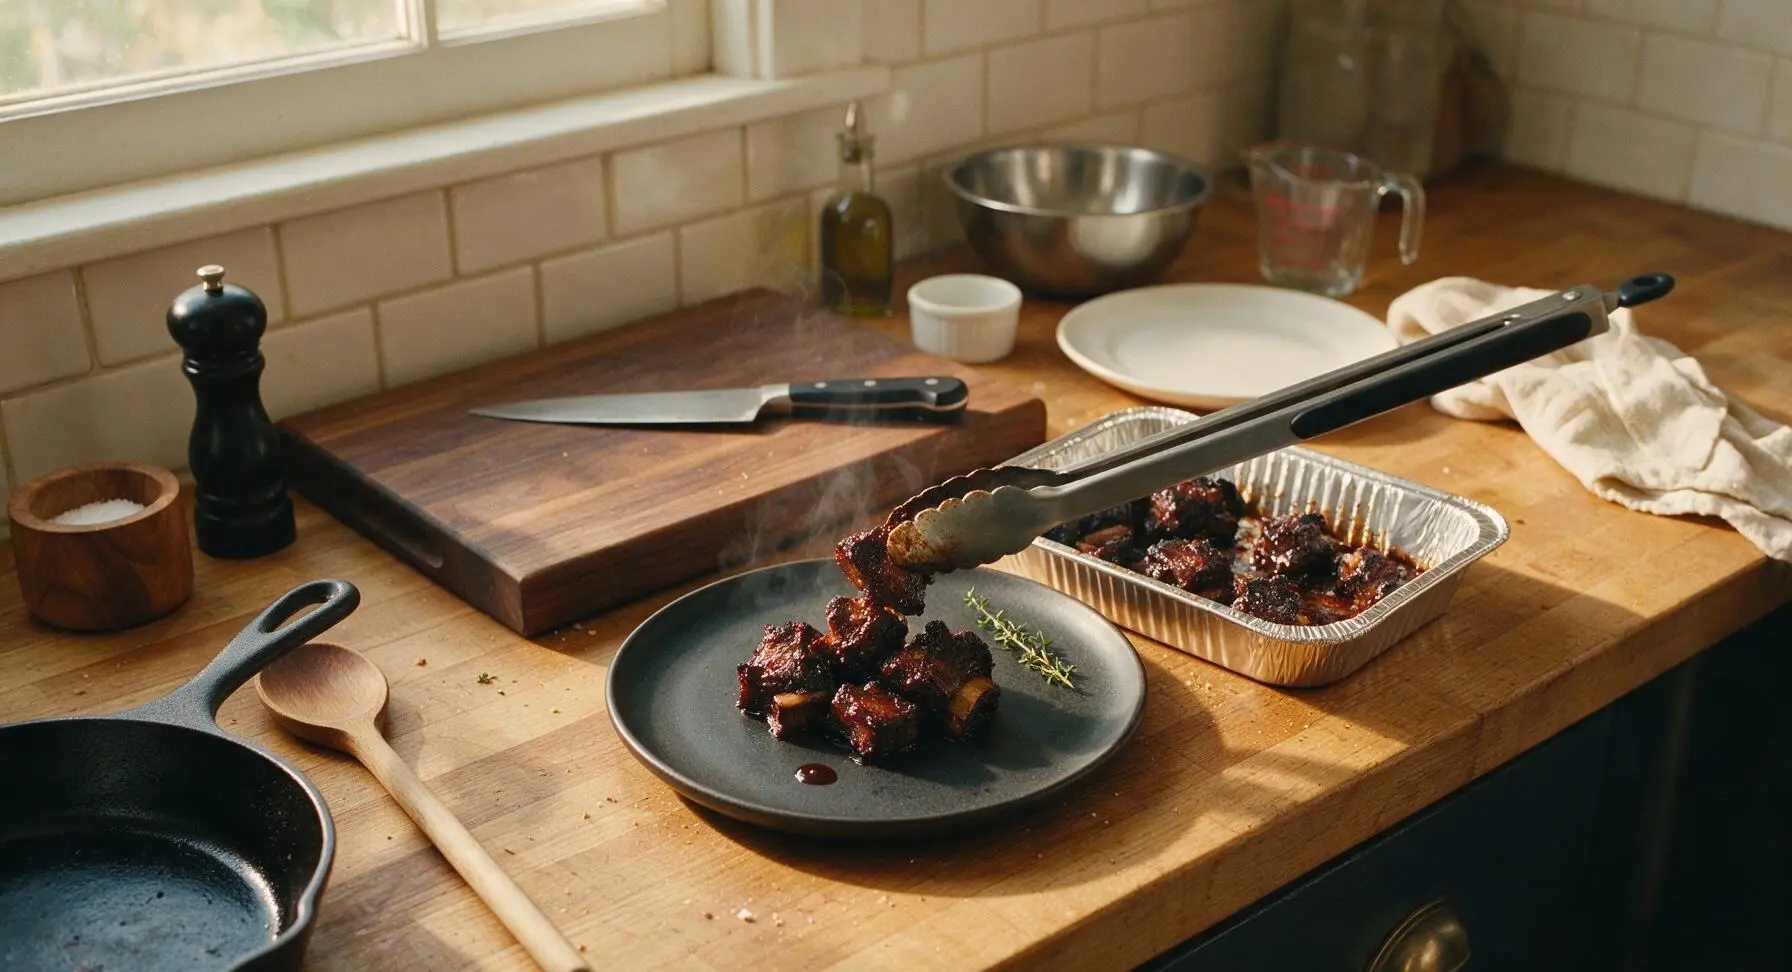
Step 8
step8:Rest and Plate

Tips

1.Maintain steady smoker temperature: Keep your cooker at a consistent 225°F with thin, wispy blue smoke (avoid thick, billowing white smoke) to prevent bitter, sooty bark and ensure even, gentle cooking that breaks down tough connective tissue without drying the meat.
2.Crimp foil edges tightly: A fully sealed foil packet traps steam from the melting butter and brown sugar, braising the ribs to fall-apart tenderness; gaps let steam escape, leading to tough, chewy meat that won’t form the perfect burnt end texture.
3.Don’t skip the final rest: Letting the caramelized burnt ends sit for 10 minutes after coming off the heat lets the glaze set and the meat fibers reabsorb juices, so every bite is juicy rather than having hot sauce and grease run off the cube when you pick it up.


✨ You May Also Like

BBQ & Grilling
🍜 United States

Tender, melt-in-your-mouth beef brisket with a crisp, spiced bark, slow-smoked to deep smoky perfection, the iconic centerpiece of Texas backyard barbecue.

⏱️ 12 hours BBQ & Grilling ★ 4.4
BBQ & Grilling
🍜 Korea

Tender, sweet-savory marinated beef short ribs, a beloved Korean BBQ staple with caramelized, slightly charred edges and deep umami flavor, perfect for outdoor summer gatherings.

⏱️ 4 hours 2BBQ & Grilling ★ 4.8
BBQ & Grilling
🍜 United States

Juicy grilled beef patties topped with smoky homemade chili, melted cheddar, and tangy pickles on toasted brioche buns for a hearty, flavor-packed handheld meal.

⏱️ 40 minuteBBQ & Grilling ★ 4.7
BBQ & Grilling
🍜 United States

A sweet, smoky, tangy BBQ sauce brightened with peak-season dark cherries, ideal for glazing grilled ribs, chicken, pork, or summer roasted veggies.

⏱️ 35 minuteBBQ & Grilling ★ 4.7
BBQ & Grilling
🍜 United States

Rich, smoky, slightly sweet homemade bourbon BBQ sauce with deep caramel notes, ideal for glazing grilled ribs, chicken, and burgers at cookouts.

⏱️ 25 minuteBBQ & Grilling ★ 4.7
BBQ & Grilling
🍜 United States

Iconic Alabama-style BBQ featuring tender hickory-smoked chicken slathered in tangy creamy white sauce, a beloved regional Southern cookout staple.

⏱️ 3 hoursBBQ & Grilling ★ 5

Short Rib Burnt Ends:Frequently Asked Questions

1.Can I use bone-in beef short ribs instead of boneless for this burnt ends recipe? ▾
Absolutely—bone-in short ribs work beautifully, just add 45 to 60 minutes of initial low-and-slow cook time to account for the bone. Trim any tough, hard silver skin first, leave ¼ inch of fat for richness, and pull the meat when a probe slides in like soft butter at 203°F, just like you would for boneless cuts.
2.Do I need a dedicated smoker to get that classic smoky bark on my burnt ends? ▾
No dedicated smoker? No problem. Use a charcoal or gas grill set up for indirect 225°F heat, with a foil pouch of soaked hickory or oak chips placed next to the heat source for smoke. If you only have an oven, mix 1 teaspoon of high-quality liquid smoke into your BBQ glaze to mimic that classic smoky note.
3.Why did my last batch of short rib burnt ends turn out tough and chewy? ▾
Tough burnt ends almost always come from pulling the meat too early, before the tough connective tissue fully breaks down. Cook your rib cubes to an internal temp of 200–205°F, when a probe slides in with zero resistance. Avoid cranking the heat above 250°F, too—high heat will seize the meat before it gets tender.
4.What size should I cut my short ribs for the best burnt end texture? ▾
Aim for uniform 1.5-inch cubes when portioning the short ribs after the initial smoke phase. Cut them any smaller and the edges will burn to a crisp before the interior turns tender; any larger and you’ll lose that perfect ratio of sticky glazed bark to soft, melt-in-your-mouth beef in every bite.
5.Can I prep these short rib burnt ends ahead of time for a backyard cookout? ▾
Absolutely! Pre-smoke the short rib cubes to 190°F internal temp the day before, cool them quickly, and store in an airtight container in the fridge for up to 2 days. When ready to serve, toss with glaze, finish at 250°F for 30–40 minutes until sticky and 165°F internally, and guests will never know you prepped early.
6.The base rub only uses salt, pepper, garlic powder, and paprika—do I need more seasonings? ▾
That simple, classic rub is intentionally minimal to let the rich, beefy short rib flavor and deep smoke shine. If you want a little extra dimension, add ½ teaspoon of cayenne for heat or a tablespoon of light brown sugar for extra caramelization, but go light so you don’t cover up the star ingredient.
7.What sides pair best with these rich, sticky short rib burnt ends? ▾
These hearty, glazed bites pair perfectly with bright, tangy classic BBQ sides to cut through the richness. Serve them with creamy coleslaw, crisp dill pickles, buttery cornbread, tangy baked beans, or light potato salad. For a fun twist, pile them on top of mac and cheese or tuck them into slider buns with pickled red onions.

Comments (4)

2 days ago

OMG these short rib burnt ends were an absolute game changer for our weekend cookout! I was a little intimidated by the 5+ hour cook time but it was 100% worth every minute. The crust was perfectly caramelized, the meat was fall-off-the-bone tender, and even my picky teen who only eats chicken nuggets went back for thirds. Brought a batch to my neighbor’s potluck yesterday and everyone was begging for the recipe. 10/10 will be making these monthly for meal prep too!

yesterday

Wait did you wrap them in butcher paper like the recipe says? I’m making these for my husband’s birthday next weekend and want to make sure I don’t mess them up! He’s been obsessing over burnt ends ever since we tried them at a BBQ joint in Kansas City last month.

2 hours ago

So glad these were a hit at your cookout, Jake! @MidwestMamaMaria yes, the butcher paper wrap is key to locking in that juicy texture without making the bark soggy — just make sure your smoker holds steady at 275°F the whole cook and you’ll be golden!

3 days ago

Pretty solid recipe overall! Flavor was on point, but I messed up the sauce ratio a little on my first batch — added too much apple cider vinegar so it was a touch tangier than I wanted. Still came out SO good though, my roommates devoured the whole tray in like 15 minutes. Next time I’ll cut the vinegar by a tablespoon and I bet it’s perfect. Great pick for a lazy Sunday football watch party.

1 week ago

I made these for my family dinner last Sunday and y’all, my grandkids couldn’t get enough! I was worried the medium difficulty level would be too much for me since I don’t use my smoker super often, but the step-by-step instructions were so easy to follow. I served them with coleslaw and cornbread and even my 87-year-old brother said they were the best BBQ he’s had in 20 years. Thank you for sharing this wonderful recipe!

5 days ago

Aww this makes my day, Liz! There’s no better compliment than getting a thumbs up from multi-generational family at the dinner table. So glad the instructions were easy to follow — can’t beat pairing these with coleslaw and cornbread, that’s my go-to serving combo too!

30 minutes ago

Game changer alert!!! I made a double batch of these for my weekly meal prep and they reheat so well — I toss a couple on top of salads, in tacos, or even eat them straight out of the container for a quick protein hit. The sweet and smoky sauce is *chef’s kiss*, I didn’t change a single thing from the recipe and it turned out perfect. Don’t let the long cook time scare you off, most of it is hands off in the smoker so you can get other stuff done while it cooks!

5 minutes ago

Wait how do you store them for meal prep? Just airtight containers in the fridge? How long do they stay good for? I’ve been looking for high protein meal prep ideas that don’t get boring after day 2!



