
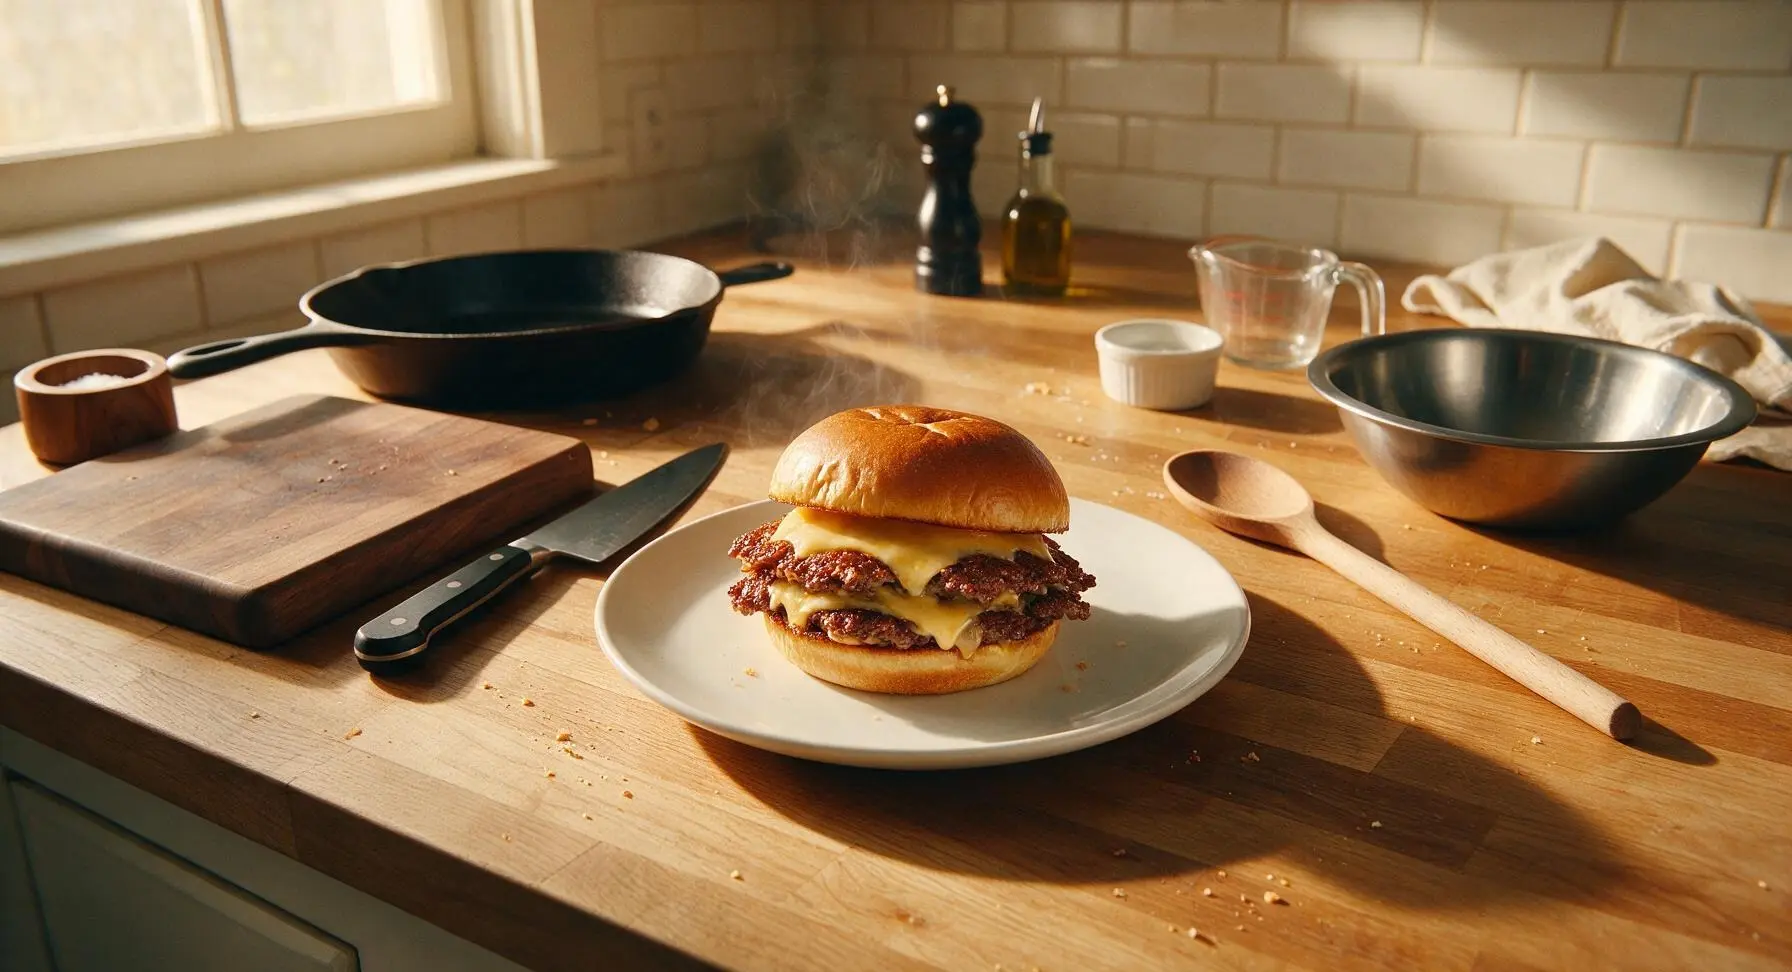
Smash Cheeseburger

title 1
Smash Cheeseburger
⏱️ cook time 12 minutes
🍽️ servings 4
⚡ Difficulty easy

intro

Crispy, lacy-edged seared beef patties oozing with melted American cheese, stacked on soft toasted potato buns with classic tangy toppings—this iconic, juicy smash burger is the ultimate casual summer cookout staple.

Ingredients
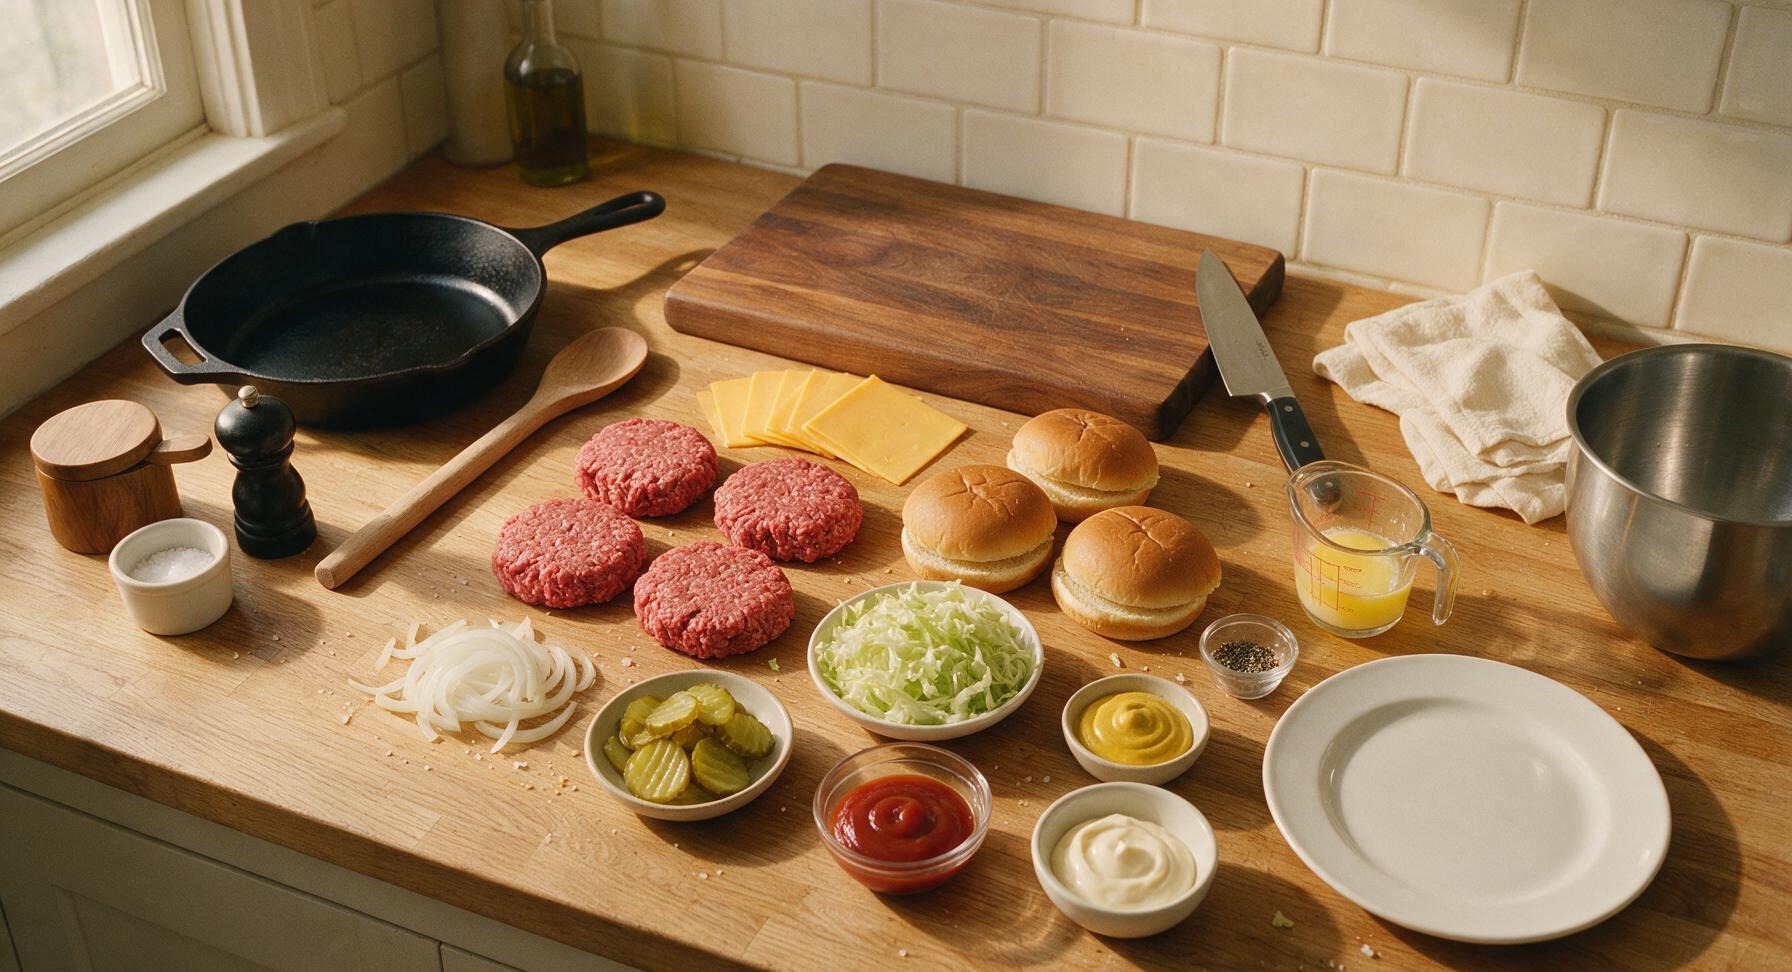
80/20 ground beef 450g
American cheese slices 8 slices
Potato hamburger buns 4 (split horizontally)
Kosher salt 1 tsp
Freshly ground black pepper 1/2 tsp
Unsalted butter 2 tbsp (melted)
Yellow onion 1/4 small (thinly sliced)
Iceberg lettuce 1 cup (shredded thin)
Crinkle-cut dill pickle slices 16 slices
Yellow mustard 2 tbsp
Ketchup 2 tbsp
Mayonnaise 2 tbsp

Steps

1

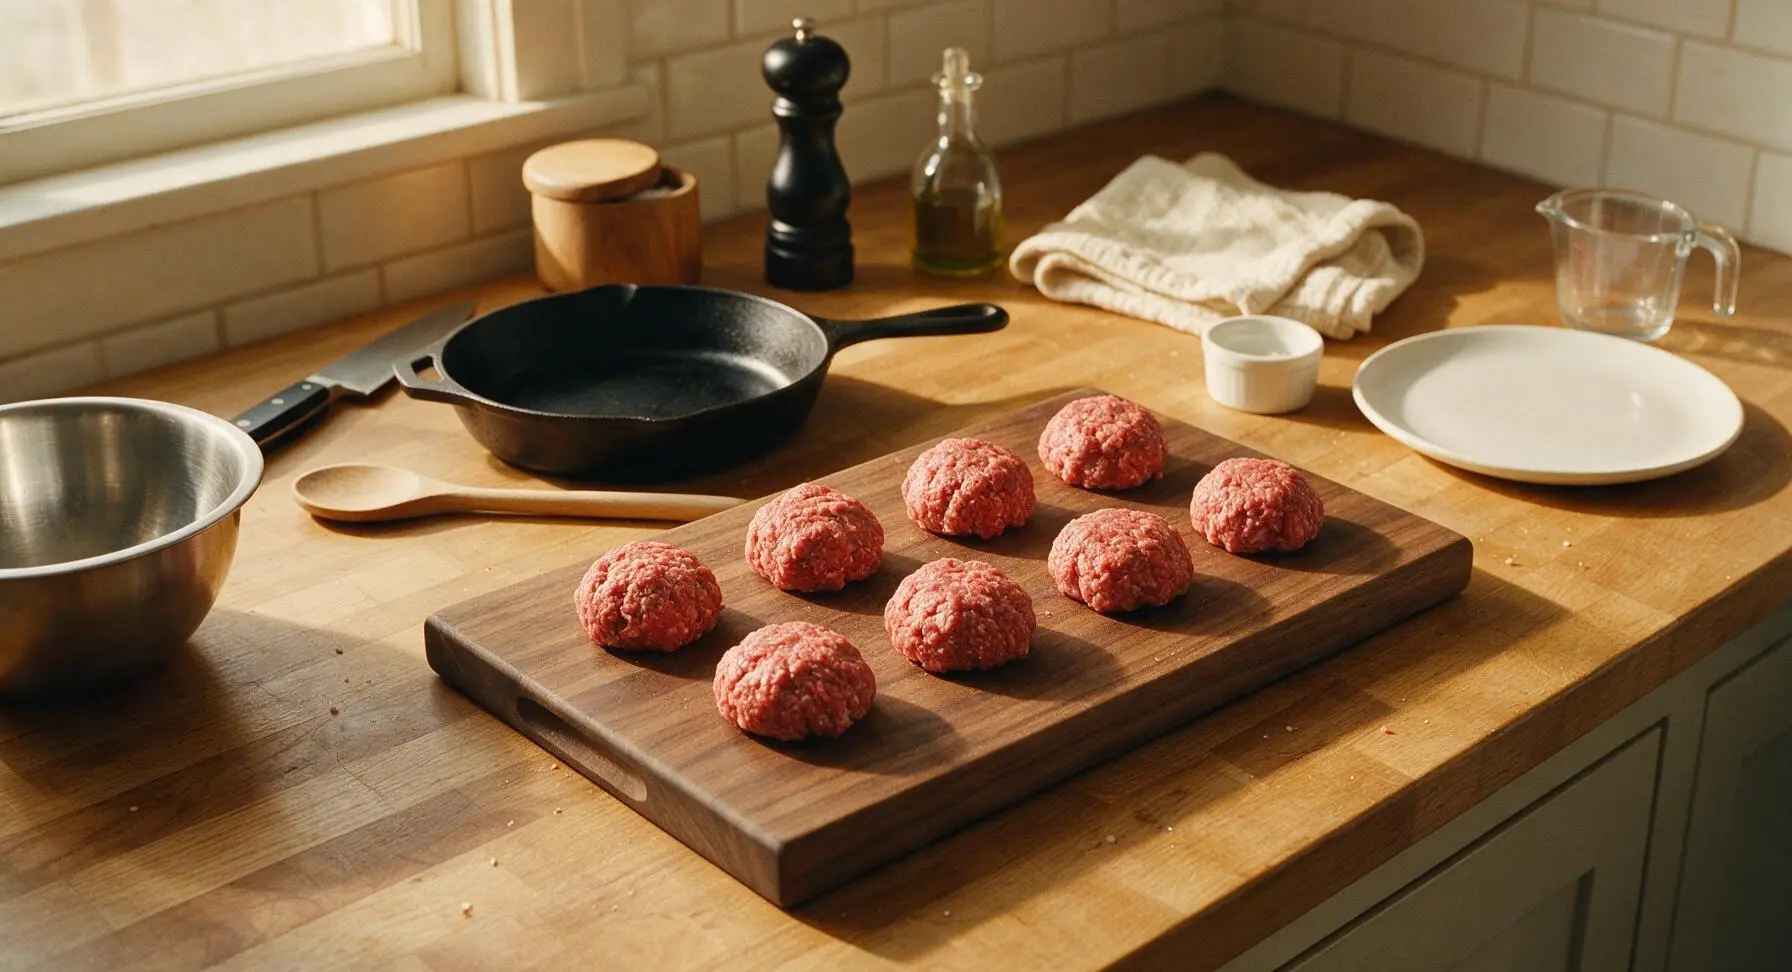
Portion Beef Loosely

Divide 450g of 80/20 ground beef into 8 equal 56g portions, rolling each into a loose, rough ball without compressing or overworking the meat (overpacking will result in tough, dense patties). Do not season the beef at this stage—salting too early will break down the meat proteins and ruin the tender texture. Arrange the beef balls on the maple cutting board with 5cm of space between each, and let rest at room temperature for 10 minutes to ensure even cooking.
Step 1
step1:Portion Beef Loosely
2

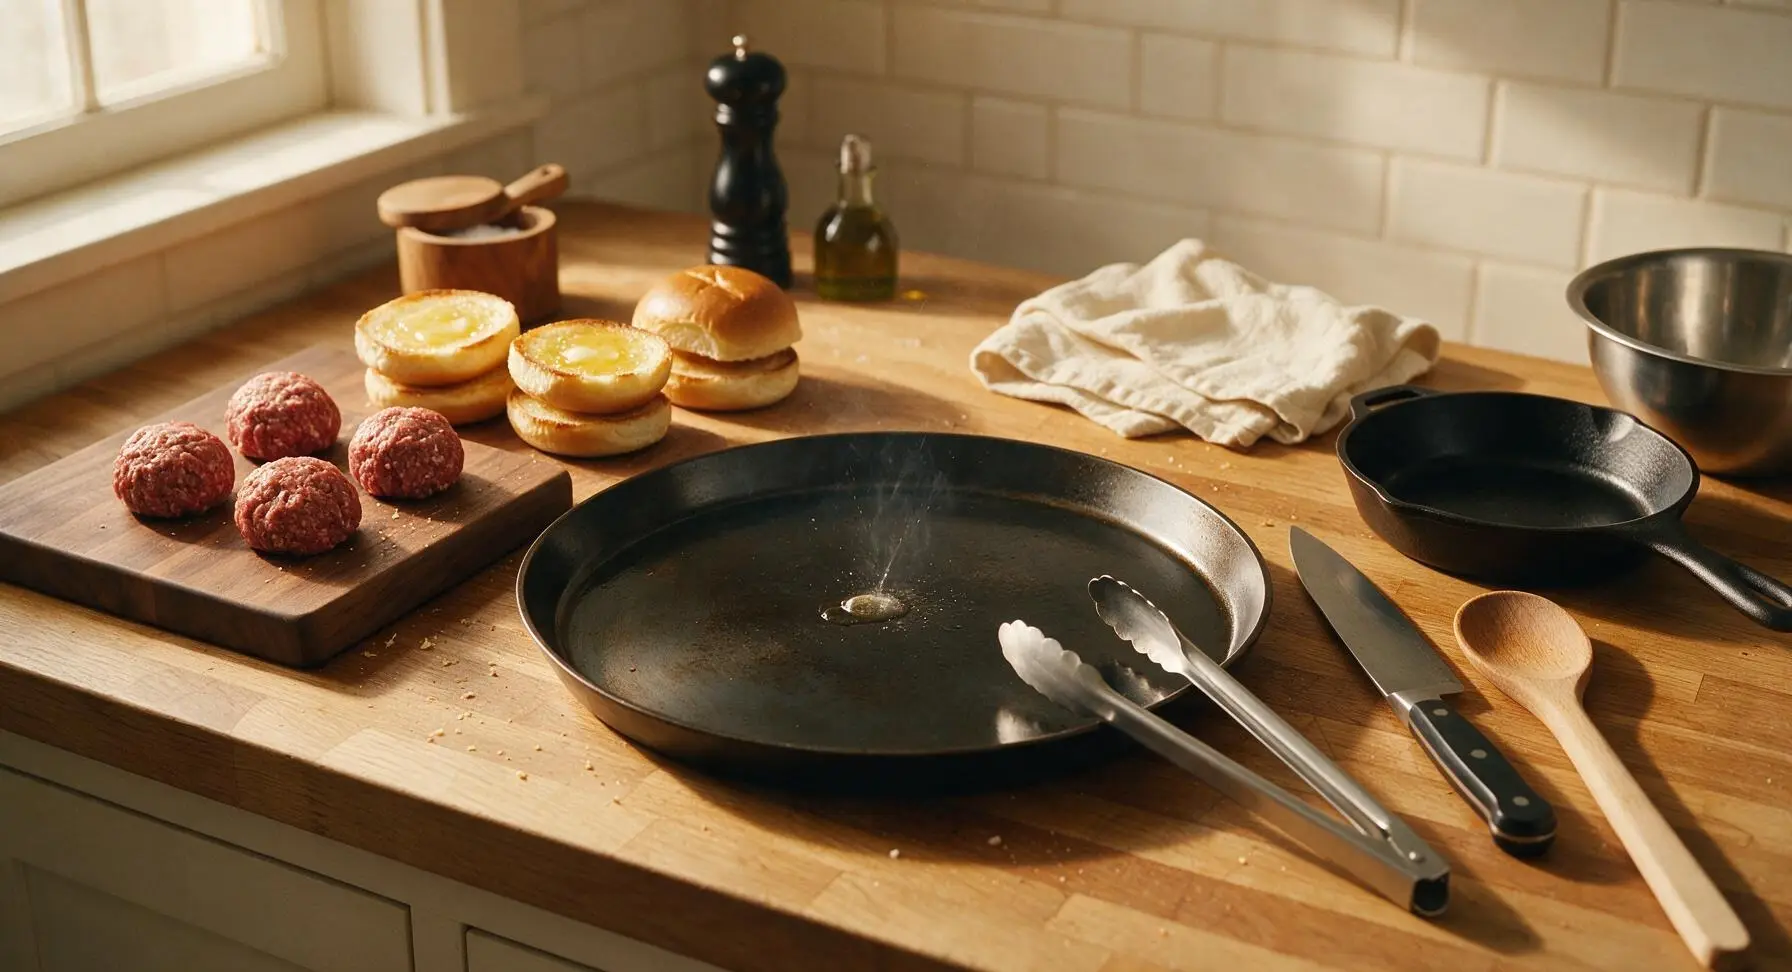
Preheat Griddle Pan

Retrieve the 12-inch pre-seasoned carbon steel griddle pan from under-counter storage and place it centered on the cooking surface over medium-high heat. Preheat for 5 minutes, until the pan is evenly hot: a flick of water should dance across the surface and evaporate in 1-2 seconds. While the griddle heats, use the pastry brush to coat the cut sides of all split potato buns with melted butter, and set the buns beside the cutting board.
Step 2
step2:Preheat Griddle Pan
3

Toast Butter Buns

Arrange the buttered buns cut-side down on the hot griddle, working in batches if needed to avoid crowding. Toast for 30-45 seconds, until the cut surface is deep golden brown with faint darker toasted flecks. Use the stainless steel tongs to transfer the toasted buns back to the cutting board, cut-side up. Do not wipe the griddle surface after toasting—remaining butter and fine bun crumbs will add depth of flavor to the cooking patties.
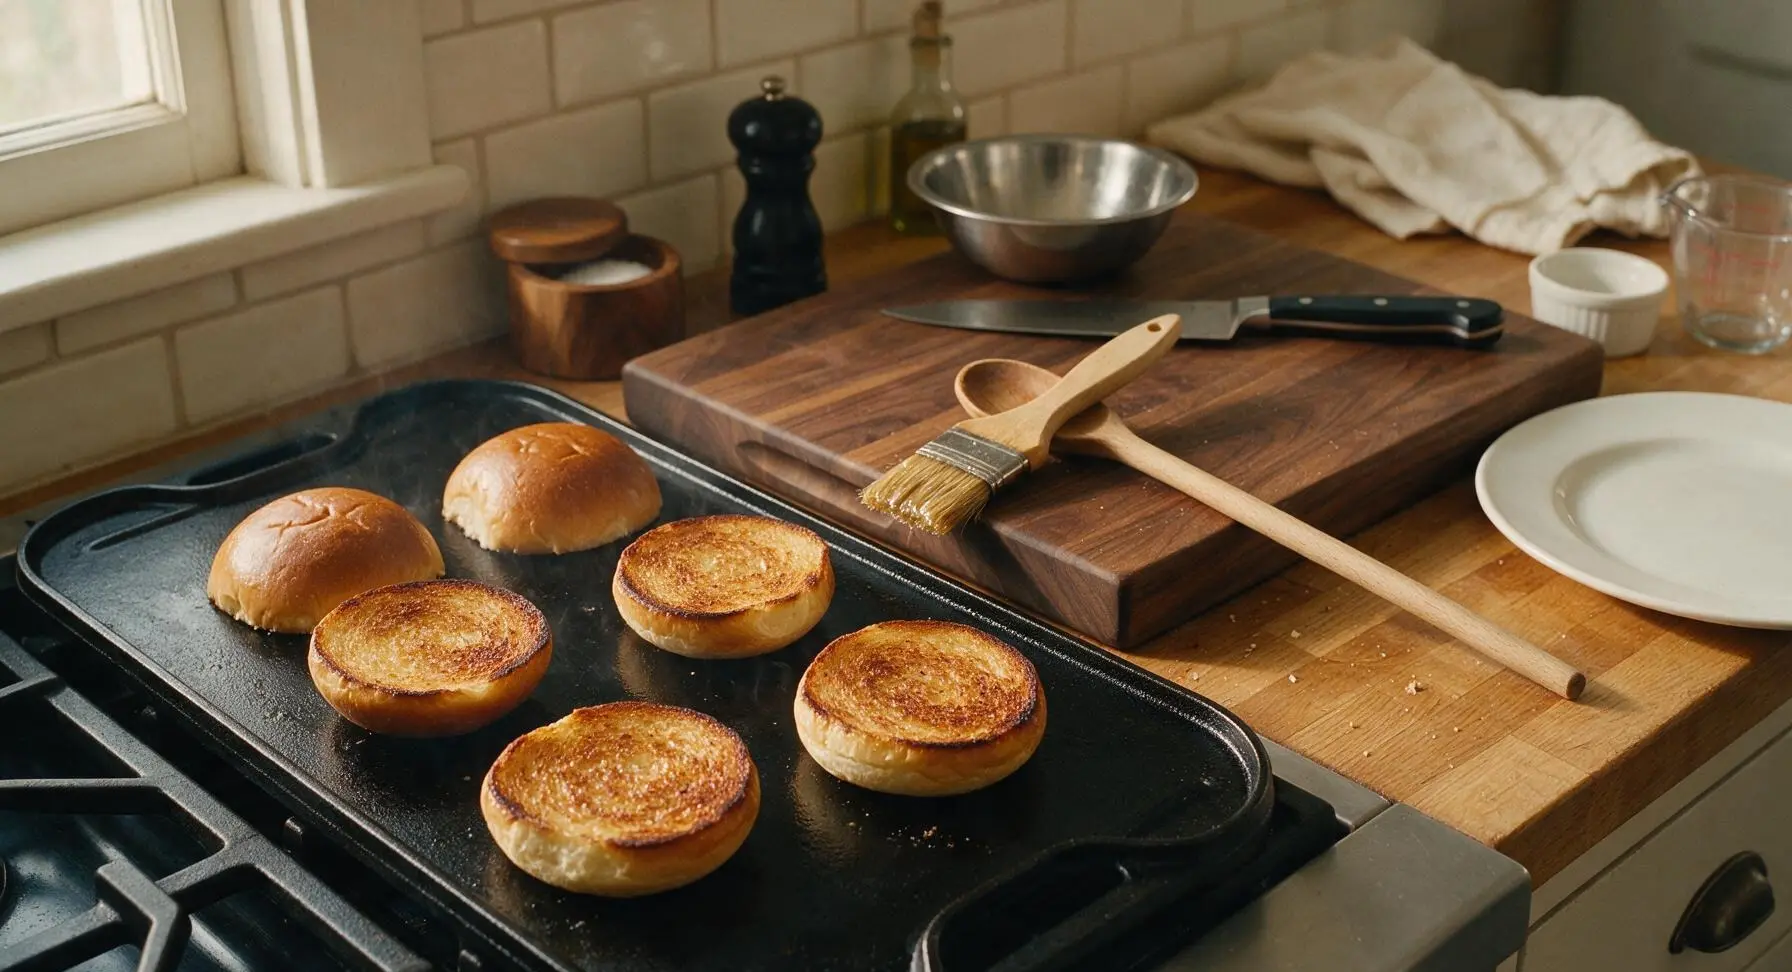
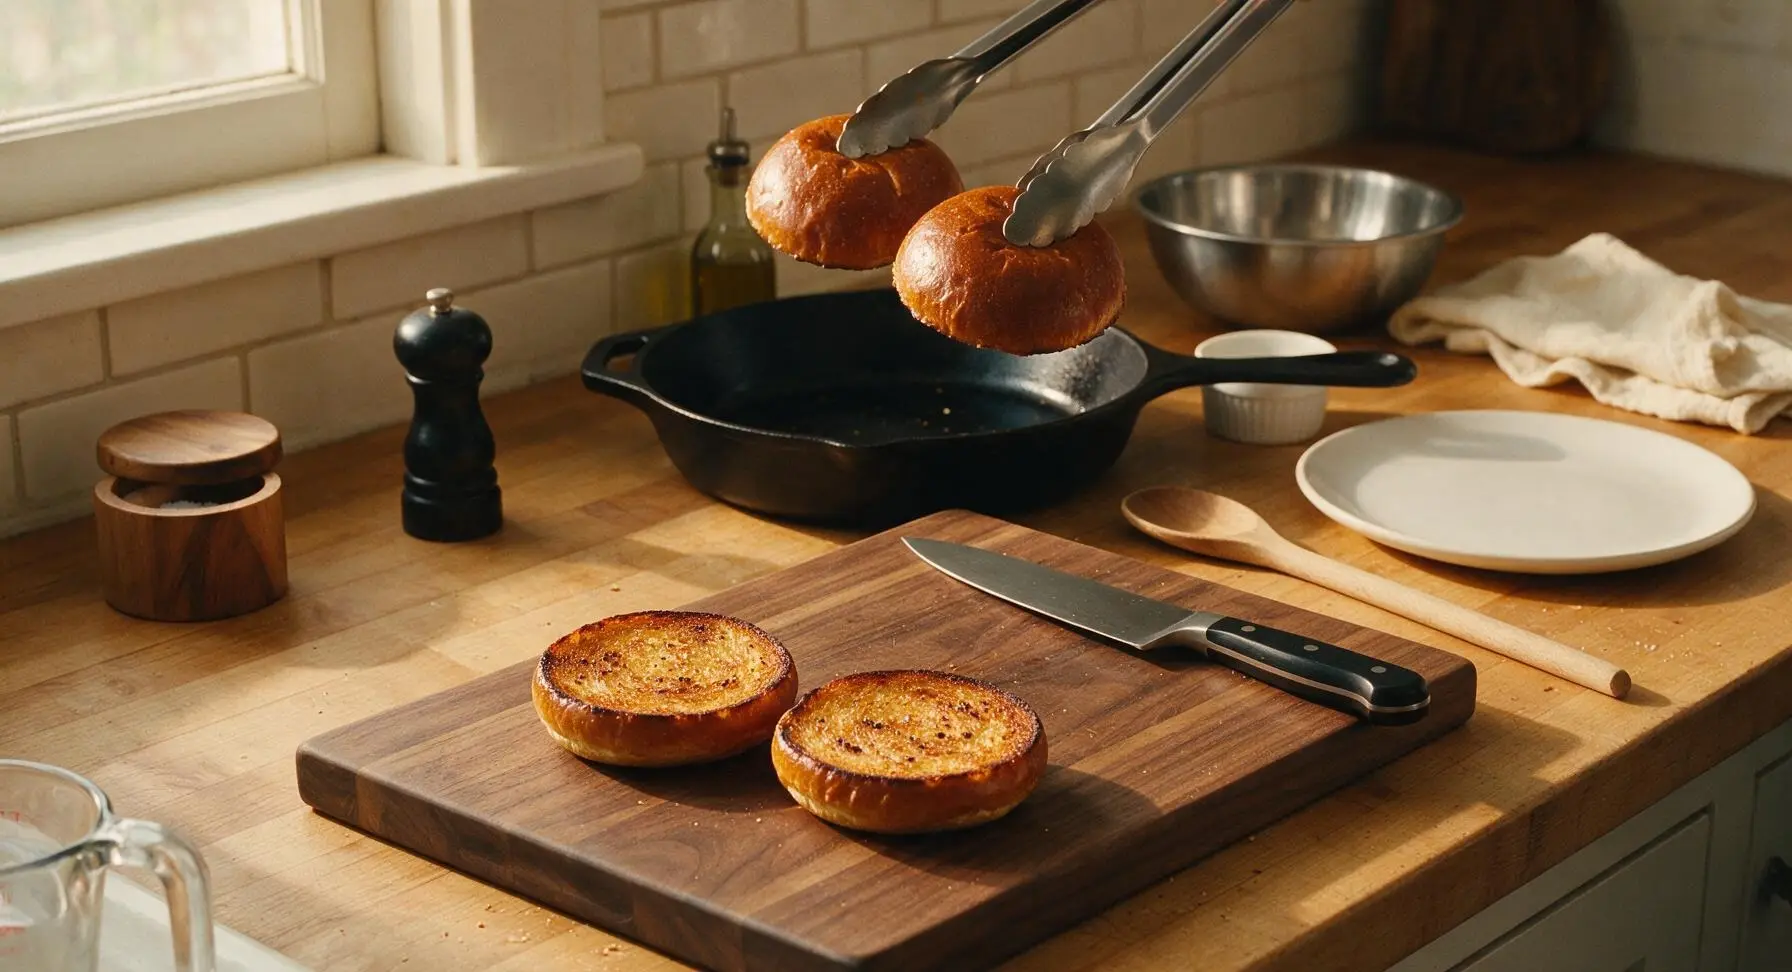
Step 3
step3:Toast Butter Buns
Step 3
step3:Toast Butter Buns
4

Smash Patties Thin

Working in batches of 2 patties at a time to avoid overcrowding (which causes steaming instead of crisping), place one parchment square on the hot griddle, set one beef ball on top of the parchment, then press straight down firmly with the flat smash spatula until the patty is 1/4-inch thick and roughly 10cm wide. The parchment square prevents the spatula from sticking to the raw meat without requiring extra oil. Peel the parchment off the top of the smashed patty, then season the exposed surface lightly with a pinch of kosher salt and black pepper. Cook undisturbed for 90 seconds, until the patty edges turn deep golden brown and lacy, with rendered fat bubbling around the perimeter.
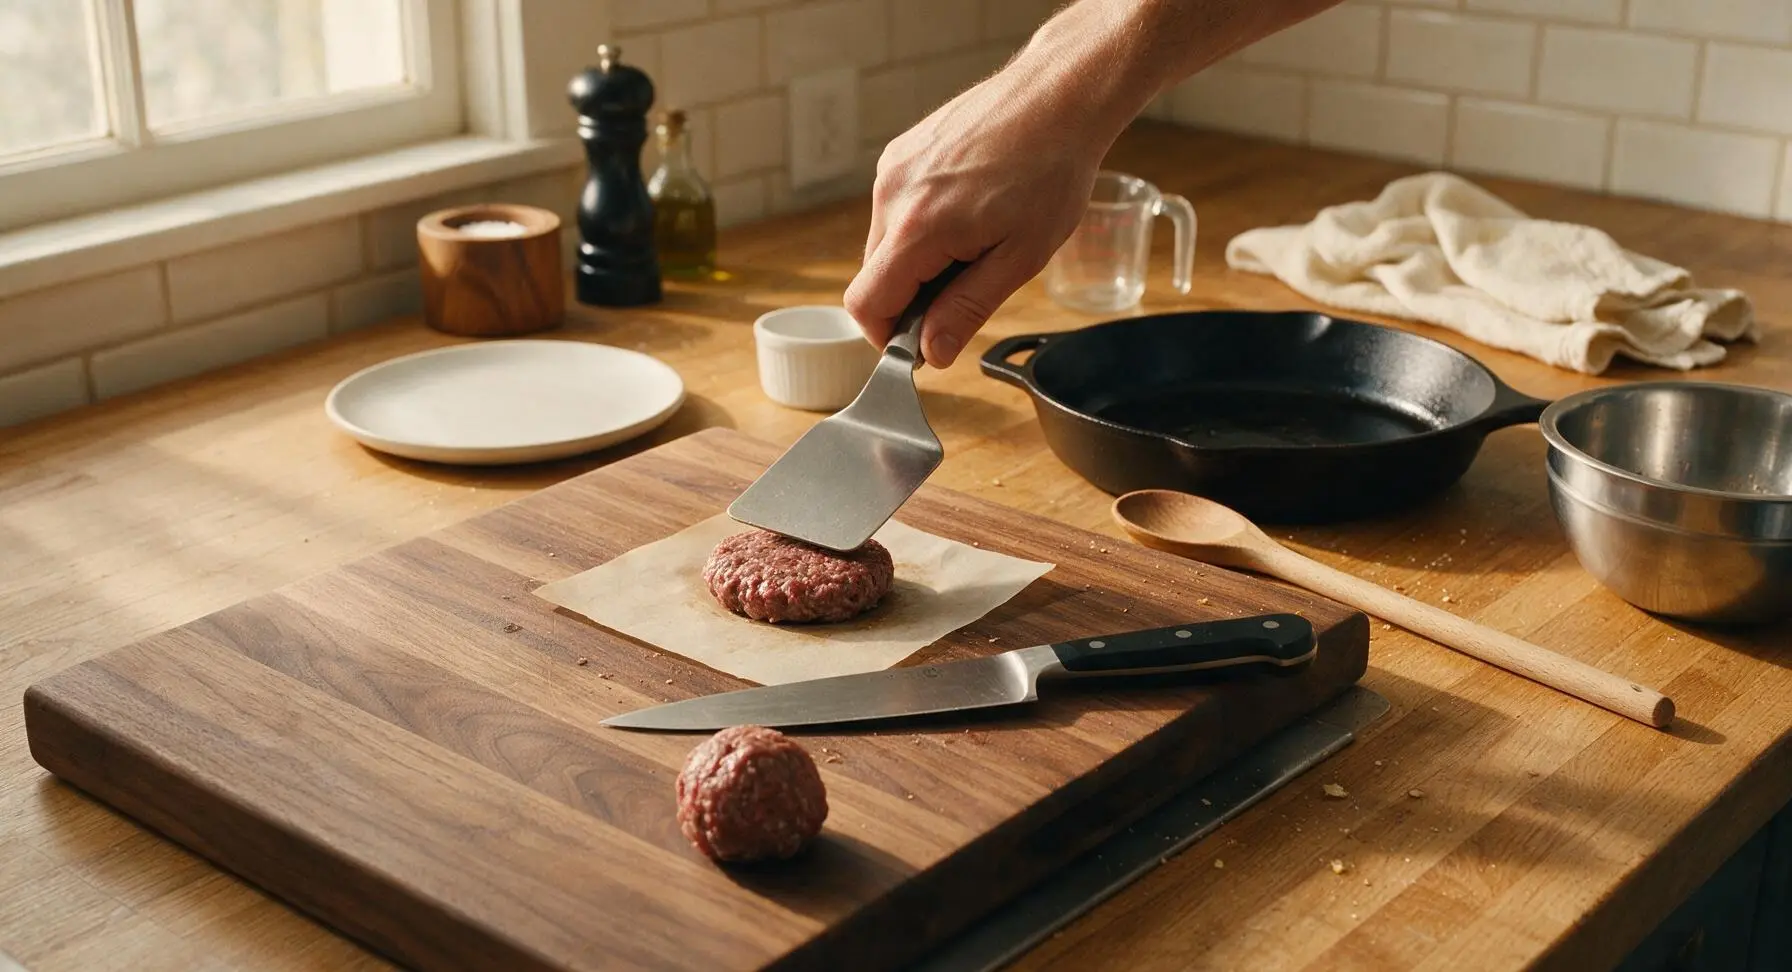
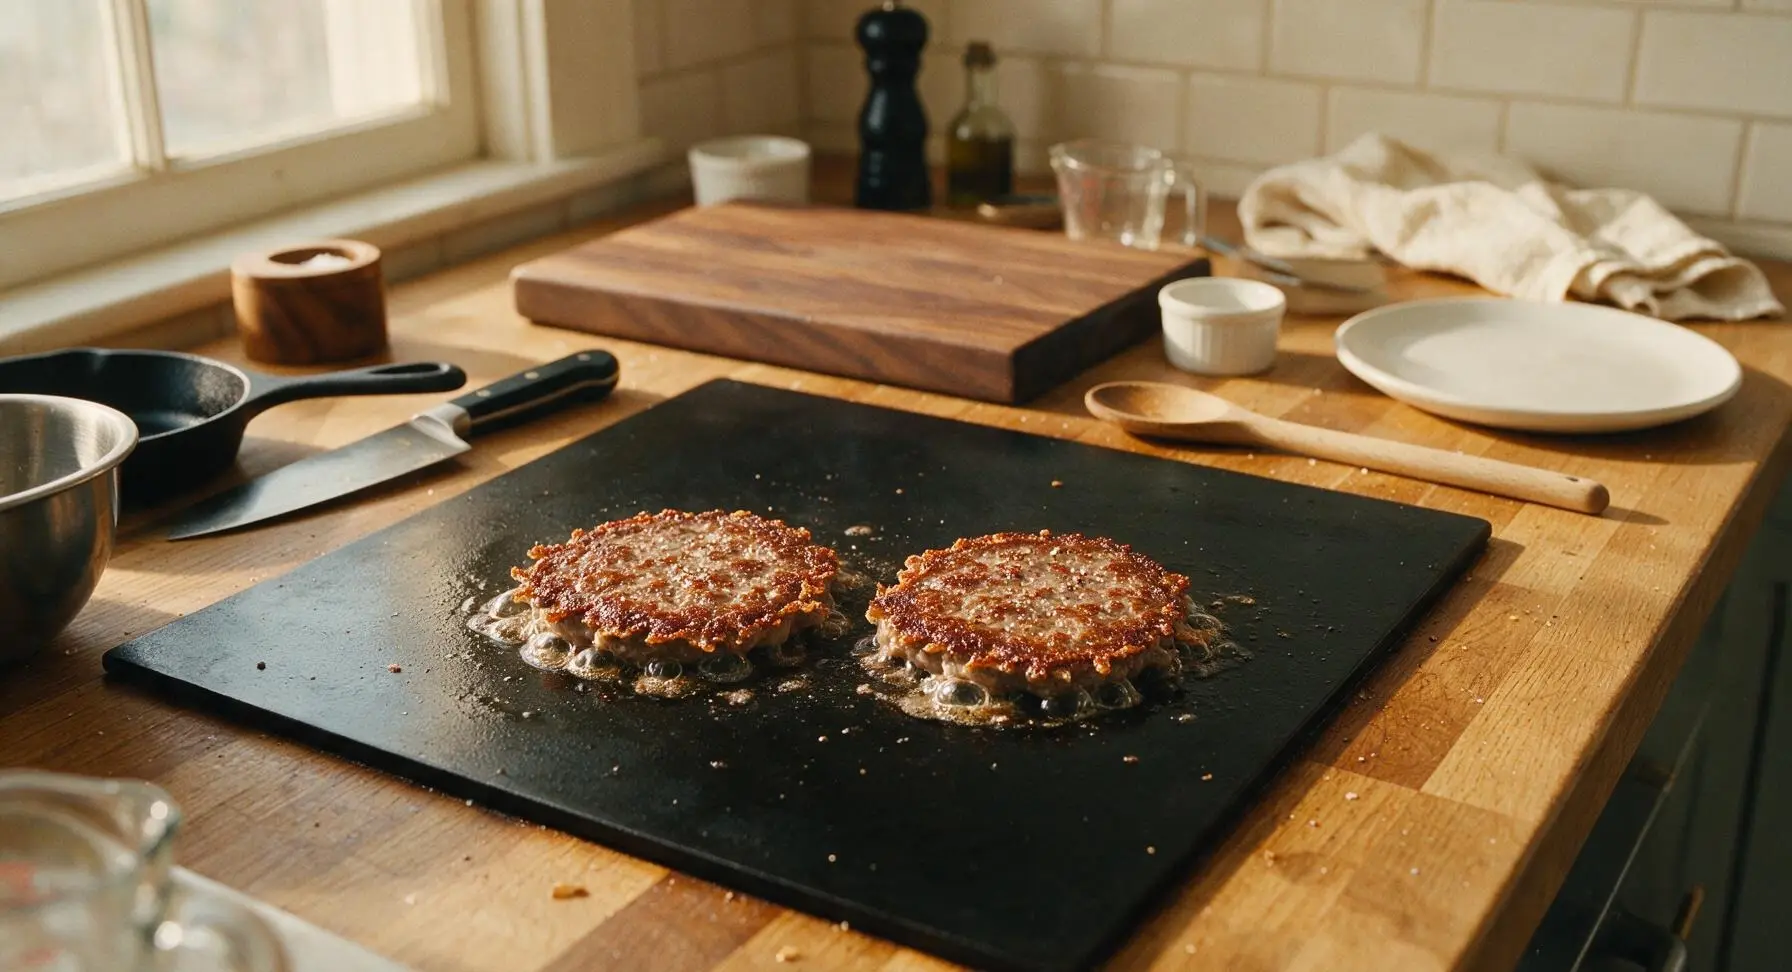
Step 4
step4:Smash Patties Thin
Step 4
step4:Smash Patties Thin
5

Flip, Add Cheese

Slide the stiff edge of the smash spatula fully under each patty (scraping to lift all the crispy browned bits from the griddle) and flip in one quick, smooth motion. Immediately place one slice of American cheese on top of each flipped patty. Cook for an additional 60 seconds, until the second patty side is deeply browned and the cheese is fully melted, bubbling slightly at the edges. Transfer cooked patties to a stack on wax paper squares while you cook the remaining batches, repeating the smash, season, flip, cheese process for all beef portions.
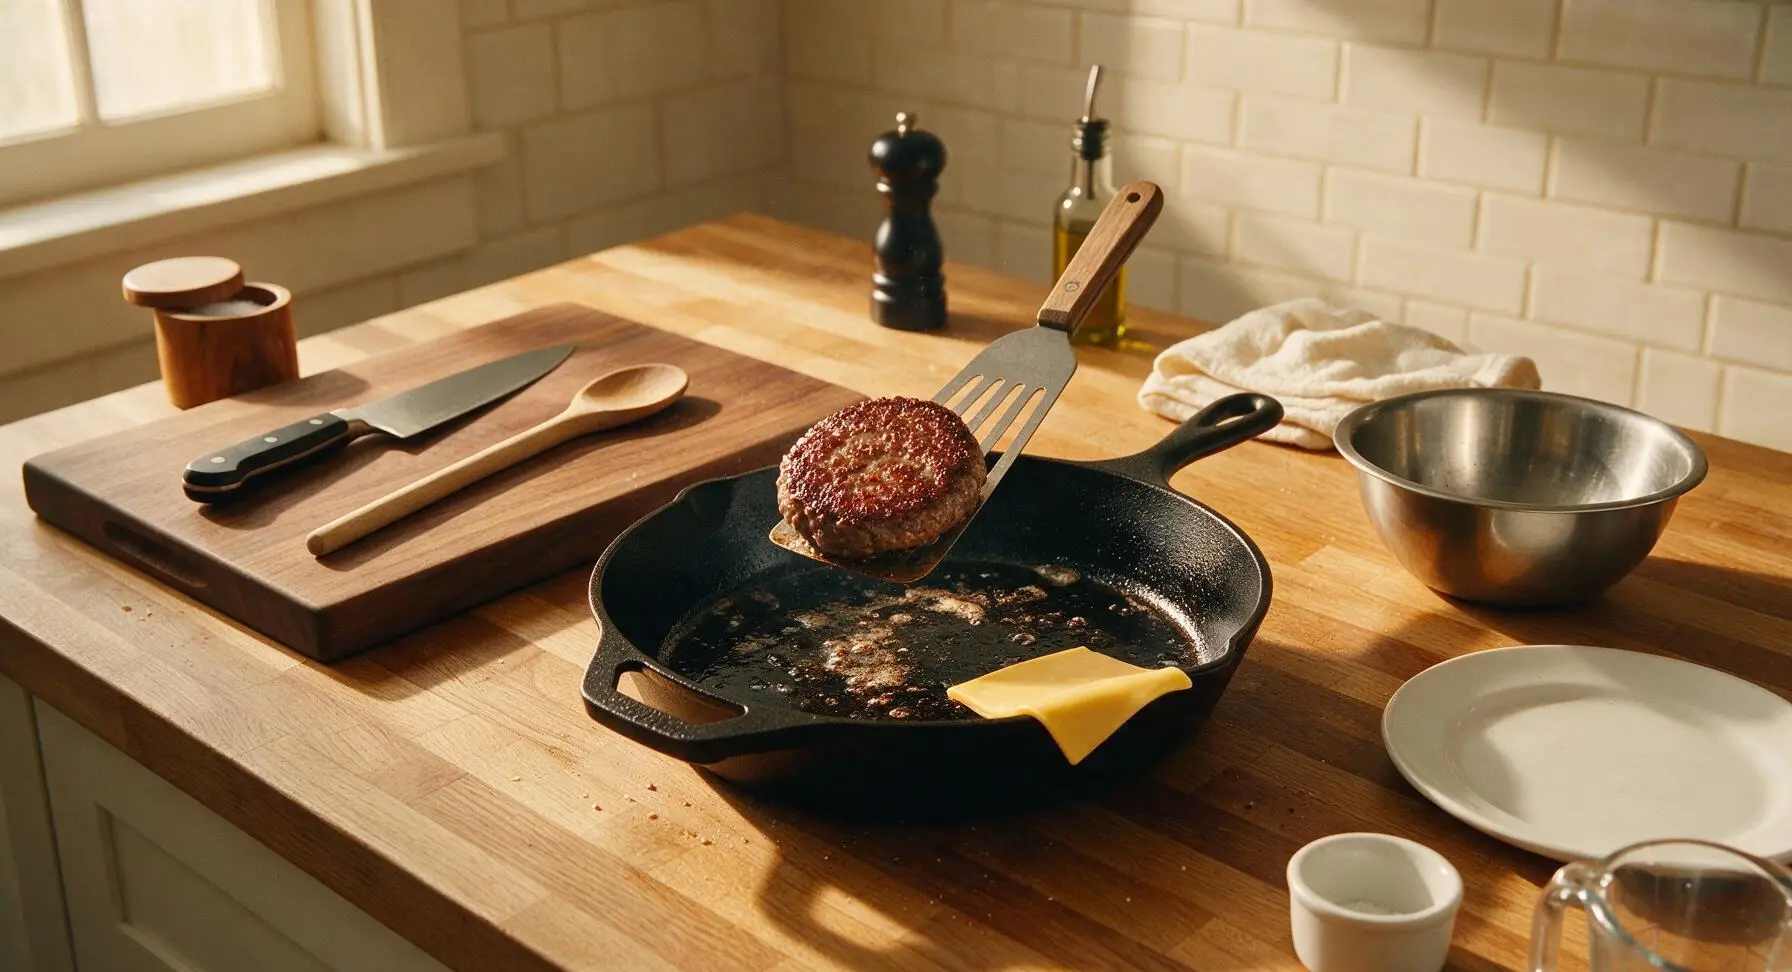
Step 5
step5:Flip, Add Cheese
6

Layer Bun Toppings

Set out four cream white ceramic dinner plates, placing one toasted bottom bun on each plate. Spread 1/2 tbsp mayonnaise, 1/2 tbsp ketchup, and 1/2 tbsp yellow mustard evenly across the cut surface of each bottom bun. Top each sauced bun with 1/4 cup shredded iceberg lettuce, 2 thin slices of white onion, and 4 crinkly dill pickle slices, spreading the toppings evenly to the bun edges.
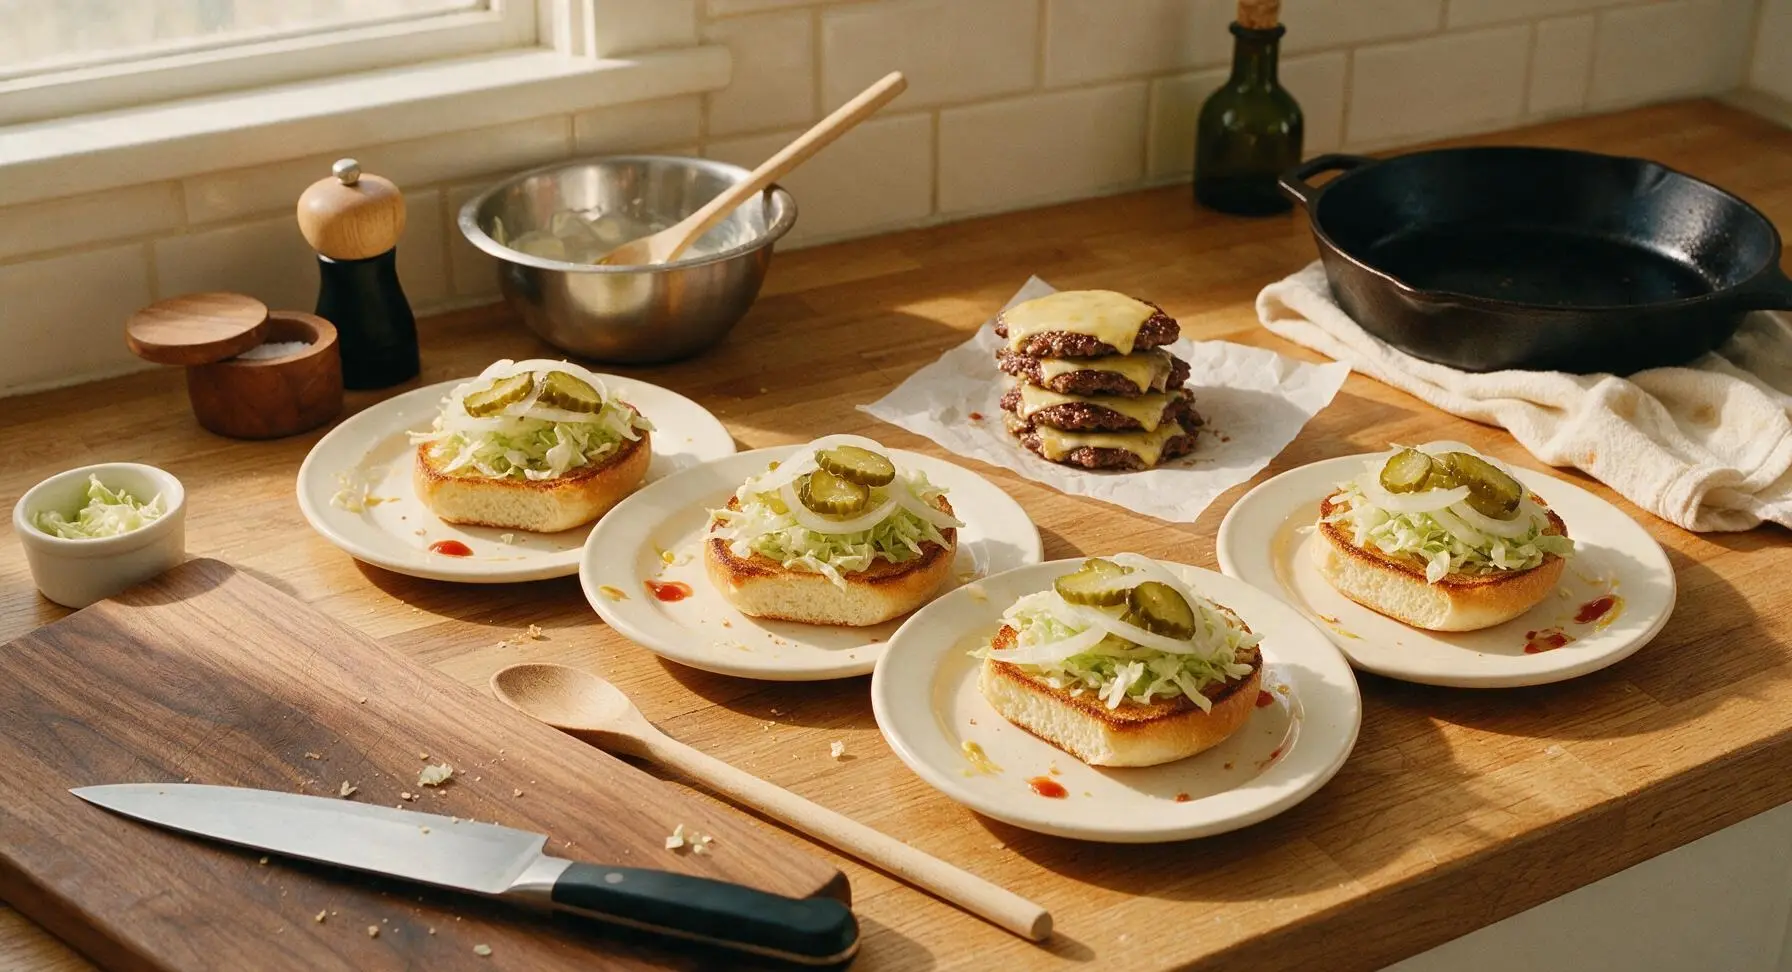
Step 6
step6:Layer Bun Toppings
7

Stack, Press, Serve

Stack two cheese-topped cooked patties directly on top of the pickle layer on each bottom bun, then place the toasted top bun over the patties. Press down gently on the top bun to set the layers, so a small amount of melted cheese and patty juice peeks out from the bun edges. Serve immediately while the patties are hot and cheese is fully melted, with extra pickles on the side if desired.
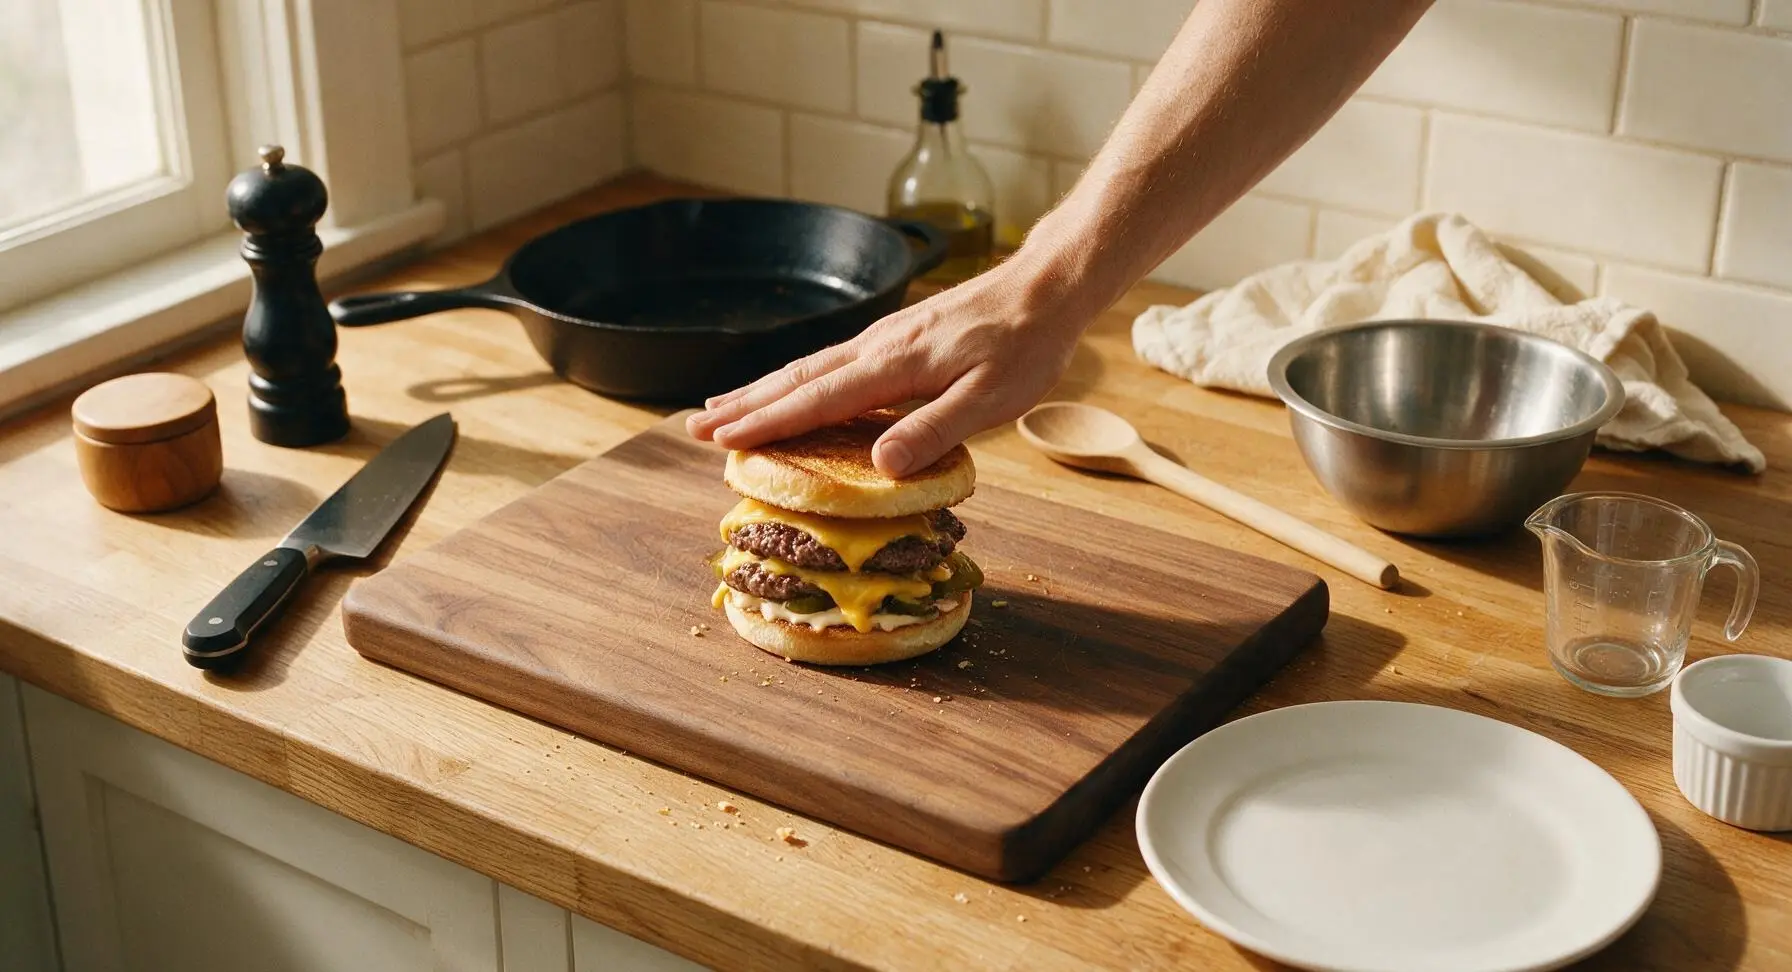
Step 7
step7:Stack, Press, Serve

Tips

1.Always use 80/20 lean-to-fat ground beef and avoid overworking the meat: The 20% fat content renders out on the hot griddle to create the signature lacy, crispy patty edges, while loosely packed meat stays tender instead of turning dense and tough like tightly compressed hamburger patties.
2.Never move or press patties after the initial smash during the first cook: Letting patties sit undisturbed for the full 90 seconds allows the Maillard reaction to build that deep, savory crispy crust that defines a great smash burger—moving them early will tear the crust and leave flavorful browned bits stuck to the griddle.
3.Use a stiff, completely flat metal spatula for smashing and flipping: A thin, rigid spatula slides easily under the thin patty edges to lift all crispy browned bits without tearing, while a flexible silicone or plastic spatula will bend and fail to scrape the crust cleanly from the griddle surface.


✨ You May Also Like

BBQ & Grilling
🍜 United States

Tender, melt-in-your-mouth beef brisket with a crisp, spiced bark, slow-smoked to deep smoky perfection, the iconic centerpiece of Texas backyard barbecue.

⏱️ 12 hours BBQ & Grilling ★ 4.4
BBQ & Grilling
🍜 Korea

Tender, sweet-savory marinated beef short ribs, a beloved Korean BBQ staple with caramelized, slightly charred edges and deep umami flavor, perfect for outdoor summer gatherings.

⏱️ 4 hours 2BBQ & Grilling ★ 4.8
BBQ & Grilling
🍜 United States

Juicy grilled beef patties topped with smoky homemade chili, melted cheddar, and tangy pickles on toasted brioche buns for a hearty, flavor-packed handheld meal.

⏱️ 40 minuteBBQ & Grilling ★ 4.7
BBQ & Grilling
🍜 United States

A sweet, smoky, tangy BBQ sauce brightened with peak-season dark cherries, ideal for glazing grilled ribs, chicken, pork, or summer roasted veggies.

⏱️ 35 minuteBBQ & Grilling ★ 4.7
BBQ & Grilling
🍜 United States

Rich, smoky, slightly sweet homemade bourbon BBQ sauce with deep caramel notes, ideal for glazing grilled ribs, chicken, and burgers at cookouts.

⏱️ 25 minuteBBQ & Grilling ★ 4.7
BBQ & Grilling
🍜 United States

Iconic Alabama-style BBQ featuring tender hickory-smoked chicken slathered in tangy creamy white sauce, a beloved regional Southern cookout staple.

⏱️ 3 hoursBBQ & Grilling ★ 5

Smash Cheeseburger:Frequently Asked Questions

1.Why is 80/20 ground beef the recommended blend for smash cheeseburgers? ▾
That 20% fat content is non-negotiable for that signature juicy, rich patty and crispy, lacy seared edge. As you smash the patty on a hot surface, the fat renders quickly to kickstart deep Maillard browning without drying the meat out. Leaner blends will turn out tough, dry, and won’t develop that iconic crispy crust everyone loves.
2.Do I need to pre-form tight beef patties ahead of cooking? ▾
Skip pre-forming dense, packed patties entirely! For the best smash burgers, portion cold ground beef into loose 3-ounce meatballs right before cooking, with zero pressing or packing. Tightly pre-formed patties won’t spread evenly when smashed, leading to tough, dense burgers instead of the thin, crispy, tender patty texture we’re after.
3.What kind of cooking surface works best for making smash burgers at home? ▾
A preheated cast iron skillet, flat top griddle, or carbon steel pan works perfectly, as they hold consistent high heat and create even, deep browning. Make sure your surface is ripping hot (around 450–500°F) before adding beef—this prevents sticking and guarantees that shatteringly crisp lacy patty edge every time.
4.Why do you call for American cheese specifically instead of other cheese varieties? ▾
American cheese is formulated to melt smoothly and evenly at a lower temperature, creating that perfect oozy, creamy layer that sticks to the crispy patty without separating or turning greasy. Its mild, salty flavor doesn’t overpower the beef, and it melts fast enough to be fully gooey right when your patty finishes cooking.
5.How thin should I smash my burger patties for the best results? ▾
Aim for patties that are roughly ¼-inch thick after smashing. Press straight down firmly with a stiff spatula (use a small square of parchment paper between the spatula and meat to prevent sticking) right after setting the meatball on the hot surface, so it spreads evenly without tearing for maximum crispy surface area.
6.When should I add kosher salt and black pepper to the patties for the best flavor? ▾
Season the top of the patty immediately after you smash it on the hot cooking surface, right before you flip it. Salting ground beef too early (more than 15 minutes before cooking) draws out moisture, breaks down meat proteins, and leads to tough, springy patties instead of tender, juicy ones with a crisp crust.
7.How long do I cook each smash patty before flipping it? ▾
Cook the first side for roughly 60 to 90 seconds, until you see deep golden-brown crispy edges creeping up the patty sides and the top of the meat starts to turn faintly pink and juicy. Flip in one quick, smooth motion, then immediately add a slice of American cheese so it melts fully as the second side cooks for 30 to 45 seconds.
8.Why are potato hamburger buns recommended over regular white hamburger buns? ▾
Soft, slightly sweet potato buns have the perfect tender, pillowy texture that holds up to juicy patties and melted cheese without getting soggy or falling apart. Their subtle buttery, sweet flavor pairs perfectly with salty, savory beef, and they toast up beautifully on the griddle for a slight crunch on the cut side.
9.Should I toast my burger buns, and if so, what’s the best way? ▾
Absolutely toast your buns! As soon as you pull finished patties off the cooking surface, lay the cut sides of the potato buns down on the warm, greasy griddle or pan for 15 to 20 seconds, until they’re lightly golden and slightly crisp on the cut side. This creates a barrier that keeps toppings and patty juice from making the bun soggy.
10.Can I make smash burgers on a regular outdoor gas grill instead of a griddle? ▾
You can, but you’ll need a flat cast iron griddle plate set on top of your grill grates to keep thin patties from falling through or losing rendered fat. Preheat the griddle plate with the grill on high for 10 minutes before cooking, so you get the same high, even heat used indoors for that perfect crispy crust.
11.How do I keep my spatula from sticking to the beef when I smash the patties? ▾
The easiest trick is to cut a small square of parchment paper to set between your spatula and the cold meatball before you press down—no extra oil needed, and the paper peels right off after smashing without pulling any meat away. Make sure your cooking surface is fully preheated too, as cold pans are the biggest cause of sticking.
12.How many patties should I stack per classic smash cheeseburger? ▾
Classic smash cheeseburgers usually use two thin 3-ounce patties per bun for a perfect meat-to-bun-topping ratio, but you can stick to one patty if you prefer a lighter serving. If stacking two, add a slice of American cheese between the cooked patties for an extra gooey, melty layer that holds the stack together.
13.What classic toppings pair best with a classic smash cheeseburger? ▾
Stick to simple, tangy, classic toppings that don’t overpower the crispy beef: thin-sliced dill pickles, diced white onion, shredded iceberg lettuce, sliced tomato, ketchup, yellow mustard, and a thin spread of mayonnaise. Skip heavy, wet toppings like thick barbecue sauce that will make your toasted bun soggy mid-bite.
14.Why is it important to use cold ground beef for smash burgers? ▾
Cold beef holds its loose meatball shape before smashing, and the quick temperature shock when it hits the hot pan creates faster, more even browning without fat rendering out too quickly before the crust forms. If your beef is room temperature, the fat will melt too fast, leading to greasy, shrunken patties with less crisp crust.
15.Can I prep the beef portions ahead of time for a summer cookout? ▾
You can portion cold beef into loose 3-ounce meatballs up to 24 hours ahead, stored covered in the fridge—just don’t pack them tight. Don’t season them ahead, and don’t leave them out at room temperature for more than 10 minutes before cooking to keep beef cold enough for that perfect crispy sear.
16.Why do my smash burgers turn out tough instead of tender? ▾
Tough patties almost always come from one of three mistakes: overworking the ground beef when portioning, using a lean beef blend with too little fat, or salting the meat too far ahead of cooking which makes proteins bind tight. Keep portions loose, stick to 80/20 beef, and season right before flipping for tender results.
17.Do I need to add extra oil or butter to the pan before cooking the patties? ▾
You won’t need any extra oil if you’re using 80/20 ground beef, as the 20% fat content renders out plenty of grease to cook the patties and prevent sticking. Adding extra oil or butter can actually make the crust soggy instead of crispy, and lead to overly greasy burgers that drip through your bun.
18.How do I get that iconic lacy, crispy edge on my smash burger patties? ▾
That lacy edge comes from rendered beef fat frying the thin, spread-out edges of the patty as it cooks on high heat. Make sure your pan is ripping hot, don’t move the patty once you smash it, let it cook undisturbed for 90 seconds on the first side, and don’t press on the patty after flipping for perfect shattery edges every time.
19.Can I substitute a different cheese if I don’t have American cheese on hand? ▾
If you don’t have American cheese, the closest substitutes are deli-sliced mild cheddar, Colby Jack, or processed melting cheese blends, as they melt smoothly without separating. Avoid hard, aged cheeses like sharp cheddar or Parmesan, as they don’t melt into that gooey, cohesive layer that sticks to the crispy patty.
20.How long should I let finished smash burgers rest before serving? ▾
You only need to let smash burgers rest for 30 to 60 seconds after pulling them off the heat, unlike thicker burgers that need longer rest times. Since the patties are thin, juices redistribute very quickly—top them with your favorite fixings on the toasted potato bun and serve right away while the cheese is still hot and oozy.

Comments (3)

2 days ago

OMG this smash burger recipe is a total game changer! I’ve been messing around with my flat top griddle for months and could never get that perfect lacy crispy edge without drying the patty out. 12 minute cook time? No joke, I had dinner on the table faster than I could drive to the fast food joint down the street. My kids loved it so much they asked for seconds before they even finished their first bite — even my picky 7 year old who usually only eats chicken nuggets. Used classic American cheese like the recipe said, toasted the potato buns right on the griddle too, added a little pickles and diced onion. SO good, already added this to our weekly family dinner rotation.

yesterday

So glad this was a hit with your crew, especially your picky 7 year old! Pro tip for next time: sprinkle a tiny bit of finely diced white onion right on the patty right before you smash it for an extra savory kick that takes these over the top. Happy cooking!

30 minutes ago

Such an easy, foolproof recipe, perfect for quick weeknight meals and meal prep! I made a double batch of patties on Sunday to pack for lunches all week, and they reheat way better than I expected if you crisp them up in a skillet for a minute instead of nuking them in the microwave. I topped mine with dill pickles, homemade special sauce, and a little arugula for some peppery crunch. Quick heads up for new cooks: make sure your pan is screaming hot before you drop the patty down, that’s the real secret to that perfect crispy crust. 10/10 will be making this nonstop.

1 week ago

Made these for our neighborhood block party potluck last weekend and people were literally lining up at my grill to get one! I was worried they’d be tricky to crank out in big batches but since each patty cooks so fast I was able to make 24 cheeseburgers in under an hour, no stress. I did mess up the first couple patties because I didn’t press hard enough with my spatula, but once I got the hang of it it was smooth sailing. Only thing I wish the recipe noted: how do you keep the patties from sticking to the spatula when you smash? I ended up tucking little squares of parchment paper between the spatula and patty halfway through which helped, but curious if there’s a less fussy trick!

5 days ago

Oh I fought that sticking problem the first time I made these too! Lightly coat your spatula with a tiny spritz of nonstick cooking spray before you press, game over — no sticking at all, no fumbling with parchment paper sliding around mid-smash. Works every single time for me!

3 days ago

Great question! Gary’s trick of a quick spritz of cooking spray on your spatula works perfectly, and another easy hack is to make sure your beef is really cold when you drop it on the hot pan — that cuts down on sticking too. We’re so stoked these were a hit at your block party, that’s exactly the kind of win we love to see!



