
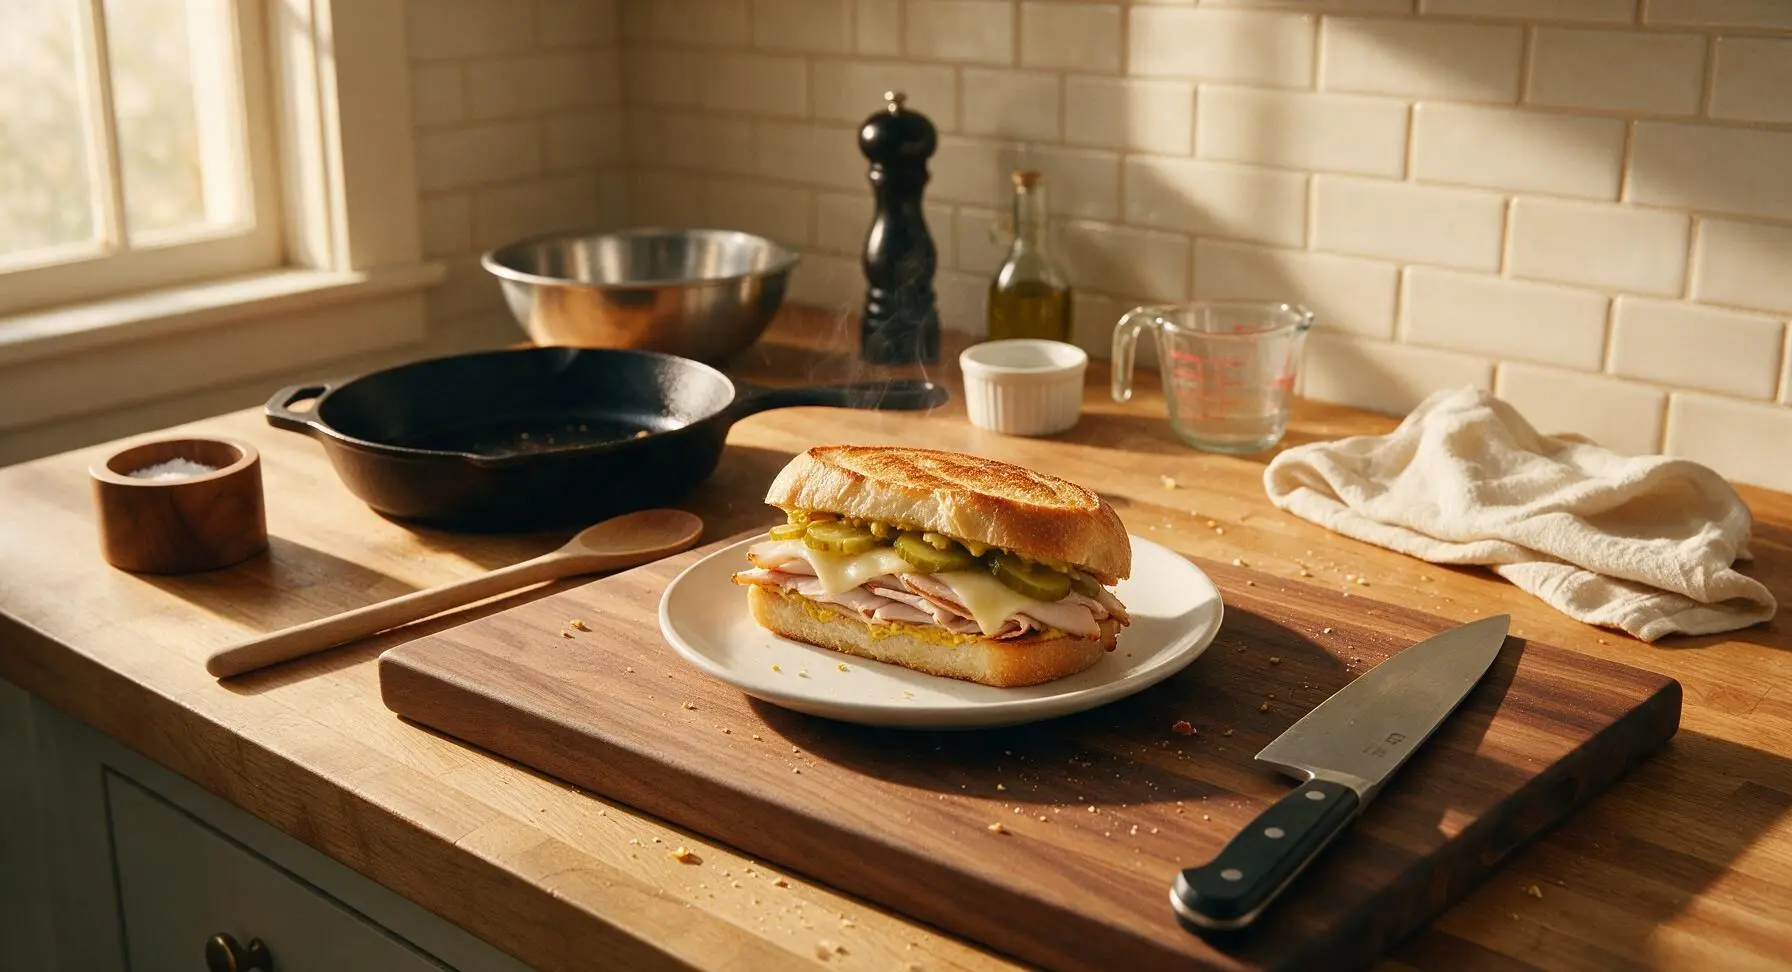
Smoked Turkey Cuban

title 1
Smoked Turkey Cuban
⏱️ cook time 8 minutes
🍽️ servings 4
⚡ Difficulty easy

intro

A smoky, crispy twist on the classic Cuban: tender smoked turkey, melted Swiss, briny pickles, and zesty mustard pressed between buttery crusty bread for a perfect portable handheld bite.

Ingredients
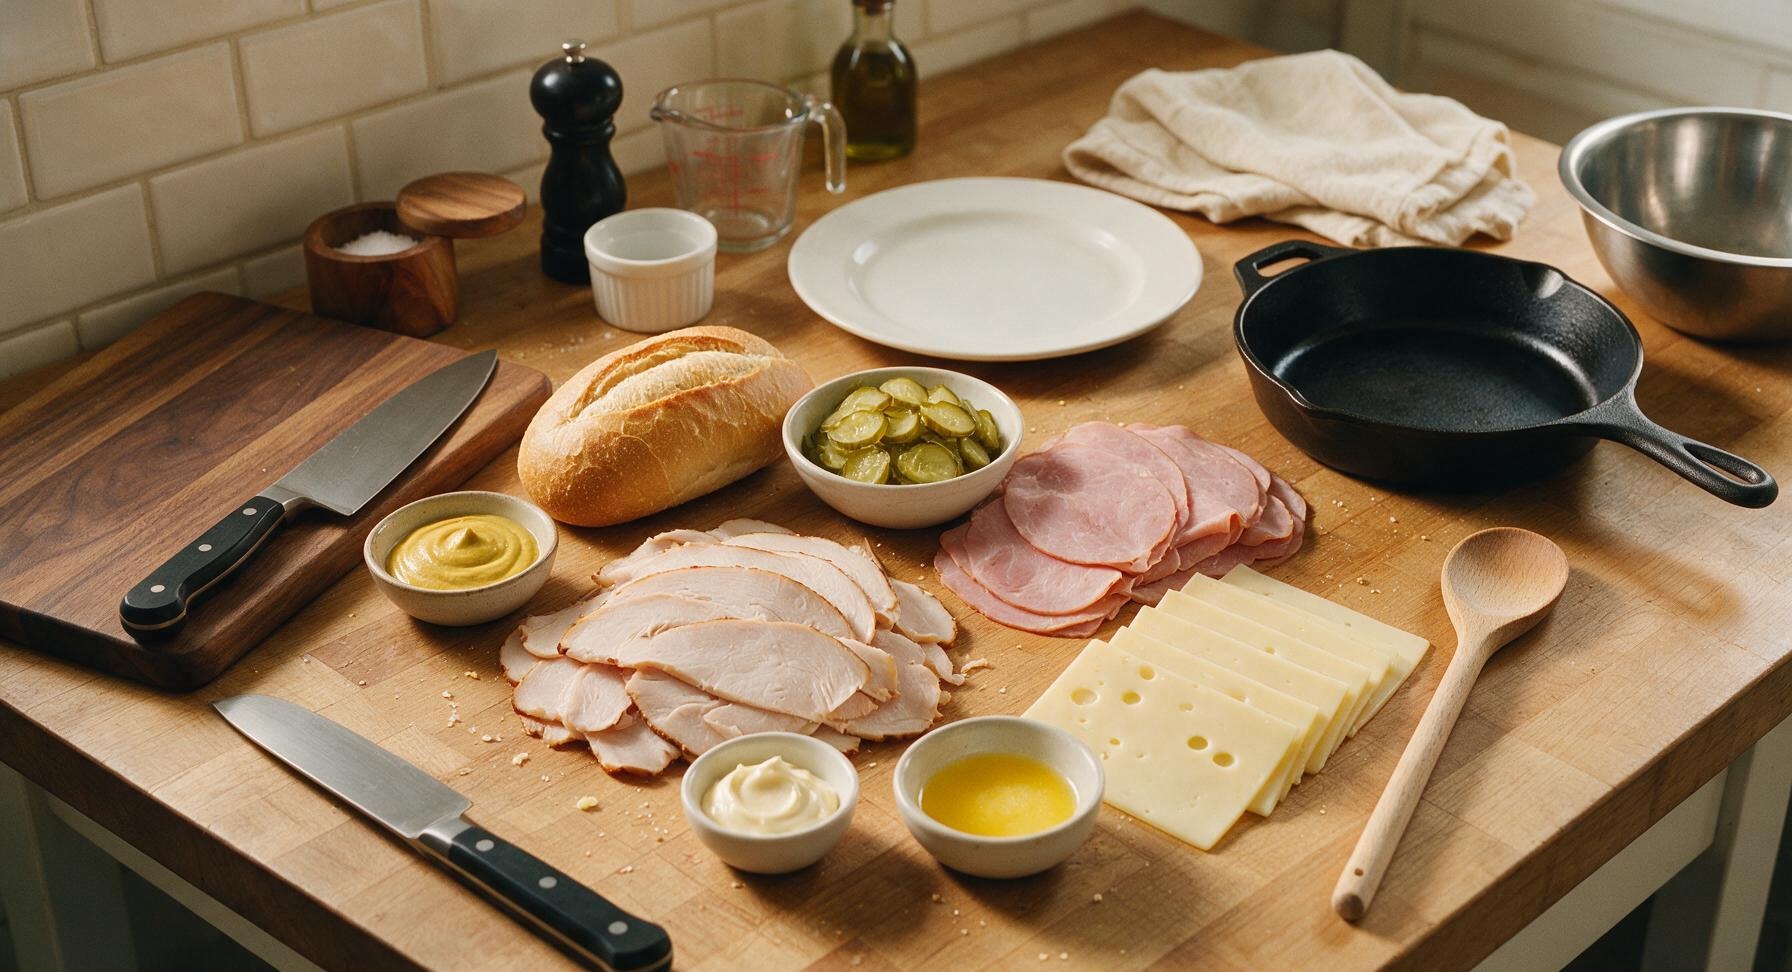
Crusty Cuban bread loaf 400g (1 small loaf)
Thinly sliced smoked turkey breast (deli-style) 300g
Thinly sliced deli ham 100g
Sliced Swiss cheese 120g (8 thin slices)
Thinly sliced dill pickles, drained 150g (1 cup)
Yellow mustard 60ml (1/4 cup)
Mayonnaise 15ml (1 tbsp)
Unsalted butter, melted 42g (3 tbsp)

Steps

1

Slice the Cuban Bread

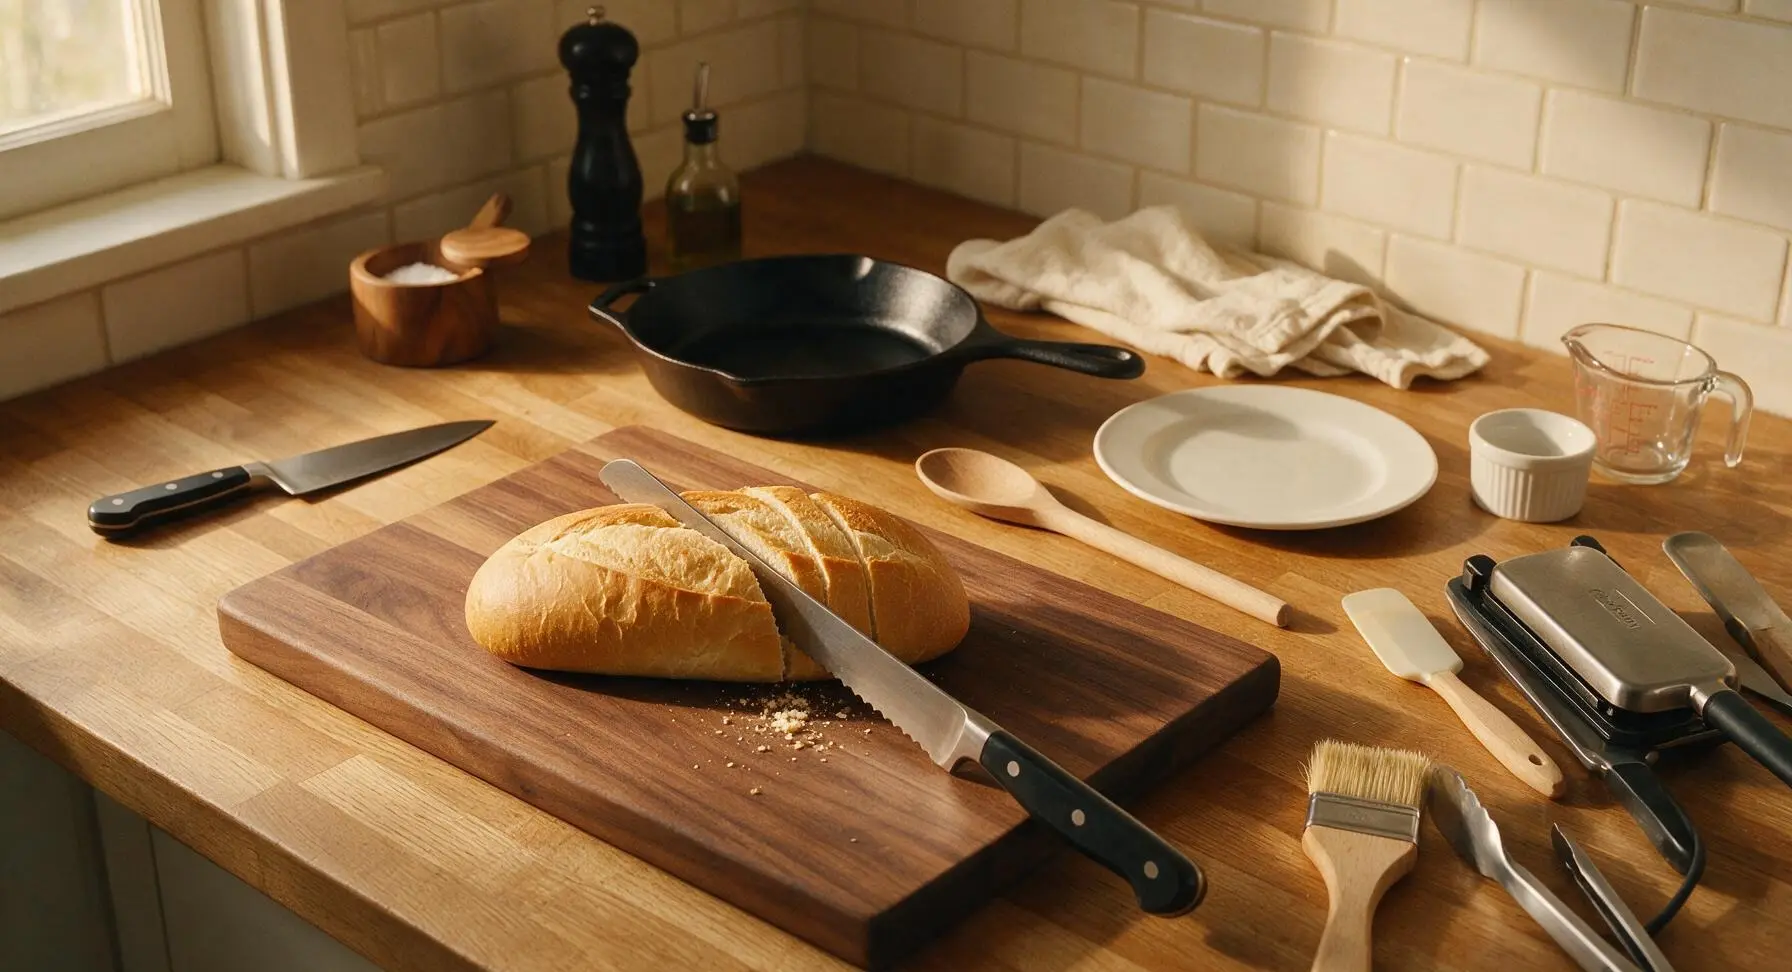
Place the whole Cuban bread loaf on the acacia wood cutting board. Using the serrated bread knife, first slice the loaf horizontally into two equal long halves, then cut crosswise to create 4 equal 15cm sandwich sections. Split each section open lengthwise, leaving a 1cm intact hinge along one edge to hold fillings securely. Wipe away any large clusters of crumbs, leaving a few scattered crumbs on the board as natural mess. The bread should have a soft, airy white crumb and a thin, crisp golden crust.
Step 1
step1:Slice the Cuban Bread
2

Mix and Spread Condiments

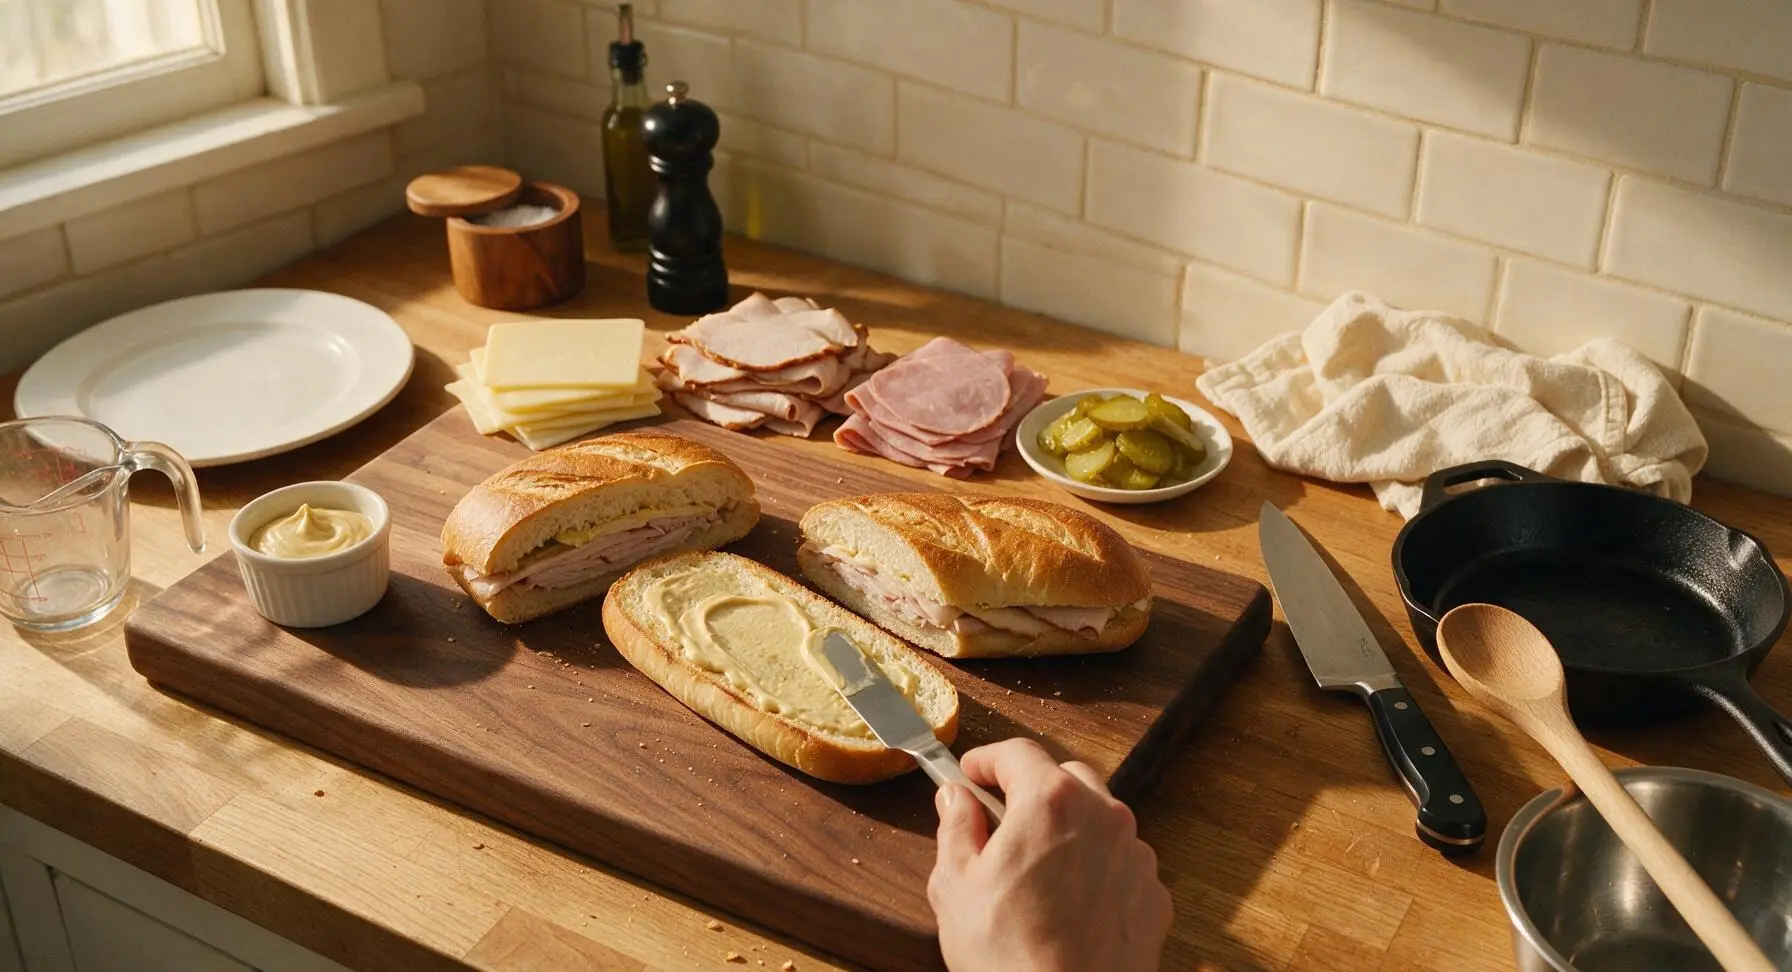
Combine the yellow mustard and mayonnaise in one clear glass ramekin, stirring with the tip of the offset spatula until fully blended into a smooth, pale yellow spread. Use the offset spatula to spread a thin, even 1 tablespoon layer of the blend on both cut inner surfaces of each bread section, spreading all the way to the crust edges. This condiment layer creates a moisture barrier to prevent sogginess from wet fillings.
Step 2
step2:Mix and Spread Condiments
3

Layer Sandwich Fillings

Layer fillings on the bottom half of each bread section in this exact sogginess-preventing order: 1 slice of Swiss cheese against the bottom condiment layer to seal the bread, 75g of loosely folded smoked turkey slices, 25g of folded deli ham slices, 1/4 cup of well-drained dill pickle slices, then a final 1 slice of Swiss cheese over the pickles to seal the top. Close the top bread half over the fillings, pressing gently with your palm to compact the sandwich to a 4cm thickness. Tuck any stray filling pieces back into the sandwich to ensure no ingredients hang over the bread edges, which would burn during pressing.
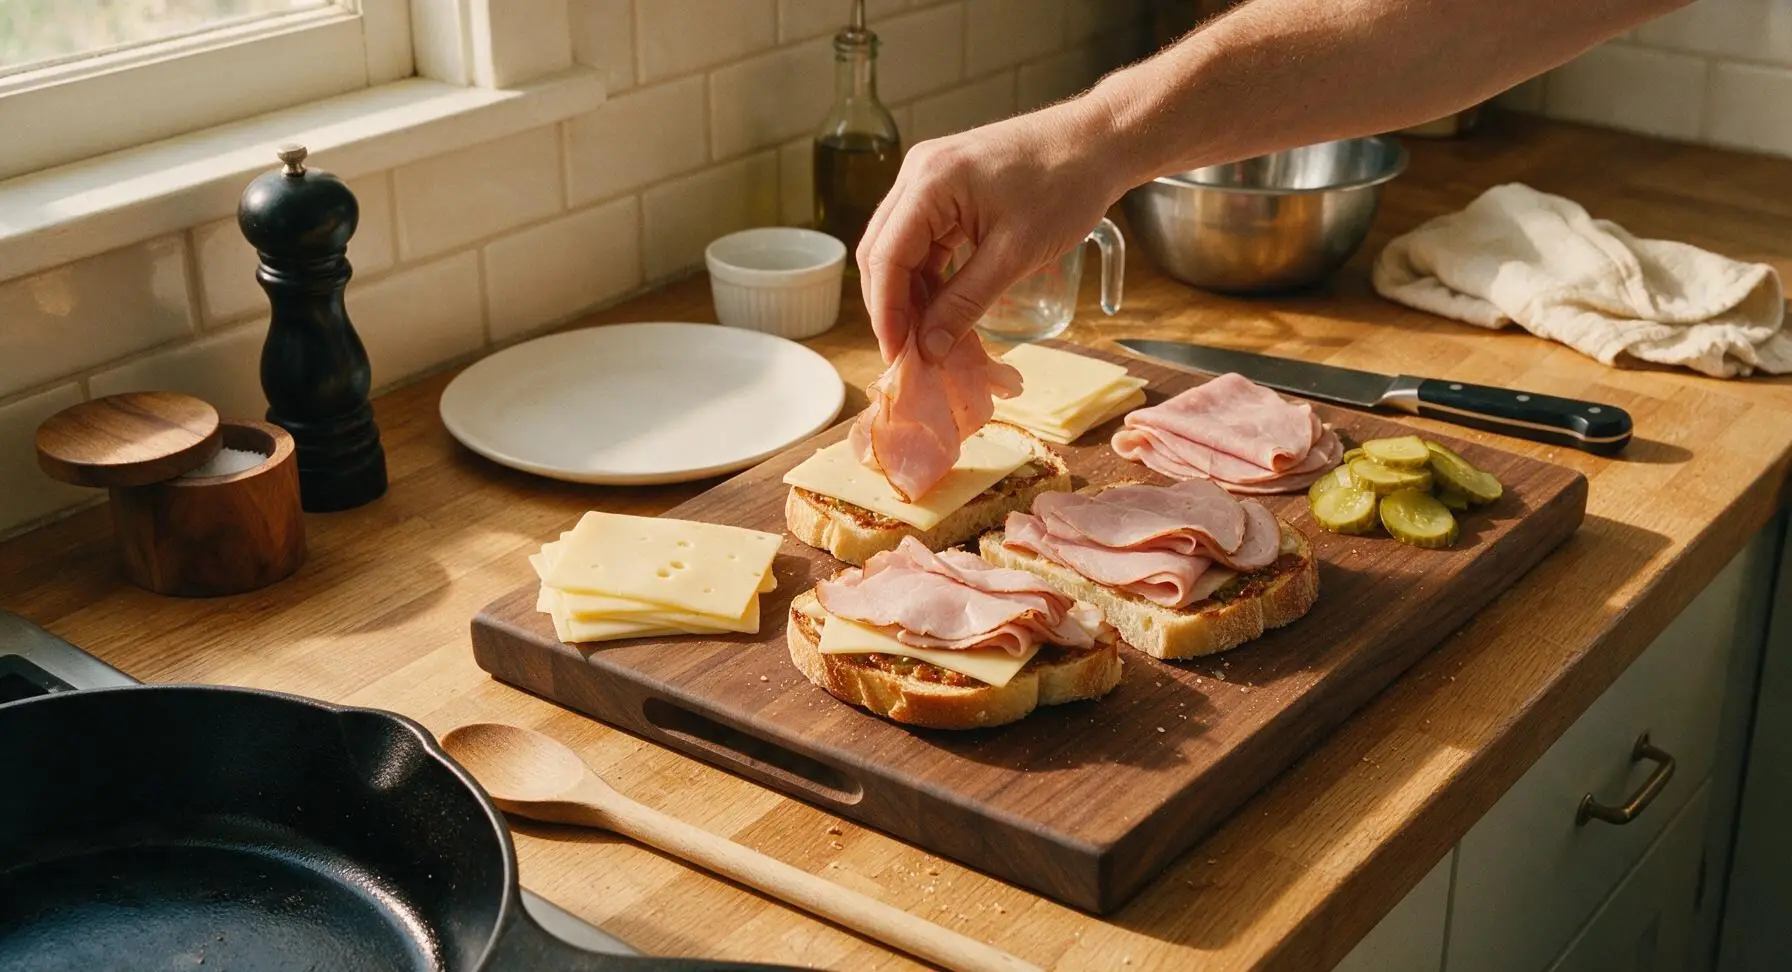
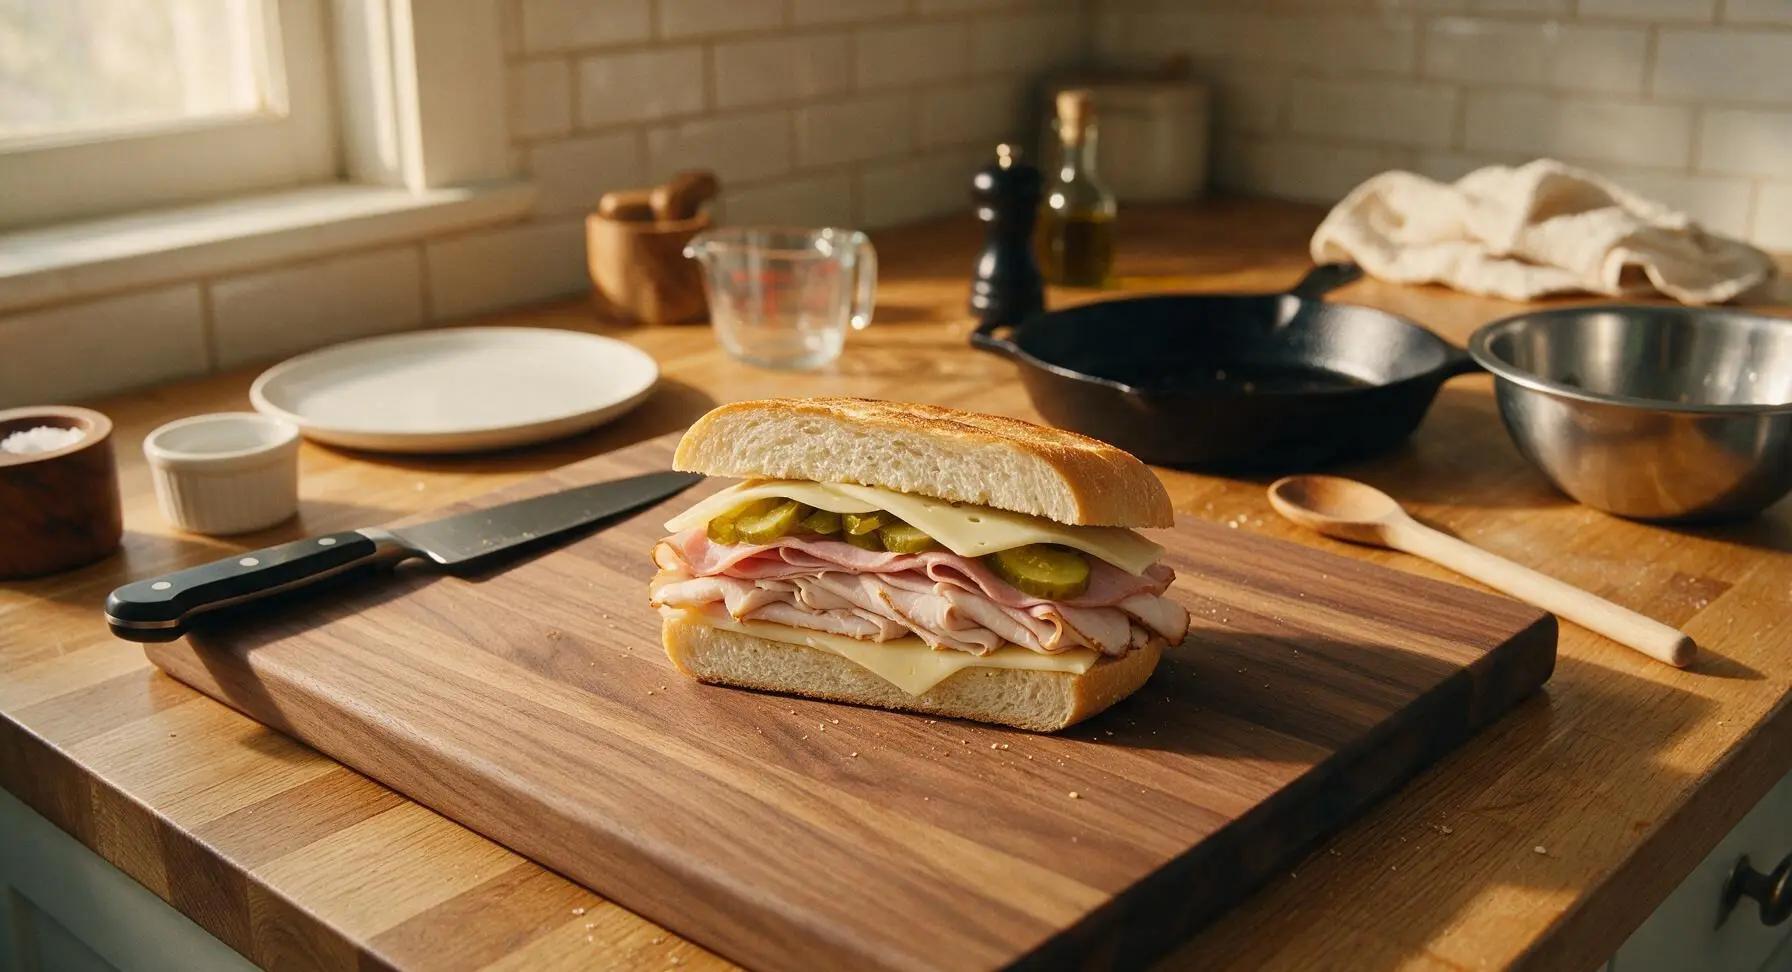
Step 3
step3:Layer Sandwich Fillings
Step 3
step3:Layer Sandwich Fillings
4

Preheat Panini Press

Place the matte black cast iron panini press on the heat-safe zone of the counter over medium-low heat, preheating for 3 minutes until the cooking surface reaches 175C (350F). Test the temperature by sprinkling a single drop of cold water on the surface: the drop should sizzle and evaporate in exactly 3 seconds to confirm correct heat. Adjust the burner if needed: if the drop evaporates instantly, the press is too hot and will burn bread; if it sits without sizzling, the press is too cool and will make soggy sandwiches.
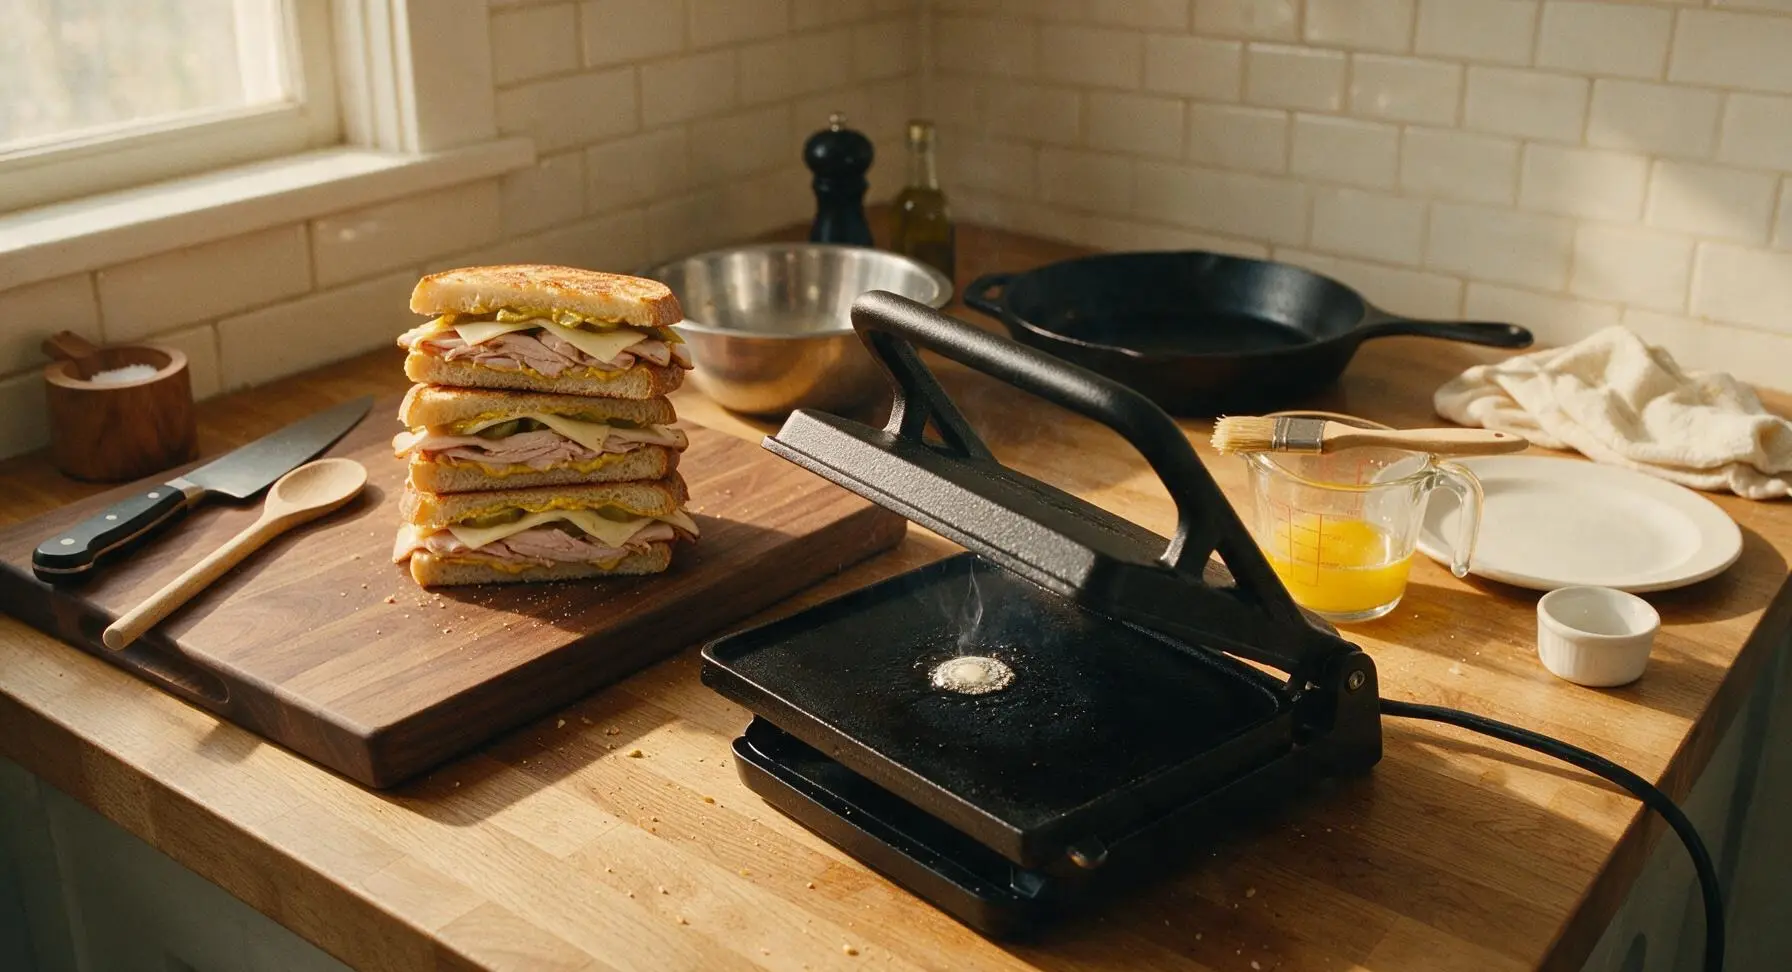
Step 4
step4:Preheat Panini Press
5

Butter and Load Press

Use the boar bristle pastry brush to spread a thin, even layer of melted butter on the top and bottom outer crust of two assembled sandwiches, using approximately 1 teaspoon of butter per sandwich side. Open the preheated press, place the two buttered sandwiches on the lower cooking surface, leaving 2cm of space between them for even air flow. Close the weighted press lid fully to apply even pressure across the entire sandwich surface.
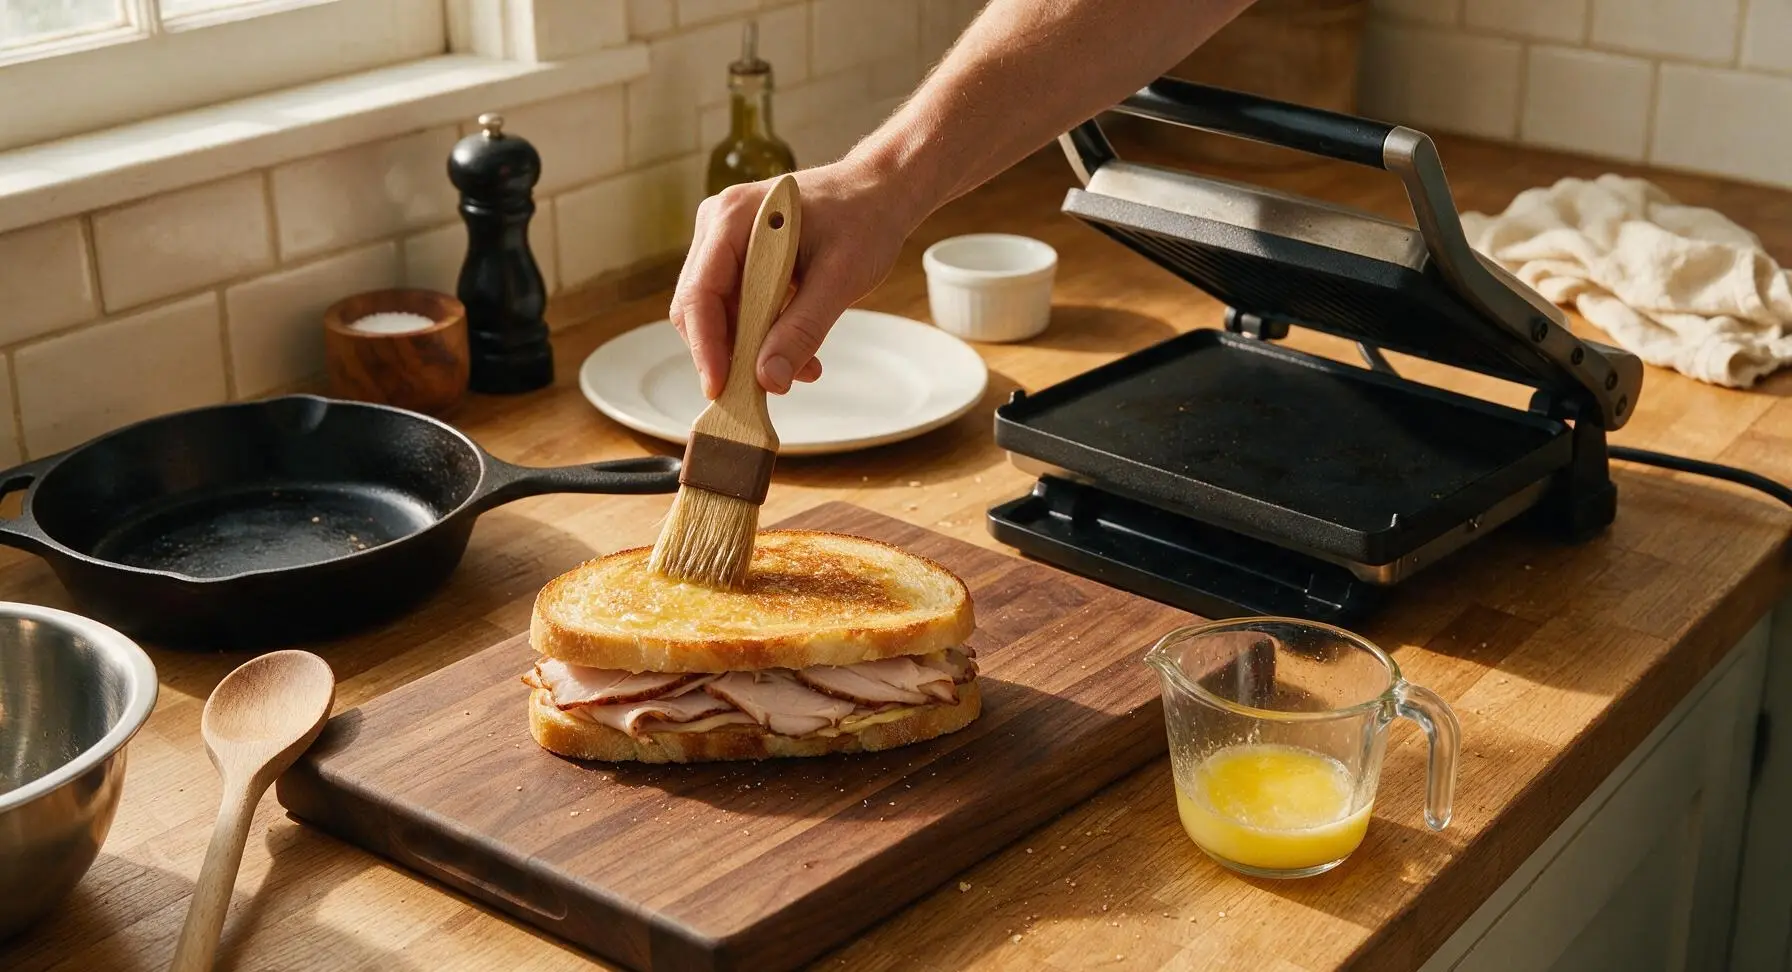
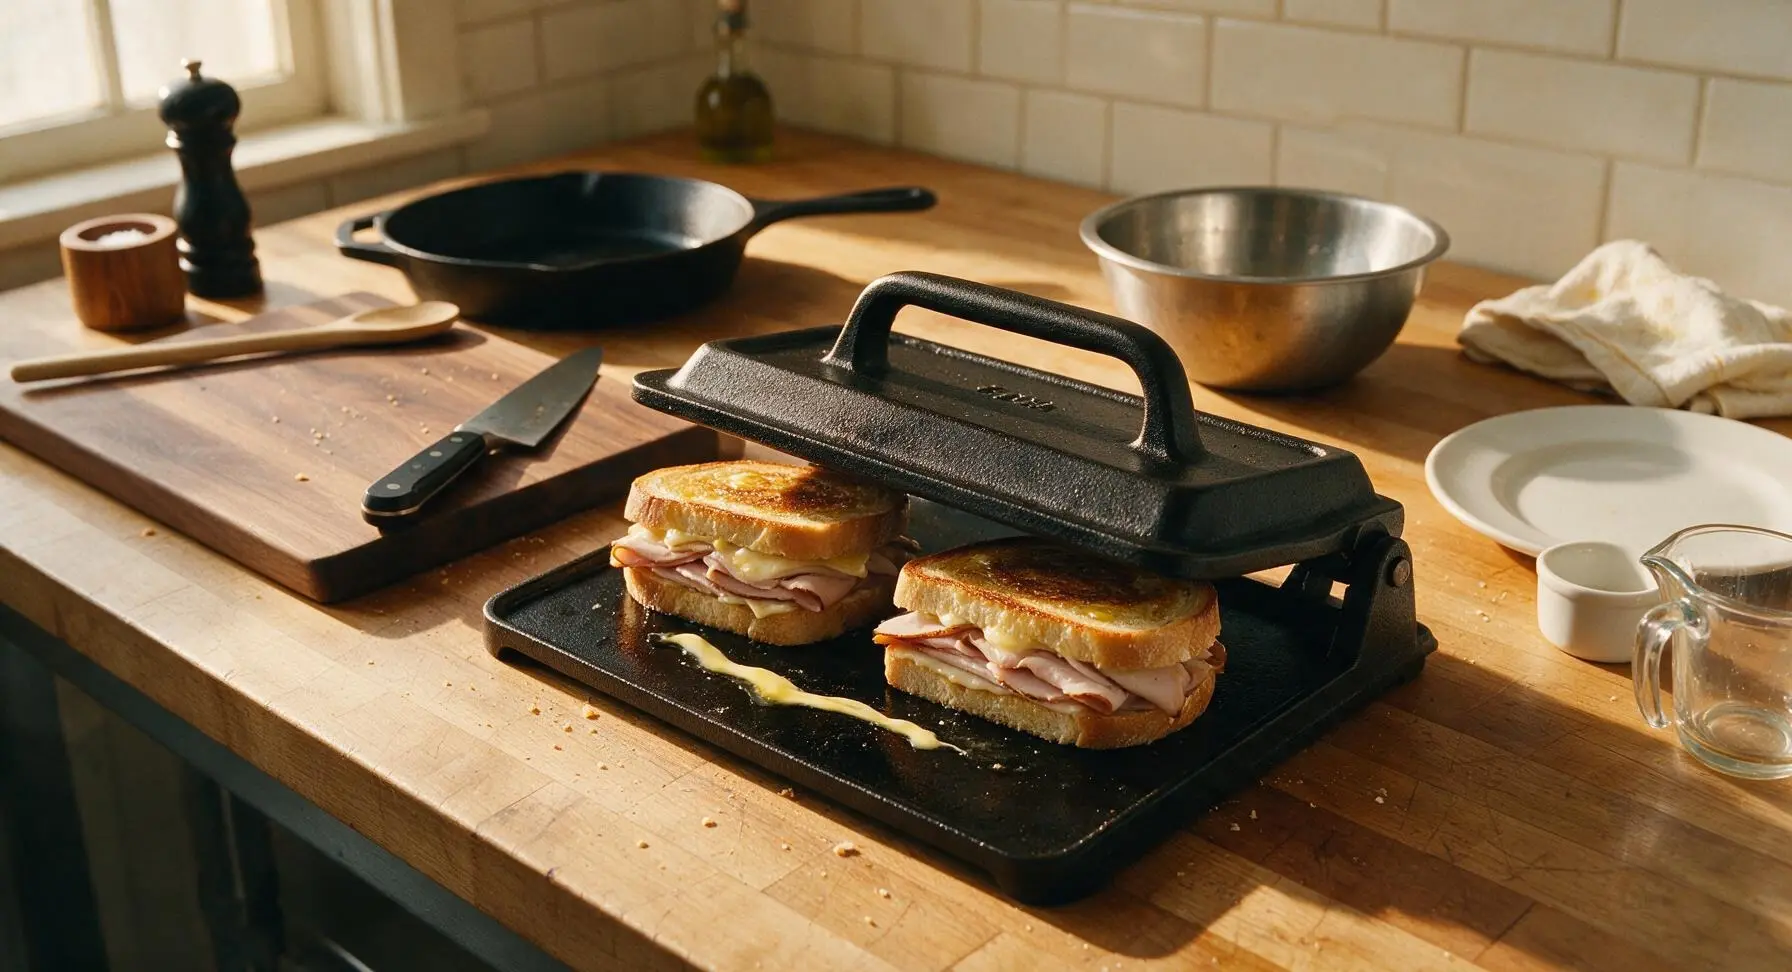
Step 5
step5:Butter and Load Press
Step 5
step5:Butter and Load Press
6

Press Until Crispy

Cook the first batch of sandwiches for 4 minutes with the press lid closed, using the stainless steel tongs to carefully lift the lid and check browning at the 2-minute mark. When done, the bread crust will be a uniform deep golden brown, crispy to the touch, with melted Swiss cheese bubbling slightly out of the sandwich seams. Use the offset spatula to transfer cooked sandwiches to a clean corner of the cutting board to rest, then repeat the buttering, loading, and pressing process with the remaining two sandwiches. Add a tiny brush of melted butter to the press surface between batches if the bread starts to stick.
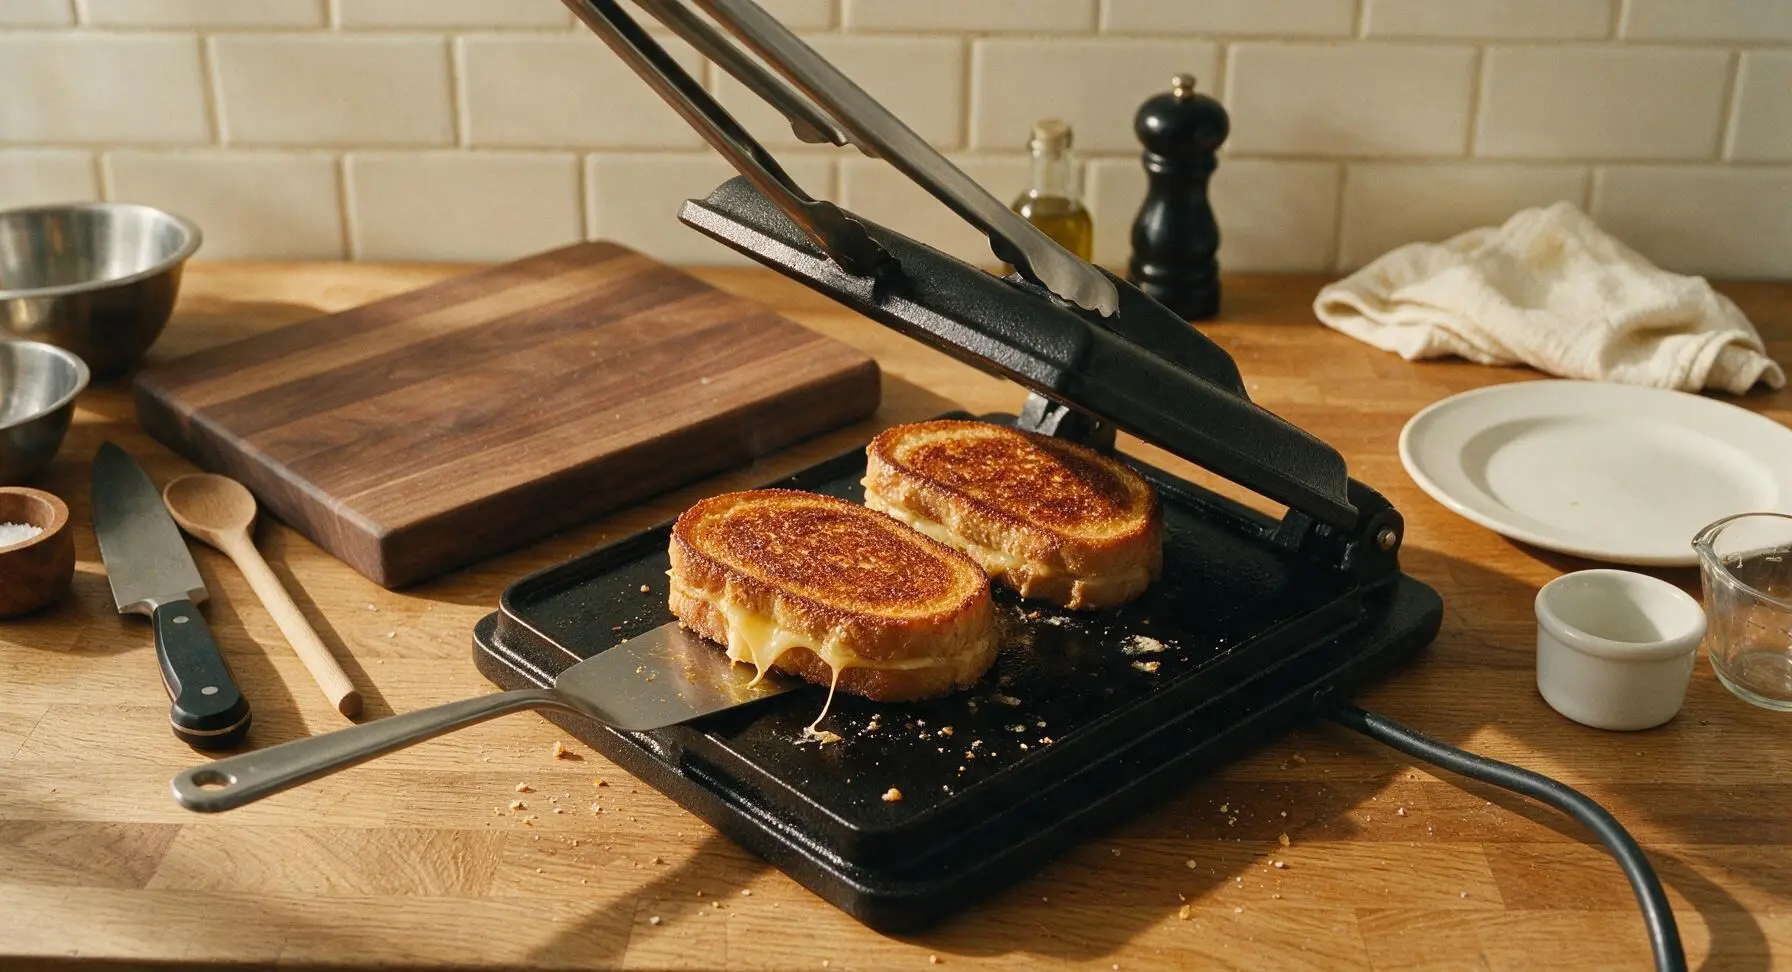
Step 6
step6:Press Until Crispy
7

Slice and Plate Servings

Let cooked sandwiches rest for 1 full minute after removing from the press to allow the melted cheese to set slightly, which prevents fillings from sliding out when sliced. Use the serrated bread knife to cut each sandwich diagonally into two equal triangular halves, applying slow, even pressure to avoid squeezing fillings out. Place two halves per serving on the matte cream ceramic dinner plates, angling the cut sides outward to showcase the layered fillings. Tuck a small fresh oregano sprig on each plate for a simple garnish, and serve immediately.
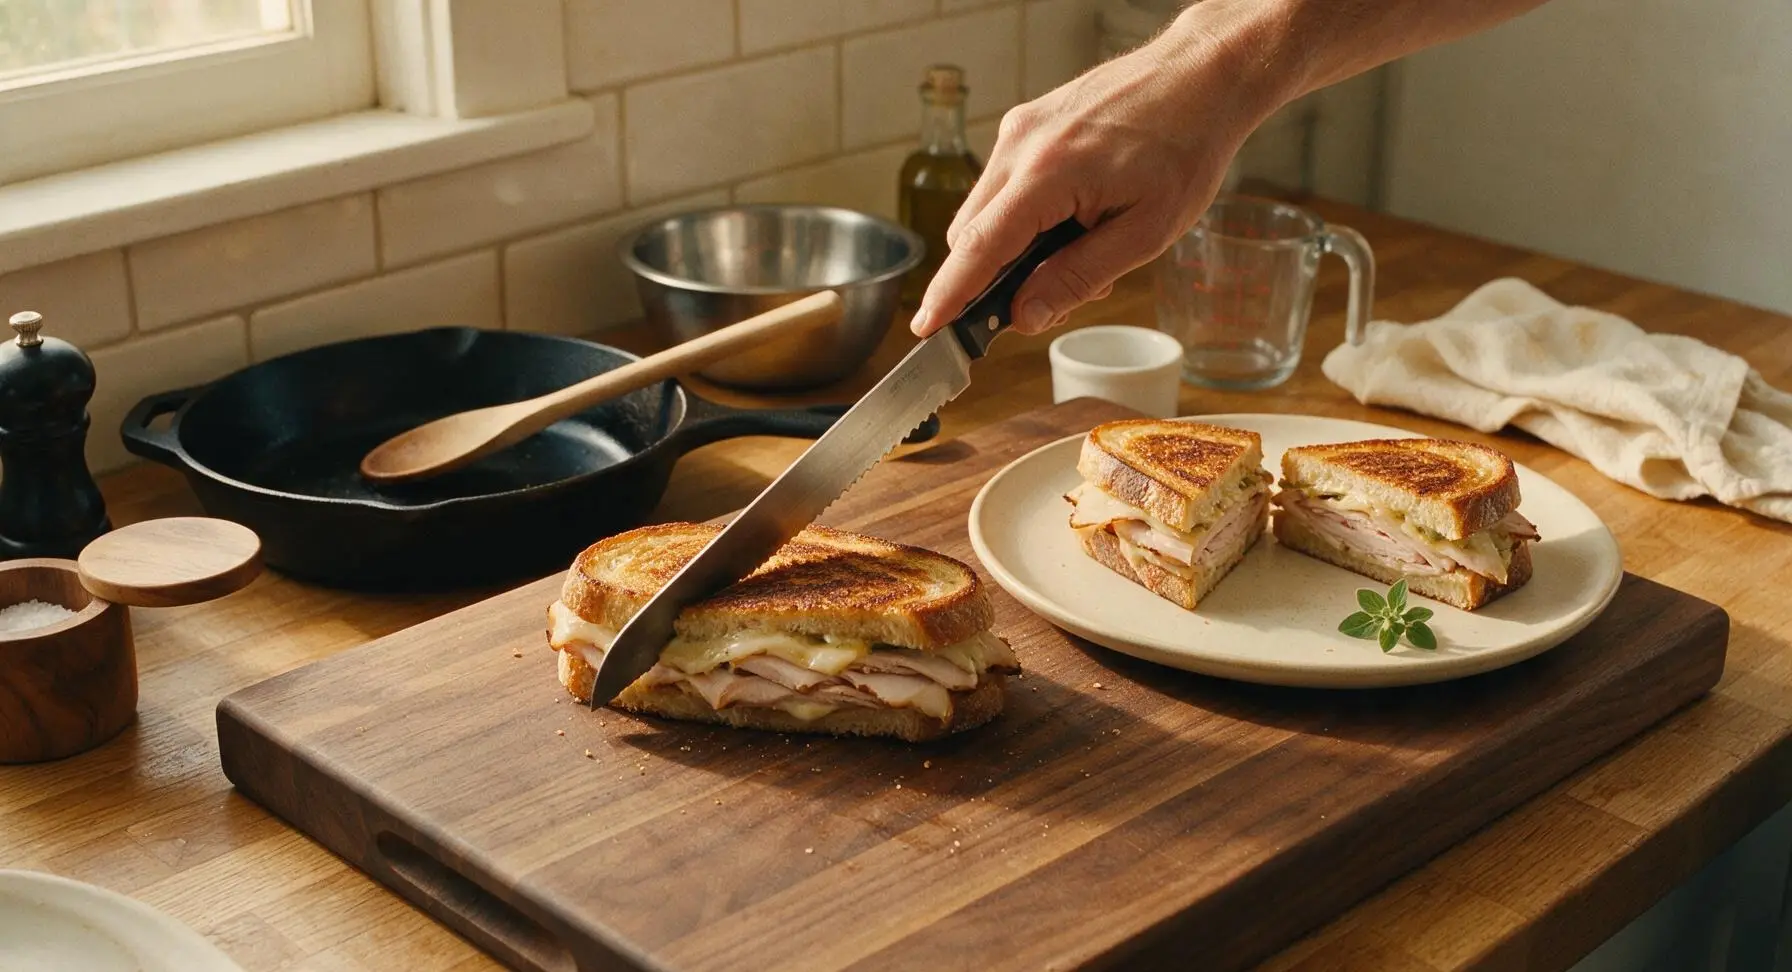
Step 7
step7:Slice and Plate Servings

Tips

1.Always drain dill pickles thoroughly (and pat lightly with a paper towel if extra briny) before layering: excess pickle brine will soak through the condiment barrier, turning the crispy pressed crust soggy even if the cheese seal is intact.
2.Resist the urge to overstuff sandwiches: too much filling prevents the weighted press from making full, even contact with the bread, leading to pale, soft, un-crisped spots and causing fillings to spill out and burn on the hot press surface. Stick to the measured filling amounts for perfectly even cooking.
3.Let pressed sandwiches rest for 1 full minute before slicing: this short rest allows melted cheese to firm up slightly, so it stays between the bread layers instead of oozing out onto the plate when you cut into the sandwich, keeping every bite evenly filled.


✨ You May Also Like

Lunch
🍜 United States

Creamy, salty, tangy nostalgic Midwestern sandwich pairing rich peanut butter with crisp briny dill pickles for a fast, satisfying no-cook meal.

⏱️ 5 minutesLunch ★ 4.6
Lunch
🍜 United States

Crispy, melty pressed sandwich layered with savory roast pork, ham, Swiss cheese, pickles, and tangy mustard: a beloved Cuban-American comfort classic.

⏱️ 25 minuteLunch ★ 4.9
Lunch
🍜 United States

Hearty, briny New Orleans pressed sandwich stacked with cured Italian meats, provolone, and zesty olive salad, served cold for bold, portable flavor.

⏱️ 1 hour 20Lunch ★ 4.7
Lunch
🍜 United States

A tangy, creamy Southern American staple, this no-cook cheesy sandwich is packed with sharp cheddar and sweet pimentos for a satisfying, portable bite.

⏱️ 1 hour 15Lunch ★ 4.8
Lunch
🍜 United States

Crispy Cajun-spiced fried shrimp piled on crusty French bread with tangy remoulade and fresh toppings, the iconic Louisiana street food sandwich.

⏱️ 35 minuteLunch ★ 4.4
Lunch
🍜 United States

Stacked, savory deli-style corned beef sandwich with melted Swiss, tangy mustard, and crisp griddled rye— a fast, hearty, satisfying classic.

⏱️ 15 minuteLunch ★ 4.9

Smoked Turkey Cuban:Frequently Asked Questions

1.Can I make this sandwich if I don’t own a traditional Cuban sandwich press? ▾
Absolutely—no fancy press required. Grab a heavy cast iron skillet, preheat it while you prep the sandwich, then set your assembled sandwich on a hot griddle or pan. Weigh it down with the preheated skillet (add a foil-wrapped brick for extra pressure if you have it) and cook 3-4 minutes per side until bread is crispy and cheese is fully melted.
2.What’s a good substitute if I can’t find authentic Cuban bread? ▾
If you can’t track down traditional crusty Cuban bread, reach for a long, mild Italian or French baguette with a soft, not overly holey crumb. Skip extra-tangy, thick-crust sourdough, which is too tough to press evenly, and avoid soft white sandwich bread, which will turn soggy quickly under the weight of fillings and press pressure.
3.Can I prep these sandwiches ahead for a party, tailgate, or picnic? ▾
You can assemble un-pressed sandwiches up to 12 hours ahead with one key trick: spread a thin layer of mustard on both inner bread slices to act as a moisture barrier between the bread and wet pickles or meat. Wrap tightly in plastic and chill, then press right before serving—never press ahead, as the bread will turn soggy as it sits.
4.Do I have to use both smoked turkey and ham, or can I leave the ham out? ▾
You can absolutely skip the ham if you want to lean fully into the smoked turkey flavor! Just add 2-3 extra thin slices of smoked turkey per sandwich to keep the filling hearty, and make sure your turkey has a noticeable smoky note so it doesn’t get overpowered by zesty mustard, briny pickles, and rich melted Swiss.
5.Why do my pickles always make my Cuban sandwiches turn out soggy? ▾
Soggy pickle syndrome is super common, and incredibly easy to fix. After slicing your dill pickles, lay them out on a double layer of paper towels for 5 minutes, then pat the tops dry to wipe off excess brine before layering them in the sandwich. That 5-minute prep step keeps your bread crispy without dulling that bright pickle flavor.
6.What type of mustard works best for this smoked turkey Cuban? ▾
Skip plain mild yellow mustard here for the best balanced flavor. Spicy brown deli mustard, or a smooth stone-ground Dijon, delivers the perfect zesty kick to cut through rich cheese and smoky meat. If you like a little sweet heat, mix a teaspoon of hot honey into your mustard for a subtle note that pairs beautifully with the turkey.
7.Can I make a vegetarian version of this smoked turkey Cuban? ▾
Absolutely! Swap the smoked turkey and ham for thinly sliced smoked portobello caps marinated in a splash of soy sauce and smoked paprika, or use your favorite plant-based smoked deli slices. Keep the Swiss, dill pickles, and mustard exactly the same, press as directed, and you’ll get that same smoky, crispy, briny flavor profile.
8.How thin should I slice the meat and cheese for the best texture? ▾
Stick to standard deli-thin slices, roughly 1/16 of an inch thick, for the smoked turkey, ham, and Swiss. Thin slices layer evenly, melt consistently, and don’t clump up when you press the sandwich. Thick chunks of meat or cheese create uneven pressure, leading to under-crisped bread spots or fillings that squeeze out when you take a bite.
9.What kind of butter should I use on the outside of the bread for pressing? ▾
Use softened unsalted butter so it spreads in a thin, even layer across the outer crust without tearing the soft bread. Salted butter will make the sandwich overly salty when paired with briny pickles and savory deli ham. For an extra savory twist, mix a tiny pinch of garlic powder into the butter before spreading.
10.How do I keep fillings from squeezing out when I press the sandwich? ▾
The easiest trick is to layer fillings evenly, starting and ending with a slice of Swiss cheese pressed right against the bread—when the cheese melts, it acts like a gentle glue to hold meat and pickles in place. Don’t overstuff the sandwich, and press down lightly first before adding weight to set layers before the bread crisps.
11.Can I cook these sandwiches in an air fryer instead of on a griddle? ▾
You totally can! Assemble the sandwich as directed, spread the outer bread with butter, and cook at 375°F for 3-4 minutes per side. Weigh the top of the sandwich down with a small oven-safe ramekin to mimic that classic pressed, flat texture. The crust will be extra crunchy, and the cheese will melt perfectly every time.
12.What sides pair best with a smoked turkey Cuban? ▾
Stick to bright, light sides that cut through the sandwich’s rich, smoky, salty flavors: crispy plantain chips, a simple green salad with citrus vinaigrette, a warm cup of black bean soup, or tangy vinegar-based coleslaw. Skip heavy, ultra-creamy sides like loaded mac and cheese, which will overpower the sandwich’s bright pickle and mustard notes.
13.Can I freeze leftover pressed sandwiches for quick weeknight meals? ▾
Freezing fully pressed sandwiches isn’t ideal, as the bread will turn mushy when reheated, and the dill pickles will break down and release excess water as they thaw. Instead, portion sliced smoked turkey, ham, and Swiss into sealed freezer bags, and assemble and press fresh sandwiches when cravings hit—they only take 8 minutes total to make.

Comments (3)

2 hours ago

OMG this smoked turkey Cuban is a total game changer for weeknight dinners! I threw it together in literally 8 minutes like the recipe said, no fancy steps, and my husband and two teens devoured every bite. I added a little extra pickles because we’re pickle obsessed, and it was SO good. Already added the ingredients to my weekly meal prep rotation!

30 minutes ago

Totally agree about the extra pickles! I made these for our neighborhood potluck last weekend and people kept asking me for the recipe. So easy to make a big batch too!

5 minutes ago

So glad your family loved it, Lizzie! Extra pickles are always a great call – that briny crunch is what makes a Cuban sing, right? Thanks for adding it to your meal prep rotation!

yesterday

Super easy recipe, perfect for when I don’t feel like cooking after work. I used sourdough instead of the usual Cuban bread because that’s what I had in the pantry, and it still turned out really tasty. Only reason I’m not giving 5 stars is I wish there was a little note on what mustard works best – I used spicy brown and it was great, just curious if yellow is more traditional?

2 hours ago

Great question, Tyler! Traditional Cubans use yellow mustard, but spicy brown is absolutely delicious too – there’s no wrong choice here, so go with whatever you love most. Sourdough swap sounds amazing, I’ll have to try that myself soon!

3 days ago

My kids loved it!!! I was worried the smoked turkey would be too fancy for my super picky 7 year old, but he ate half of mine then asked for his own. I’ve been looking for quick lunch ideas that don’t feel boring, and this checks every box. Will be making these for our next beach day for sure!



