
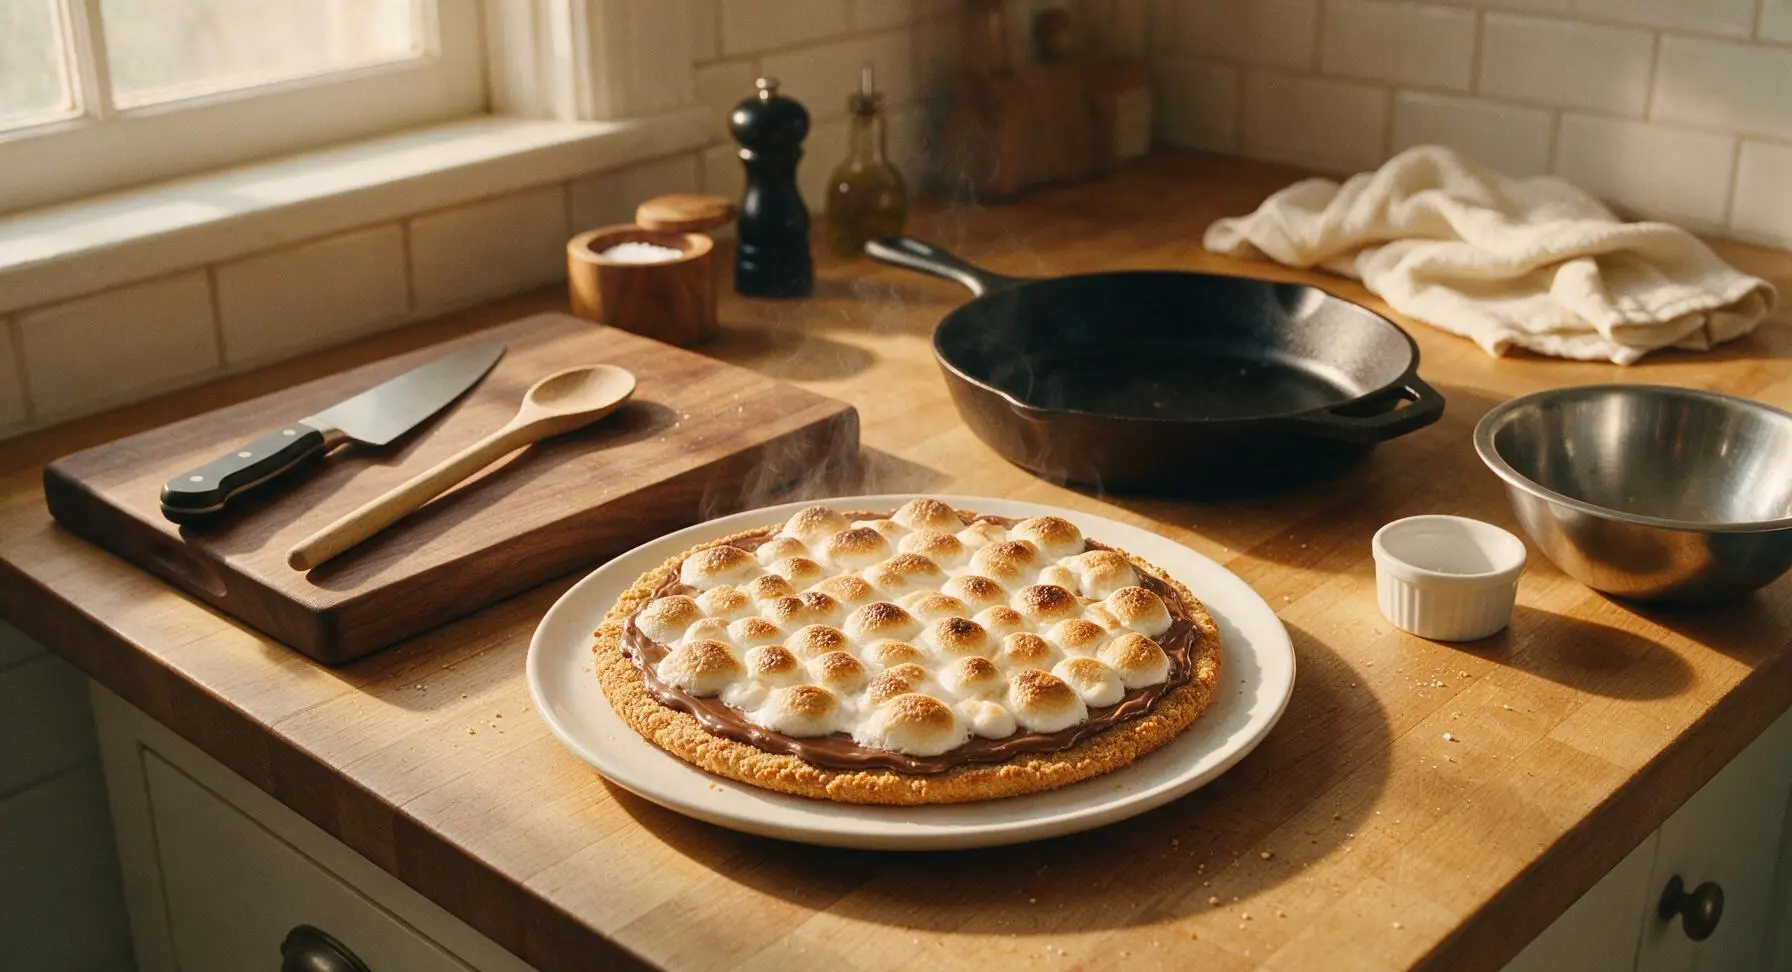
S'mores Pizza

title 1
S'mores Pizza
⏱️ cook time 10 minutes
🍽️ servings 6
⚡ Difficulty easy

intro

Gooey toasted marshmallow, melty milk chocolate, and buttery graham cracker crust baked as a shareable pizza—all the classic campfire s'mores flavor, no campfire required.

Ingredients
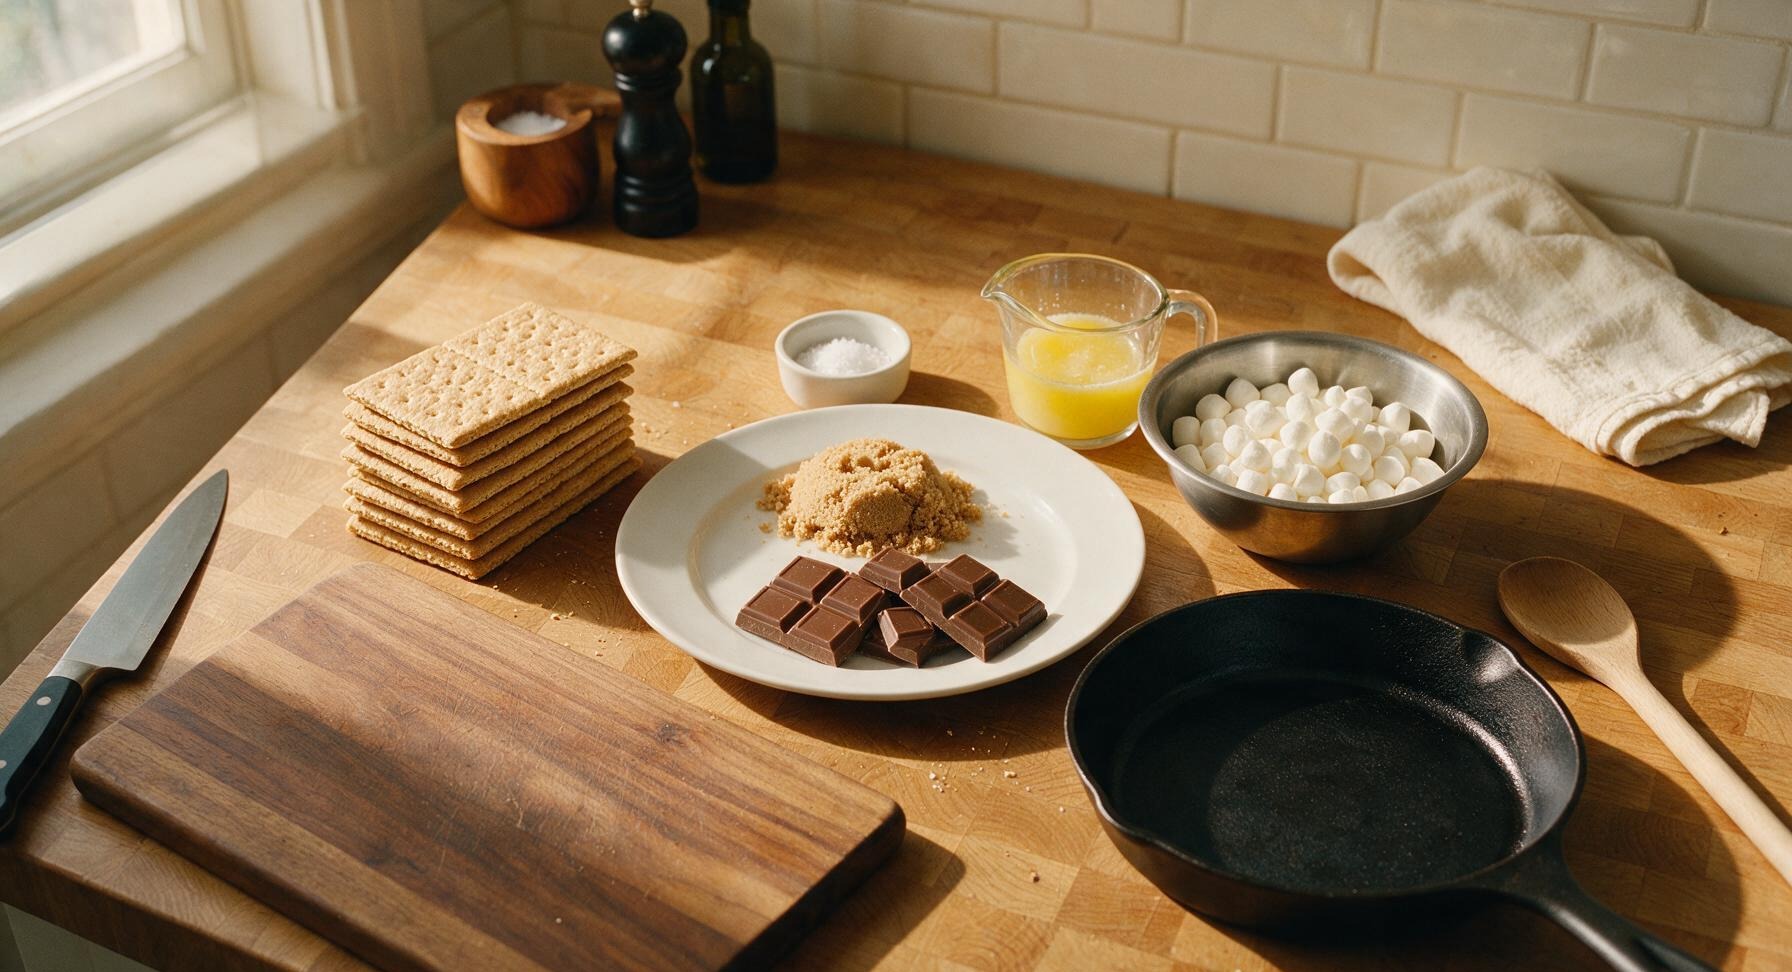
Graham cracker sheets 9 full sheets (135g)
Unsalted butter 6 tbsp (85g), melted
Light brown sugar 2 tbsp (25g), packed
Fine sea salt 1/4 tsp
Milk chocolate bars 2 bars (200g total), broken into 1-inch chunks
Mini marshmallows 2 cups (100g)

Steps

1

Preheat Oven, Prep Pan

Preheat your oven to 400°F (200°C) and position an oven rack in the exact center of the oven. Set the 12-inch perforated aluminum pizza pan on the central work area of the maple counter; no pan greasing is needed, as the butter in the crust will prevent sticking during baking.
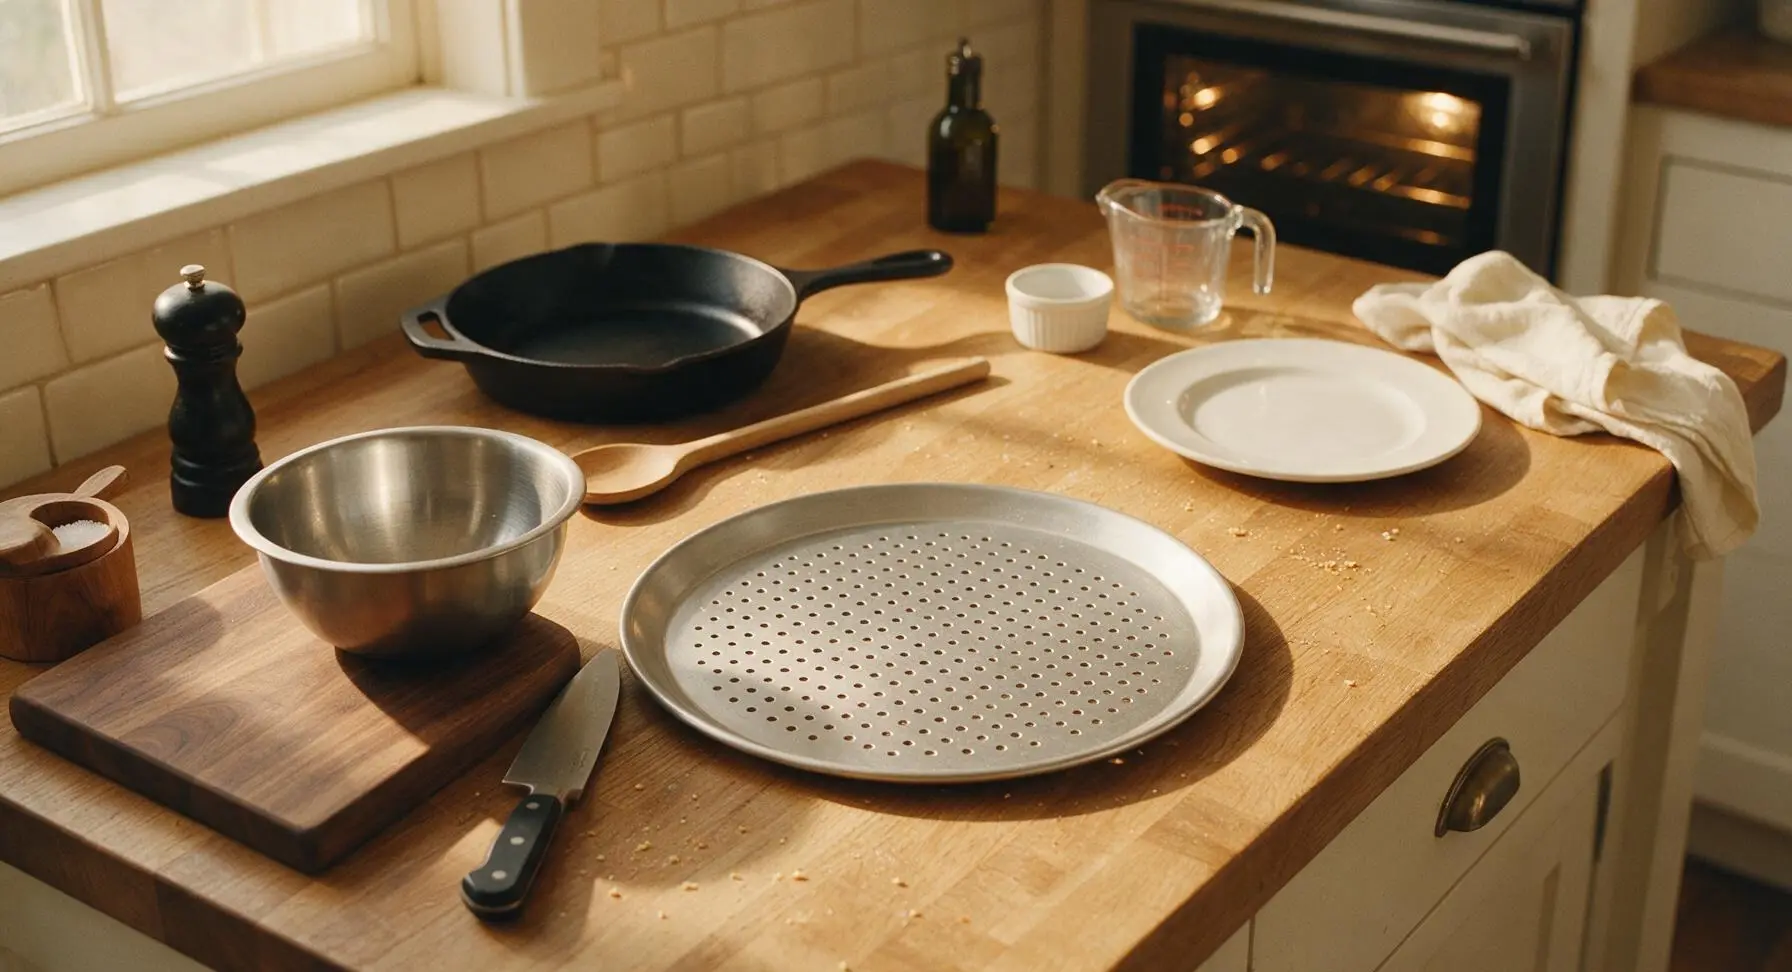
Step 1
step1:Preheat Oven, Prep Pan
2

Crush Graham Crackers

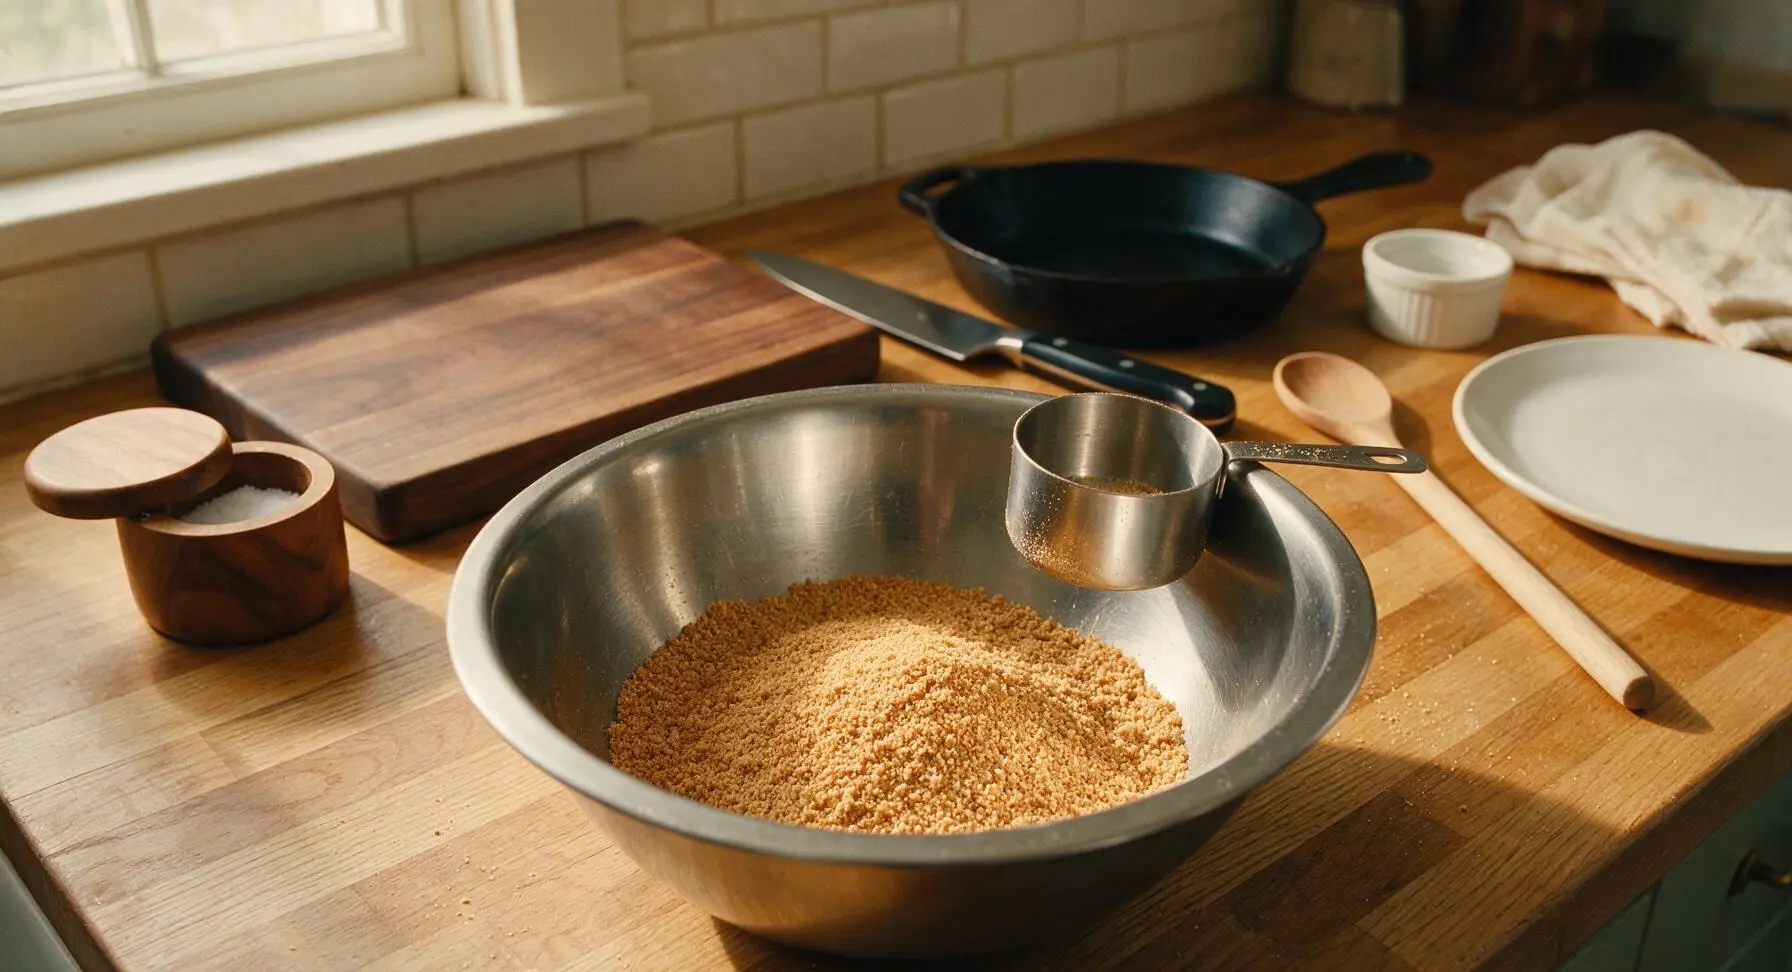
Break the 9 graham cracker sheets into rough 2-inch pieces and place them in the medium stainless steel mixing bowl. Use the flat-bottomed metal 1-cup measuring cup to press and twist against the cracker pieces, crushing them into fine, even crumbs with no pieces larger than a pea remaining. You will end up with roughly 1.5 cups of uniform graham cracker crumbs when finished.
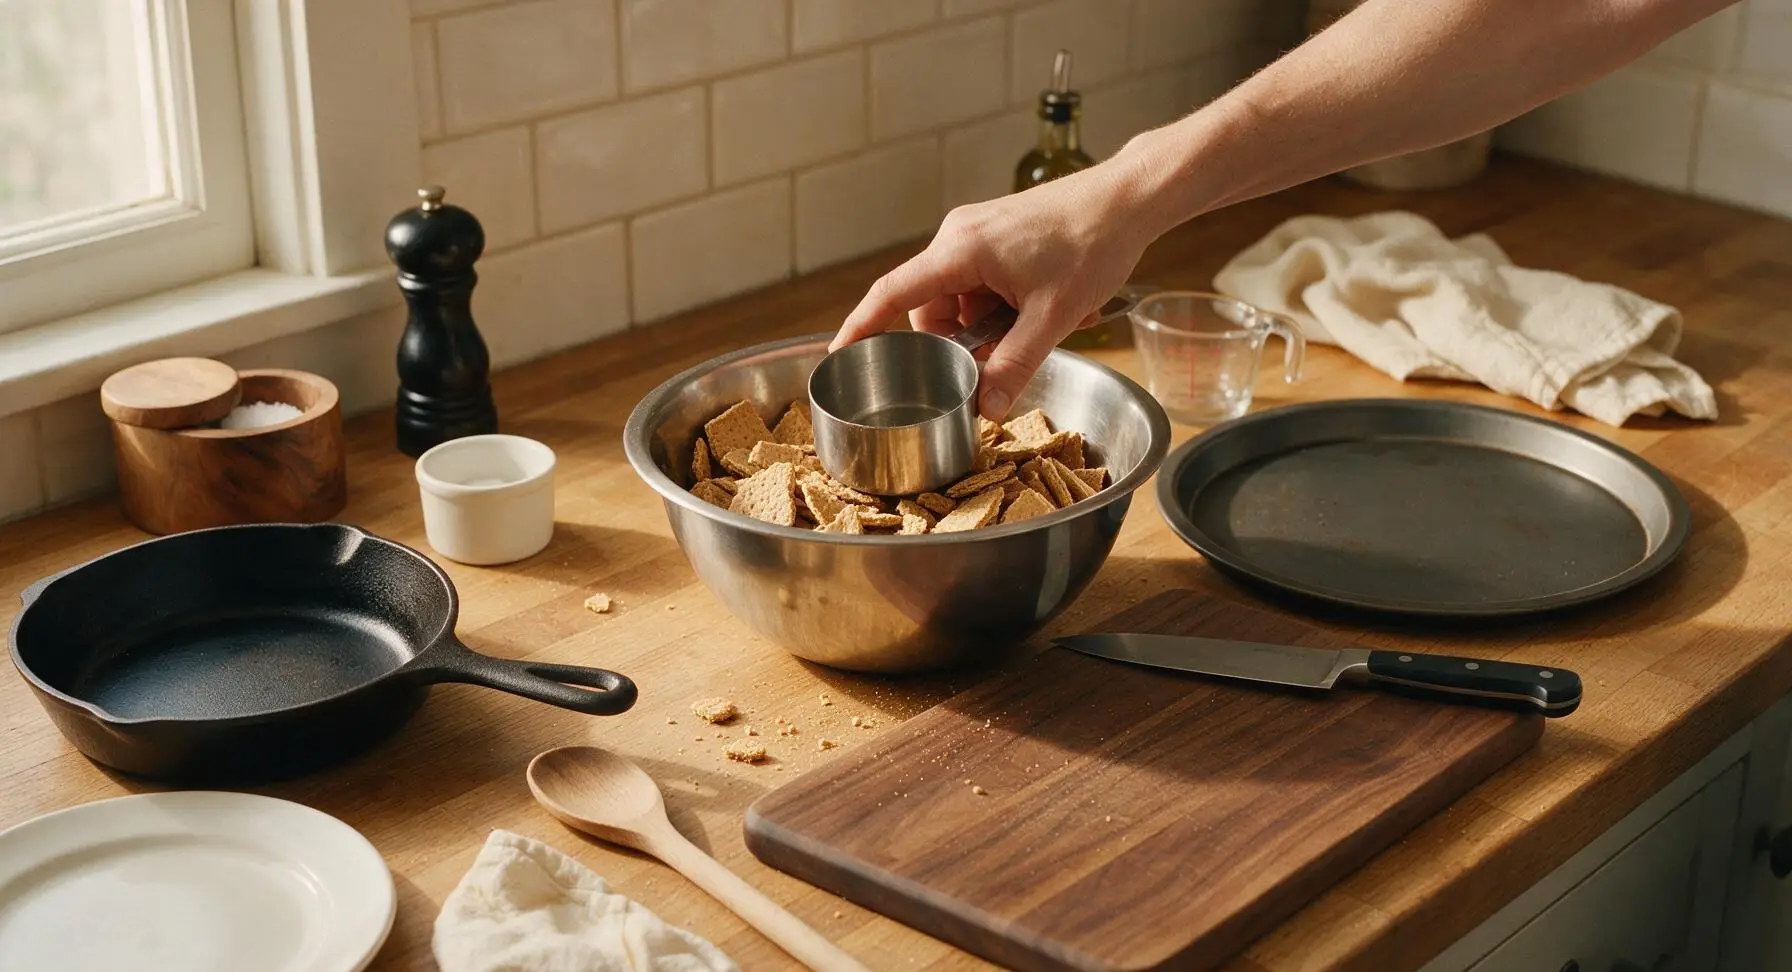
Step 2
step2:Crush Graham Crackers
Step 2
step2:Crush Graham Crackers
3

Mix Crust Base

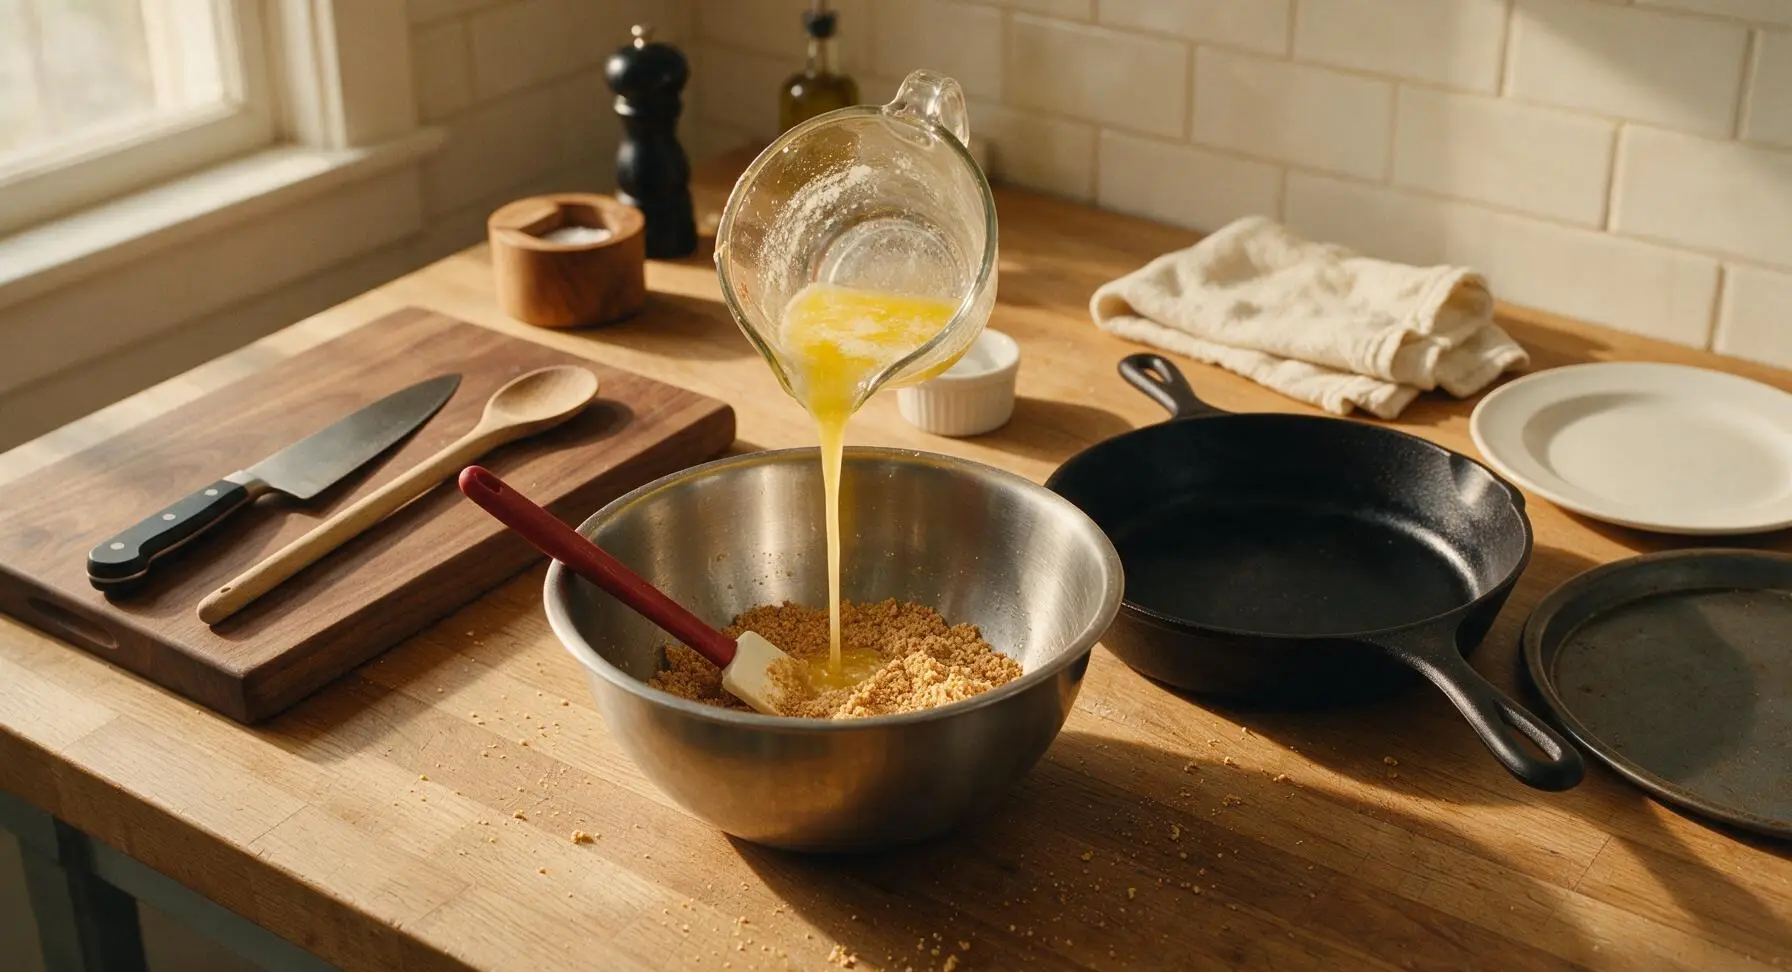
Add the packed light brown sugar and fine sea salt to the graham cracker crumbs, and stir briefly with the silicone spatula to distribute evenly. Pour the melted unsalted butter (cooled slightly, so it does not melt the sugar too quickly) from the clear glass measuring cup over the crumb mixture, stirring continuously until every crumb is evenly coated in butter. The finished mixture will clump slightly when squeezed in your hand, with the texture of damp, packable sand.
Step 3
step3:Mix Crust Base
4

Press Crust Evenly

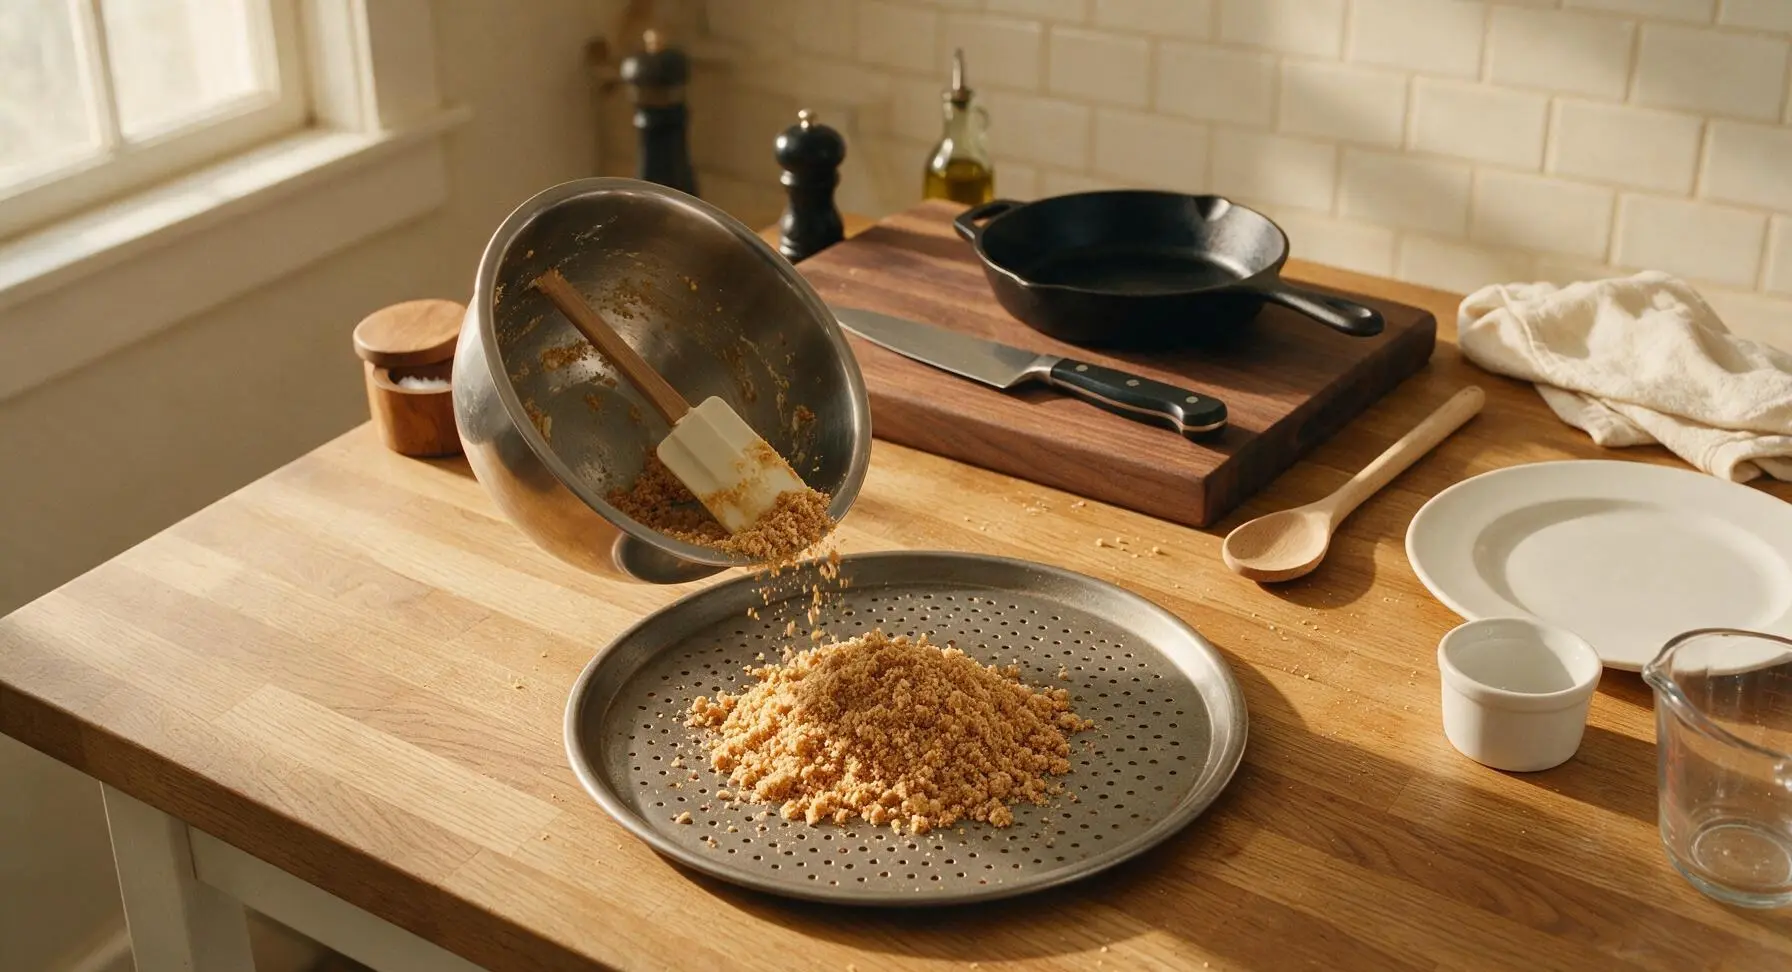
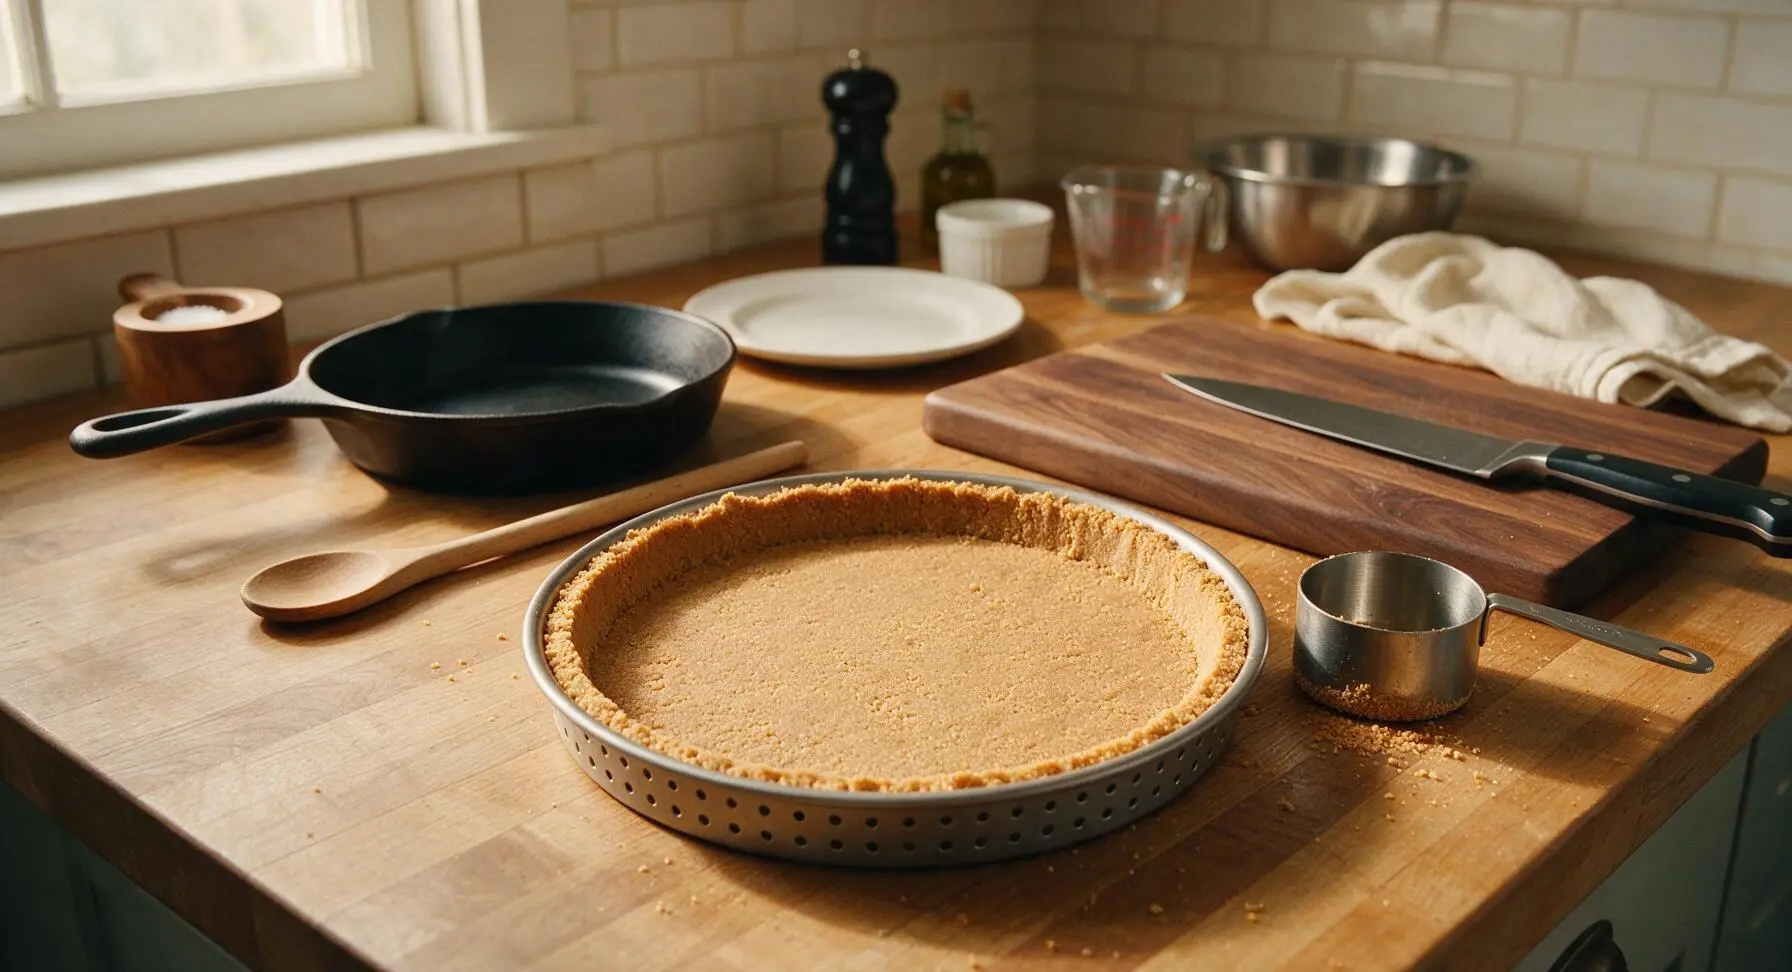
Pour the entire buttered crumb mixture into the center of the perforated pizza pan. Use the flat bottom of the metal measuring cup to press the crumbs firmly and evenly across the base of the pan, pushing crumbs 1/2 inch up the raised pan rim to create a thin, uniform crust roughly 1/4 inch thick. Check for thin spots or gaps, pressing extra crumbs into any bare areas to create a solid base that will hold toppings without crumbling.
Step 4
step4:Press Crust Evenly
Step 4
step4:Press Crust Evenly
5

Layer Chocolate Chunks

Scatter the broken 1-inch milk chocolate chunks evenly across the entire surface of the pressed graham cracker crust, leaving a 1/4 inch border of exposed crust at the edge. Arrange chunks so there are no large bare spots, ensuring every slice will have melted chocolate in every bite; small gaps between chunks are fine, as the chocolate will spread as it melts.
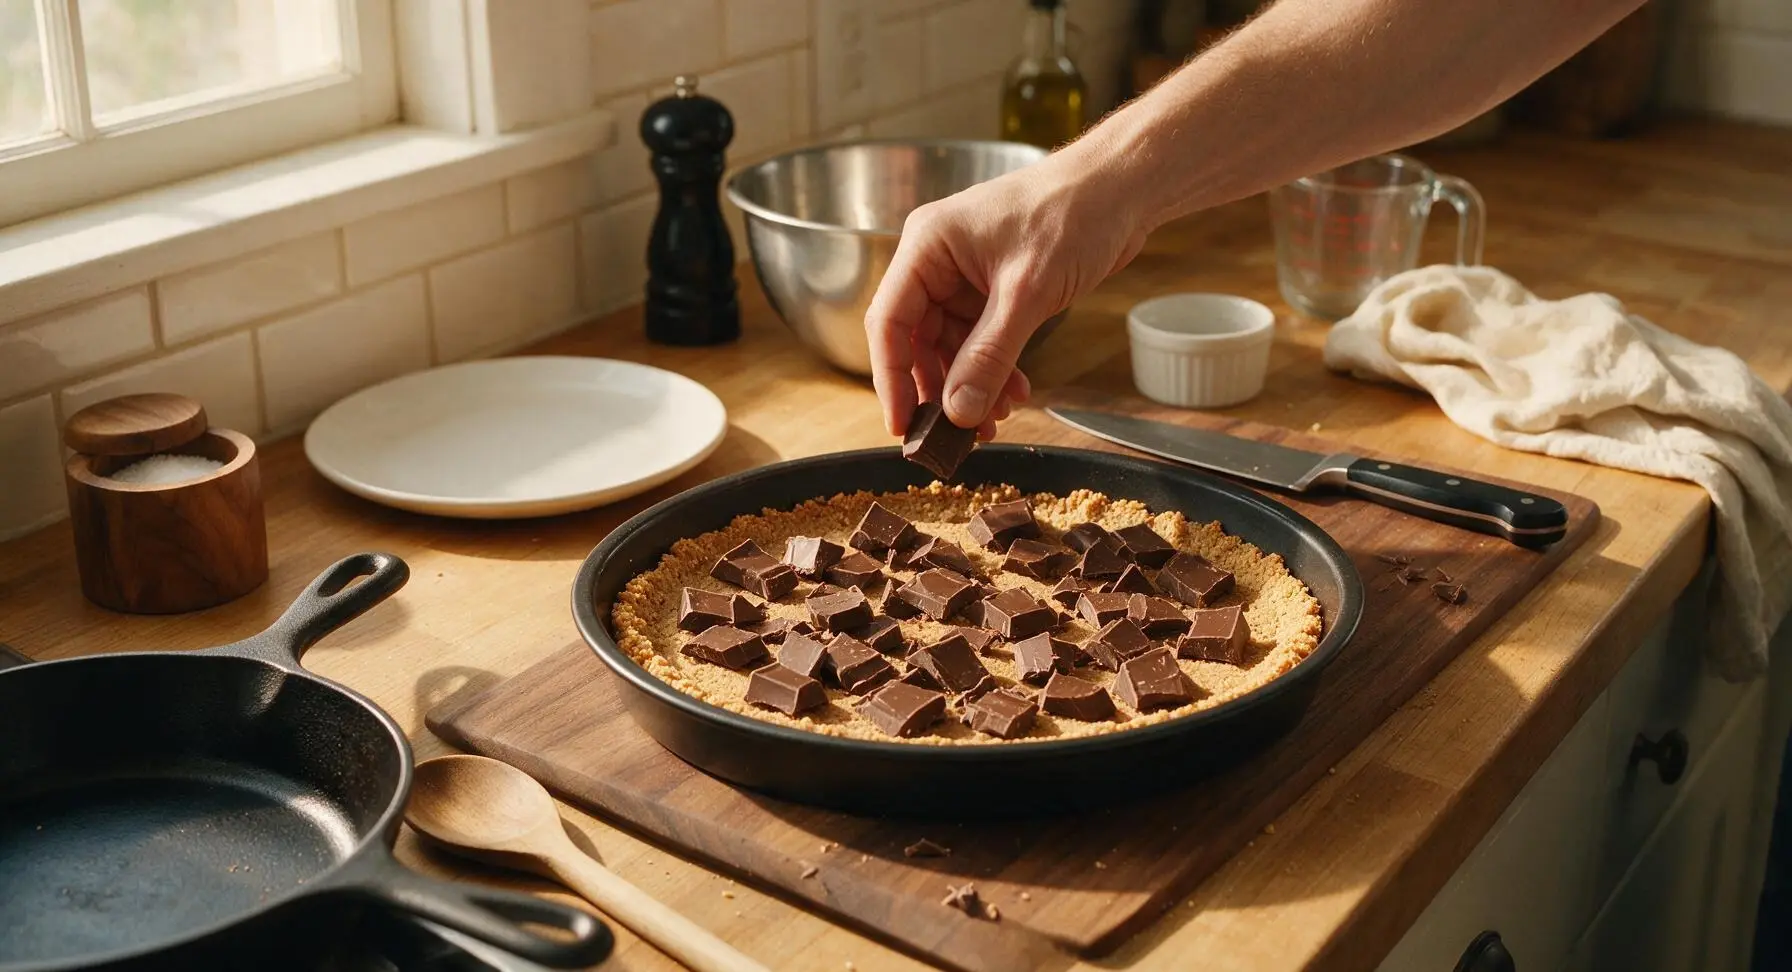
Step 5
step5:Layer Chocolate Chunks
6

Add Mini Marshmallows

Sprinkle the 2 cups of mini marshmallows in a single even layer over the chocolate chunks, covering the chocolate completely. Do not pack the marshmallows tightly, as they will puff, expand, and spread as they bake; a loose single layer is enough to cover the chocolate fully.
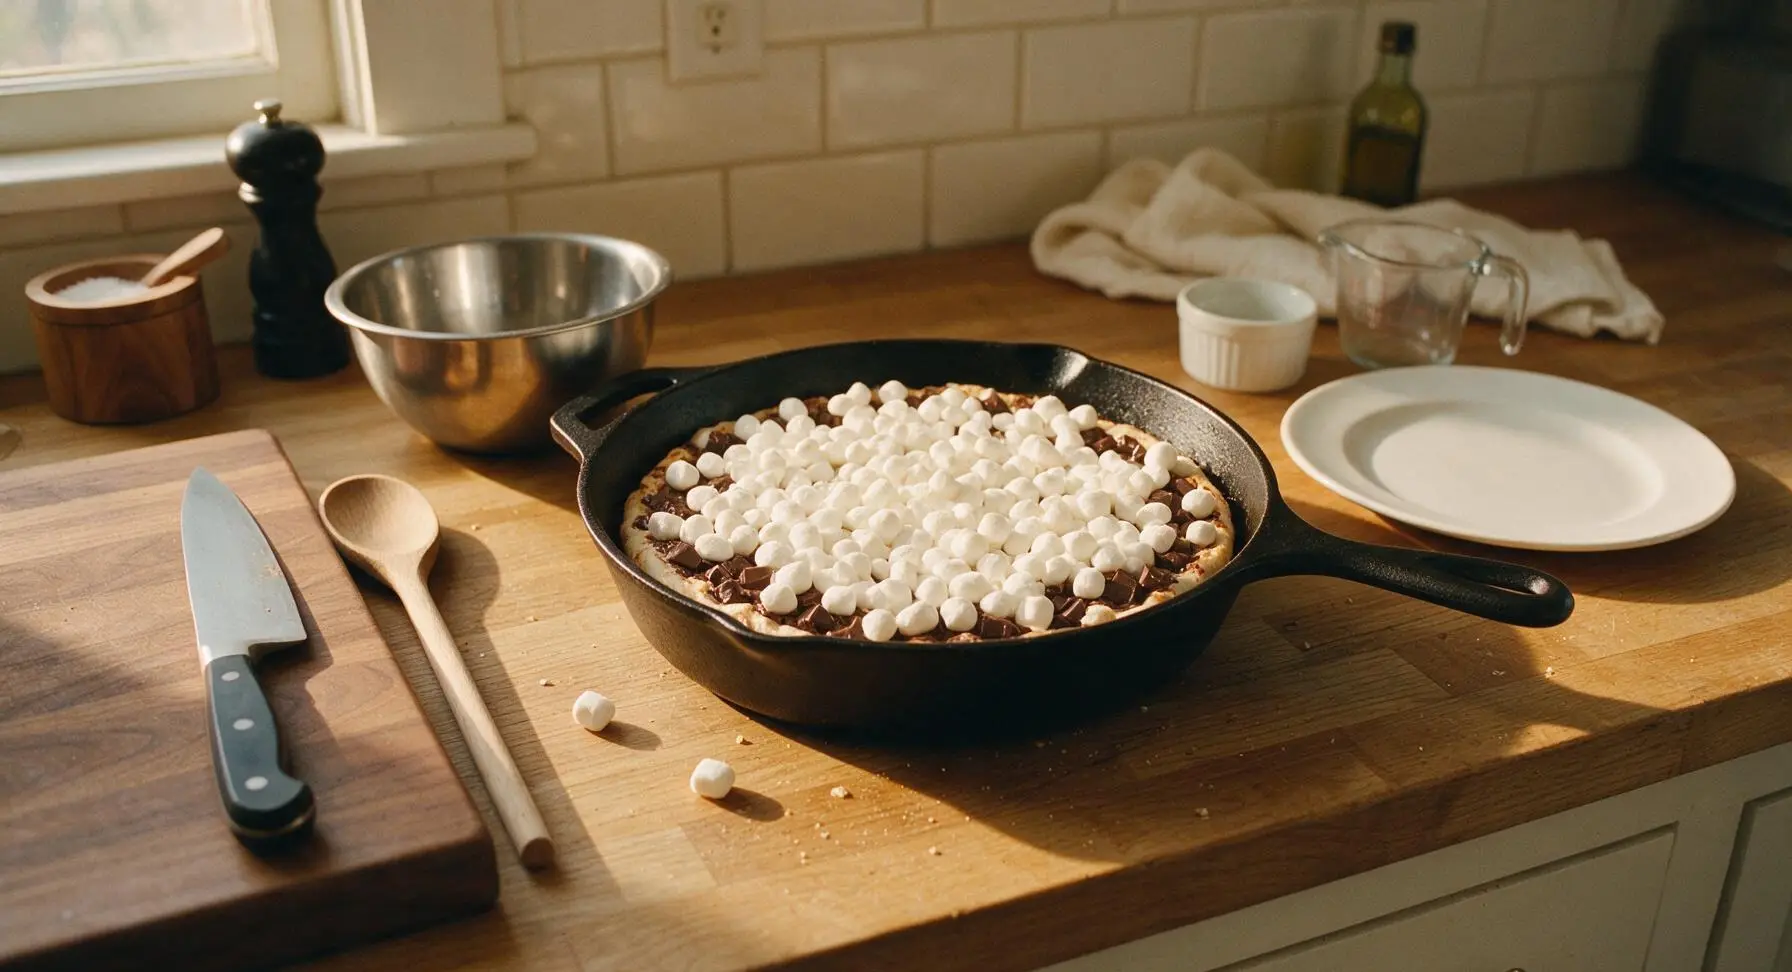
Step 6
step6:Add Mini Marshmallows
7

Bake To Gooey Perfection

Carefully slide the assembled pizza onto the center rack of the preheated oven. Bake for 8-10 minutes, watching closely after the 7 minute mark, until the marshmallows are puffed high, deep golden amber with scattered dark brown toasty spots, and the chocolate is fully melted and glossy. Do not overbake, as marshmallows can burn from golden to charred black in under 60 seconds.
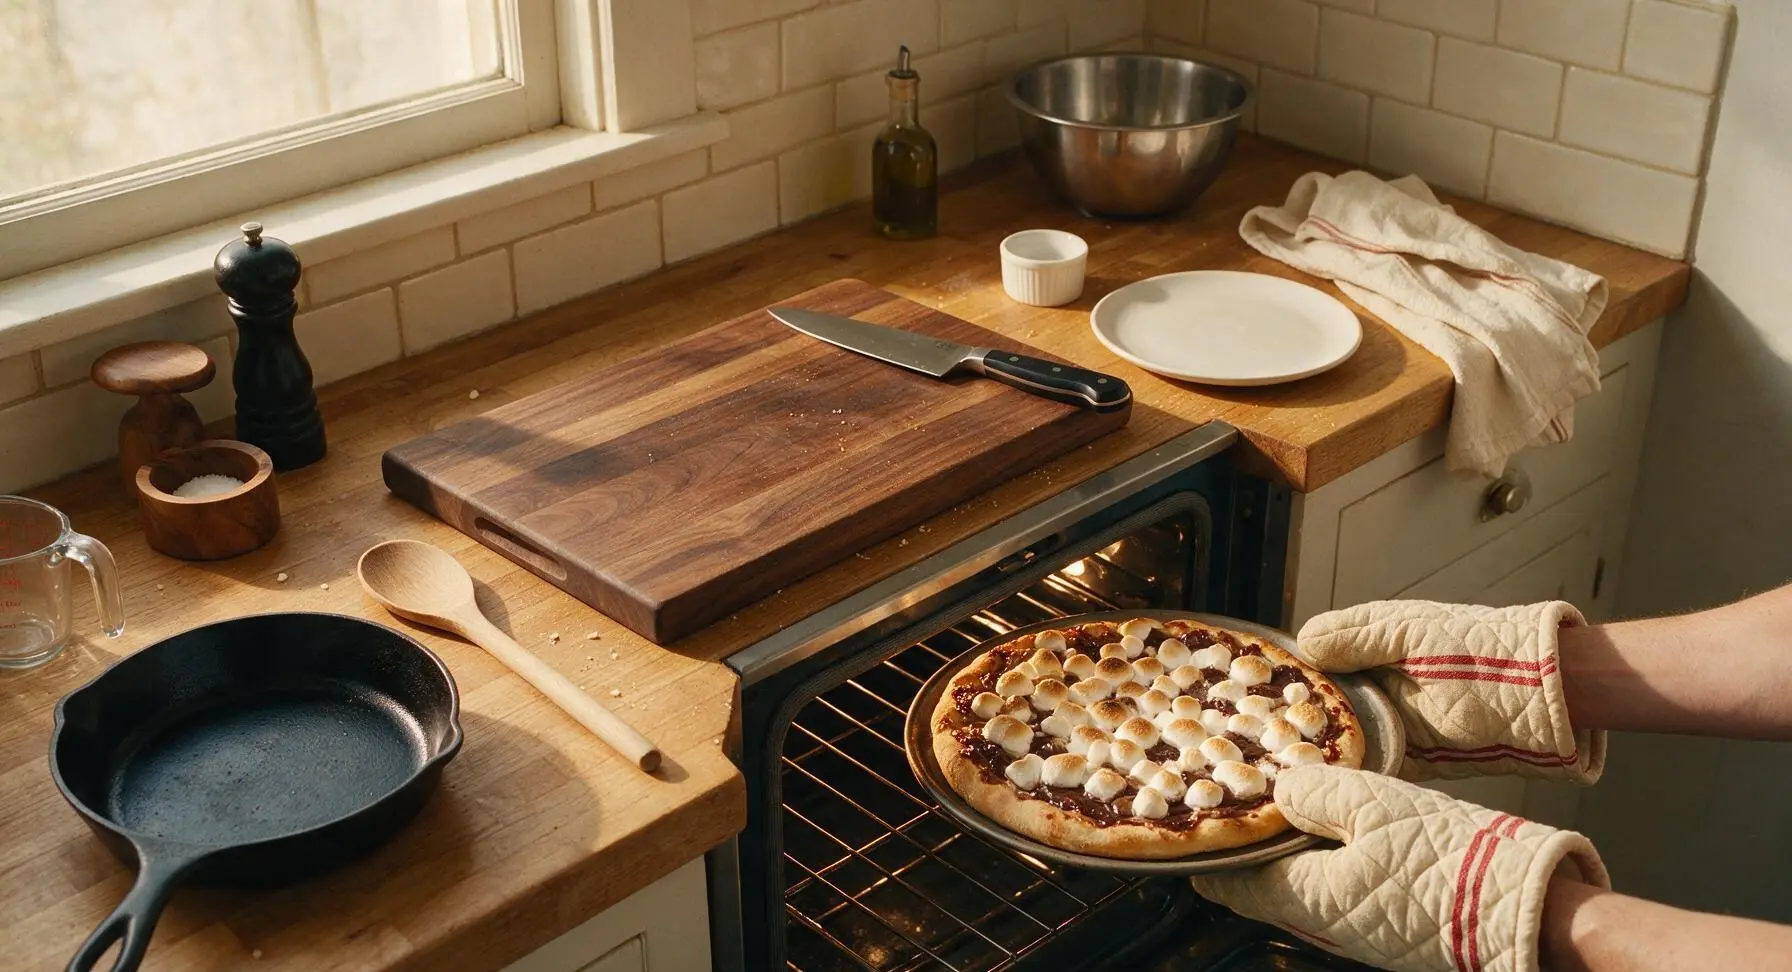
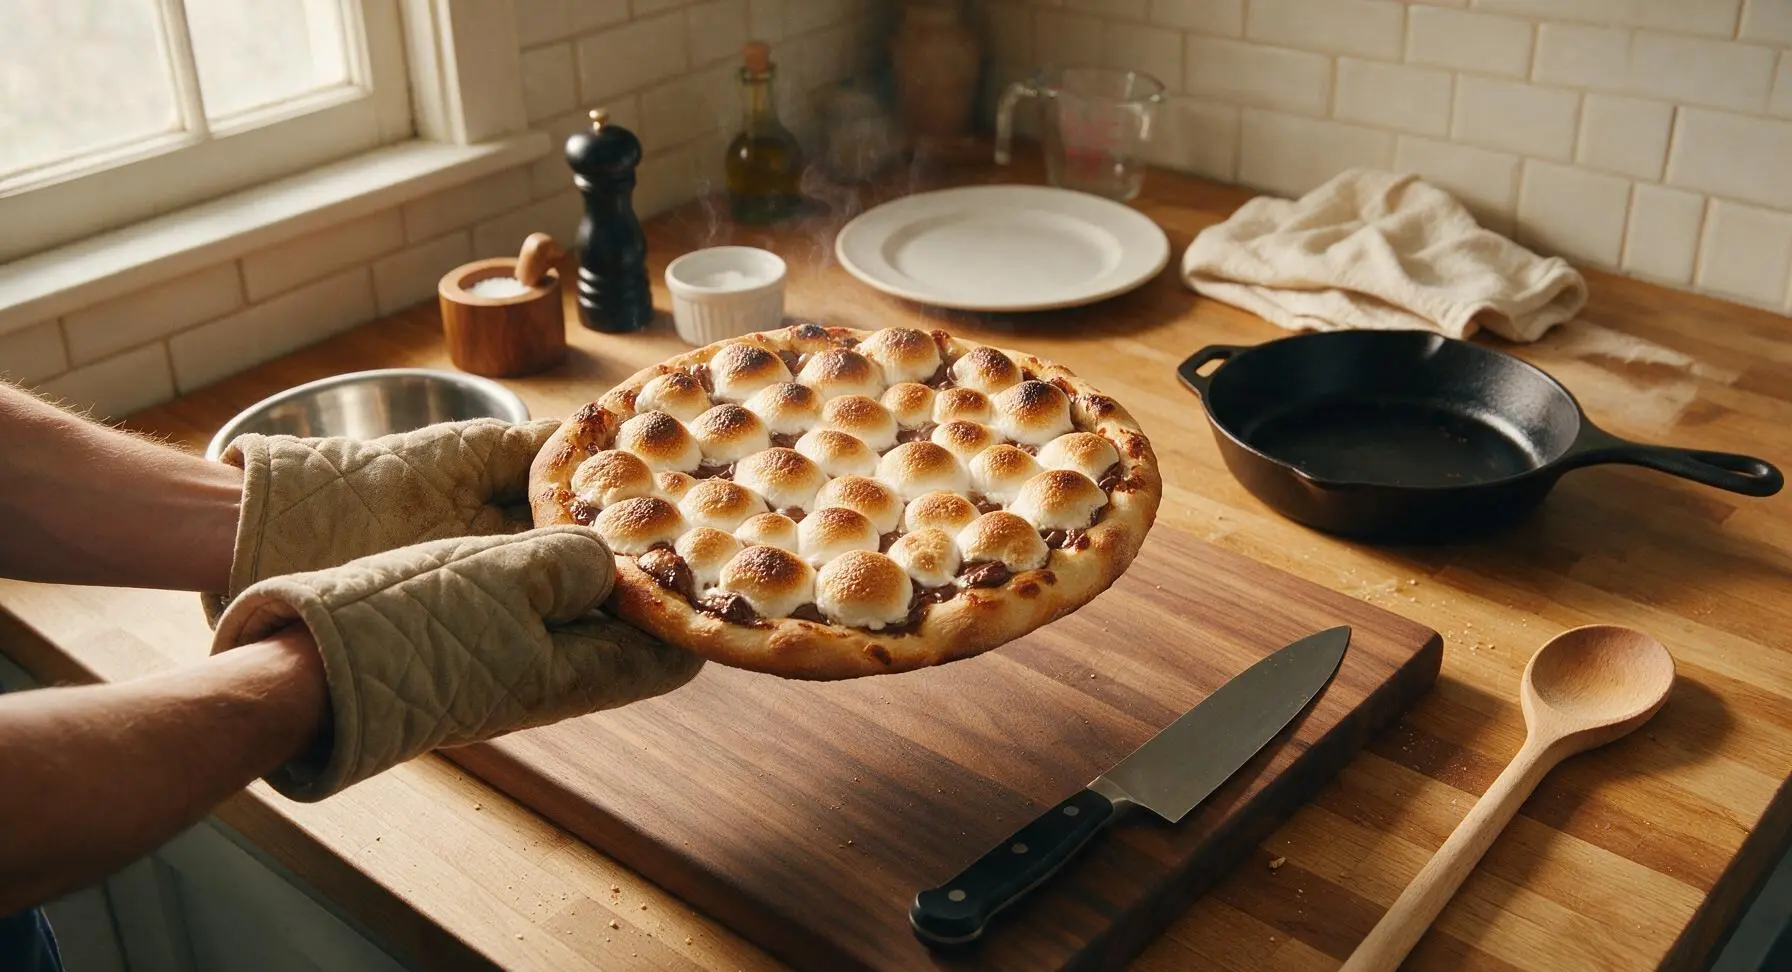
Step 7
step7:Bake To Gooey Perfection
Step 7
step7:Bake To Gooey Perfection
8

Slice and Serve Warm

Let the hot pizza rest for exactly 3 minutes on the counter to set slightly (this prevents chocolate from running everywhere when sliced). Run the beech-handled pizza cutter across the pizza to cut it into 6 even triangular slices, then use the silicone spatula to lift slices onto the rustic terracotta serving platter, pulling slices slightly apart to showcase the gooey, stretchy layers. Serve immediately while the marshmallow is soft and chocolate is melted.
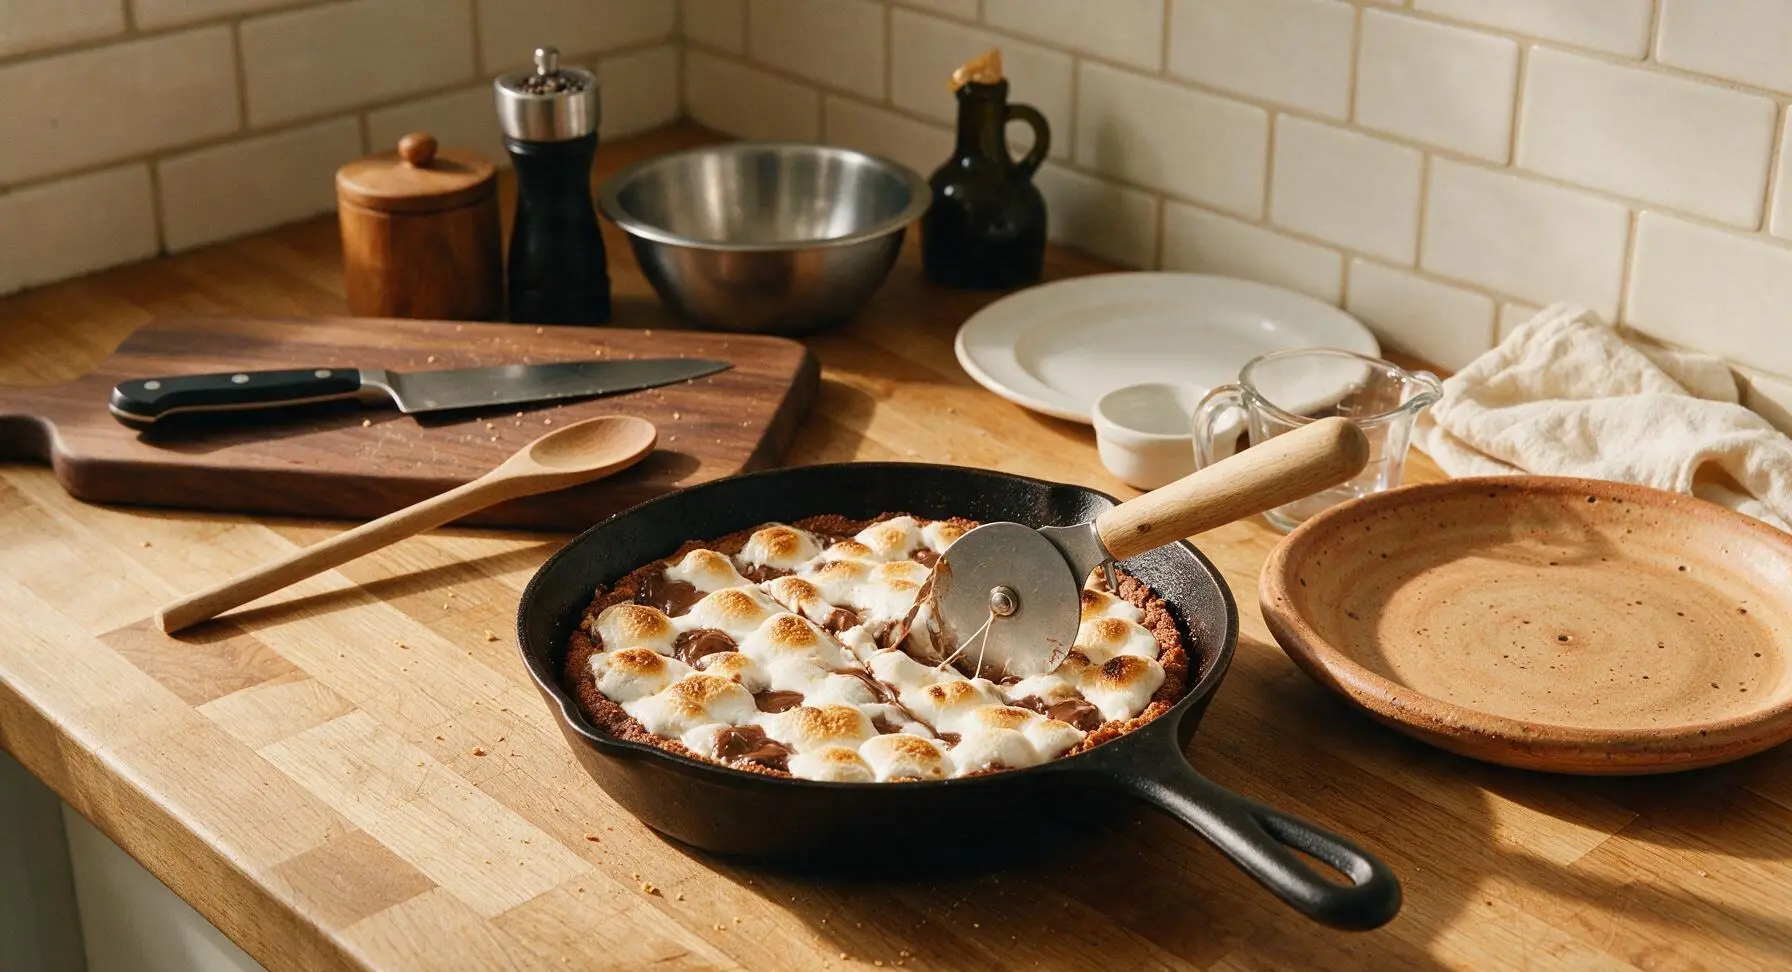
Step 8
step8:Slice and Serve Warm

Tips

1.Keep a close eye on the pizza during the last 2 minutes of baking: marshmallows transition from perfectly golden to acrid, burnt black in under 60 seconds. For an extra campfire-like charred flavor, broil the pizza for 30 seconds at the end of baking, but leave the oven door cracked open to watch constantly so the marshmallows do not burn.
2.Let the pizza rest for exactly 3 minutes before slicing: cutting it too early will cause runny melted chocolate and marshmallow to slide off the crust, but waiting longer than 5 minutes will make the marshmallow set firm and lose its signature stretchy, pull-apart texture.
3.For extra classic s'mores texture, sprinkle 2 tablespoons of coarse, reserved graham cracker crumbs over the top of the pizza immediately after pulling it from the oven. The crumbs will stick to the warm, soft marshmallow and add a satisfying crunchy contrast to the gooey, melty layers.


✨ You May Also Like

Desserts & Baking
🍜 Italy

Creamy, coffee-kissed classic Northern Italian no-bake dessert, with layers of rum-spiked mascarpone cream, soft ladyfingers, and a rich cocoa dusting.

⏱️ 4 hours 3Desserts & Baking ★ 4.7
Desserts & Baking
🍜 France

Flaky, shatteringly crisp, buttery French croissants with golden exteriors and soft, airy layered interiors, perfect for pairing with coffee for a special morning treat.

⏱️ 12 hours Desserts & Baking ★ 4.5
Desserts & Baking
🍜 United States

Warm, spiced baked apples topped with a fluffy golden biscuit crust, this cozy dessert pairs perfectly with vanilla ice cream for cool-weather comfort.

⏱️ 55 minuteDesserts & Baking ★ 4.6
Desserts & Baking
🍜 United States

A star-spangled classic American blueberry pie with buttery flaky crust and bright sweet-tart filling, perfect for summer patriotic gatherings.

⏱️ 1 hour 25Desserts & Baking ★ 4.7
Desserts & Baking
🍜 United States

A beloved no-bake regional Maine candy with a chewy coconut-potato center coated in rich dark chocolate, a New England holiday staple since the 1870s.

⏱️ 2 hours 3Desserts & Baking ★ 4.8
Desserts & Baking
🍜 France

Luxuriously creamy, floral frozen custard made with aromatic Tahitian vanilla beans, boasting a smooth, rich texture that melts slowly on the tongue.

⏱️ 3 hours 3Desserts & Baking ★ 4.5

S'mores Pizza:Frequently Asked Questions

1.Do I need a campfire or outdoor grill to make this s'mores pizza? ▾
Nope, that’s the best part of this recipe! You can make the entire thing in a standard home oven, no open flame required. High oven heat toasts marshmallows to that perfect golden, oozing finish and melts milk chocolate smoothly, so you get classic campfire s'mores flavor year-round, even in rainy or cold weather.
2.Can I use a pre-made graham cracker crust instead of making it from scratch? ▾
You absolutely can, for a super quick weeknight or party shortcut. Look for a 9 to 12-inch pre-made graham cracker pie crust, or even a pre-baked sugar cookie pizza crust for a slightly chewier base. Note pre-made crusts are often sweeter, so cut back a pinch on extra brown sugar if you add any toppings.
3.How do I keep my graham cracker crust from getting soggy? ▾
Soggy crust is an easy fix! First, mix crushed graham crackers with melted unsalted butter and light brown sugar, then press the mixture very firmly into your pan. Bake the empty crust for 5 minutes at 375°F before adding toppings, and let it cool 3 minutes first to create a protective moisture barrier.
4.Can I substitute dark chocolate for the milk chocolate bars called for in the recipe? ▾
Definitely! While this recipe uses creamy milk chocolate to match classic s'mores flavor, you can swap in dark, semi-sweet, or even white chocolate based on preference. If using dark chocolate, pick a 60-70% cacao bar to avoid overly bitter flavor that clashes with the sweet marshmallow and buttery crust.
5.What size pan works best for this s'mores pizza? ▾
A 12-inch round pizza pan is ideal for a shareable, evenly thick s'mores pizza. If you don’t have that, a 9x13 inch rimmed baking sheet works perfectly too—just press the crust a little thinner across the larger surface, and shave 1 to 2 minutes off total bake time to avoid burning crust edges.
6.How do I get perfectly golden, toasted marshmallows without burning them? ▾
Stay close to your oven during the final 2 to 3 minutes of baking! For the most even toast, set your oven to high broil after the chocolate melts, and keep the pizza on the middle rack, not too close to the heating element. Rotate the pan once halfway through broiling to account for oven hot spots.
7.Can I use mini marshmallows instead of large marshmallows for the topping? ▾
Mini marshmallows work totally great here! You’ll need about 2 cups of minis to cover the chocolate layer evenly, versus 15 to 18 halved large marshmallows. Minis melt a little faster and create a more uniform gooey layer, so keep a close eye on them during broiling to prevent burning.
8.Do I need to add the fine sea salt if I’m using salted butter? ▾
I recommend scaling back the added salt to just a tiny pinch if you use salted butter instead of unsalted. That small hit of salt cuts through the intense sweetness of chocolate, marshmallow, and brown sugar to make all flavors pop, but too much salt will make the crust taste unpleasantly savory instead of balanced.
9.How long should I let the s'mores pizza cool before slicing and serving? ▾
Let it rest for 4 to 5 minutes right after pulling it from the oven. This short cool-down gives melted chocolate time to set just enough that it doesn’t slide completely off the crust when you slice it, but the marshmallow will still be perfectly stretchy and gooey for that classic s'mores pull.
10.Can I make this recipe ahead of time for a party? ▾
S'mores pizza is best served fresh, right after baking, but you can prep components ahead to save time. Make and par-bake the graham cracker crust up to 2 days in advance, store it covered at room temperature, then add chocolate and marshmallows and bake right before guests arrive for ideal texture.
11.What’s the best way to crush graham crackers for the crust? ▾
The easiest, least messy method is to place whole graham cracker sheets in a sealed zip-top bag, squeeze out excess air, and roll over them with a rolling pin until you have fine, even crumbs. You can also pulse them in a food processor for 10-15 seconds, but keep crumbs slightly coarse for the best crust texture.
12.Can I make this s'mores pizza gluten-free? ▾
Absolutely! Just swap regular graham cracker sheets for your favorite certified gluten-free graham-style crackers, and double check that your milk chocolate bars don’t contain hidden gluten-based fillers. All other ingredients—butter, brown sugar, salt, marshmallows—are naturally gluten-free, so the swap is super straightforward.
13.Why is my graham cracker crust crumbling when I slice it? ▾
A crumbly crust usually means you didn’t press the crumbs firmly enough into the pan before par-baking, or you used too little melted butter to bind the crumbs. Next time, use the flat bottom of a measuring cup to press crumbs tight across the pan and up the edges, and make sure every crumb is lightly coated in butter.
14.Can I add extra mix-ins to customize my s'mores pizza? ▾
Of course! This recipe is super customizable. Try sprinkling crushed pretzels over the chocolate for extra salty crunch, adding a drizzle of peanut butter or salted caramel before baking, or tossing on chopped roasted peanuts for a nutty twist. Just don’t overload the crust, or it will get soggy under heavy toppings.
15.How do I store leftover s'mores pizza? ▾
Store leftover slices in an airtight container lined with parchment paper (to prevent sticking) in the fridge for up to 3 days. The marshmallow will deflate a bit as it cools, so reheat individual slices in a toaster oven at 350°F for 2 to 3 minutes to re-melt chocolate and re-fluff the marshmallow.
16.Can I use chocolate chips instead of milk chocolate bars? ▾
You can, but I recommend chopping a chocolate bar over using standard chocolate chips for the best melt. Chocolate chips are made with stabilizers to help them hold their shape when baked, so they won’t get that smooth, velvety melted layer. If you only have chips, let them rest 1 minute out of the oven to smooth out before adding marshmallows.
17.Do I need to grease my pan before pressing the graham cracker crust? ▾
A light coating of non-stick spray or a thin wipe of butter on the pan is a good insurance policy, even though the crust has plenty of butter in it. This prevents crust edges from sticking as it bakes, so you can lift slices out cleanly without leaving half the crust stuck to the pan surface.
18.What oven temperature should I use to bake this s'mores pizza? ▾
Start by baking your par-baked crust at 375°F, then add your chocolate layer and bake for 3 more minutes at the same temp to melt the chocolate smooth. Add your marshmallows, then switch to high broil for 1 to 2 minutes to toast the tops—low broil will make marshmallows rubbery instead of gooey.
19.Is this recipe kid-friendly to make? ▾
It’s absolutely perfect for kid cooks! There’s no complicated knife work, and kids love helping crush graham crackers, press the crust into the pan, and arrange marshmallows on top. Just make sure an adult handles the oven and broiler step, since high heat and hot pans can cause burns for little hands.
20.How many servings does this s'mores pizza make? ▾
A standard 12-inch s'mores pizza cuts neatly into 8 generous slices, perfect for sharing at movie night, a birthday party, or casual get-together. If you’re serving it alongside other snacks or desserts, you can cut it into 12 smaller, bite-sized squares for easy grab-and-go portions that don’t feel too rich.

Comments (14)

3 days ago

OMG y’all, I made this for my kid’s end-of-soccer-season team party and every single slice was gone in 10 minutes flat! So easy to throw together last minute, I didn’t even have to run to the store because I already had graham crackers, chocolate, and marshmallows in the pantry. Total game changer for busy weeknight treats too!

2 days ago

So happy this was a hit with the soccer team, Liz! It’s absolutely perfect for last-minute gatherings since the cook time is only 10 minutes—no fancy prep required!

1 week ago

Loved the concept! I made this over the weekend for our backyard campout since we couldn’t get a fire permit this summer. Only tiny note: my marshmallows got a little too toasty after 10 minutes in my oven, so I pulled it out at 8 minutes next round. Still SO good, even my picky teen asked for seconds.

5 days ago

Oh thanks for the heads up on the cook time! My oven runs super hot too so I’ll definitely set a timer for 8 minutes instead of 10 when I make this for our bonfire night next weekend.

3 days ago

Great call adjusting for your oven, Rae! All ovens run a little differently, so keeping an eye on the marshmallows until they’re perfectly golden is always a smart move. So glad your teen enjoyed it!

30 minutes ago

Bro I made this in my dorm room oven??? 10 minutes, zero fancy skills, my whole floor is banging on my door asking for more. I added a drizzle of peanut butter on top and it’s insane. 10/10 would make again instead of ordering late night pizza.

5 minutes ago

Wait peanut butter drizzle is genius, I’m making this tonight. Did you use creamy or crunchy?!

5 days ago

I made this for my grandkids when they visited over the weekend and they begged me to send the recipe to their parents! It’s so simple even this old lady could pull it off without a hitch, and it tastes just like the campfire s’mores we used to make when my own kids were little. Such a fun treat.

5 days ago

Brought this to my neighborhood potluck and I swear people were coming up to me for the recipe before I even set the platter down! I crushed up some extra graham cracker crumbs to sprinkle over the top for extra crunch and it was chef’s kiss. 10 minute cook time meant I didn’t have to stress about being late to the block party.

3 days ago

Wait were you at the Westside neighborhood potluck?! I had a slice of that and I’ve been searching for the recipe ever since! That extra graham crunch was unreal.

2 days ago

Love the extra graham cracker crumb addition, Kris! That extra crunch sounds like the perfect upgrade. So glad it was a potluck hit!

yesterday

Super easy recipe! I swapped the regular graham crackers for gluten free grahams and used a gluten free pizza crust, and it turned out perfectly. My roommate who eats gluten stole half the pan so that’s the ultimate seal of approval if you ask me. Only reason it’s not 5 stars is I wish I’d thought to add a little sea salt on top!

2 hours ago

That gluten free swap is such a great tip, Gabi! A little flaky sea salt on top of the chocolate is such a good call too, it cuts the sweetness perfectly—you’ll have to try that next time!

2 hours ago

Made this for my at-home date night with my girlfriend instead of our usual fancy dessert, and she said it was better than the $12 chocolate lava cake we got at our last anniversary dinner. Win for the guy who can barely cook pasta, honestly. 10 minutes, super hard to mess up, 10/10.

30 minutes ago

I did this for date night too! I added a side of raspberry jam for dipping and it was *chef’s kiss*. No more overpriced restaurant desserts for us lmao.

5 minutes ago

Love that this won date night, Drew! No fancy culinary skills required for this one, which makes it perfect for low-key nights in. The raspberry jam dip sounds incredible too!

2 weeks ago

Threw this on the pizza stone out on the grill after we finished burgers last weekend, and it was the perfect post-cookout dessert. Got that nice smoky edge on the crust from the grill, marshmallows perfectly toasted. All my buddies asked when I’m making it again for the next game watch. Absolute banger of a recipe.

5 minutes ago

Okay I was skeptical about a dessert pizza but I prepped this on Sunday to have as a little weeknight treat after workouts, and it’s held up way better than I thought! I cut it into squares and stored it in an airtight container, and even 3 days later the marshmallows are still chewy and the chocolate is melty when I zap it for 10 seconds in the microwave. So good!

just now

Wait how did I never think to prep this ahead?! I’ve been making boring protein bars for post-workout treats, this is way more fun. Thanks for the storage tip!

3 days ago

It was good, but I think I messed up the crust? I used a pre-made thin crust pizza dough and it got a little soggy under all the chocolate and marshmallows. Flavor was great though, my little cousin loved helping me spread the toppings on, so it was still a fun activity.

2 days ago

I had the soggy crust issue the first time too! I baked the crust for 3 minutes by itself before adding the toppings and it was perfectly crisp the second time around. Game changer!

yesterday

Sorry to hear the crust got soggy on your first try! Pre-baking the crust for 2-3 minutes before adding toppings like Haley suggested is such a great fix, it keeps the base crisp even with all the melty toppings. So glad you still had fun making it with your cousin!

1 week ago

If you love s’mores you HAVE to make this. I added a layer of Nutella under the milk chocolate and it’s the most decadent, perfect dessert I’ve made all summer. I don’t even care that it’s not campfire s’mores, this is better because I don’t have to fight off mosquitoes to eat it. Worth every single calorie.

yesterday

Made this with my 3rd grade class for our end-of-year fun day, and the kids went absolutely wild for it! It was so easy to let them help add the marshmallows and chocolate pieces, no sharp tools or complicated steps needed. We even did a little “vote for your favorite topping” add-in bar with sprinkles and caramel drizzle. Best classroom activity all year!

30 minutes ago

This makes my day, Tori! What a fun end-of-year activity for the class—an add-in topping bar sounds like the best way to let kids customize their slices. I bet they’ll remember that for ages!

2 weeks ago

Made this at 1am after a night out with friends and it might be the best drunk food decision I’ve ever made. Zero measuring, just dumped a bunch of chocolate, graham cracker bits, and marshmallows on a pre-made crust, threw it in the oven for 10 minutes, and we all ate it straight off the pan standing up in the kitchen. No notes, 10/10.

2 days ago

Made this for my son’s 8th birthday party instead of a regular cake, and all the kids said it was the best birthday dessert they’ve ever had. I lined the crust edge with mini marshmallows and put a candle right in the middle, and it was way easier than baking and frosting a whole cake for 15 rowdy 8 year olds. Will absolutely be making this again for future parties!

yesterday

This is such a better idea than a regular cake for little kids! Half the time they just lick the frosting off and leave the cake anyway, this is way more fun. Stealing this for my daughter’s birthday next month!



