
Soft Buttery Parker House Rolls

title 1
Soft Buttery Parker House Rolls
⏱️ cook time 20 minutes
🍽️ servings 12
⚡ Difficulty medium

intro

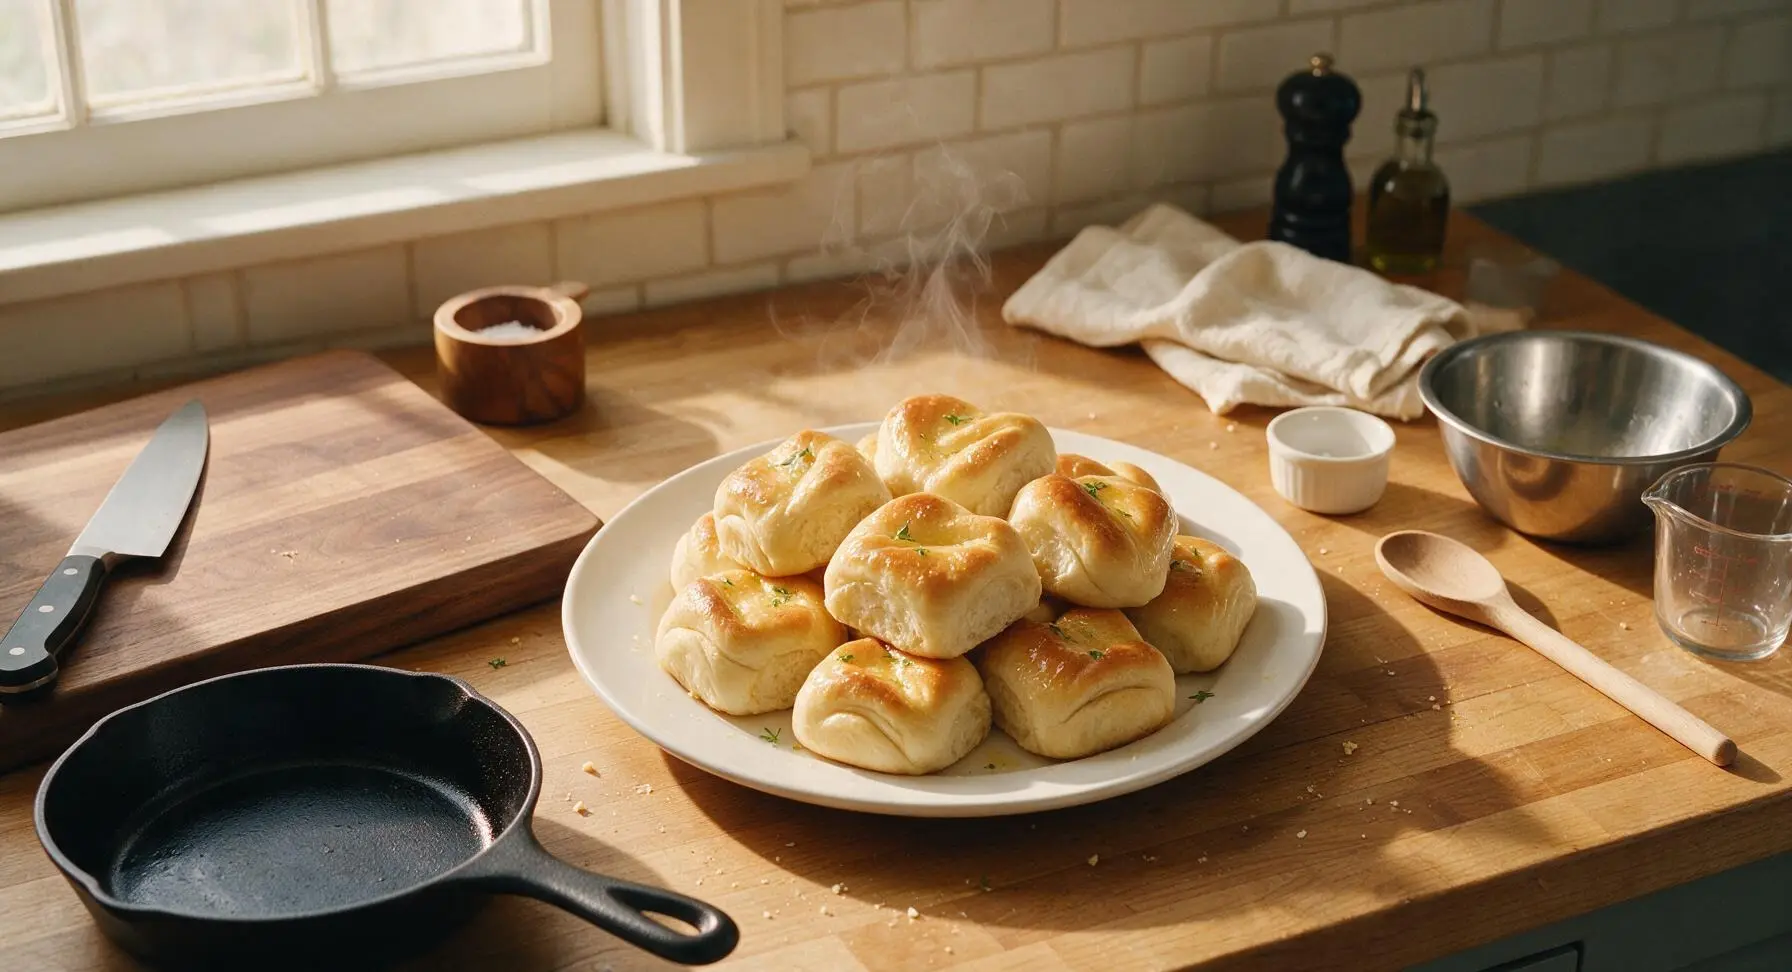
Light, pillowy soft buttery rolls with the iconic folded Parker House shape, brushed with melted salted butter — the beloved, melt-in-your-mouth Thanksgiving staple.

Ingredients
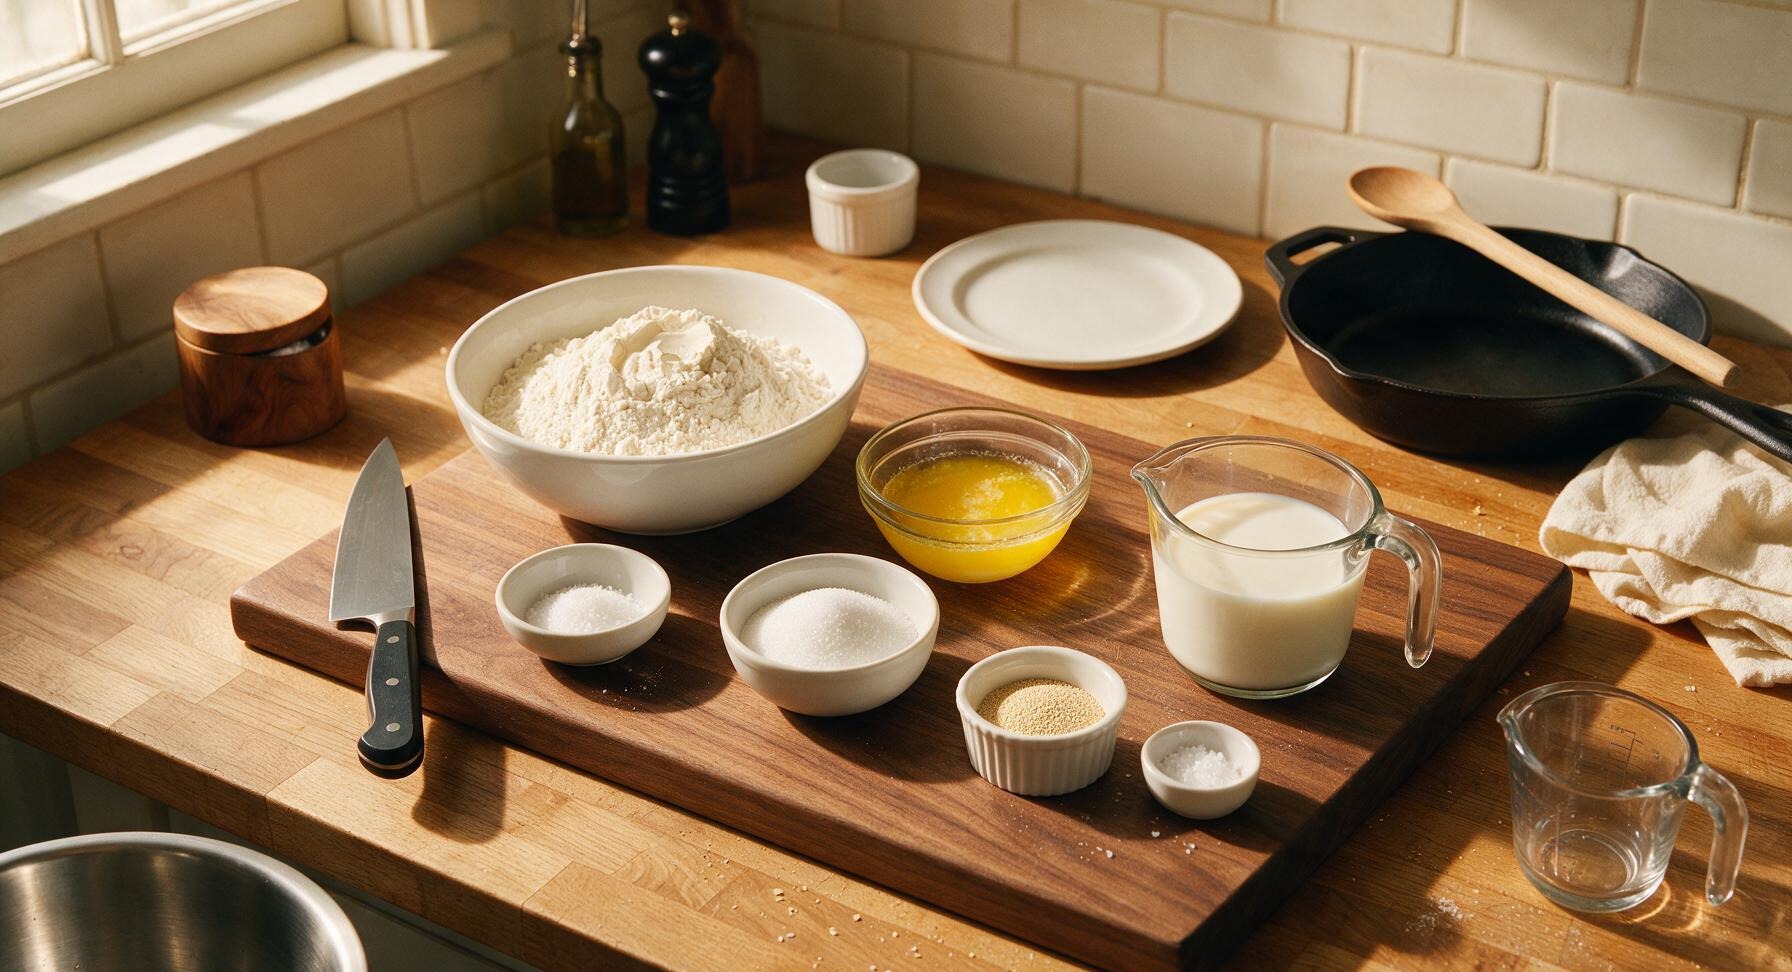
All-purpose flour, spooned and leveled 540g (4 ½ cups)
Whole milk, warmed to 110°F 360ml (1 ½ cups)
Active dry yeast 7g (1 standard ¼-oz packet)
Granulated sugar 38g (3 tbsp)
Fine sea salt 9g (1 ½ tsp)
Unsalted butter, melted and divided 113g (8 tbsp / 1 stick)
Flaky sea salt, for finishing 3g (1 tsp)

Steps

1

Activate the Yeast

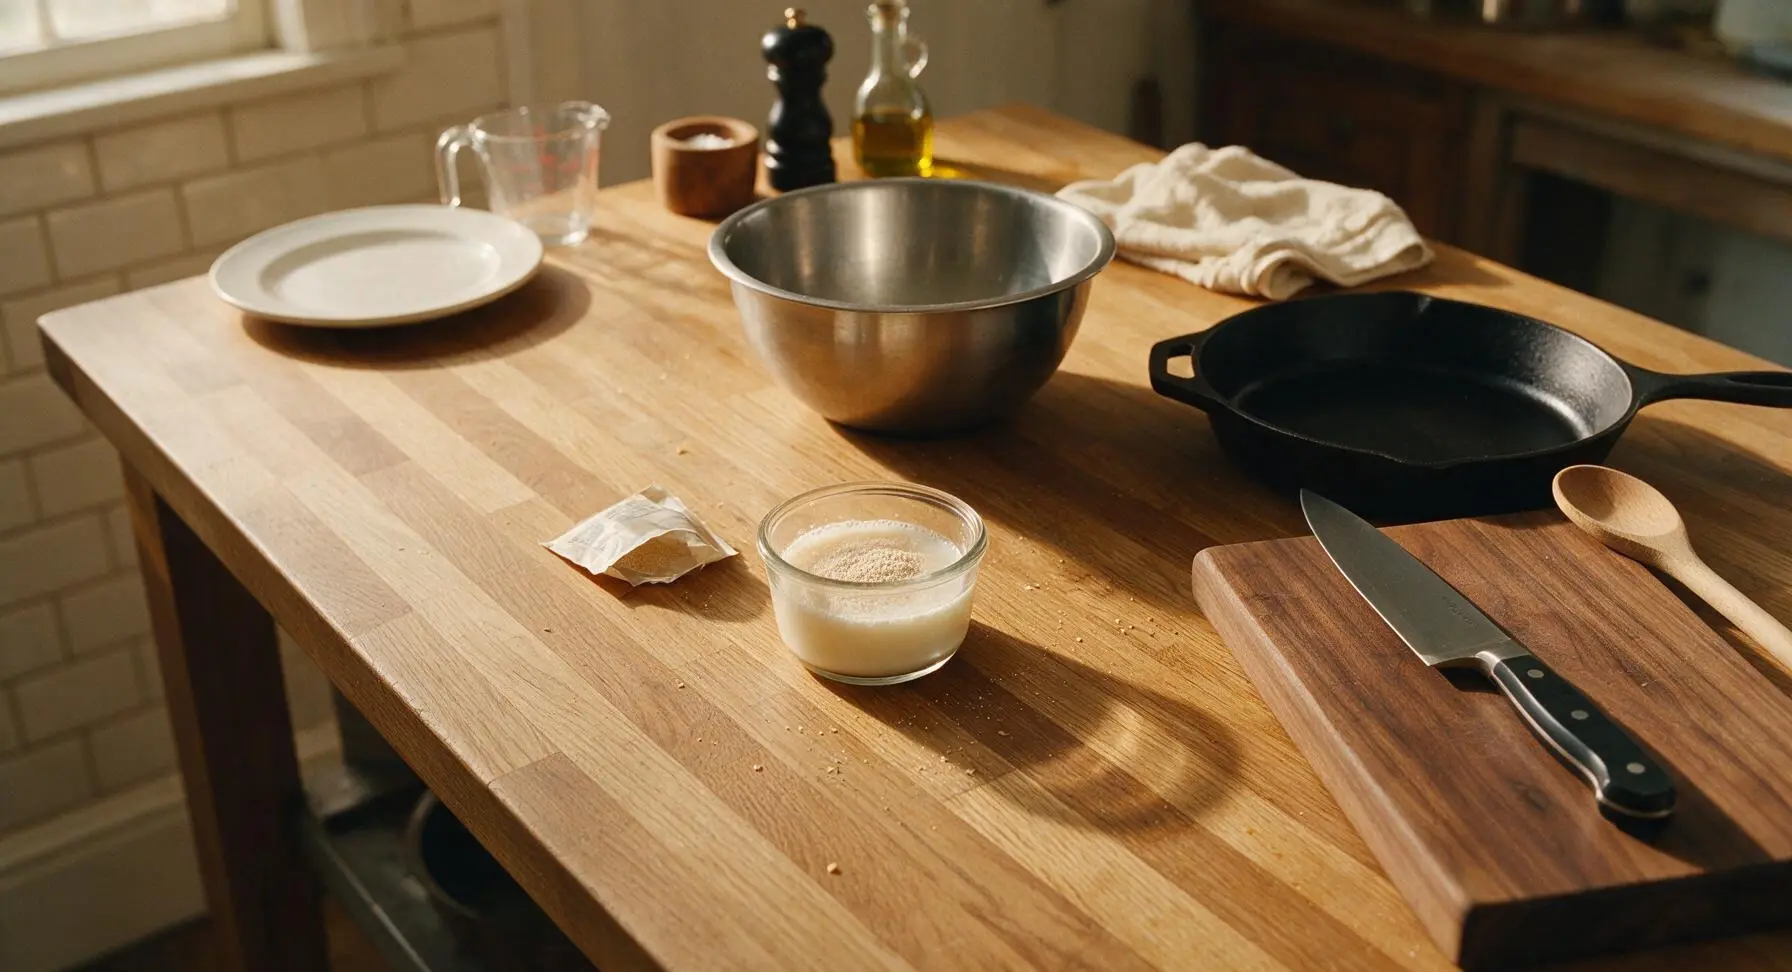
Pour the warmed 110°F whole milk into the small clear glass ramekin, stir in 1 tbsp of the granulated sugar until dissolved, then sprinkle the active dry yeast evenly over the surface. Let sit for 5-7 minutes until the mixture becomes foamy and fragrant, indicating the yeast is active. If no foam forms, the yeast is dead and should be replaced to avoid dense, flat rolls.
Step 1
step1:Activate the Yeast
2

Mix the Dough Base

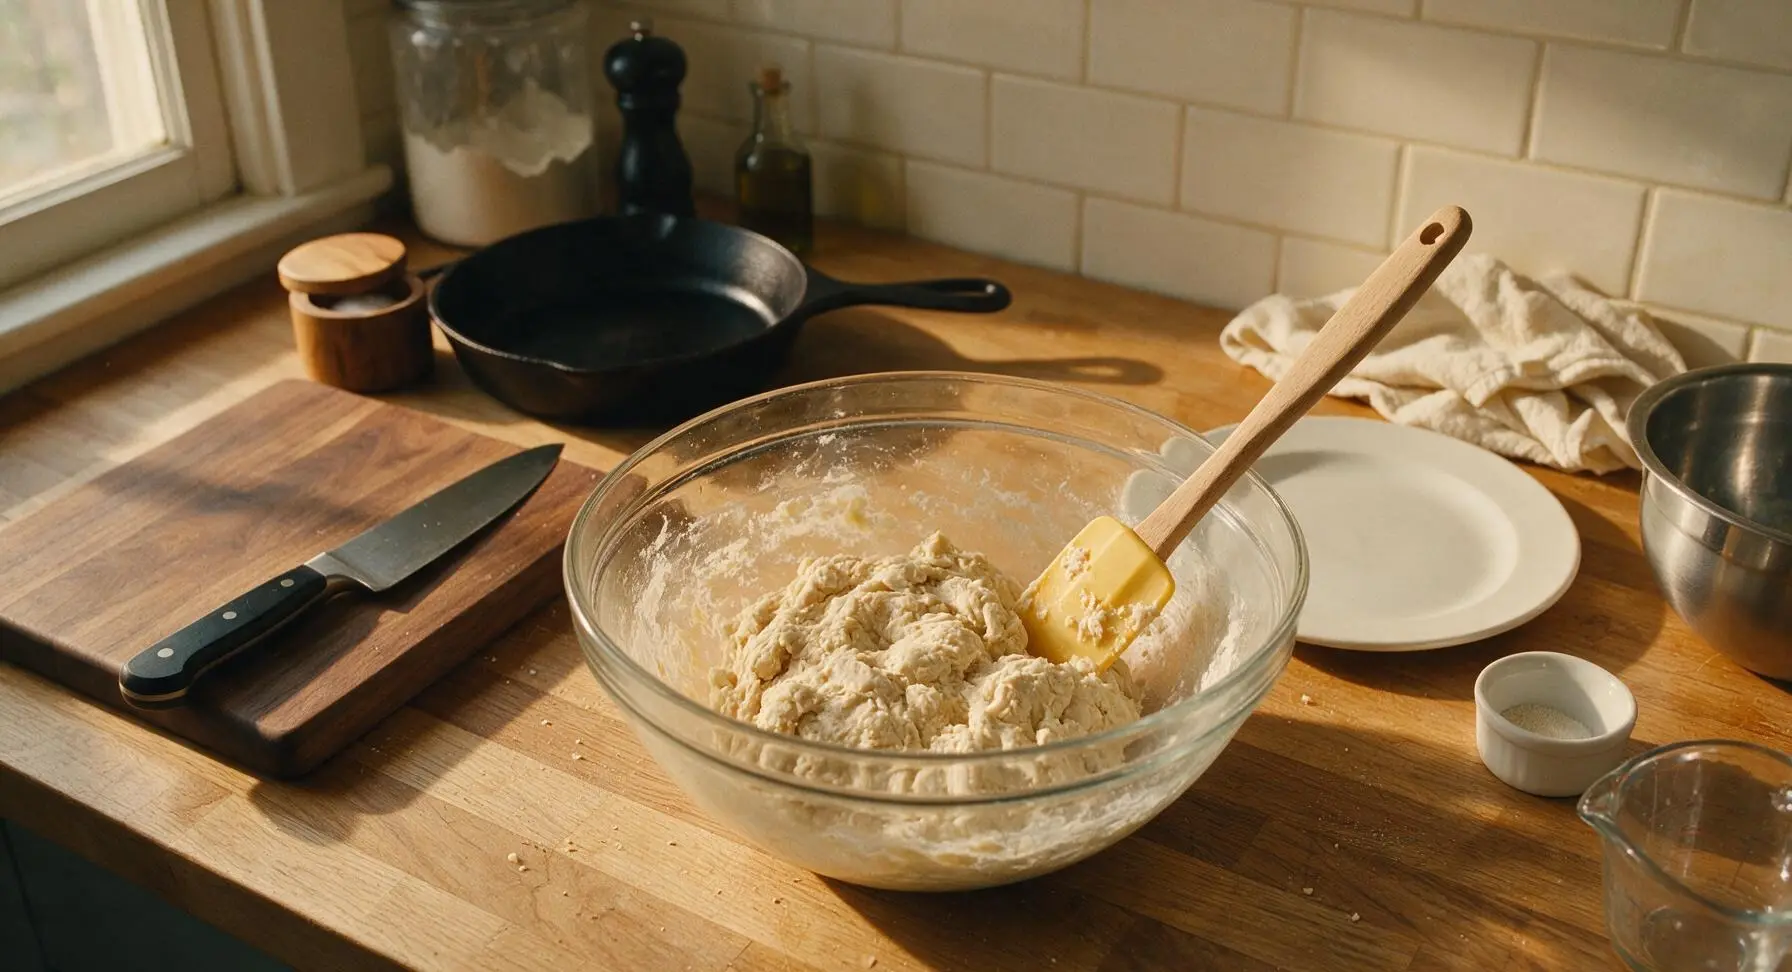
In the large clear glass mixing bowl, combine 3 cups of the measured all-purpose flour, remaining 2 tbsp granulated sugar, and fine sea salt, stirring briefly with the butter-yellow silicone spatula to combine. Pour in the activated yeast mixture and 6 tbsp of cooled melted butter, stirring until a shaggy, lumpy dough forms with no dry flour pockets at the bottom of the bowl.
Step 2
step2:Mix the Dough Base
3

Knead the Dough

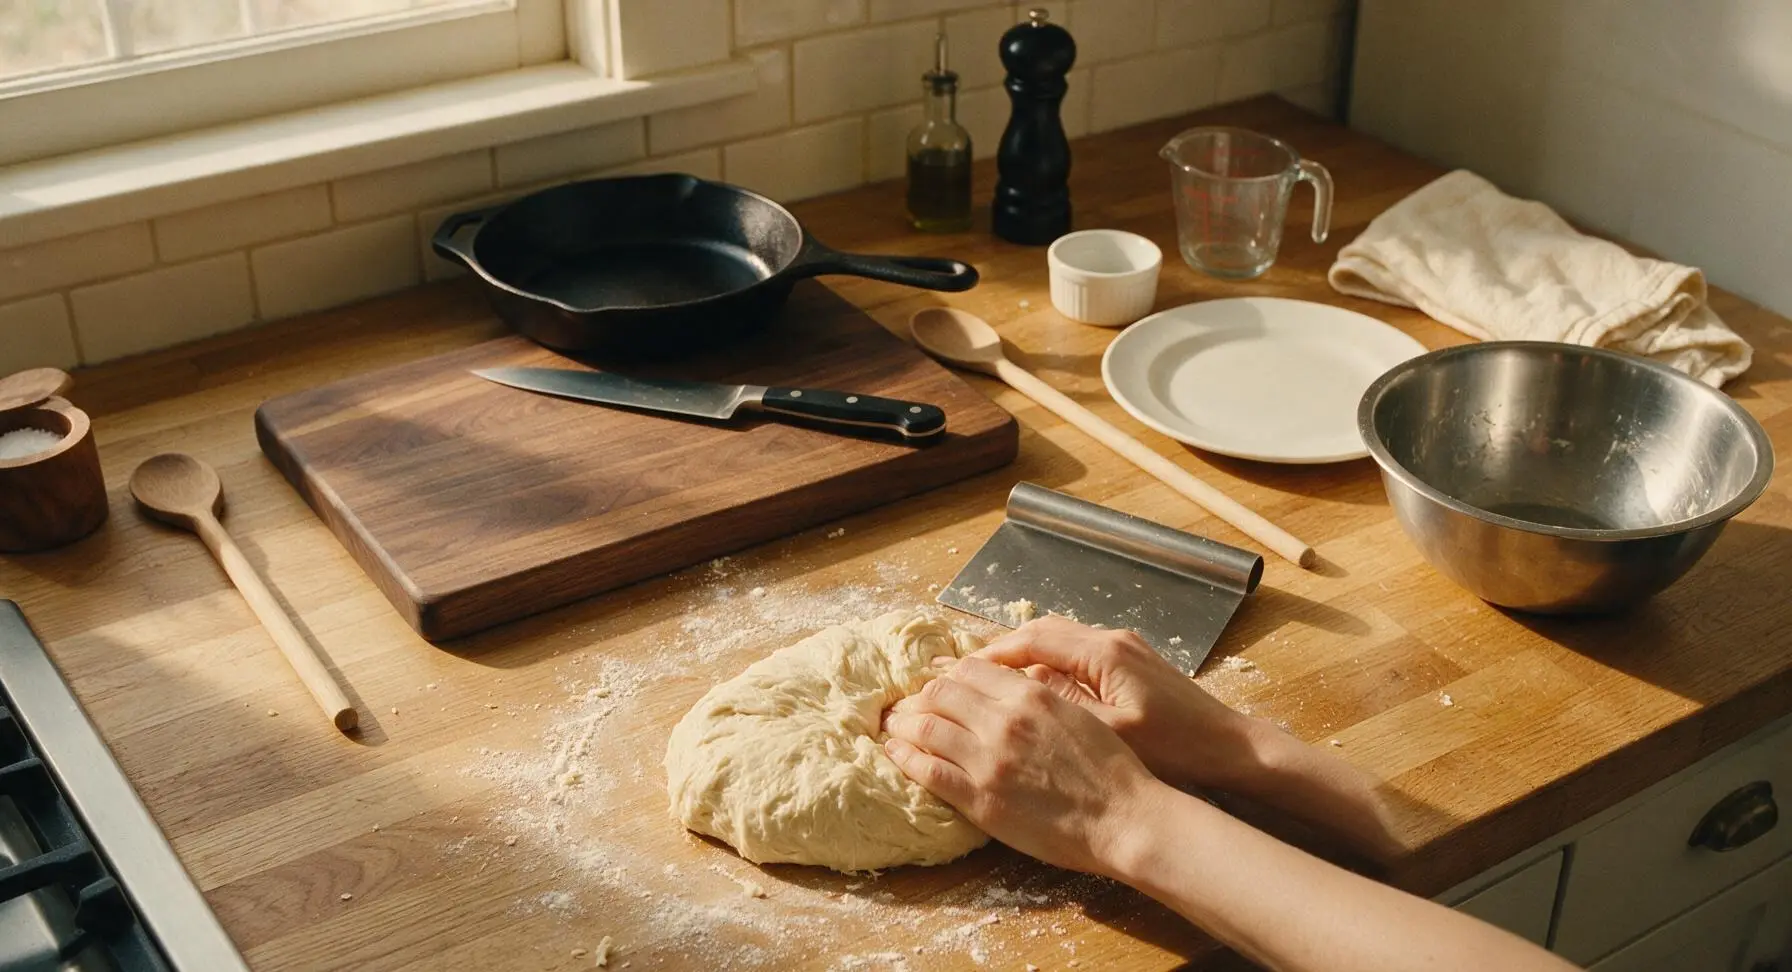
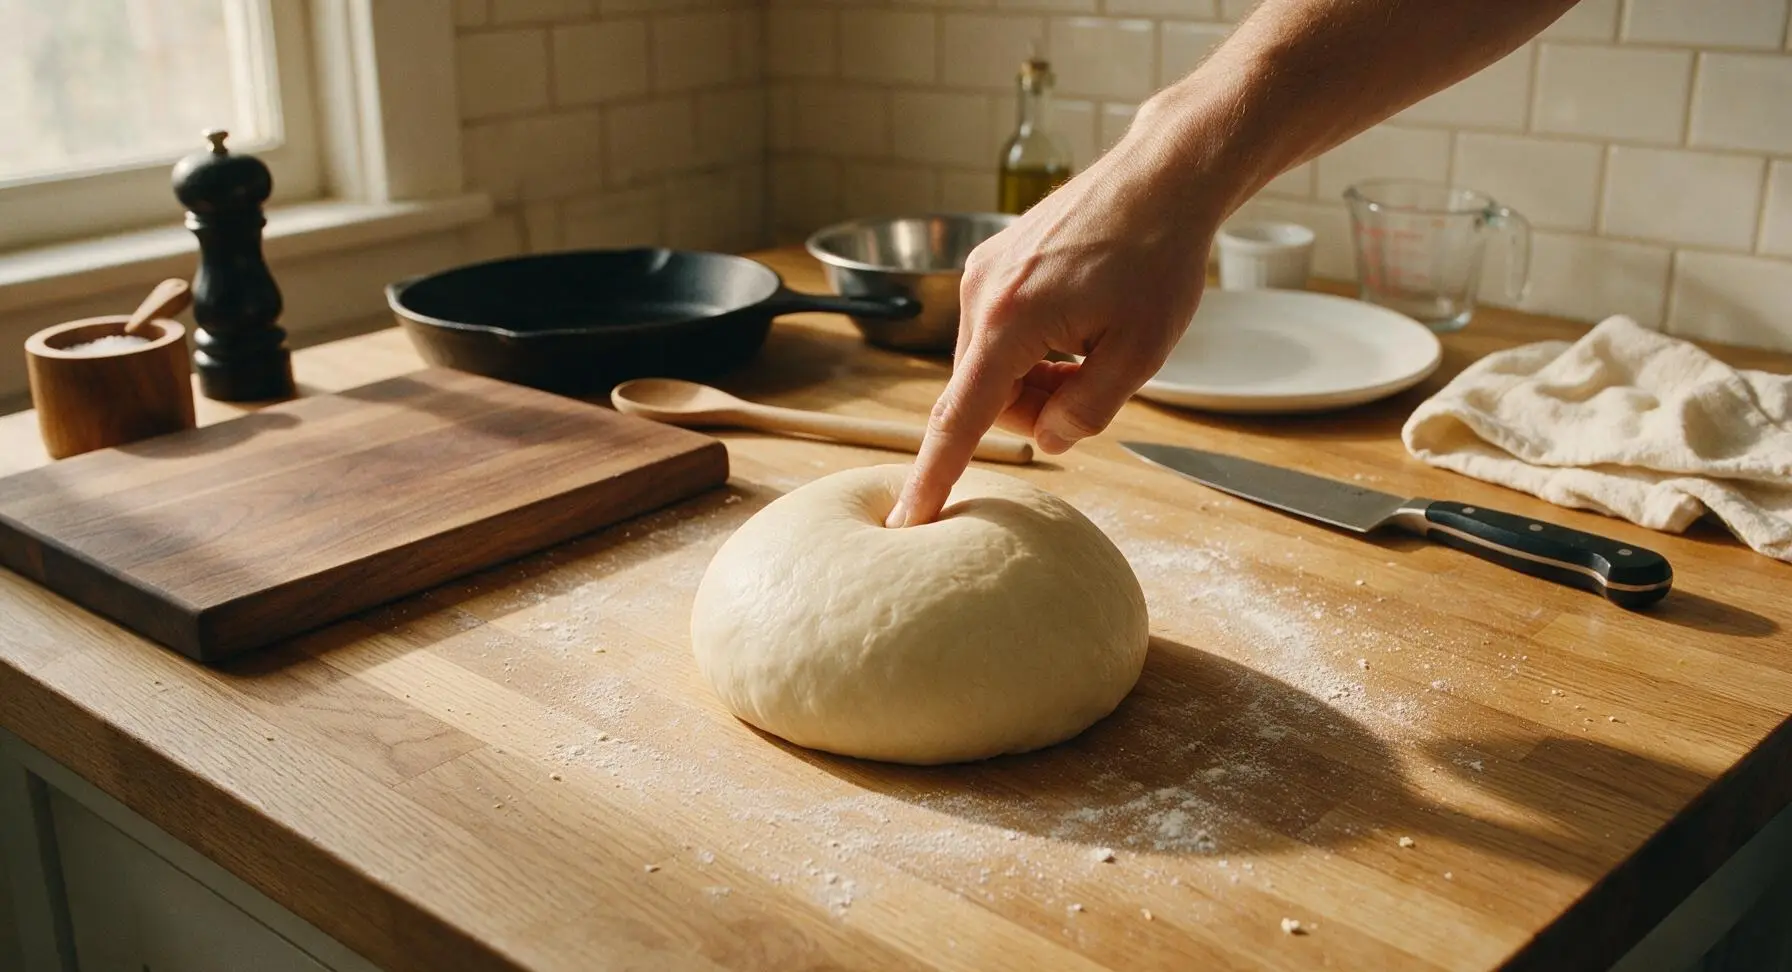
Sprinkle a light layer of the remaining flour onto the center of the maple countertop. Turn the shaggy dough out onto the floured surface, and knead for 8-10 minutes, adding the remaining 1 ½ cups flour 2 tbsp at a time as needed, until the dough is smooth, elastic, and pulls away cleanly from the counter without sticking. The finished dough should spring back slowly when poked with a finger.
Step 3
step3:Knead the Dough
Step 3
step3:Knead the Dough
4

First Dough Rise

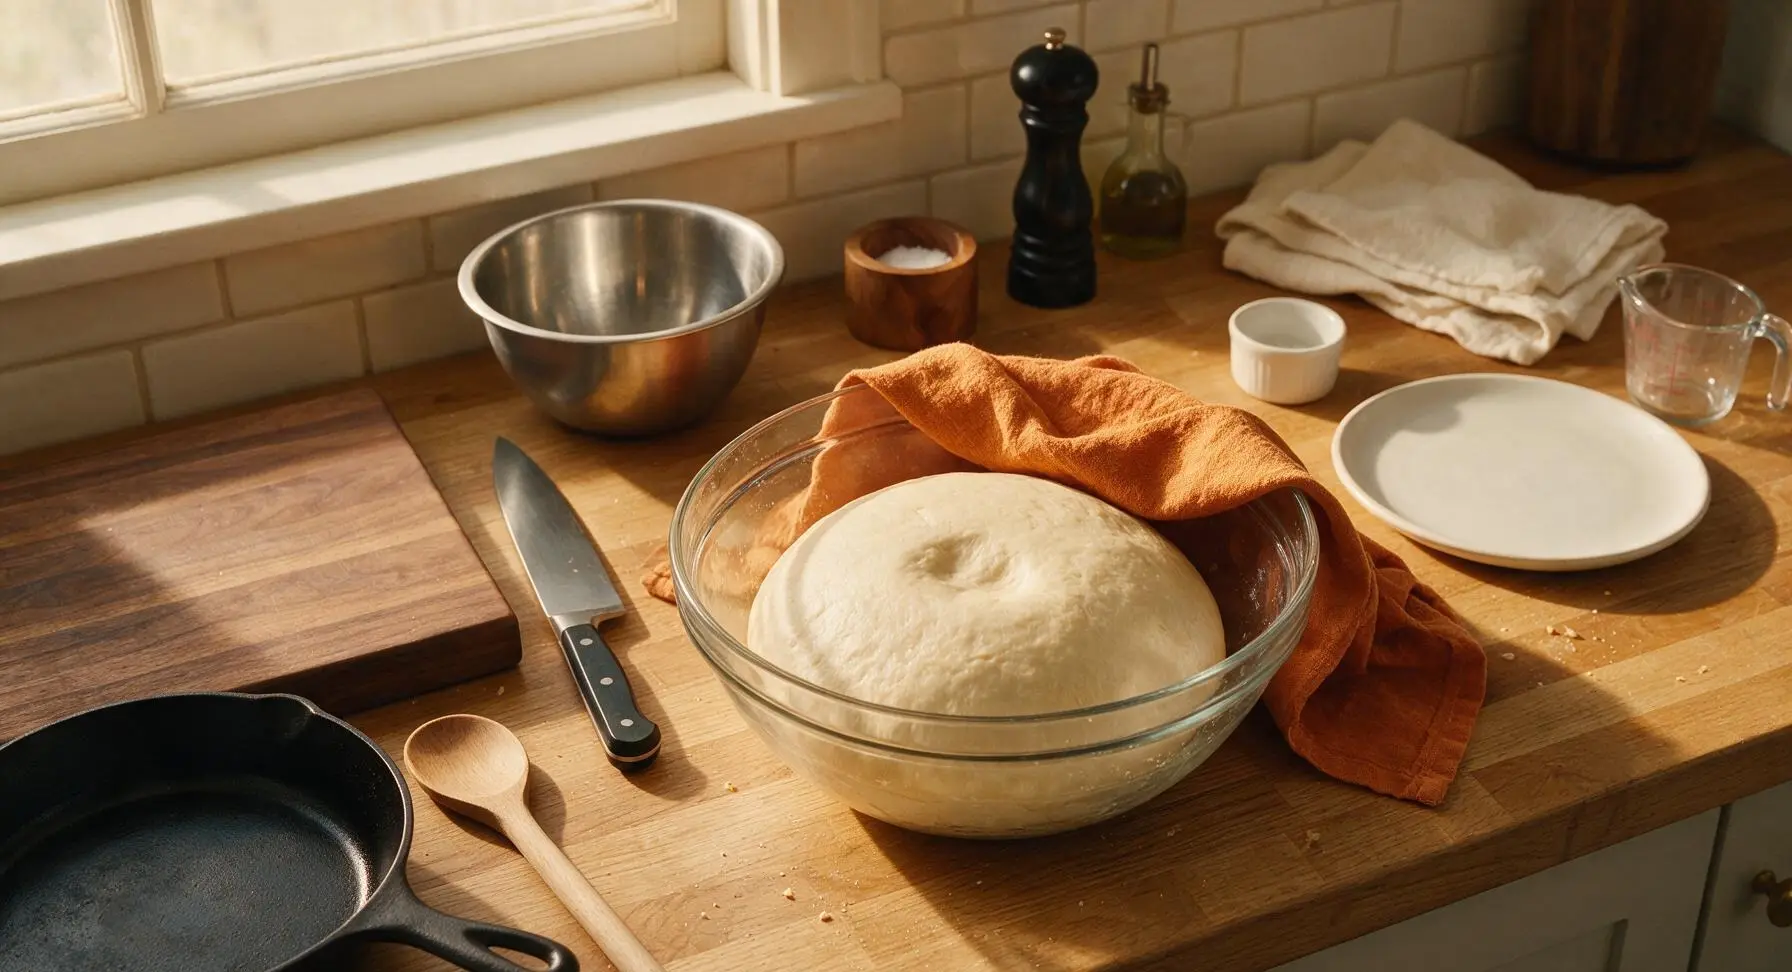
Form the kneaded dough into a tight ball, place it back into the lightly greased large glass mixing bowl, and turn once to coat the surface in a thin layer of butter. Cover the bowl tightly with a clean section of the burnt orange linen towel, and let rise in a warm, draft-free spot for 1 to 1 ½ hours, until the dough doubles in size and leaves an indentation when poked that does not spring back.
Step 4
step4:First Dough Rise
5

Portion and Shape Rolls

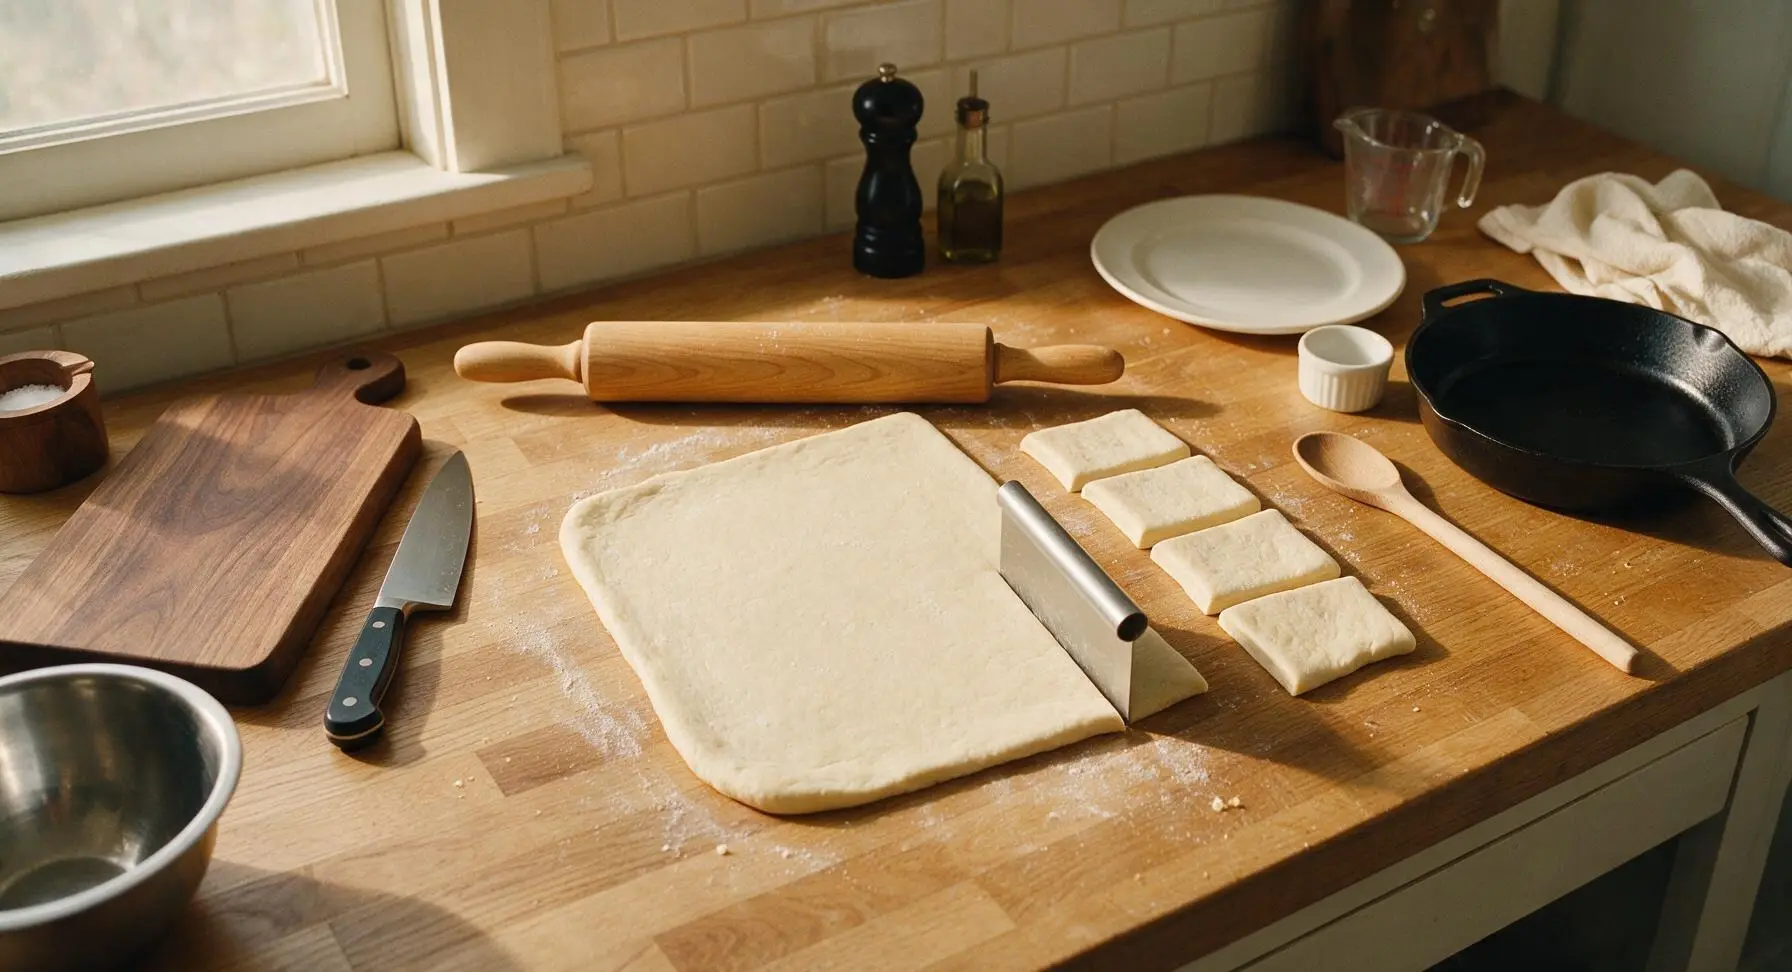
Use the stainless steel dough scraper to turn the risen dough out onto a lightly floured counter, gently pressing to deflate all air bubbles. Roll the dough out with the maple rolling pin into a large ½-inch thick rectangle. Cut the dough into 12 equal 3x4 inch rectangles. Brush the surface of each rectangle with a thin layer of melted butter, then fold each rectangle in half slightly off-center, so the top edge hangs ¼ inch over the bottom edge, pressing gently to seal.
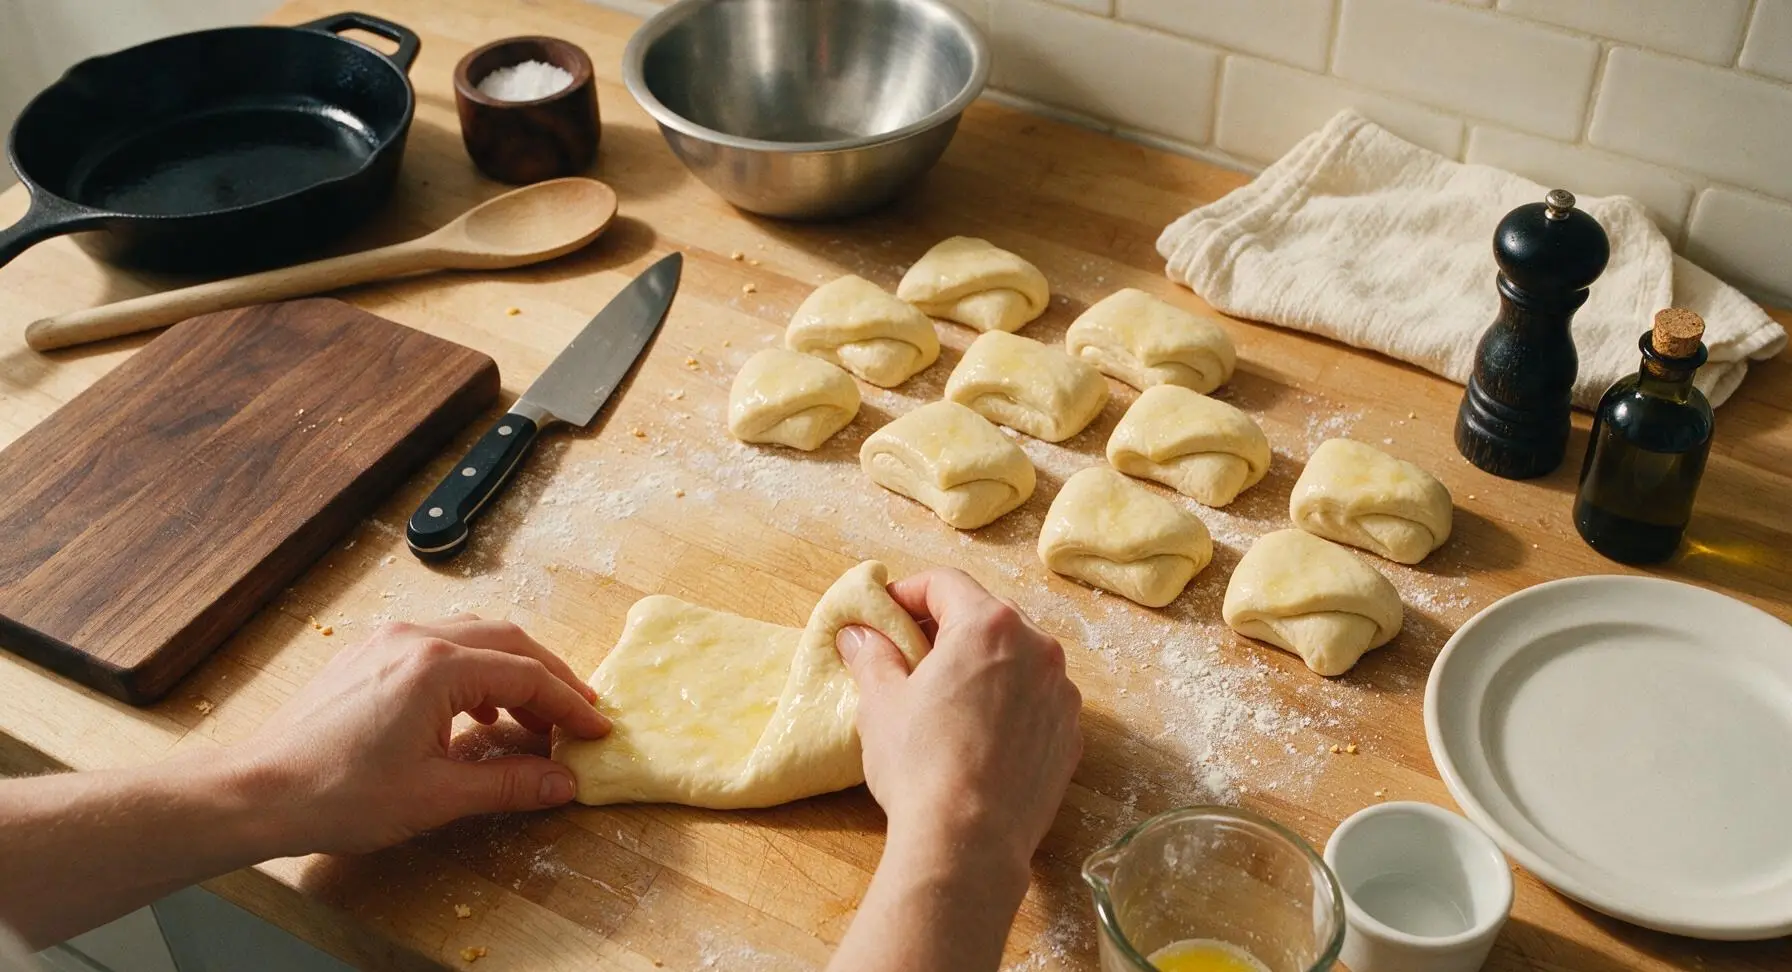
Step 5
step5:Portion and Shape Rolls
Step 5
step5:Portion and Shape Rolls
6

Second Proofing Rise

Arrange the folded rolls in the lightly buttered 9x13 matte cream ceramic baking dish, leaving ½ inch of space between each roll to allow for rising. Brush the tops of the rolls with another thin layer of melted butter, cover loosely with the linen towel, and let rise for 30-45 minutes until the rolls are puffy and touching each other, filling the baking dish completely.
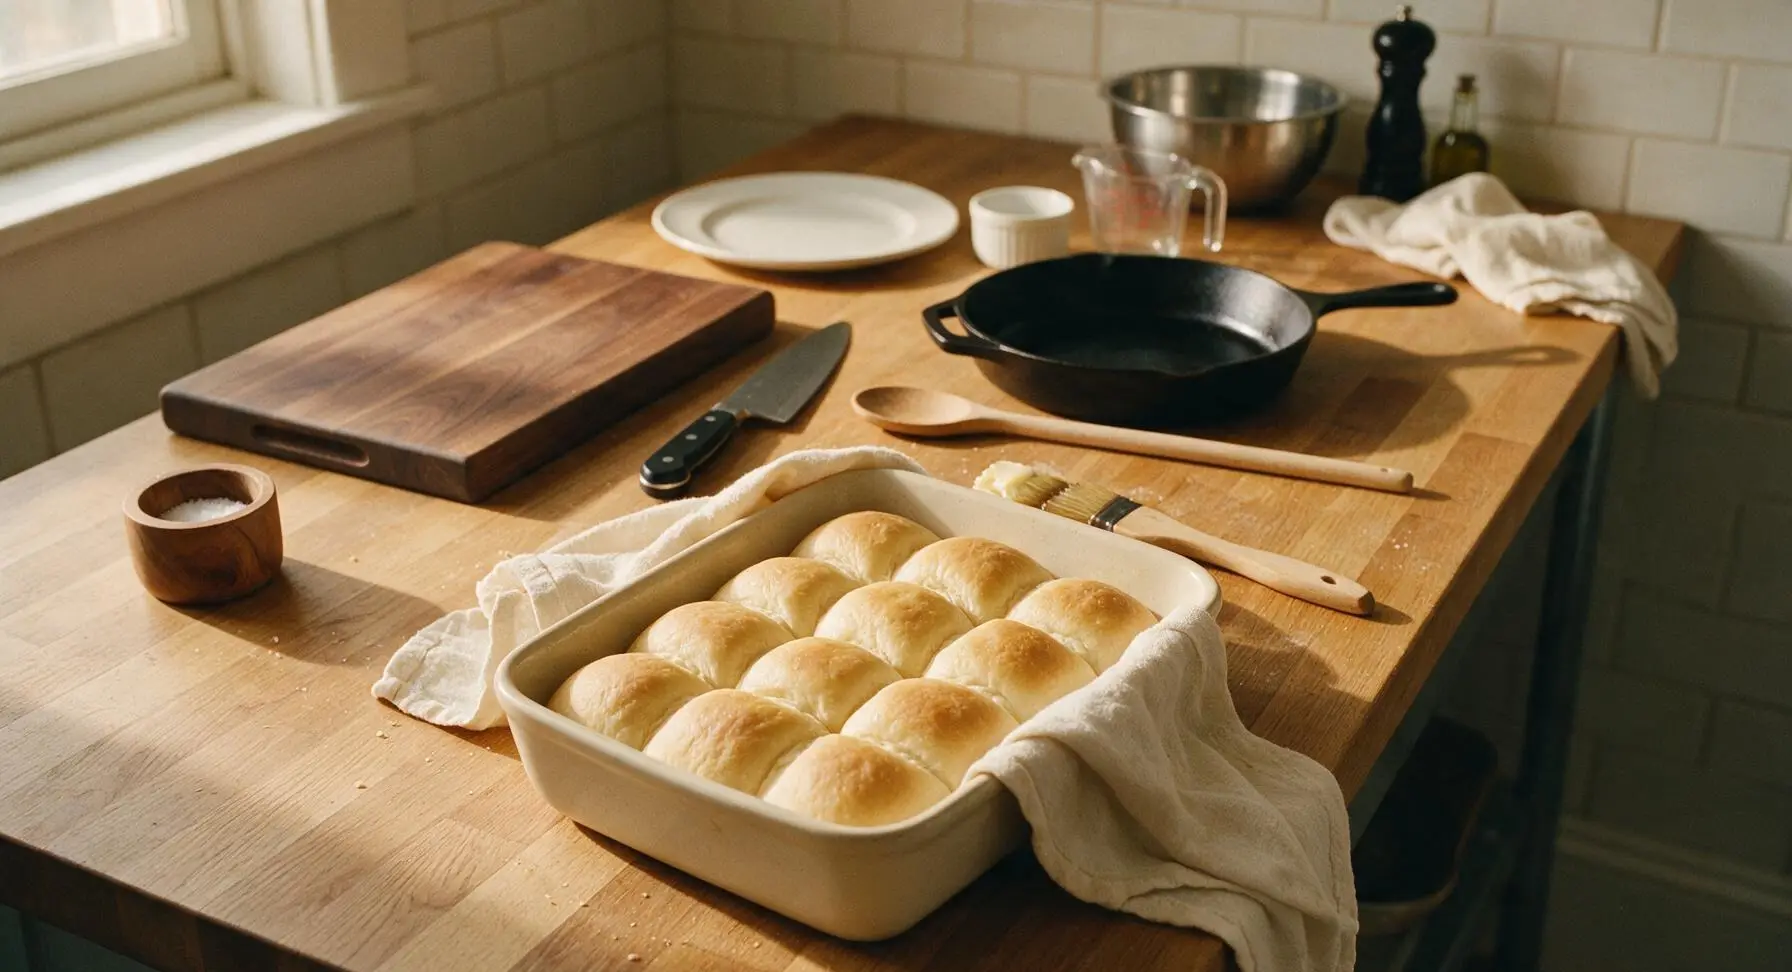
Step 6
step6:Second Proofing Rise
7

Bake to Golden Brown

Preheat oven to 375°F (190°C). Remove the linen towel from the baking dish, and bake the rolls for 18-22 minutes, until the tops are deep golden brown and the internal temperature of the center roll reads 190°F (88°C) on a thermometer. The rolls will smell rich and buttery across the kitchen when done.
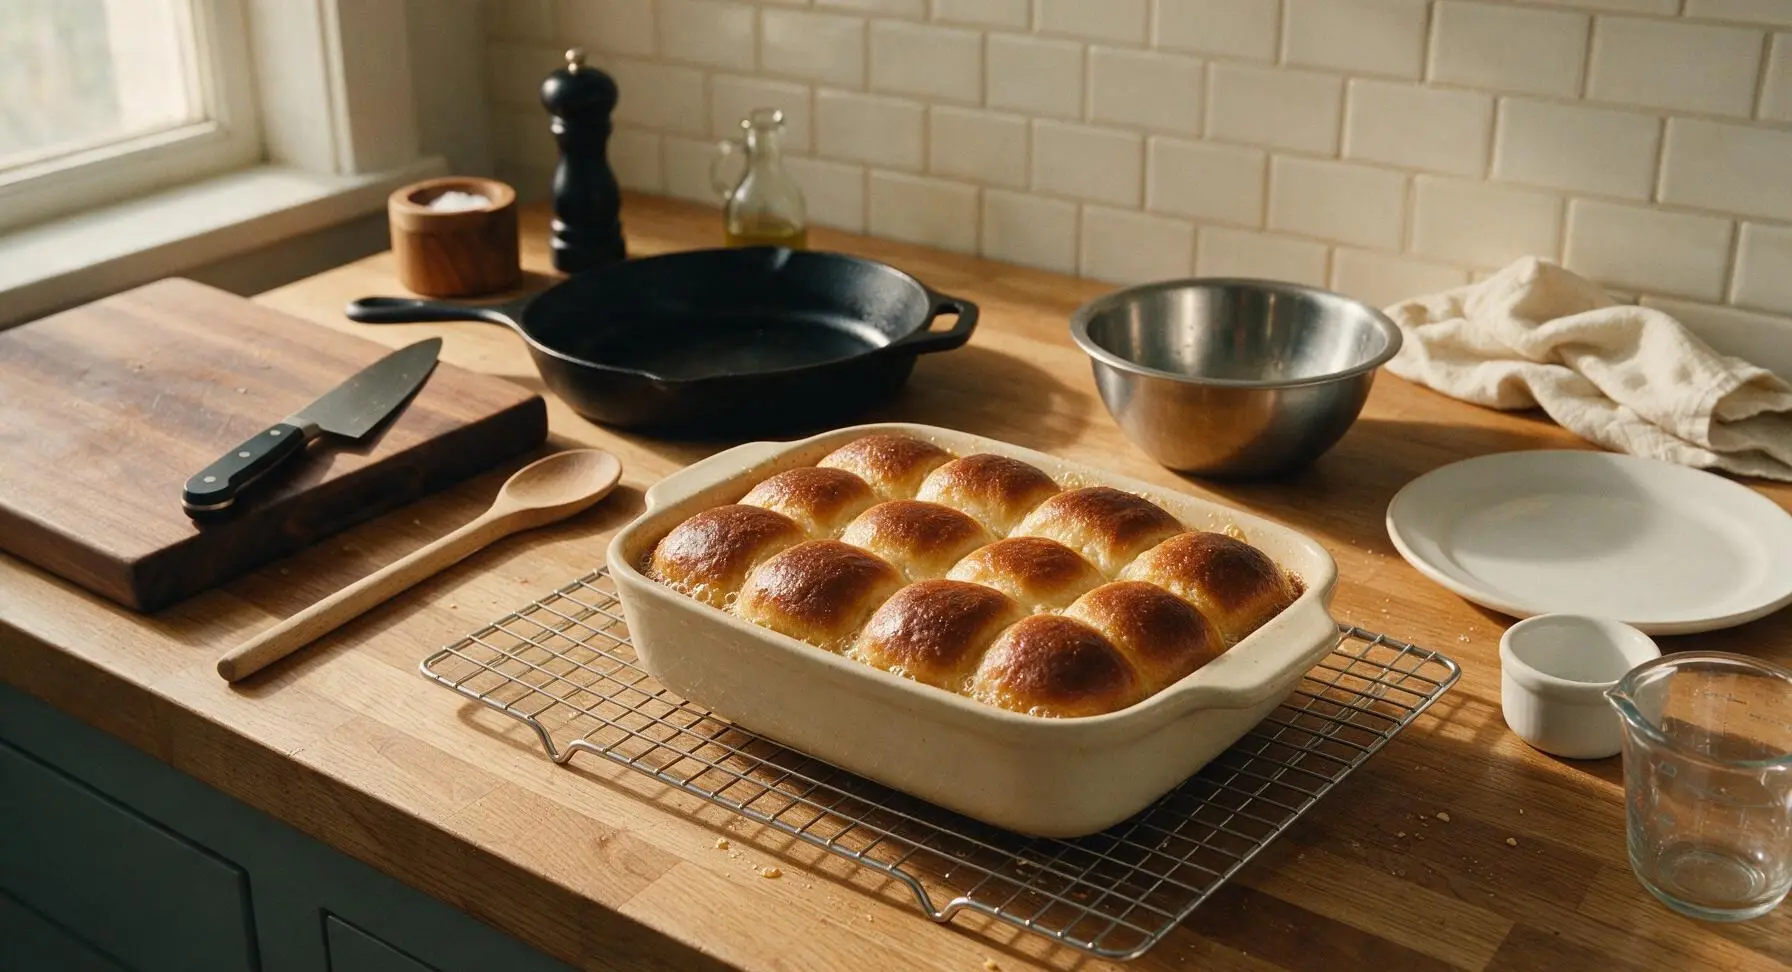
Step 7
step7:Bake to Golden Brown
8

Finish with Butter Salt

Immediately after removing the baking dish from the oven, use the boar bristle pastry brush to generously brush the roll tops with the remaining 2 tbsp melted butter, then sprinkle lightly with flaky sea salt. Let rolls cool in the dish for 5 minutes, then transfer to the vintage cream serving platter, pulling one roll slightly open to showcase the soft, pillowy crumb.
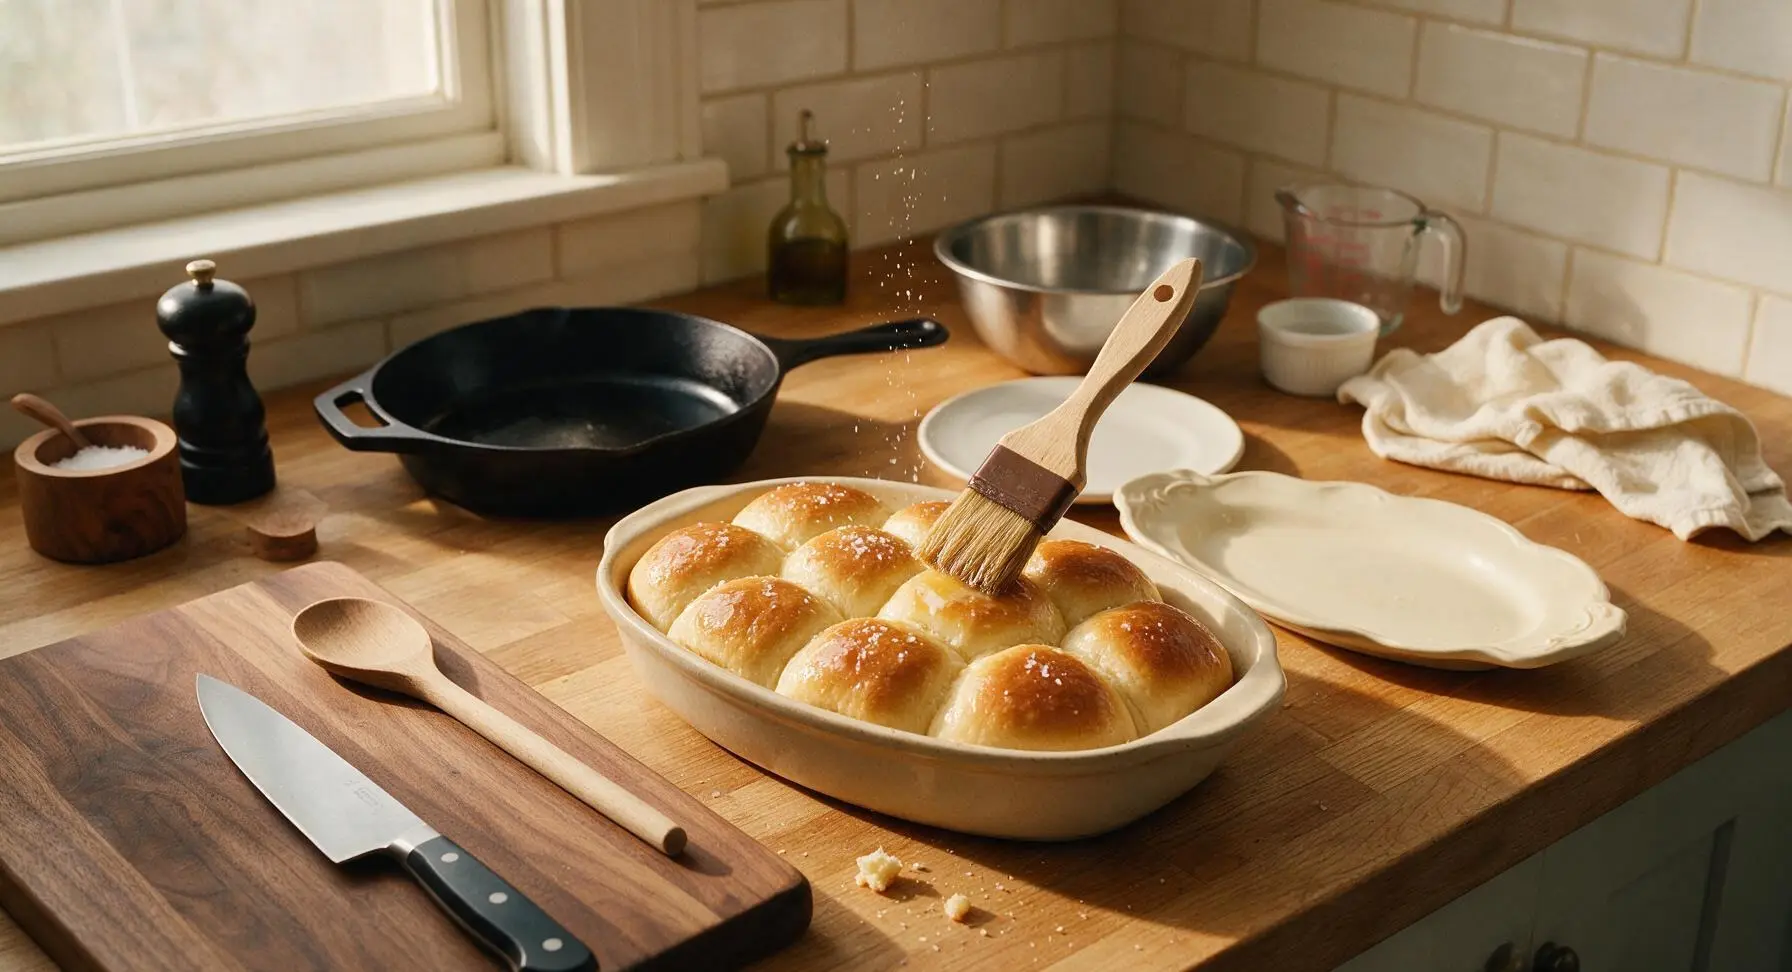
Step 8
step8:Finish with Butter Salt

Tips

1.Check your milk temperature with a thermometer before adding yeast: milk hotter than 115°F will kill live yeast, leading to dense, flat rolls that do not rise, while milk colder than 100°F will slow yeast activation significantly, adding hours to rise time.
2.Resist adding extra flour while kneading unless the dough is actively sticking to your hands and the counter: too much flour will create tough, dense rolls instead of the light, cloud-like crumb that defines classic Parker House rolls. The dough will become less sticky as gluten develops during kneading.
3.Always brush rolls with melted butter the second they come out of the oven: the hot roll crust absorbs the butter, creating a rich, tender, flavorful top, whereas waiting until rolls cool will leave butter sitting on the surface, creating a soggy, greasy crust.


✨ You May Also Like

Side Dishes
🍜 India

Velvety, aromatic all-purpose curry sauce perfect for tossing with roasted veggies, grilled protein, or rice for fast, cozy, flavorful meals.

⏱️ 25 minuteSide Dishes ★ 4.8
Side Dishes
🍜 Spain

Tender, starchy boiled yuca tossed in bright, garlicky citrus mojo sauce—an iconic, zesty side that pairs beautifully with roasted pork, grilled meats, and rice and beans.

⏱️ 40 minuteSide Dishes ★ 5
Side Dishes
🍜 United States

Tender, paper-thin potato flatbread, a beloved Norwegian-American Minnesota Christmas staple, griddled until softly spotted and served warm with butter.

⏱️ 1 hour 30Side Dishes ★ 4.6
Side Dishes
🍜 United States

Rich, deeply savory cured salt pork, a long-lasting kitchen staple perfect for frying crispy as a side or adding umami to stews, beans, and chowders.

⏱️ 7 days (2Side Dishes ★ 4.9
Side Dishes
🍜 United States

Crispy, tangy classic Southern fried green tomatoes with a crunchy cornmeal crust, served hot for a nostalgic, comforting summery bite.

⏱️ 25 minuteSide Dishes ★ 4.9
Side Dishes
🍜 United States

Moist, golden-crusted savory muffins with sweet corn, zesty jalapeño, and melted cheddar, perfect for pairing with smoky summer grilled fare.

⏱️ 30 minuteSide Dishes ★ 4.9

Soft Buttery Parker House Rolls:Frequently Asked Questions

1.What’s the right milk temperature to properly activate my active dry yeast? ▾
Stick to 110°F for your whole milk, which feels like comfortably warm bath water to the touch. Any hotter than 120°F will kill the yeast, leading to flat, dense rolls, while milk that’s too cold won’t rouse the yeast enough for a good rise. An instant-read thermometer takes all the guesswork out here.
2.Can I make these Parker House rolls ahead of time for Thanksgiving? ▾
Absolutely! You can shape the rolls, arrange them in your baking pan, cover them tightly, and refrigerate for up to 16 hours. When you’re ready to bake, pull them out, let them puff at room temp for 45 minutes to an hour, then bake as directed for fresh, warm rolls with zero last-minute hassle.
3.Why do my rolls turn out dense instead of light and pillowy? ▾
Dense rolls usually come from one of three common missteps: not letting the dough rise long enough, adding too much extra flour while kneading, or using expired, inactive yeast. Make sure your dough doubles in size during both rises, and only use light flour dustings to prevent sticking as you work.
4.Do I have to use all-purpose flour, or can I swap in bread flour? ▾
You can absolutely use bread flour if that’s what you have on hand! It has slightly higher protein content, which gives rolls a tiny bit more chewy structure, but they’ll still be soft and buttery. Just stick to the spoon-and-level measuring method, no packing flour into cups, to avoid tough results.
5.How do I get that iconic folded Parker House shape right? ▾
It’s simpler than it sounds! Once you portion the dough into equal balls, roll each into a 3-inch oval, brush the surface with melted butter, then use the thin edge of a wooden spoon to press a deep indentation down the middle. Fold the oval in half over that indent, press gently to seal, and set seam-side down in your pan.
6.Can I use unsalted butter instead of salted butter for brushing? ▾
Definitely! If you only have unsalted butter, just melt it and stir in a tiny pinch of fine sea salt per tablespoon of butter before brushing it on the freshly baked rolls. You’ll get that same perfect salty-buttery contrast that makes these rolls so addictive, no extra grocery run needed.
7.How long do I need to knead the dough for the best texture? ▾
If kneading by hand, aim for 8 to 10 minutes; if using a stand mixer with a dough hook, it’ll only take 4 to 6 minutes on low speed. The dough is ready when it’s smooth, pulls away from the bowl cleanly, and springs back slowly when you poke it gently with a floured finger.
8.How should I store leftover baked rolls to keep them soft? ▾
Let the rolls cool completely to room temperature first, then tuck them into an airtight storage bag or container and keep them on the counter for up to 3 days. Don’t refrigerate them—cold fridge air dries out baked bread fast, leaving you with tough, stale rolls way sooner than counter storage.
9.What’s the best way to reheat leftover rolls so they taste fresh? ▾
Wrap the rolls loosely in aluminum foil, pop them in a 300°F oven for 8 to 10 minutes, and brush them with a tiny extra hit of melted butter when they come out. They’ll come out soft, warm, and buttery, almost indistinguishable from freshly baked, with no sad rubbery microwave texture.
10.Can I freeze these rolls for later use? ▾
Yes! Baked, fully cooled rolls freeze beautifully for up to 3 months. Wrap them tightly in two layers of plastic wrap and a layer of foil to prevent freezer burn. When you’re ready to eat, thaw them on the counter for a couple hours, then reheat in the oven for fresh-tasting results.
11.Why do I need to spoon and level my flour instead of scooping it? ▾
Scooping flour directly from the bag with your measuring cup packs it tight, which can add up to 3 extra tablespoons of flour per cup—enough to make rolls tough and dense instead of light and pillowy. Spoon flour loosely into the cup, then sweep the top flat with a knife for consistent results every time.
12.Can I reduce or leave out the granulated sugar in the dough? ▾
Don’t skip the small amount of granulated sugar in this recipe! It doesn’t make the rolls taste sweet—its key jobs are to feed the active dry yeast for a reliable rise, tenderize the crumb, and help the rolls develop a light golden crust as they bake. It won’t overpower that classic buttery, salty flavor.

Comments (3)

3 days ago

OMG these rolls are a total game changer! I made them for our Sunday family dinner last night and even my super picky 7 year old asked for seconds, then thirds. They’re so soft and buttery, exactly the kind of rolls my grandma used to make but I never thought I could pull off since I’m pretty new to bread baking. The recipe listed medium difficulty but the steps were super straightforward and easy to follow!

2 days ago

Wait did you do anything special for the folding step? I tried a different Parker House roll recipe last month and mine came out way too dense, I’m nervous to mess these up for my work potluck next week!

2 days ago

So glad your family loved them, Molly! Quick tip for Liz too: make sure your yeast is nice and foamy before mixing it in, and don’t skimp on the melted butter brush between the folds – that’s what keeps them pillowy soft and creates that perfect signature split! Let me know how your potluck batch turns out, I bet they’ll be a hit.

5 days ago

Made these for our neighborhood block party potluck over the weekend and they were gone in 10 minutes flat. Everyone was hovering around the platter asking who brought the rolls and begging for the recipe. Only quick hack: I added a tiny sprinkle of flaky sea salt on top right before baking and it *chef’s kiss* took them to the next level. Cook time was spot on at 20 minutes for my oven too, no rack adjusting or temp tweaks needed!

3 days ago

That flaky sea salt sprinkle is such a smart, delicious hack, Josh! I’m going to add that as a fun variation note to the recipe card – so glad they were a hit at the block party!

1 week ago

SO good! I made a double batch on Sunday for meal prep to pair with soups and stews all week, and they reheat perfectly in the microwave for 15 seconds wrapped in a damp paper towel. I was worried the medium difficulty rating would be too much for my chaotic weeknight schedule but the hands-on time was way less than I expected, totally doable even with a toddler hanging off my leg while I baked. 10/10 will absolutely be making these for our Thanksgiving spread this year too!



