
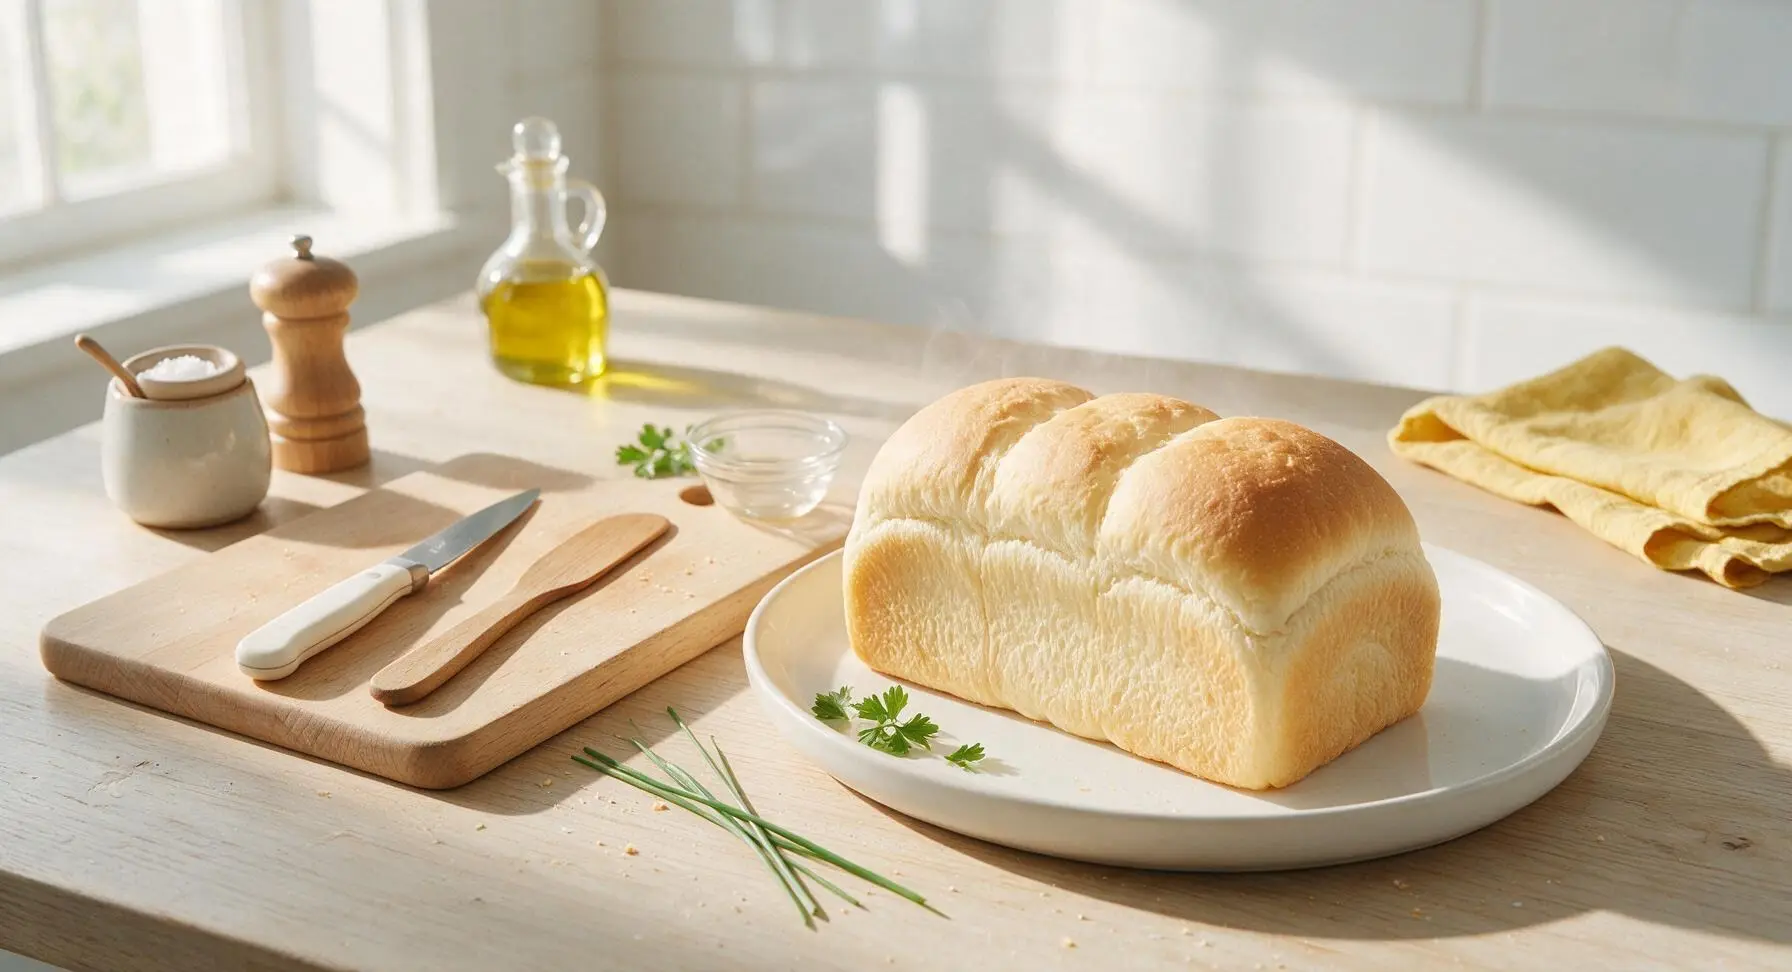
soft toast

title 1
soft toast
⏱️ cook time 30 minutes
🍽️ servings 6
⚡ Difficulty medium

intro

Pillowy, cloud-soft milk toast with a delicate tender crumb and pale golden crust, perfect for butter, jam, or picnic sandwiches. It stays soft for days with no dry, tough edges.

Ingredients
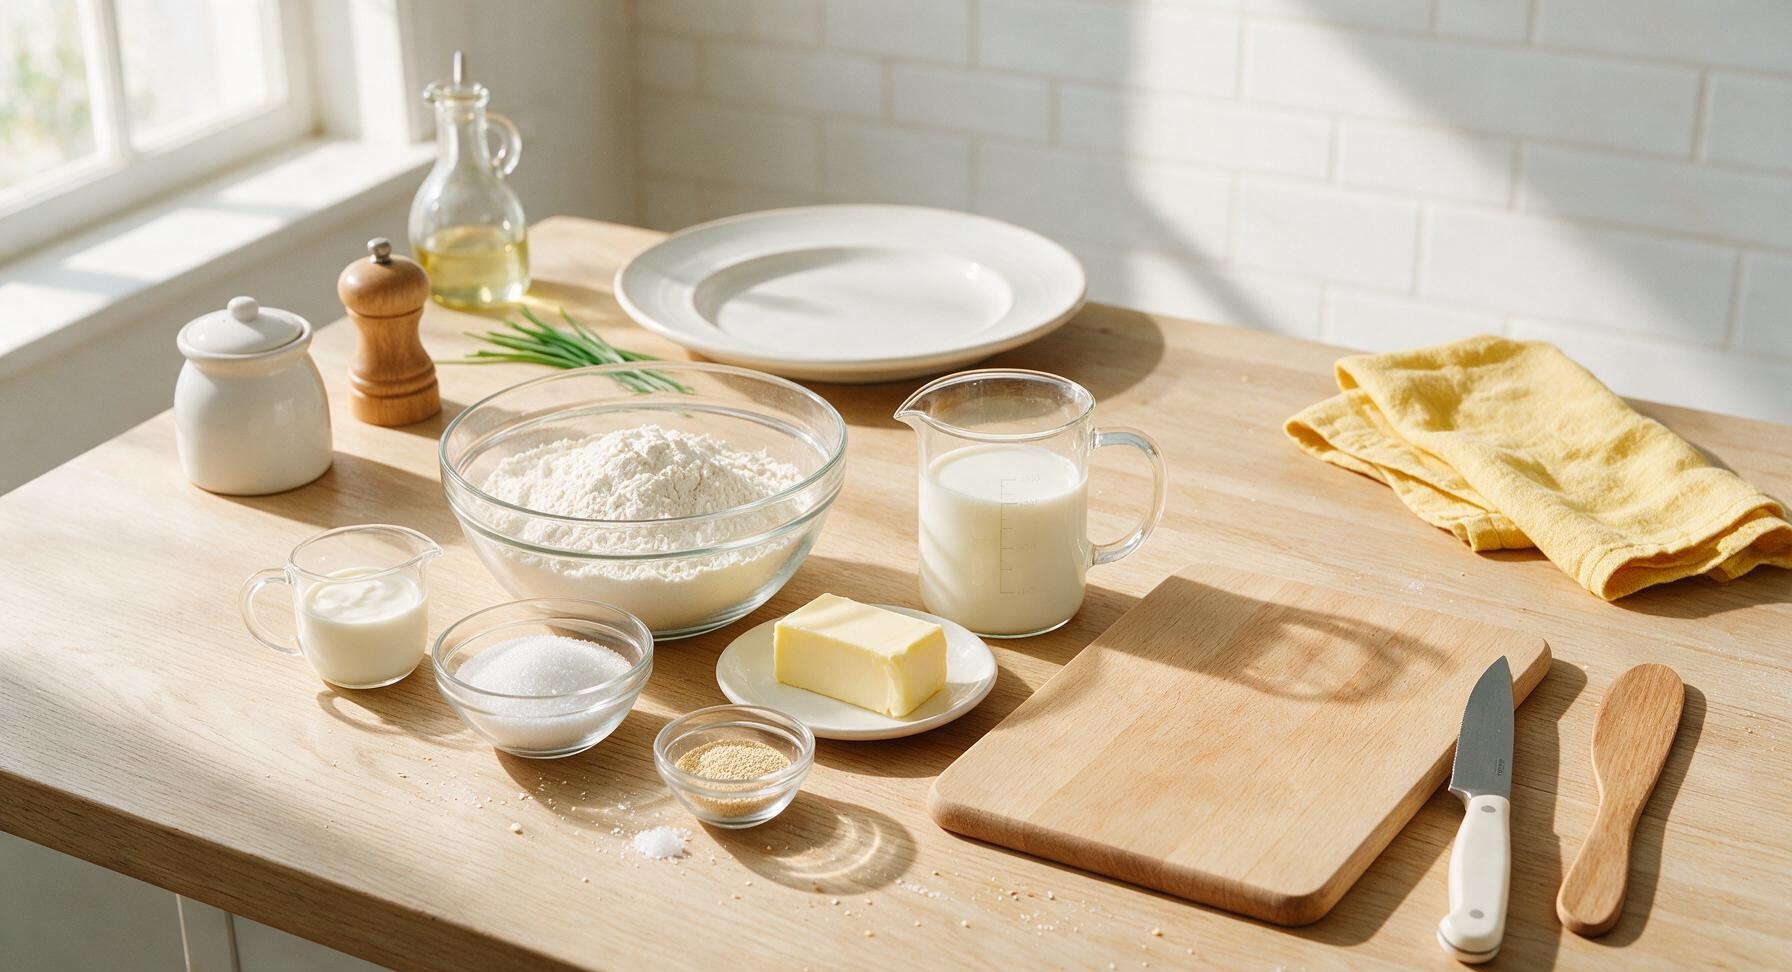
Bread flour 400g
Whole milk 280ml
Unsalted butter 45g (40g for dough, 5g for crust)
Granulated sugar 30g
Instant dry yeast 7g (1 standard packet)
Fine sea salt 6g
Heavy cream 30ml

Steps

1

Cook tangzhong base

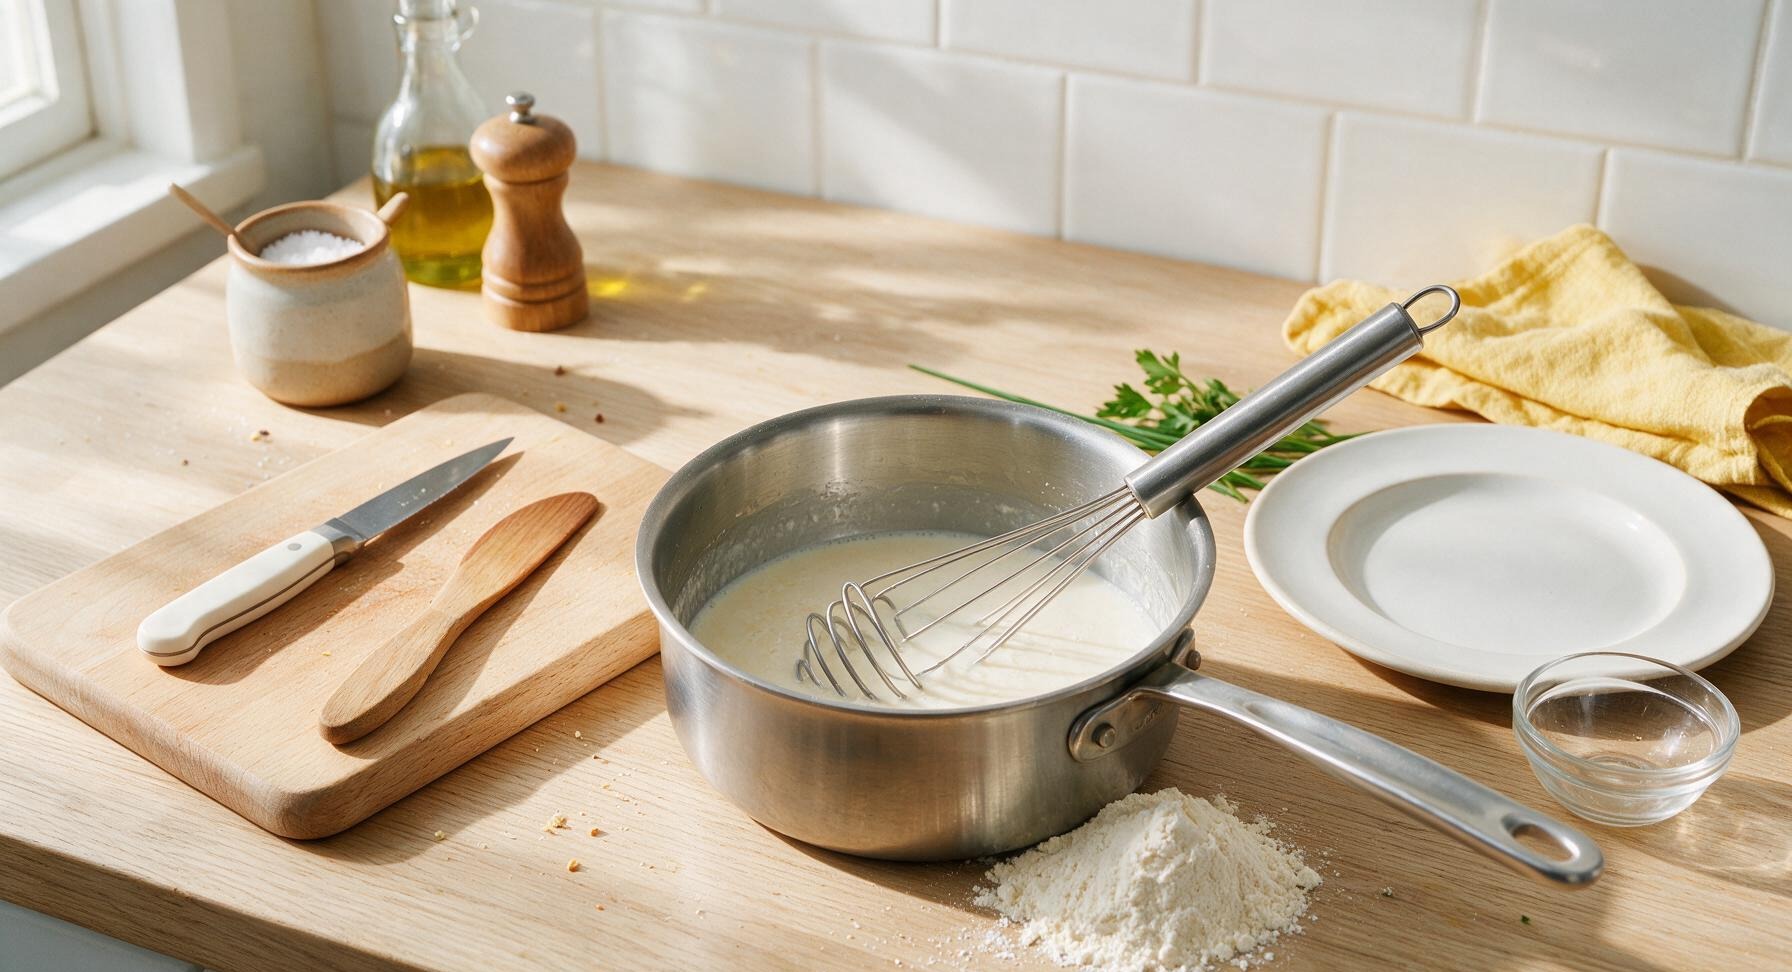
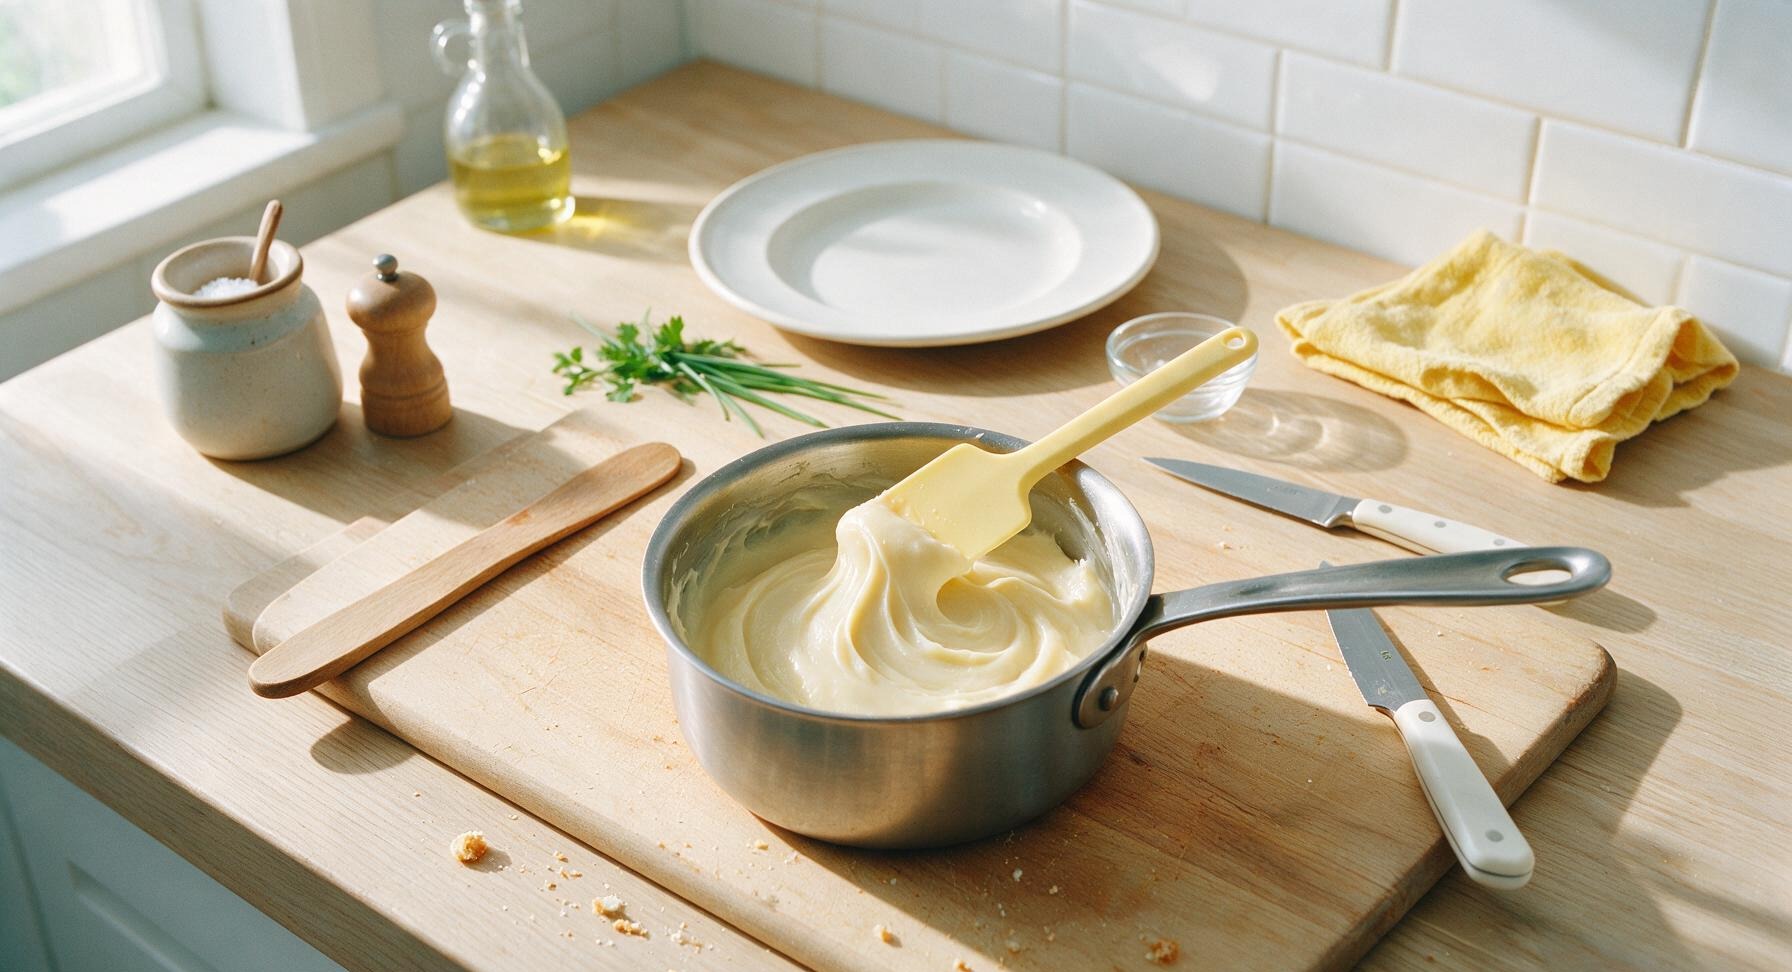
Whisk 20g of the measured bread flour and 100ml whole milk in the 1-quart stainless steel saucepan until completely smooth with no lumps. Cook over medium-low heat, stirring constantly with the pale yellow silicone dough scraper, for 2-3 minutes until the mixture thickens into a smooth, pudding-like paste that leaves a clear trail when the scraper is lifted (internal temperature 65C/149F). Remove from heat and set aside to cool to room temperature, about 10 minutes.
Step 1
step1:Cook tangzhong base
Step 1
step1:Cook tangzhong base
2

Combine dough ingredients

Place the remaining 380g bread flour, granulated sugar, instant yeast, and fine sea salt in the large beech wood mixing bowl, whisking lightly with the dough whisk to evenly distribute the ingredients. Add the fully cooled tangzhong paste, remaining 180ml lukewarm whole milk (warmed to 32C/90F, warm to the touch but not hot), and heavy cream. Stir with the dough whisk until a shaggy, lumpy dough forms, with no dry flour pockets remaining at the bottom of the bowl.
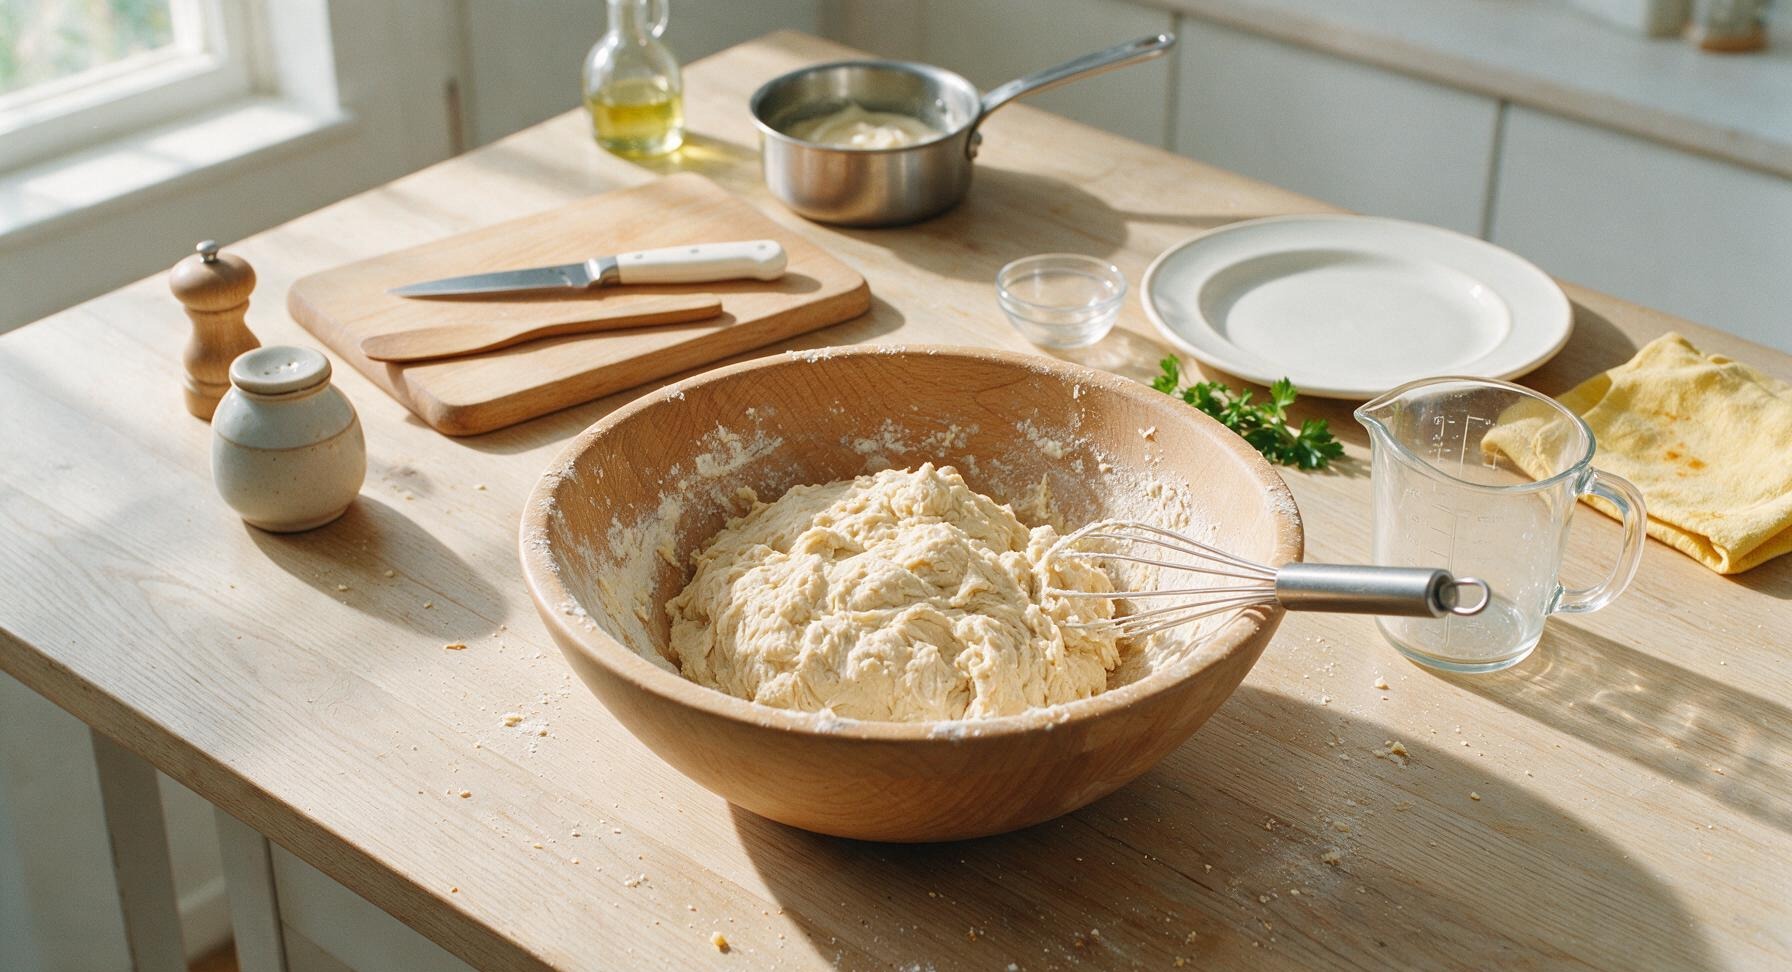
Step 2
step2:Combine dough ingredients
3

Knead in softened butter

Turn the shaggy dough out onto the clean, unfloured counter surface. Knead by hand for 5 minutes until the dough comes together into a slightly tacky ball, then add the softened 40g unsalted butter 10g at a time, kneading fully to incorporate each addition before adding more. Continue kneading for 8-10 additional minutes until the dough is completely smooth, elastic, and pulls away from the counter without sticking. Test for proper gluten development by stretching a small pinched piece of dough thin enough to see light through (the windowpane test) without tearing.
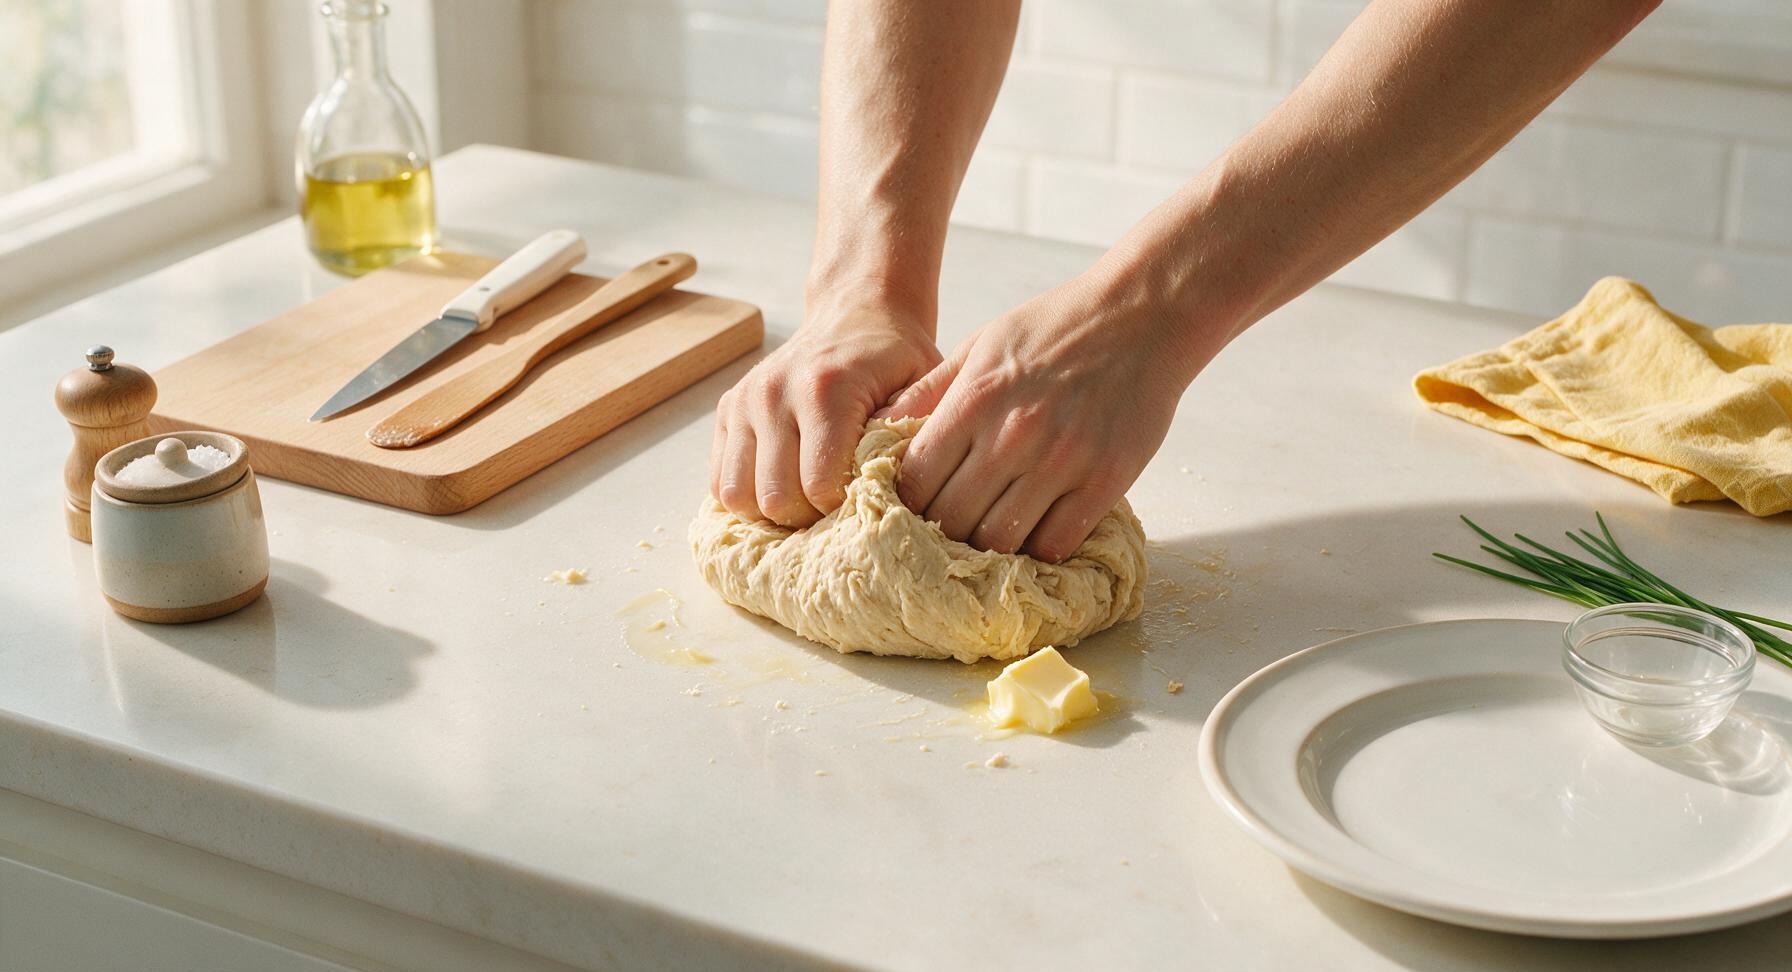
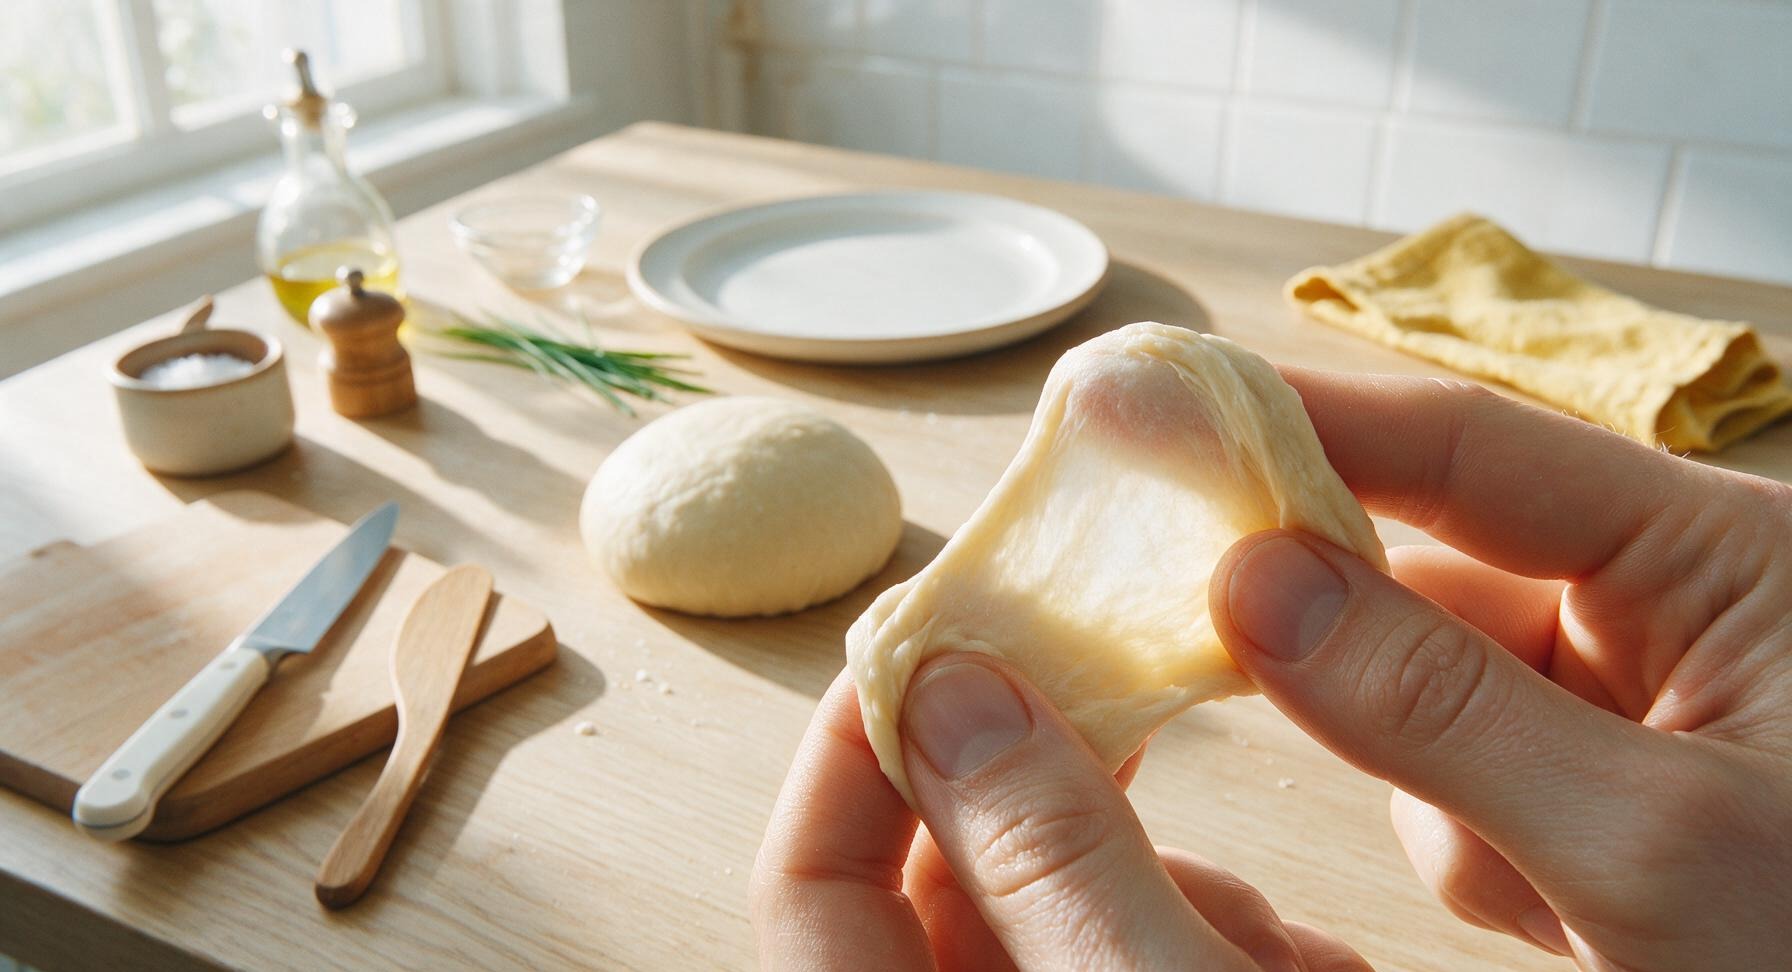
Step 3
step3:Knead in softened butter
Step 3
step3:Knead in softened butter
4

Let dough double rise

Form the kneaded dough into a tight, smooth ball, place it back into the beech wood mixing bowl, and pull a corner of the fixed gingham linen towel over the bowl rim to cover it. Let rise in a warm, draft-free spot near the window for 1 hour to 1 hour 15 minutes, until the dough has doubled in size. Test doneness by pressing a floured finger 1cm into the center: the indent should slowly spring back halfway, not immediately refill or stay fully sunken.
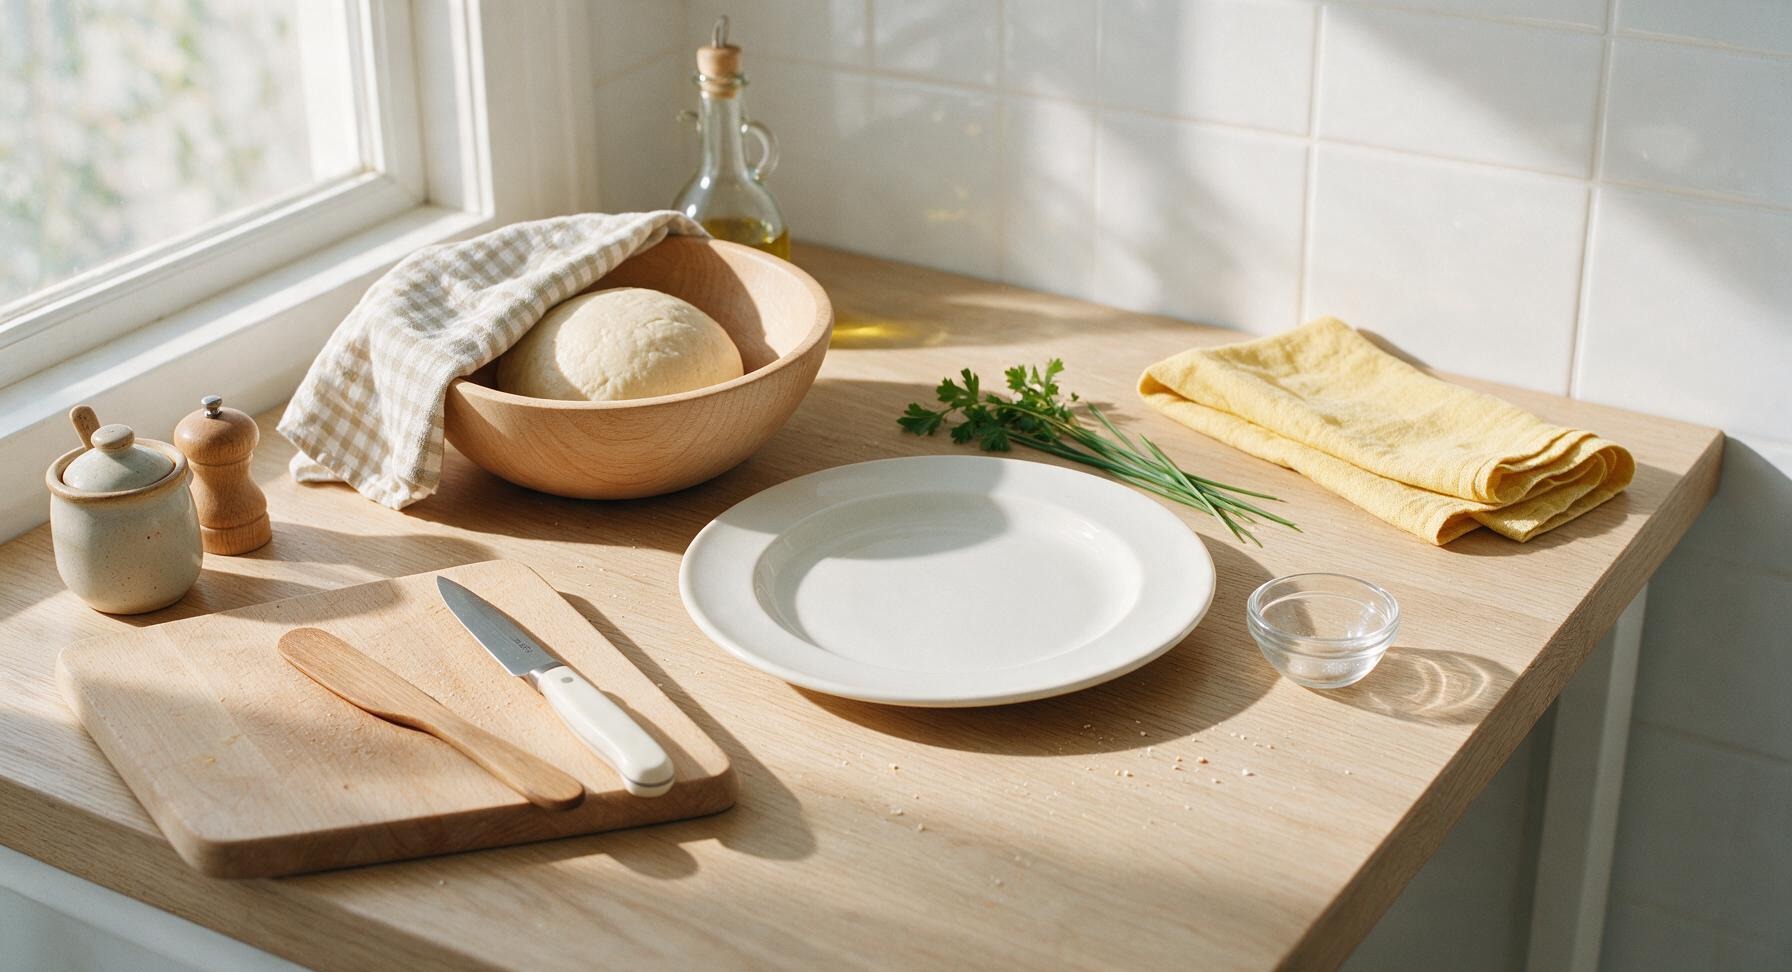
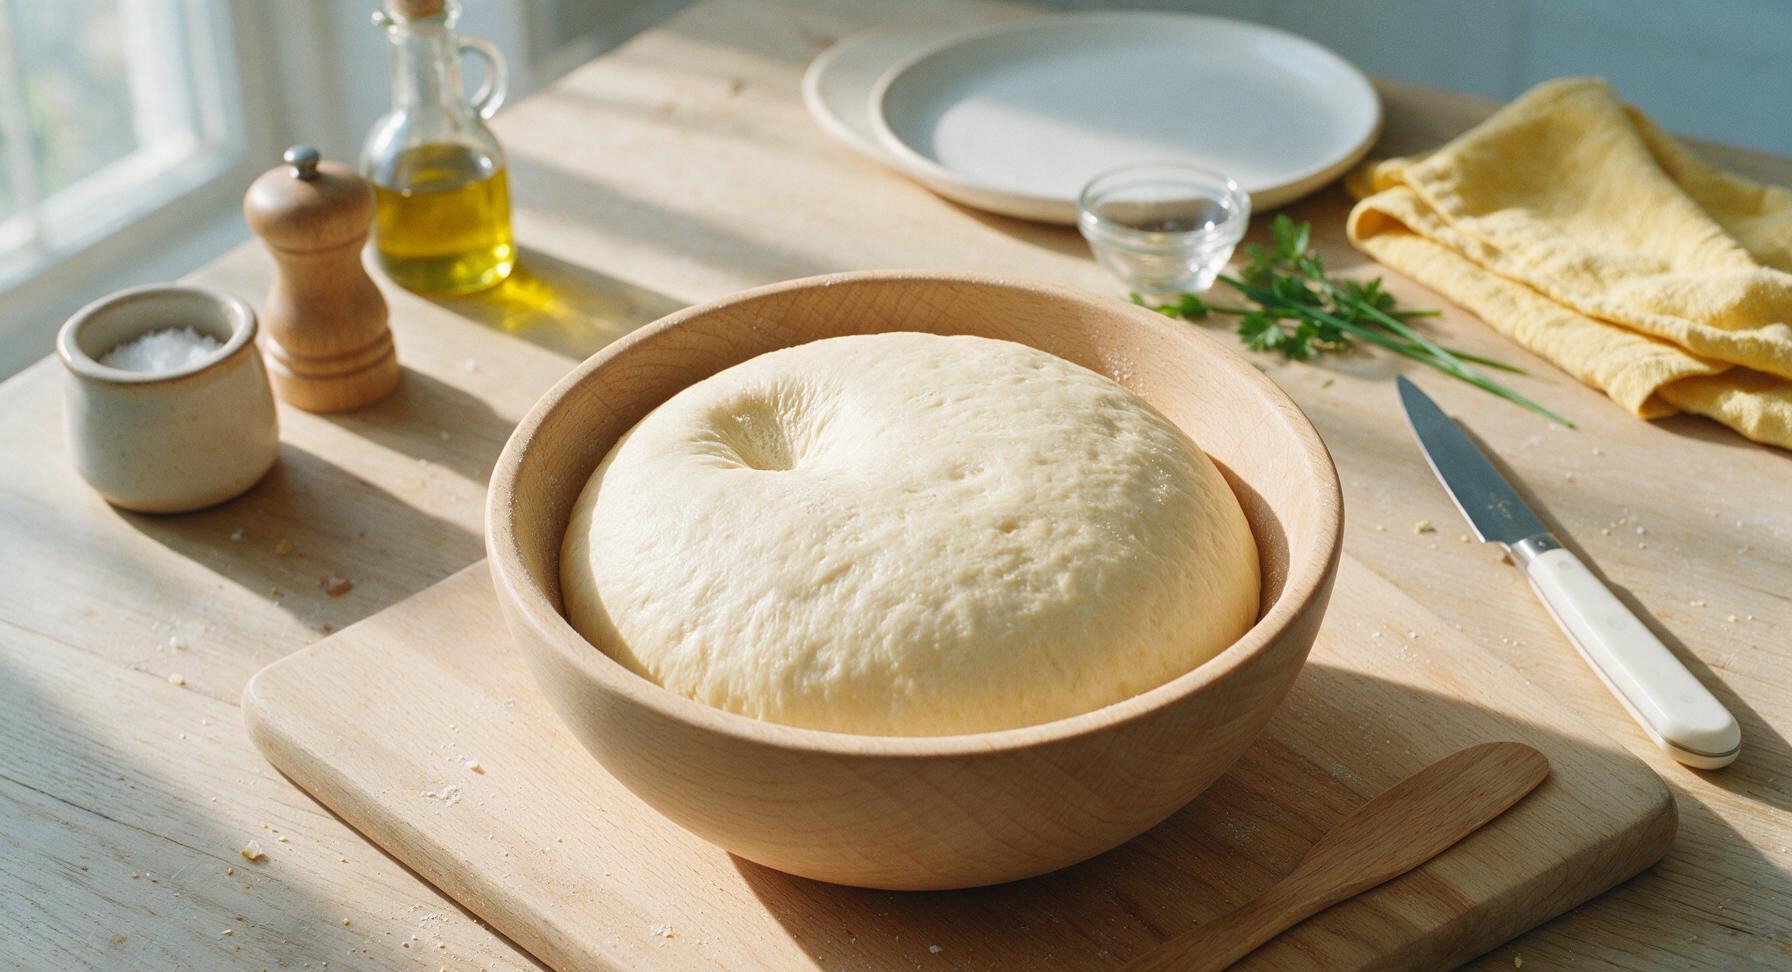
Step 4
step4:Let dough double rise
Step 4
step4:Let dough double rise
5

Shape dough for loaf pan

Punch the risen dough down firmly to release all trapped air bubbles, then turn it out onto the counter. Divide into 3 equal pieces (approximately 230g each), shape each into a tight small ball, cover with the towel corner again and let rest 10 minutes to relax the gluten (this prevents shrinking during shaping). Roll each rested ball into a 1cm thick oval with the solid maple rolling pin, fold the long sides in to meet in the center like a folded letter, then roll tightly into a smooth log from the short end. Place the 3 logs seam-side down, side by side, into the 9x4 matte silver pullman loaf pan.
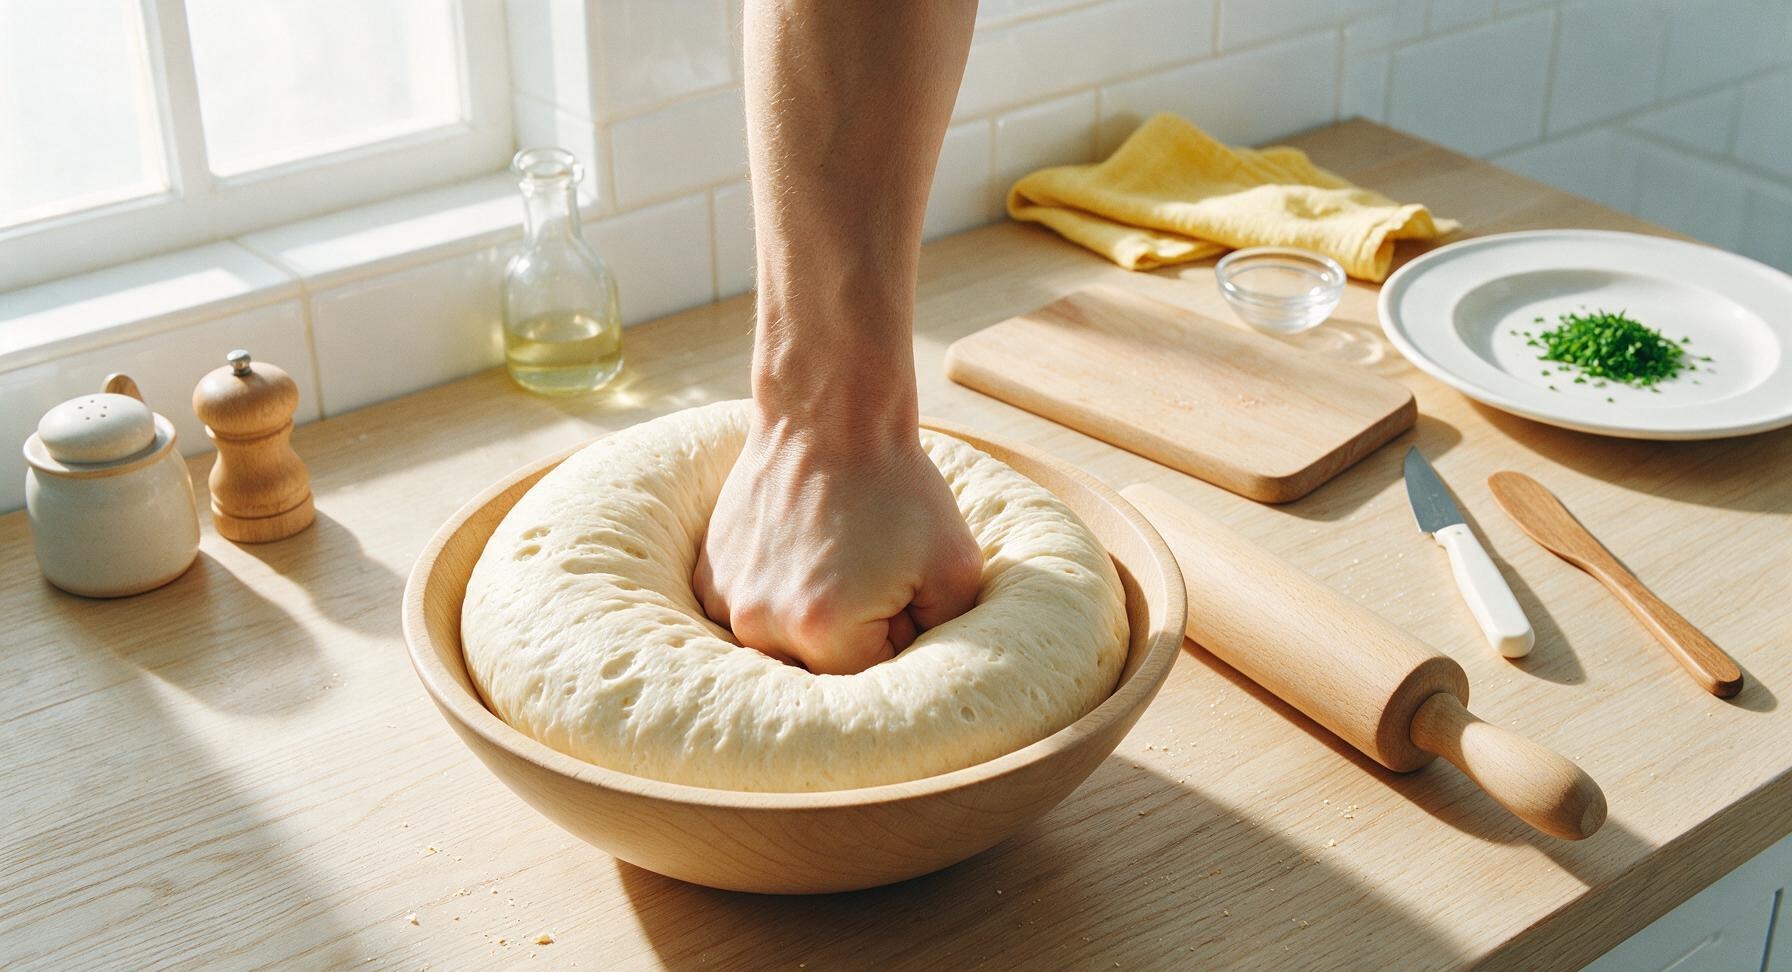
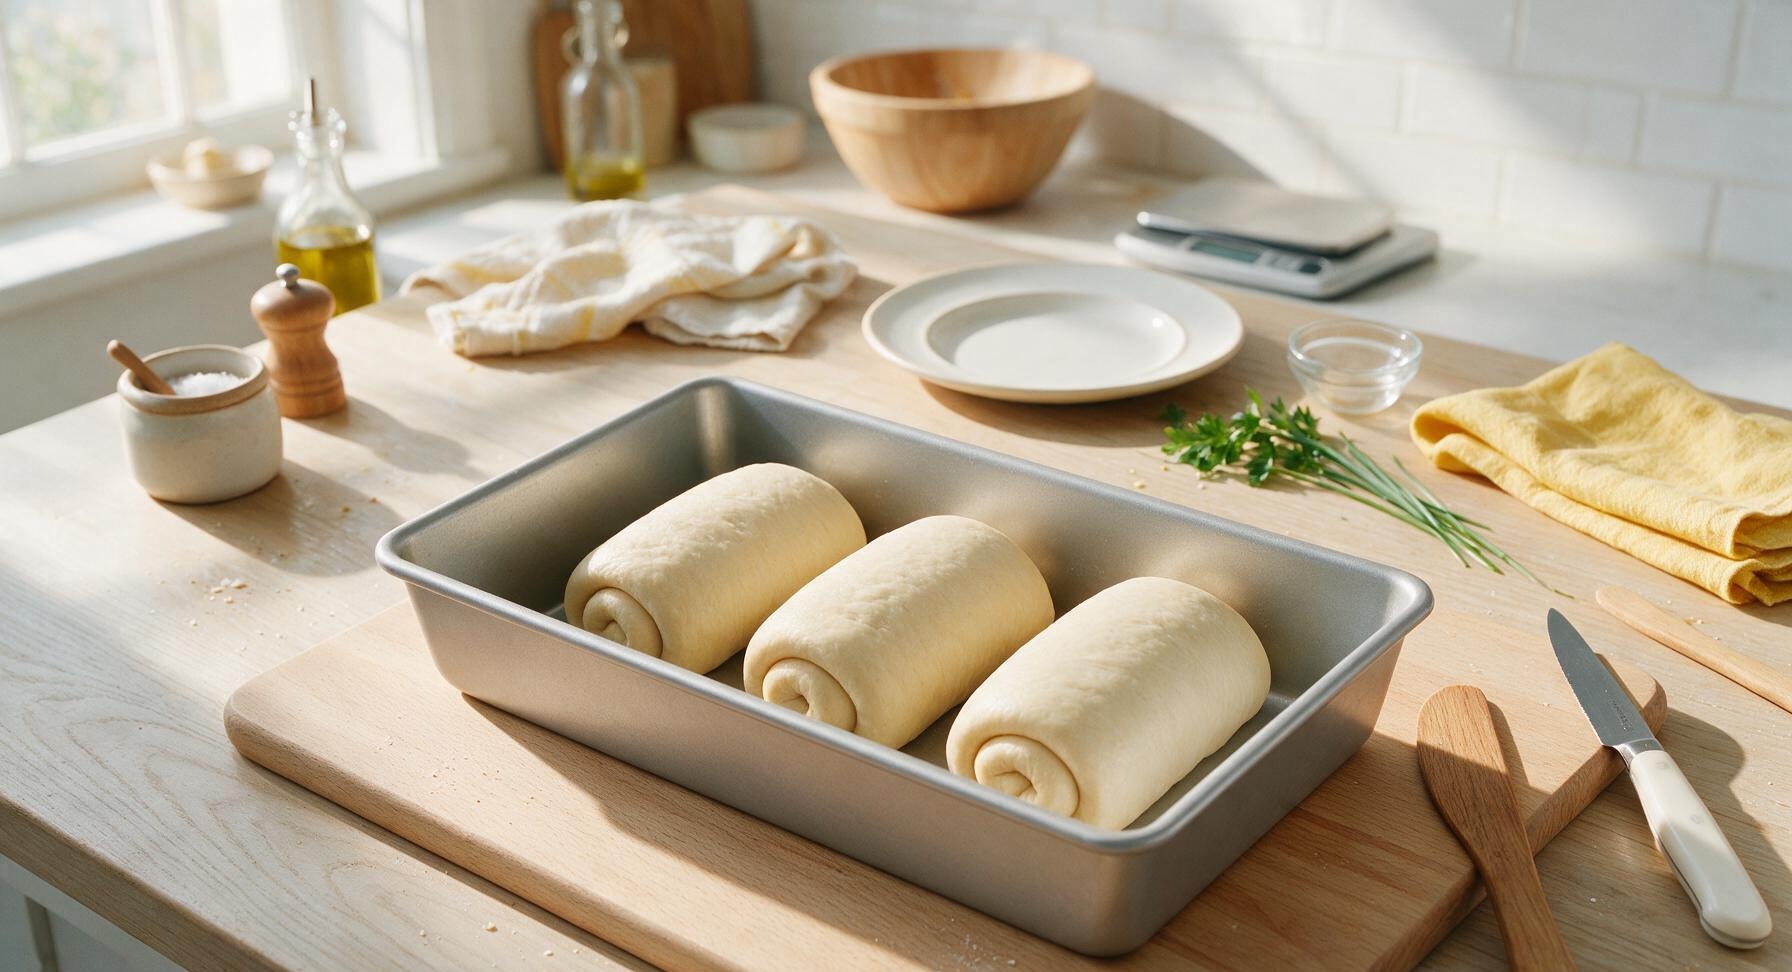
Step 5
step5:Shape dough for loaf pan
Step 5
step5:Shape dough for loaf pan
6

Let dough rise in pan

Slide the pullman pan lid partially over the top of the pan, leaving a 1cm gap to monitor rise, and let the dough rise for 40-50 minutes in the warm spot near the window, until the dough rises to 1cm below the top edge of the pan. When ready, the dough will spring back slowly when pressed gently with a finger, holding a slight indent without deflating.
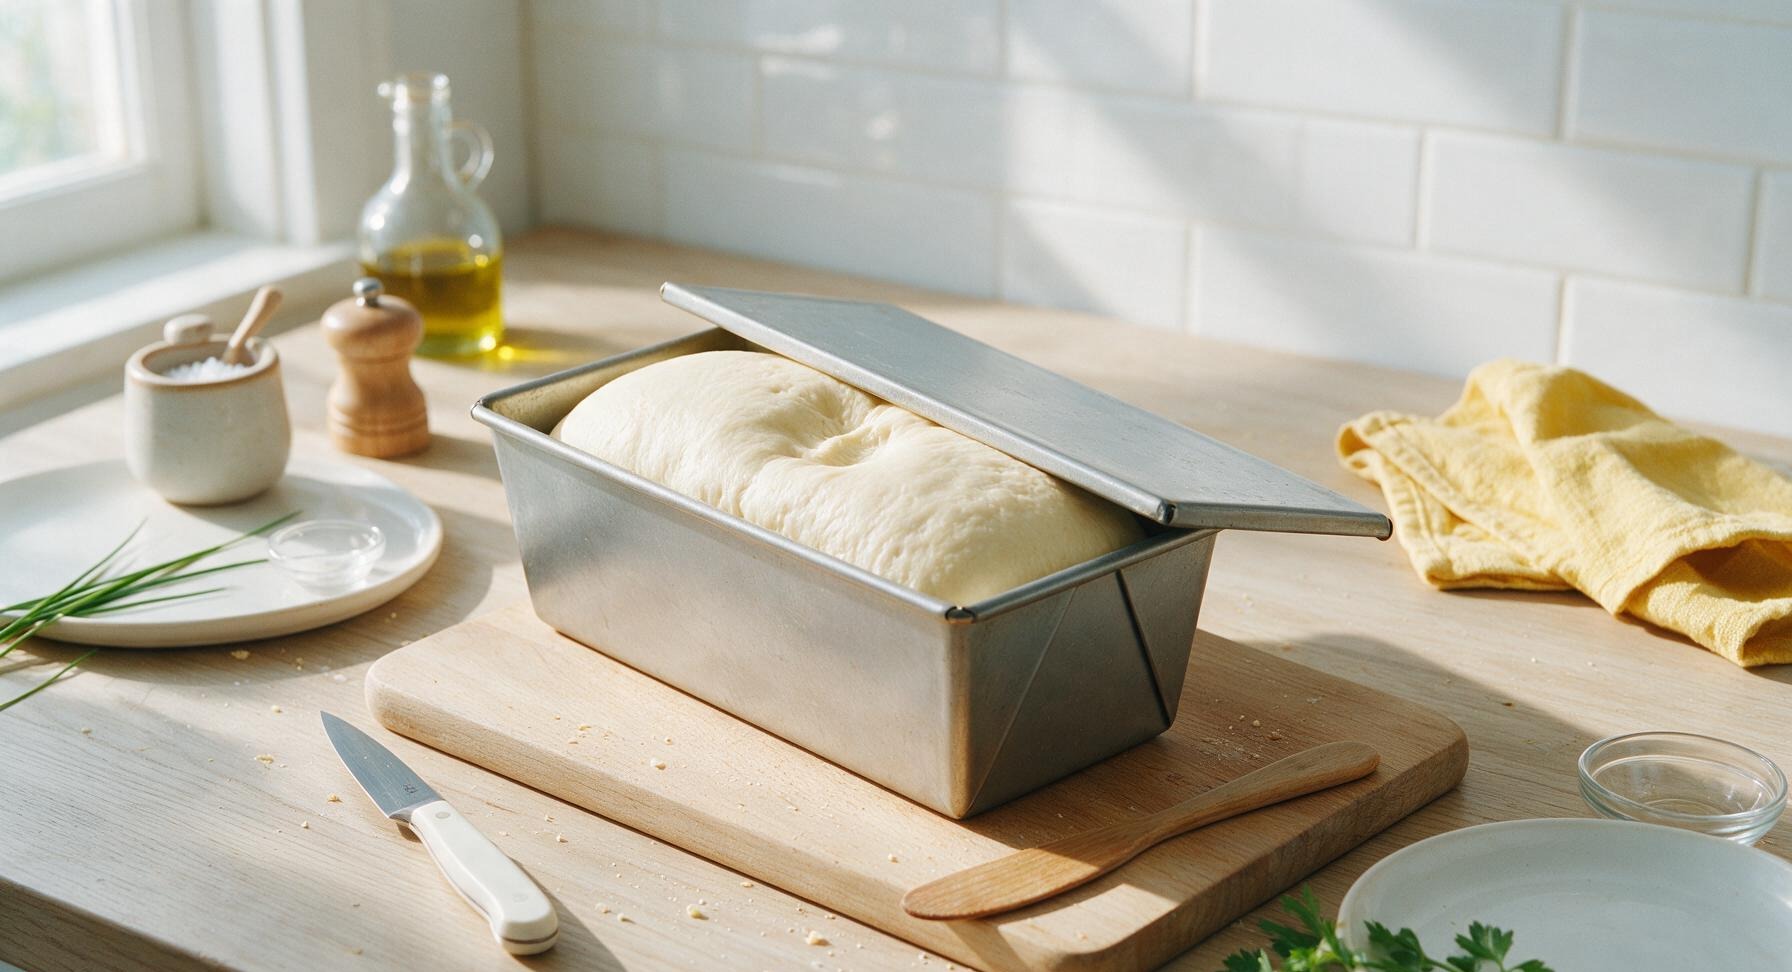
Step 6
step6:Let dough rise in pan
7

Bake until pale golden

Preheat oven to 170C/340F (convection) or 180C/355F (conventional). Slide the pullman lid fully closed, then bake the loaf for 25 minutes. Remove the lid, then bake for an additional 5 minutes until the top is a pale, even golden brown, with no dark burnt edges. Confirm doneness by inserting the instant-read thermometer into the center of the loaf: it should read 94C/201F.
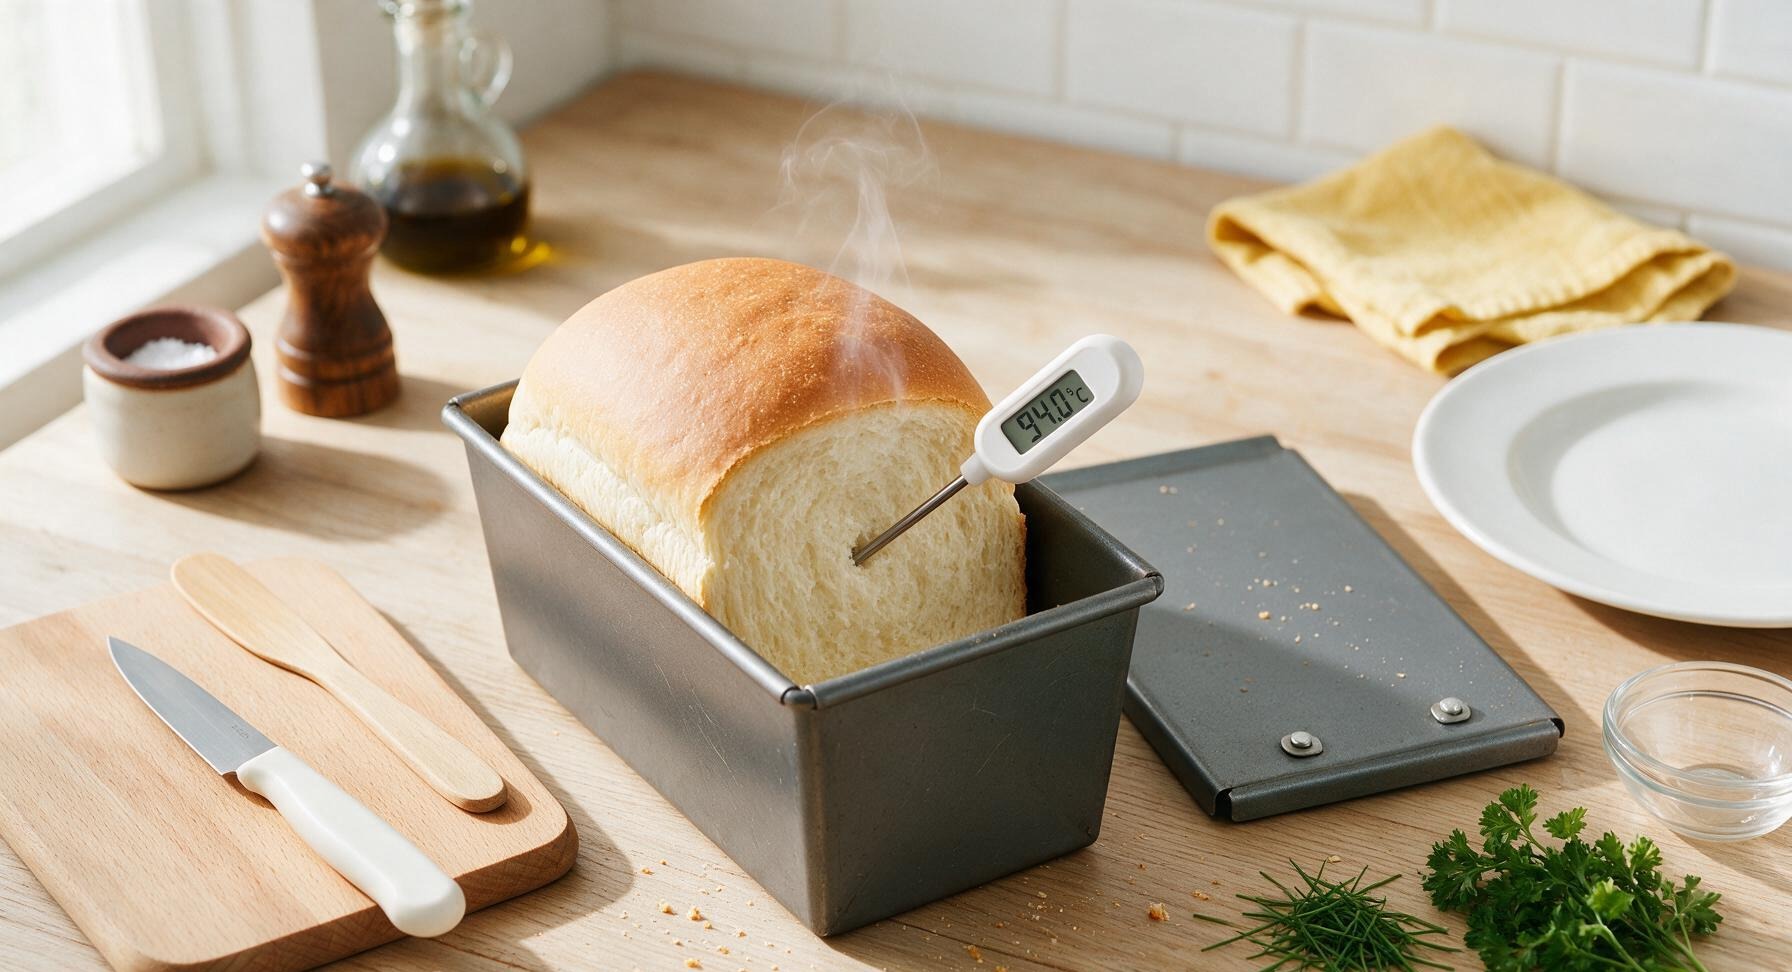
Step 7
step7:Bake until pale golden
8

Cool completely before slicing

Immediately turn the baked loaf out of the pan onto the chrome wire cooling rack. Melt 5g of unsalted butter in the small 8cm matte cream ceramic ramekin, then brush the top crust lightly with the boar bristle pastry brush to keep the crust soft and tender. Let the loaf cool completely for 1 full hour at room temperature, then slice into even 1-inch thick slices with the serrated bread knife. Slicing warm bread will compress the soft crumb and ruin the fluffy texture.
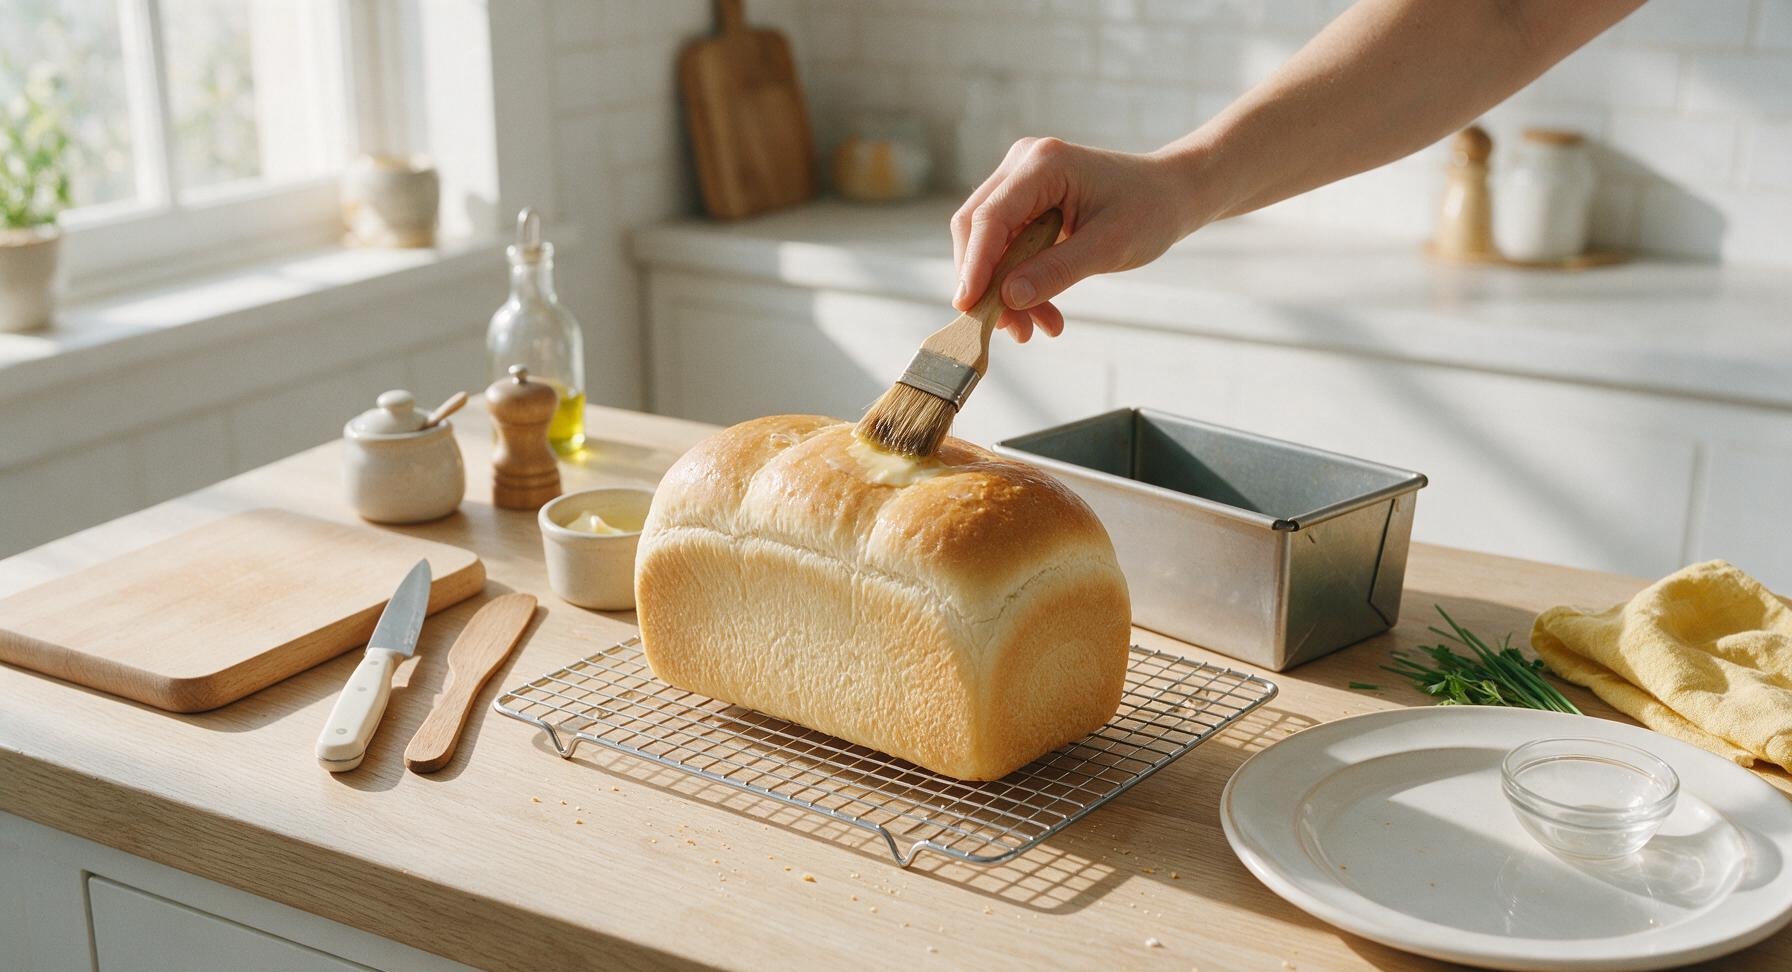
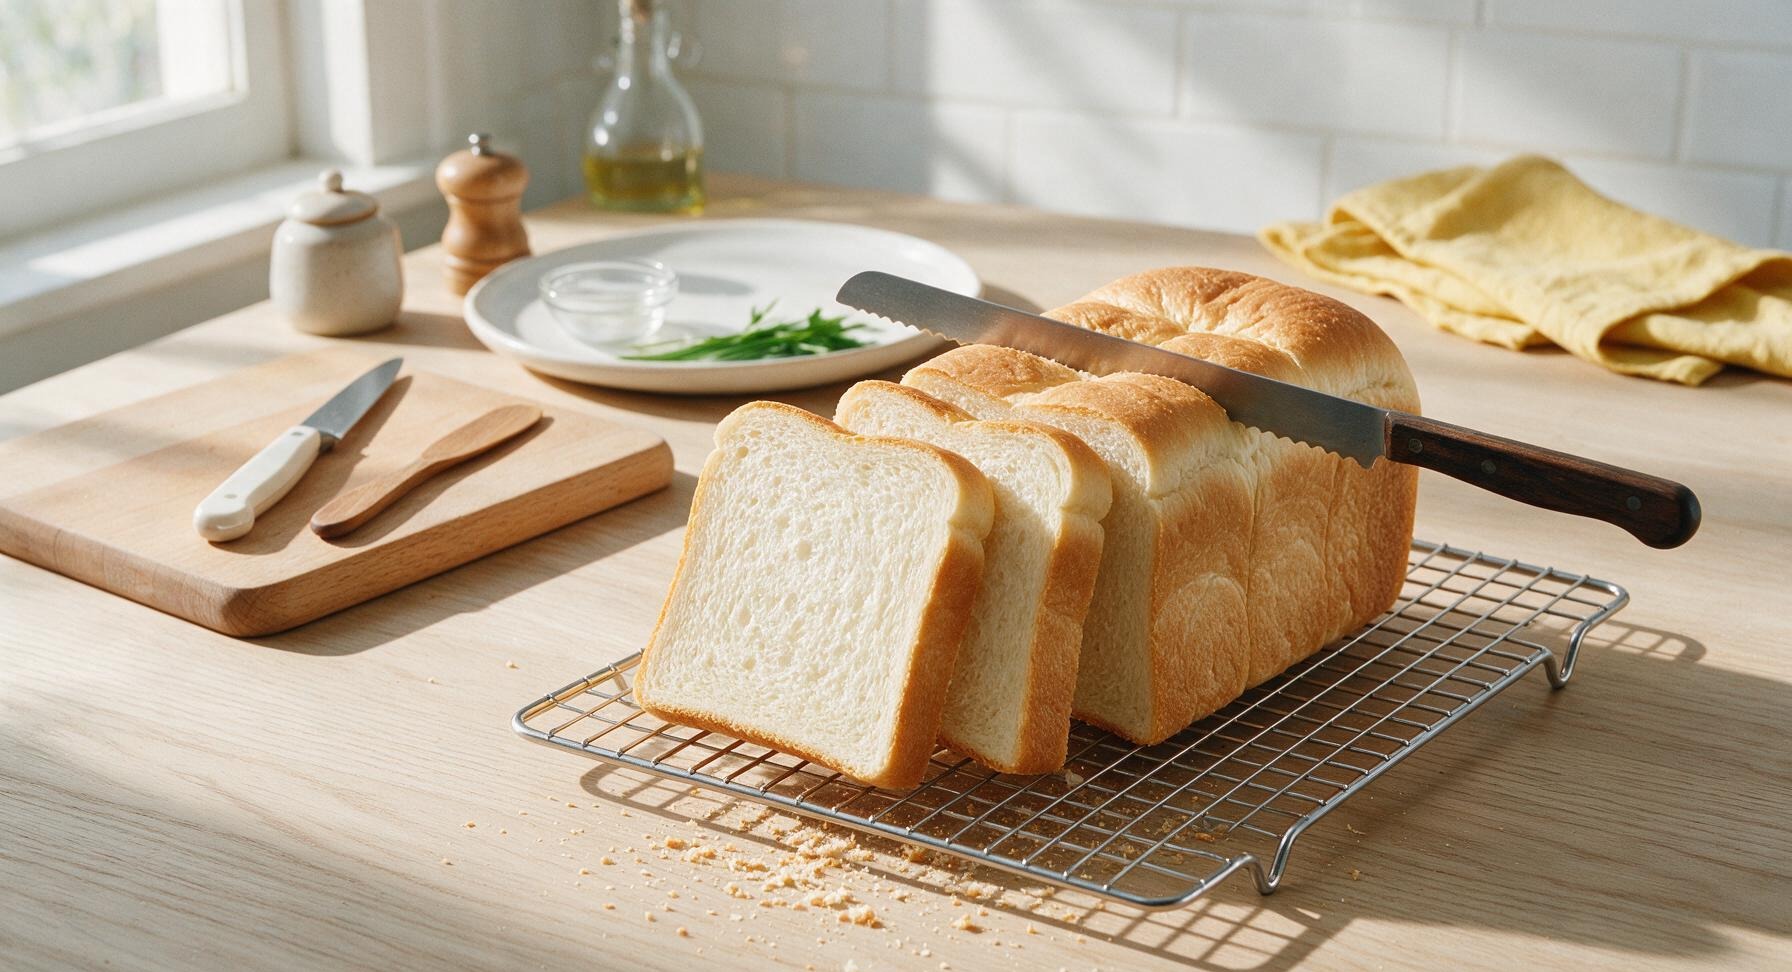
Step 8
step8:Cool completely before slicing
Step 8
step8:Cool completely before slicing

Tips

1.Do not skip the tangzhong base: the cooked flour paste gelatinizes starch molecules to lock in extra moisture, keeping the toast soft and tender for 3-4 days at room temperature, compared to standard white bread which turns dry and stale in 1-2 days.
2.Wait for the loaf to cool fully (1 full hour) before slicing: cutting warm bread causes the soft, set crumb to compress and tear, resulting in dense, uneven slices instead of the light, fluffy, cloud-like texture this recipe is designed for.
3.Use only lukewarm (32C/90F) milk for the dough: liquid hotter than 38C/100F will kill the instant yeast, preventing the dough from rising properly and leading to a dense, heavy loaf with no soft, open crumb.


✨ You May Also Like

Desserts & Baking
🍜 Italy

Creamy, coffee-kissed classic Northern Italian no-bake dessert, with layers of rum-spiked mascarpone cream, soft ladyfingers, and a rich cocoa dusting.

⏱️ 4 hours 3Desserts & Baking ★ 4.7
Desserts & Baking
🍜 France

Flaky, shatteringly crisp, buttery French croissants with golden exteriors and soft, airy layered interiors, perfect for pairing with coffee for a special morning treat.

⏱️ 12 hours Desserts & Baking ★ 4.5
Desserts & Baking
🍜 United States

Warm, spiced baked apples topped with a fluffy golden biscuit crust, this cozy dessert pairs perfectly with vanilla ice cream for cool-weather comfort.

⏱️ 55 minuteDesserts & Baking ★ 4.6
Desserts & Baking
🍜 United States

A star-spangled classic American blueberry pie with buttery flaky crust and bright sweet-tart filling, perfect for summer patriotic gatherings.

⏱️ 1 hour 25Desserts & Baking ★ 4.7
Desserts & Baking
🍜 United States

A beloved no-bake regional Maine candy with a chewy coconut-potato center coated in rich dark chocolate, a New England holiday staple since the 1870s.

⏱️ 2 hours 3Desserts & Baking ★ 4.8
Desserts & Baking
🍜 France

Luxuriously creamy, floral frozen custard made with aromatic Tahitian vanilla beans, boasting a smooth, rich texture that melts slowly on the tongue.

⏱️ 3 hours 3Desserts & Baking ★ 4.5

soft toast:Frequently Asked Questions

1.Why is this shokupan-style milk toast so much softer than regular homemade white sandwich bread? ▾
That signature cloud-like softness comes from three intentional choices: high-protein bread flour that builds a stretchy gluten network to trap yeast gas, a generous ratio of whole milk, unsalted butter, and a small amount of granulated sugar for tenderizing moisture, and lidded pan baking that traps steam to prevent thick, tough crusts.
2.Can I use all-purpose flour instead of bread flour if that’s what I already have in my pantry? ▾
You can, but your loaf won’t be quite as tall or pillowy. All-purpose flour has 2-3% less protein than bread flour, so it can’t hold as much yeast-produced gas to create that light, airy crumb. If you swap, add 1 tablespoon of vital wheat gluten per cup of all-purpose flour to boost protein for a closer texture.
3.Do I need a special lidded pullman loaf pan to make authentic shokupan-style toast? ▾
You don’t need one, but a lidded pan will give you that classic square, evenly pale loaf shape and ultra-soft all-around crust. If you use a regular open 9x5 loaf pan, tent the top loosely with aluminum foil for the last 20 minutes of baking to prevent over-browning, and expect a slightly domed top instead of a flat square edge.
4.Why does my loaf turn out dense and heavy instead of light and pillowy? ▾
Dense loaves almost always trace back to one of three common missteps: you used expired instant yeast that didn’t produce enough rise gas, you under-kneaded the dough and didn’t build a strong gluten network, or you let the dough rise in a too-cold spot that slowed yeast activity. Aim for a 75-80°F draft-free rise spot, and test yeast freshness if you’re unsure.
5.Can I substitute low-fat dairy or plant-based milk for the whole milk in this recipe? ▾
Low-fat milk will work, but your loaf will be slightly less rich and won’t stay soft quite as long, since milk fat helps lock in moisture for that tender crumb. If you use plant-based milk, opt for unsweetened plain oat milk for the closest texture; skip thin almond or skim soy milk, which create a drier, slightly off-flavored loaf.
6.How do I store this toast so it stays soft for days, like the recipe promises? ▾
First, let the loaf cool fully to room temperature for at least 2 hours after baking—never wrap warm bread, as trapped condensation will make it soggy. Store it in an airtight bread bag or sealed container at room temperature away from direct sun for 3-4 days. Skip the fridge, as cold temperatures speed up staling.
7.What temperature should my milk be to work properly with the instant dry yeast? ▾
Since this recipe uses instant dry yeast, you don’t need to pre-activate it separately, but your milk should be lukewarm, between 105-110°F, when you mix it in. Milk hotter than 120°F will kill yeast and prevent rising, while milk colder than 95°F will slow yeast activation, leading to longer rise times and denser crumb.
8.Can I add mix-ins like raisins, chocolate chips, or matcha to this loaf? ▾
Absolutely! Fold in up to ½ cup of solid mix-ins like raisins, mini chocolate chips, or toasted sesame seeds right after kneading, before the first rise. If you want flavored loaves like matcha or cocoa, whisk 2 tablespoons of the powder into your dry flour before adding wet ingredients to avoid clumps and evenly distribute flavor.
9.Why does my loaf have big, irregular air holes instead of the fine, even crumb shokupan is known for? ▾
Large, random air pockets happen when you don’t properly degas and shape the dough before the final pan rise. After the first rise, gently press out all large air bubbles as you shape the dough into a tight log, making sure no trapped air gaps remain before setting it in the pan. This will give you that consistent, tender, fine crumb.
10.How do I tell when the loaf is fully baked so I don’t end up with a gummy center? ▾
First, look for visual cues: the crust will be a pale, even golden brown, and edges will pull slightly away from the pan. For a foolproof test, insert an instant-read thermometer into the center of the loaf—it should read 190-195°F when fully done. If it’s lower, bake 5 more minutes and retest.
11.Can I prep this dough ahead of time to bake fresh for weekend breakfast? ▾
Yes! After kneading, place the dough in a lightly greased bowl, cover tightly, and let it do its first rise slowly in the refrigerator for 8-12 hours overnight. The next day, take it out, shape it, let it come to room temperature for its final pan rise, then bake as directed. The slow cold rise also adds a subtle, deeper sweet flavor.
12.Is it normal for the dough to feel really soft and sticky when I first start kneading? ▾
Totally normal! This is a higher-hydration dough than standard sandwich bread, which is exactly what creates that light, pillowy final crumb. Resist the urge to dump in extra flour right away—as you knead for 6-8 minutes, gluten will develop, and the dough will become smoother, less sticky, and pull cleanly from the bowl sides.
13.How do I slice this super soft toast without squishing the delicate crumb? ▾
First, wait until the loaf is completely cooled—warm bread squishes easily even with a sharp knife. Use a long, serrated bread knife, and make gentle sawing motions instead of pressing straight down to cut ½-inch thick slices, perfect for butter, jam, or picnic sandwiches. An affordable bread slicing guide will help you get even cuts without compressing the soft crumb.

Comments (9)

2 days ago

OMG this shokupan recipe is a total game changer! I’ve tried 3 other milk toast recipes before and they always turned out weirdly dense, but this one was so pillowy and soft even my super picky 7 year old asked for seconds at breakfast. Used day-old slices to make French toast over the weekend and *chefs kiss*, no soggy centers at all.

1 day ago

Wait quick question — did you use bread flour or all purpose? I’m planning to make this tomorrow for my weekly meal prep so I have sandwich bread all week!

1 day ago

So glad your picky eater loved it! For the absolute softest, bounciest crumb, I strongly recommend using bread flour (12-13% protein content) — all purpose flour works in a pinch, but it won’t give you that iconic pillowy pull-apart texture shokupan is known for. Let me know how your batch turns out!

3 days ago

Okay full transparency, I’ve never successfully made a yeast bread that didn’t come out like a dense hockey puck before this. The directions were super clear even for a medium difficulty recipe! My only tiny issue was I had to bake it 5 minutes longer than the stated 30 minutes because my old apartment oven runs super cold, but otherwise it turned out perfect.

2 days ago

Yay, so proud of you for nailing your first great yeast loaf! Oven temperatures vary wildly between older models, so I always recommend keeping an instant read thermometer handy to take the guesswork out — the bread is fully done when the internal temperature hits 190°F right at the center of the loaf.

1 week ago

Brought a sliced loaf of this to our neighborhood block party potluck last week and people were literally asking me for the recipe before they finished their first slice! The soft, subtly sweet flavor pairs so good with both strawberry jam for breakfast and ham and cheese for lunch sandwiches. I even used the end slices to make bread pudding a couple days later and it was chef’s kiss. Will absolutely be making this on repeat.

5 days ago

Made this last Sunday for my weekly work meal prep and it is SO good. Only question is how well does it hold up if I slice it and keep it in the fridge? I noticed it got a tiny bit firm after day 3 stored in a bread bag on the counter, still tasty but not quite as pillowy soft as day 1.

3 days ago

I slice mine the day I bake it and stick individual slices in the freezer instead of the fridge! Pop a slice straight in the toaster from frozen and it tastes exactly as soft and fresh as the day I baked it, zero sogginess. Total game changer for weekly meal prep!

30 minutes ago

Tried making this last night and the dough was insanely sticky when I went to knead it, like stuck to my counter and my hands so bad I almost dumped the whole thing in the trash. Did I mess up the liquid measurements? Ended up adding almost a quarter cup extra flour to get it to pull together, and it still turned out great but I want to get it right on my next try.

20 minutes ago

Wait don’t add extra flour right away! Shokupan dough is supposed to be really soft and high-hydration, so it feels super sticky at first. If you keep kneading (I use my stand mixer dough hook for 8-10 minutes) the gluten develops and it stops sticking nearly as much. I made the exact same mistake my first time making this recipe too!

5 minutes ago

Great tip from @HomeBakerNerd! This is a high-hydration dough, so it will feel unmanageably sticky in the early stages of kneading. Resist the urge to add too much extra flour, as that will make your final loaf denser and less pillowy. If you’re hand kneading, try lightly oiling your hands and work surface instead of flouring it — it makes a huge difference!

just now

I don’t even have a fancy lidded shokupan pan and this still turned out so fluffy! Used a regular 9x5 metal loaf pan and tented it with foil for the first 20 minutes of baking so the top didn’t get too dark before the inside cooked through. 10/10, way cheaper than buying overpriced shokupan from the Asian market by my campus every week.

5 minutes ago

Can I substitute the whole milk for oat milk? My toddler has a dairy allergy and I’ve been searching forever for a soft white bread recipe that doesn’t come out dry and crumbly when made with non-dairy milk.

just now

Great question! Yes, barista blend oat milk works really well as a 1:1 substitute here — it has a similar creaminess and fat content to whole milk that keeps the crumb soft and pillowy. I’d skip the thinner, watery plain oat milks if you can, since their higher water content can make the loaf denser. Hope your little one loves it!

2 weeks ago

Made this for our family brunch last Sunday and everyone raved! The texture is exactly like the shokupan I had when I visited Tokyo a couple years ago, I can’t believe I pulled it off in my own kitchen. I brushed the top with a little melted salted butter right when it came out of the oven and it made the crust so perfectly buttery without being heavy. Already planning my next loaf to make mini egg salad sandwiches for my book club next week!

yesterday

Wait has anyone tried using this dough to make dinner rolls? I’m hosting Thanksgiving dinner at my place next month and this dough is so soft and fluffy I feel like it would make the most amazing pull-apart rolls to go with our turkey and mashed potatoes.

2 hours ago

I did exactly this for my family’s Christmas dinner last year! Just portion the dough into 2oz balls, arrange them in a greased 9x13 pan, let them rise for 20 minutes, then bake for 18-20 mins and they’re perfect. My whole family fought over the last roll, no lie.



