
soju
intro
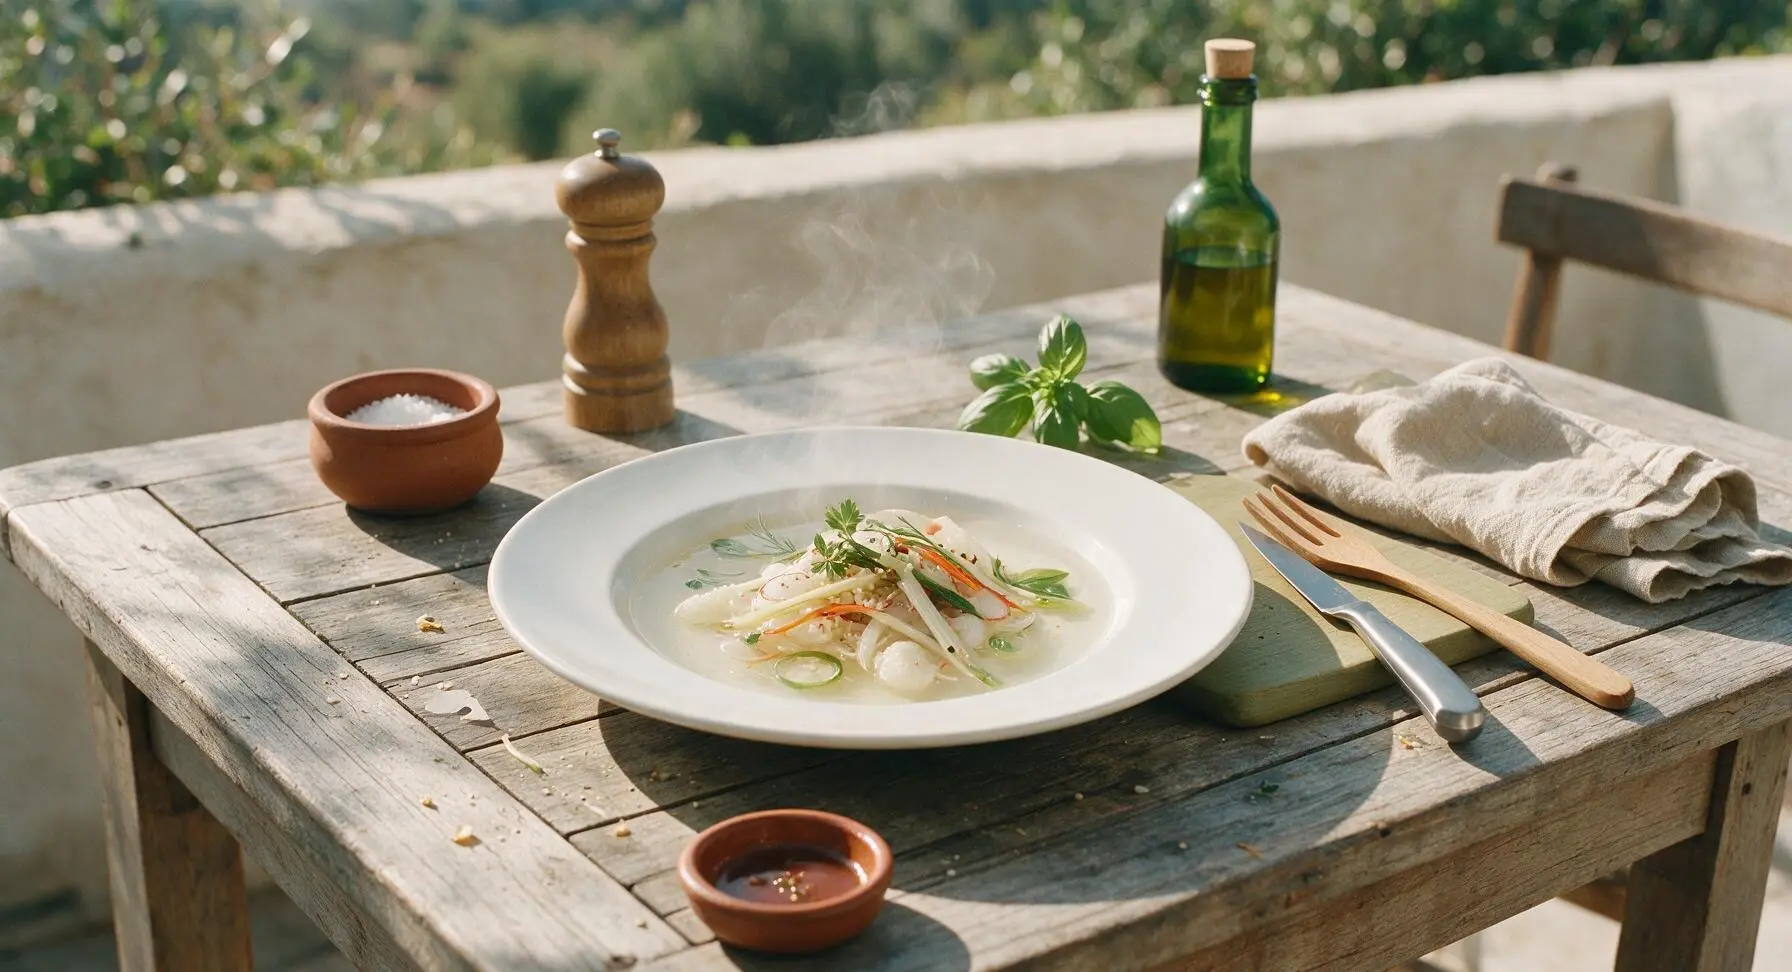
Smooth, crystal-clear traditional Korean rice spirit, lightly sweet with a clean, crisp finish. Fermented at home with simple ingredients, perfect for sipping chilled at casual gatherings with friends.
Ingredients
Steps
Wash Rice Thoroughly
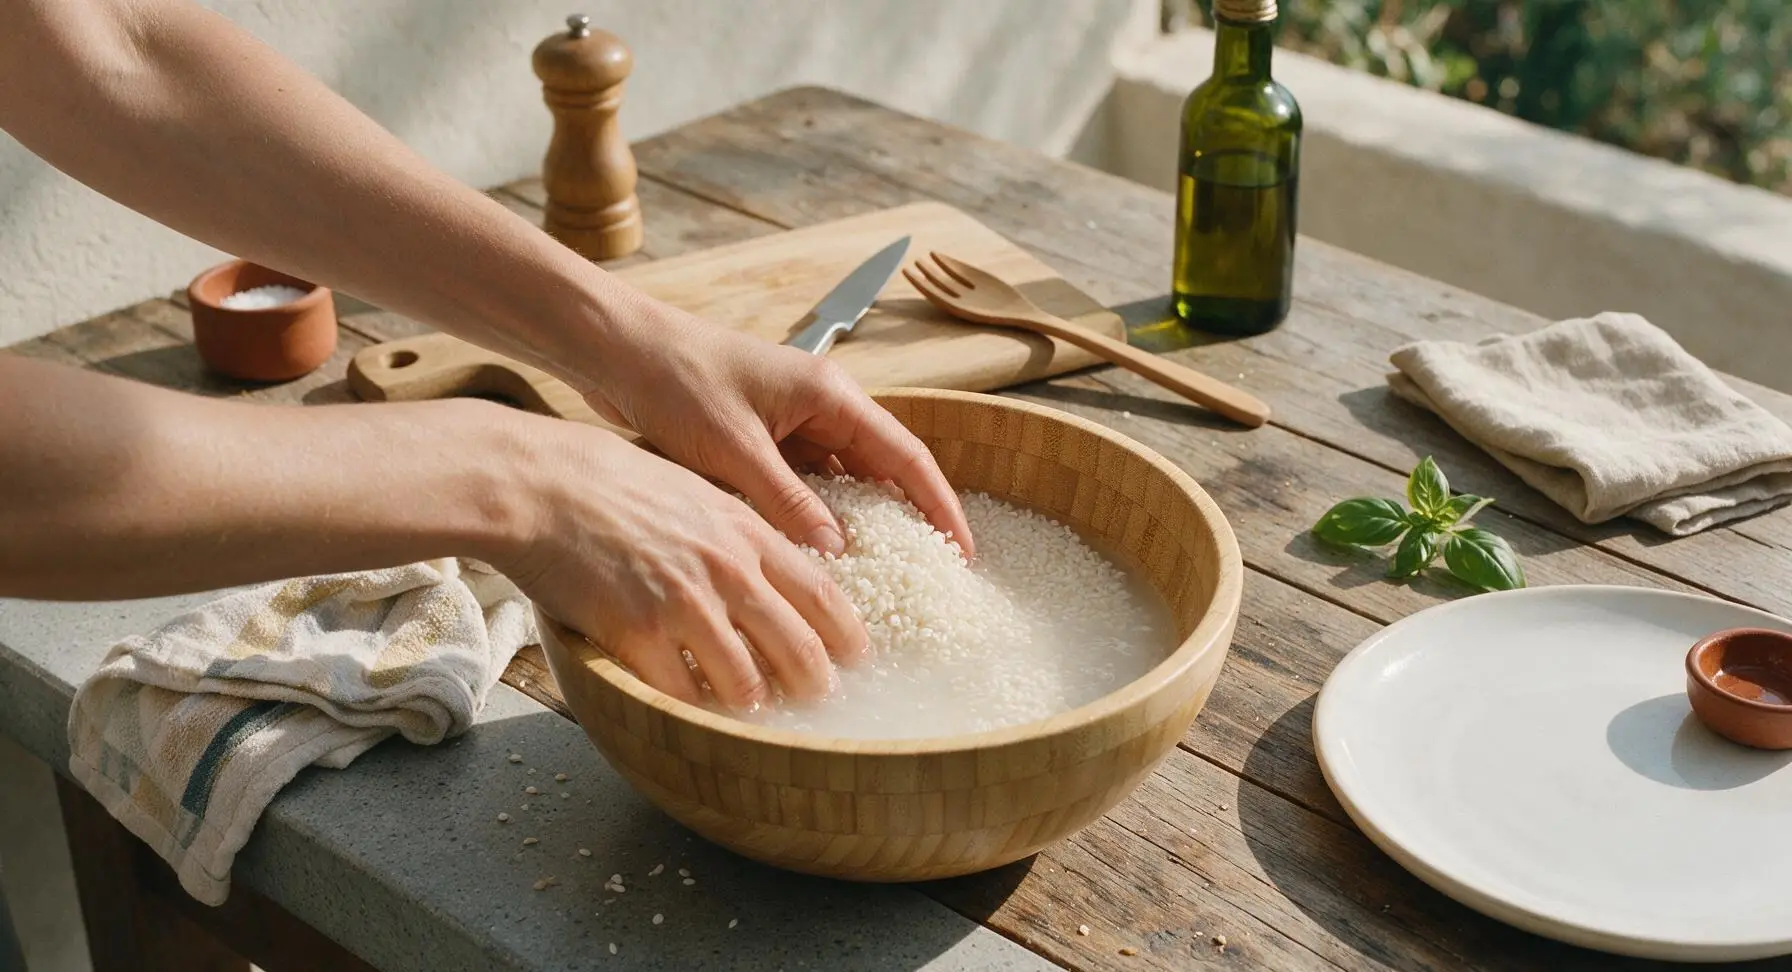
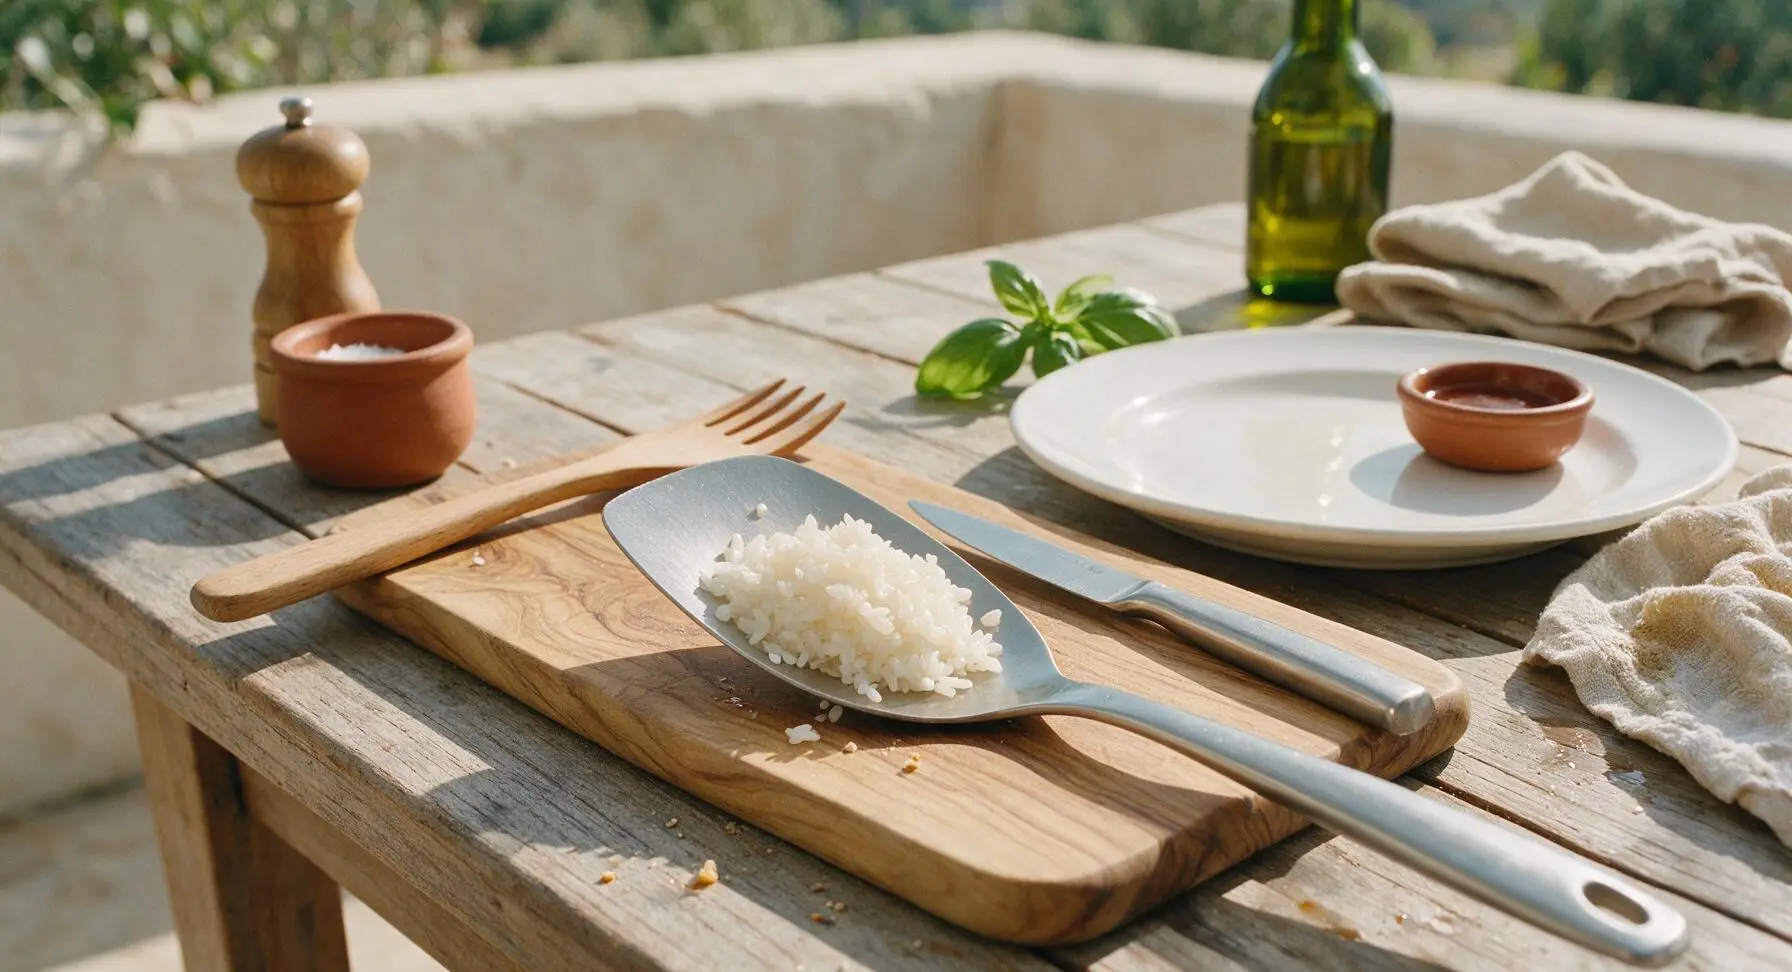
Place 500g short-grain white rice in the bamboo washing bowl. Cover with cold filtered water, swish vigorously with your hand for 30 seconds, then drain the cloudy starchy water. Repeat this process 4-5 times until the drained water runs completely clear, with no residual starch cloudiness. Let the washed rice soak in cold water for 1 full hour, then drain fully for 15 minutes until no excess water drips from the rice.
Steam Rice Until Tender
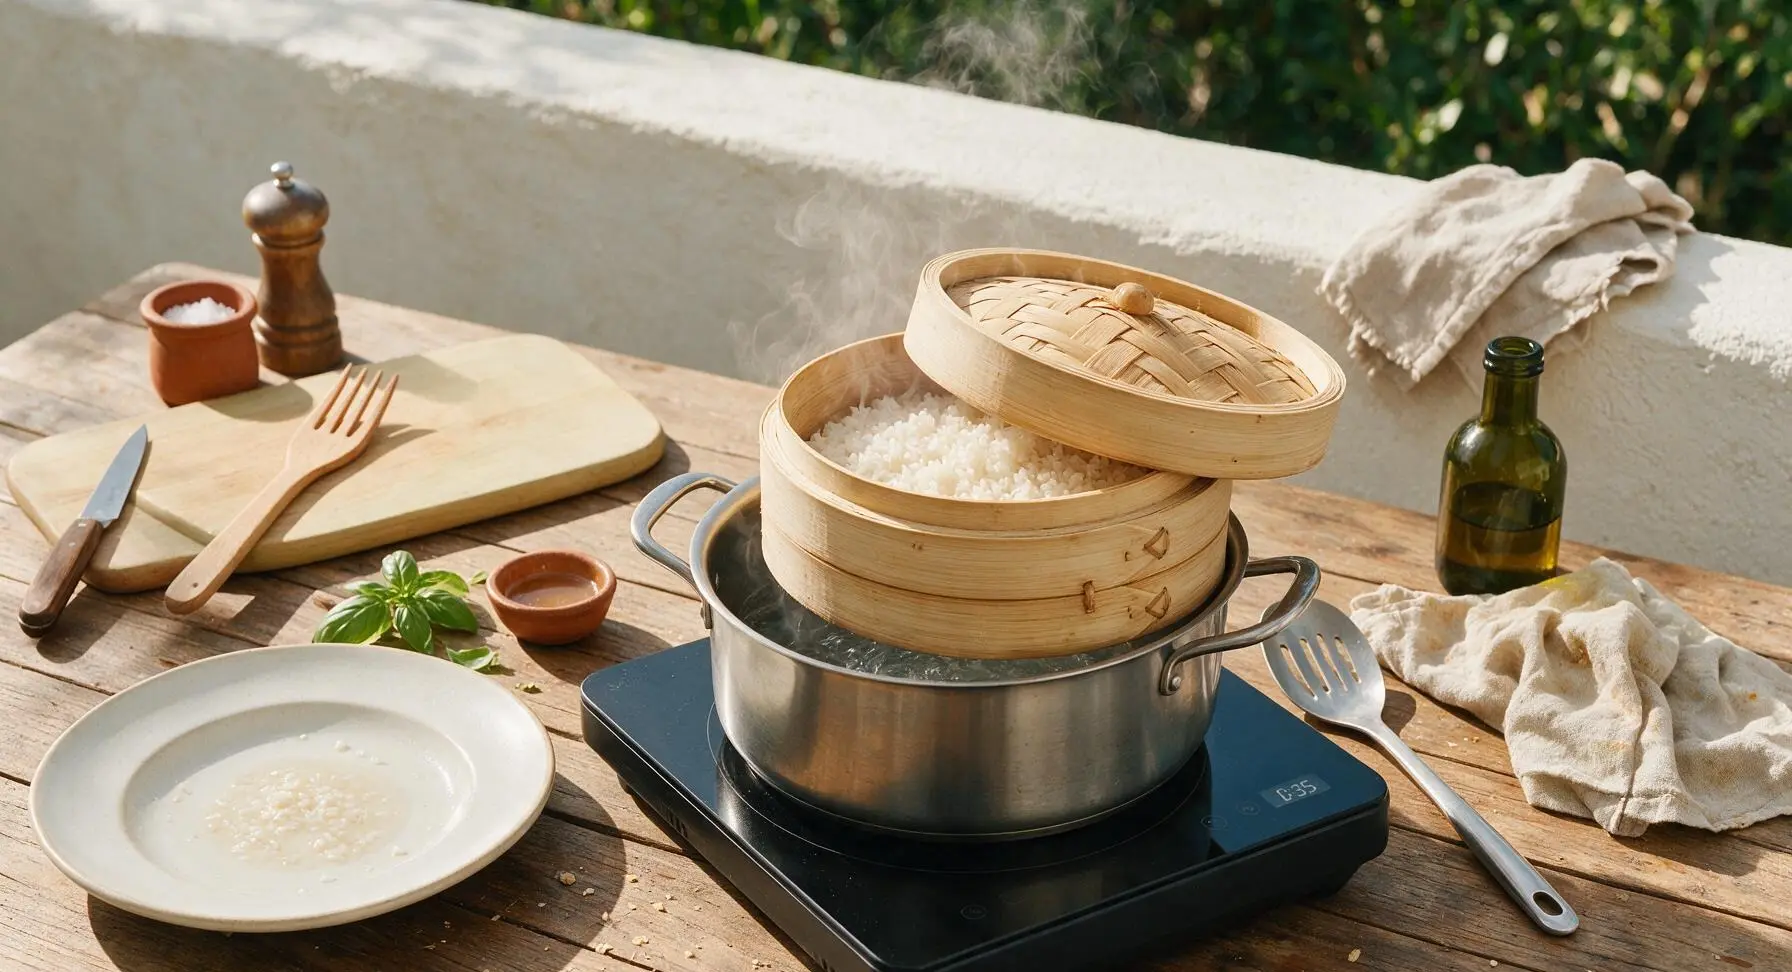
Pull the 5L stainless steel stock pot and bamboo steamer basket from their under-counter storage positions. Add 5cm of water to the stock pot, set it on the center induction cooktop, and bring to a rolling boil over high heat. Spread the drained, soaked rice evenly across the two steamer tiers, set the steamer on top of the boiling pot, and cover with the woven bamboo lid. Steam for 35 minutes, checking occasionally to ensure the pot does not boil dry. Test for doneness by biting into a grain: it should be fully tender, chewy, and translucent, with no hard white core. Turn off the heat, remove the steamer, and spread the cooked rice in a thin layer to cool to 23C (room temperature, approximately 30 minutes).
Combine Fermentation Base
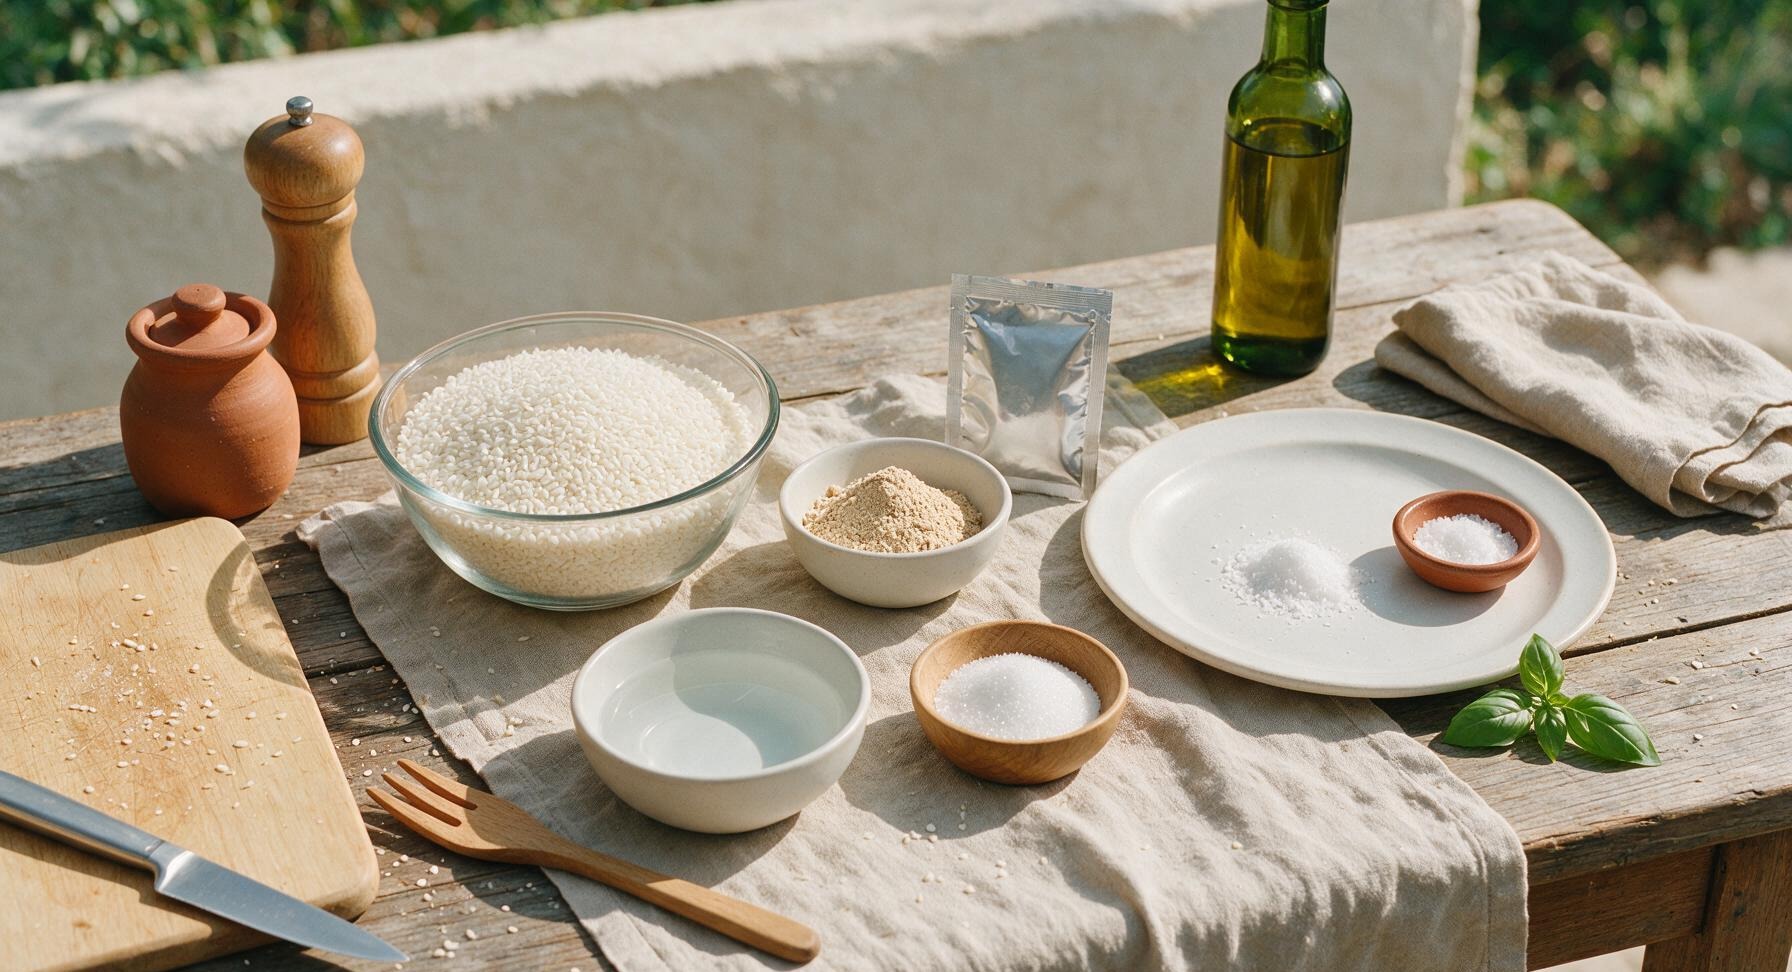
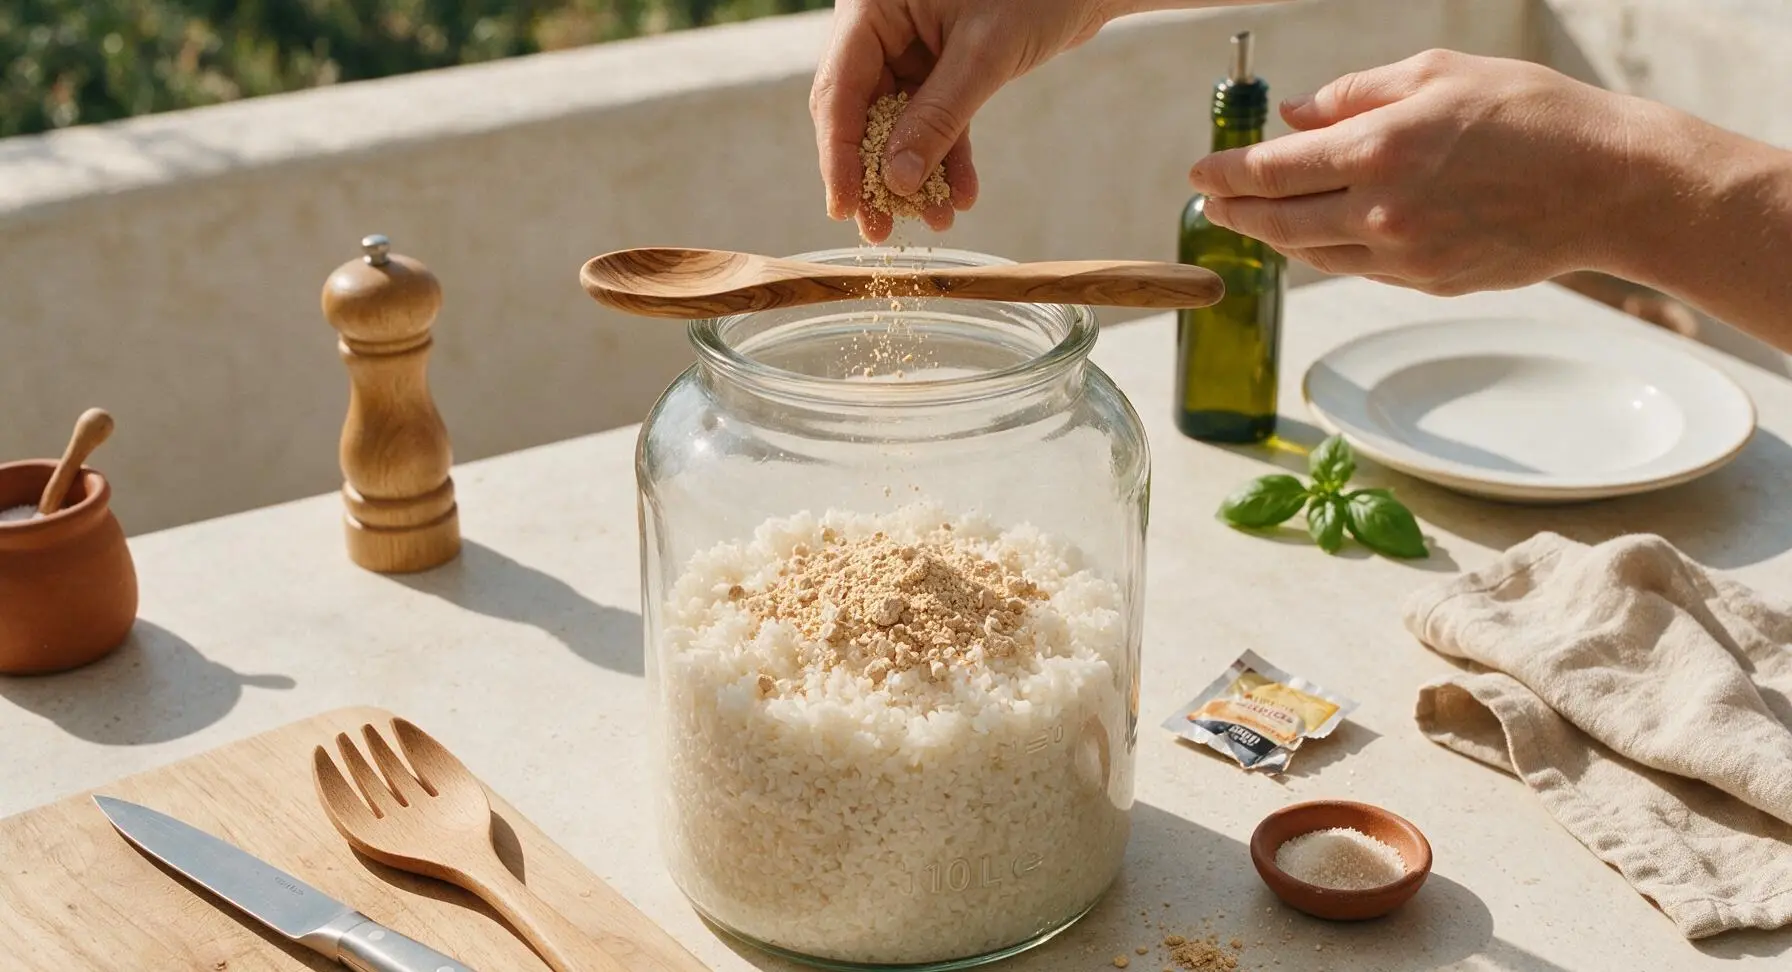
Once the steamed rice is fully cooled to room temperature (warm rice will kill the yeast and ruin fermentation), transfer it to the clean 10L glass fermentation jar. Add 50g crumbled nuruk, 3.5g dry active yeast, 25g granulated sugar, and 1/2 tsp fine sea salt to the jar. Pour 2L of room-temperature filtered water over the rice mixture, then stir thoroughly with the olive wood spoon to break up any clumps of rice and evenly distribute the starter. The finished mixture should have the consistency of thick, soupy porridge with no dry clumps remaining.
Start Primary Fermentation
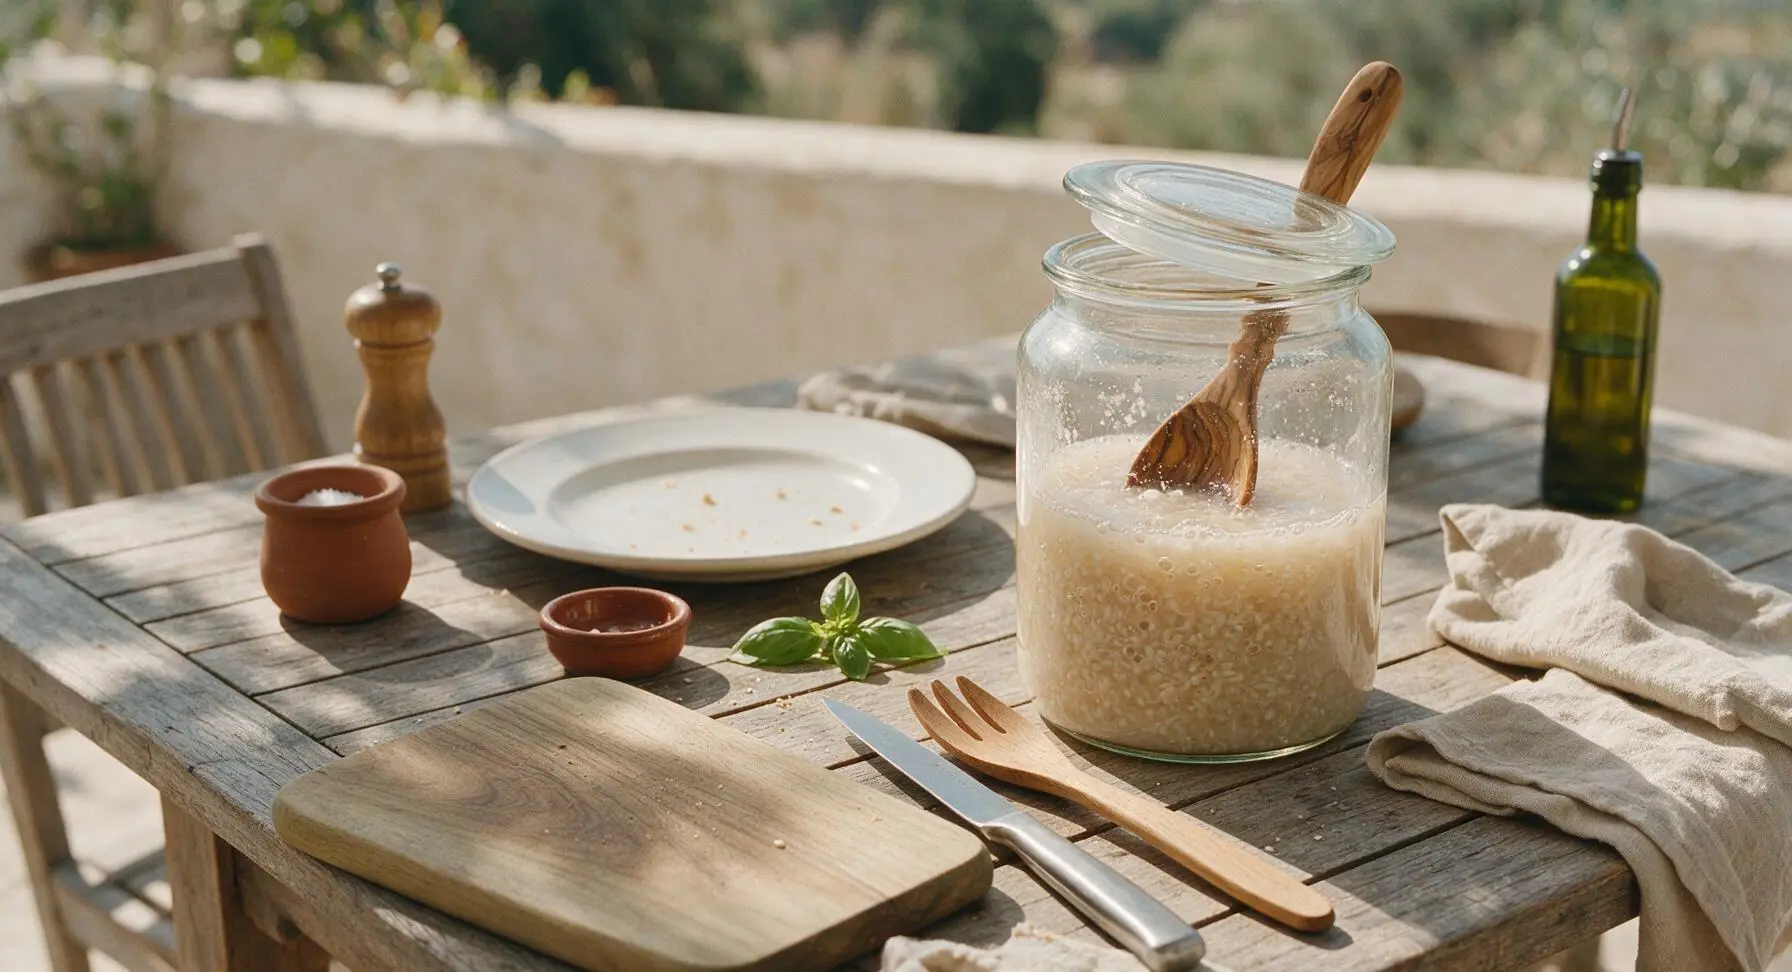
Rest the glass lid loosely on top of the fermentation jar (do not seal it airtight, as trapped carbon dioxide needs to escape). Place the jar in its fixed back-right position on the counter, away from direct window light, in a spot that holds a consistent 18-20C (65-68F) temperature. Let it ferment for 3 days, stirring once every 24 hours with the clean olive wood spoon, gently pressing rice grains against the jar side to release sugars. After 3 days, the mixture will smell sweet, slightly tangy, and have visible small bubbles rising to the surface.
Complete Full Fermentation
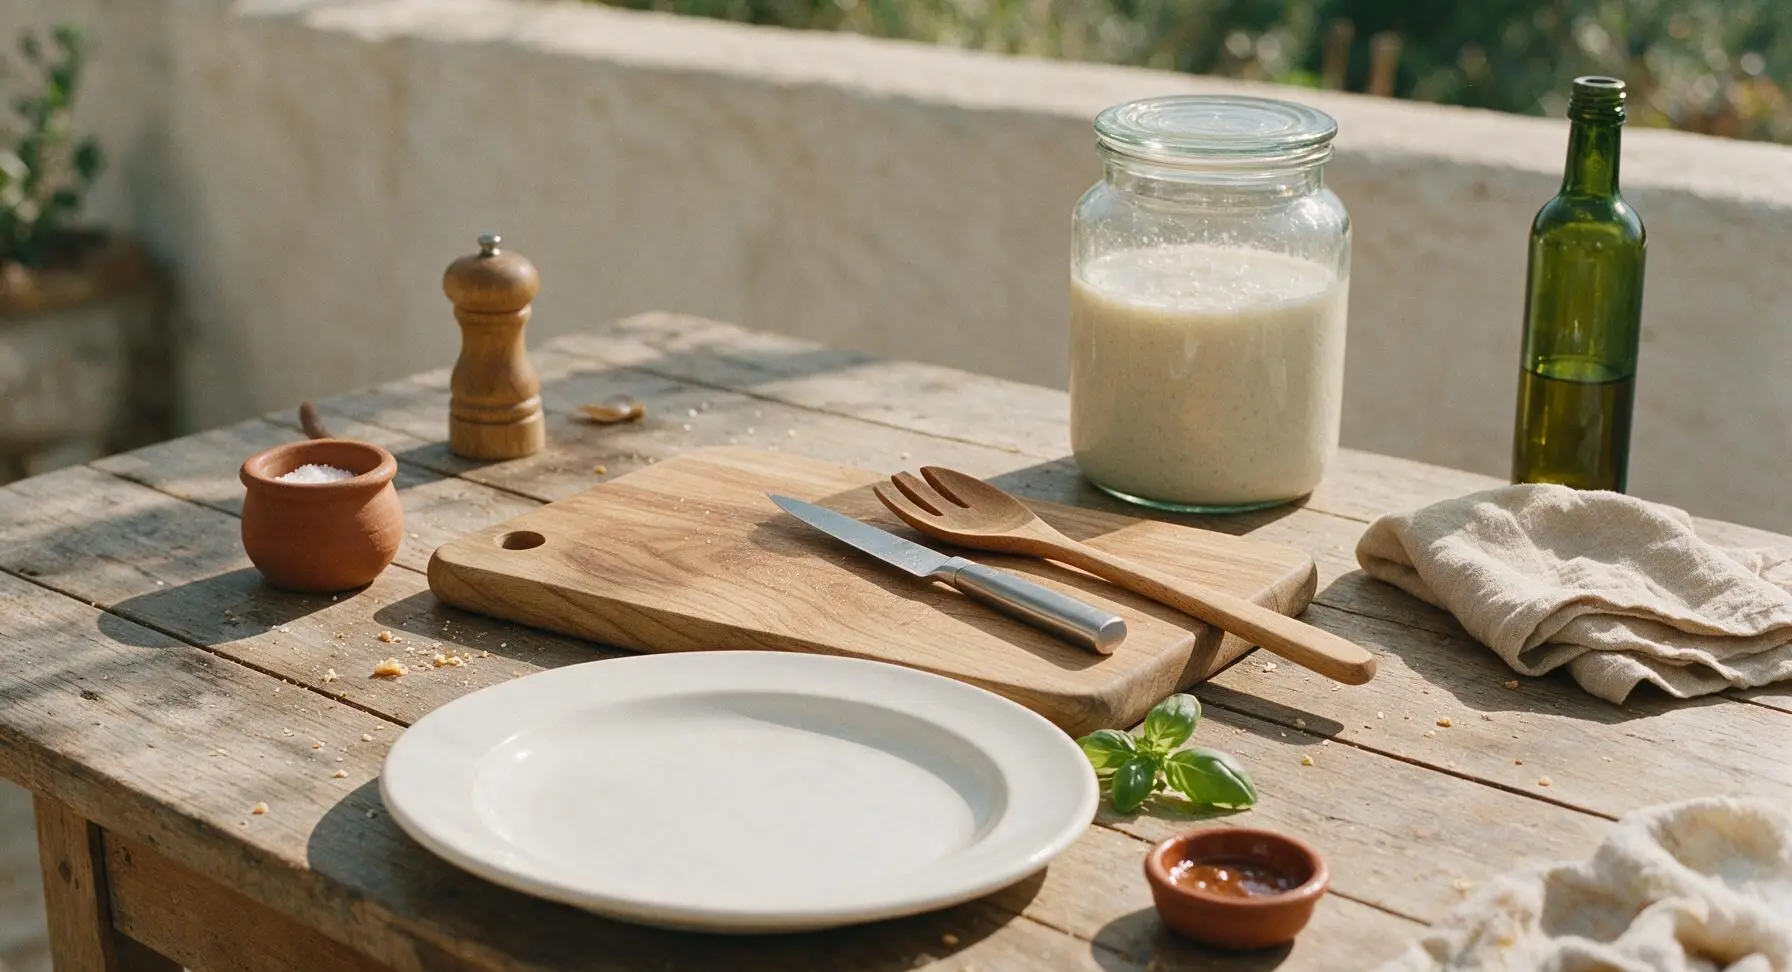
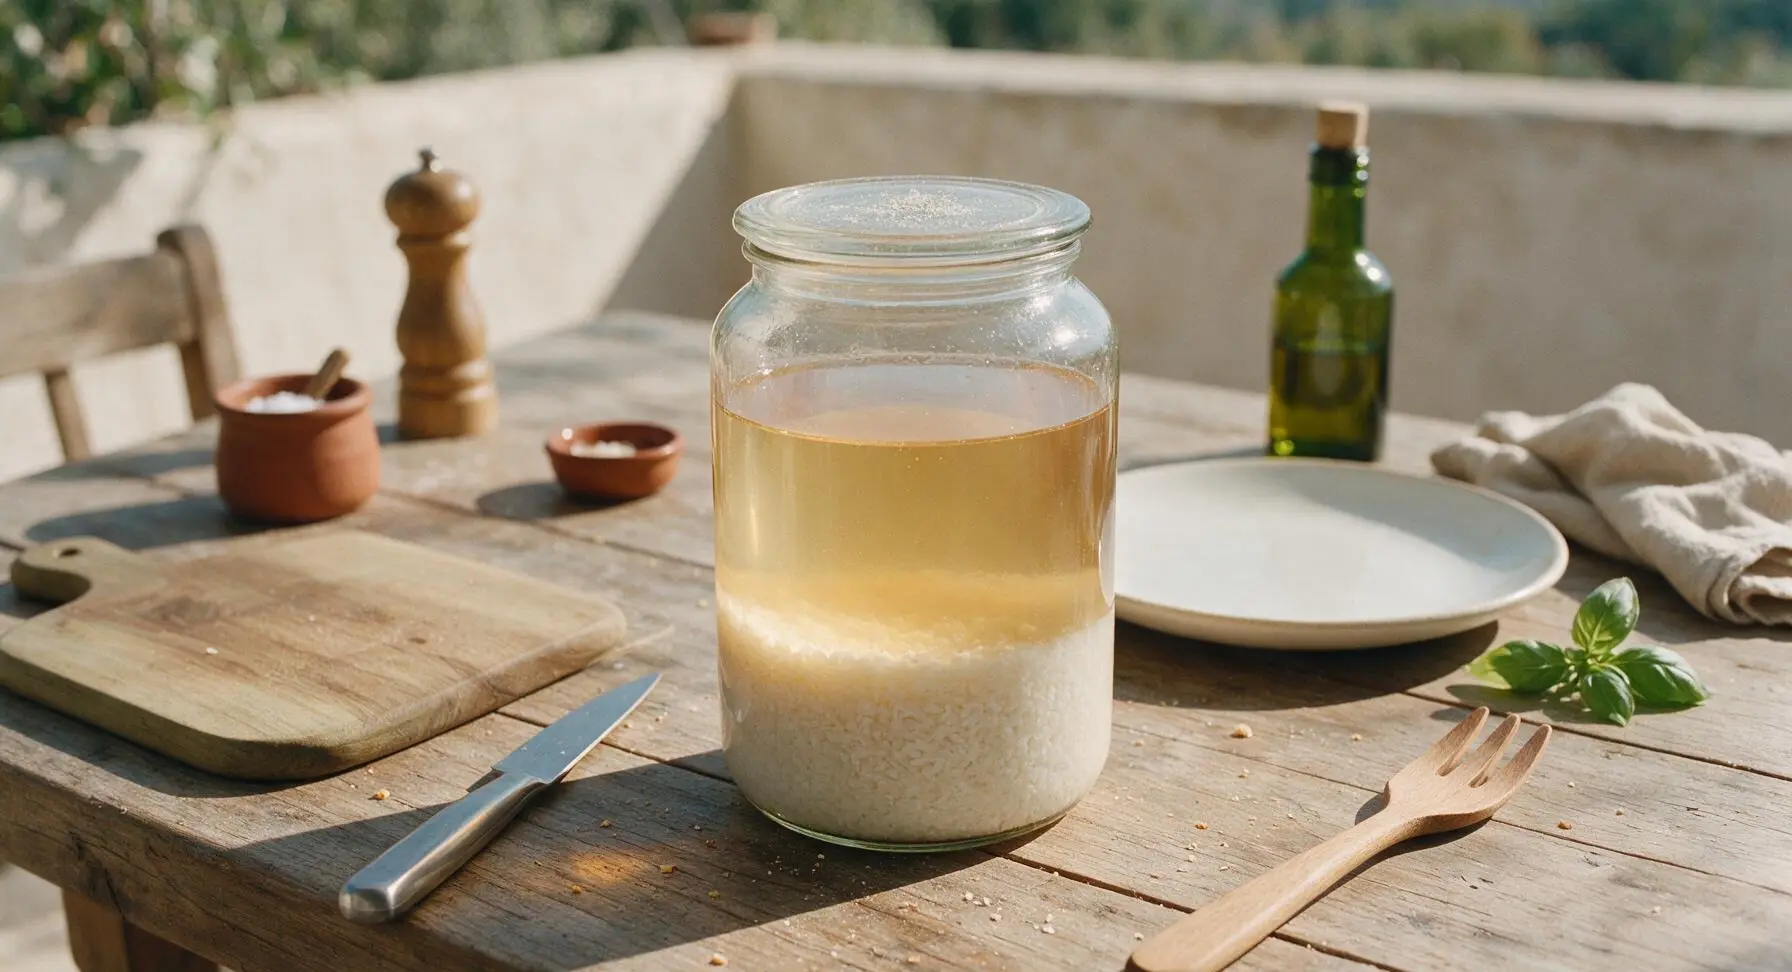
After the 3-day primary ferment, press the glass lid firmly into place to create a tight seal. Leave the jar undisturbed in the same cool spot for an additional 11 days to finish fermentation. Do not open, stir, or move the jar during this time. When fermentation is complete, the mixture will separate into two distinct layers: a pale, clear amber liquid on top, and a thick layer of settled white rice sediment at the bottom, with no active bubbles rising through the liquid.
Strain Out Sediment
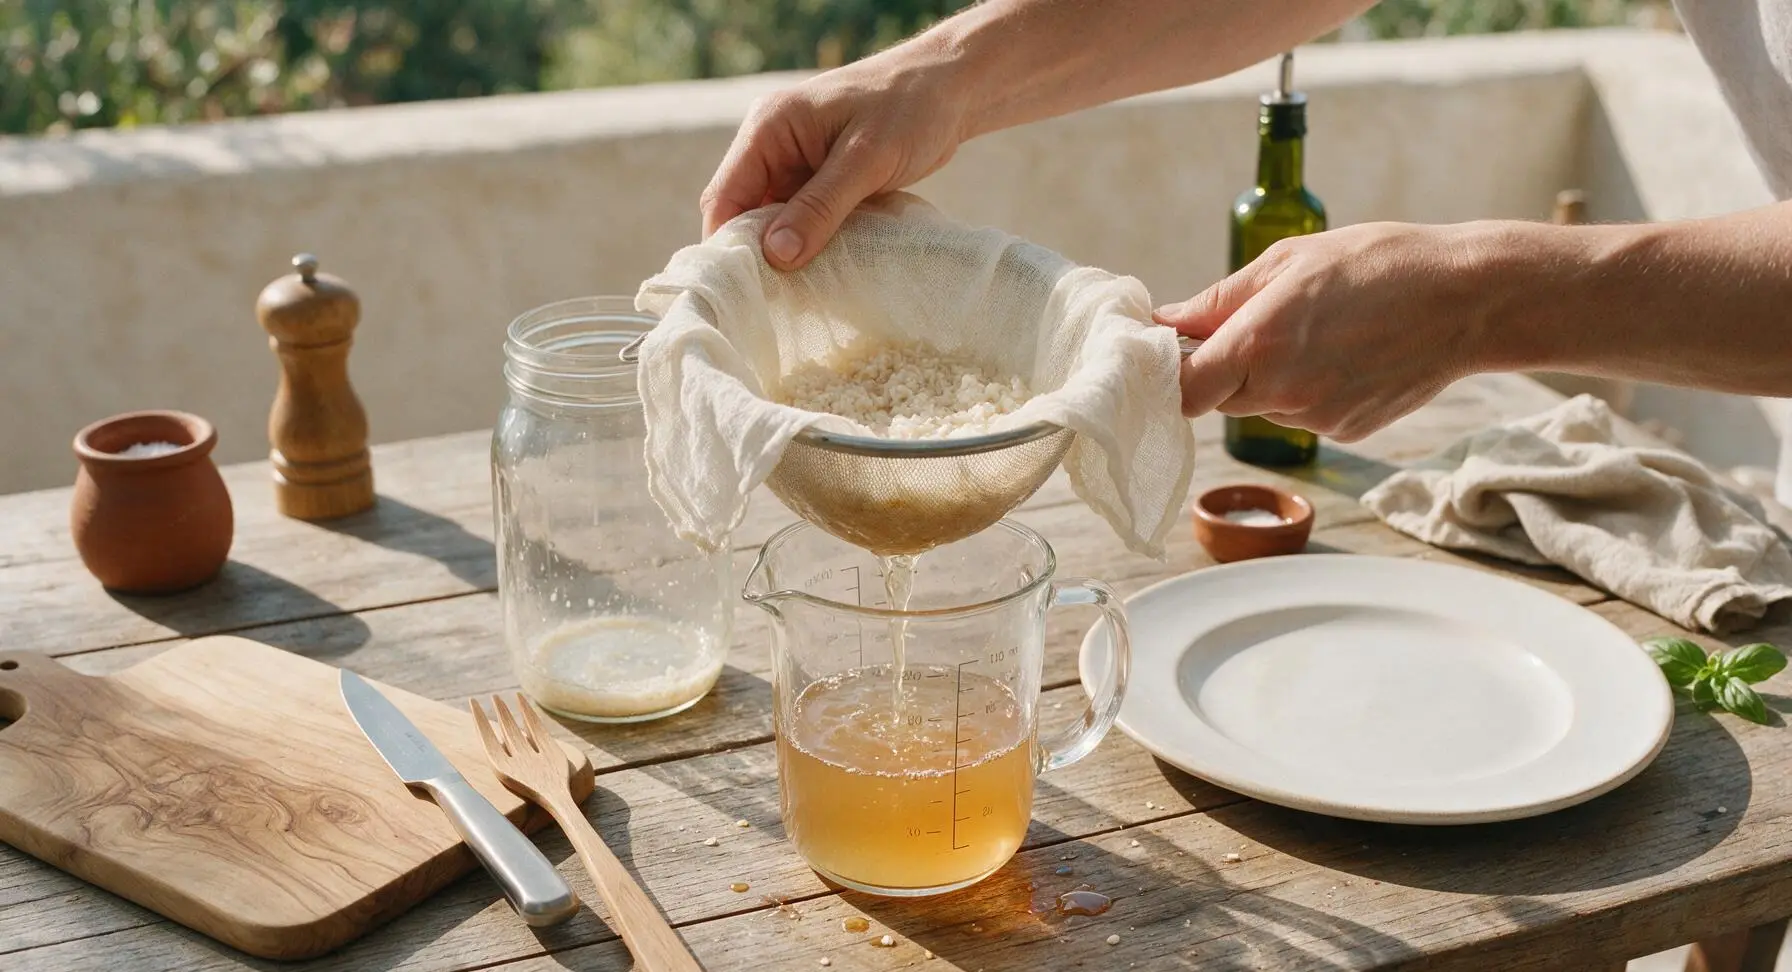
Pull the fine mesh strainer from its hook on the tile backsplash, and set it over the 1L glass measuring cup. Line the strainer with 2 layers of clean unbleached cheesecloth pulled from the counter drawer. Slowly pour the fermented liquid through the strainer, letting clear liquid drain through, catching all rice sediment and solids in the cheesecloth. Gather the cheesecloth edges and squeeze gently to extract all remaining liquid, discarding the leftover rice solids. Repeat the straining process 2 more times with fresh cheesecloth until the liquid is completely clear, with no floating fine sediment.
Dilute to Drinking Strength
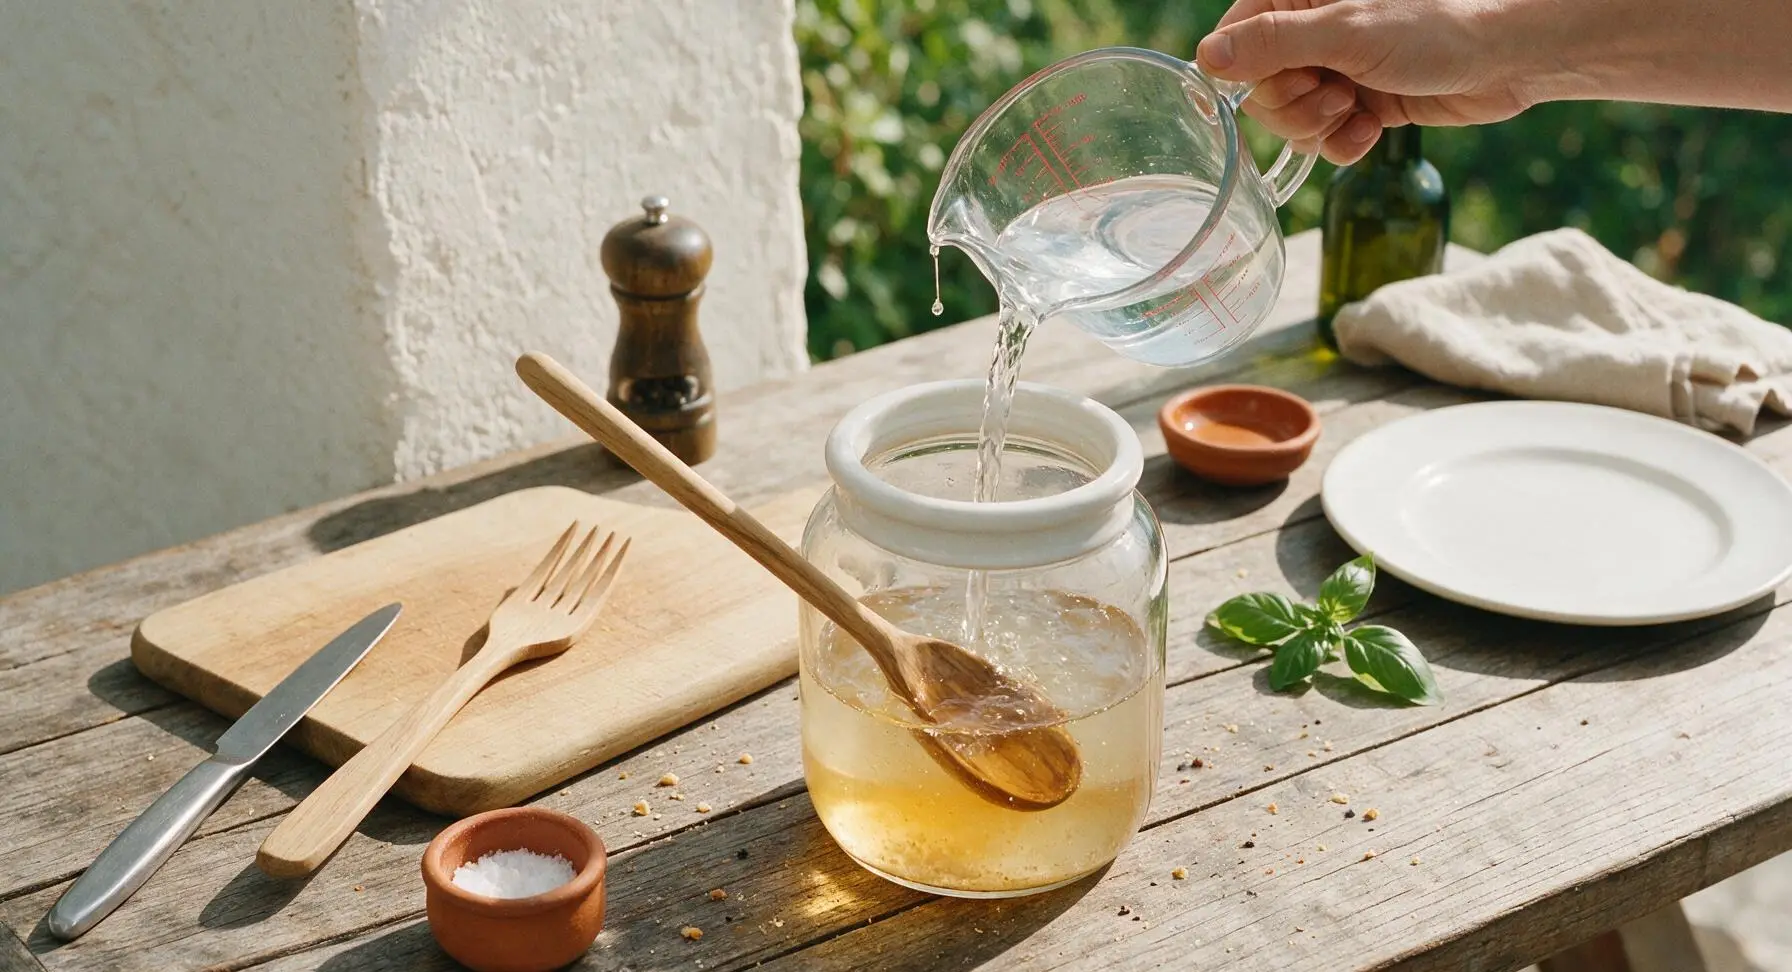
Measure the total volume of strained concentrated liquid (it will yield roughly 1L, approximately 30% ABV). Add an equal volume (about 1L) of cold filtered water to the concentrated liquid to dilute it to 15-18% ABV, matching the strength of classic restaurant-style soju. Stir gently with the olive wood spoon to fully combine, then taste and add a tiny extra pinch of sugar if the soju tastes overly dry or harsh.
Chill Before Serving
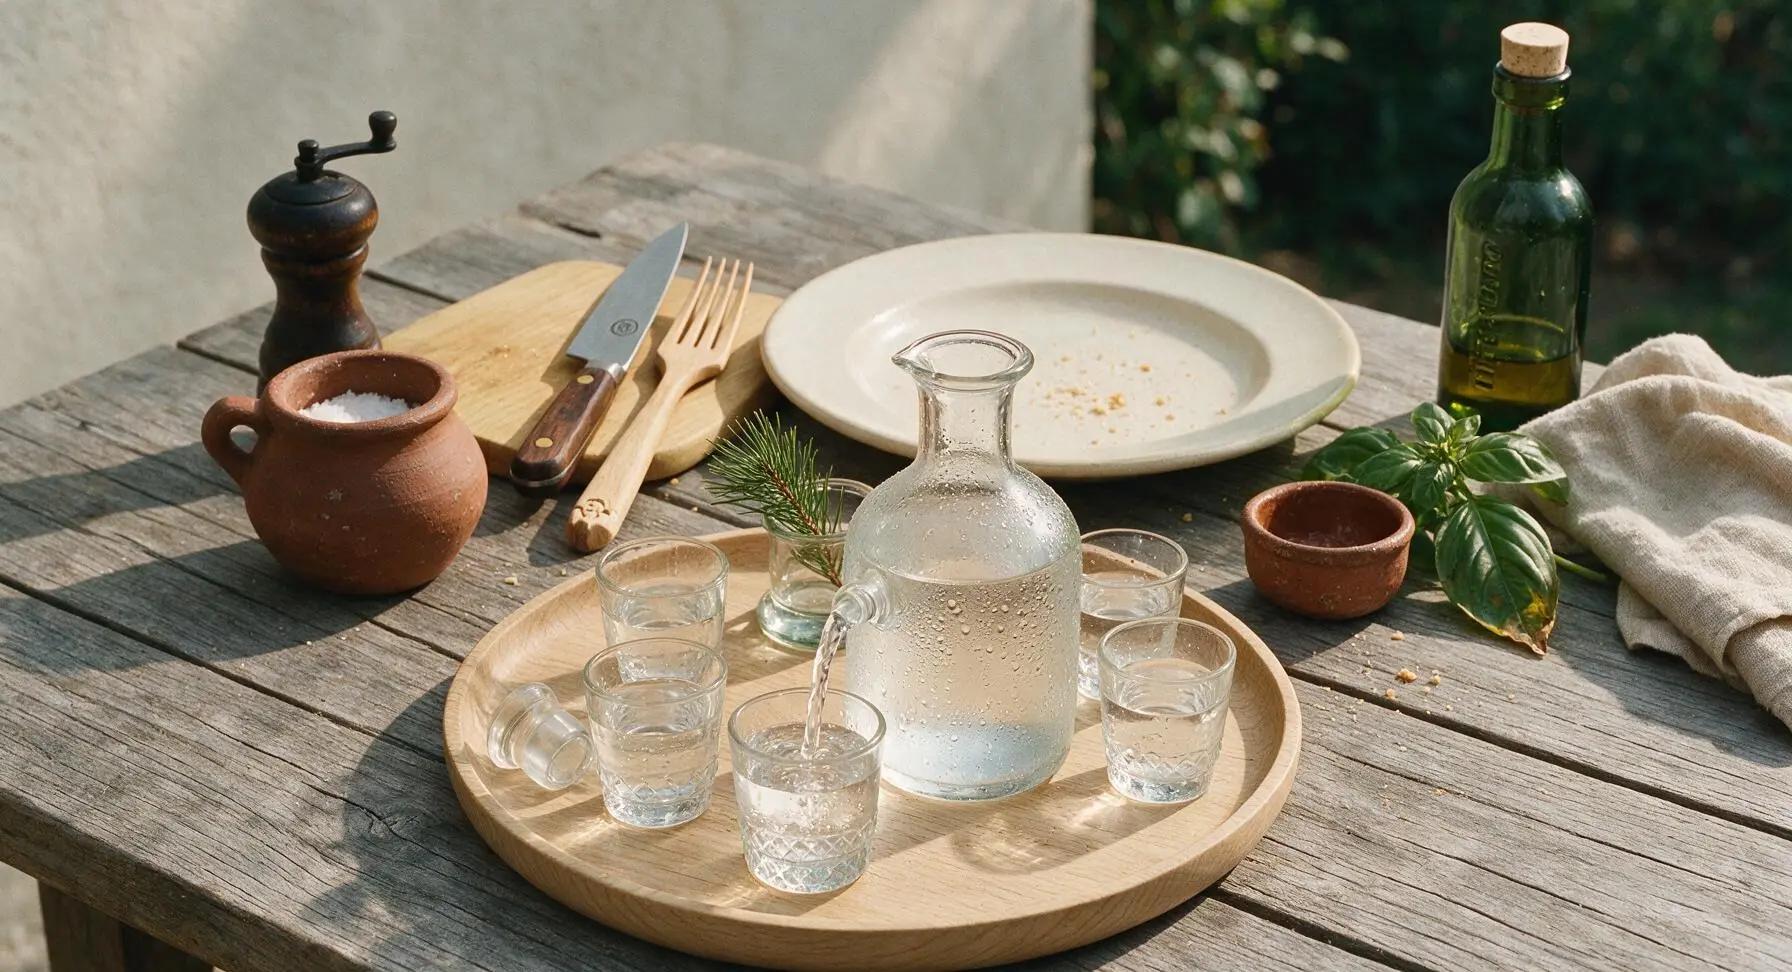
Pour the diluted soju into the 1L clear glass serving bottle on the oak tray, seal with the glass stopper, and chill in the refrigerator for at least 4 hours until it reaches 4C (39F). To serve, pour into small soju shot glasses, garnished with a single pine needle from the bud vase if desired for a subtle, fresh woody aroma.
Tips
2.Do not over-squeeze the cheesecloth when straining: pressing too hard will force fine rice sediment through the cloth, making your final soju cloudy and giving it a gritty, starchy texture. Gentle pressure is all that is needed to extract clear liquid.
3.For the smoothest taste, let the chilled soju rest for 2 full days in the refrigerator after diluting: this short aging period allows any remaining fine sediment to settle to the bottom of the bottle, and softens the sharp, young fermented notes for a cleaner, more mellow finish.






OMG I’ve been wanting to make homemade soju forever because store bought is always so pricey when I host K-drama watch parties! Quick question—does the fermentation spot have to be totally dark, or is a dim pantry okay? I don’t have a super dark closet in my apartment.
Game changer! I brought a bottle of this to my neighborhood potluck last weekend and everyone was begging for the recipe. It’s so smooth, way better than the cheap stuff I grab at the liquor store. A little tip: I added a handful of dried yuja peels during the last 2 days of fermentation for a little citrus kick, *chef’s kiss*.
Wait, 14 days of fermentation feels so long! I’m used to making quick cocktails for weeknight dinners, but I’m really curious to try this. Is there any way to speed up the process a little without ruining the flavor? I have a family dinner coming up in 10 days and I’d love to serve this.
My husband is Korean American and has been missing his grandma’s homemade soju since she moved back to Busan, so I decided to surprise him with this recipe! I was so nervous I’d mess up the fermentation step, but the instructions were super easy to follow. Wait—has anyone tried this with gluten free rice? My oldest has a gluten sensitivity and I want to make a batch he can try too.
SO good. I’ve made homemade beer and makgeolli before, so I figured I’d give soju a shot with this recipe. The 40 minutes of active time was way less than I expected for something that tastes this authentic. Heads up for newbies: don’t skip straining it multiple times! I only strained once on my first test pour and it was a little cloudy and had sediment at the bottom.
Made this for my at-home date night with my girlfriend last night, we paired it with spicy tteokbokki and fried chicken and it felt just like our trip to Seoul last year! It’s so much smoother than I remembered, not harsh at all even straight. We ended up mixing a little with strawberry yakult for cocktails later and it was insane. 10/10 will be making this on repeat.
Help! I’m on day 3 of fermentation and I don’t see any bubbles yet. Did I kill the yeast? I followed the recipe exactly, measured everything out, used the right rice, but it’s just sitting there totally still. I’m so stressed I wasted all these ingredients.
My granddaughter got me into Korean food after she studied abroad in Seoul last year, so I decided to try making this soju for our monthly family Sunday dinner. Everyone was shocked how good it was! Even my son who says he “hates all hard alcohol” had two glasses mixed with lemon soda. Quick question—how long does the finished soju last in the fridge once it’s done fermenting?