
southern fried breadcrumbs

title 1
southern fried breadcrumbs
⏱️ cook time 10 minutes
🍽️ servings 4
⚡ Difficulty easy

intro

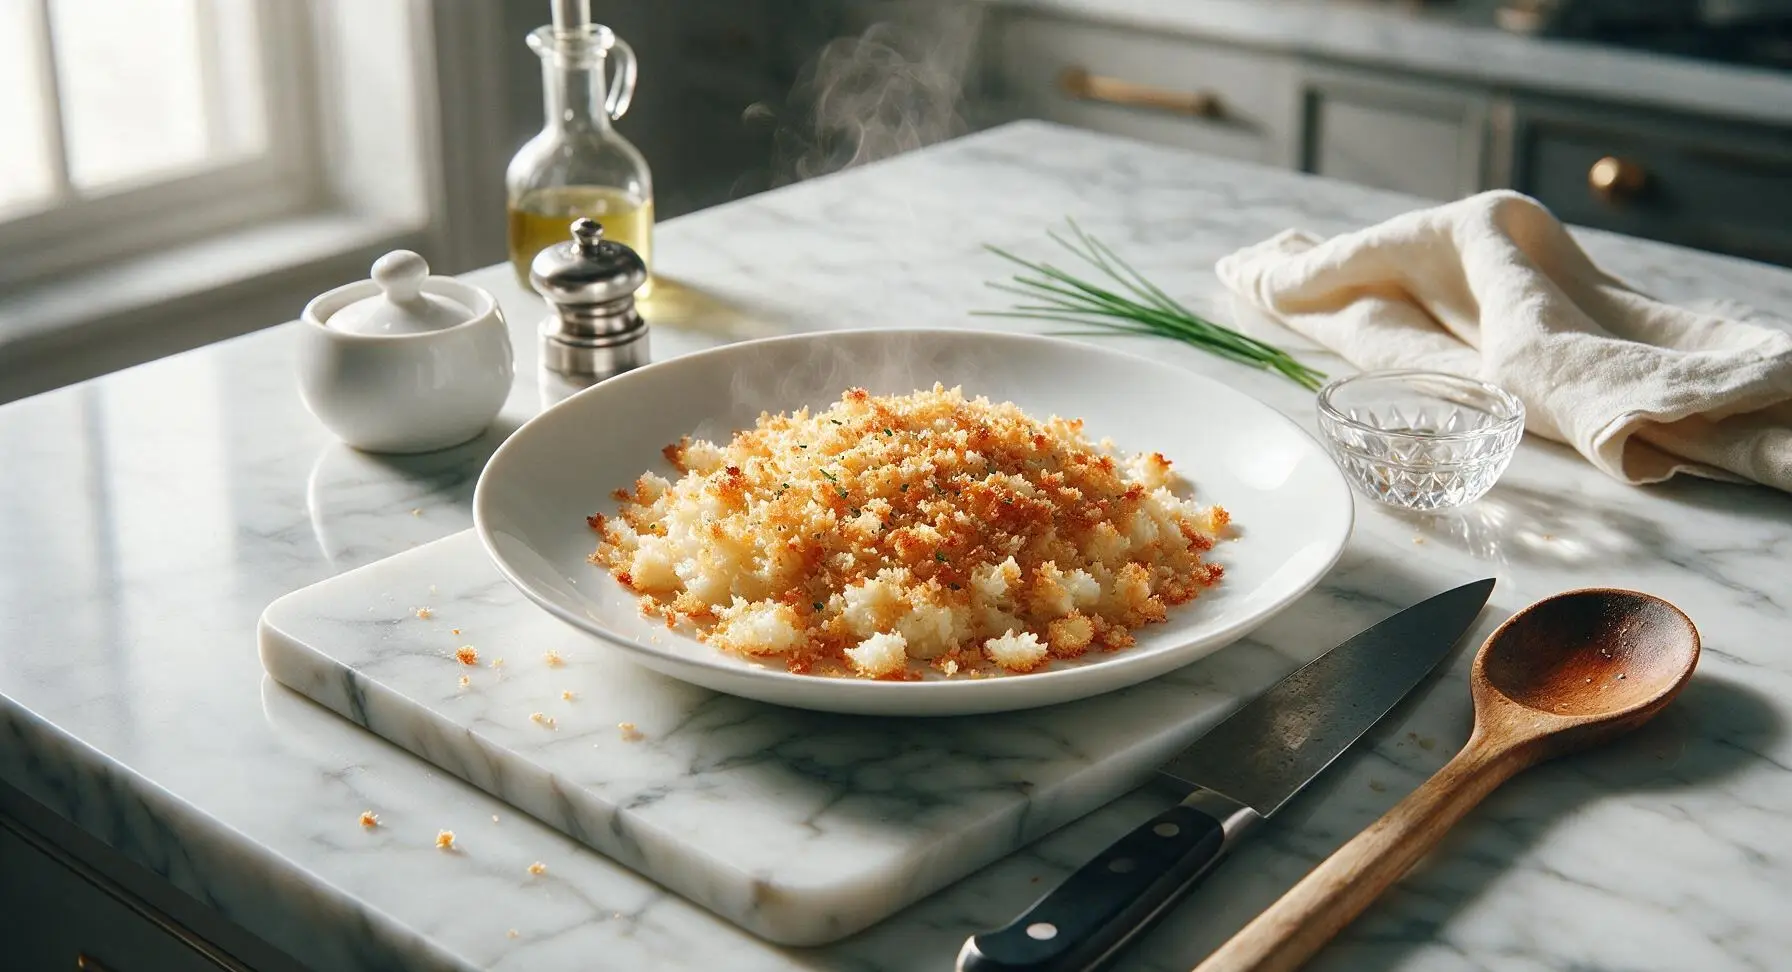
Crispy, golden, buttery Southern fried breadcrumbs—simply seasoned, shatteringly crisp, the iconic homestyle side and crunchy topping for all your favorite Sunday supper dishes.

Ingredients
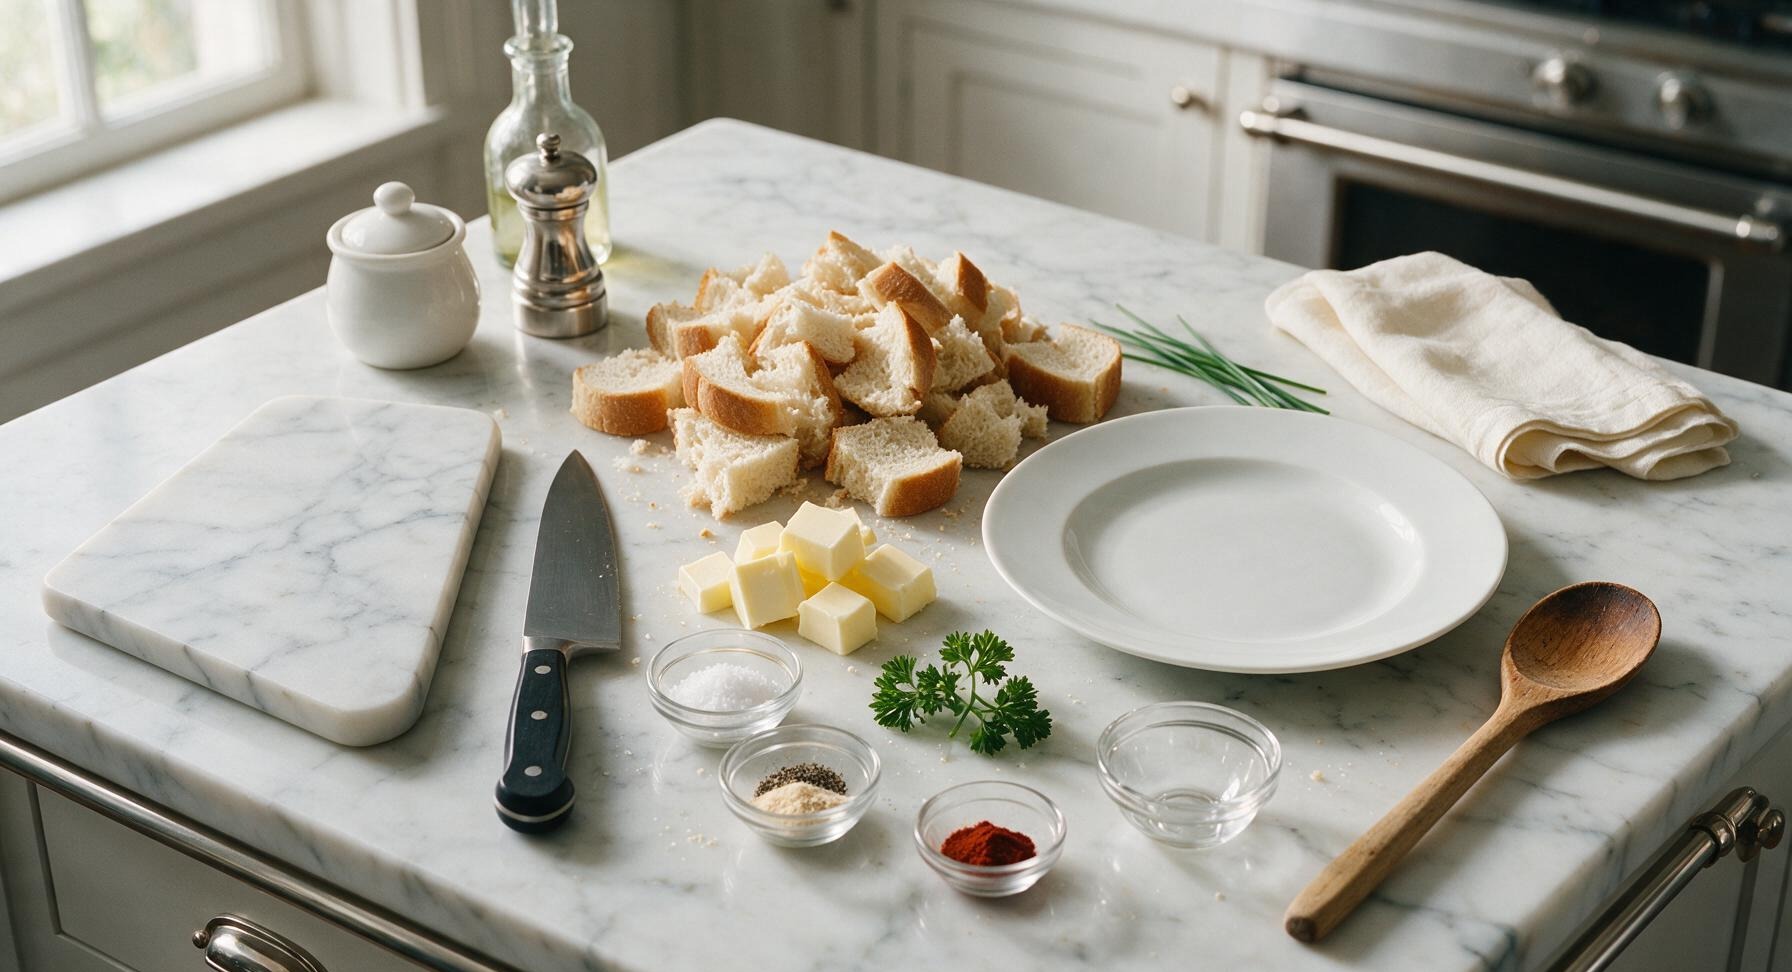
Day-old soft white bread 4 cups (torn, approx 6 slices)
Unsalted butter 4 tbsp (1/2 stick)
Kosher salt 1 tsp
Freshly ground black pepper 1/2 tsp
Garlic powder 1/4 tsp
Smoked paprika 1/8 tsp
Fresh curly parsley 1 small sprig (for garnish)

Steps

1

Tear Bread into Crumbs

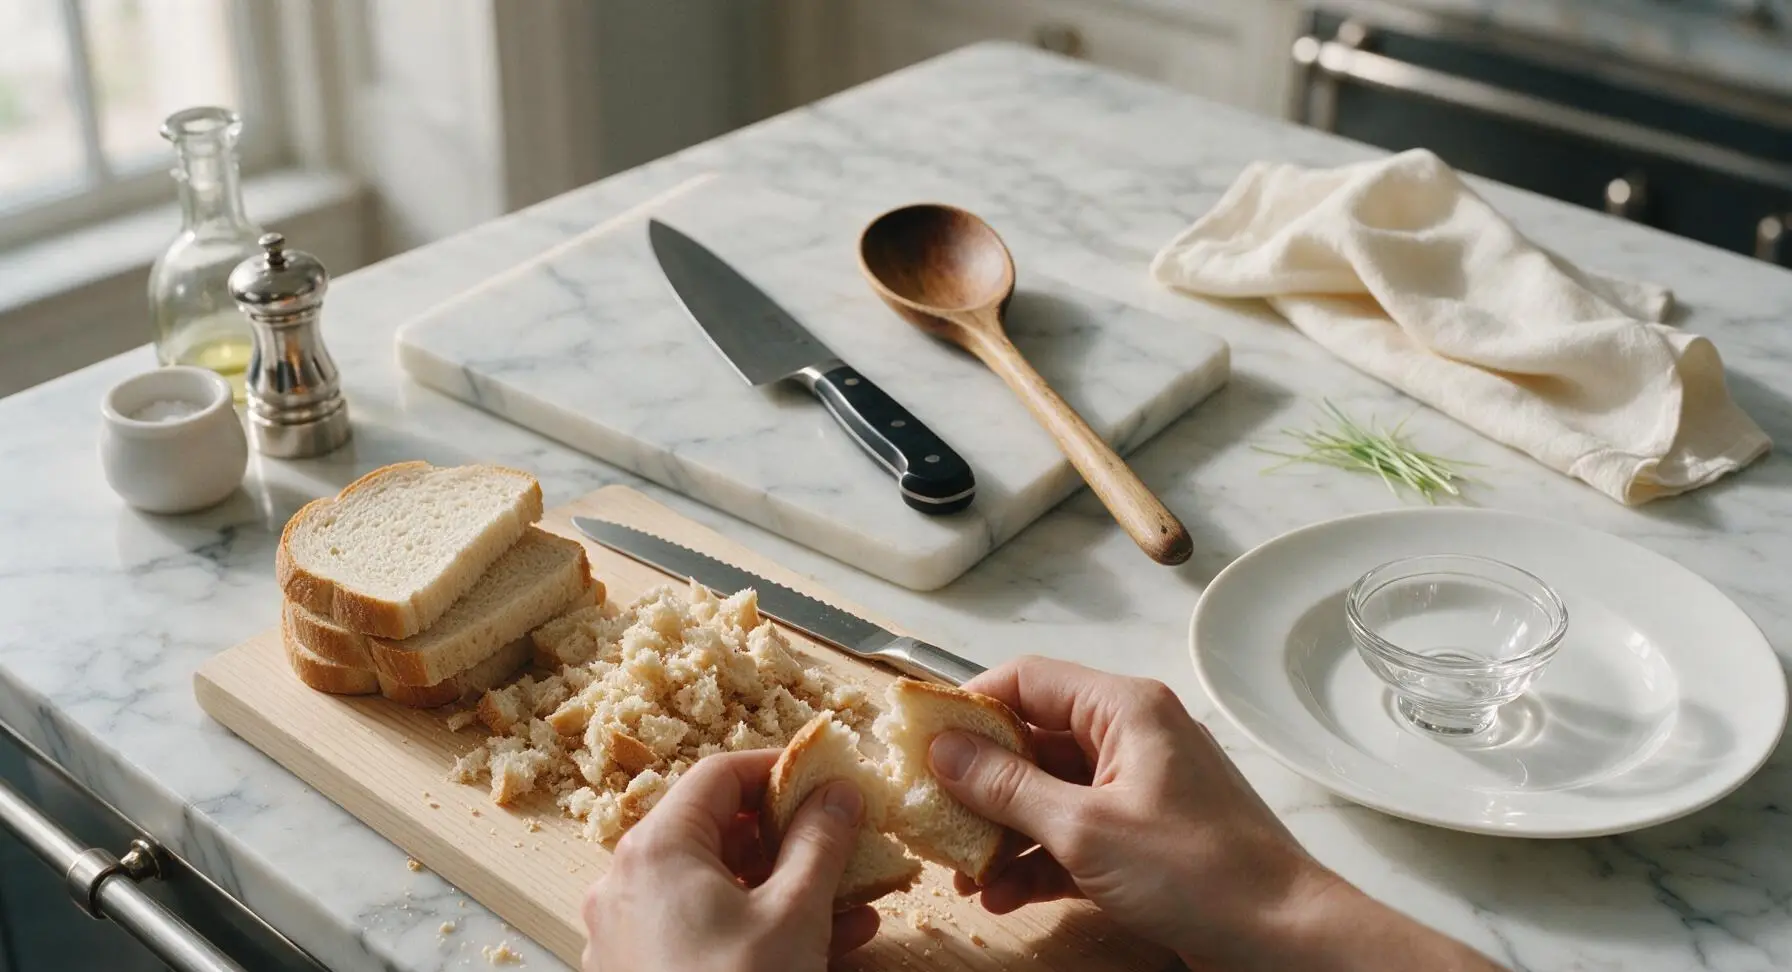
Stack the 6 slices of day-old white bread on the light pine cutting board. Using your hands (no food processor needed for authentic coarse texture), tear the bread into uneven, coarse crumbs between 1/4-inch and 1/2-inch in size. Discard any overly hard crust edges if they feel too dry to soften during cooking. You should end up with 4 loosely packed cups of crumbs.
Step 1
step1:Tear Bread into Crumbs
2

Melt Butter in Skillet

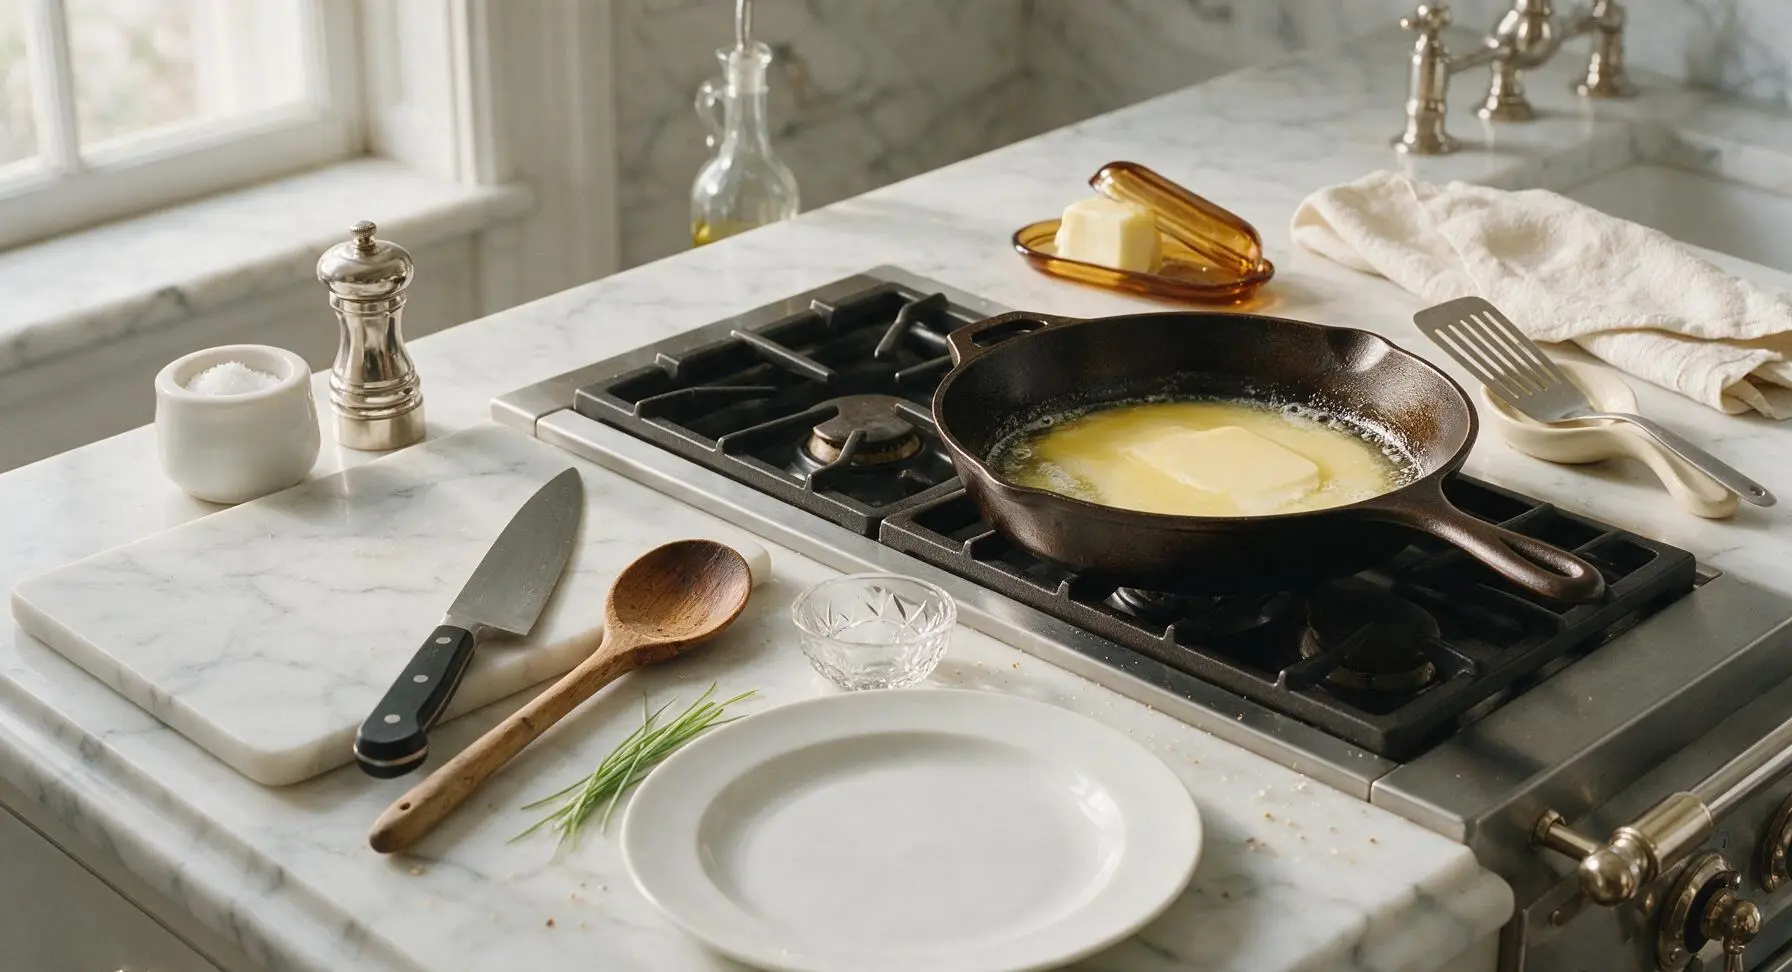
Place the 10-inch cast iron skillet in its fixed center-right position on the stovetop over medium-low heat (325°F / 160°C). Add the 4 tablespoons of unsalted butter to the skillet, allowing it to melt slowly without browning, about 2 minutes. Swirl the pan occasionally to coat the entire bottom surface evenly with melted butter; do not let the butter foam or turn golden brown at this stage.
Step 2
step2:Melt Butter in Skillet
3

Add Crumbs to Butter

Once the butter is fully melted and coating the pan bottom, pour all 4 cups of torn bread crumbs into the skillet in an even layer. Use the slotted stainless steel turner to spread the crumbs out across the pan so every crumb is in contact with the buttered surface, no large clumps stacked on top of each other.
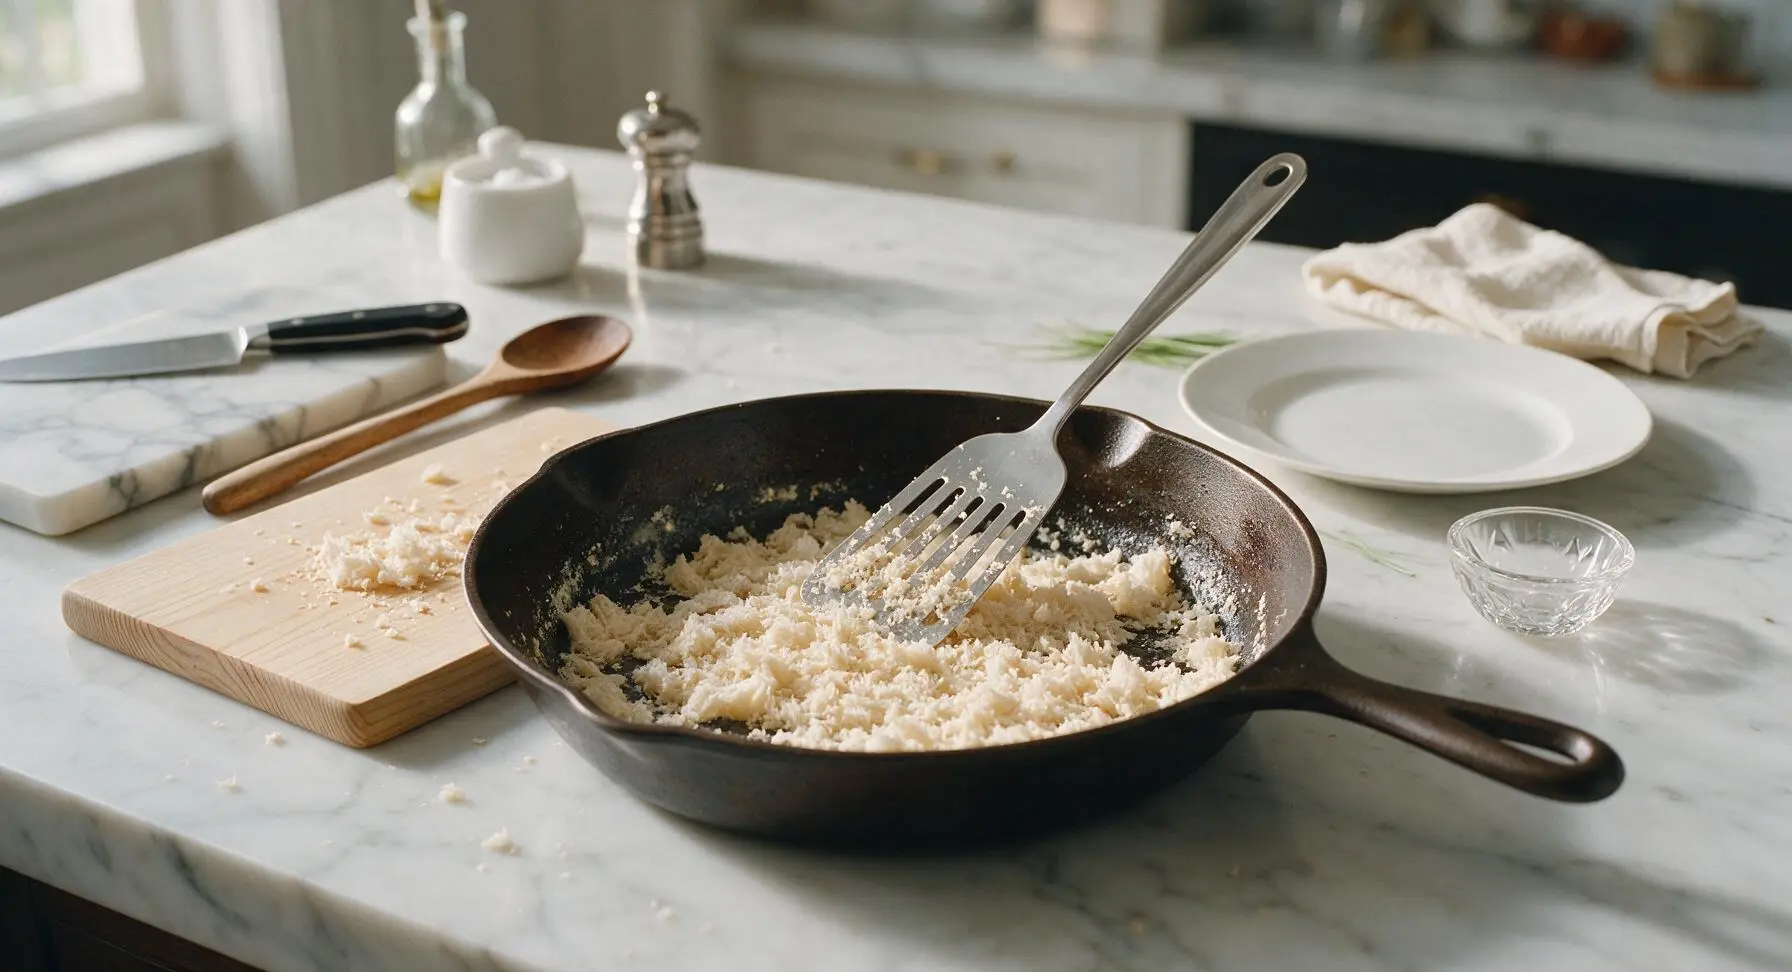
Step 3
step3:Add Crumbs to Butter
4

Toast Crumbs Evenly

Cook the crumbs over medium-low heat, stirring every 60 seconds with the slotted turner, for 7 to 9 minutes total. Scrape the bottom of the pan thoroughly with each stir to prevent crumbs from burning. The crumbs will gradually turn from pale white to a deep, even golden brown, with a light, crispy, dry texture when done. If you notice dark brown spots forming too quickly, reduce heat to low.
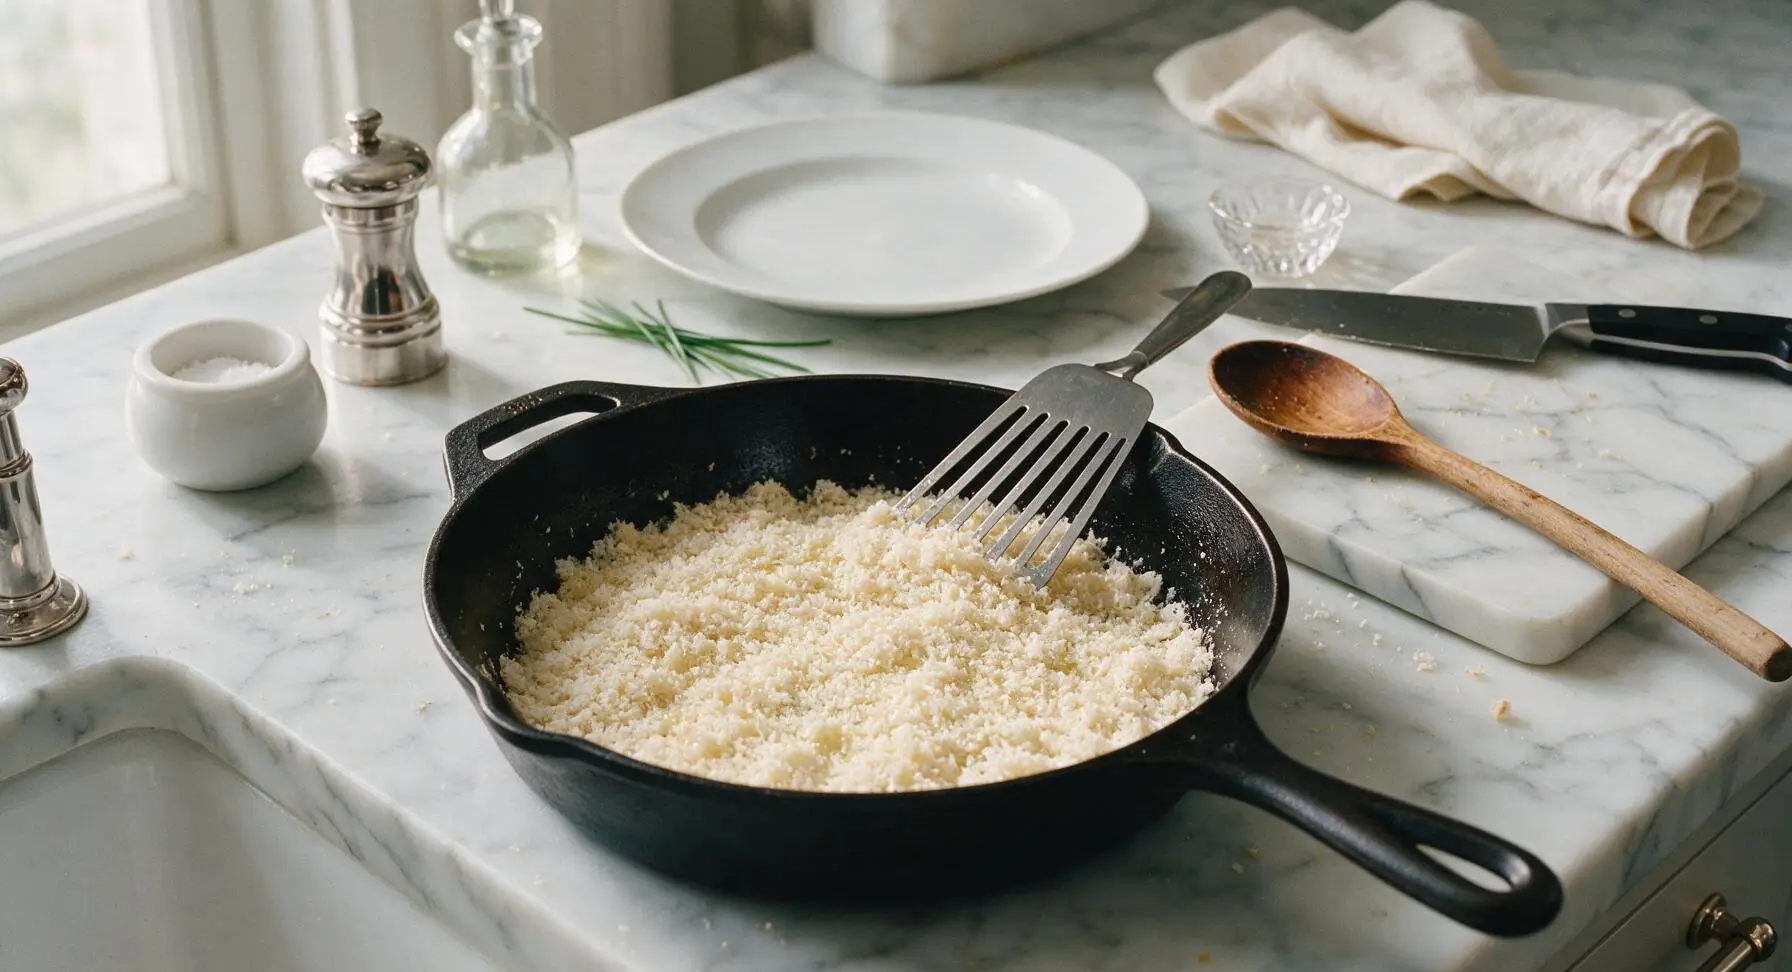
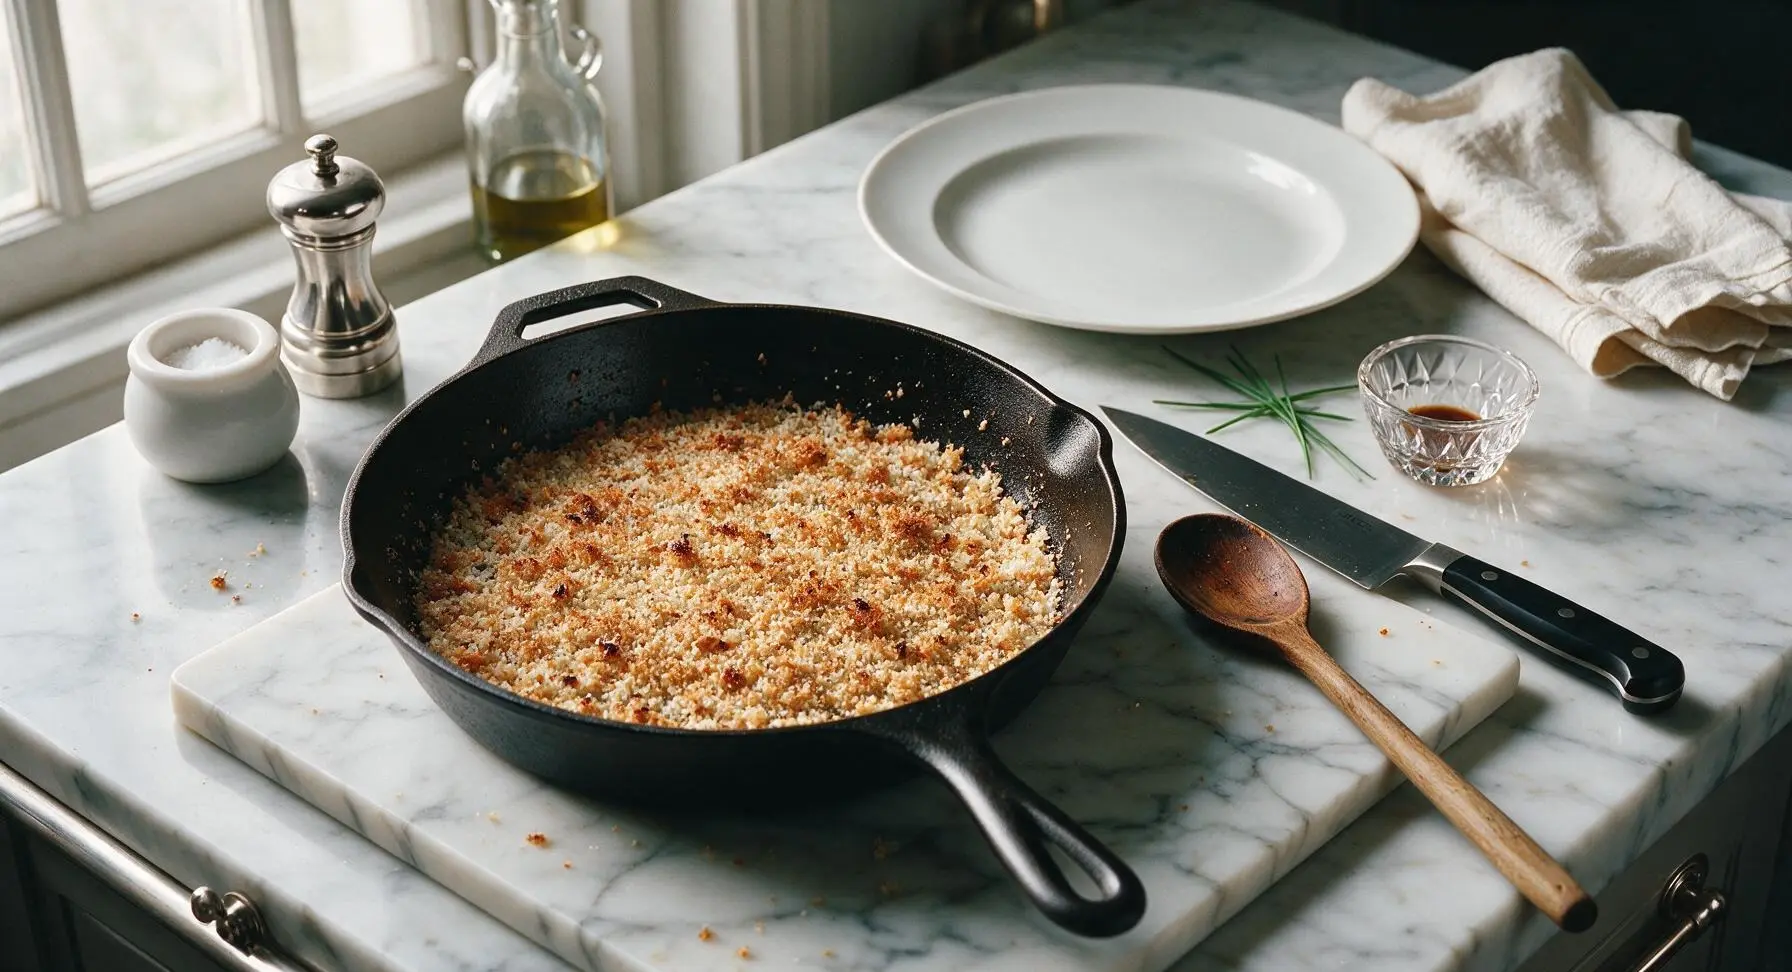
Step 4
step4:Toast Crumbs Evenly
Step 4
step4:Toast Crumbs Evenly
5

Season Toasted Crumbs

Once the crumbs reach an even golden crispness, turn off the heat. Sprinkle 1 teaspoon kosher salt, 1/2 teaspoon freshly ground black pepper, 1/4 teaspoon garlic powder, and 1/8 teaspoon smoked paprika evenly over the hot crumbs. Stir thoroughly with the slotted turner to distribute seasonings evenly across every crumb, tasting one crumb to adjust salt if needed.
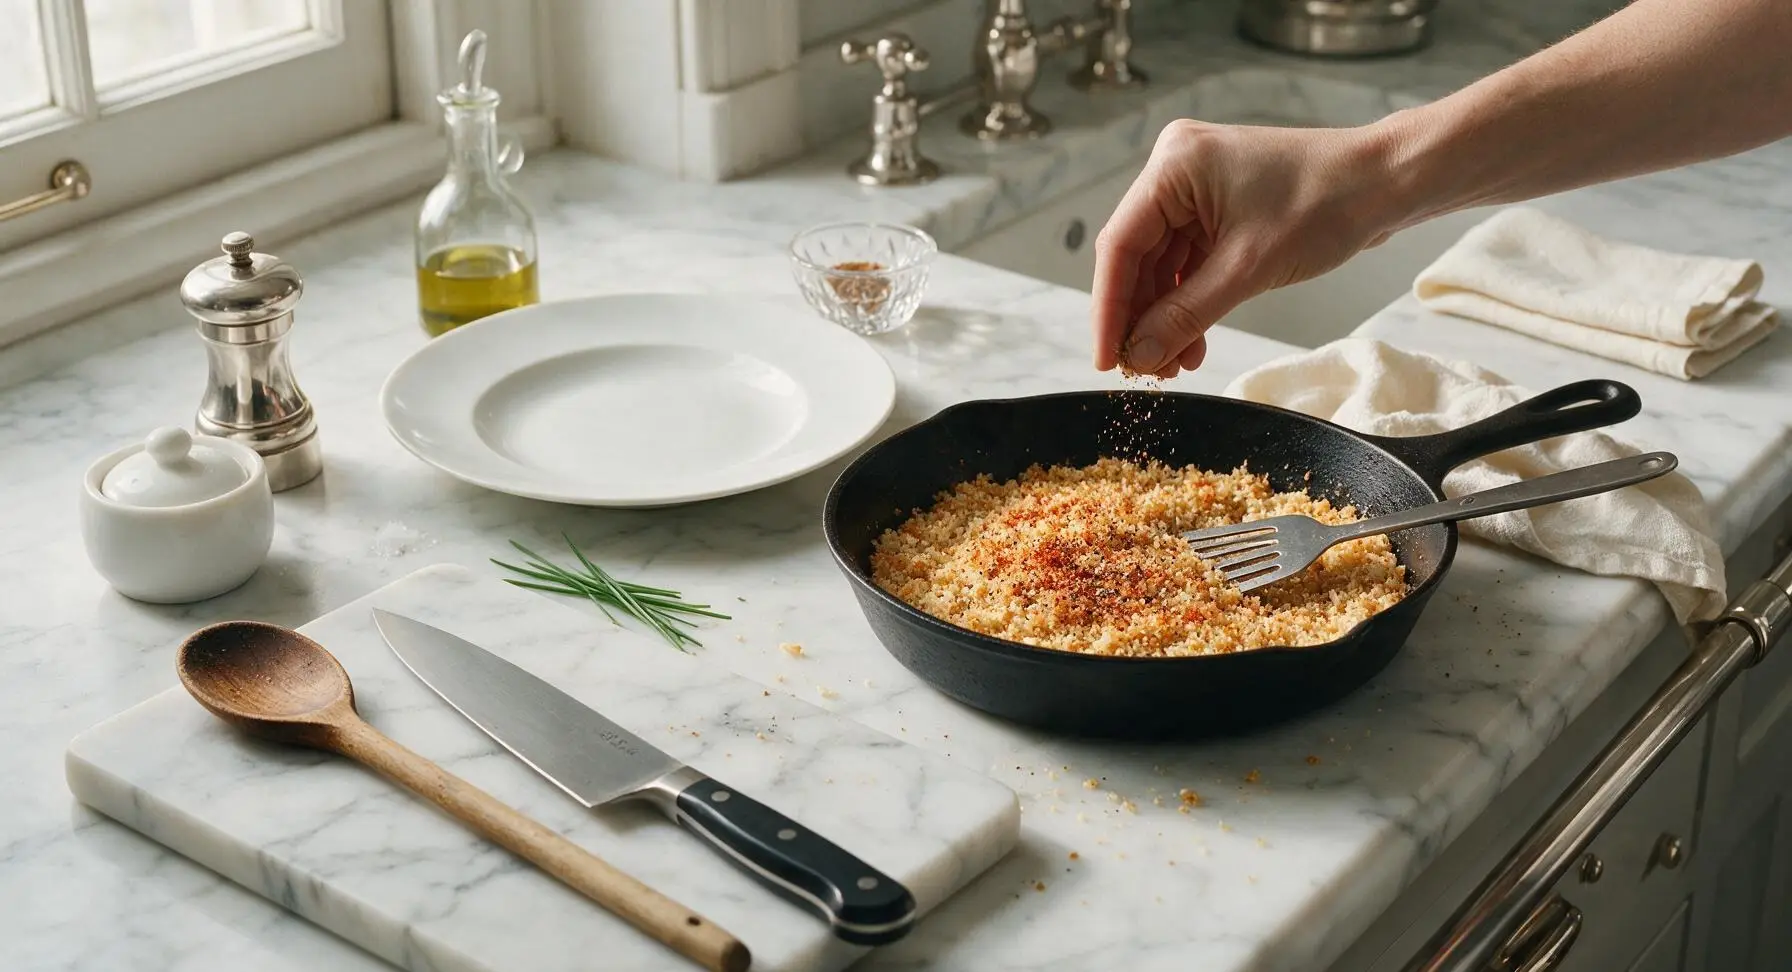
Step 5
step5:Season Toasted Crumbs
6

Drain Excess Butter

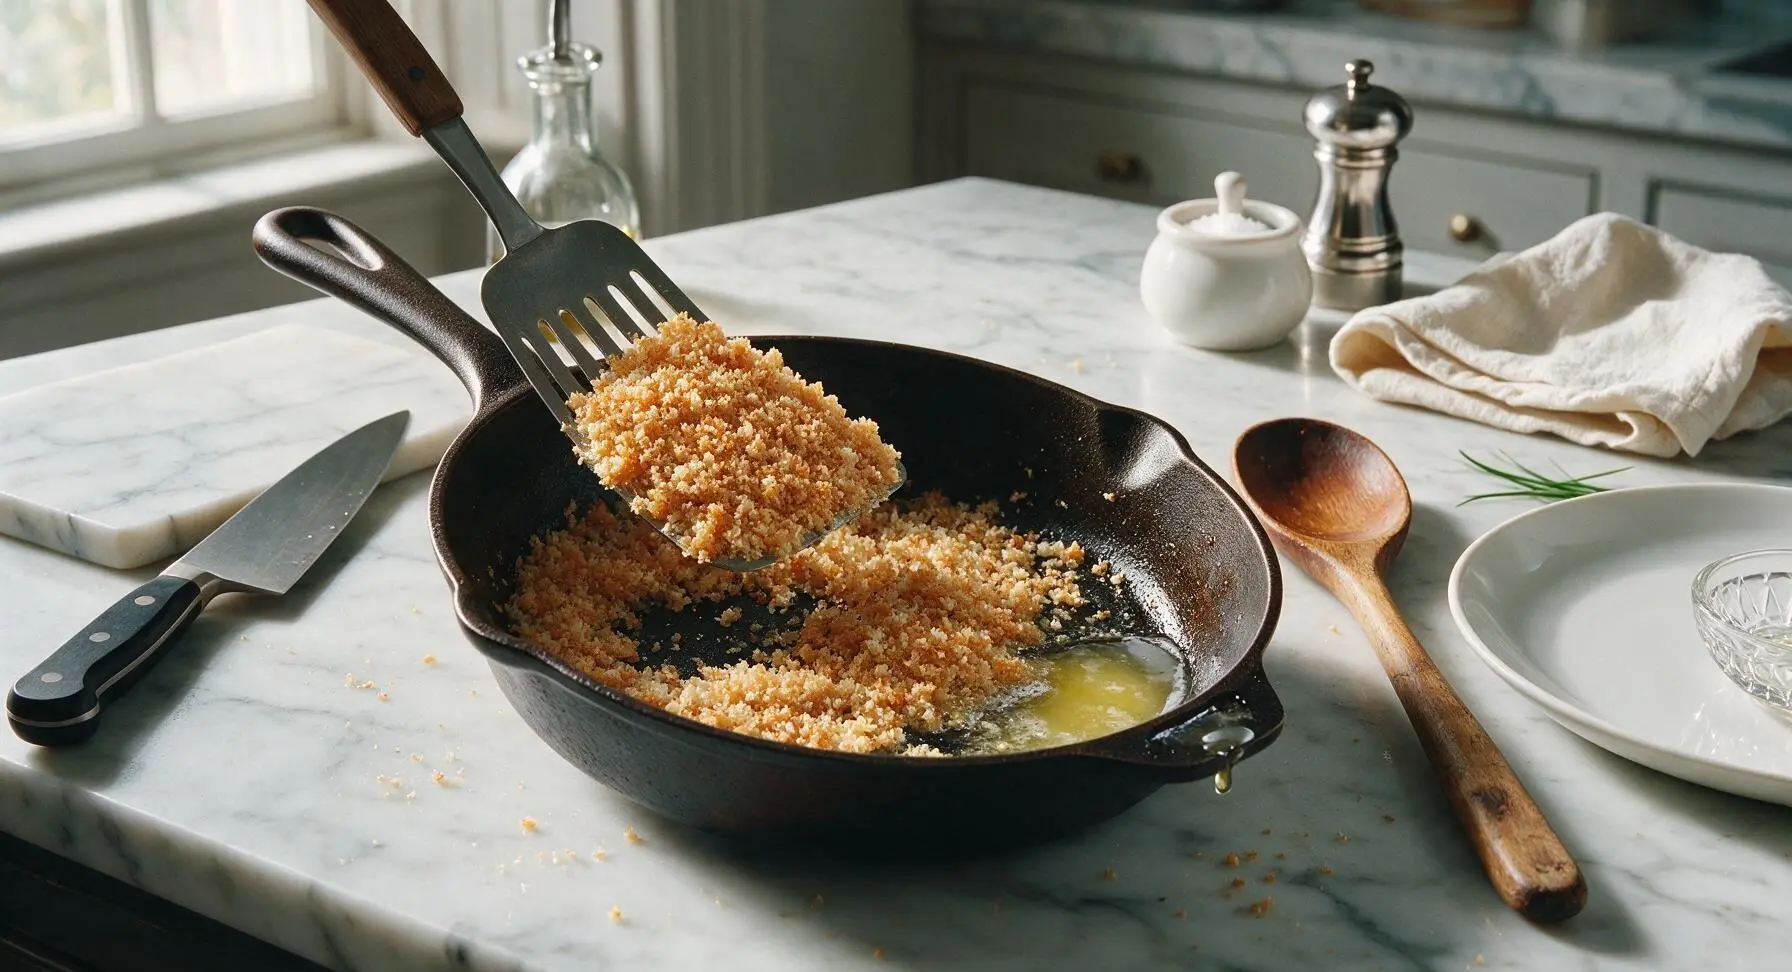
Tilt the cast iron skillet slightly to one side, holding the slotted turner against the crumbs to keep them in the pan as any excess melted butter drains to the lower edge. Do not press the crumbs to squeeze out butter, as this will make them soggy; simply let excess butter run off for 30 seconds. This step prevents the finished crumbs from tasting greasy.
Step 6
step6:Drain Excess Butter
7

Plate and Garnish

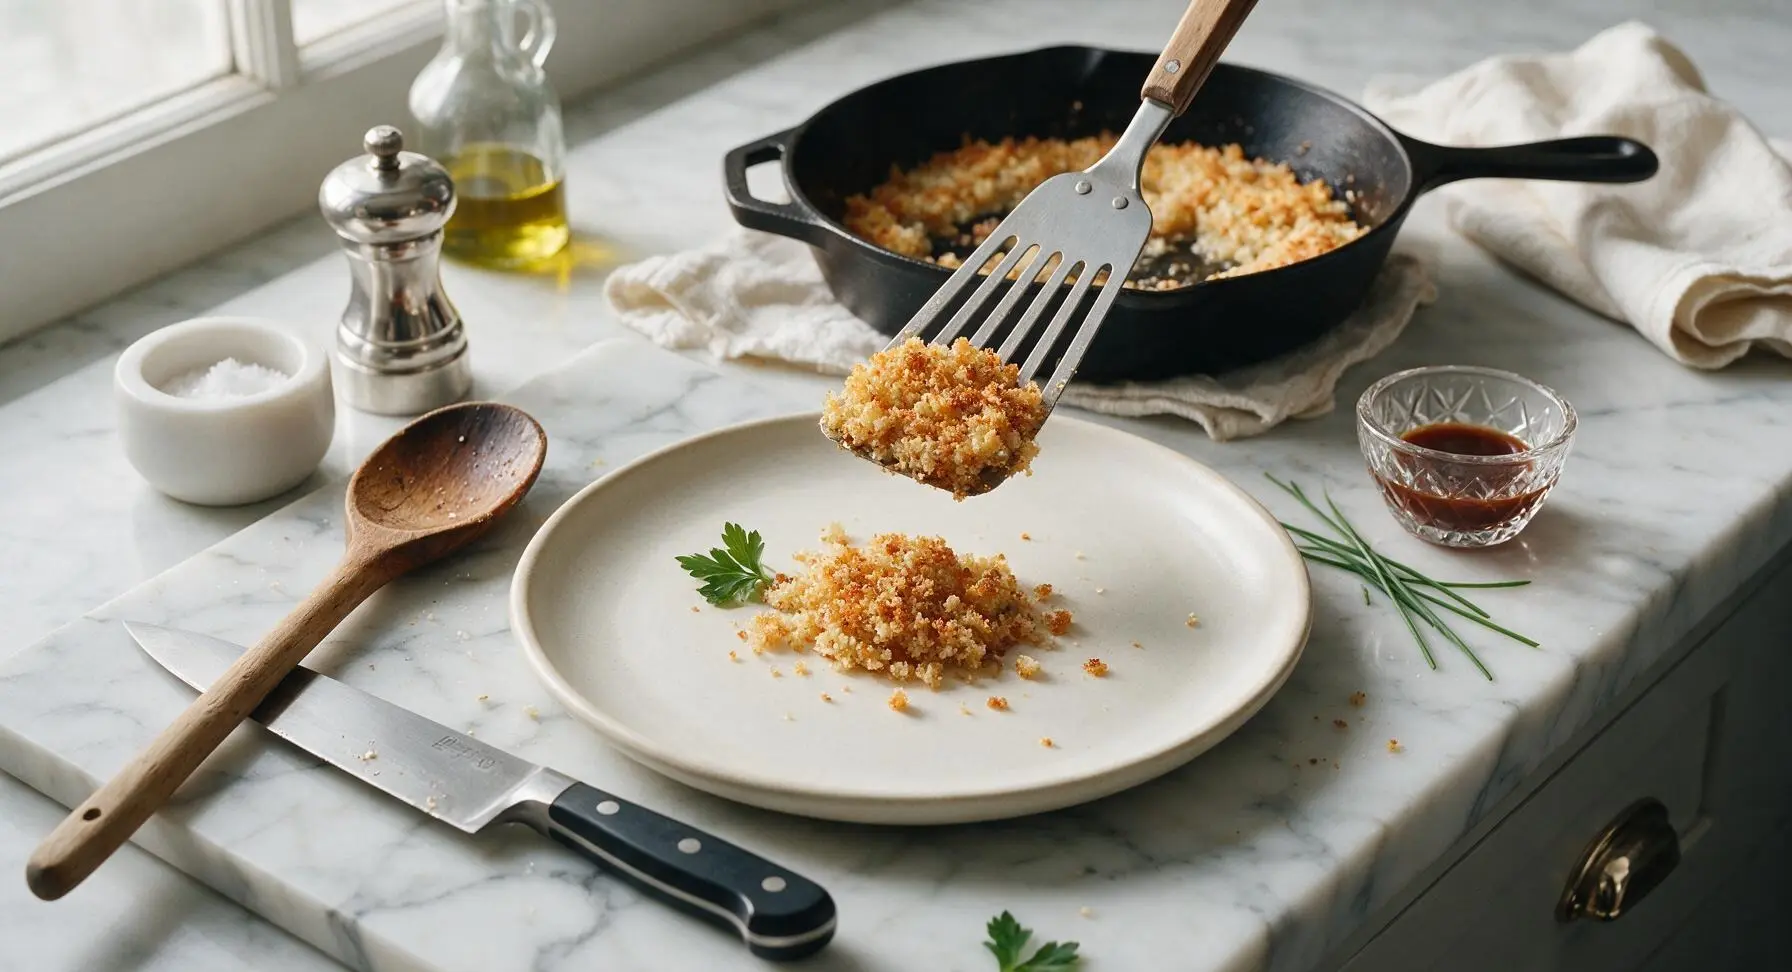
Transfer the warm, crispy seasoned crumbs to the center of the matte cream stoneware dinner plate, mounding them lightly. Tuck a single small sprig of fresh curly parsley into the top of the crumb mound for a pop of color. Serve immediately as a side, or use as a crunchy topping for mac and cheese, collard greens, or fried chicken cutlets.
Step 7
step7:Plate and Garnish

Tips

1.Use day-old (slightly stale) bread instead of fresh bread for the best texture: fresh bread has too much moisture and will turn soggy when fried in butter, while stale bread toasts up light and shatteringly crisp without clumping.
2.Never cook crumbs over high heat: bread crumbs burn in as little as 30 seconds when exposed to high heat, leading to bitter, charred bits. Medium-low heat allows even toasting from the outside in for consistent golden color.
3.Skip the food processor when prepping crumbs: uneven, hand-torn crumbs create a mix of sizes that toast at slightly different rates, giving the classic rustic Southern texture with both extra-crunchy small bits and softer, larger crumb pieces, rather than uniform fine crumbs that feel overly dry.


✨ You May Also Like

Side Dishes
🍜 India

Velvety, aromatic all-purpose curry sauce perfect for tossing with roasted veggies, grilled protein, or rice for fast, cozy, flavorful meals.

⏱️ 25 minuteSide Dishes ★ 4.8
Side Dishes
🍜 Spain

Tender, starchy boiled yuca tossed in bright, garlicky citrus mojo sauce—an iconic, zesty side that pairs beautifully with roasted pork, grilled meats, and rice and beans.

⏱️ 40 minuteSide Dishes ★ 5
Side Dishes
🍜 United States

Tender, paper-thin potato flatbread, a beloved Norwegian-American Minnesota Christmas staple, griddled until softly spotted and served warm with butter.

⏱️ 1 hour 30Side Dishes ★ 4.6
Side Dishes
🍜 United States

Rich, deeply savory cured salt pork, a long-lasting kitchen staple perfect for frying crispy as a side or adding umami to stews, beans, and chowders.

⏱️ 7 days (2Side Dishes ★ 4.9
Side Dishes
🍜 United States

Crispy, tangy classic Southern fried green tomatoes with a crunchy cornmeal crust, served hot for a nostalgic, comforting summery bite.

⏱️ 25 minuteSide Dishes ★ 4.9
Side Dishes
🍜 United States

Moist, golden-crusted savory muffins with sweet corn, zesty jalapeño, and melted cheddar, perfect for pairing with smoky summer grilled fare.

⏱️ 30 minuteSide Dishes ★ 4.9

southern fried breadcrumbs:Frequently Asked Questions

1.Can I use fresh bread instead of day-old soft white bread for this recipe? ▾
Fresh bread works in a pinch, but day-old bread is ideal because it’s slightly dried out, so it crumbs evenly without turning mushy when fried. If you only have fresh bread, tear it into chunks and toast on a sheet pan at 300°F for 8-10 minutes to remove excess moisture for that signature shatteringly crisp texture.
2.What’s the best way to make breadcrumbs if I don’t have a food processor? ▾
No food processor? No problem. Tear your day-old white bread into 1-inch chunks, seal them in a zip-top bag, press out excess air, then roll firmly with a rolling pin until you get uneven, coarse crumbs. Those slightly irregular bits are exactly what give this dish its iconic shattery, crunchy bite, so don’t worry about perfect uniformity.
3.Can I substitute salted butter for unsalted butter in this recipe? ▾
You absolutely can, just adjust your added kosher salt accordingly. Salted butter typically has ¼ teaspoon of salt per stick, so cut your added salt by that amount to avoid over-seasoning. I prefer unsalted butter because it lets me control the exact salt level to match whatever dish I’m topping these crumbs on.
4.How do I keep my fried breadcrumbs from burning while cooking? ▾
Burned breadcrumbs happen fast, so cook over medium-low heat (not high) and stir constantly once the butter melts. The crumbs will turn deep golden in 3 to 5 minutes total—once you smell that nutty, toasty aroma and see consistent golden color, pull the pan off heat immediately, as residual pan heat will keep cooking them for a minute or two.
5.What dishes do these Southern fried breadcrumbs pair best with? ▾
These buttery, crisp crumbs are endlessly versatile! They’re a classic topping for creamy mac and cheese, braised collard greens, baked casseroles, and fried green tomatoes. I also love serving them as a simple crunchy side alongside fried chicken and mashed potatoes for that nostalgic Sunday supper feel.
6.Can I add extra seasonings beyond salt, pepper, and garlic powder? ▾
The classic recipe is simply seasoned, but you can absolutely customize it! Toss in a pinch of smoked paprika, dried thyme, a sprinkle of grated parmesan, or a dash of cayenne for a little heat once crumbs are almost done cooking. Avoid adding wet seasonings early on, since those will make crumbs turn soggy instead of crisp.
7.How should I store leftover fried breadcrumbs, and how long do they keep? ▾
Let leftover crumbs cool completely to room temperature first, then transfer them to an airtight container and store in a cool, dry pantry spot for up to 1 week. Don’t refrigerate them, since fridge moisture will make them lose their crispness. If they soften a bit, re-crisp in a dry pan over low heat for 1 to 2 minutes before using.
8.Can I make these breadcrumbs gluten-free? ▾
You can easily make a gluten-free version by swapping the day-old soft white bread for your favorite day-old gluten-free soft white sandwich bread. Stick to a softer loaf (not a crusty artisanal gluten-free bread) to match the classic light, crisp texture, and follow the exact same cooking method for that familiar buttery crunch.
9.Why are my breadcrumbs coming out soggy instead of shatteringly crisp? ▾
Soggy crumbs usually stem from one of two common issues: either your bread was too fresh with excess moisture, or you used too much butter for your volume of crumbs. Stick to 4 tablespoons of butter per 2 cups of coarse crumbs, dry fresh bread out first if needed, and cook in batches for double recipes so crumbs don’t steam instead of fry.
10.Do I need to remove the crusts from the white bread before making crumbs? ▾
You don’t have to remove the crusts! Leaving the soft crusts on your day-old white bread adds a little extra depth of toasty flavor and creates nice, varied crumb sizes that deliver that perfect shattery crunch. If you prefer extra-uniform, paler crumbs for a more delicate topping, you can trim crusts off first, but it’s not required.
11.Can I use panko breadcrumbs instead of homemade fresh crumbs for this recipe? ▾
Panko will give you a very crisp result, but it won’t match the classic homestyle Southern texture. Panko is drier and flakier than soft white bread crumbs, so it absorbs butter differently and has a lighter, airier crunch instead of that rich, shattery bite. If you do use panko, cut the butter by 1 tablespoon to avoid greasy crumbs.
12.When should I add the seasonings during the cooking process? ▾
Add your kosher salt, black pepper, and garlic powder right after the butter melts and before you toss in the breadcrumbs. This lets the seasonings evenly distribute through the melted butter so every crumb gets coated, instead of leaving clumps of spice stuck to random bits. Don’t add garlic powder too early, or it can burn and turn bitter.
13.Can I freeze these fried breadcrumbs for later use? ▾
You absolutely can! Let the cooked crumbs cool fully, then seal them in a freezer-safe zip-top bag with all the air pressed out, and freeze for up to 3 months. There’s no need to thaw them when you’re ready to use—just toss them straight onto a casserole, or re-crisp for 2 minutes in a dry skillet over low heat to bring back that perfect crunch.
14.How coarse should I make the breadcrumbs for this recipe? ▾
Aim for coarse, uneven crumbs roughly ¼-inch in size, not fine, sand-like crumbs. Fine crumbs will clump together when fried in butter and won’t give you that signature shatteringly crisp texture. It’s totally fine if some bits are a little bigger and some smaller—those size variations make the final crunch more interesting and nostalgic.
15.Is there a way to make this recipe dairy-free? ▾
To make dairy-free Southern fried breadcrumbs, swap the unsalted butter for an equal amount of high-quality, neutral-tasting plant-based butter formulated for cooking (skip the spreadable kind with high water content). Keep the seasonings and cooking method exactly the same, and you’ll get the same golden, crisp, buttery crumbs perfect for every classic use.

Comments (12)

2 days ago

OMG y’all, these fried breadcrumbs are a total game changer! I threw them on top of my mac and cheese for Sunday family dinner and everyone was asking for the recipe. Took literally 10 minutes like it says, so easy even my teen could make them. SO good, I’ll never buy the storebought crispy topping again!

yesterday

Wait I did the same thing for my church potluck last week! People went nuts over the mac and cheese, nobody could guess the secret was these breadcrumbs lmao

yesterday

So glad they were a hit at your family dinner! They work amazing on everything from mac and cheese to roasted veggies to casseroles, don’t be afraid to test them out on all your favorite sides!

1 week ago

Perfect for meal prep! I made a big batch on Sunday and have been sprinkling them on my salads, baked chicken, and even roasted broccoli all week. Adds the perfect crunch without a ton of extra work. Only note: I added a little extra garlic powder because I’m a garlic fiend, would recommend!

5 days ago

Great tip about the extra garlic powder! Storing these in an airtight container for up to a week is such a smart meal prep hack, thanks for sharing how you use them!

5 minutes ago

Made these for my fried green tomatoes last night and *chef’s kiss*! The crunch was unreal, way better than the plain dry breadcrumbs I usually use. So simple, I can’t believe I never thought to fry breadcrumbs with a little seasoning before now.

30 minutes ago

Wait this is so easy? I’m a broke college student with basically zero cooking skills and I nailed this first try. Put ‘em on top of my instant ramen and it felt like a fancy restaurant meal lmao. 10/10

5 minutes ago

Dude I did this with ramen too! Toss a little parm in the breadcrumbs while they fry and it’s next level, trust me

3 days ago

Took these to a neighborhood cookout last weekend to top the baked potato bar and they were the first thing gone! Adults and kids alike were piling them on. I did half regular breadcrumbs, half panko for extra crunch, highly recommend that swap.

2 days ago

Oh the panko swap is genius! I’m making a baked potato bar for my kid’s birthday party next weekend, I’m definitely stealing that idea

yesterday

Wait I was just looking for a good potato bar topping! Do these hold up okay if you make them a day ahead?

yesterday

My kids loved it! I was worried the seasoning would be too much for my picky eaters but they asked for seconds of the green bean casserole I topped with these. Win in my book, quick enough to throw together on a busy weeknight too.

2 weeks ago

Has anyone tried this with gluten free breadcrumbs? I’m gluten intolerant and miss having that crispy topping on my holiday casseroles, would love to know if it works the same!

1 week ago

Great question! We’ve tested this with gluten free panko and regular gluten free breadcrumbs, and it works exactly the same! Just keep an eye on them while frying since gluten free crumbs can brown a little faster.

1 week ago

Y’all, this tastes exactly like the fried breadcrumbs my grandma used to make when I was a kid! I’ve been trying to replicate her recipe for years and this is dead on. Perfect amount of salt and pepper, no weird extra spices, just that classic savory crunch. So happy I found this!

5 days ago

Right?! My grandma made these too, I was shocked how spot on the flavor is. I add a tiny pinch of paprika like she did, but the base recipe is perfect as is

3 days ago

That makes our day so happy to hear! These classic Southern recipes are always the ones that feel like home, so we’re glad this one lives up to your grandma’s version.

2 hours ago

Wait has anyone tried making these in the air fryer instead of pan frying? I try to avoid extra oil when I can, curious if they’d crisp up the same.

30 minutes ago

I did! Spray them with a little olive oil, toss every 2 minutes at 375F for about 6 minutes total, they turn out just as crispy! Way less mess too

just now

Used these as a topping for my famous tuna casserole last night and my husband said it was the best version I’ve ever made. The little crunch makes such a huge difference, can’t believe I spent so many years using plain breadcrumbs straight out of the can. 10 minutes of effort for such a big payoff!

5 days ago

I just moved down South from Ohio and have been trying to learn all the classic comfort food recipes. This was so easy to pull off and tasted exactly like the breadcrumbs they serve at the little diner down the street from my apartment! Quick question: how long do these stay good in the fridge?

3 days ago

Welcome to the South! These will stay fresh in an airtight container in the fridge for up to a week, or you can freeze them for up to 3 months if you want to make a bigger batch ahead of time. So glad you loved them!

yesterday

Added a little cajun seasoning to mine instead of plain salt and pepper to put on top of my shrimp po' boys and wow, total game changer. The crunch is perfect, the cook time is so fast, I’ll be making a batch every week from now on. 10/10 no notes.



