
southern fried gravy

title 1
southern fried gravy
⏱️ cook time 12 minutes
🍽️ servings 4
⚡ Difficulty easy

intro

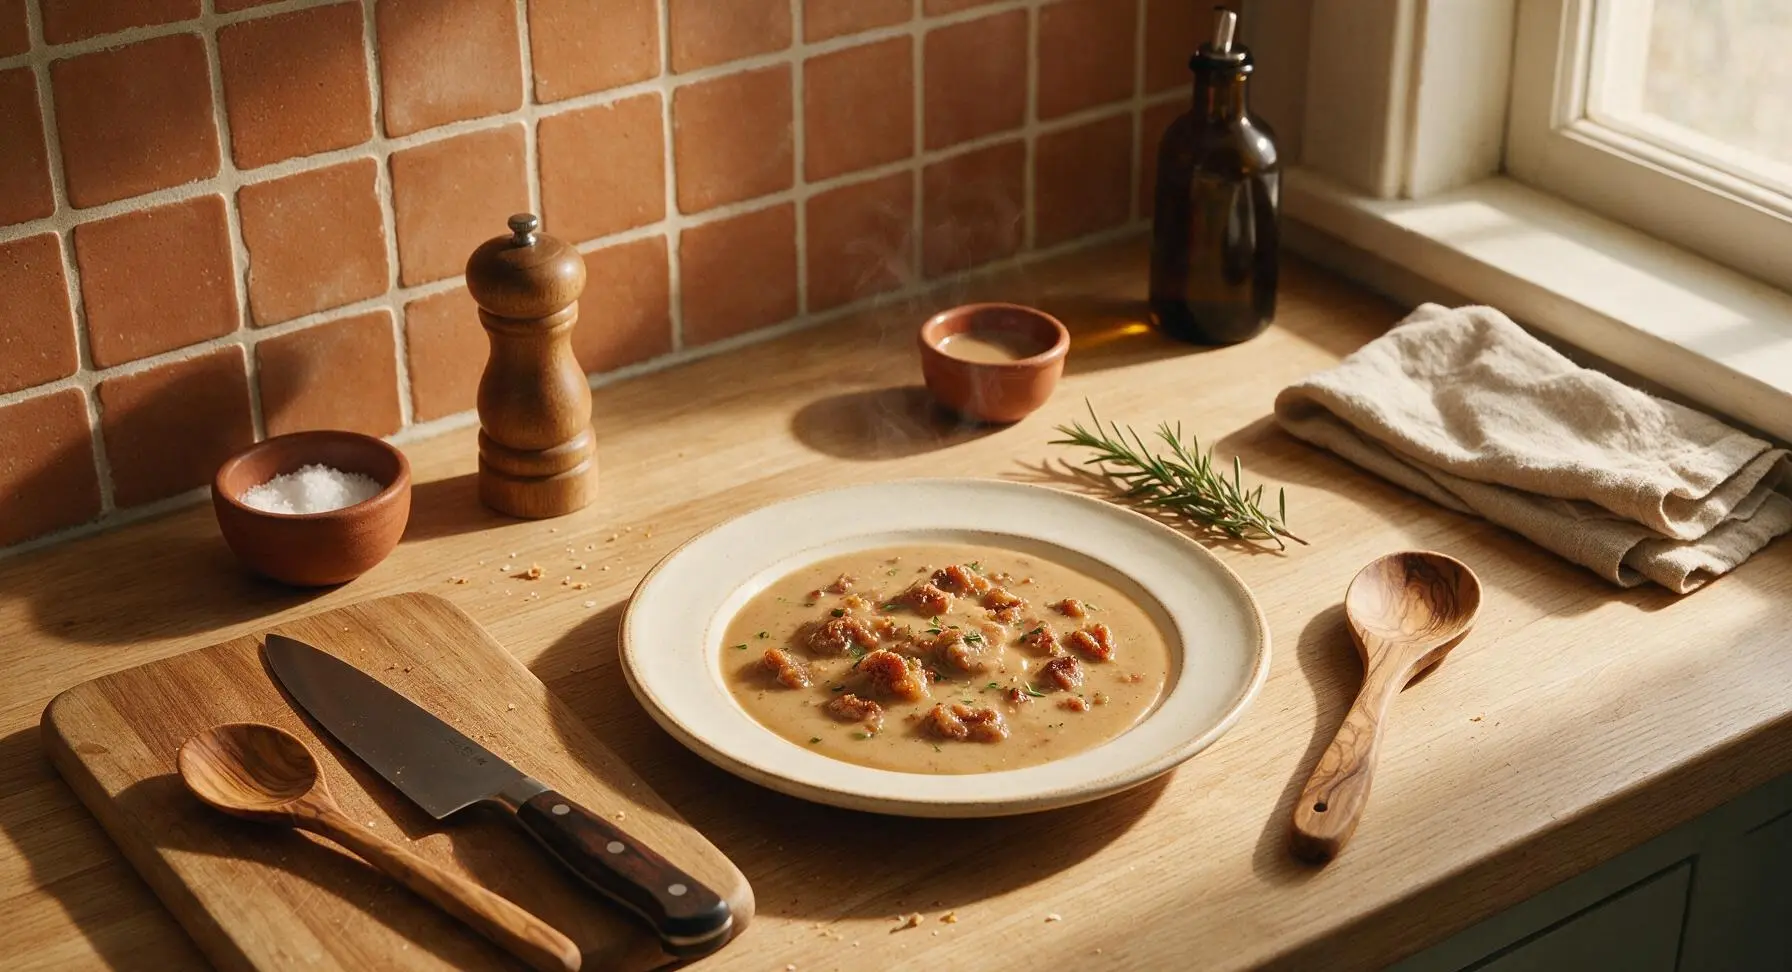
Velvety, savory pan gravy made from fried meat drippings, the classic Southern comfort staple perfect for spooning over biscuits, fried chicken, or mashed potatoes.

Ingredients
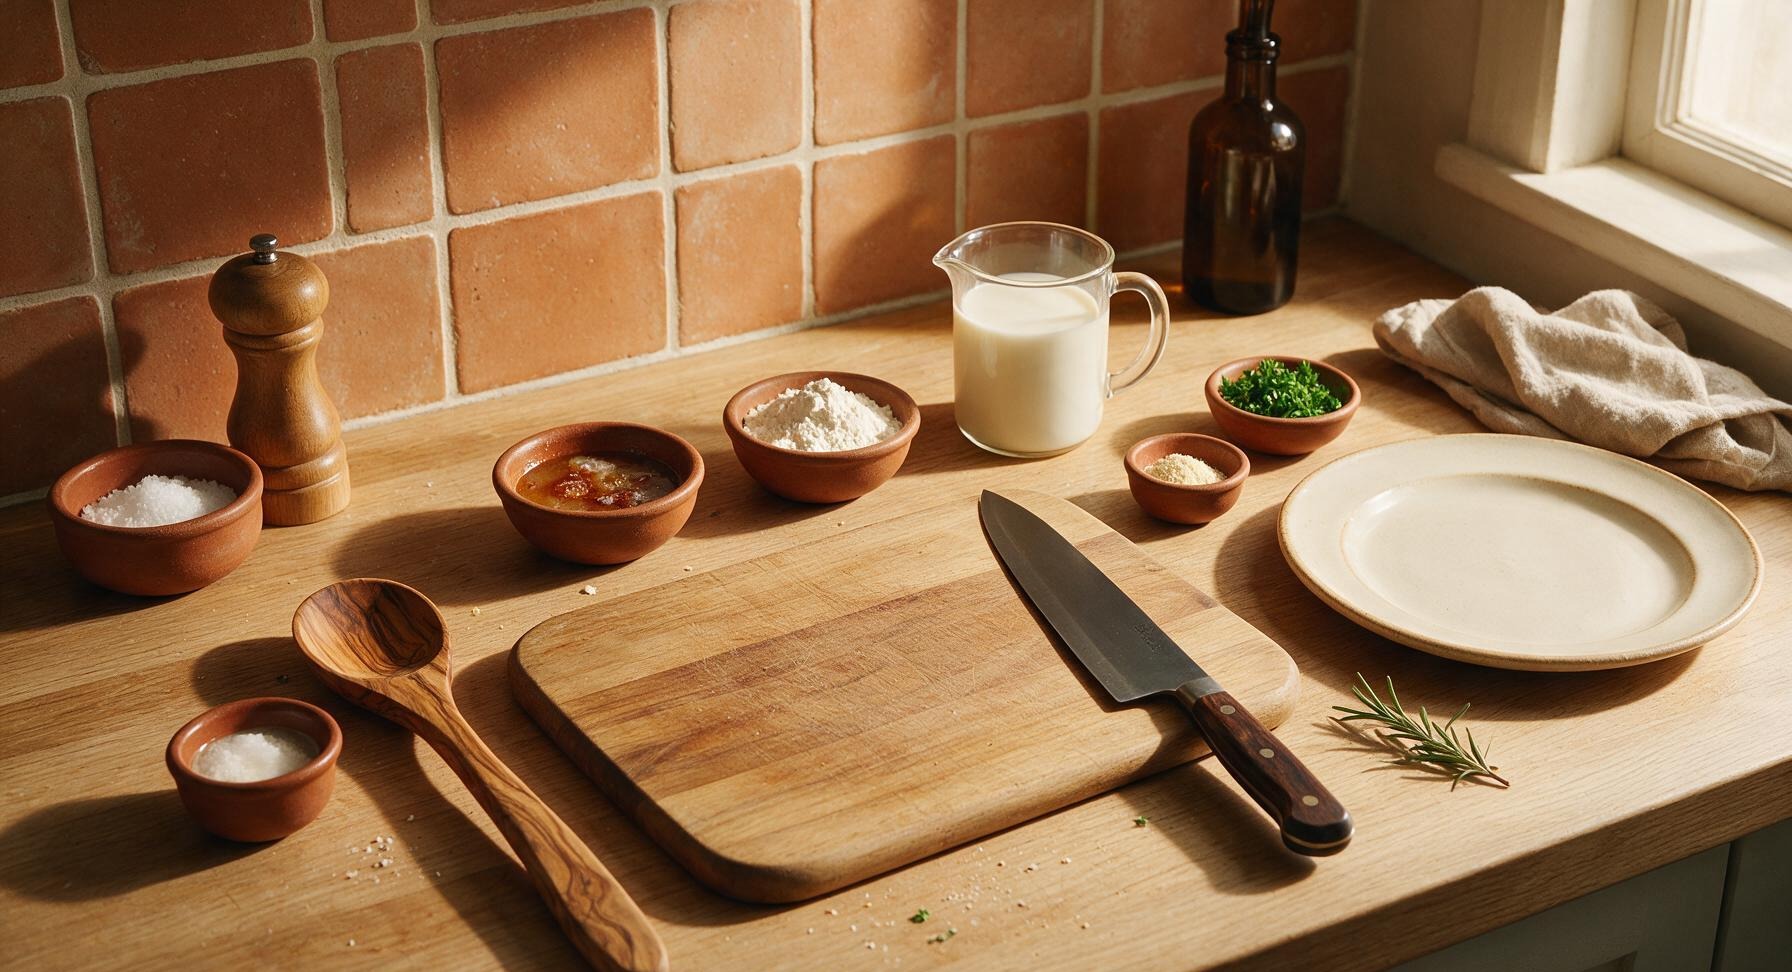
Pan drippings (from fried chicken, bacon, or sausage) 3 tbsp
All-purpose flour 3 tbsp
Whole milk 2 cups
Kosher salt 1 tsp
Freshly ground black pepper 1/2 tsp
Garlic powder 1/4 tsp
Fresh curly parsley 1 tbsp (chopped, for garnish)

Steps

1

Warm Pan Drippings

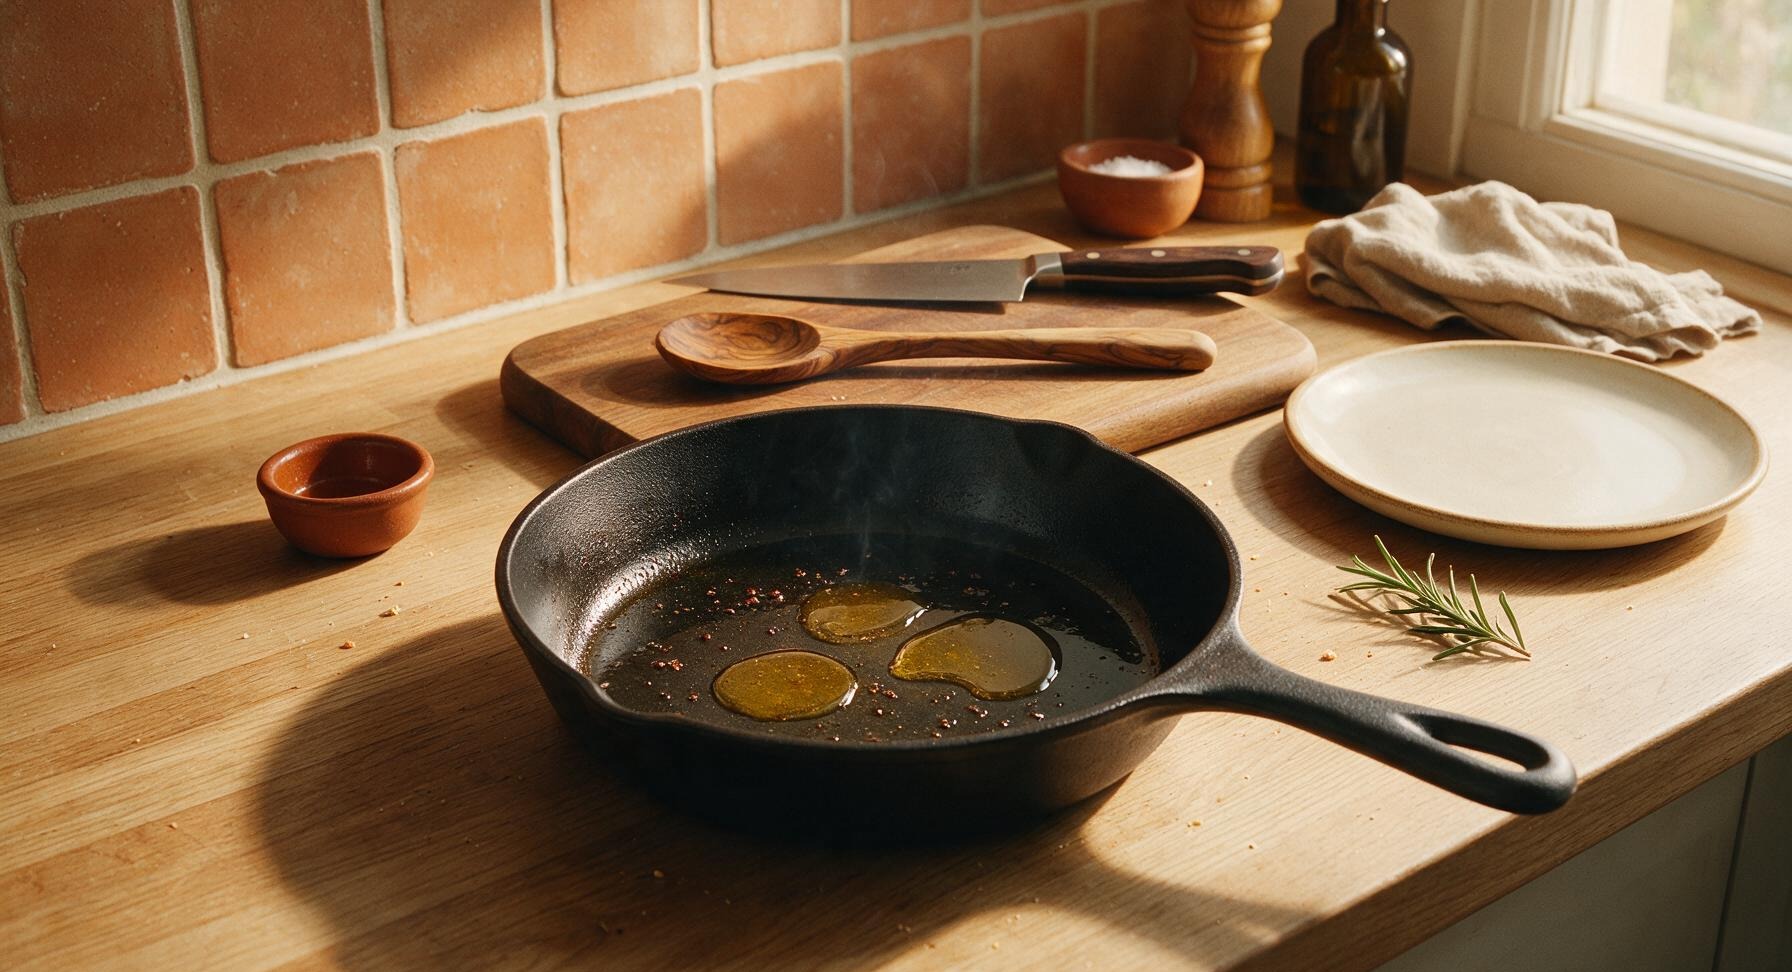
Leave exactly 3 tablespoons of browned pan drippings (with all the tiny browned meat bits, called fond, stuck to the pan bottom) in the center-positioned cast iron skillet. Heat drippings over medium-low heat (325°F / 160°C stovetop) until they shimmer slightly, about 1 minute. If you have less than 3 tablespoons of drippings, top up with melted bacon fat or unsalted butter from the cream lard jar to reach the full measurement.
Step 1
step1:Warm Pan Drippings
2

Cook Flour Roux

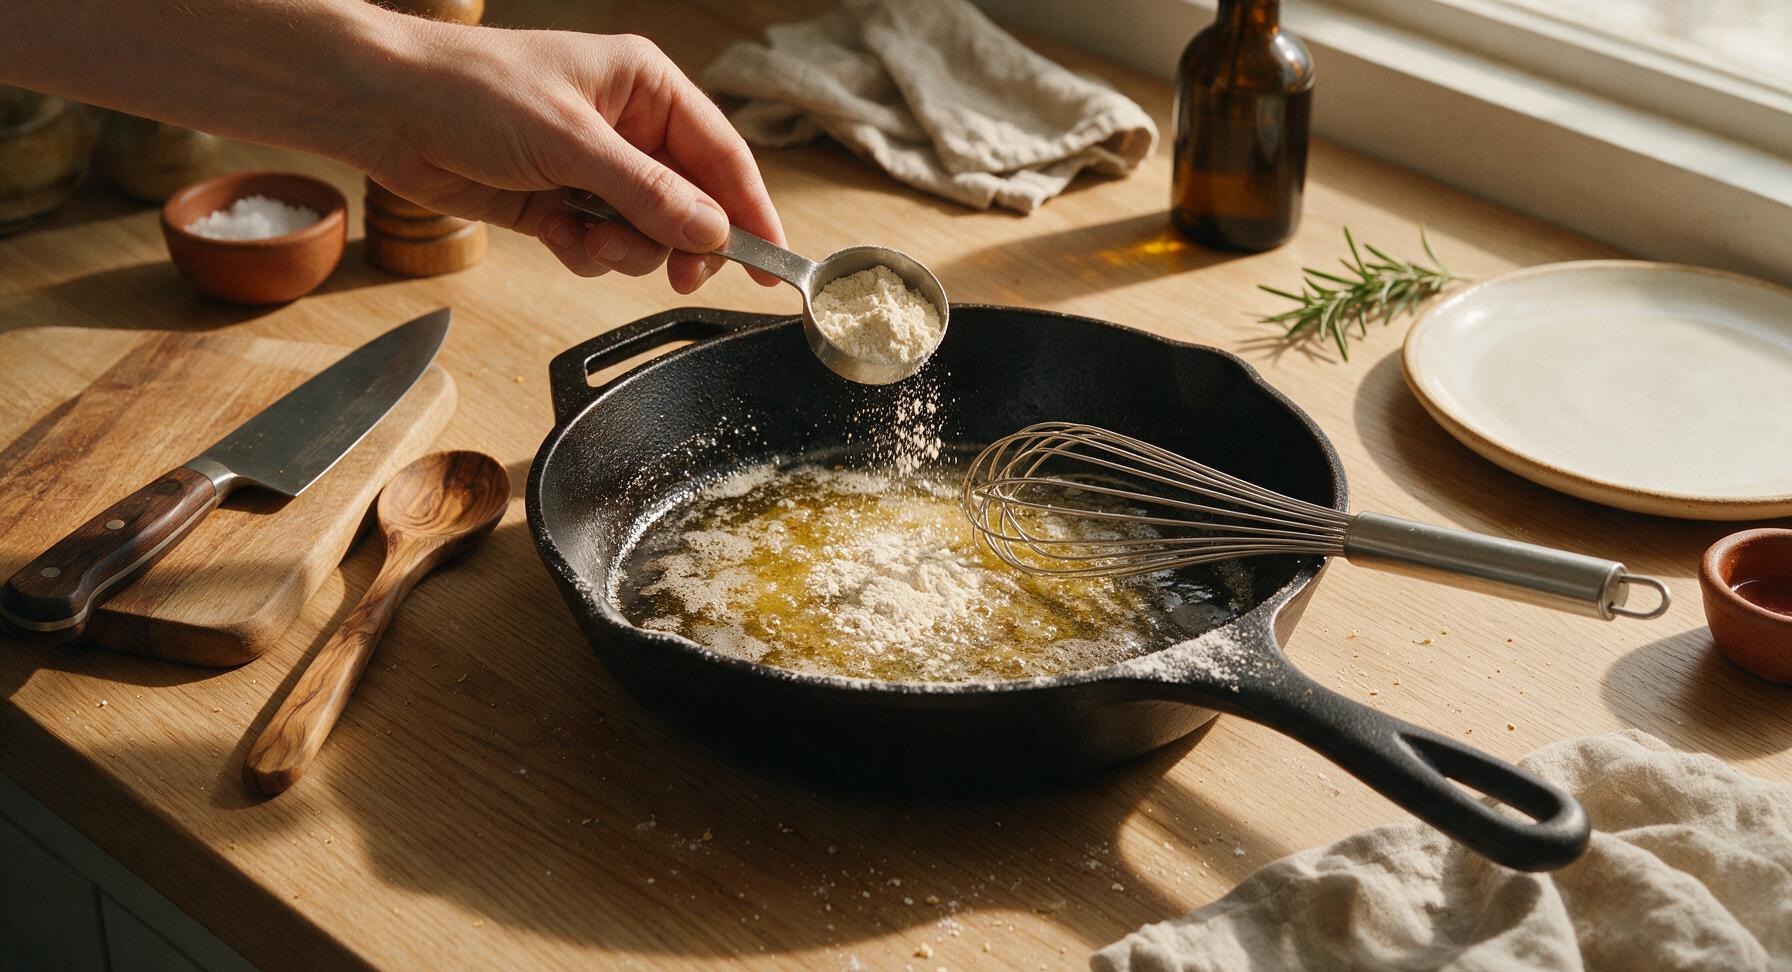
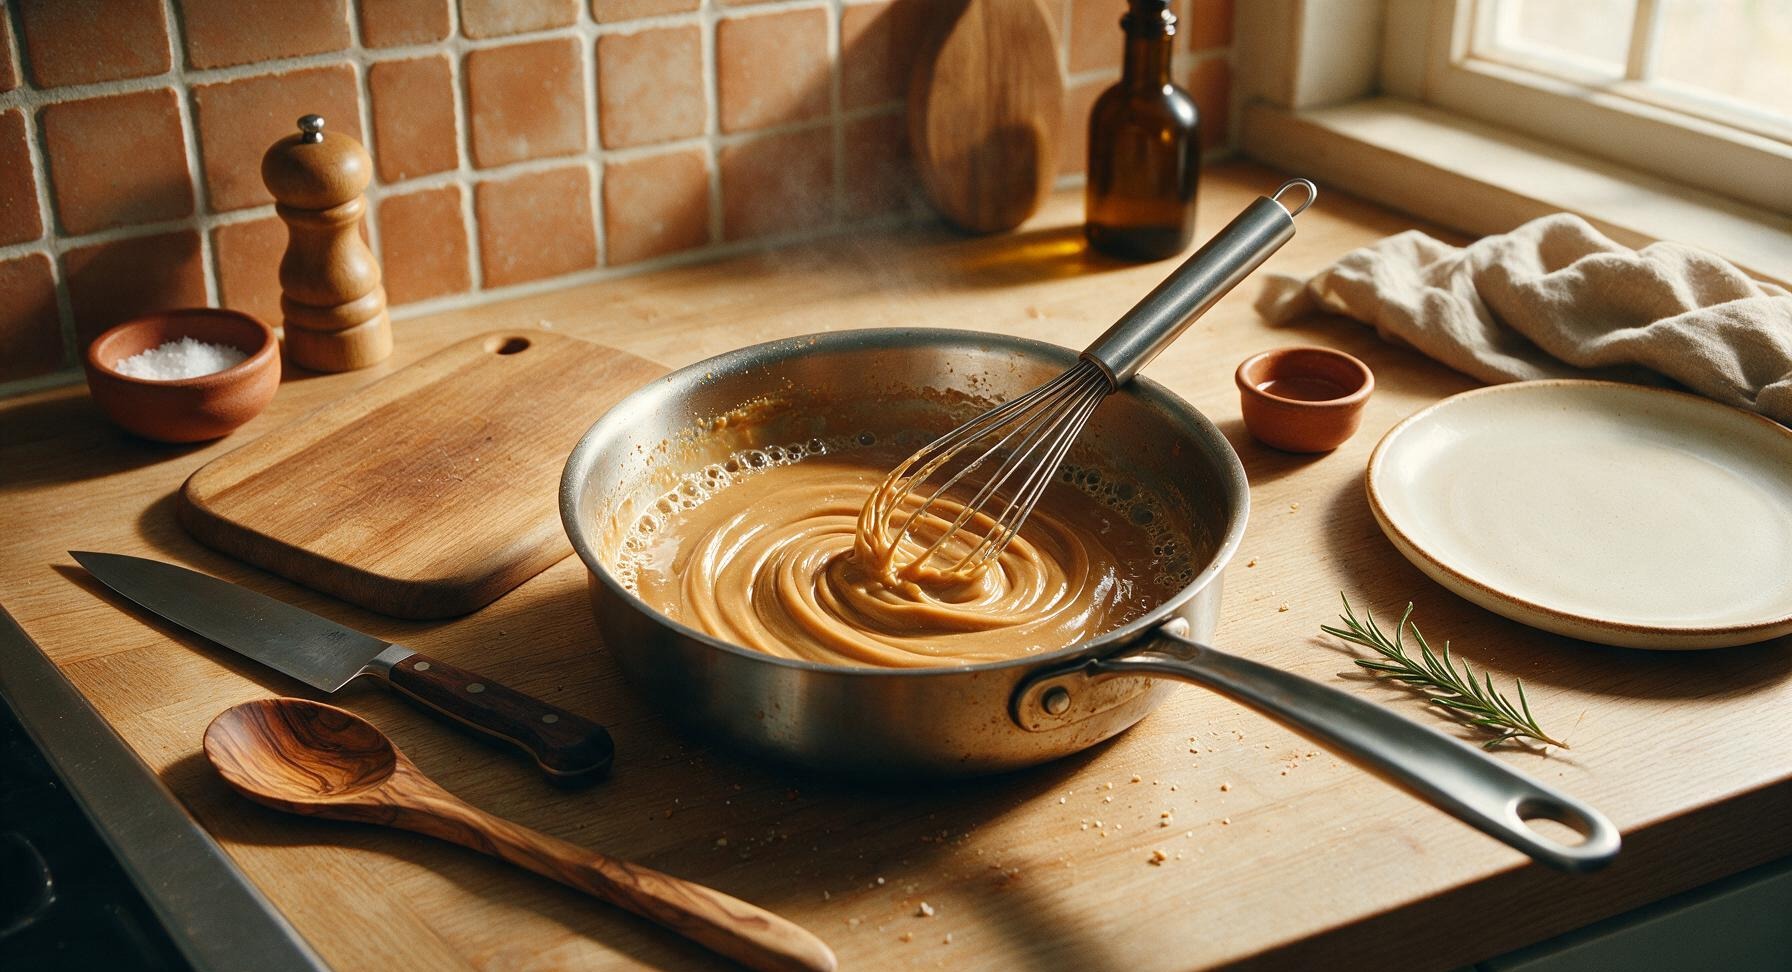
Slowly sprinkle the 3 tablespoons of all-purpose flour evenly over the hot drippings, using the stainless steel whisk to stir constantly as you add. Combine fully until no dry flour lumps remain, forming a thick, smooth golden roux. Cook the roux for 2 full minutes over medium-low heat, stirring nonstop, until it turns a light peanut butter brown and smells nutty. Do not let it burn or turn dark brown, as this will make the gravy taste bitter.
Step 2
step2:Cook Flour Roux
Step 2
step2:Cook Flour Roux
3

Stream in Cold Milk

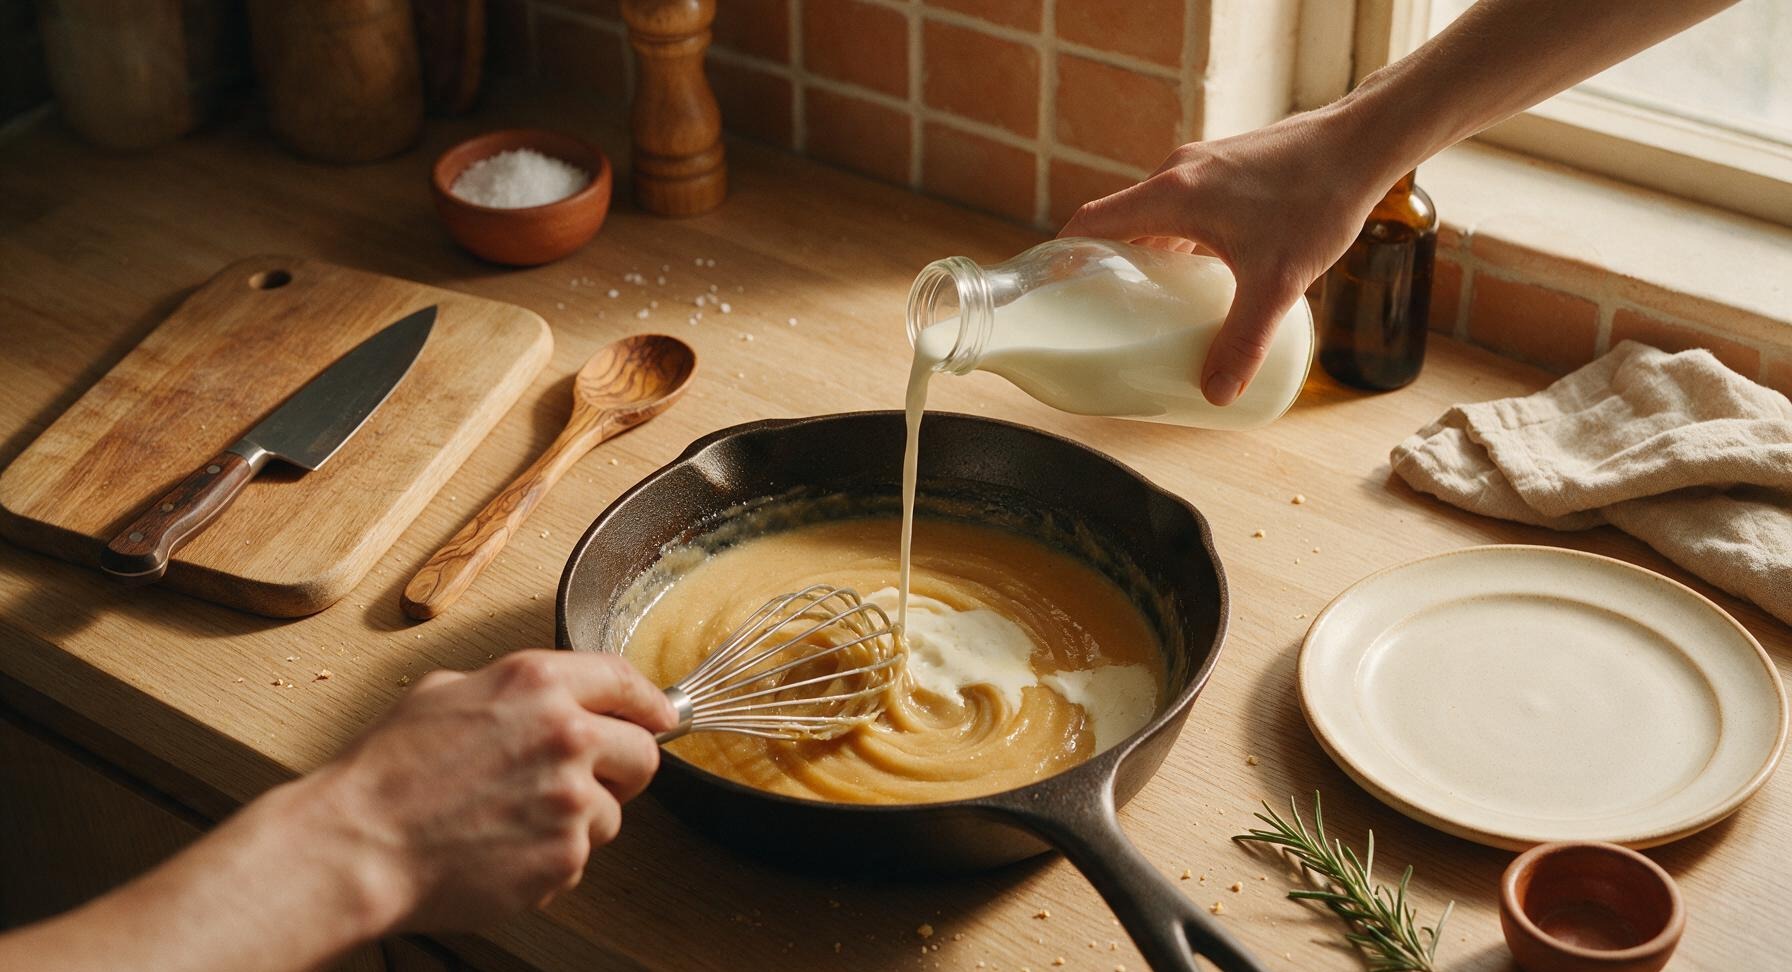
Reduce stovetop heat to low (300°F / 150°C). While whisking constantly and vigorously, slowly pour in the cold whole milk in 1/4 cup increments, waiting until each addition is fully smooth and incorporated before adding the next. This slow addition prevents lumps from forming. Once all milk is added, scrape the pan bottom thoroughly with the whisk to lift all the browned fond bits into the gravy.
Step 3
step3:Stream in Cold Milk
4

Simmer to Thicken

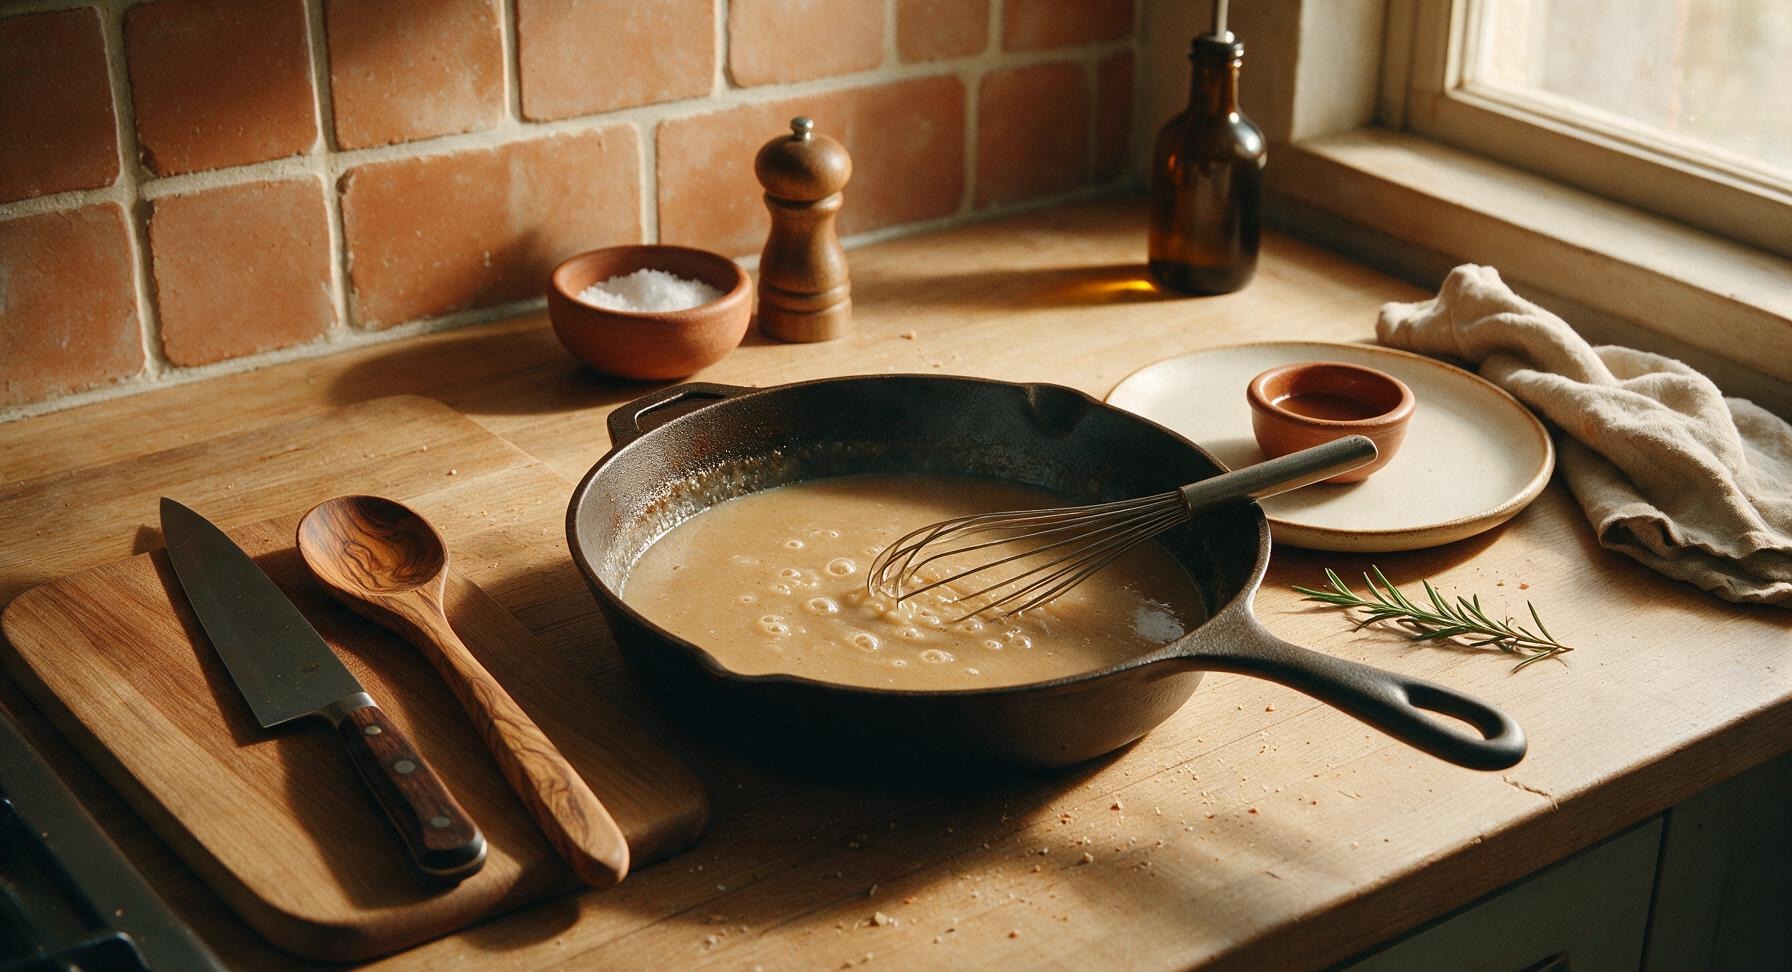
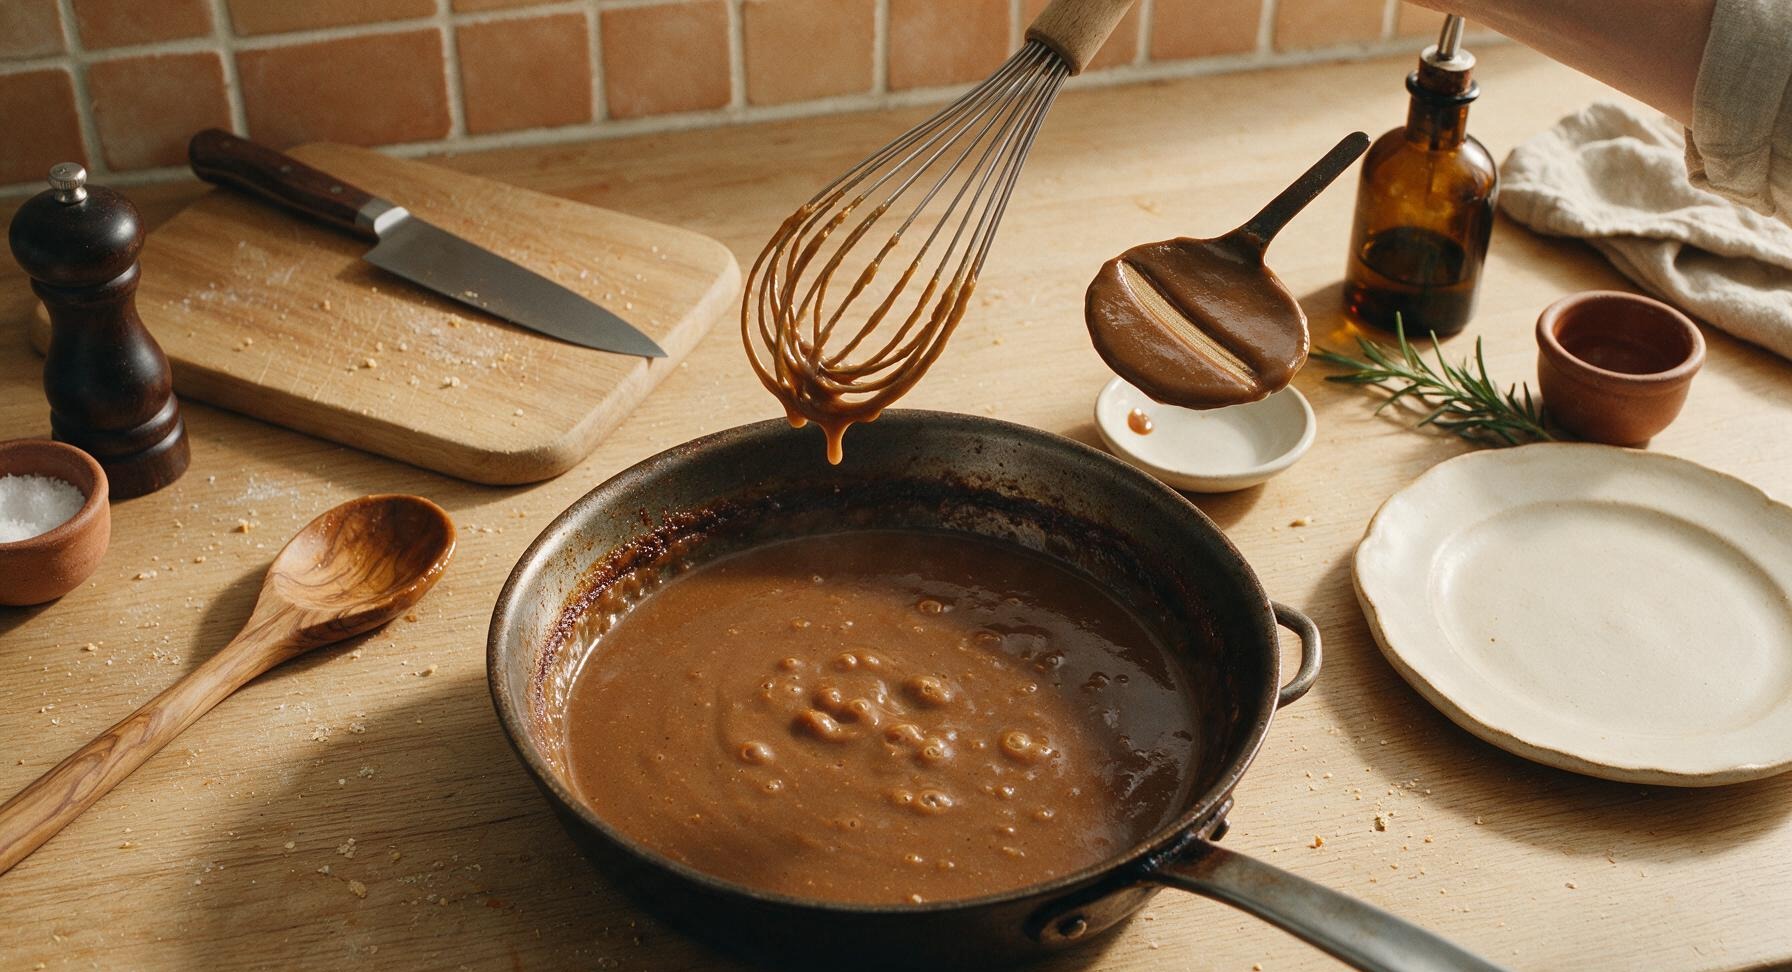
Increase heat slightly to medium-low, bring the gravy to a gentle, slow simmer (small bubbles breaking across the surface every 2-3 seconds, not a rolling boil). Cook, whisking every 30 seconds to prevent sticking on the pan bottom, for 5 to 7 minutes, until the gravy thickens enough to coat the back of a metal spoon: when you run your finger across the coated spoon, a clean line should remain without the gravy running through it.
Step 4
step4:Simmer to Thicken
Step 4
step4:Simmer to Thicken
5

Season to Taste

Add the 1 teaspoon kosher salt, 1/2 teaspoon freshly ground black pepper, and 1/4 teaspoon garlic powder to the thickened gravy, whisking fully to combine. Spoon a small amount into the white ceramic tasting dish to taste, adjusting salt or pepper as needed: the gravy should taste rich and savory, as it will mellow slightly when served over starchy foods like biscuits, mashed potatoes, or fried chicken.
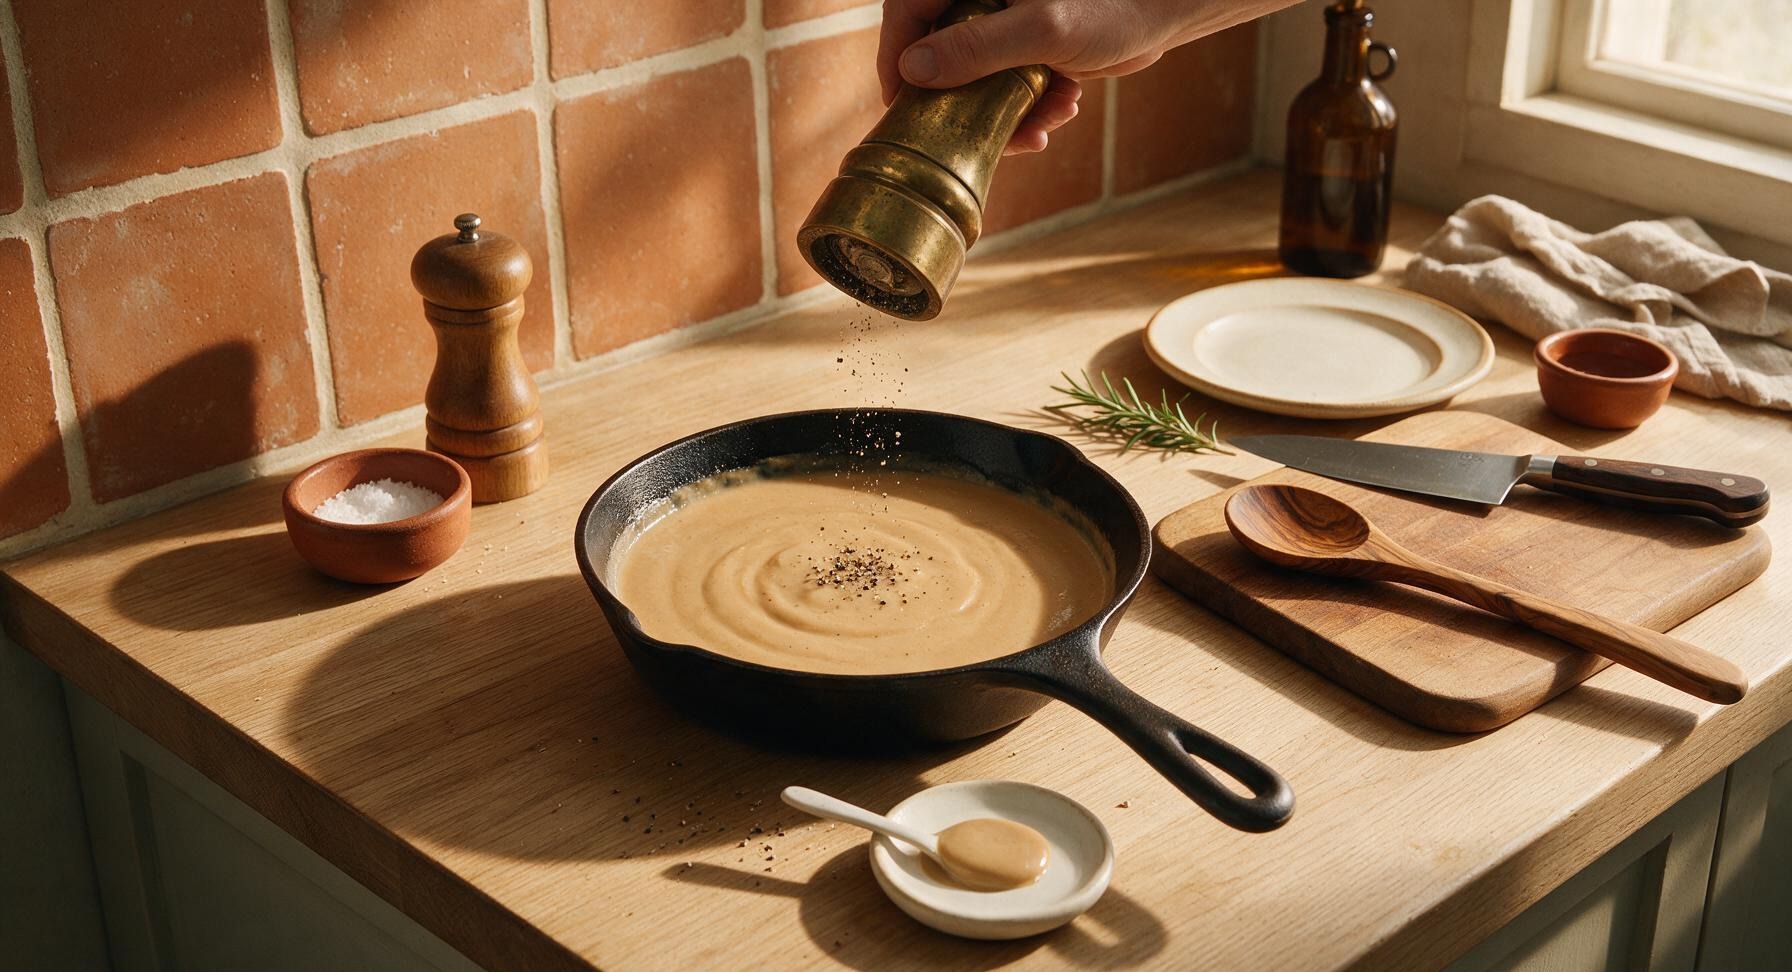
Step 5
step5:Season to Taste
6

Rest Gravy Briefly

Turn off the stovetop heat, move the cast iron skillet to a cool burner, and let the gravy rest for 2 minutes. It will thicken slightly as it sits; if it becomes too thick to pour easily, stir in 1 to 2 tablespoons of extra cold milk to reach a smooth, velvety pourable consistency. Give it one final vigorous whisk to smooth out any remaining tiny lumps.
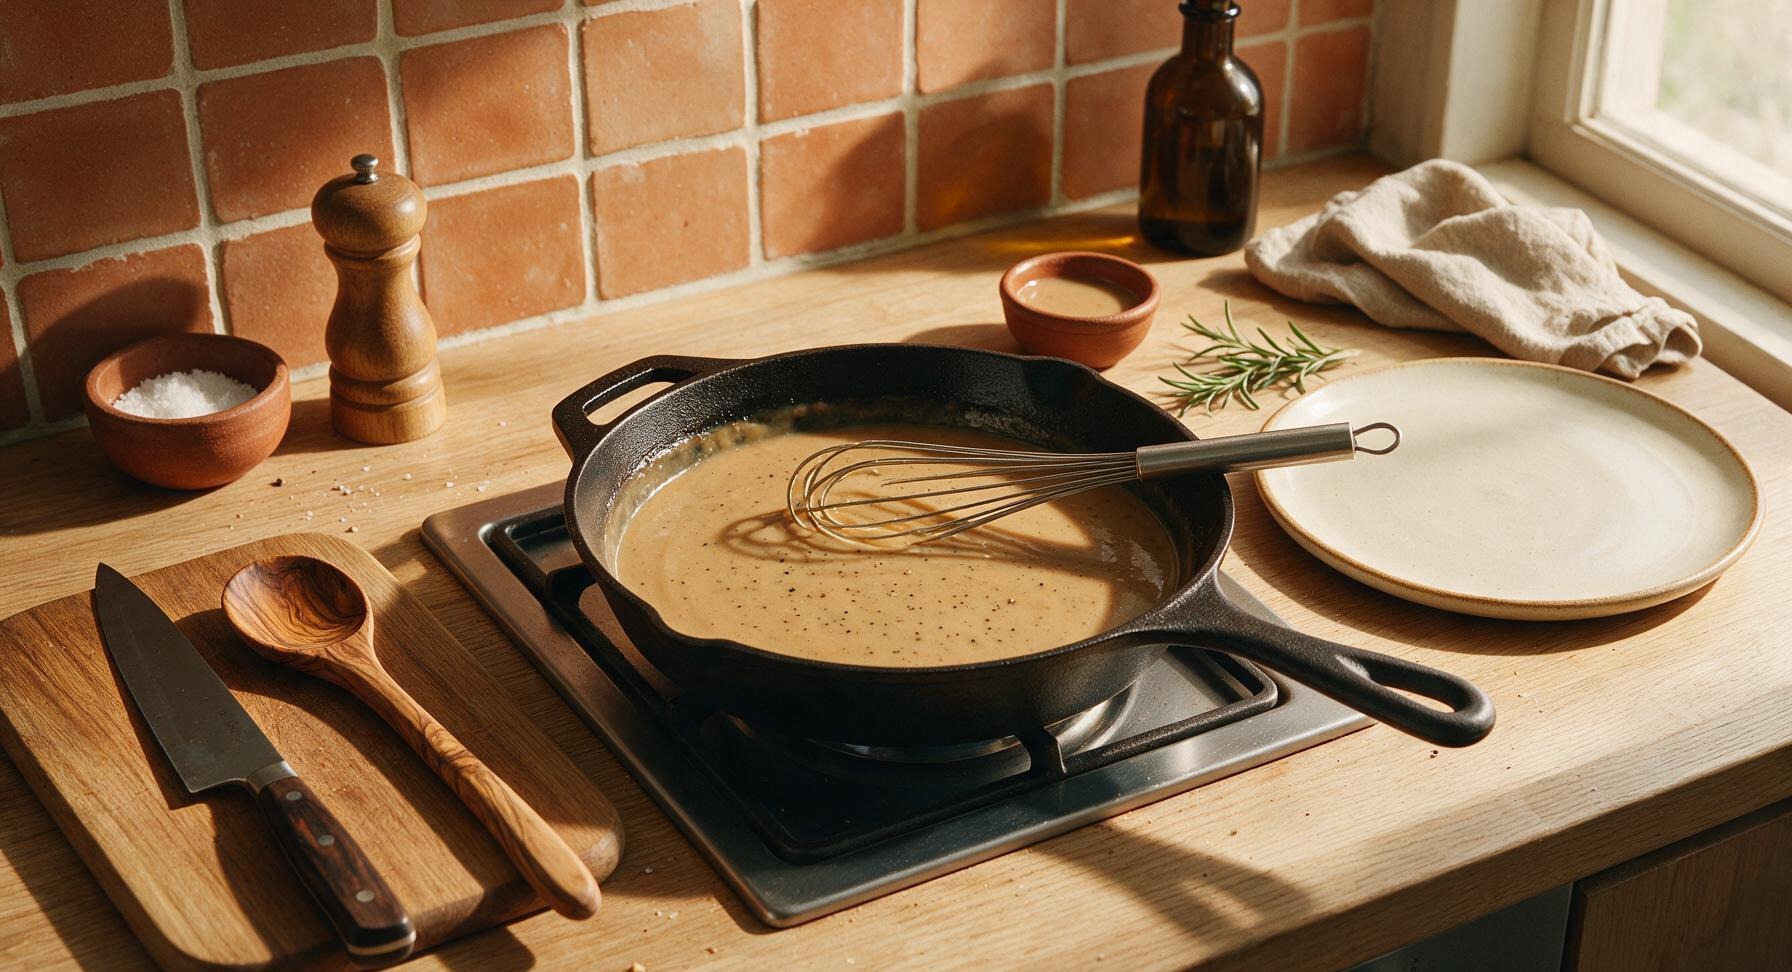
Step 6
step6:Rest Gravy Briefly
7

Pour and Garnish

Hold the cast iron skillet carefully, using the folded gingham tea towel to grip the hot handle, and pour the finished warm gravy slowly into the waiting cream stoneware gravy boat on its matching underplate. Finely chop 1 tablespoon of fresh curly parsley on the light oak cutting board, then sprinkle it lightly over the top of the gravy for a bright pop of color. Serve immediately while hot.
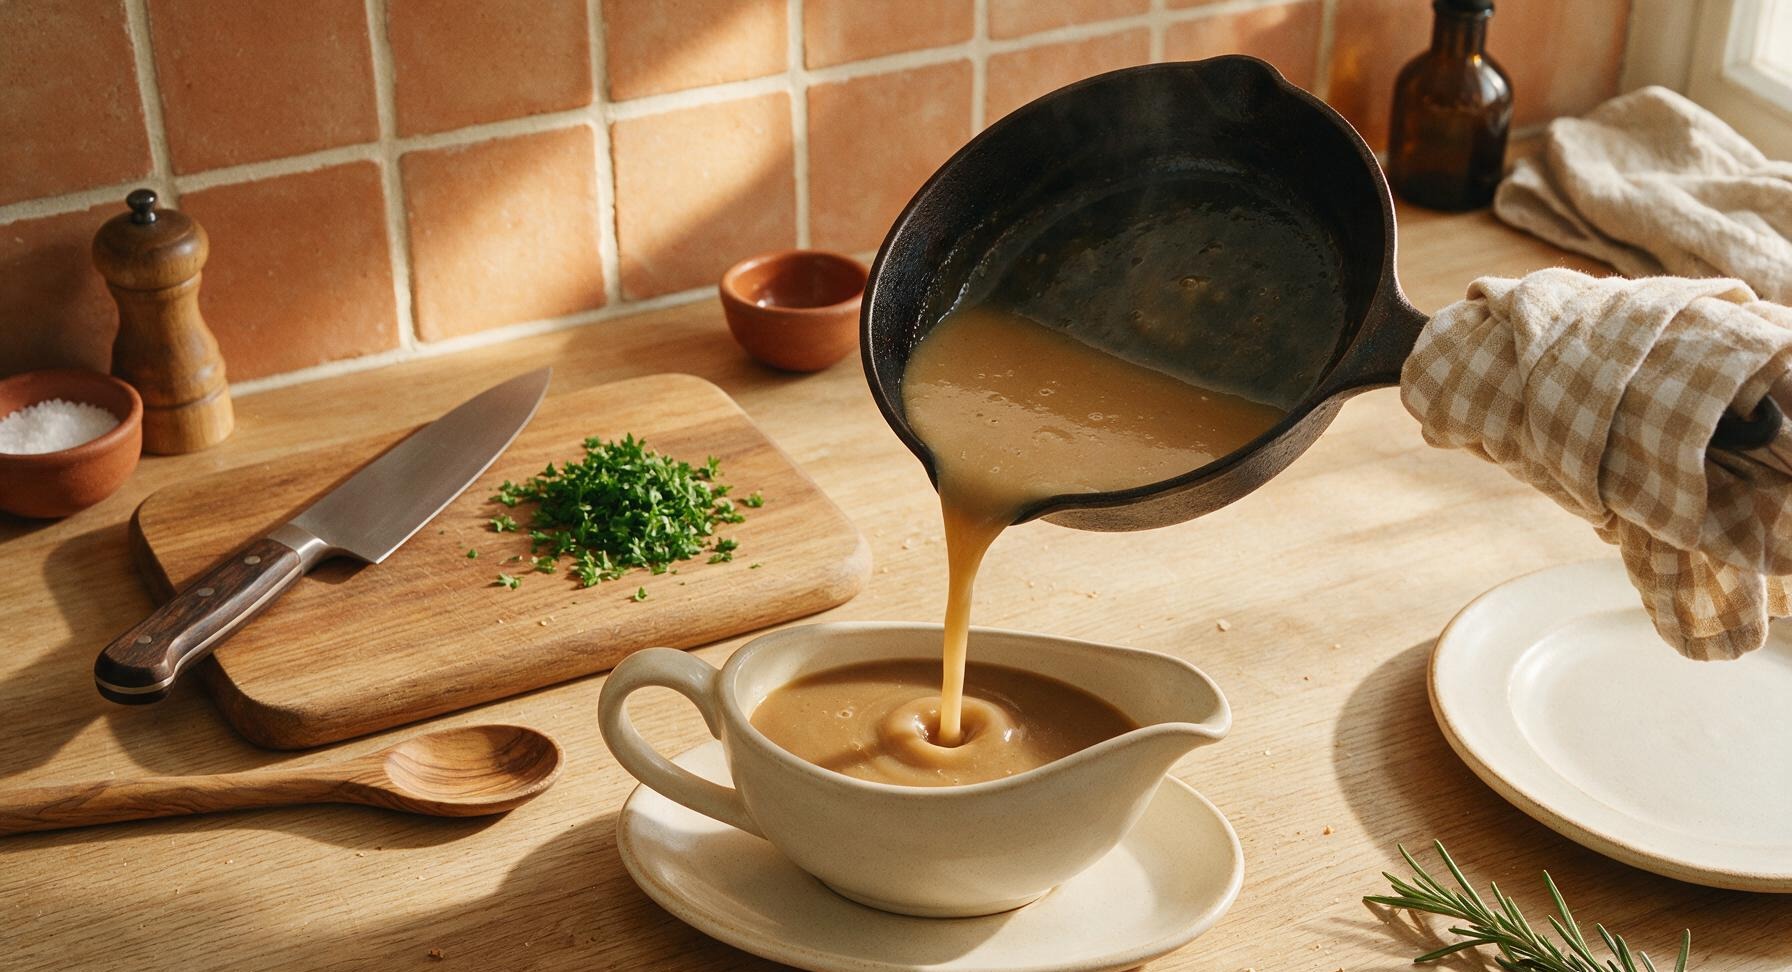
Step 7
step7:Pour and Garnish

Tips

1.Always use cold milk when making gravy: cold milk mixes gradually with the hot roux, which drastically reduces the chance of forming stubborn lumps, unlike warm or room-temperature milk that can cause the flour to seize instantly into small clumps.
2.Don’t rush cooking the roux: take the full 2 minutes to cook it to a light peanut butter color, stirring constantly. Raw, undercooked flour gives gravy a distinct pasty, uncooked taste, while a properly cooked roux adds a deep, nutty, toasty flavor base.
3.Never wipe out the pan after frying meat: the dark brown, crispy fond bits stuck to the pan bottom are packed with concentrated, savory meat flavor, and are the secret to making authentic Southern fried gravy instead of bland, plain white sauce.


✨ You May Also Like

Side Dishes
🍜 India

Velvety, aromatic all-purpose curry sauce perfect for tossing with roasted veggies, grilled protein, or rice for fast, cozy, flavorful meals.

⏱️ 25 minuteSide Dishes ★ 4.8
Side Dishes
🍜 Spain

Tender, starchy boiled yuca tossed in bright, garlicky citrus mojo sauce—an iconic, zesty side that pairs beautifully with roasted pork, grilled meats, and rice and beans.

⏱️ 40 minuteSide Dishes ★ 5
Side Dishes
🍜 United States

Tender, paper-thin potato flatbread, a beloved Norwegian-American Minnesota Christmas staple, griddled until softly spotted and served warm with butter.

⏱️ 1 hour 30Side Dishes ★ 4.6
Side Dishes
🍜 United States

Rich, deeply savory cured salt pork, a long-lasting kitchen staple perfect for frying crispy as a side or adding umami to stews, beans, and chowders.

⏱️ 7 days (2Side Dishes ★ 4.9
Side Dishes
🍜 United States

Crispy, tangy classic Southern fried green tomatoes with a crunchy cornmeal crust, served hot for a nostalgic, comforting summery bite.

⏱️ 25 minuteSide Dishes ★ 4.9
Side Dishes
🍜 United States

Moist, golden-crusted savory muffins with sweet corn, zesty jalapeño, and melted cheddar, perfect for pairing with smoky summer grilled fare.

⏱️ 30 minuteSide Dishes ★ 4.9

southern fried gravy:Frequently Asked Questions

1.What kind of pan drippings work best for classic Southern fried gravy? ▾
Drippings from fried chicken, bacon, or breakfast sausage are all perfect picks—you want the fat plus the browned, stuck-on bits (called fond) at the bottom of the pan for deep, savory flavor. Skip any heavily burnt drippings, as they will make your gravy taste bitter, and skim excess fat to leave 2 to 3 tablespoons for your roux.
2.My gravy turned out lumpy—how do I fix that? ▾
Don’t panic! First, pour the finished gravy through a fine-mesh sieve set over a bowl to strain out clumps, then return it to the pan to reheat gently over low heat. For future batches, whisk the flour fully into the hot fat before adding any milk, and pour milk in slow, small splashes while whisking nonstop to keep the base smooth.
3.Can I make this gravy if I don’t have leftover pan drippings from frying meat? ▾
You absolutely can! Swap the drippings for 3 tablespoons of rendered bacon fat, sausage grease, or even unsalted butter if that’s all you have on hand. Add a pinch of smoked paprika or ½ teaspoon of poultry seasoning to mimic that deep, savory fried meat flavor, then adjust salt to taste before serving.
4.What’s the ideal ratio of fat, flour, and milk for perfect gravy consistency? ▾
Stick to the foolproof classic roux ratio: 2 tablespoons of reserved fat from drippings mixed with 2 tablespoons of all-purpose flour for every 2 cups of whole milk. This creates a velvety, spoon-coating gravy that’s thick enough to cling to biscuits or mashed potatoes without turning gummy or overly runny.
5.Why does my gravy taste like raw flour? ▾
That means you didn’t cook the roux long enough after adding flour to the drippings! After whisking flour into the hot fat, let it cook for 2 to 3 full minutes over medium heat, stirring constantly, until it turns a light golden tan and smells nutty. This cooks out the starchy, raw flour taste before you add any milk.
6.Can I use low-fat or plant-based milk instead of whole milk for this recipe? ▾
Whole milk delivers that signature rich, creamy mouthfeel traditional Southern gravy is known for, but you can swap in 2% milk if that’s what you have—just expect a slightly thinner final consistency. Skip skim milk entirely, as it will taste watery; for plant-based swaps, use unsweetened plain oat milk for the closest texture and neutral flavor.
7.How much black pepper is traditional for this gravy? ▾
Classic Southern fried gravy is famously peppery! Start with 1 teaspoon of freshly cracked black pepper for a mild, family-friendly batch, and taste as you go. Many Southern cooks add up to 2 teaspoons for that warm, sharp pepper kick that cuts through the rich, creamy base—just add it gradually to avoid over-seasoning.
8.What do I do if my gravy turns out too thick? ▾
It’s super easy to thin out over-thick gravy! Keep a little extra whole milk or low-sodium chicken broth on hand, and stir it in 1 tablespoon at a time over low heat, whisking constantly, until you reach that perfect spoon-coating consistency. Remember gravy thickens a little more as it cools, so err slightly on the thinner side when hot.
9.What if my gravy is too thin and won’t thicken up? ▾
First, make sure you brought it to a gentle simmer after adding the milk—gravy won’t fully thicken until it hits a light bubble, about 3 to 4 minutes after adding dairy. If it’s still runny, whisk in a slurry of 1 tablespoon flour mixed with 2 tablespoons cold milk, then simmer 1 more minute. Never add dry flour directly, as it causes lumps.
10.Can I make this gravy ahead of time for a big brunch or holiday meal? ▾
You can make it up to 2 days ahead! Let it cool completely, then store it in an airtight container in the fridge. When you’re ready to serve, reheat it gently in a small saucepan over low heat, whisking often, and stir in a splash of extra milk to thin it back to the right consistency, as it thickens as it chills.
11.What are the best things to serve with classic Southern fried gravy? ▾
This versatile staple pairs with all your favorite Southern comfort foods! Spoon it generously over flaky buttermilk biscuits, crispy fried chicken, creamy mashed potatoes, country-fried steak, scrambled eggs, or buttered rice. It also makes a delicious topping for open-faced breakfast sandwiches topped with sausage or crispy bacon.
12.Do I need to skim all the fat off my pan drippings before making gravy? ▾
Don’t skim off all the fat—you need that fat to build the roux that thickens the gravy! Aim to leave about 2 to 3 tablespoons of fat in the pan along with all the browned, crispy fond. If you have more than 3 tablespoons of fat, spoon the excess off and save it for other cooking projects before adding your flour.
13.Is there a way to make this gravy gluten-free? ▾
Absolutely! Swap the all-purpose flour for an equal measure of a 1:1 gluten-free all-purpose flour blend that contains xanthan gum, or use 1.5 tablespoons of cornstarch in place of the flour for the roux. If using cornstarch, cut the fat and starch cook time to 1 minute to avoid a starchy aftertaste, then proceed as written.
14.Why does my gravy have a burnt, bitter taste? ▾
That almost always comes from either burnt pan drippings or a roux that cooked too long over too high heat. When frying your meat, don’t let the fond in the pan turn black—dark golden brown is ideal. Cook your roux over medium, not high, heat, stirring constantly, so it toasts evenly without scorching on the pan bottom.
15.Can I add extra mix-ins to my gravy for more flavor? ▾
Of course! Many Southern cooks add crumbled cooked sausage, crispy bacon bits, sautéed diced onion, or a pinch of cayenne for a subtle heat kick. Just add any cooked mix-ins after the gravy reaches its final thickened consistency, stir to warm through, and taste to adjust salt and pepper so you don’t throw off the seasoning.
16.What kind of pan is best for making this fried gravy? ▾
Use the same heavy-bottomed skillet you fried your meat in! Cast iron skillets are ideal because they hold heat evenly, catch all that delicious fond, and help the roux cook consistently without hot spots that cause burning or lumps. If you don’t have cast iron, a heavy stainless steel skillet works great too—skip thin nonstick pans that heat unevenly.
17.How do I get all the tasty browned fond off the bottom of the pan? ▾
It’s easier than you think! After you remove your fried meat from the pan and adjust the fat level, turn heat to medium. As soon as you add flour to the hot fat, use your whisk to scrape the pan bottom constantly while stirring the roux. The hot fat and toasting flour will lift all those flavorful browned bits right into your gravy, no extra steps needed.
18.How long will leftover fried gravy stay good in the fridge? ▾
Properly stored in a sealed, airtight container, leftover gravy will stay fresh in the refrigerator for 3 to 4 days. Always reheat it gently over low heat, stirring often, and add a splash of milk to bring it back to its original creamy consistency. Never leave gravy sitting out at room temperature for more than 2 hours to avoid food safety risks.
19.Should I use table salt or kosher salt to season this gravy? ▾
Kosher salt is always the best pick for gravy, because it dissolves evenly and lets you control seasoning without the sharp, overly salty bite table salt can give. Season gradually at the end of cooking, starting with ½ teaspoon, tasting after each addition—remember pan drippings can be salty from fried meat, so you may need less salt than you think.
20.Can I freeze leftover fried gravy for later use? ▾
You can freeze it for up to 3 months in a freezer-safe airtight container, though the dairy may separate slightly when thawed. Thaw it in the fridge overnight, then reheat slowly over low heat, whisking vigorously to bring the creamy texture back together, and add a splash of milk if it’s grainy or too thick once warmed through.

Comments (9)

just now

OMG y’all, this gravy tastes exactly like my grandma used to make for Sunday fried chicken dinners! I was so worried I’d never get that smooth, savory, slightly peppery kick right after she passed, but this recipe nailed it on the first try. 12 minutes cook time? Total game changer for busy weeknights when I’m craving comfort food. SO good over flaky biscuits too, not just chicken fried steak!

5 days ago

First time ever making gravy from scratch and this was so easy! I’ve been using the packet stuff for years because I thought homemade was too hard, but this took barely any time and tastes way better. Poured it over frozen chicken tenders and mashed potatoes for my dorm roommate and he thought I ordered takeout from the southern spot downtown lmao. Will 100% make again.

1 week ago

Made a big batch of this Sunday to use for meal prep over biscuits, sausage, and hash browns all week! It held up great in the fridge for 4 days and reheated like a dream, no weird lumps or separation. I did add a tiny extra splash of whole milk to thin it out when I reheated, worked perfectly. Great easy staple recipe.

30 minutes ago

My kids LOVED this! I served it with crispy fried chicken and mashed potatoes for our weekly family dinner and even my pickiest eater who hates all ‘saucy stuff’ cleaned his plate. Only issue is I got a few small lumps the first time—any tips for getting it perfectly smooth next round?

5 minutes ago

So glad your family enjoyed it! For zero lumps, make sure you whisk the flour and fat mixture (roux) constantly for 2 full minutes before slowly pouring in the milk while whisking nonstop. If you still get tiny lumps, a quick 10 second blend with an immersion blender or straining through a fine mesh sieve works like a charm!

3 days ago

Brought this gravy to my neighborhood potluck last weekend served over homemade biscuits and people were going back for thirds! Multiple people asked for the recipe, I told ‘em it’s this exact one. Game changer for potlucks because it stays warm in the crockpot for hours without getting weird or too thick.

2 days ago

Oh smart idea keeping it in the crockpot! I’ve been making gravy for potlucks for years and always stress about it getting thick and gummy before everyone serves themselves, gonna steal that trick for our next block party!

yesterday

I’ve been making sawmill gravy for 20+ years and decided to give this recipe a shot when my usual one came out too bland last week. Let me tell ya, the ratio of black pepper and pan drippings here is spot on. Used the drippings from my fried pork chops and it was chef’s kiss. Only note is I cooked the roux a minute longer for a deeper nutty flavor, worked great.

yesterday

Love that tweak! Cooking the roux a touch longer for that golden, nutty depth is such a pro move, especially when pairing it with rich pork chop drippings. Thanks for sharing that tip with other readers!

2 weeks ago

I swapped the all purpose flour for a 1:1 gluten free flour blend to make this for my sister who has celiac, and it turned out perfect! No weird texture or aftertaste, just that classic creamy gravy taste we all grew up with. Served it over gluten free fried chicken and mashed cauliflower, she said it was the best gravy she’s had in 10 years.

1 week ago

Thank you so much for sharing the GF swap! I’ve been scared to try homemade gravy since going gluten free because all my past attempts were gummy, I’m grabbing that 1:1 blend this weekend to test this out!

5 days ago

So great to hear the gluten free swap works! We’ve tested this with a few different GF blends and found the ones with a bit of xanthan gum already mixed in work best for that classic smooth, non-gummy texture. Hope it turns out amazing for you!

2 hours ago

Wait a second, I thought southern fried gravy was supposed to use bacon drippings? I didn’t have any bacon grease saved up so I used the drippings from my fried chicken like the recipe says, and it was still incredible. My husband said it’s better than the gravy we get at our favorite little diner down the road. 10/10, no notes.

30 minutes ago

Bacon drippings are great, but pan drippings from whatever fried meat you’re making is the classic move! I’ve used sausage drippings, chicken fried steak drippings, even fried catfish drippings before and they all slap. Don’t overthink it!

5 minutes ago

Couldn’t have said it better! While bacon drippings add a great smoky note, using whatever pan drippings you have from your main dish is the traditional southern method, and it makes the gravy pair perfectly with whatever you’re serving it with. So glad you and your husband loved it!

5 minutes ago

Help! I tried making this last night and my gravy came out super thin, no matter how long I cooked it. Did I do something wrong? I followed the measurements exactly but it was like soupy milk instead of thick gravy. Flavor was great though!

just now

I had that happen the first time too! Turns out I didn’t cook the roux long enough before adding the milk. You gotta cook that flour and fat mix until it’s a light golden color and smells nutty, otherwise the flour doesn’t thicken right. Try that next time!

just now

That’s exactly the most common reason for thin gravy! The roux needs to cook for 2-3 minutes to cook out the raw flour taste and activate the thickening power. If your gravy is still thin once you add the milk, just keep it at a gentle simmer for a few extra minutes, whisking often, and it will thicken right up. So glad the flavor was on point for you!



