
spread sandwich
intro
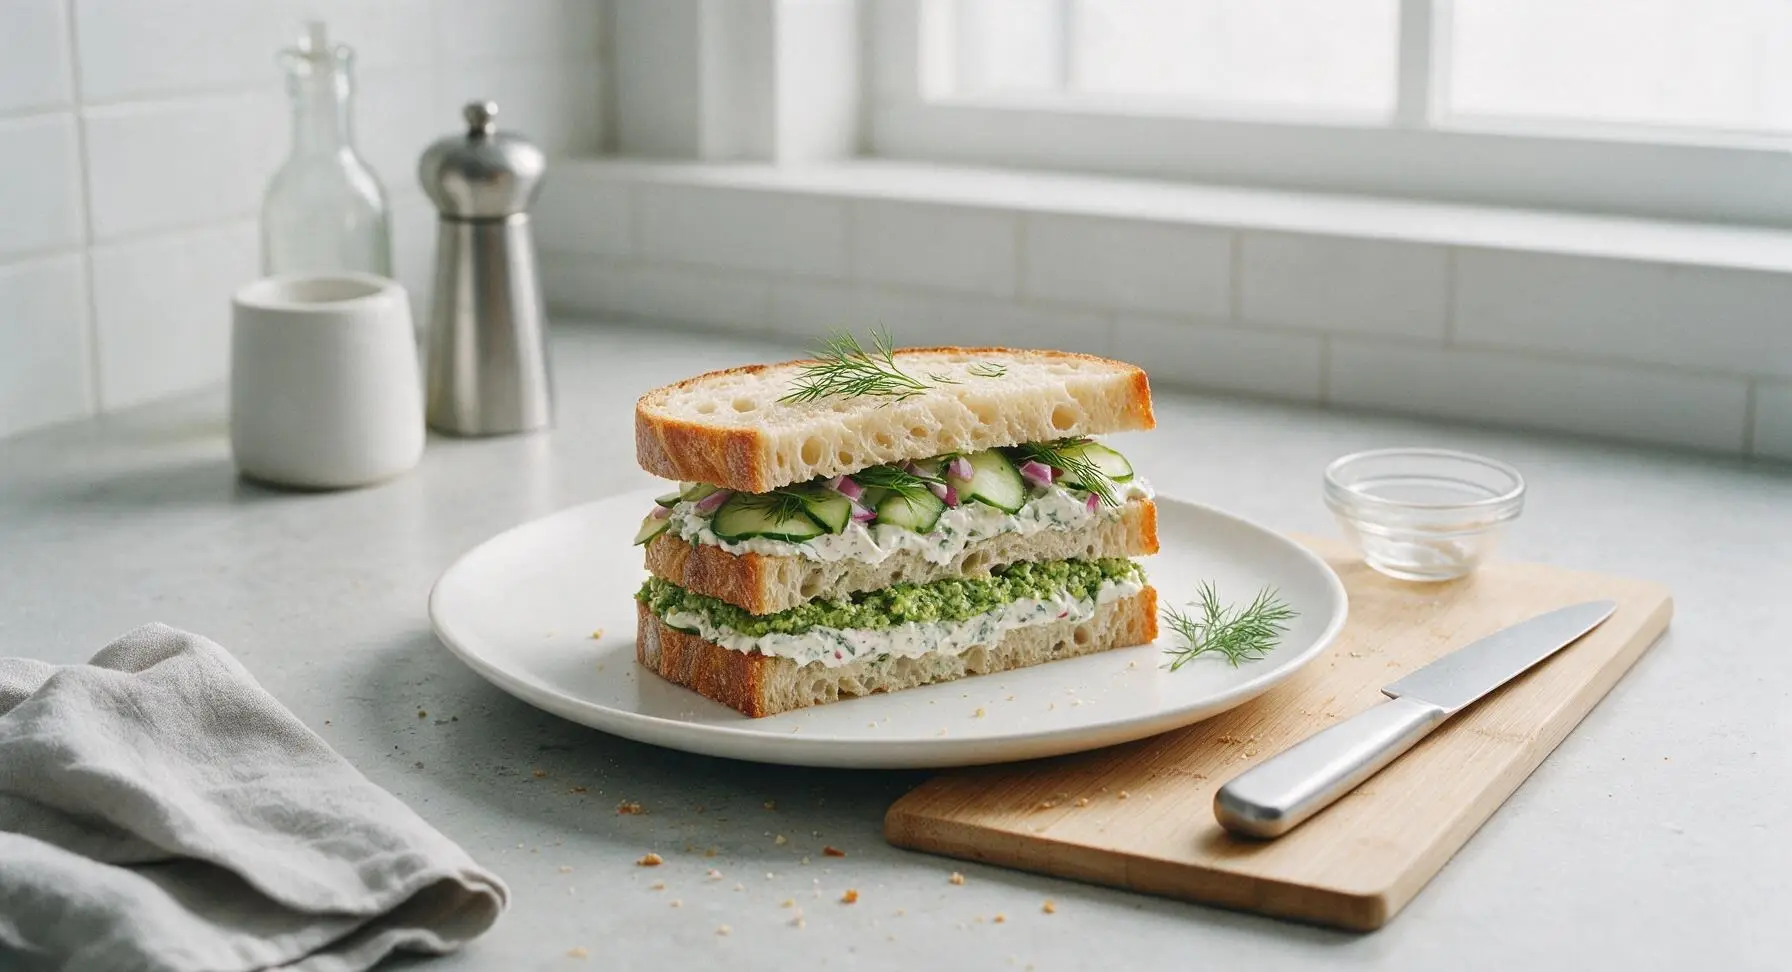
Creamy, tangy triple-spread layered sandwiches with crisp cucumber crunch, soft sourdough, and zero soggy bites—perfect for packing and enjoying on summer outings.
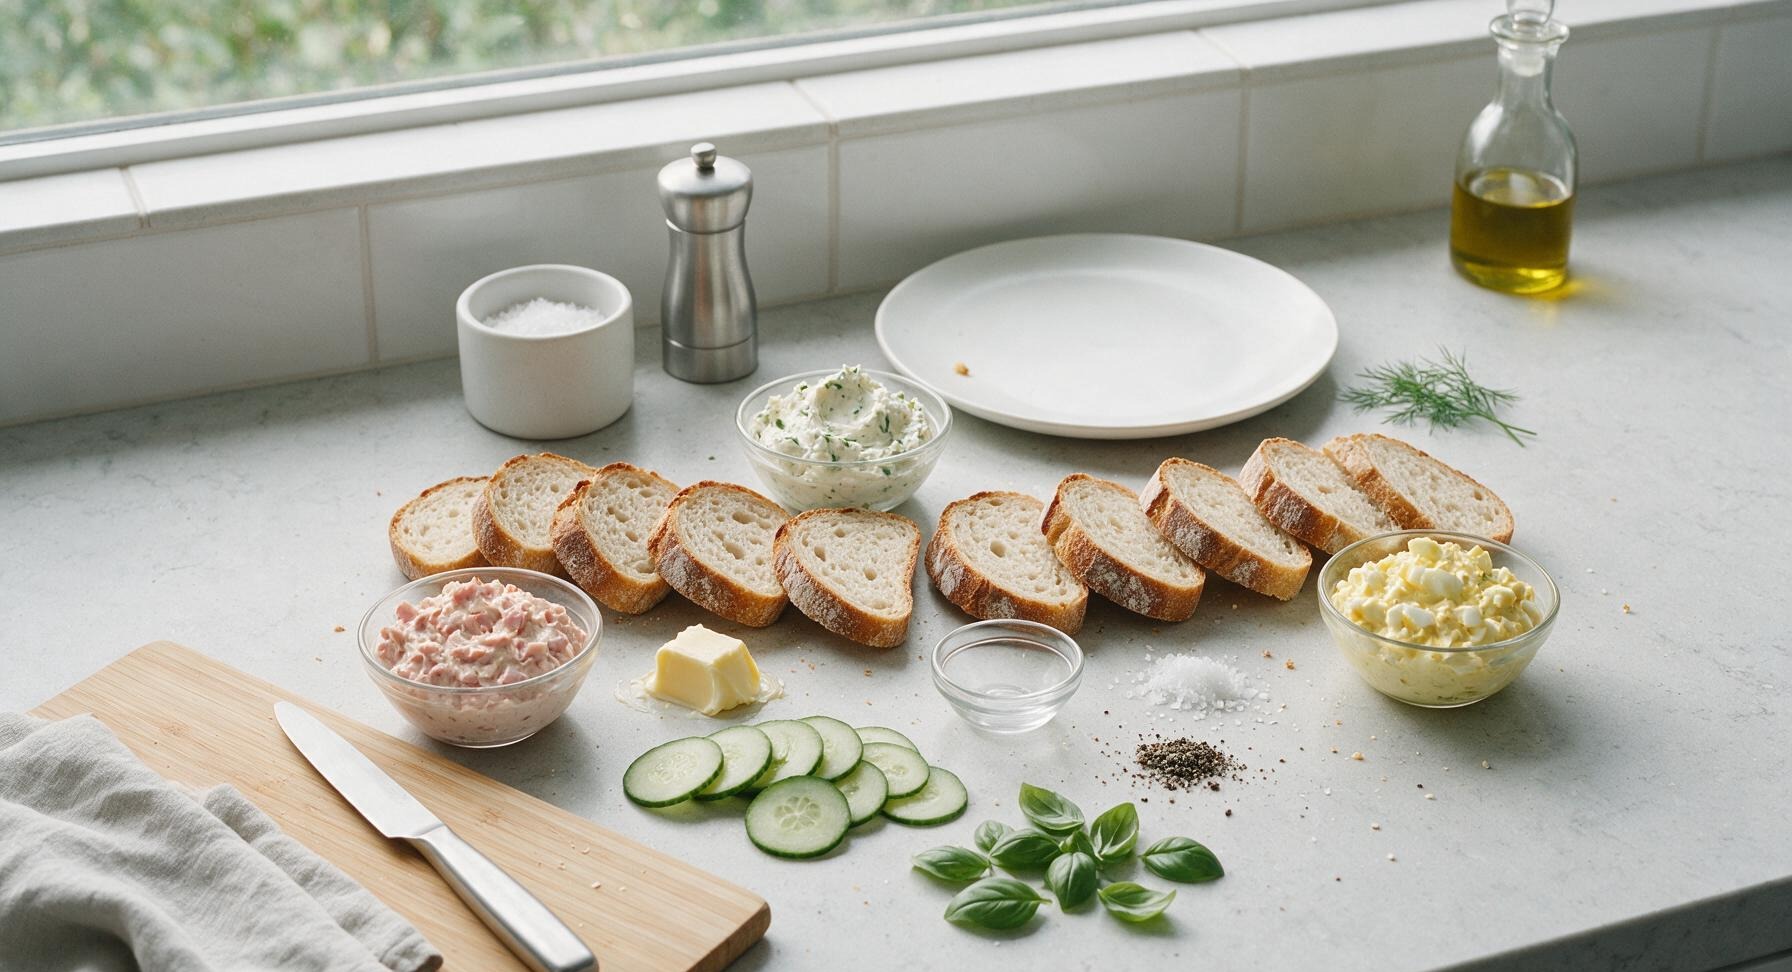
Ingredients
Steps
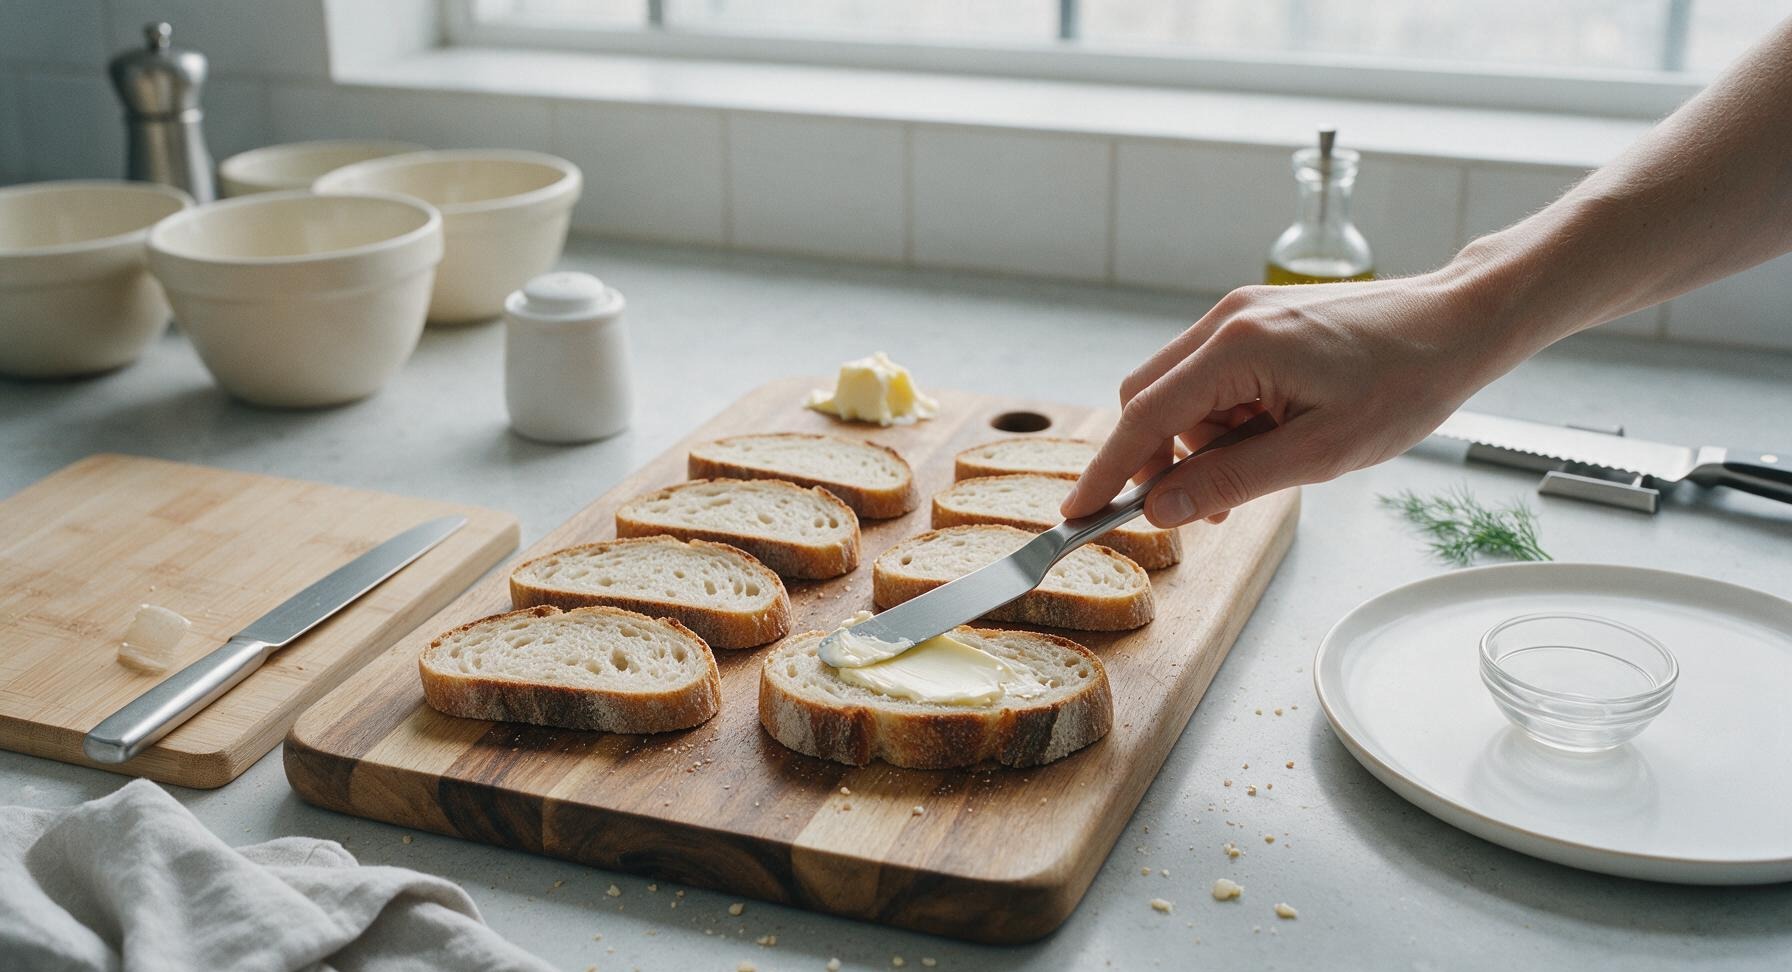
Butter bread slices
Lay all 8 sourdough slices flat on the acacia wood cutting board. Use the stainless steel offset spatula to spread a thin, even layer of softened unsalted butter across one entire side of every slice, making sure to cover all the way to the crust edges. This butter barrier prevents spread moisture from soaking into the bread and causing sogginess, even after hours of storage. The butter layer should be thin enough that you can still see the bread texture through it, not thick and gloppy.
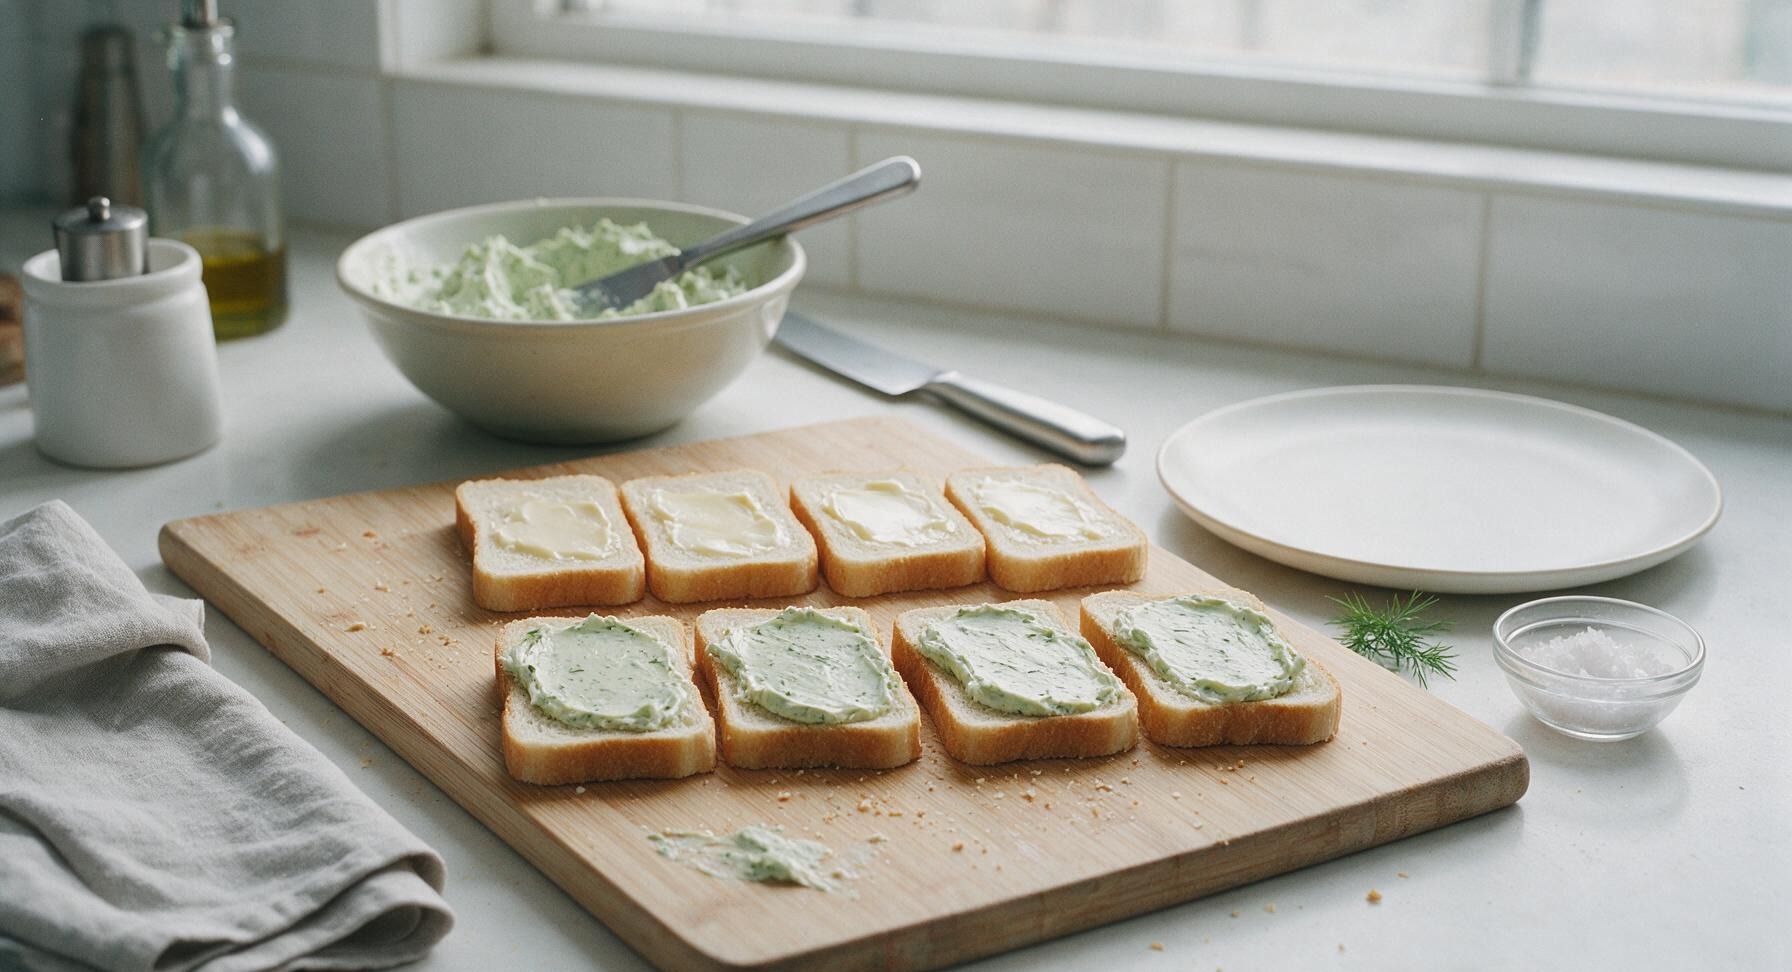
Add herbed cream cheese
Scoop equal portions of the herbed cream cheese spread onto 4 of the buttered bread slices. Use the offset spatula to spread the cream cheese in a uniform 5mm thick layer across the entire buttered surface, again spreading all the way to the crust edges to reinforce the moisture seal. Lightly season the cream cheese layer with a pinch of flaky sea salt and a single twist of black pepper.
Add crisp cucumber layer
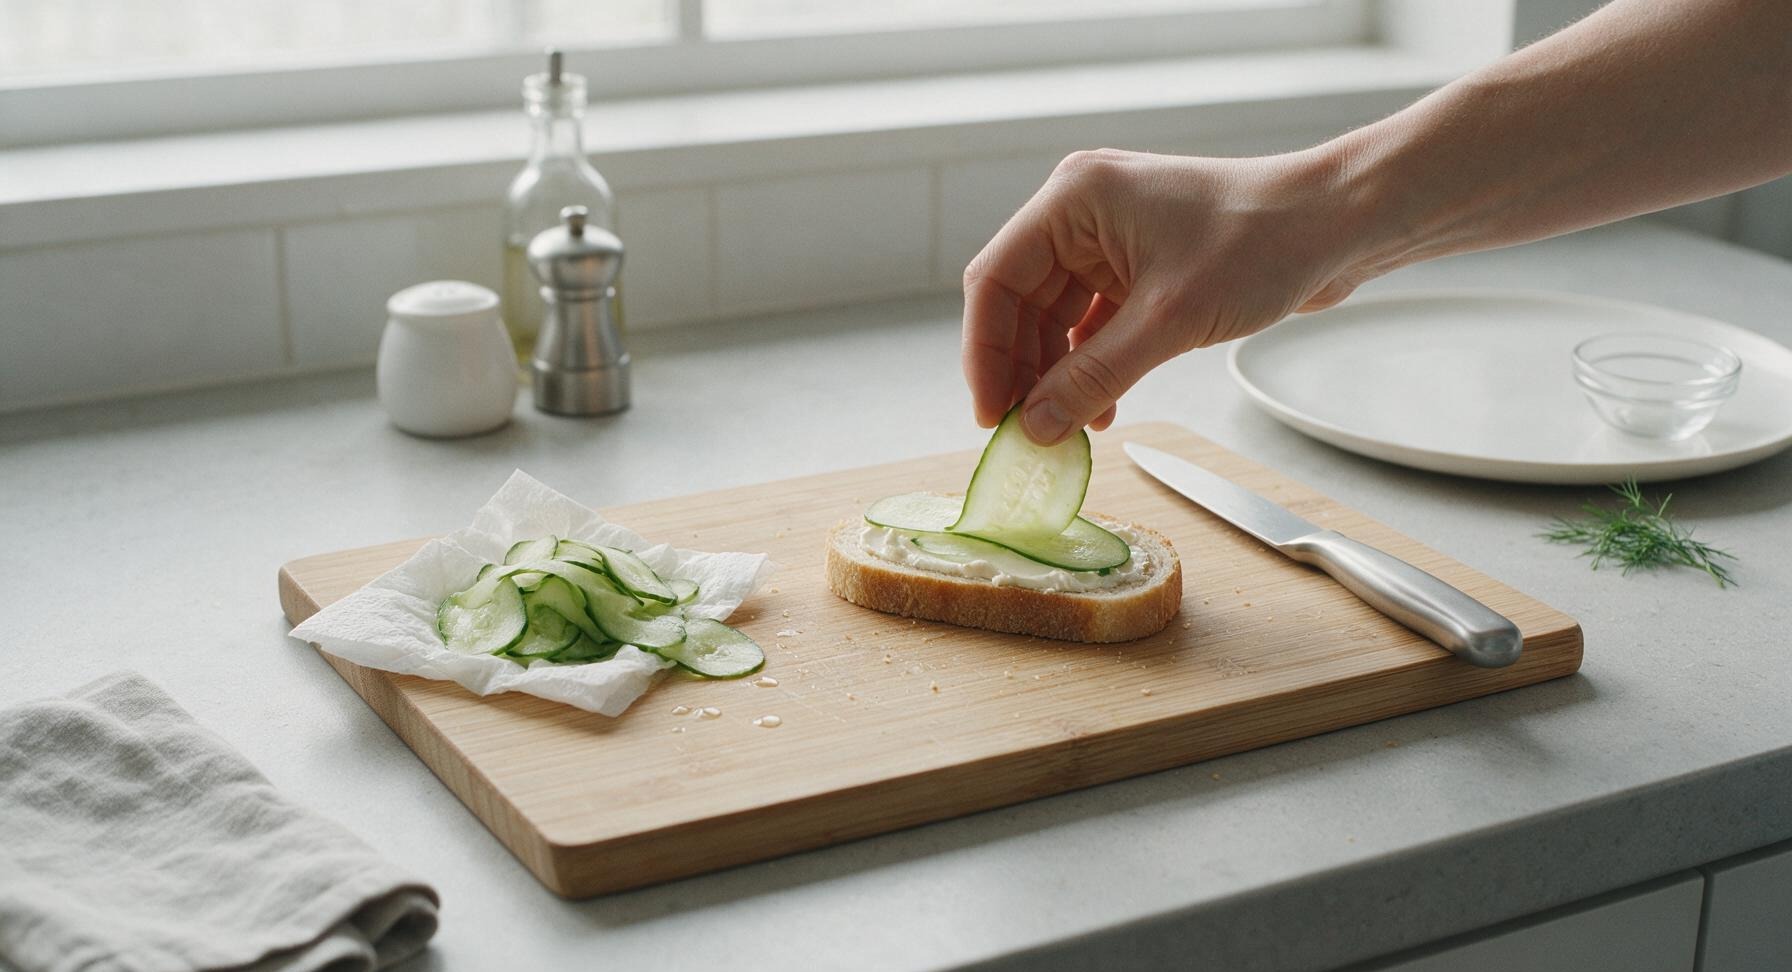
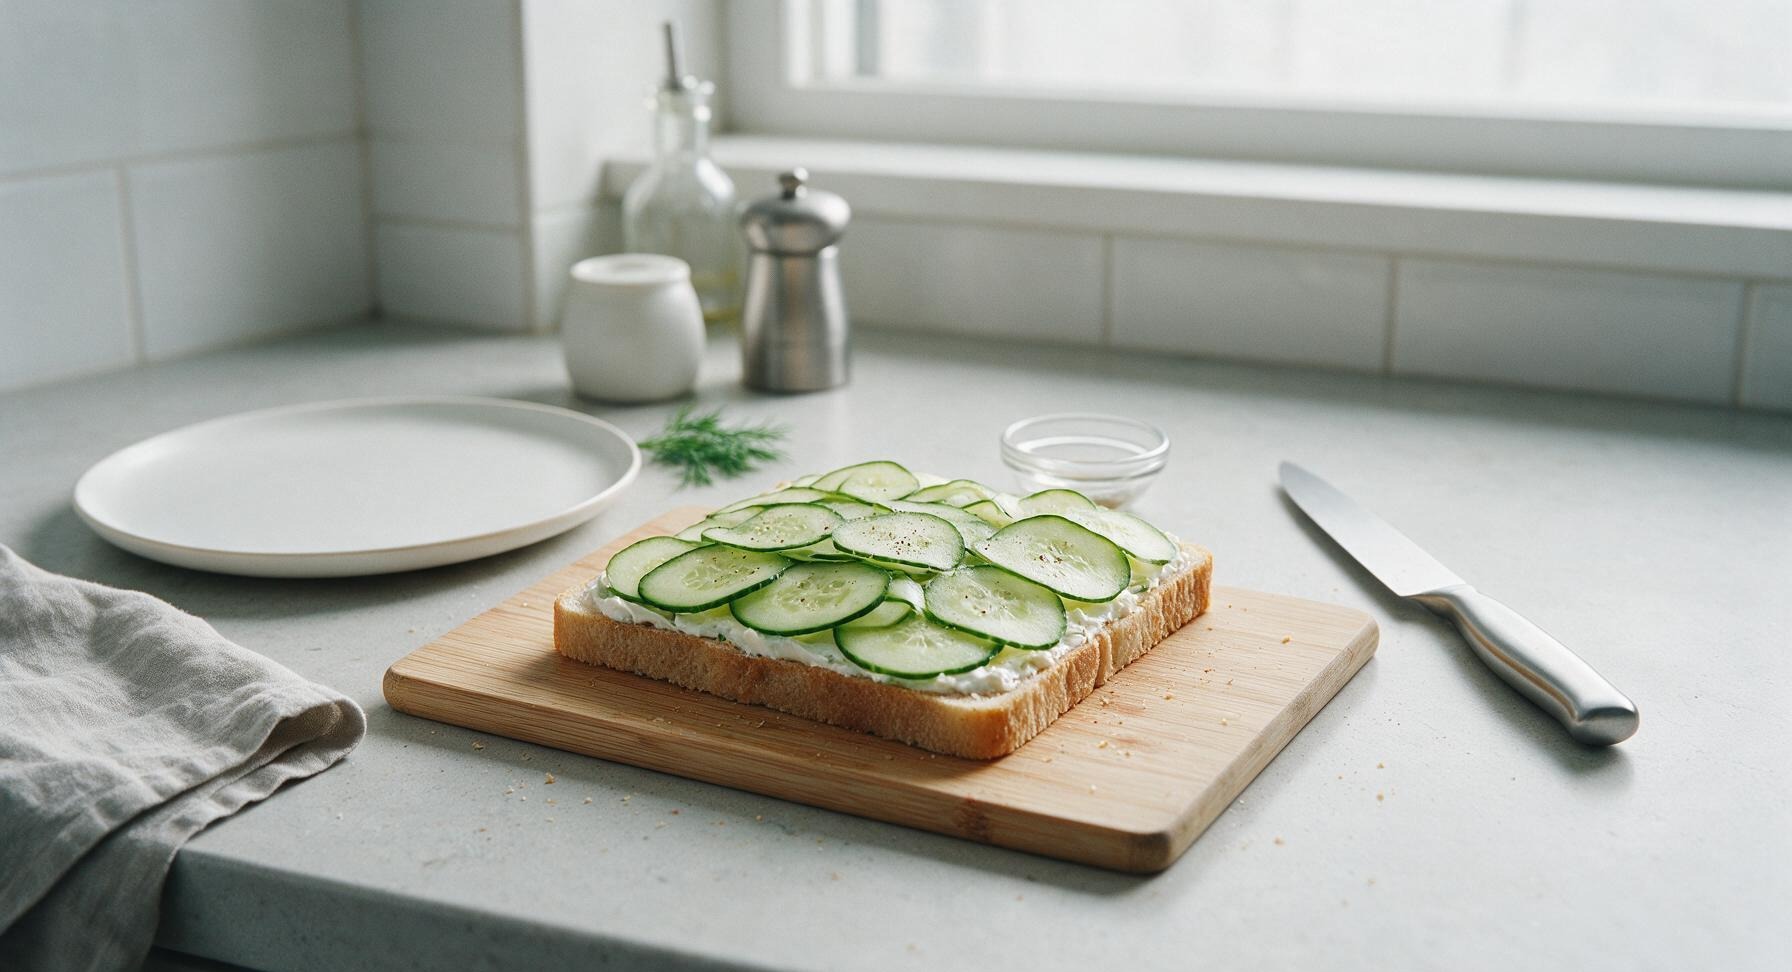
Pat the thinly sliced cucumber dry with a sheet of paper towel from the left counter roll to remove excess surface moisture, a key step to avoid soggy bread. Arrange cucumber slices in a single overlapping layer across the cream cheese-covered bread, covering the entire surface without stacking slices more than one layer high. The cucumber adds bright, snappy textural contrast to the rich, creamy spreads.
Spread egg salad layer
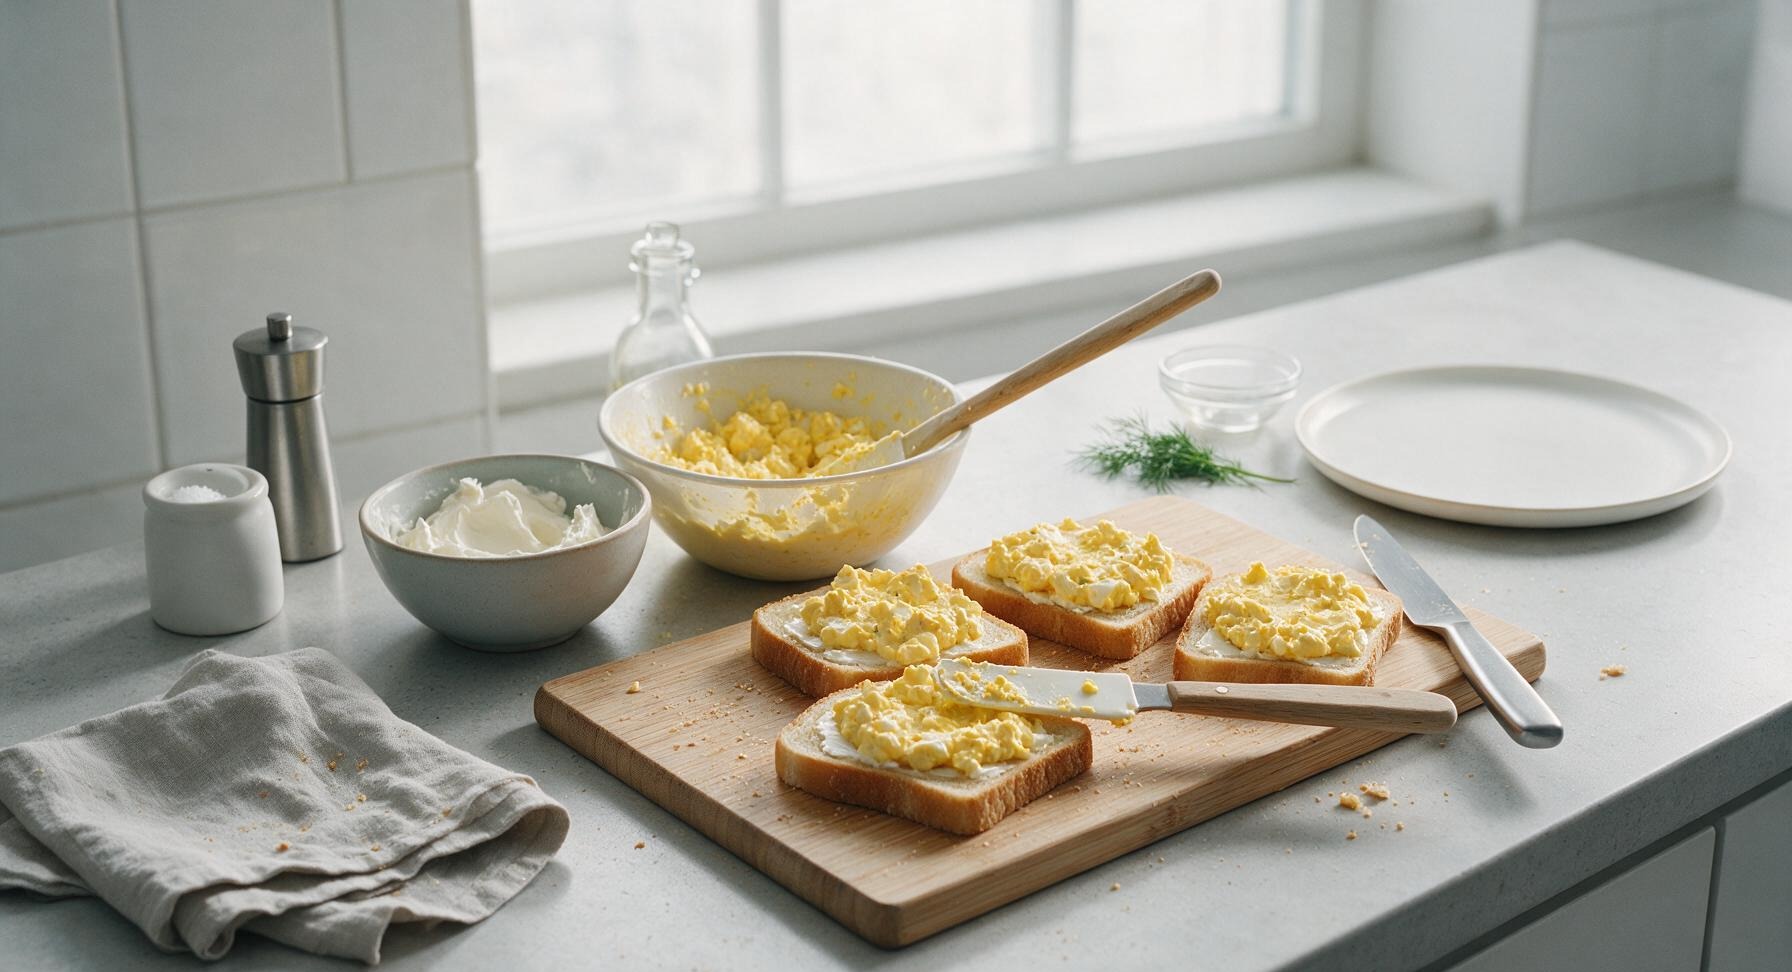
Take the remaining 4 buttered bread slices, and scoop equal portions of egg salad onto each. Use the offset spatula to spread the egg salad in a uniform 5mm thick layer across the entire buttered surface, spreading all the way to the crust edges. Do not press down hard while spreading, to keep the egg salad light and fluffy rather than dense and compressed.
Top with ham spread
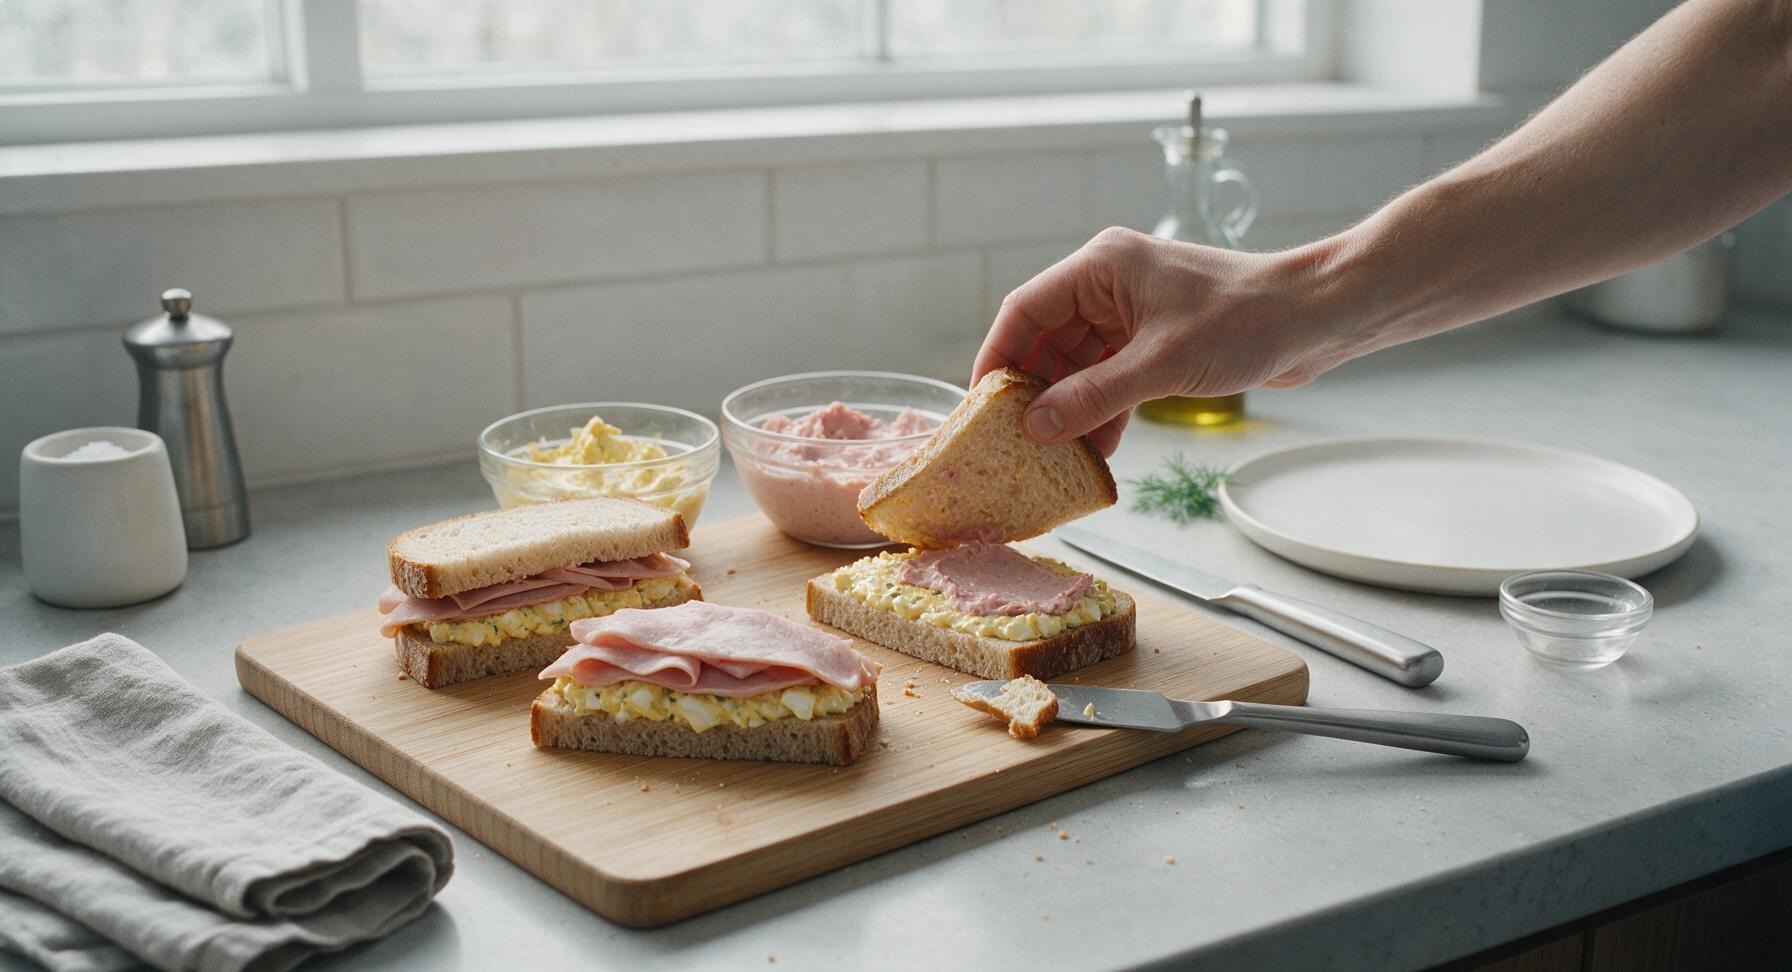
Flip the egg salad-covered bread slices egg-side down on top of the cucumber-topped cream cheese slices to create a closed sandwich base. Carefully lift the top slice of each sandwich halfway, and spread a 5mm thick layer of smoky ham spread across the exposed inner surface of the egg salad slice, spreading all the way to the edges. Press the slices back together gently once the ham spread is added, creating three distinct spread layers separated by the crisp cucumber.
Press sandwiches gently
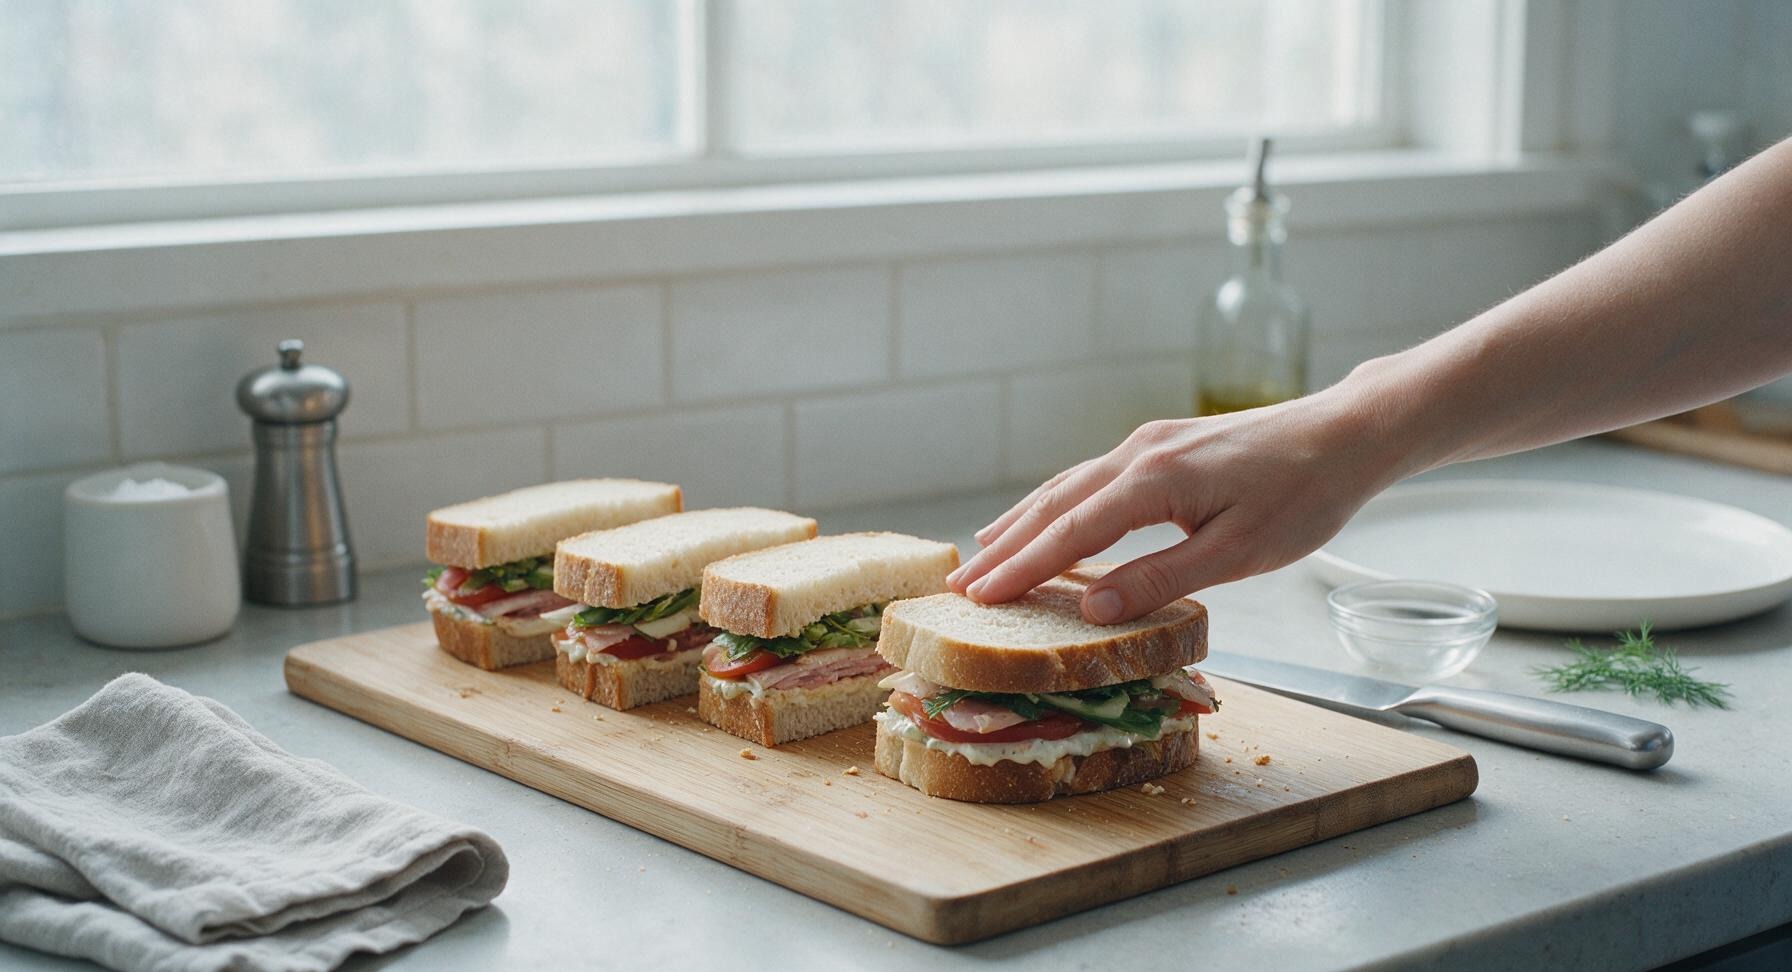
Once all sandwiches are fully assembled, place the palm of your clean hand flat on top of each sandwich, applying light, even pressure for 10 seconds per sandwich. This presses the layers together so they do not slide apart when cut or eaten, but do not press so hard that the spreads squeeze out of the crust edges. Let the sandwiches rest for 2 minutes at room temperature to let the spreads set slightly before cutting.
Cut sandwiches diagonally
Pick up the serrated bread knife from its back right rest, and cut each whole sandwich diagonally into two equal triangular halves, using a gentle sawing motion rather than pressing straight down. Pressing straight down will squeeze the spreads out of the cut edges; a slow sawing motion cuts cleanly through the bread and layers without compressing the fillings.
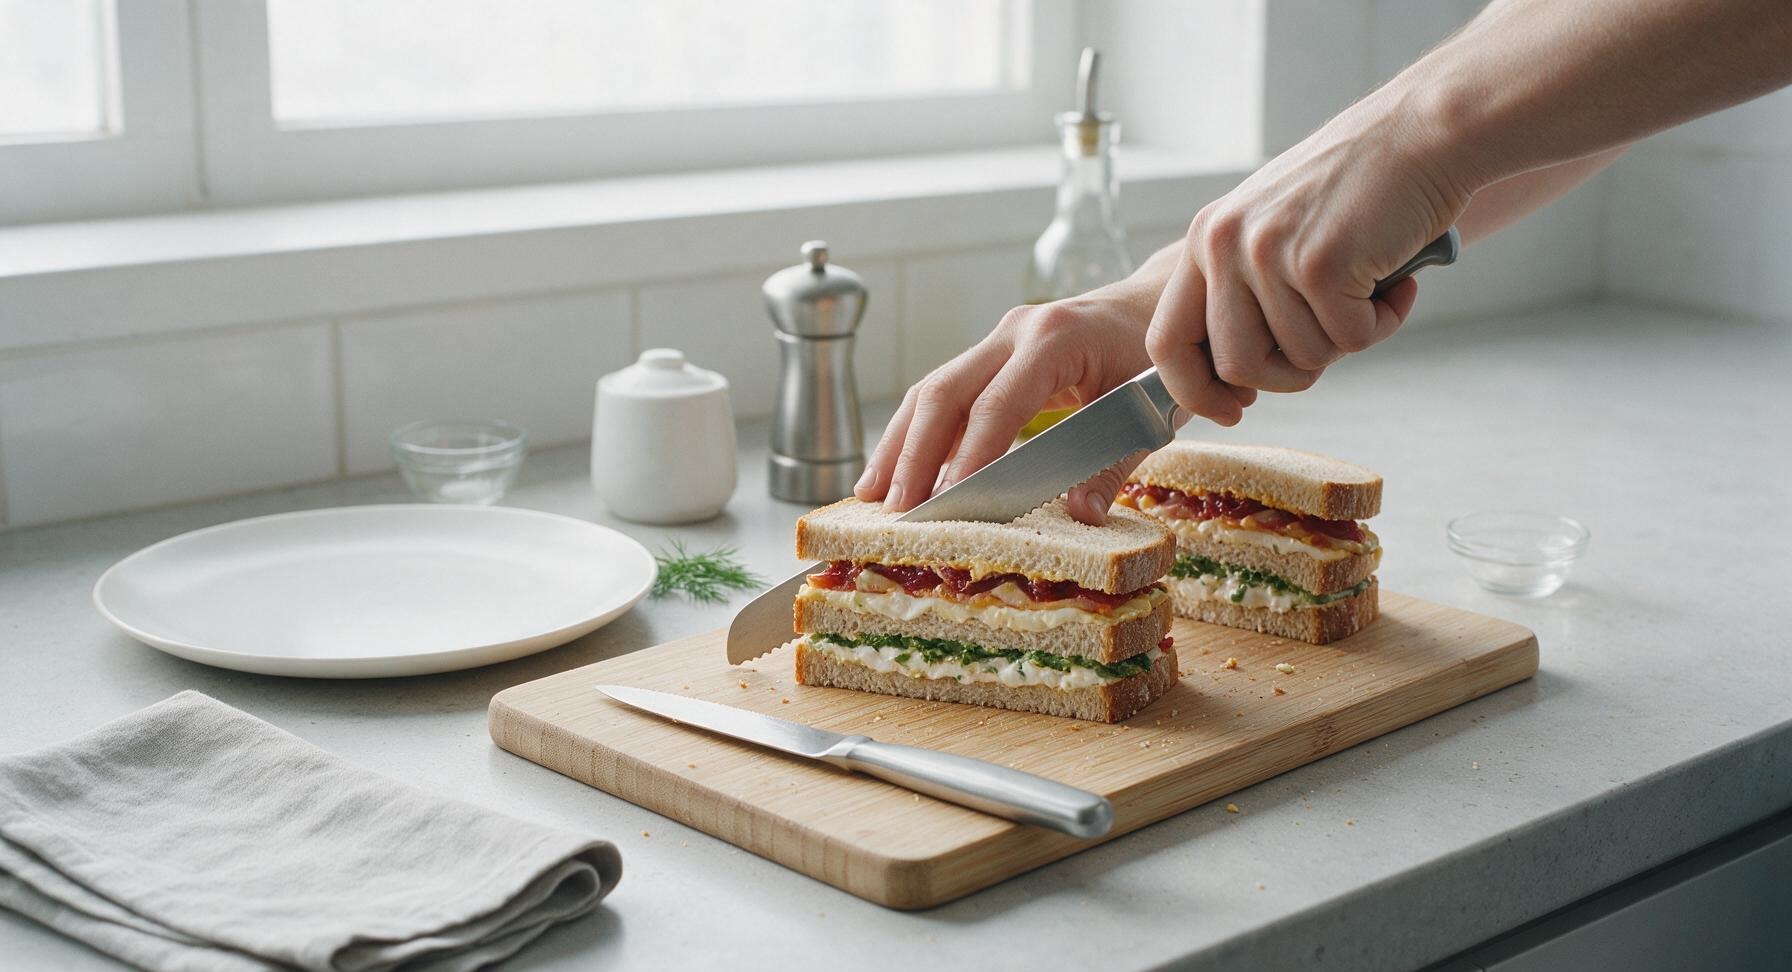
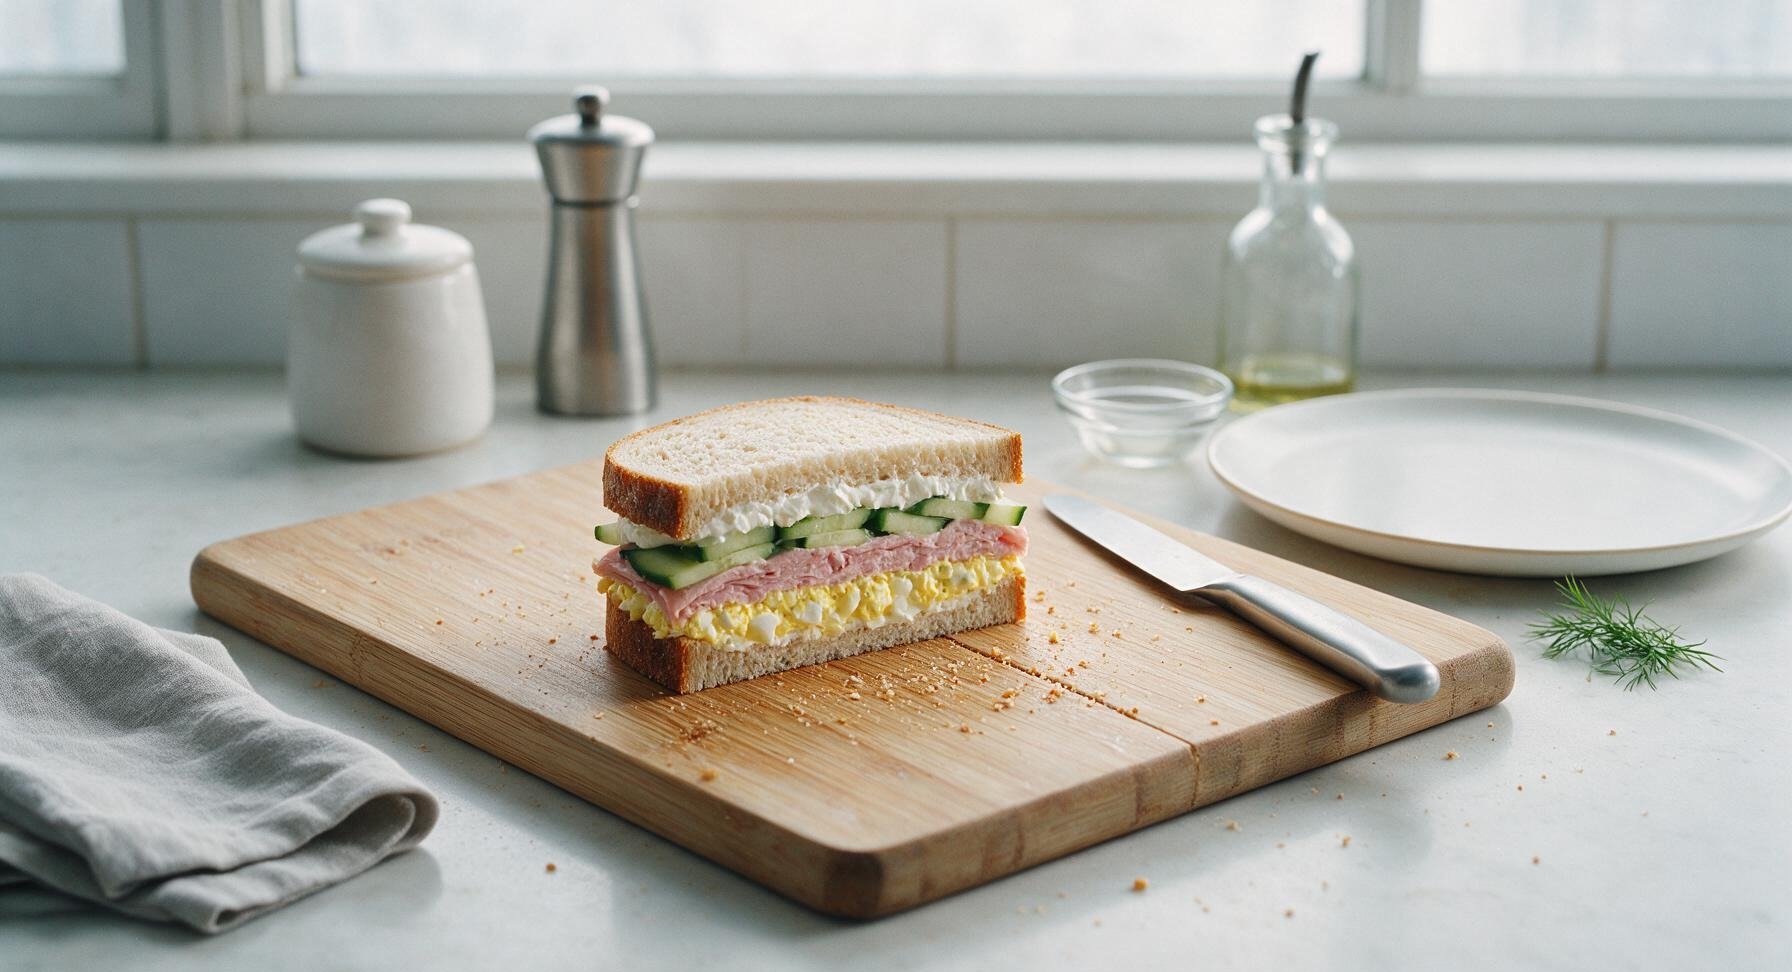
Plate and garnish
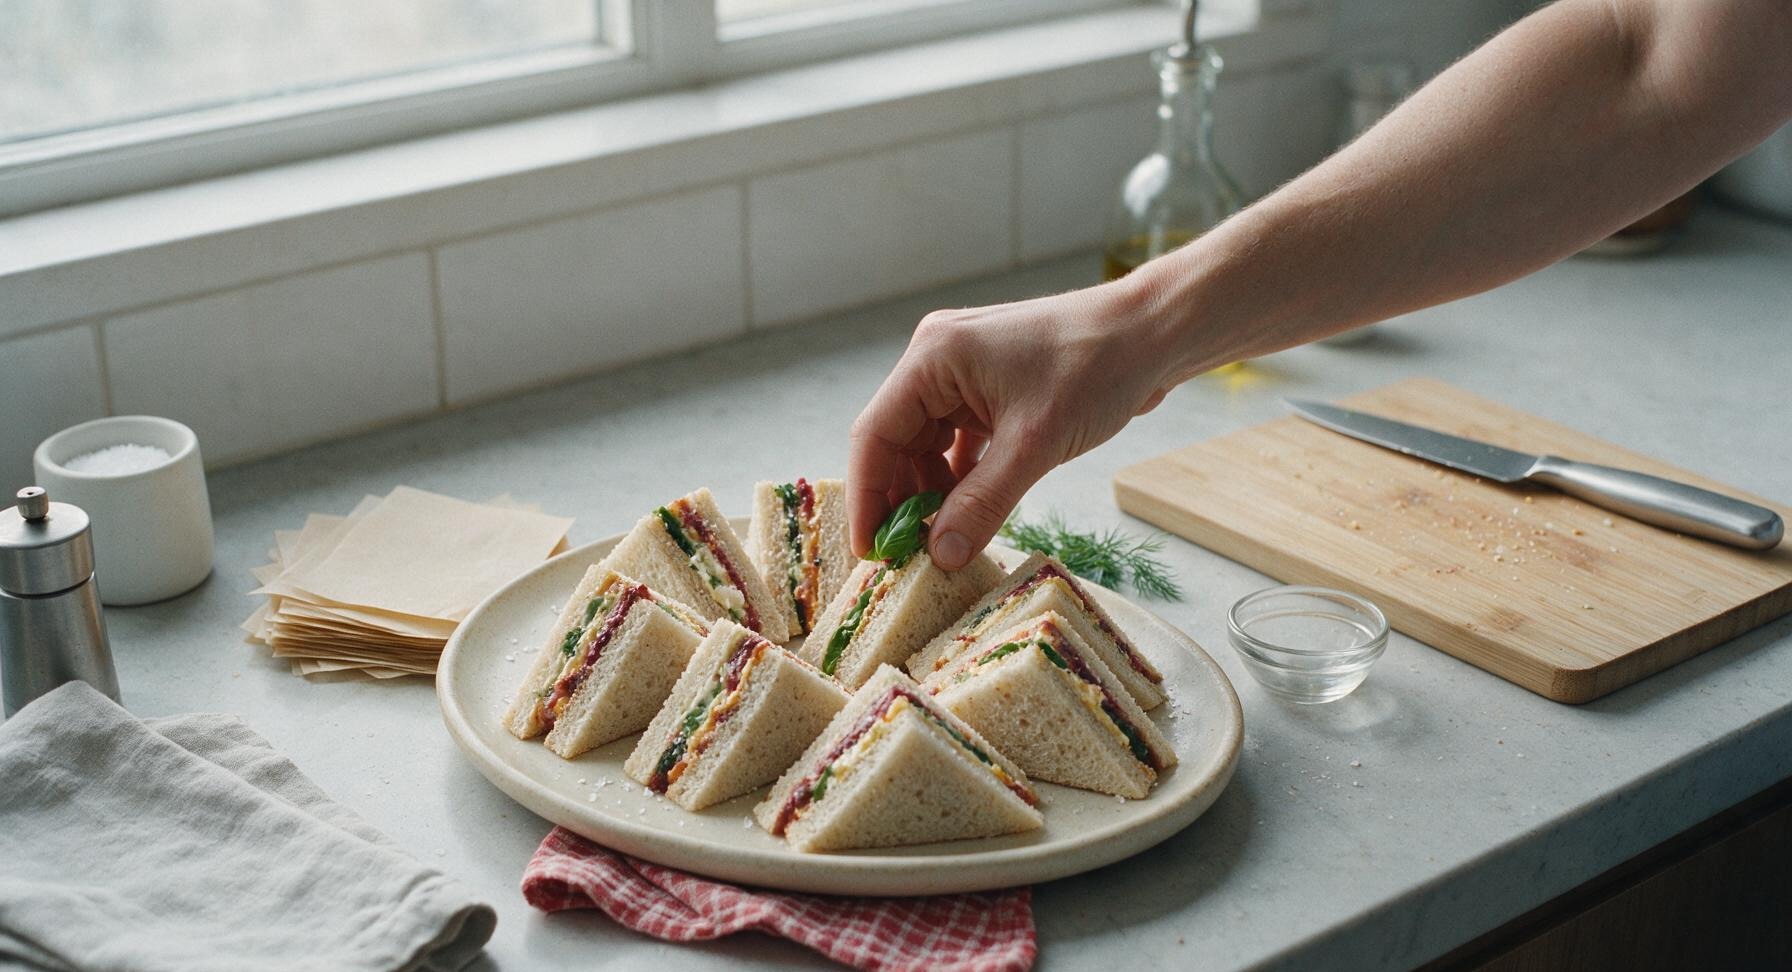
Transfer the 8 triangular sandwich halves to the matte cream stoneware serving platter, arranging them in a loose overlapping circle. Tuck small fresh basil leaves between the sandwiches for a bright herbal garnish, and give a light final sprinkle of flaky sea salt across the top of the sandwich cut edges. The sandwiches are ready to serve immediately, or can be wrapped individually in parchment squares and chilled for up to 4 hours for picnic transport.
Tips
2.Pat all high-moisture ingredients (like cucumber slices) completely dry with a paper towel before adding them to the sandwich: cut produce releases large amounts of free water, and removing surface moisture cuts down on sogginess dramatically without losing fresh, crisp texture.
3.Use a sharp serrated bread knife with a slow sawing motion to cut assembled sandwiches, rather than pressing down with a flat chef’s knife: this cuts cleanly through soft bread and creamy fillings without squeezing spreads out the sides, keeping layers neat and visually appealing.






OMG this sandwich is an absolute game changer for our annual family hiking picnic! No cook time? Are you kidding? I threw the three spreads together the night before, assembled everything in 10 minutes before we hit the trail, and it held up perfectly for 4 hours in the cooler. No soggy bread, every bite had so much flavor — my brother-in-law who hates “fancy sandwich stuff” went back for thirds. 10/10 will be making this every single picnic season.
Made these for my kid’s soccer team snack last weekend and every single parent asked for the recipe! SO good, even the picky eaters on the team ate every bite. I cut them into mini sliders instead of full sandwiches, which was perfect for little hands. The three spreads work so well together — I never would’ve thought to combine herb mayo, pimento cheese, and that tangy honey mustard, but it’s chef’s kiss.
Super easy to make in my dorm between study sessions, no cooking required which is a win because my dorm kitchen is always a mess. I did swap one of the spreads for plain hummus because that’s all I had at the corner market, and it still slapped. Next time I’ll grab the actual ingredients to get the full flavor, but even my hacked version was way better than the sad campus dining hall sandwiches.
Brought this to our neighborhood block party potluck last Saturday and the whole platter was gone in 15 minutes! I was worried it might be too plain compared to all the cheesy casseroles and BBQ ribs people brought, but everyone was raving about how light and flavorful it was. Perfect for 90 degree Texas heat when you don’t want something heavy sitting in your stomach.
Meal prep win! I made one big loaf of this on Sunday, wrapped individual slices tight in parchment paper, and had ready-to-grab lunches all work week. The flavors actually got better after a day or two in the fridge, which is so rare for pre-made sandwiches. No sogginess, no weird wilted veggies, just perfect every day. Saved me so much money not buying takeout for lunch this week!
Packed these for our beach day last weekend and they were ideal! No heating needed, no messy drips all over our beach towels, and they tasted amazing even after sitting in the beach bag for a couple hours. I added a couple slices of crispy bacon (I know, extra step but so worth it) and it paired perfectly with all three spreads. Will definitely be a beach day staple from now on.
I’ve been making picnic sandwiches for my grandkids for over 40 years, and I have to say this recipe just knocked my old go-to right out of the park. The three spreads add so much depth without being fussy, and it’s easy enough for me to put together even when my arthritis acts up. My oldest granddaughter said it’s the best sandwich I’ve ever made — that’s the highest praise there is!
Made this for our office potluck today and it was a huge hit! Only reason I’m not giving it 5 stars is that I wish the recipe noted how many people it feeds — I made two loaves because I was worried there wouldn’t be enough, and we ended up with almost a full loaf left over. Otherwise, flavor is 10/10, super easy to throw together before work, no cooking required which is a big plus.
As someone who’s gluten free, I was so happy to see how easy this was to adapt! I used a gluten free sourdough loaf, made sure all my spread ingredients were GF certified, and it turned out absolutely perfect. No weird texture, no missing flavor — my non-GF husband didn’t even notice it wasn’t regular bread. So excited to have a new picnic recipe I can actually eat!
Made this for me and my kid’s camping trip last weekend, and it was perfect for the drive up. No need to stop for fast food, no messy prep at the campsite, just pull it out of the cooler and eat. We added sliced turkey and pepper jack to ours for a little extra protein, and it held up great for two days in the cooler. My son said it’s better than the fast food chicken sandwiches he usually begs for, which is a massive win in my book.
I was so nervous to make something for my first group picnic with my new partner’s friend group, but this sandwich was such a hit! Multiple people asked who made it and said it was their favorite thing at the whole picnic. It was so easy I didn’t even stress about messing it up, which is huge for someone who burns toast 90% of the time. 10/10, will be making this for every group event from now on.