
stove top stuffing casserole
intro
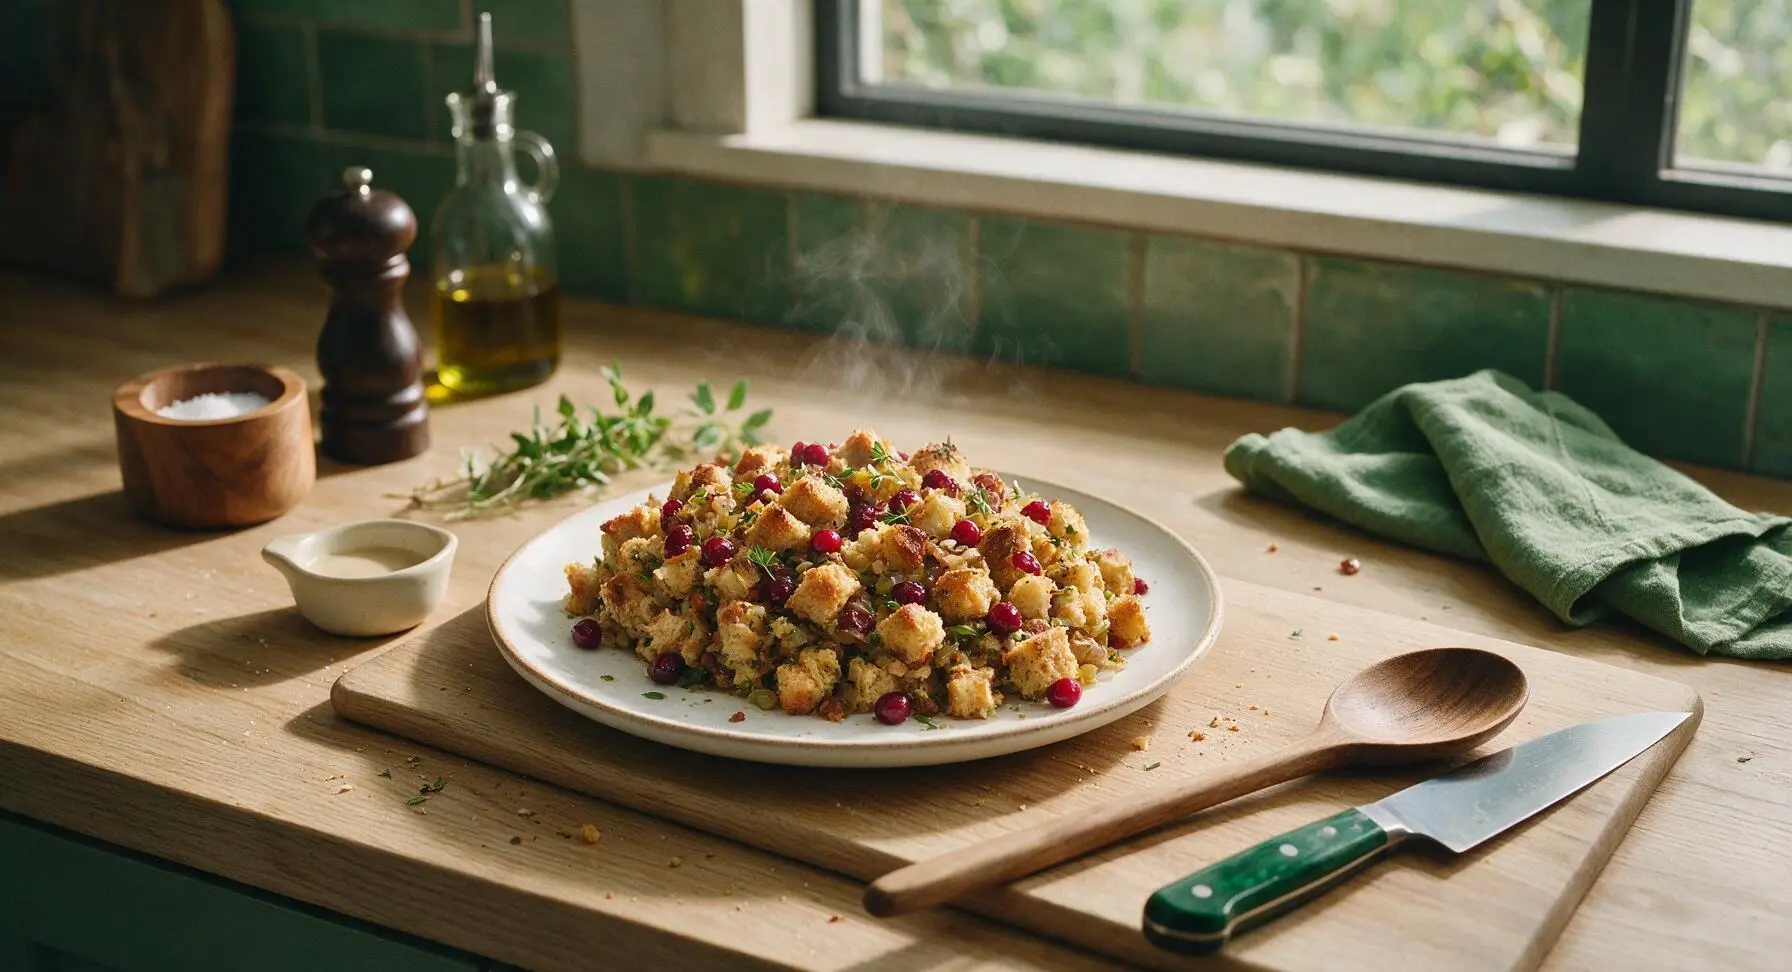
Warm, herby, and ultra-comforting, this no-oven stove top stuffing casserole features tender bread cubes, sautéed aromatics, and sweet cranberries for a cozy, fuss-free side perfect for holiday tables.
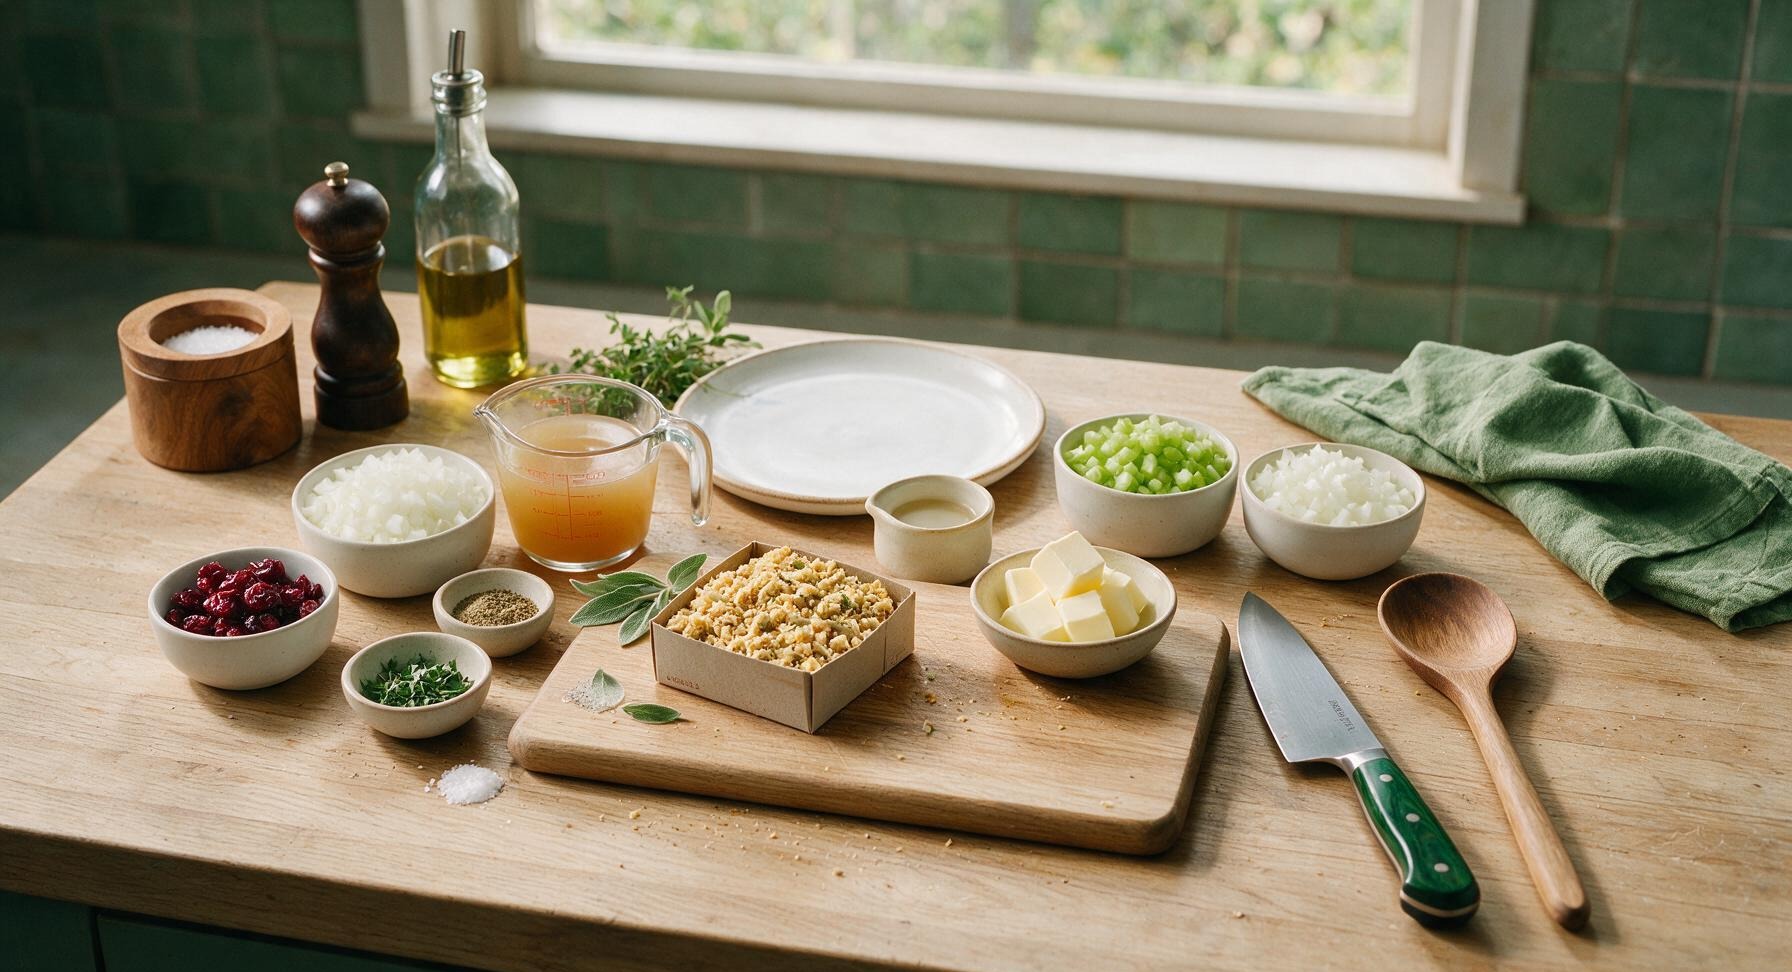
Ingredients
Steps
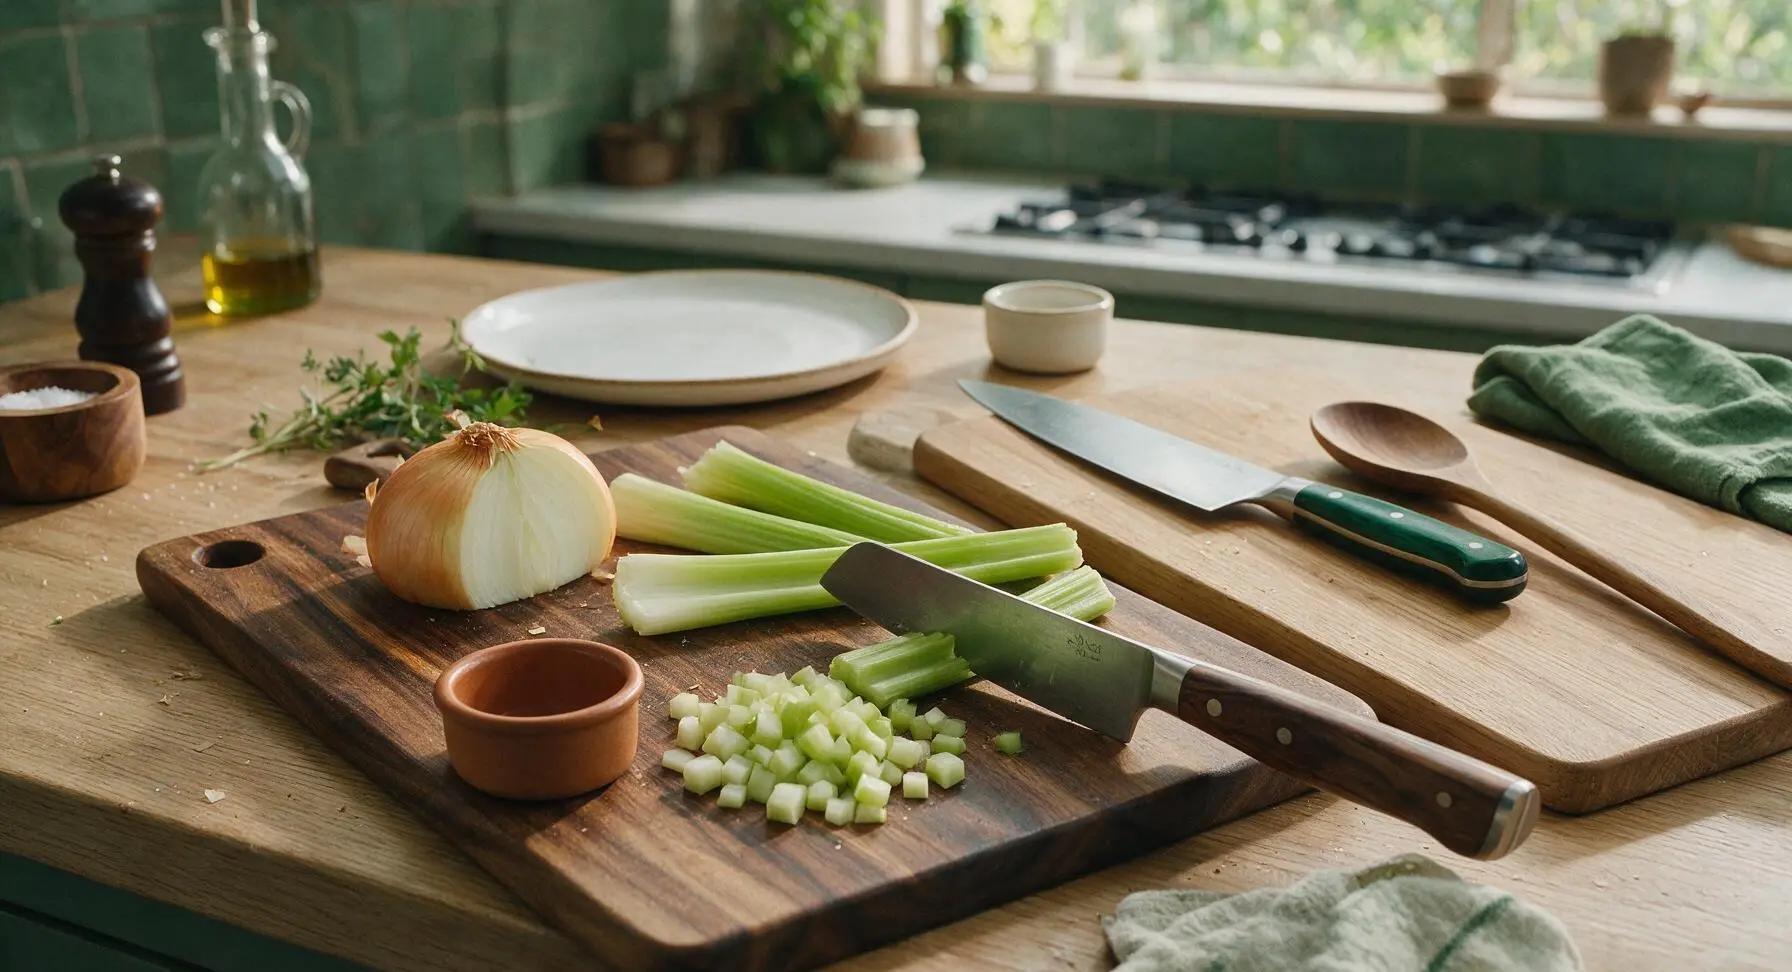
Dice Aromatic Vegetables
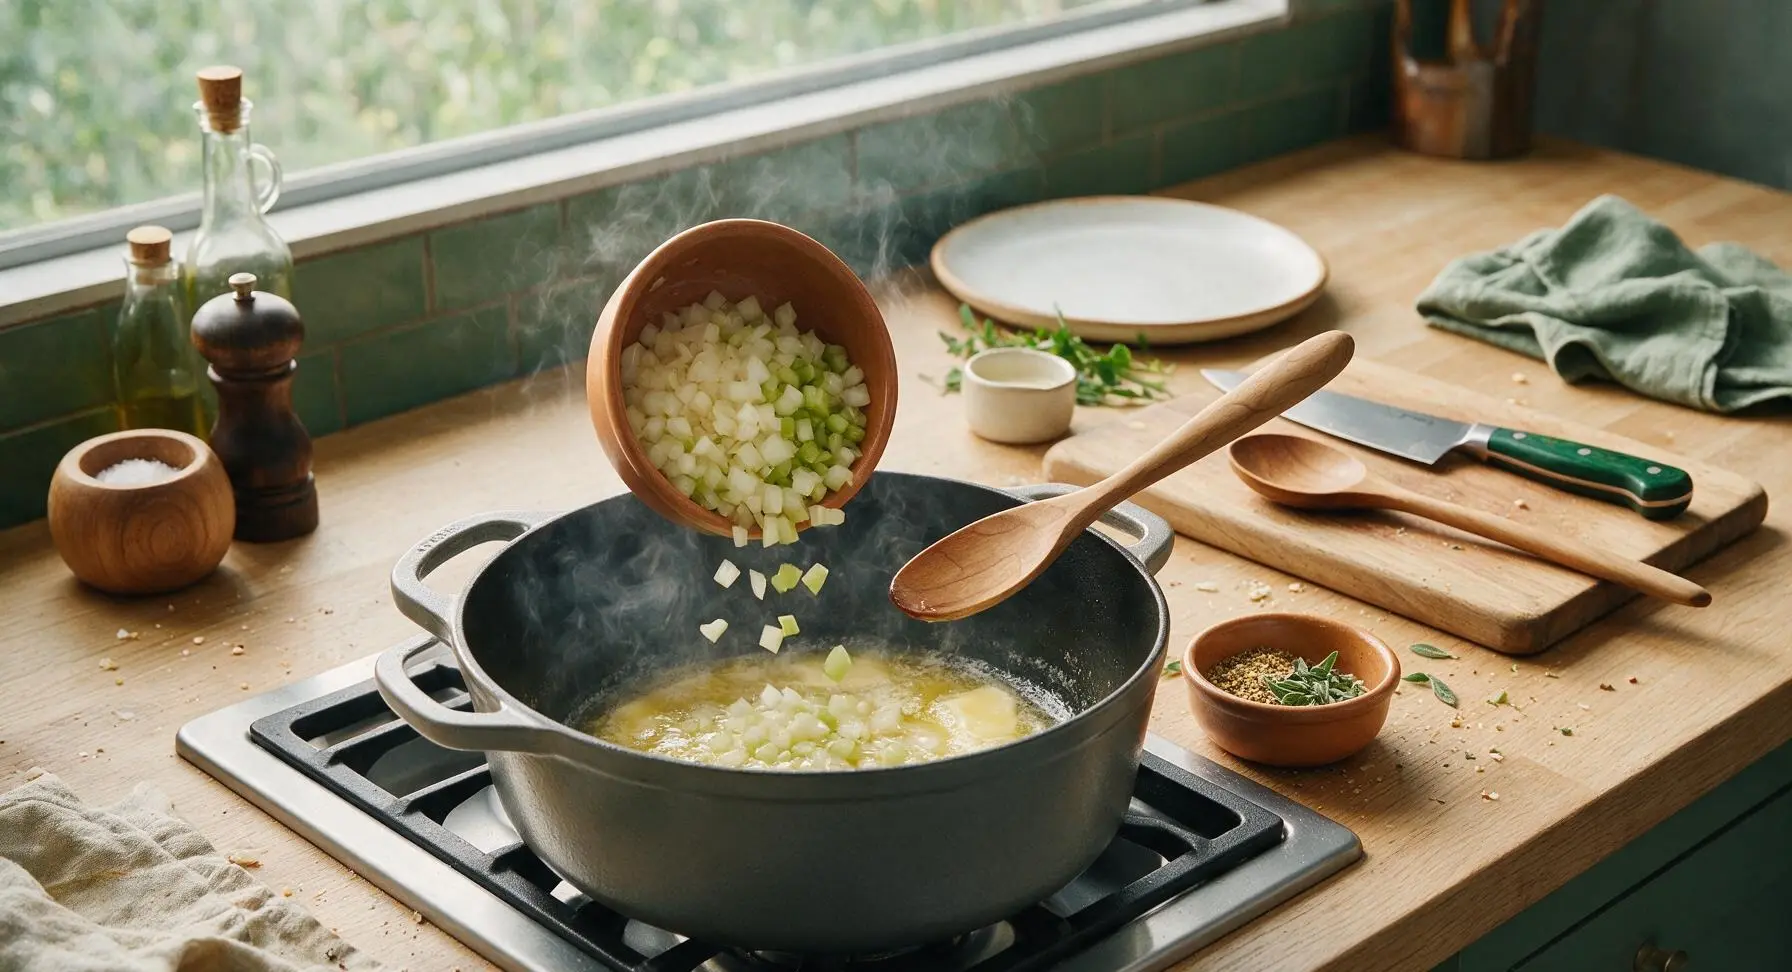
Place the yellow onion and celery on the dark acacia cutting board. Using the walnut-handle santoku knife, dice both into uniform ¼-inch pieces, discarding any tough celery strings or onion root ends. Transfer diced veggies to one of the matte terracotta ramekins and set aside. This takes roughly 5 minutes, and pieces should be small enough to cook quickly without large, crunchy chunks in the finished casserole.
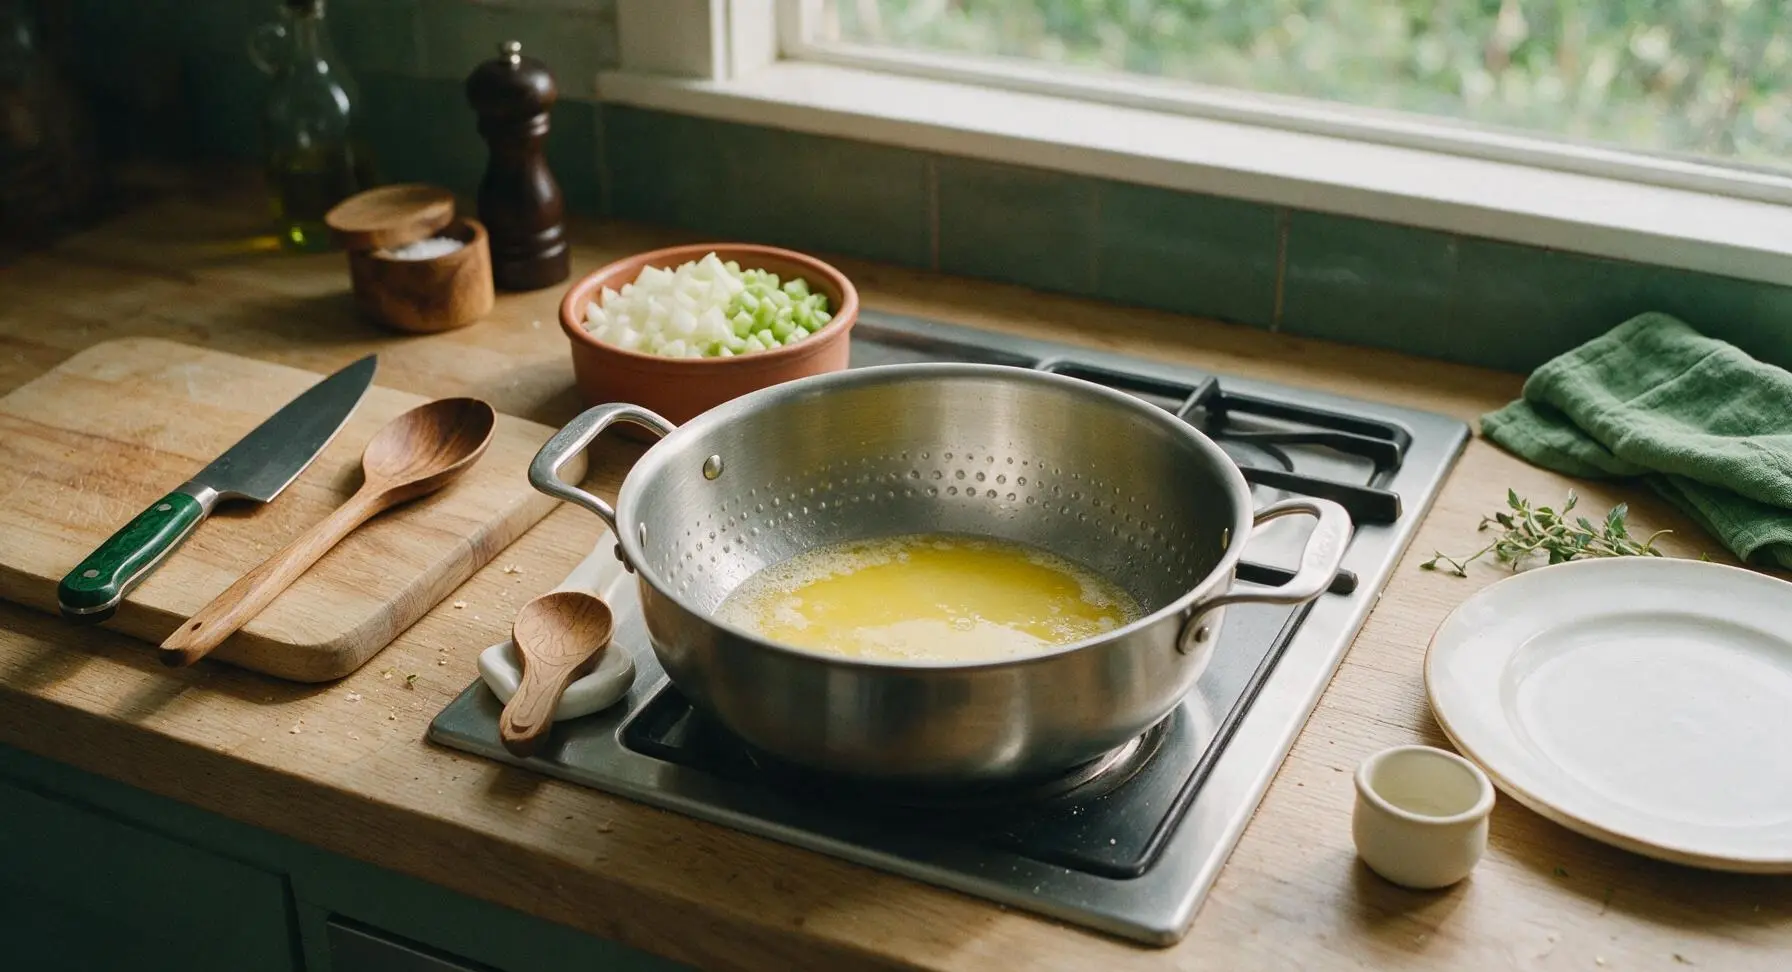
Melt Butter For Sautéing
Place the 24cm stainless steel Dutch oven on the stovetop burner set to medium heat (350°F/175°C). Add the 4 tablespoons of unsalted butter to the pot, and allow it to melt fully for 1-2 minutes, swirling occasionally, until it foams slightly and smells faintly nutty, but does not turn golden brown.
Sauté Veggies And Herbs
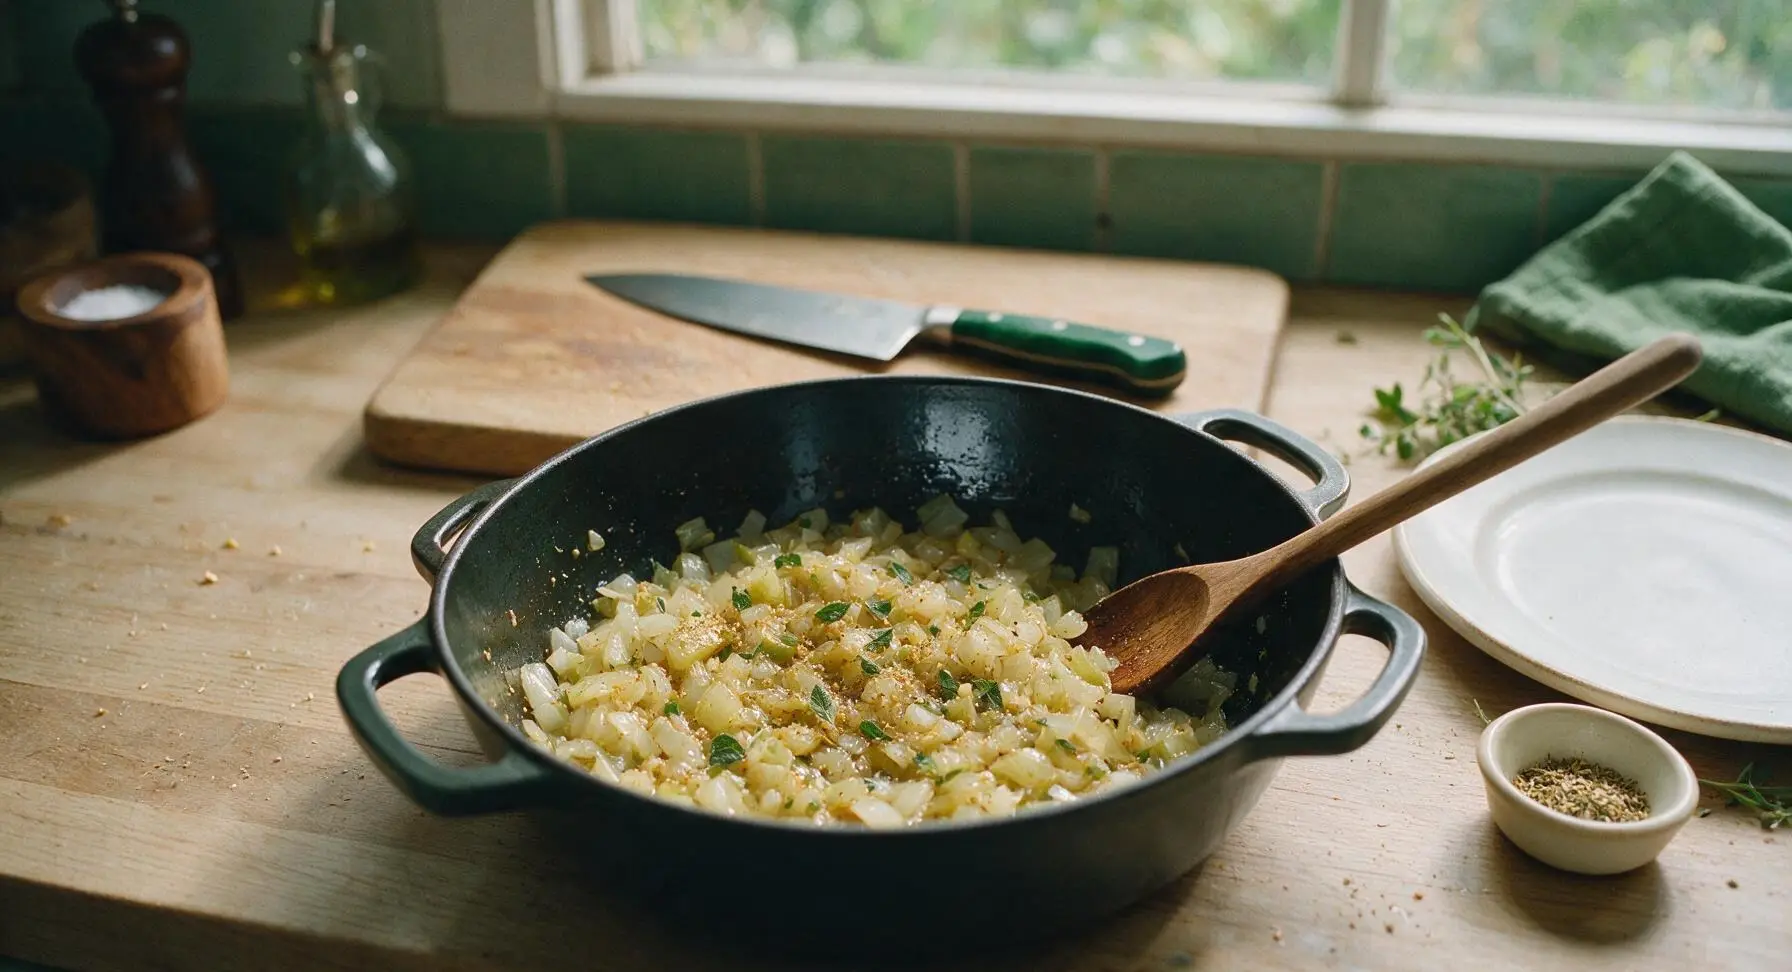
Add the diced onion and celery to the melted butter in the Dutch oven. Sauté for 5-6 minutes, stirring occasionally with the carved maple wooden spoon, until vegetables are soft and translucent, with no raw, crisp bite remaining. Stir in the 1 teaspoon poultry seasoning, 2 tablespoons chopped fresh sage, ¼ teaspoon kosher salt, and ¼ teaspoon black pepper, and cook for 30 seconds more until the spices release a warm, fragrant aroma.
Heat Broth To Simmer
Pour the 2 cups of low-sodium chicken broth into the Dutch oven with the sautéed vegetables. Stir to combine, then bring the liquid to a gentle rolling simmer (small bubbles breaking consistently across the surface, not a violent hard boil) over medium heat, which takes 3-4 minutes. Taste the liquid and adjust salt or pepper if needed, keeping in mind the pre-packaged stuffing mix contains added sodium.

Combine With Stuffing Mix
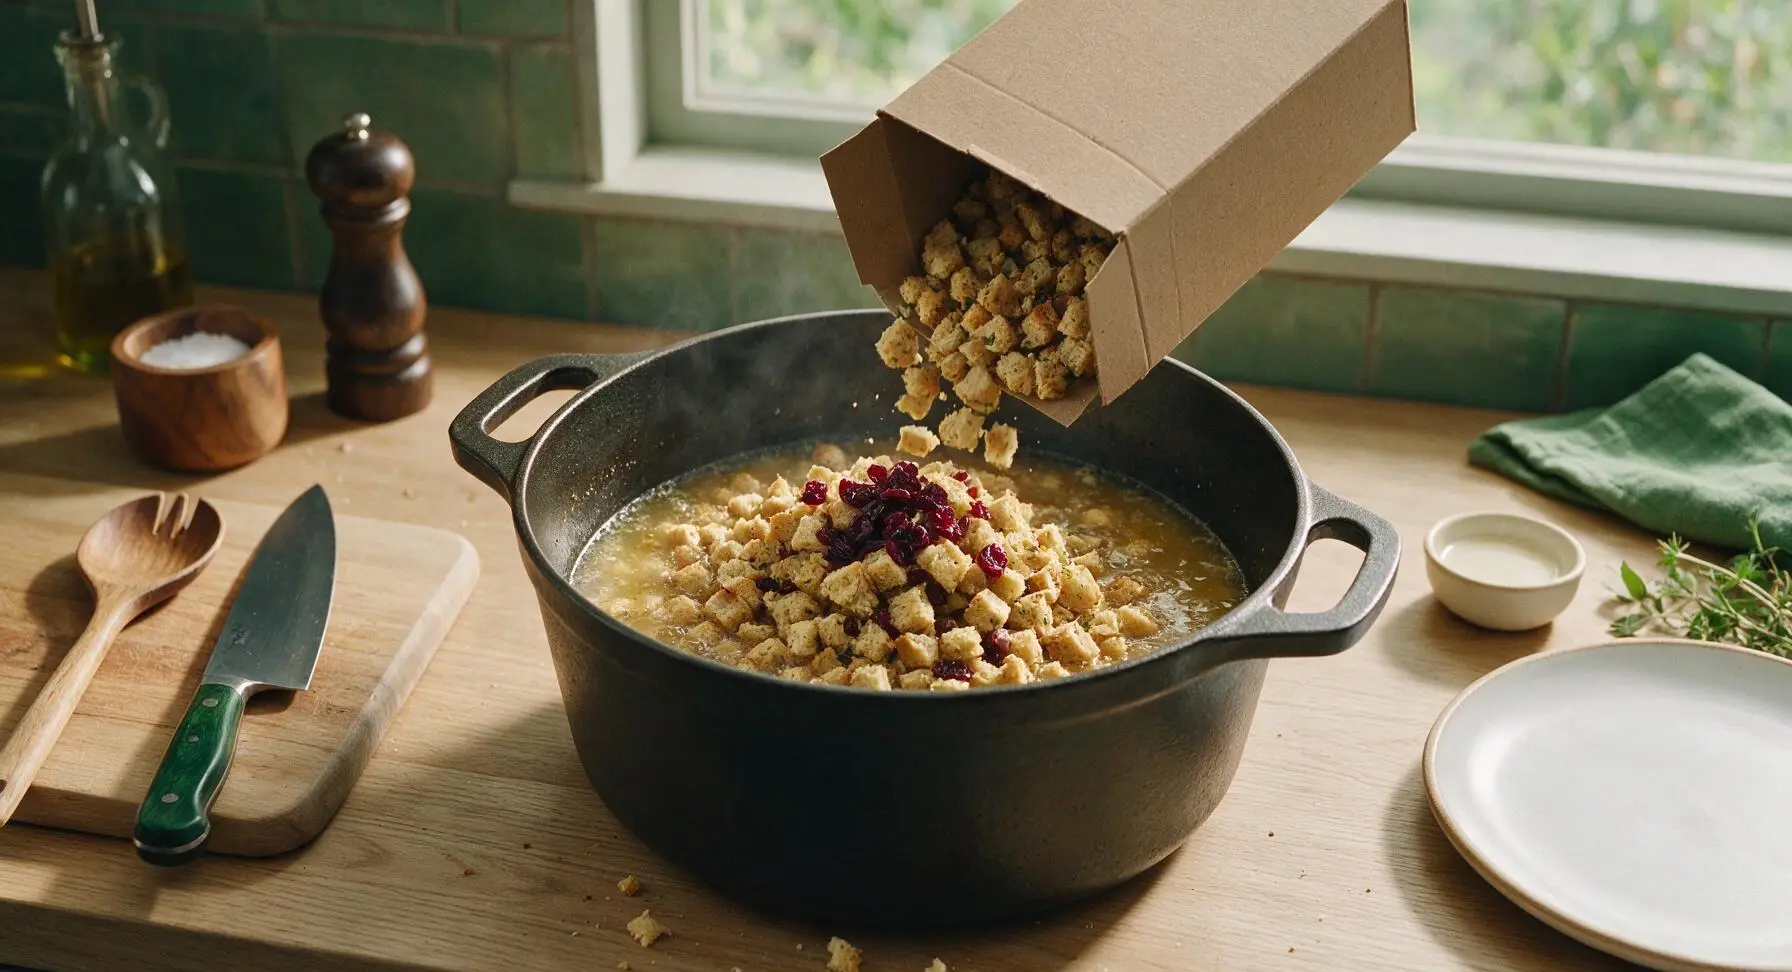
Turn the stovetop heat down to low (200°F/95°C). Pour the full 12 ounces of savory herb stove top stuffing mix into the simmering broth, along with the ½ cup dried cranberries. Use the maple wooden spoon to gently fold the bread cubes into the liquid, ensuring every cube is lightly moistened, but not mashed or crushed. Avoid over-stirring, which will create a mushy final texture.
Rest Stuffing To Steam
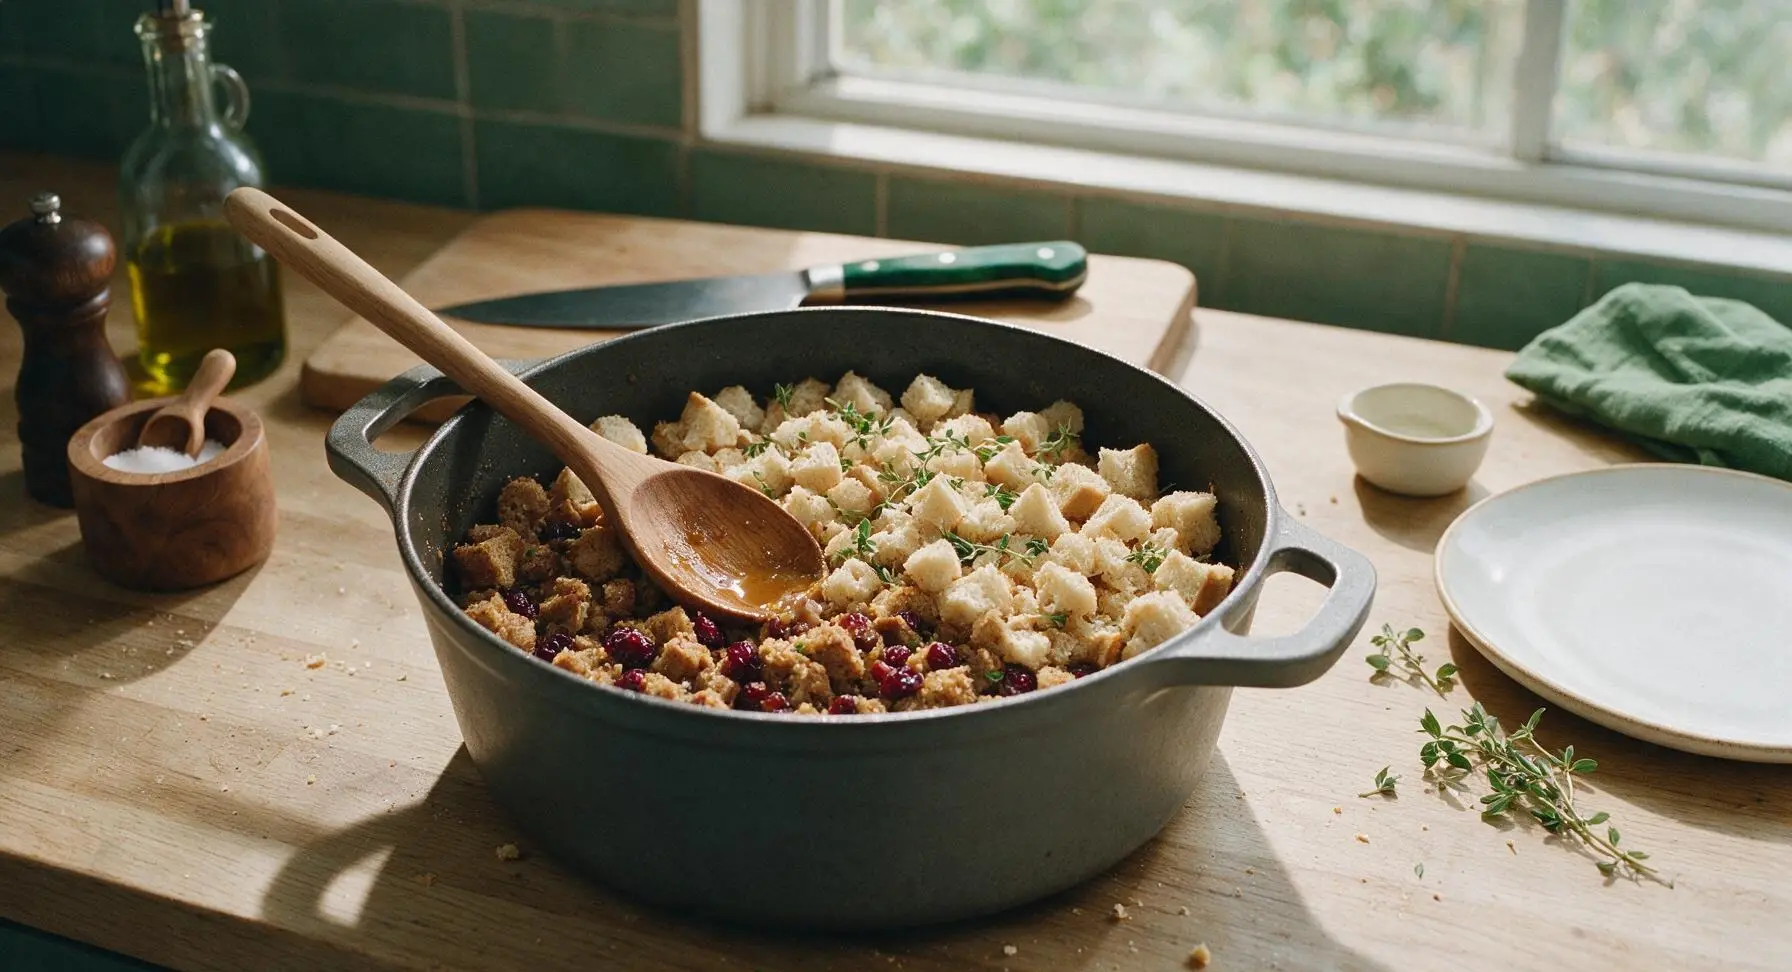
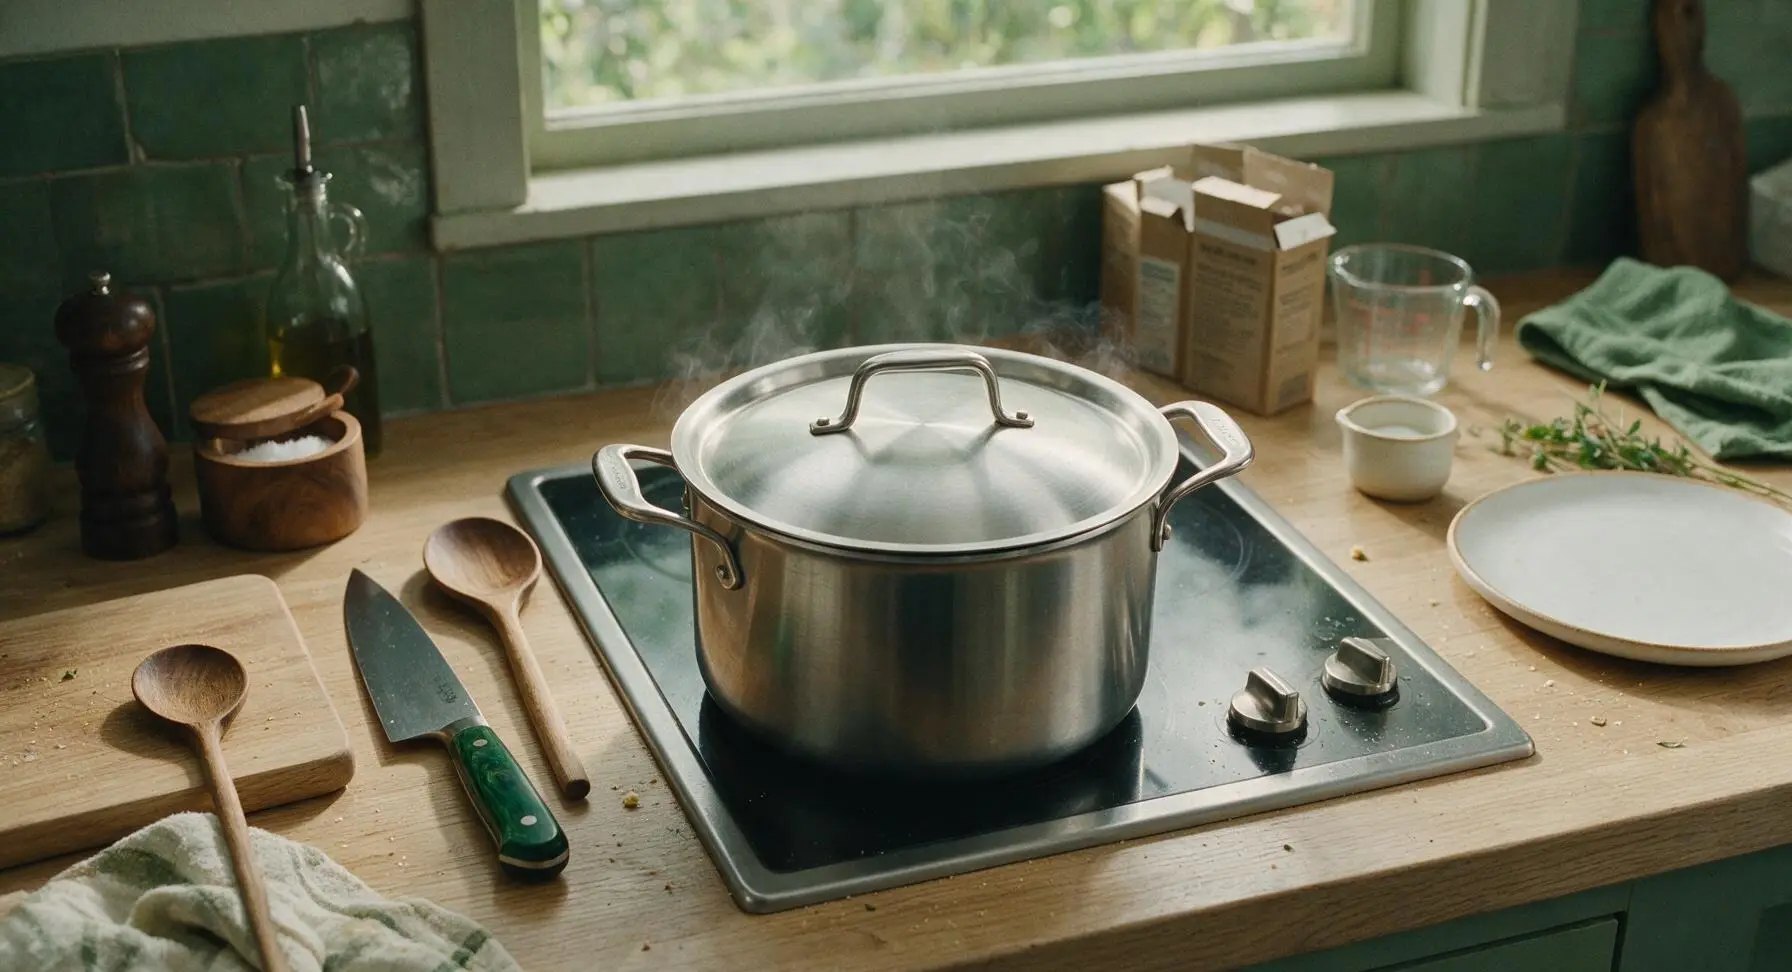
Once all bread cubes are lightly moistened, turn the stovetop heat off completely. Place the matching stainless steel lid tightly on the Dutch oven, and let the stuffing rest undisturbed for 10 minutes. This trapped steam will cook the bread cubes to a tender, fluffy texture, with light crisp edges on the pieces touching the hot sides of the pot.
Fluff And Adjust Texture
After 10 minutes of resting, remove the lid from the Dutch oven. Use the carved maple wooden spoon to gently fluff the stuffing, lifting and turning the bread cubes to break up any large clumps. If the stuffing feels too dry, stir in 1-2 extra tablespoons of warm broth; if it feels too mushy, leave the lid off and let it sit for 2 minutes over very low heat to crisp slightly.
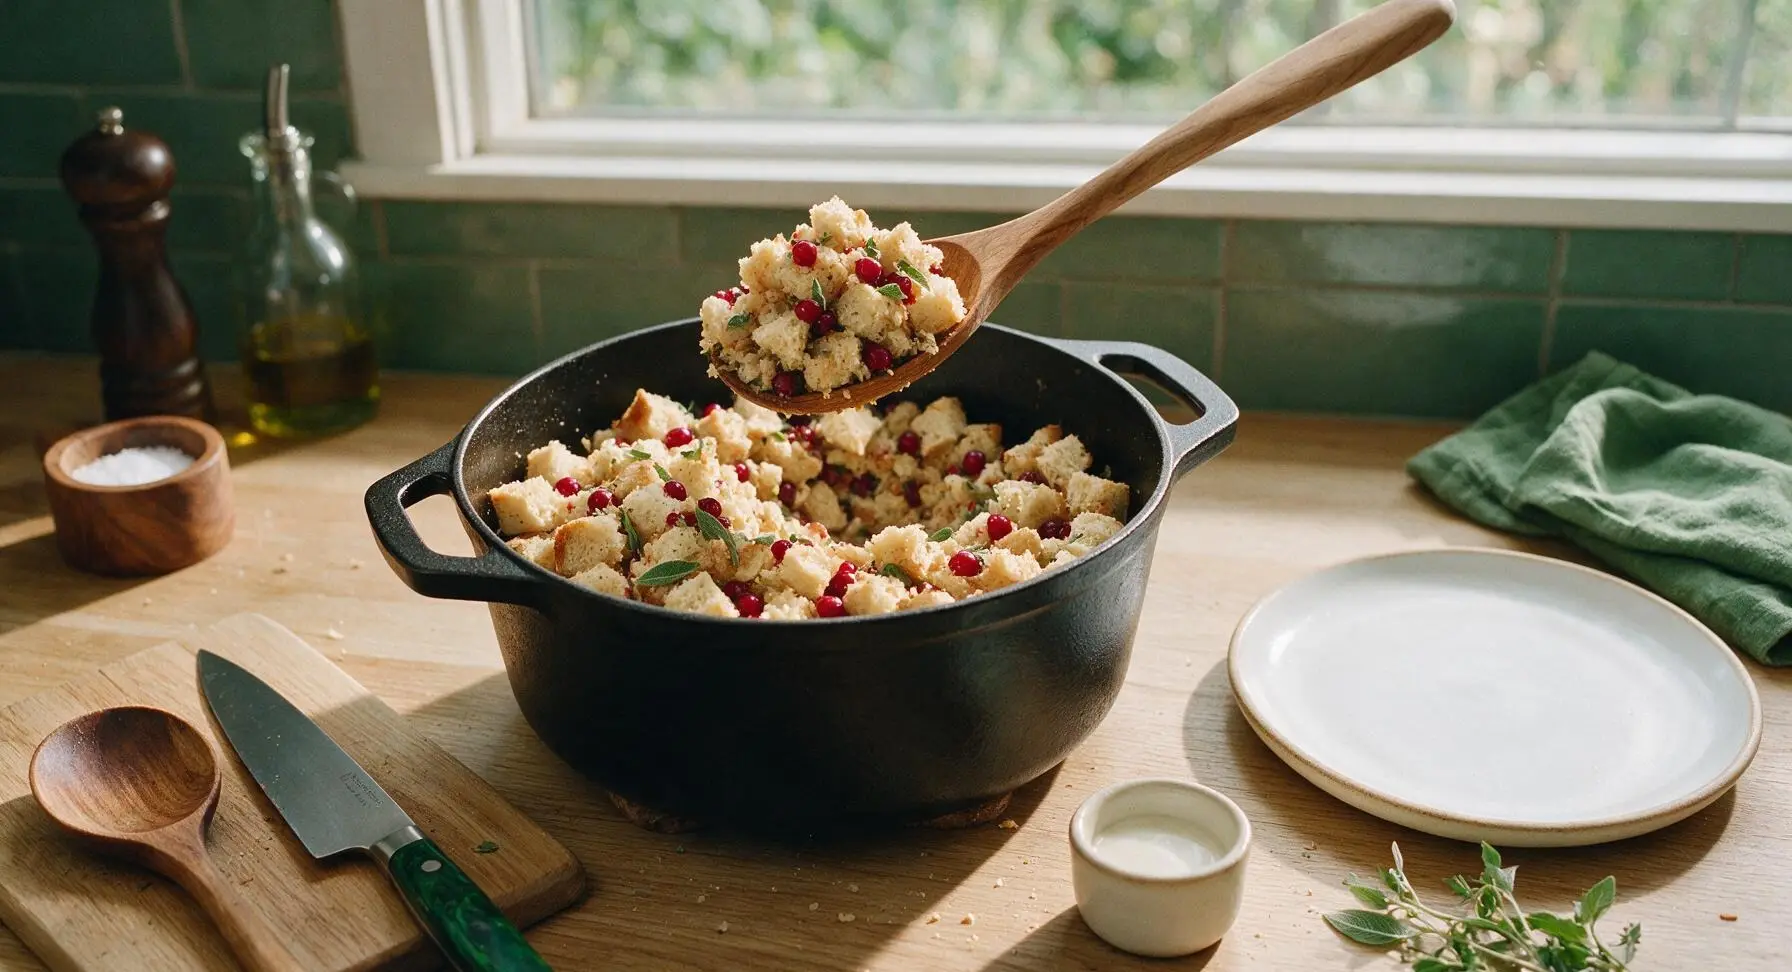
Plate And Garnish To Serve
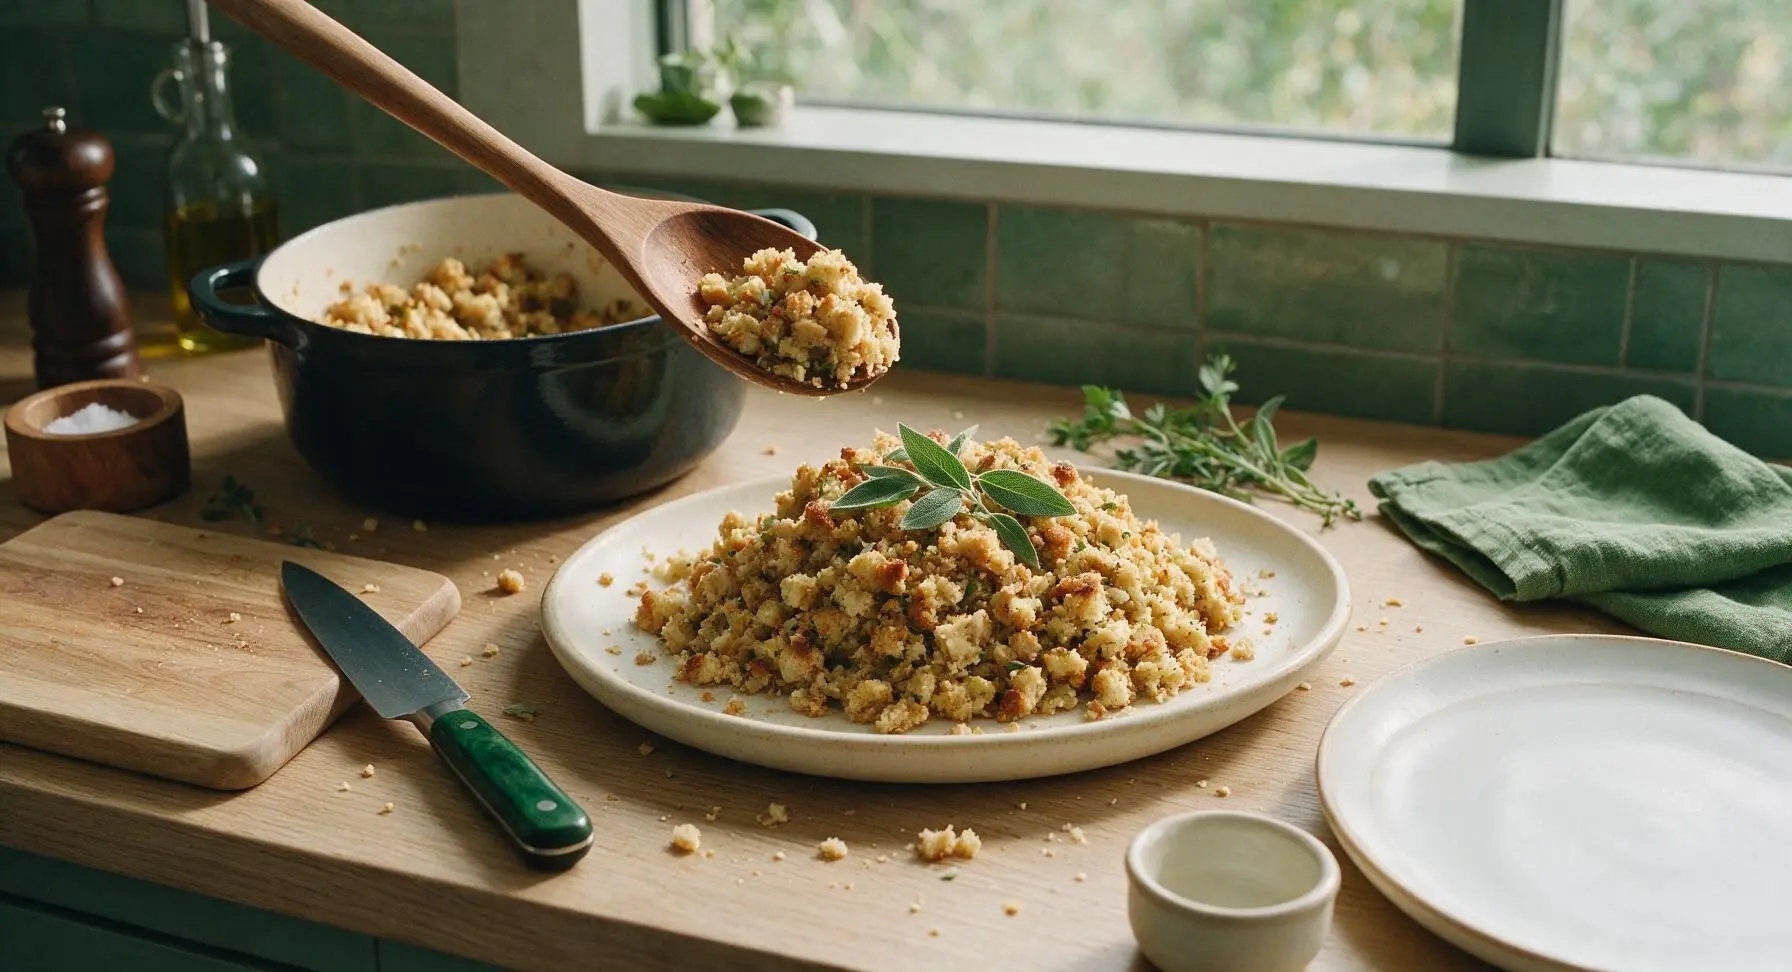
Transfer the finished warm stuffing to the 27cm matte cream ceramic serving platter, mounding it gently in the center. Garnish the top with 3-4 whole fresh sage leaves for a pop of green color, and serve immediately while warm. Leave a few of the crisp edge pieces on top for textural contrast.
Tips
2.Keep the Dutch oven lid tightly sealed during the 10-minute rest period: Trapped steam cooks the bread cubes evenly without direct stovetop heat; a loose lid lets steam escape, leaving dry, under-hydrated croutons on the top layer of the casserole.
3.Customize add-ins to match your meal without adjusting cook time or liquid ratios: Stir in 1 cup of cooked, crumbled breakfast sausage for a heartier main-dish version, or swap dried cranberries for toasted chopped pecans for extra nutty crunch that pairs perfectly with roasted turkey.






OMG this was such a game changer for our Sunday family dinner! I’ve been making stuffing from a box for years and this tastes so much fresher, only took me 25 minutes total just like the recipe says. My 8 year old went back for thirds! We paired it with roasted turkey thighs and green bean casserole, total hit. 10/10 will make again for our Friendsgiving potluck next month.
Perfect easy meal prep staple! I made a big batch on Sunday and portioned it out for lunches all week, paired with grilled chicken. It holds up so well in the fridge and reheats like a dream. Only note is I added a little extra chicken broth because I like my stuffing extra moist, but that’s just personal preference.
SO good! I was worried it would be too dry since it’s stove top instead of baked in the turkey, but it was perfectly fluffy and savory. I used sourdough bread cubes instead of the plain white the recipe called for and it gave it such a nice tang. Will 100% be a regular on our weeknight dinner table.
Total newbie here — I’ve only been cooking for a few months, and this was my first time making stuffing from scratch! It turned out pretty good, but I was confused while making it: how runny should the mixture be before you let it sit? I think I added too much broth last time because it was a little mushy, but everyone still ate it. I want to nail it for my girlfriend’s family Thanksgiving dinner I’m hosting 😅
Made this for our church potluck last Sunday and people were asking me for the recipe left and right! I added a handful of crumbled sausage to mine and it was chef’s kiss. So easy to throw together even when I was running late that morning.
My kids loved it!! I’ve been struggling to find side dishes they don’t push around their plates, and all three of them cleaned their plates tonight. Even my picky 4 year old who hates all “soft food” ate a whole serving. Total win for school nights when I don’t have time to mess around with complicated recipes.
This was really good, but I had to swap in gluten free bread cubes for my dietary needs. It still turned out great texture-wise, but I felt like it was a little lacking in seasoning? Not a big deal, just added a pinch more sage and thyme and it was perfect. Great base recipe!
Game changer for using up leftover bread! I had a random loaf of crusty french bread left from Sunday dinner a few days back, cubed it up, and used it for this recipe. Turned out way better than the boxed stuff I grew up on, and I didn’t let that bread go to waste. Win win.
Made this on our camp stove last weekend while we were up in the mountains and it worked perfectly! We didn’t have access to an oven so this stove top version was ideal, paired great with the trout we caught that afternoon. Even our camp dog was begging for bites (don’t worry, we gave him a tiny plain piece). Such a versatile recipe!